
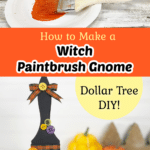

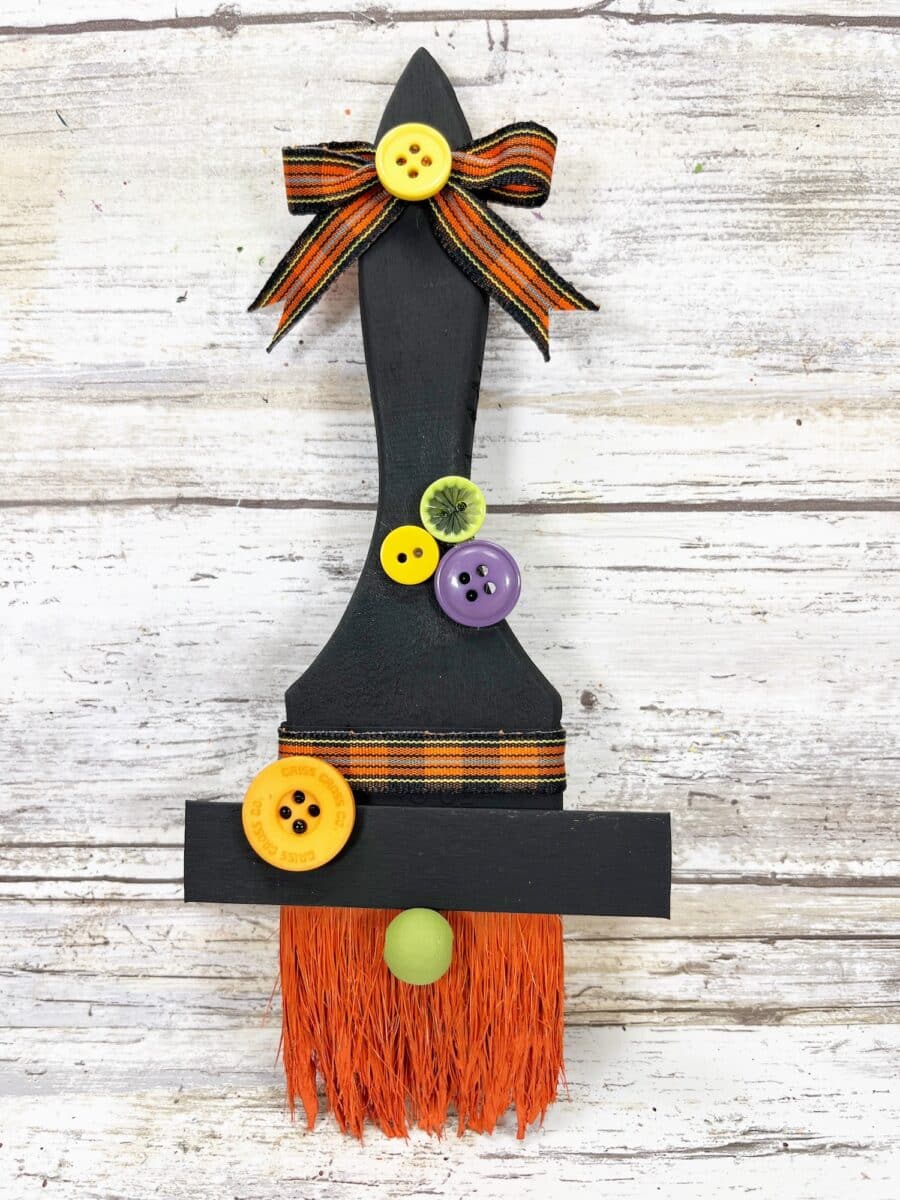
This witch paintbrush gnome is one of the easiest Halloween gnome projects you can make! The best part is that all of the supplies are from the dollar store, which makes it an inexpensive craft perfect for tweens, teens and adults.
Gnomes are incredibly popular with every holiday, so this Halloween witch gnome is perfect for selling at craft fairs, too!
After an initial investment in some craft supplies, you can make each gnome for less than $2, leaving you a big increase in how much you can sell it for.

This cute witch gnome is just one of our fun Halloween crafts and Dollar Tree crafts.
You will also like these witch crafts:
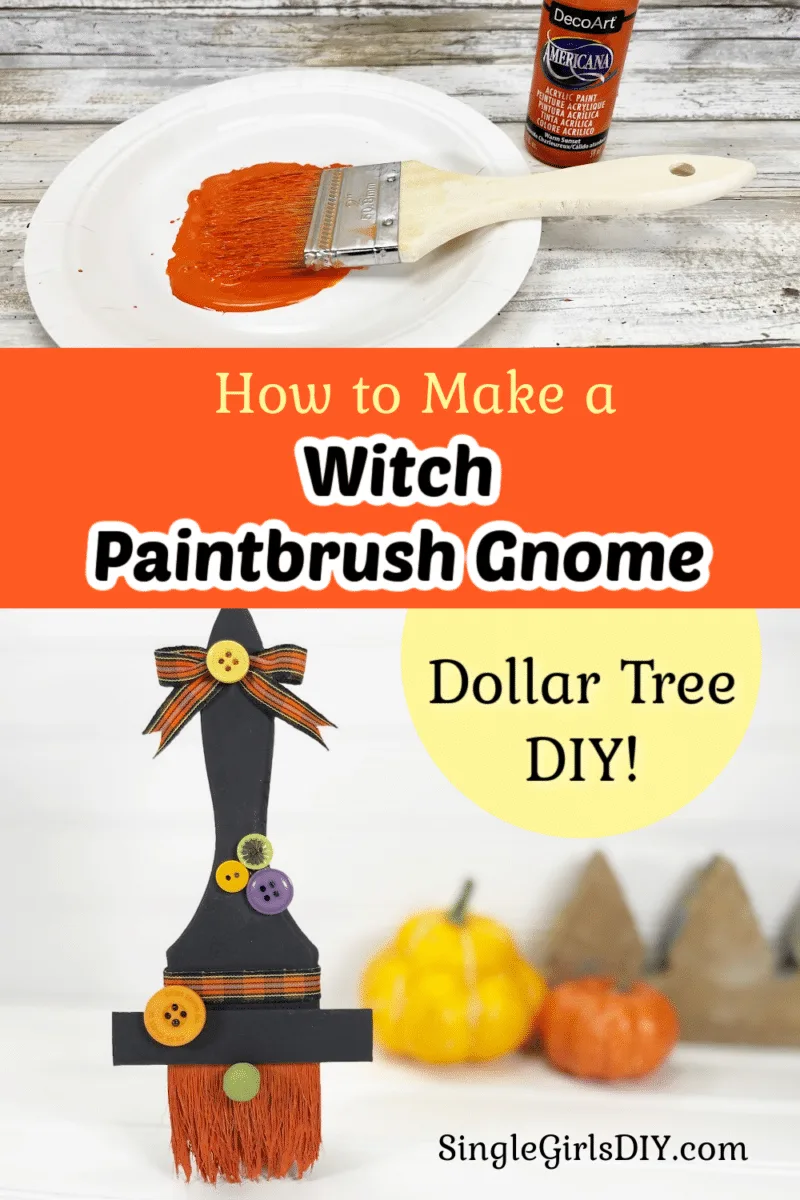
How to Make a Witch Paintbrush Gnome
All materials, other than paint, were purchased at the Dollar Tree.
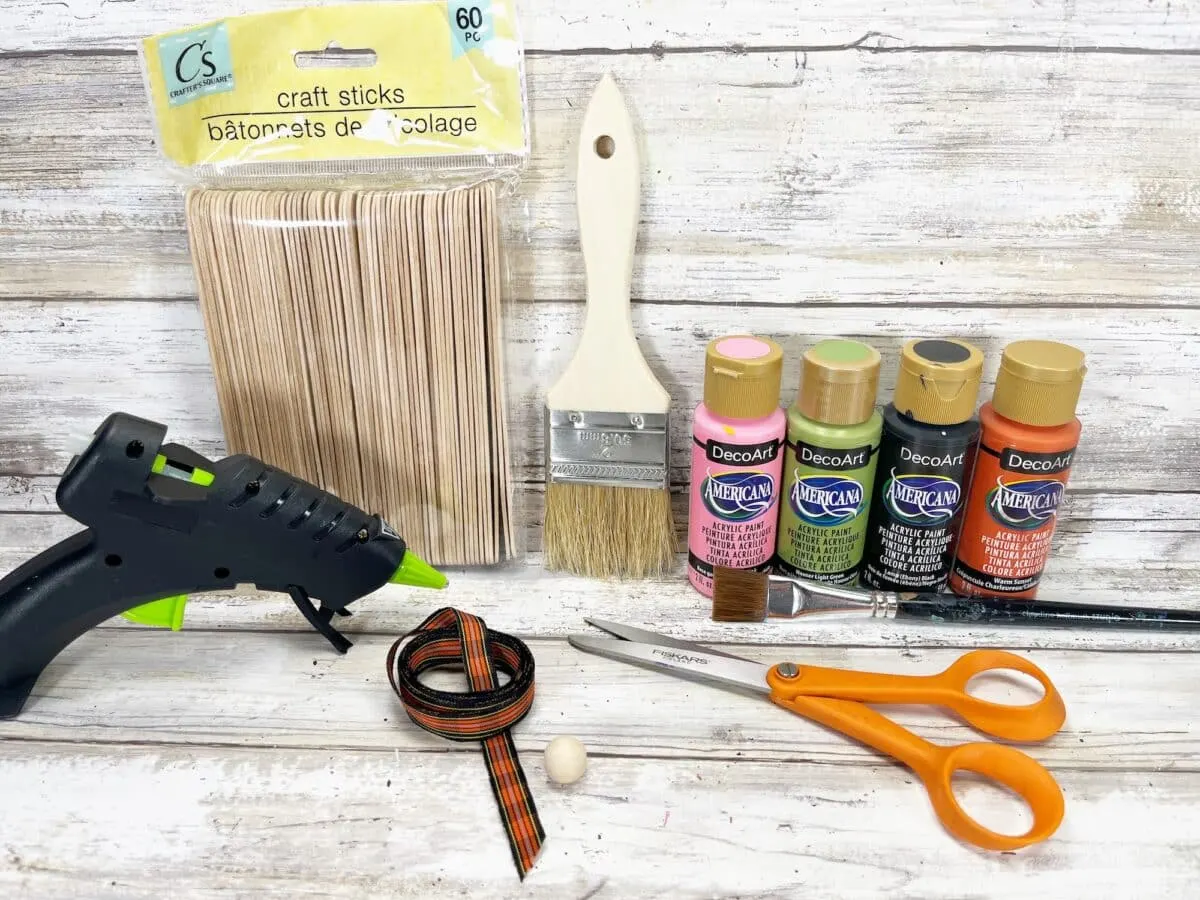
Materials
- 1 Jumbo Craft Stick
- Wooden Paint Brush (I used a 2″ paintbrush; if you are making several, this multi-pack is actually cheaper per brush than what I paid)
- Wooden Ball or Bead
- Assorted Buttons
- Ribbon
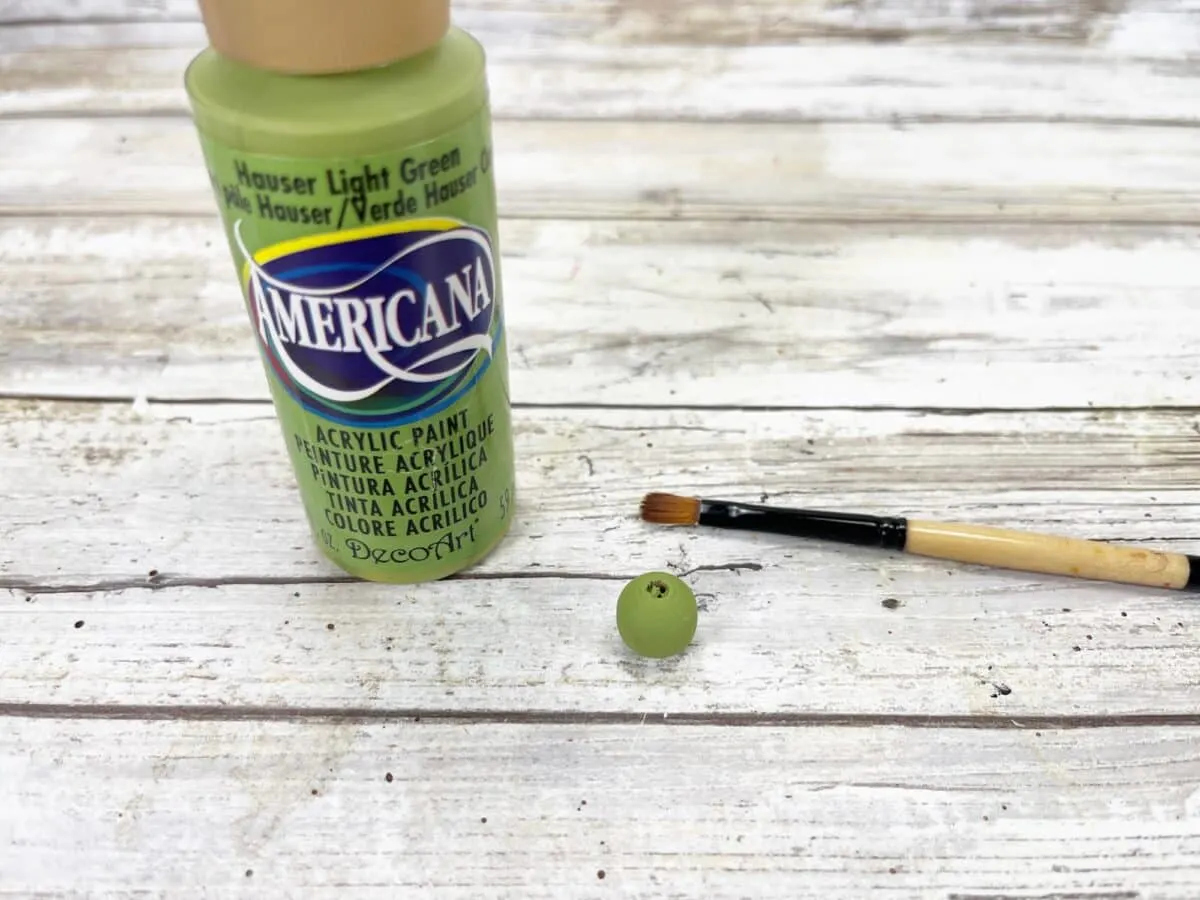
- Acrylic Craft Paint (Orange, Black, Muted Light Green)
- Hot Glue Gun or Craft Glue
- Paintbrush (for painting)
- Ruler

Instructions
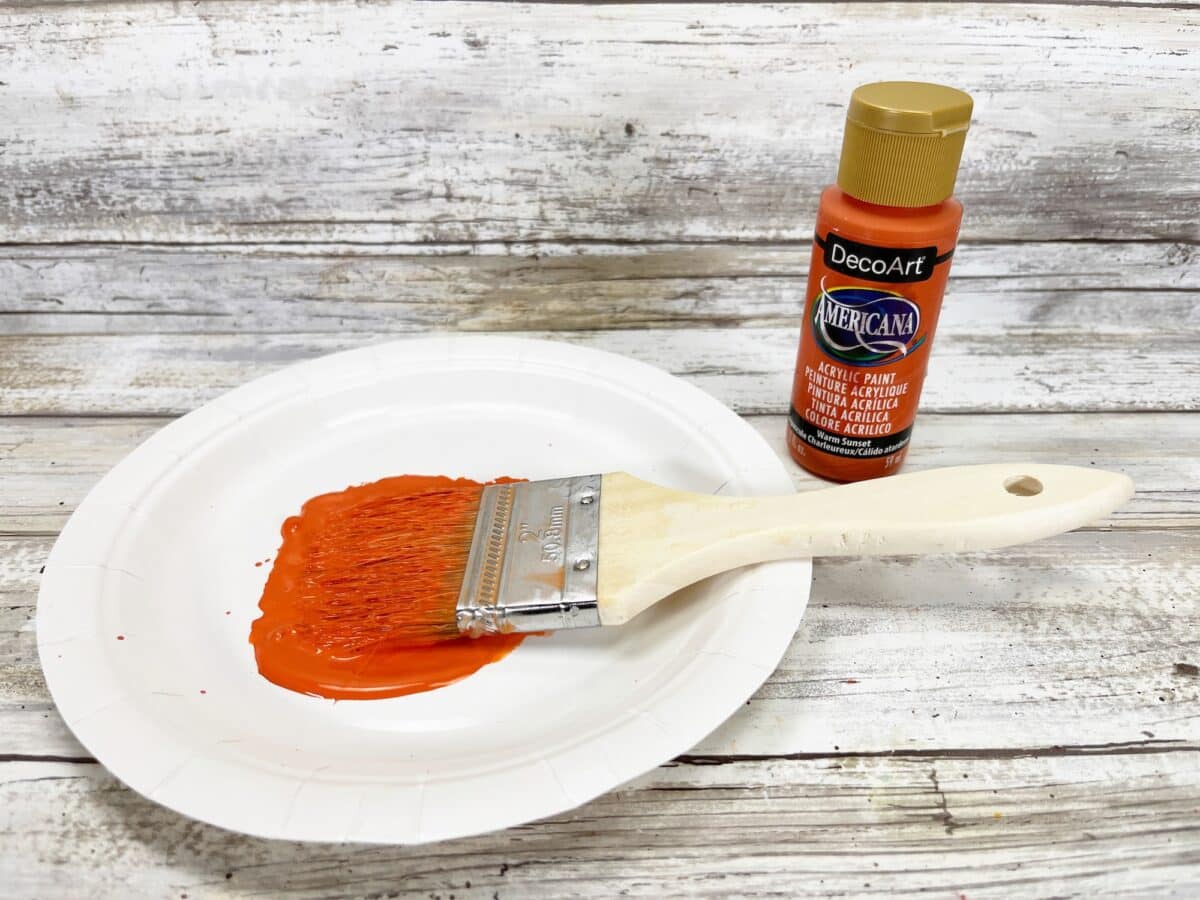
Step 1
Squeeze orange acrylic craft paint onto a paper plate. Then dip the entire bristle part of the paintbrush into the paint, making sure to cover the front and the sides.

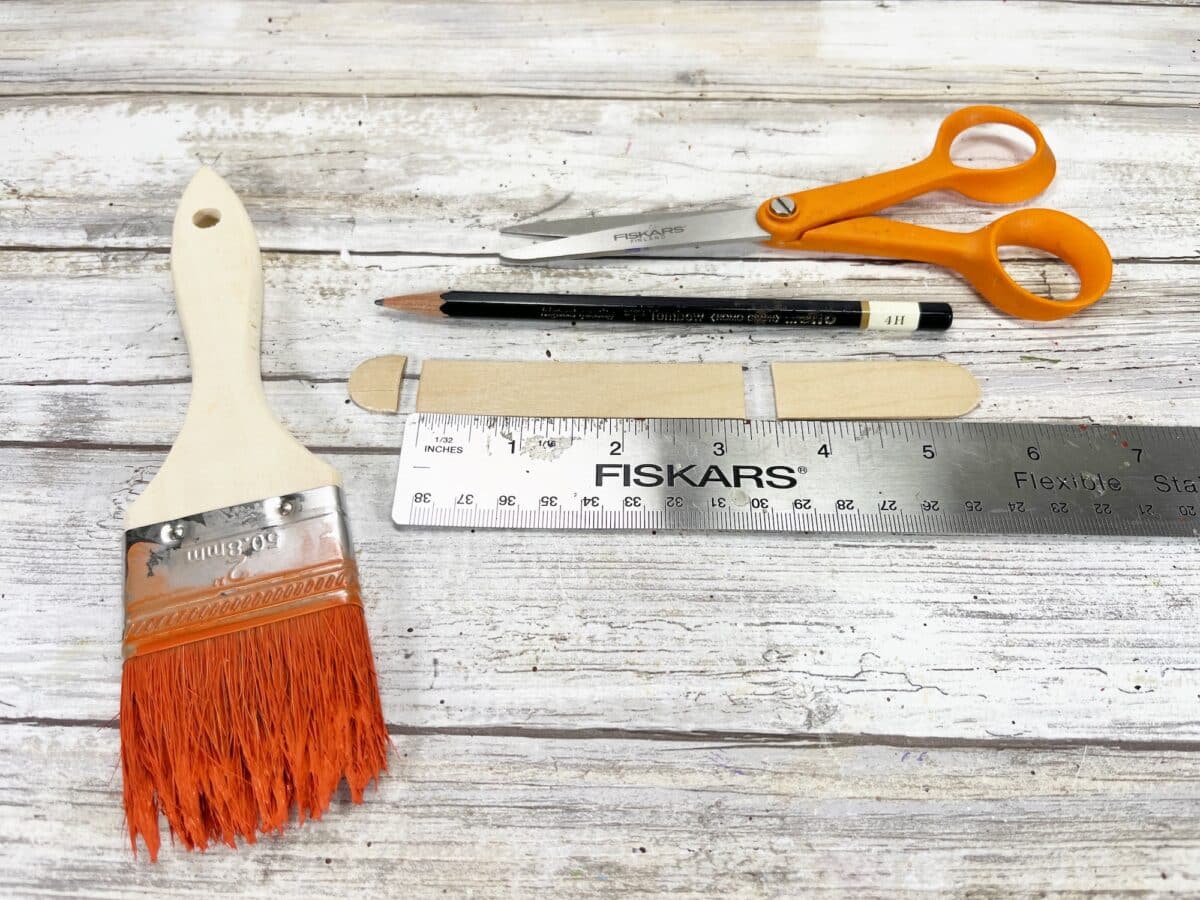
Step 2
Measure and cut the jumbo craft stick to be 3.5” long. Cut the rounded ends off with scissors so that you have straight lines on the ends.

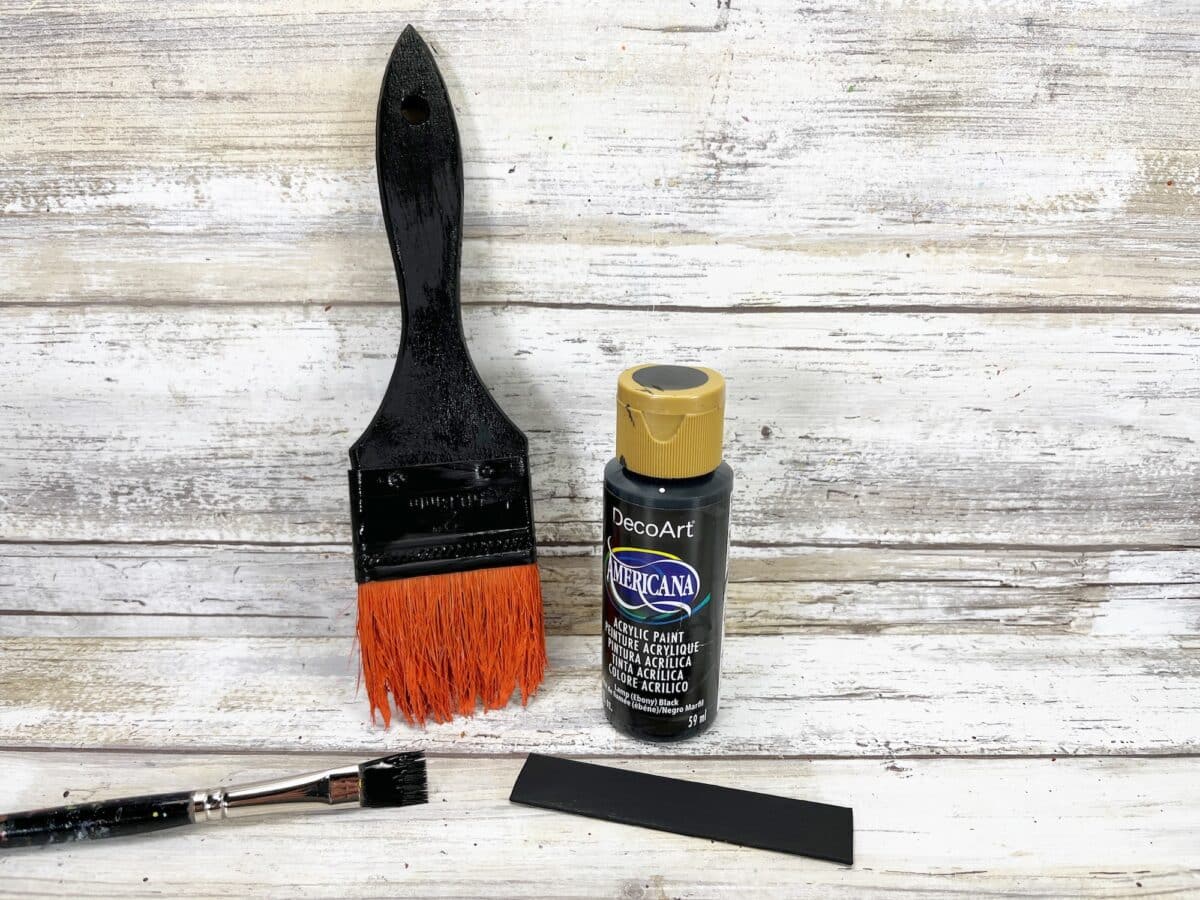
Step 3
Paint the rest of the paint brush, including the handle and the metal part above the bristles, as well as the jumbo craft stick, with black acrylic craft paint.
Allow to dry. If needed, apply a second coat.

Step 4
Paint the wooden bead with a green acrylic craft paint. Allow to dry.

Step 5
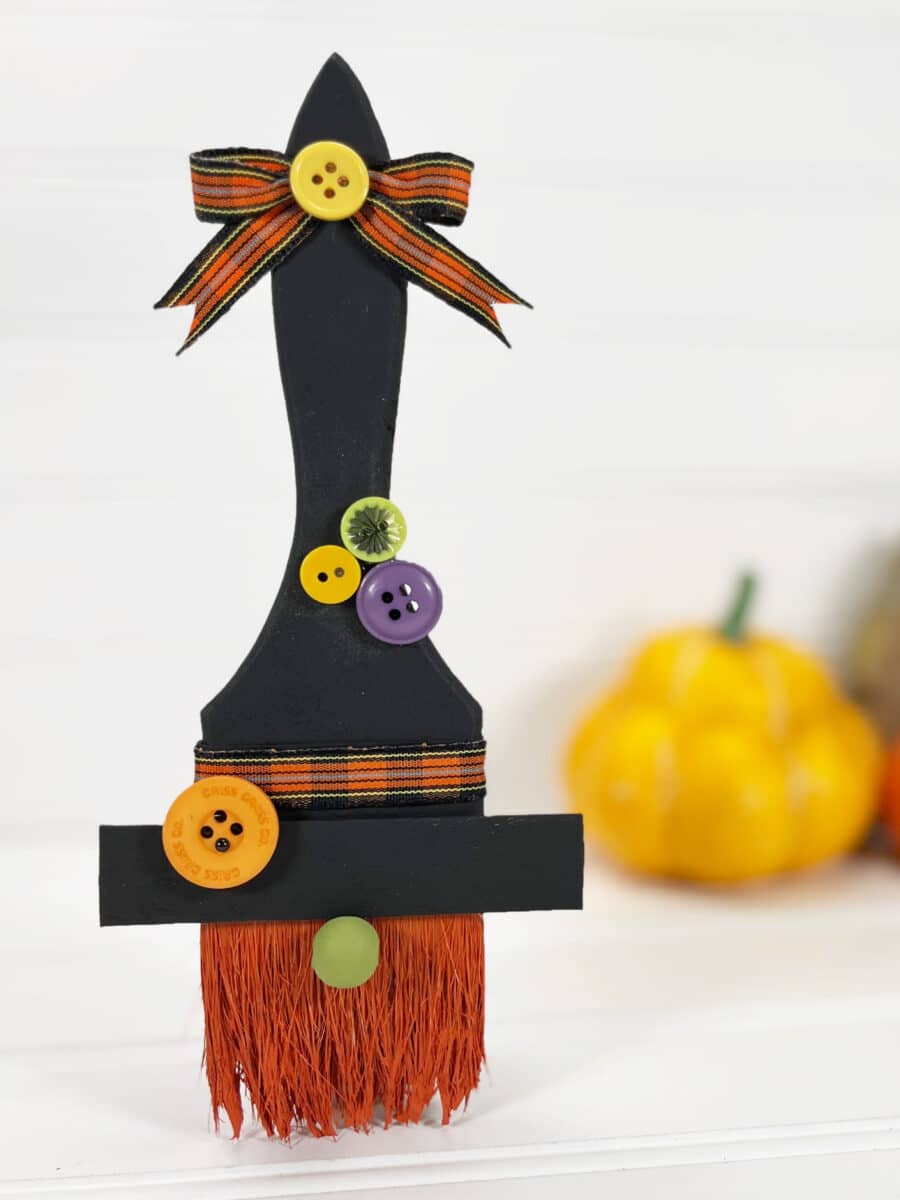
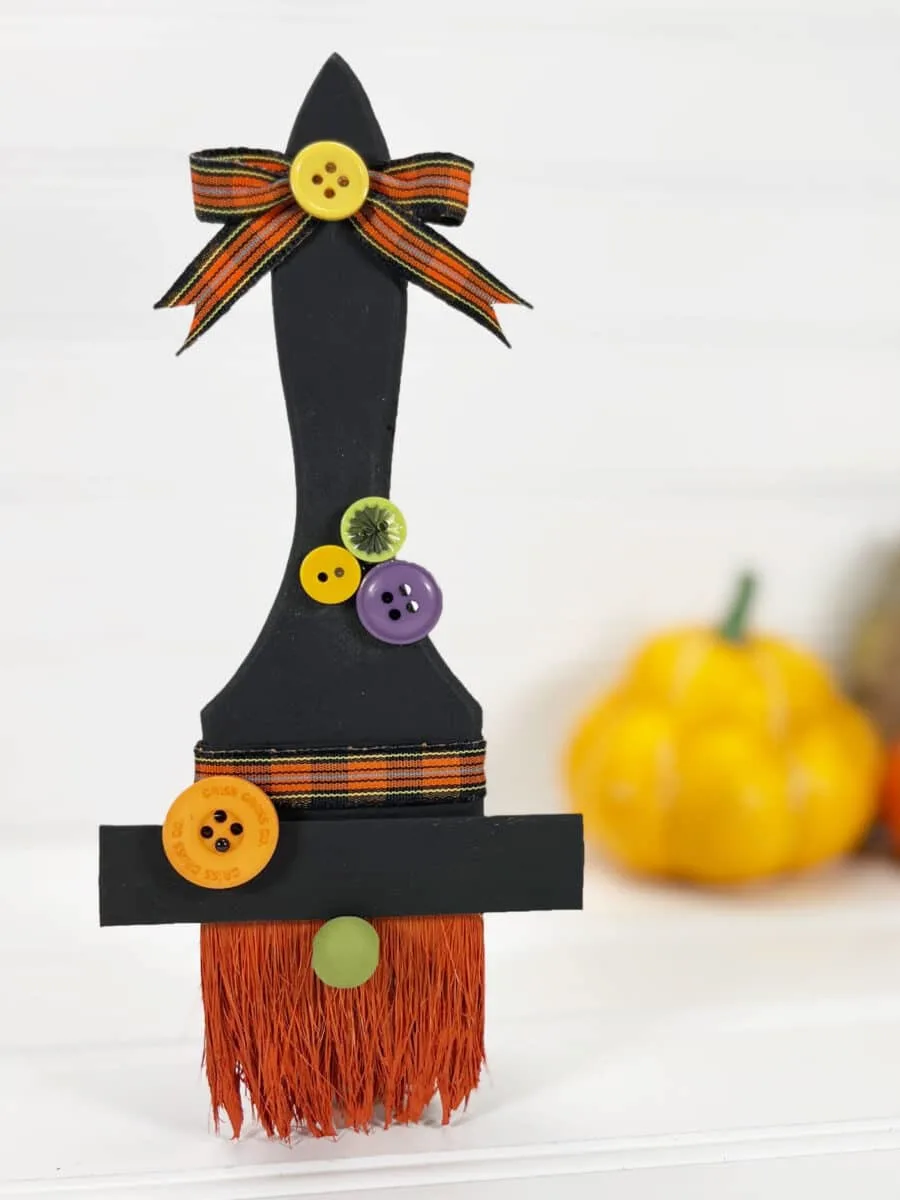
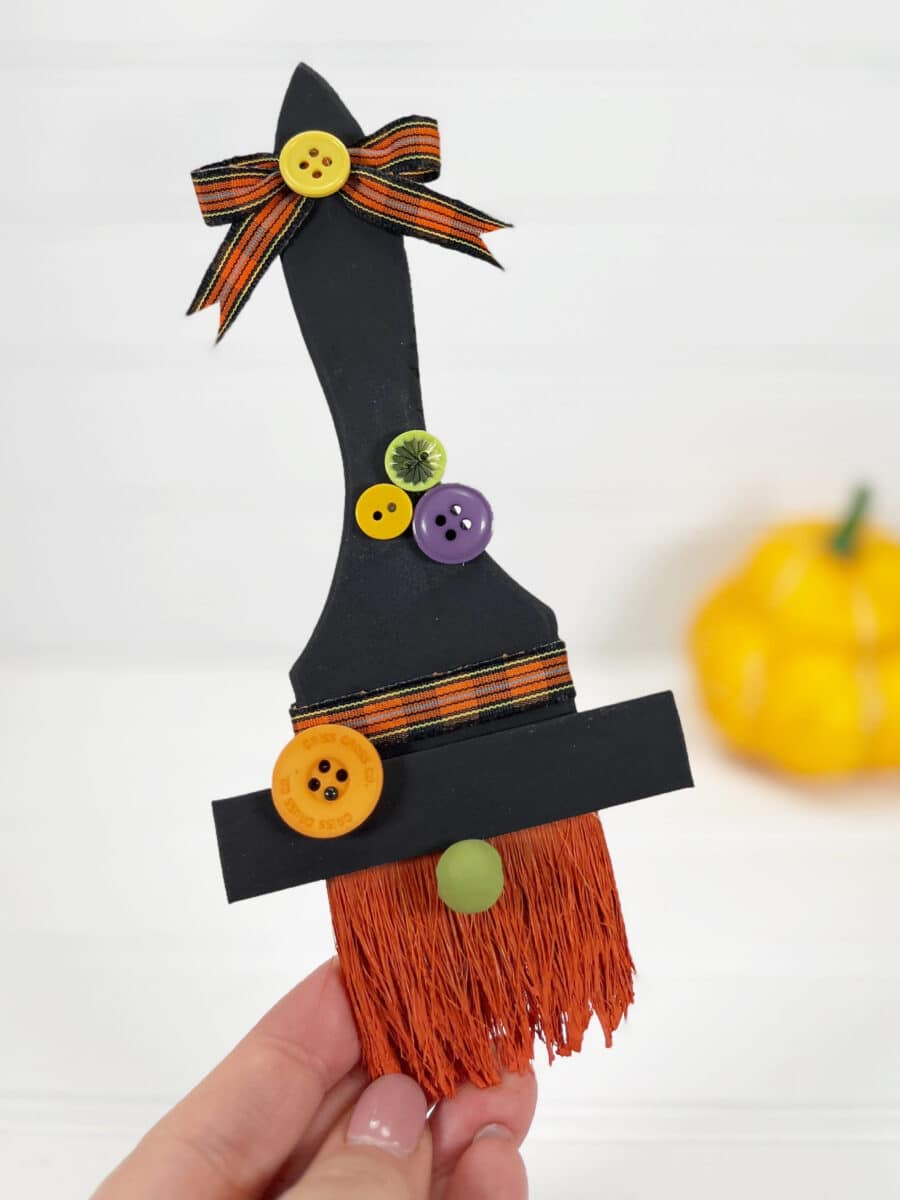
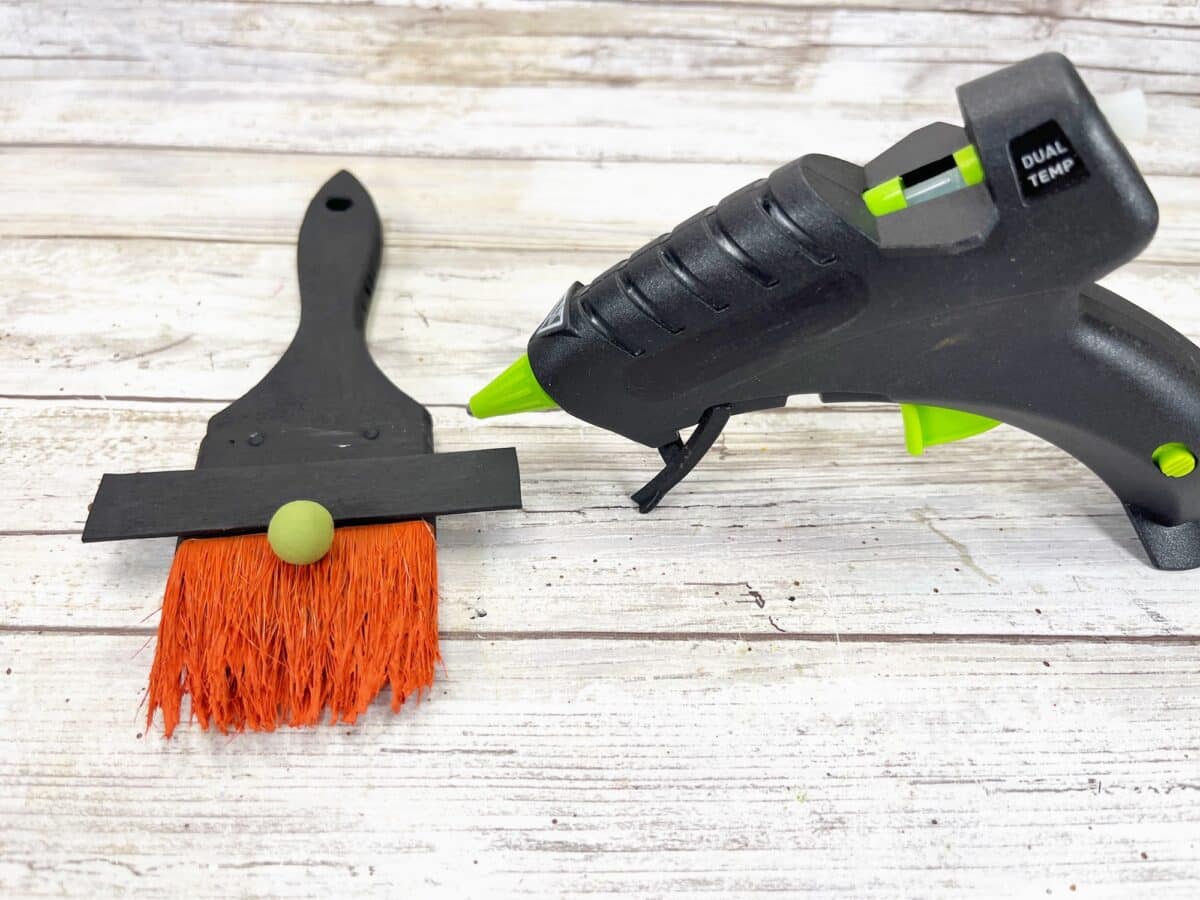
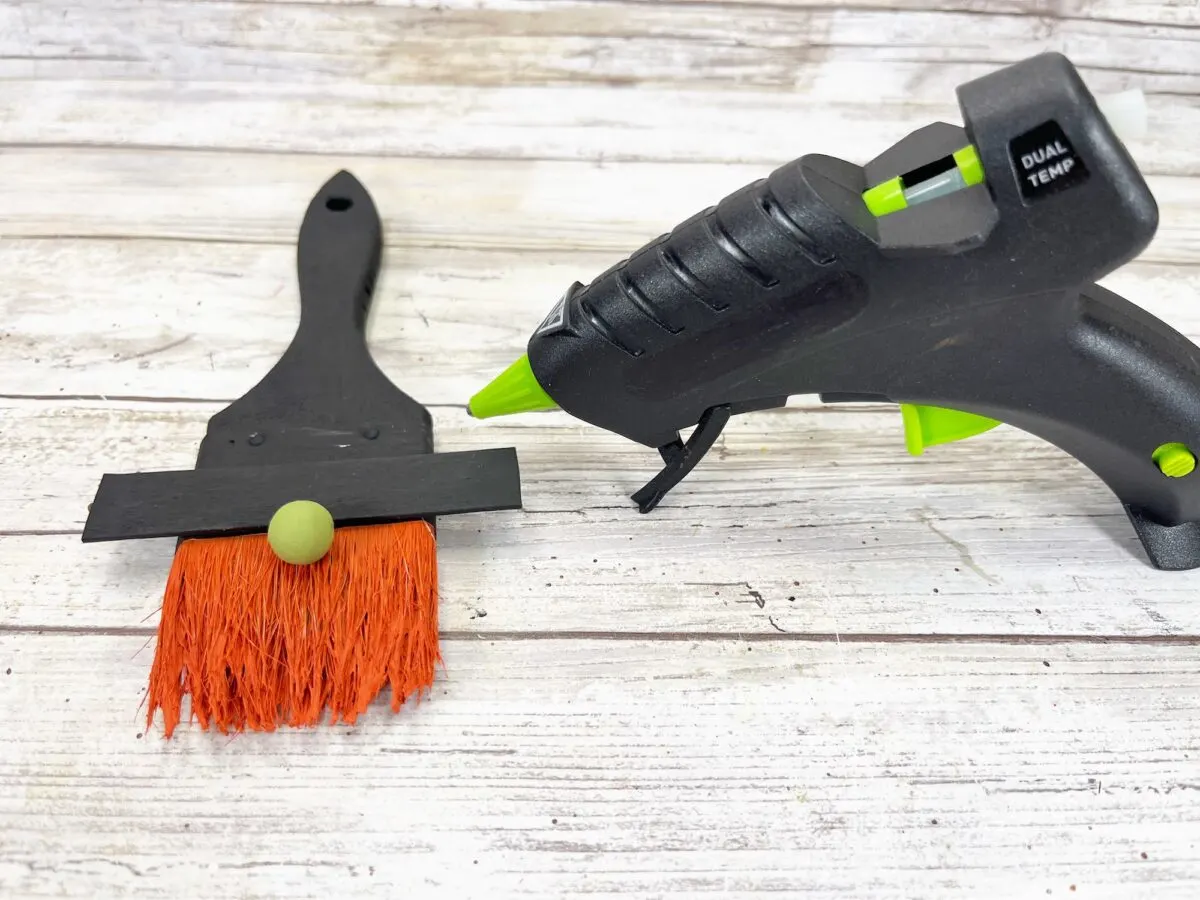
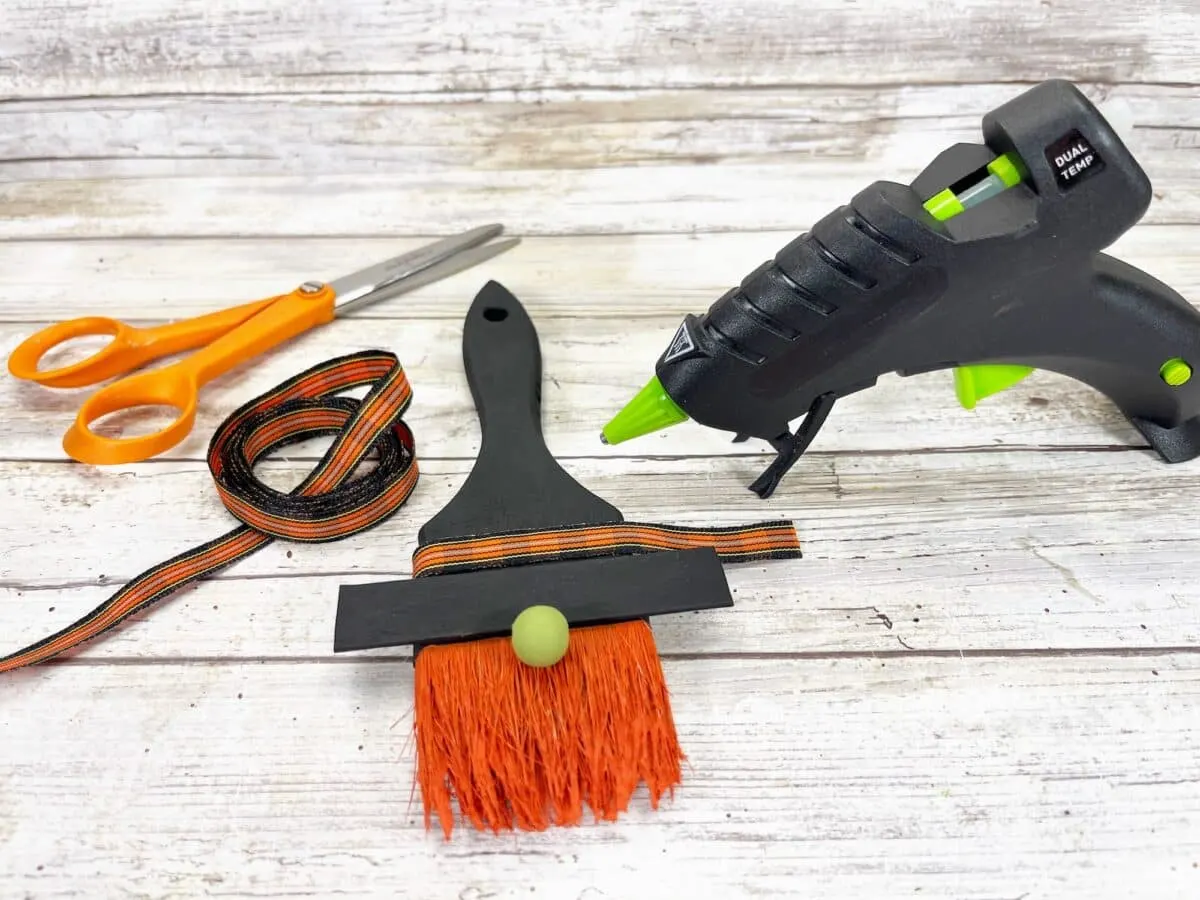
Glue the craft stick to the bottom edge of the paint brush across the place where the metal top meets the bristles to make the witch’s hat brim.
Then glue the wooden bead to the center of the gnome’s beard, just underneath the hat brim.
Step 6
Glue a small piece of ribbon around the paint brush just above the hat brim.
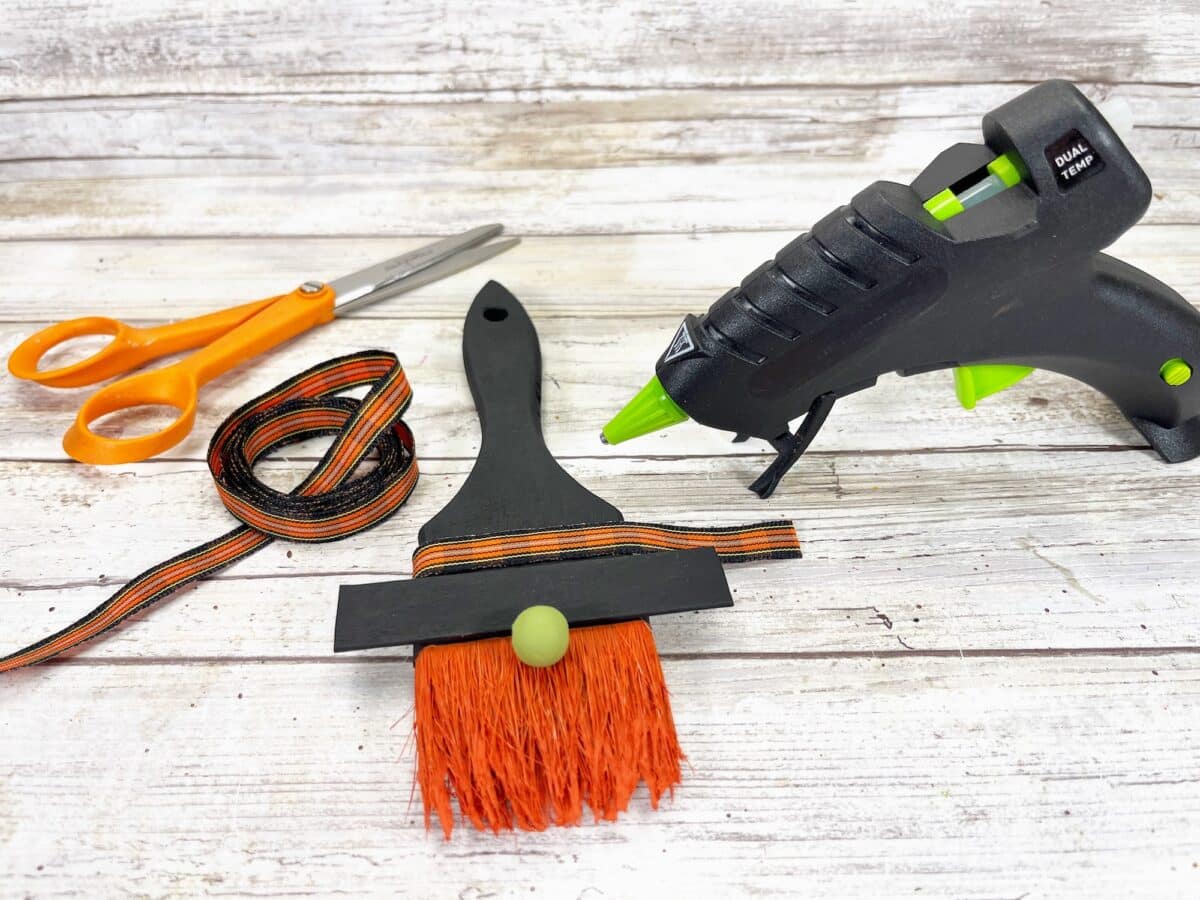
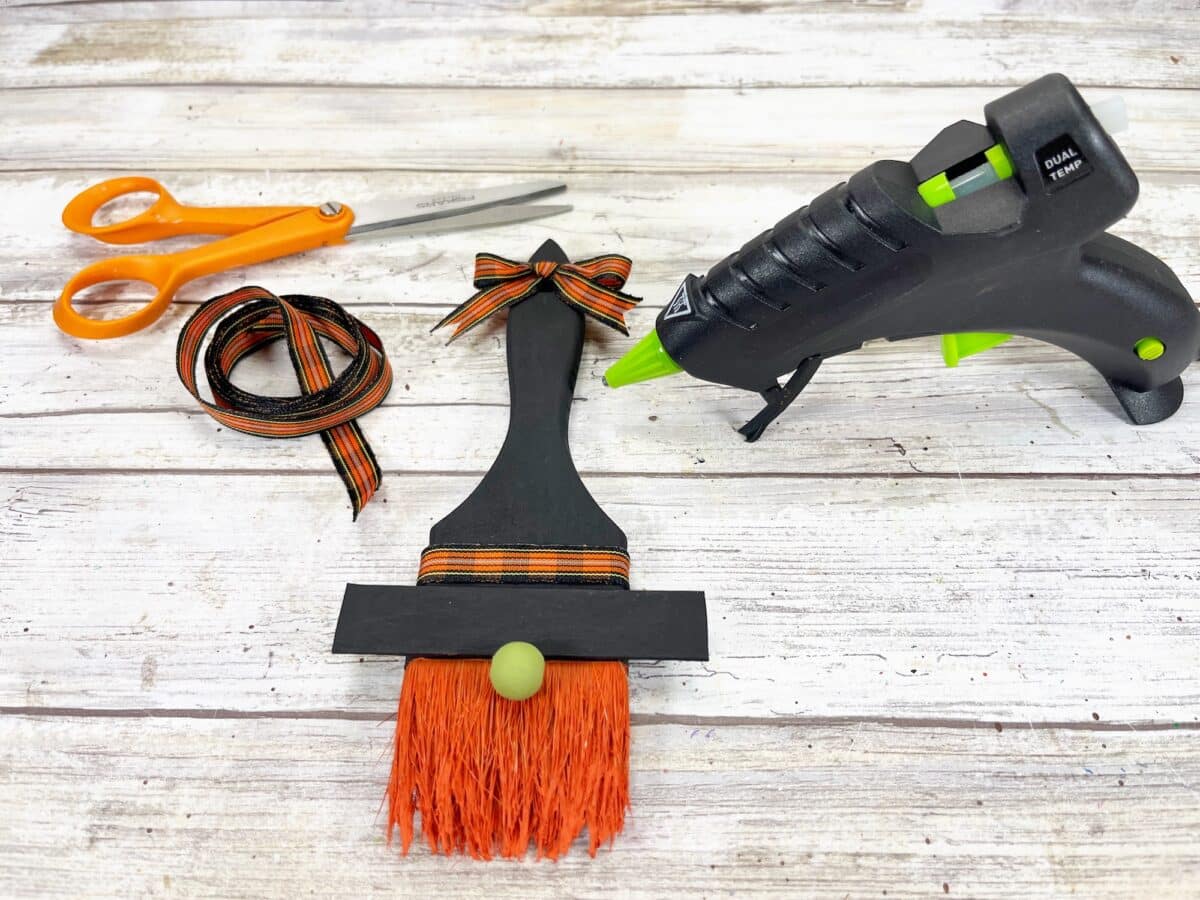
Using the same ribbon (or a complimentary color), tie another piece in a bow. Then glue the bow to the top of the paint brush. Trim ends if necessary.

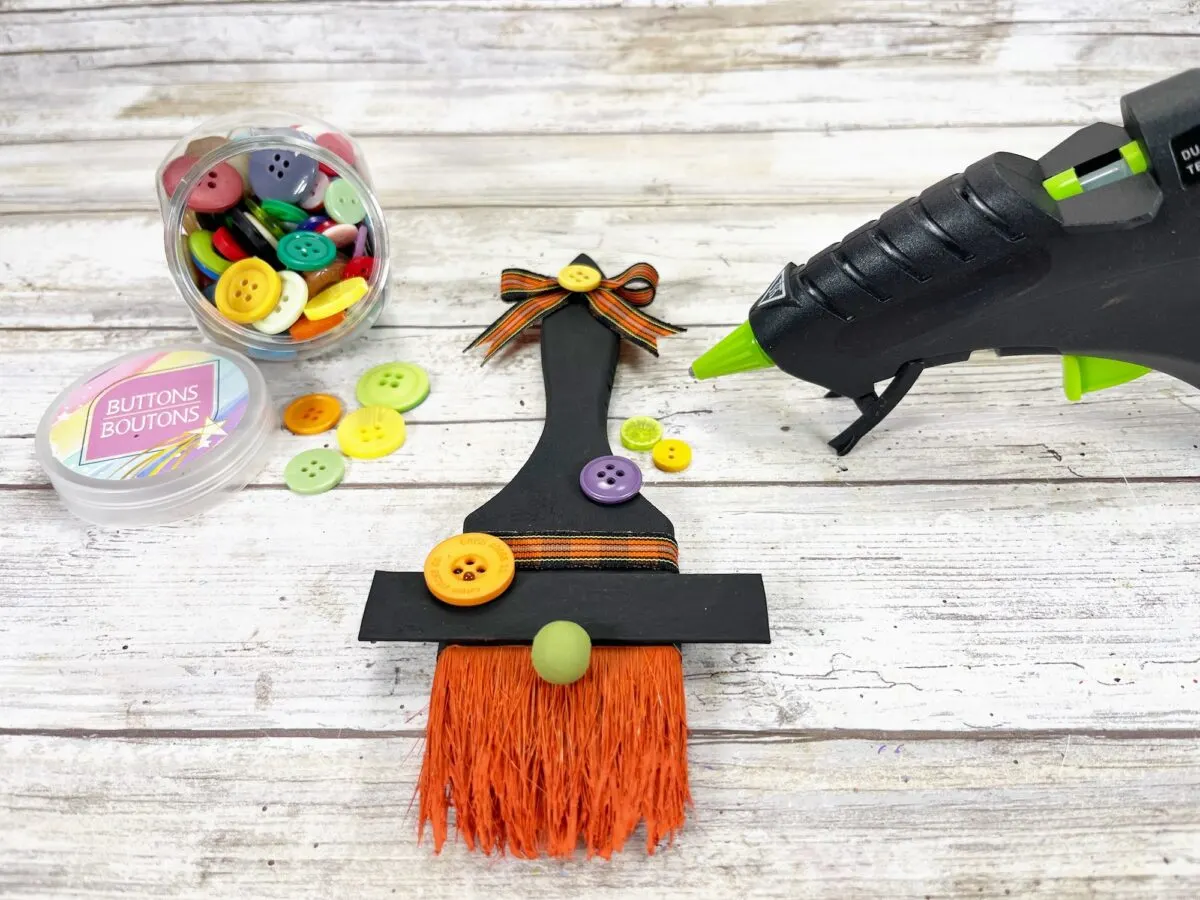
Glue buttons in different shapes and colors to the paintbrush to add visual interest to the witch gnome.


Like this project? Be sure to Pin It to save for later!

See my YouTube video of how to make a Witch Paintbrush Gnome:
Love gnomes? Make sure you see these cute ideas:
- Candy Corn Gnome
- Scarecrow Gnome
- Fall Gnome with Leaf Beard
- Grinch Gnome
- Easy DIY Gnome Ornaments
- Gnome Wine Bottle Topper
- Easter Bunny Gnome
- Mason Jar Gnome
- Vampire Gnomes
