


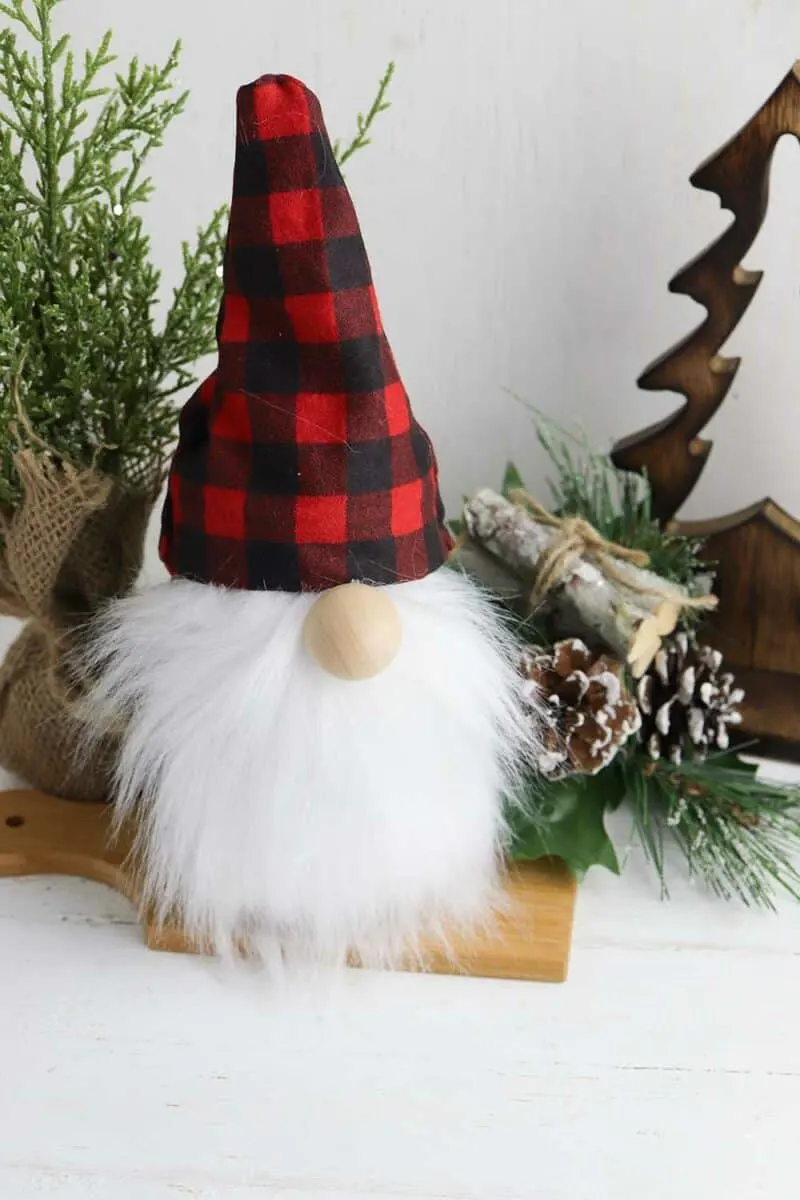
This homemade mason jar gnome craft is so easy to glue together! It’s the perfect way to turn a glass jar into a whimsical decoration.
No sewing is needed for this DIY project. As long as you can cut some shapes out and glue them together, you will be able to make this cute gnome for yourself or to give as gifts.

If you like this easy gnome craft, be sure to see my other DIY ideas. My Grinch gnome is so simple to make!
These oversized gnome ornaments are easy to make. You can use the same materials for the ornaments as you do for these gnome wine bottle toppers.
For spooky gnomes, see our cute paper vampire gnome project with free template.
You can use any size mason jar to make these gnomes. The process is the same regardless of whether you use a small jar or an extra large mason jar.
Other glass jars could be used, too. Just be sure that the jar is short and squatty. You wouldn’t want to use a narrow, tall jar as it wouldn’t work as well.
DIY Mason Jar Gnome
Supplies
- Mason jar
- Acrylic Paint
- Paint brush or foam brush
- White faux fur
- Red and black flannel fabric
- Wood bead
- Hot glue gun
- Scissors
- Pen
- Ruler
Directions
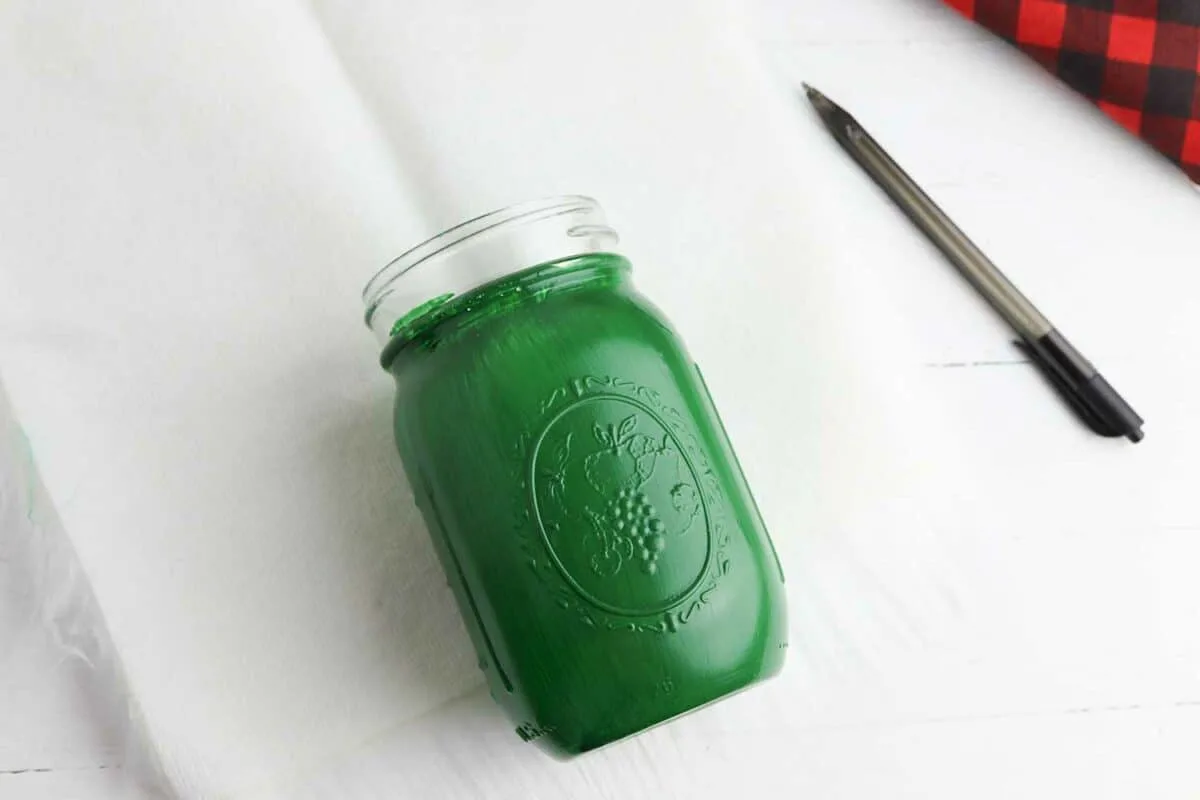
Step 1
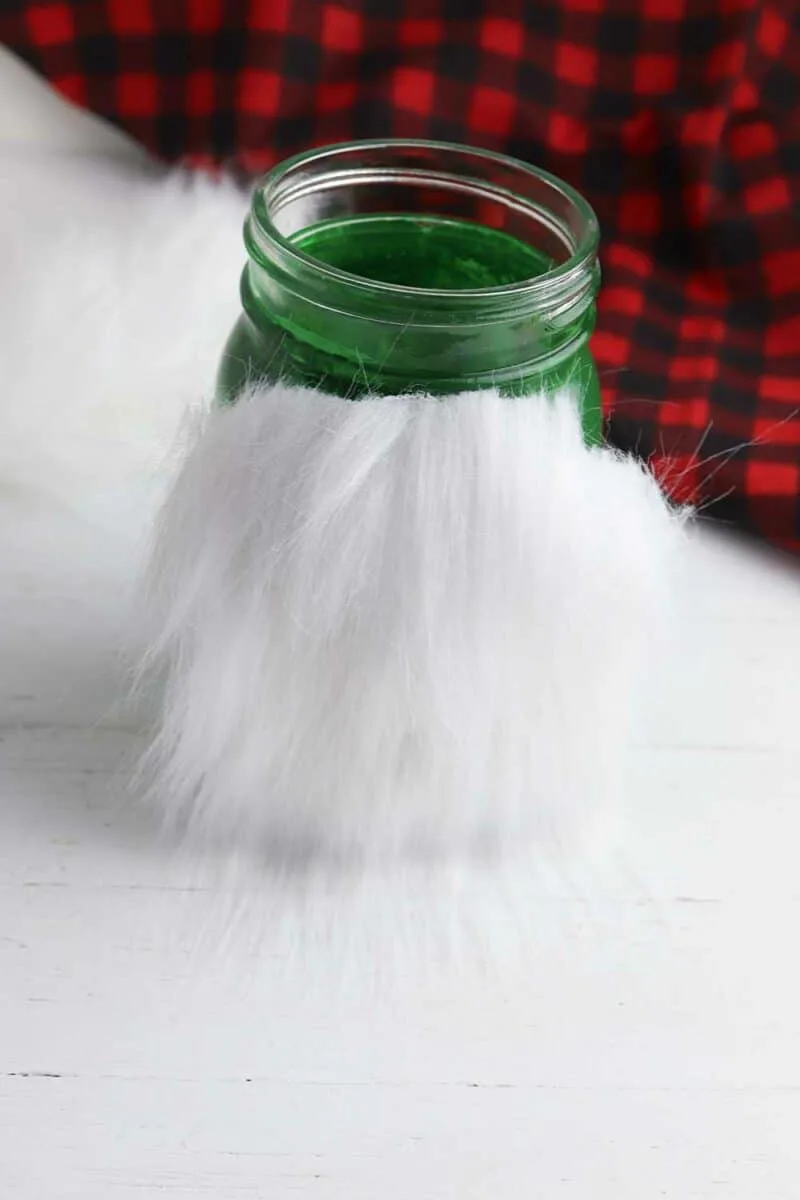
Paint the mason jar and allow the paint to dry completely. You can use acrylic craft paint for this project. I also have a tutorial on how to chalk paint mason jars if you’d like a thick, matte finish.


Step 2
Place the jar on the back of the piece of fur and trace around the sides of the jar onto the fur.

Cut out the fur to fit on the front of the jar. Make sure to push the front of the fur to the side as you cut the back piece to avoid cutting the fur fringes too short.
Use the hot glue gun to attach the fur to the front of the jar.

Step 3
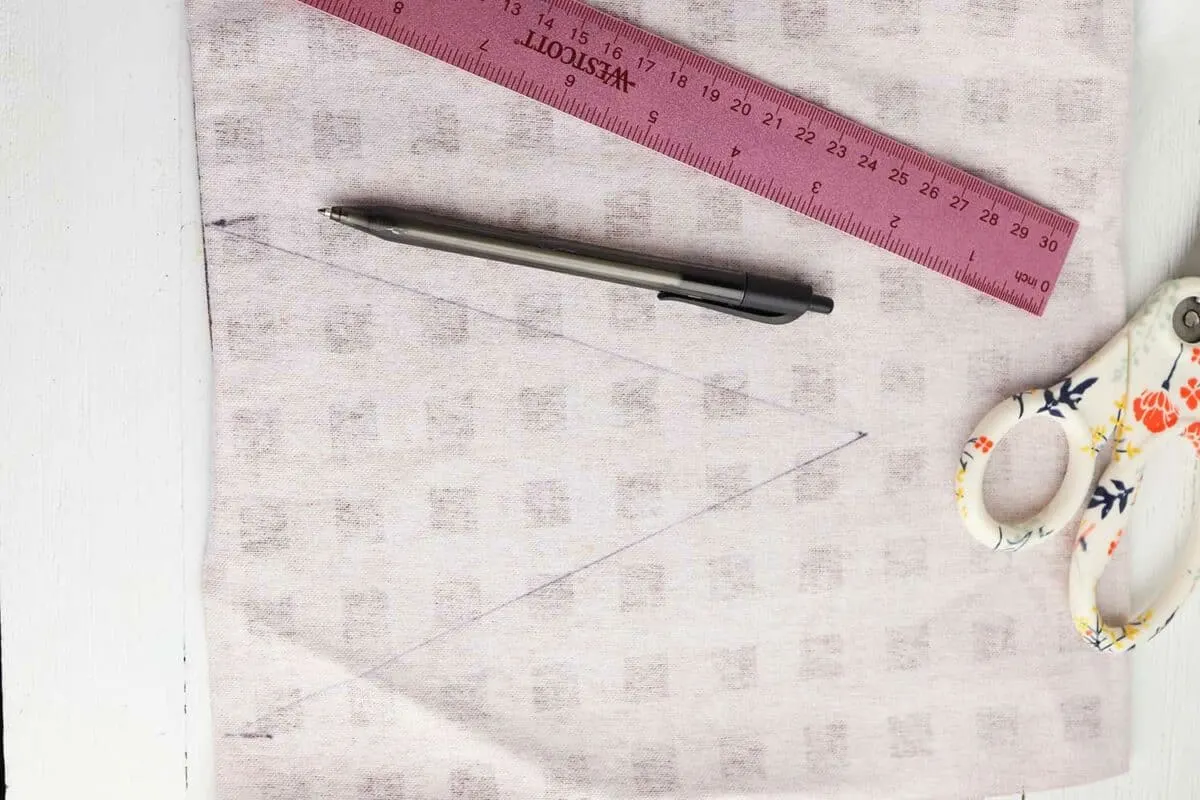
To make the hat, place the top of the jar on the edge of the fabric. Measure one inch from each side of the jar, placing a mark on the back of the fabric with a pen.
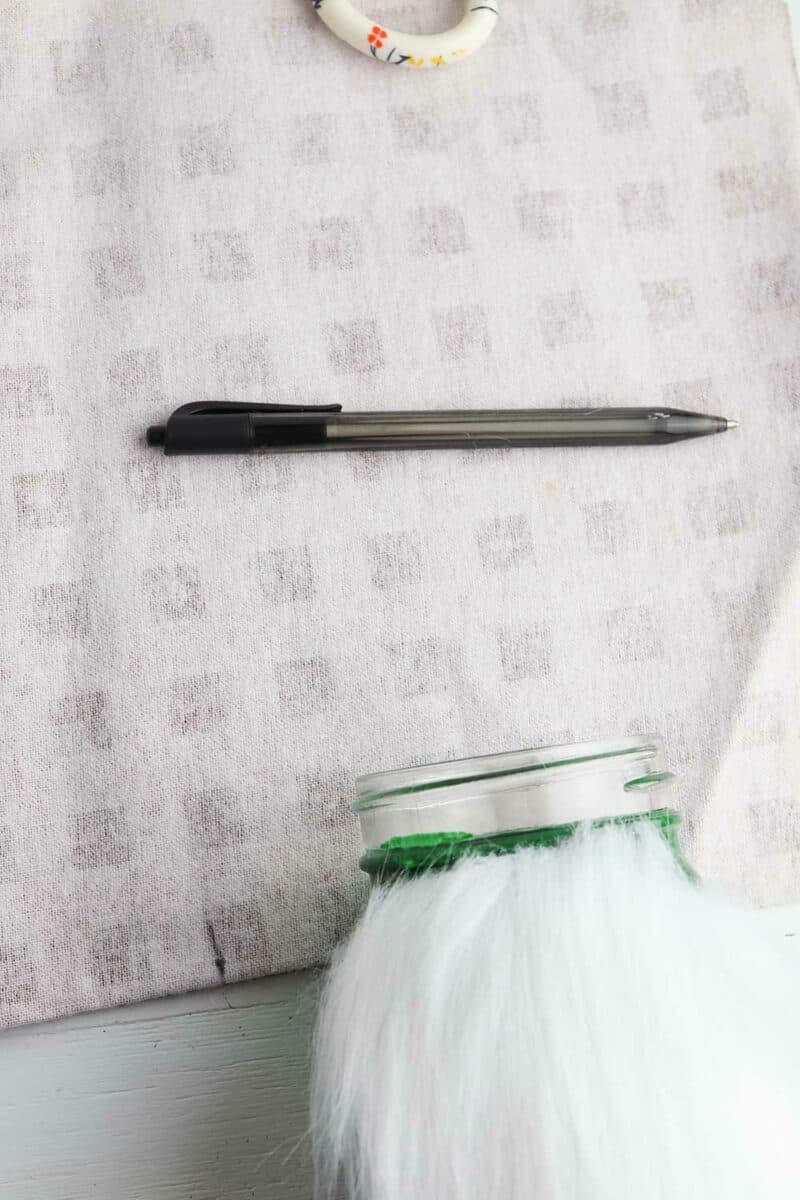
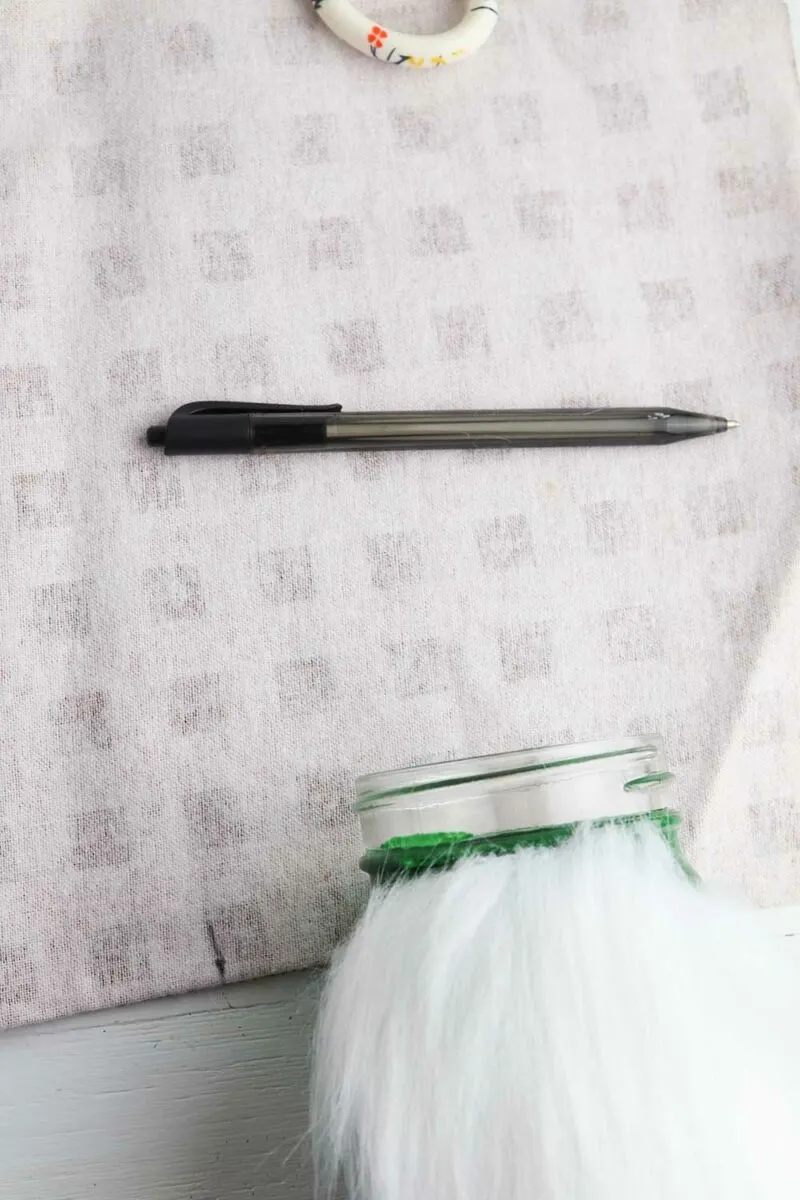
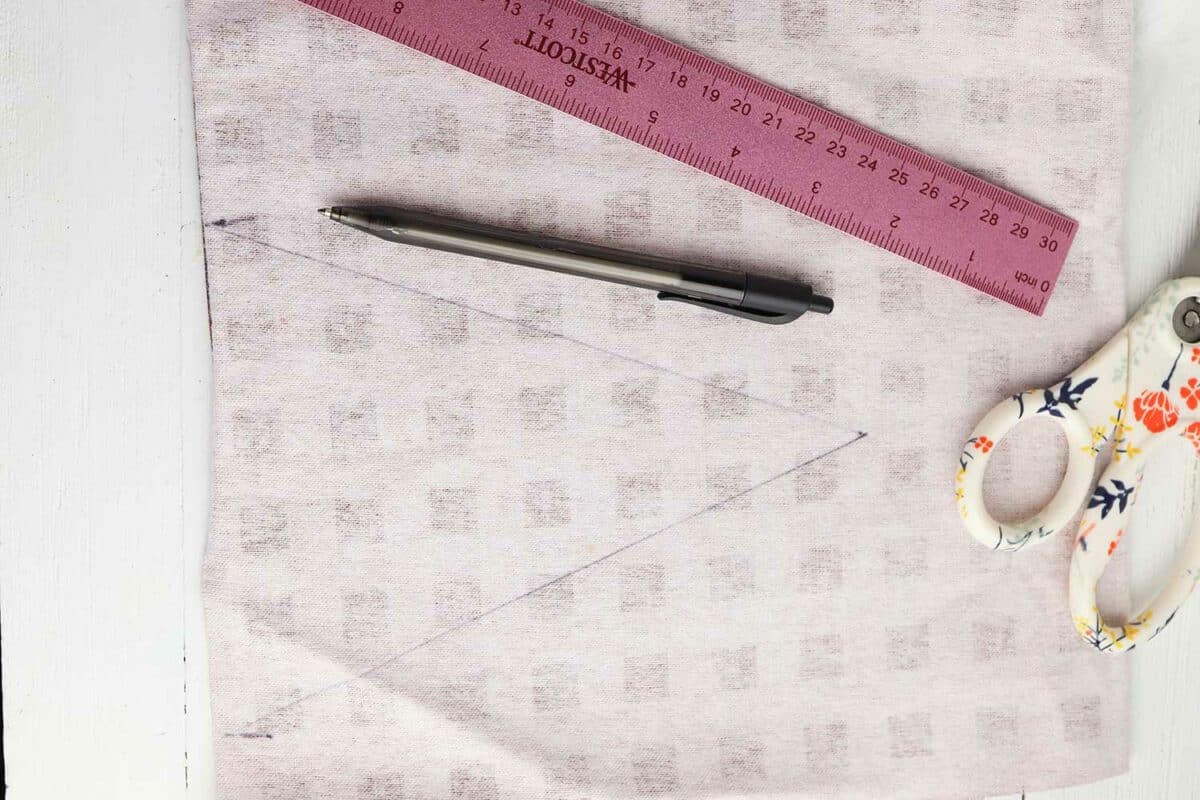
Find the center of the fabric between the two marks. Use a ruler to draw a triangle shape on the fabric from each mark, meeting in the middle. Cut two triangles of this size from the fabric.
Step 4
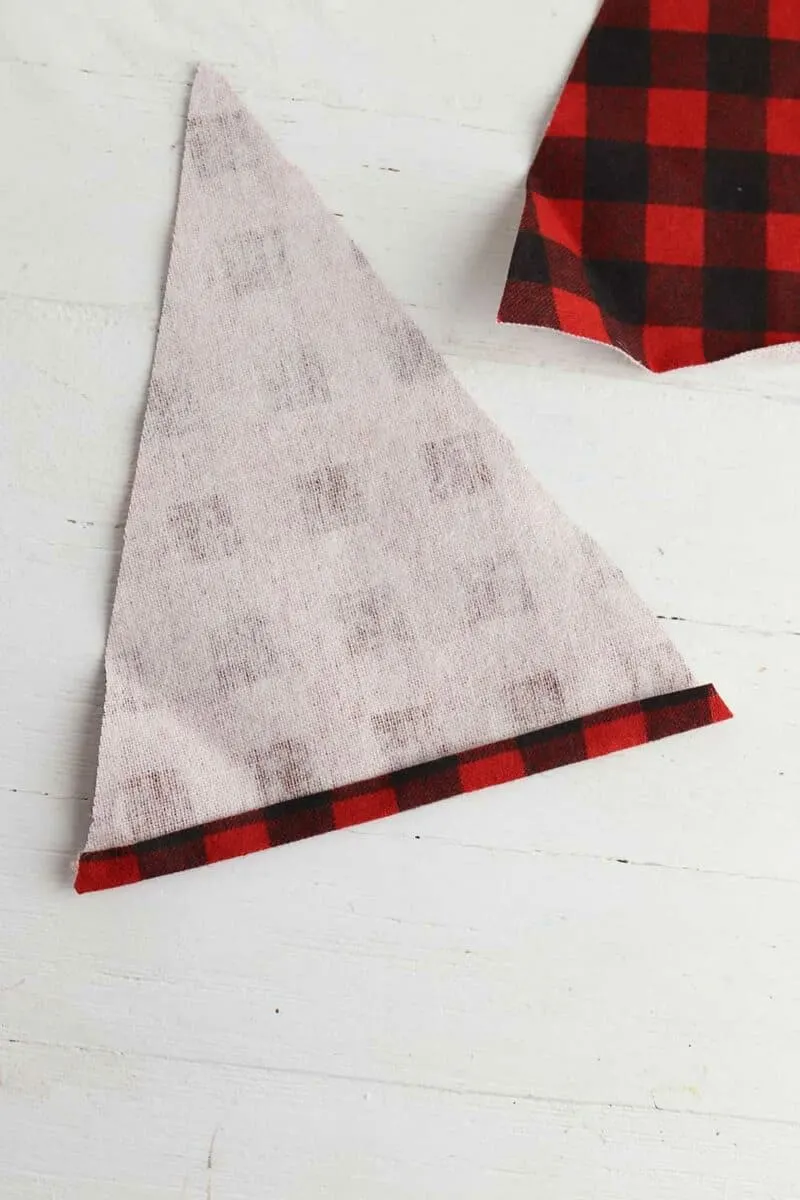
Use the hot glue gun to create a hem on the bottom of each of the fabric pieces by folding it over and attaching the end with glue.

Step 5
Place the two triangles together with the patterned sides (right sides) facing each other. Glue the top two edges together with the hot glue gun and allow them to dry completely.
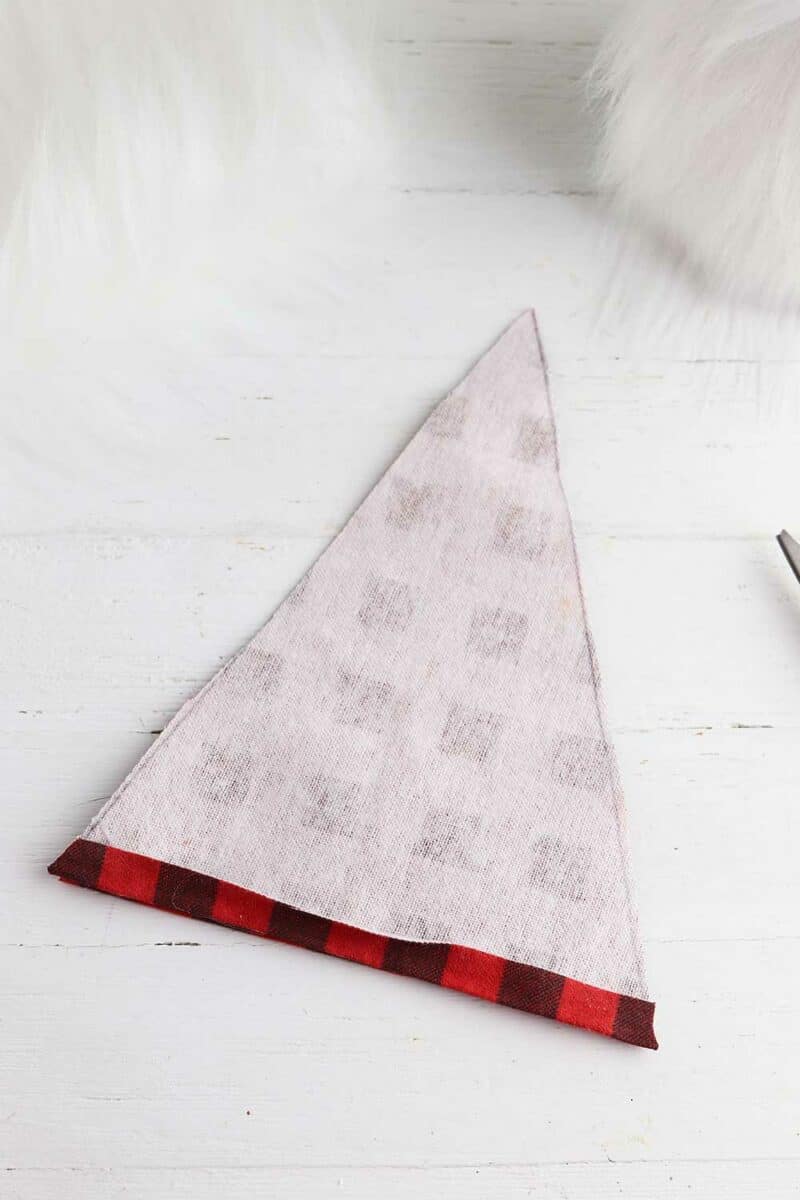

Flip the fabric right side out to create the hat. Use a pencil or skewer to push the tip of the hat out, if needed.
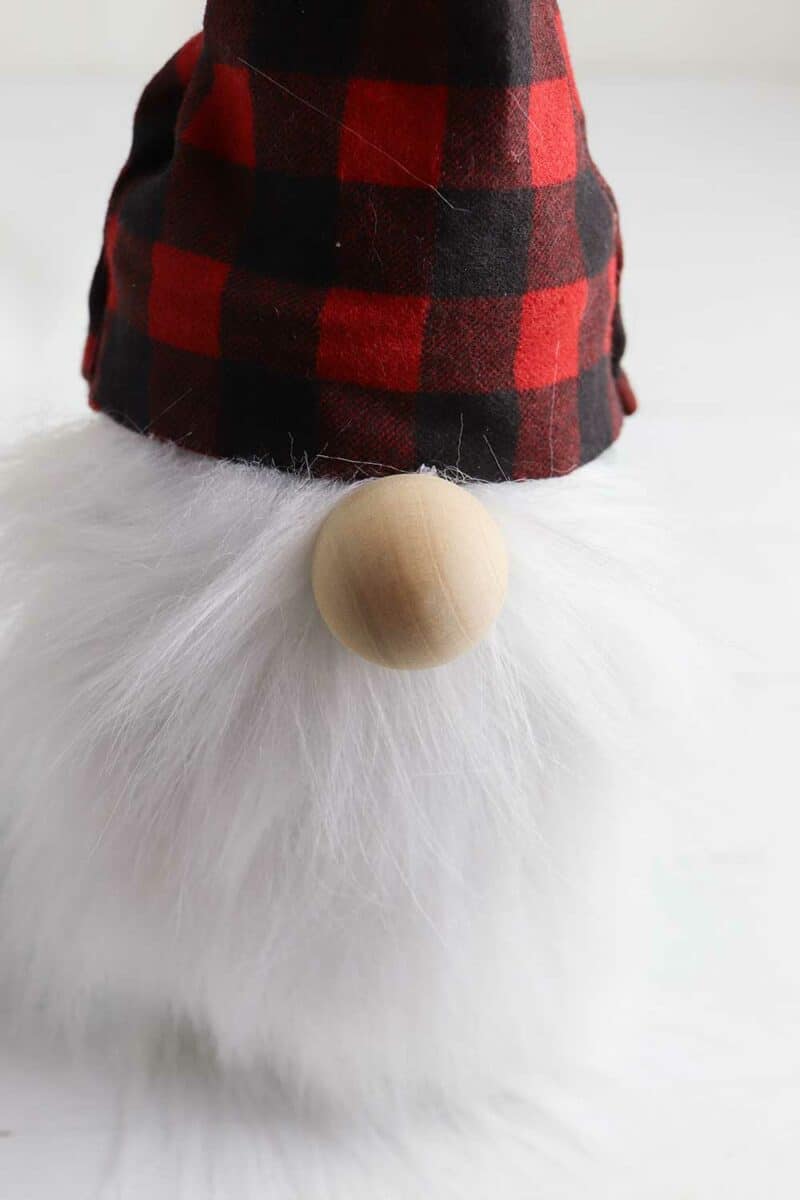
Step 6
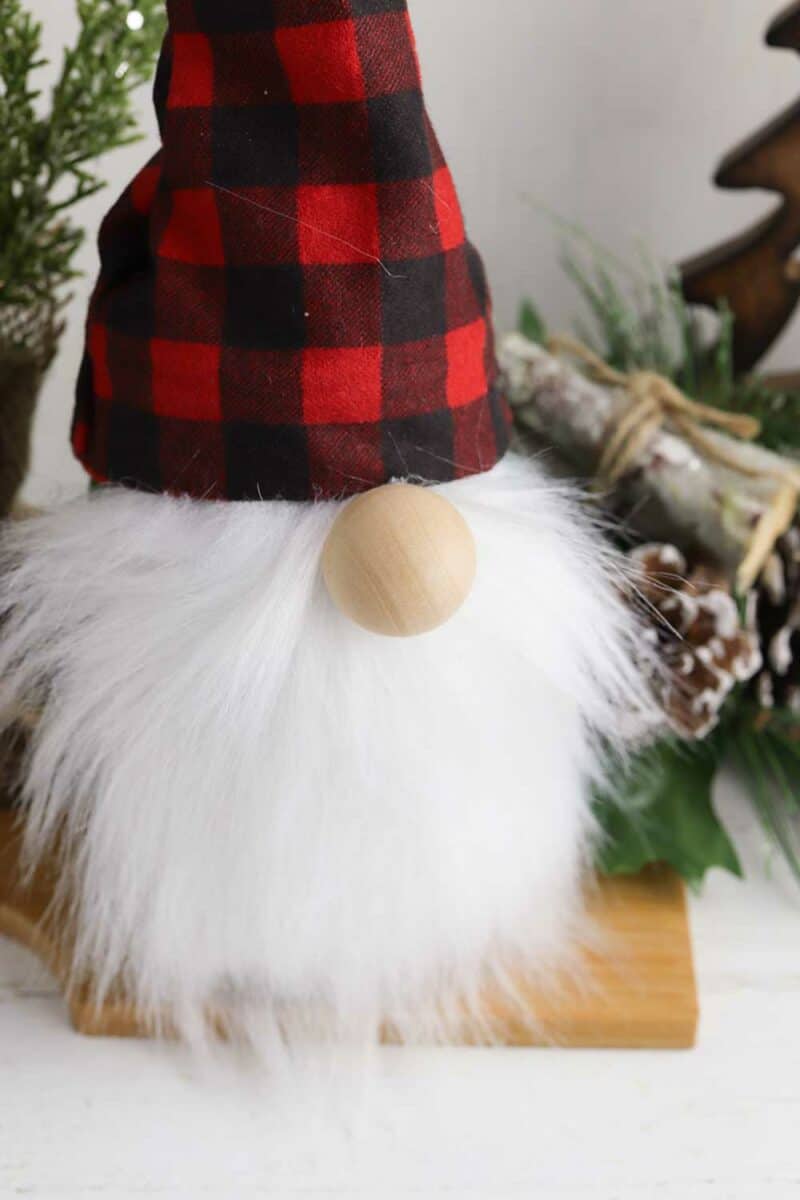
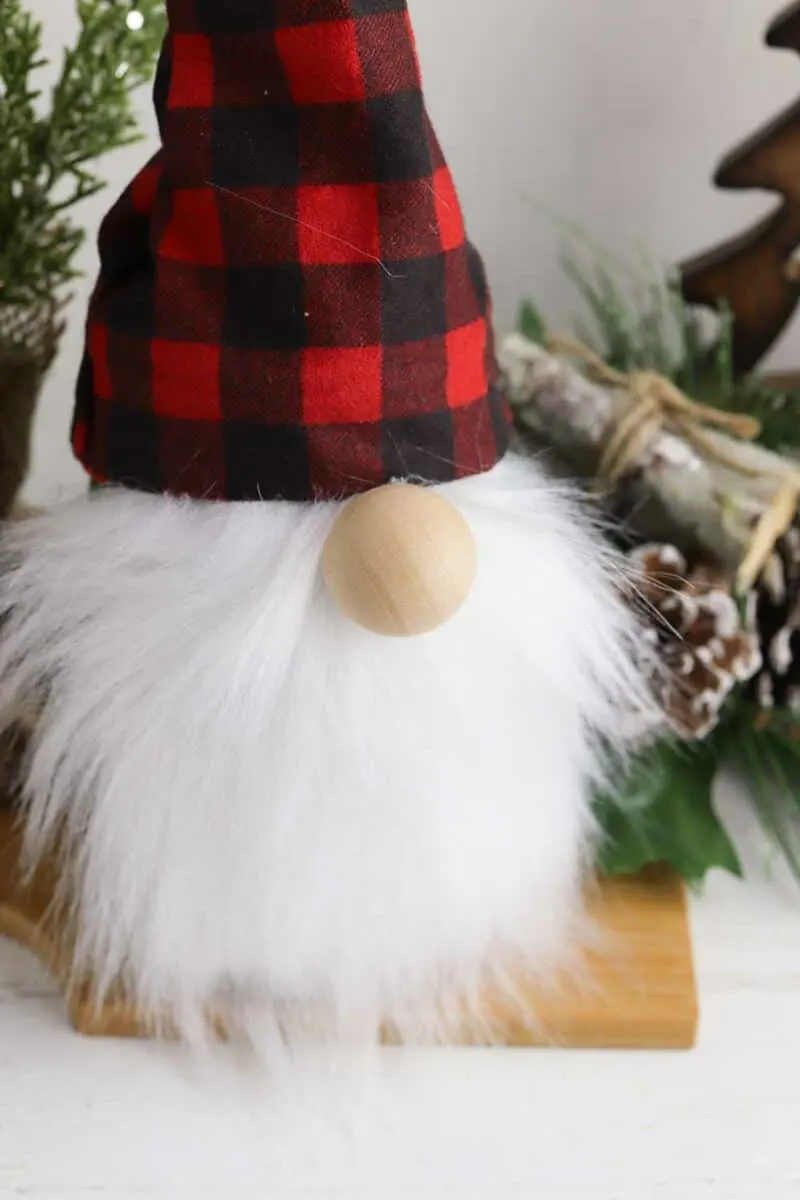
Wrap the hat around the top of the jar and secure it with glue, if needed.
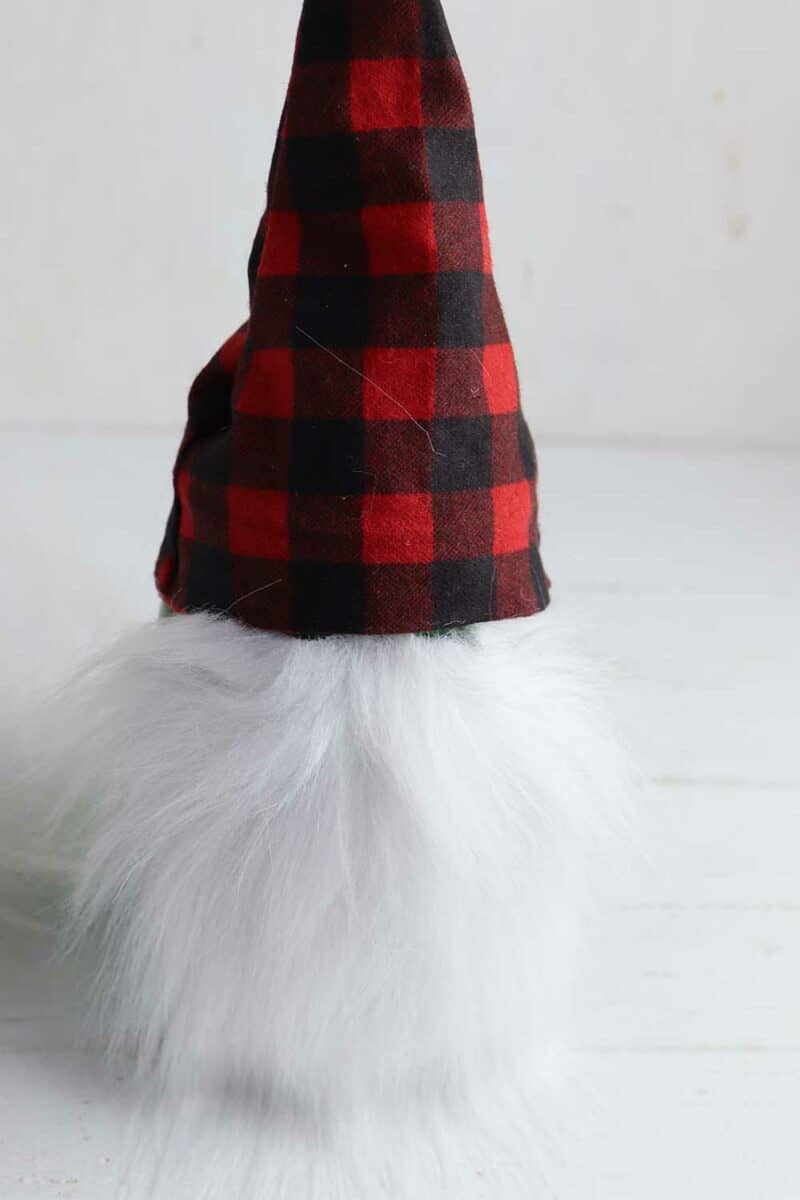

Glue the wood bead directly under the hat to create the gnome’s nose.

Do you love mason jar crafts? Me, too! Check out my other ideas, such as these Mason Jar Christmas lanterns. Or this simple Christmas centerpiece.
This elegant DIY Poinsettia mason jar topper is beautiful to put onto of a canning jar gift!


2024 New Years Coloring Pages
Get these cute gnome coloring pages that are the perfect activity on New Years Eve!
10 unique designs give hours of family-friendly fun while celebrating!
Only available in our Single Girls DIY library!
If you want to bookmark this easy mason jar gnome craft, be sure to Pin It!

Nicole L
Friday 15th of December 2023
So cute! I have an aunt who really likes Gnomes. I could totally do this for part of her Christmas gift.
Kimberly
Tuesday 19th of December 2023
Awesome!
Kristy
Tuesday 13th of December 2022
Why did you paint the Mason jar? In the pics I can't see any of the color showing through
Kimberly
Tuesday 13th of December 2022
So that it looked like clothing from the backside. True, you won't see it much from the front. But you will see it on the backside, which is not shown in pictures.