


These easy DIY gnome ornaments are cute Scandinavian Christmas decorations you can add to your home this year!
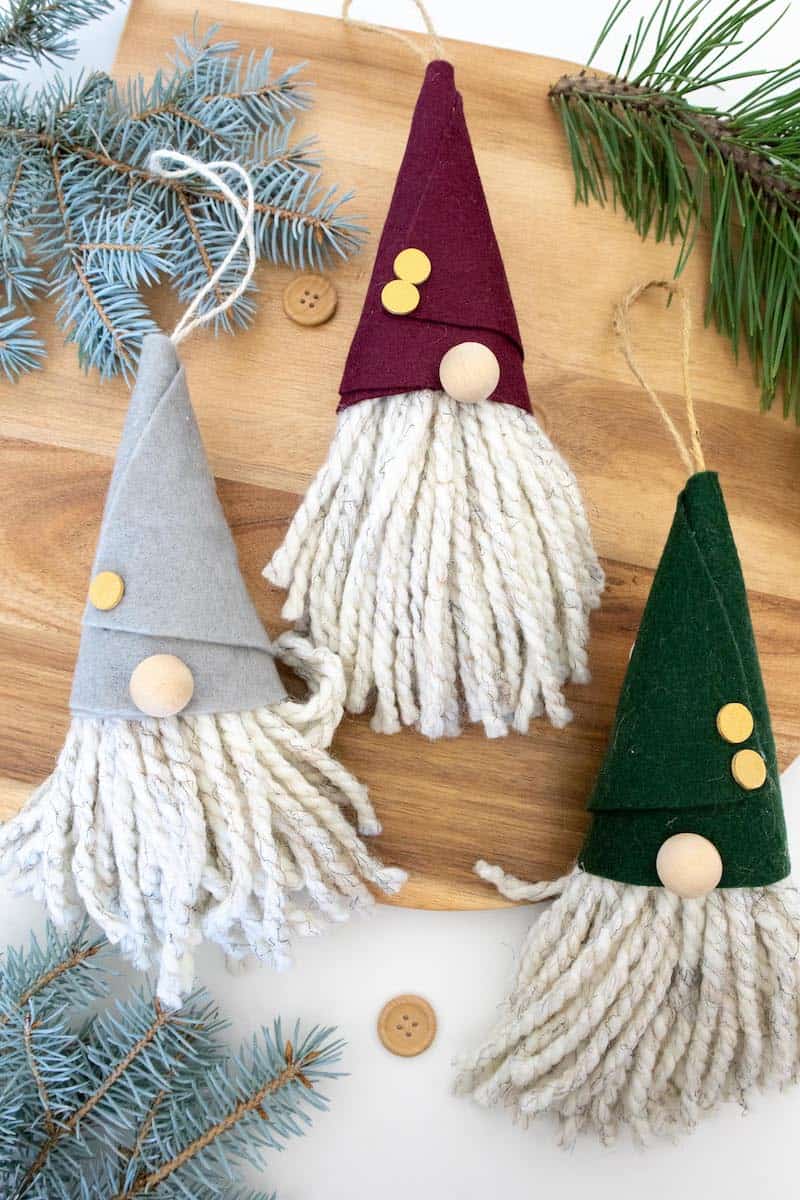
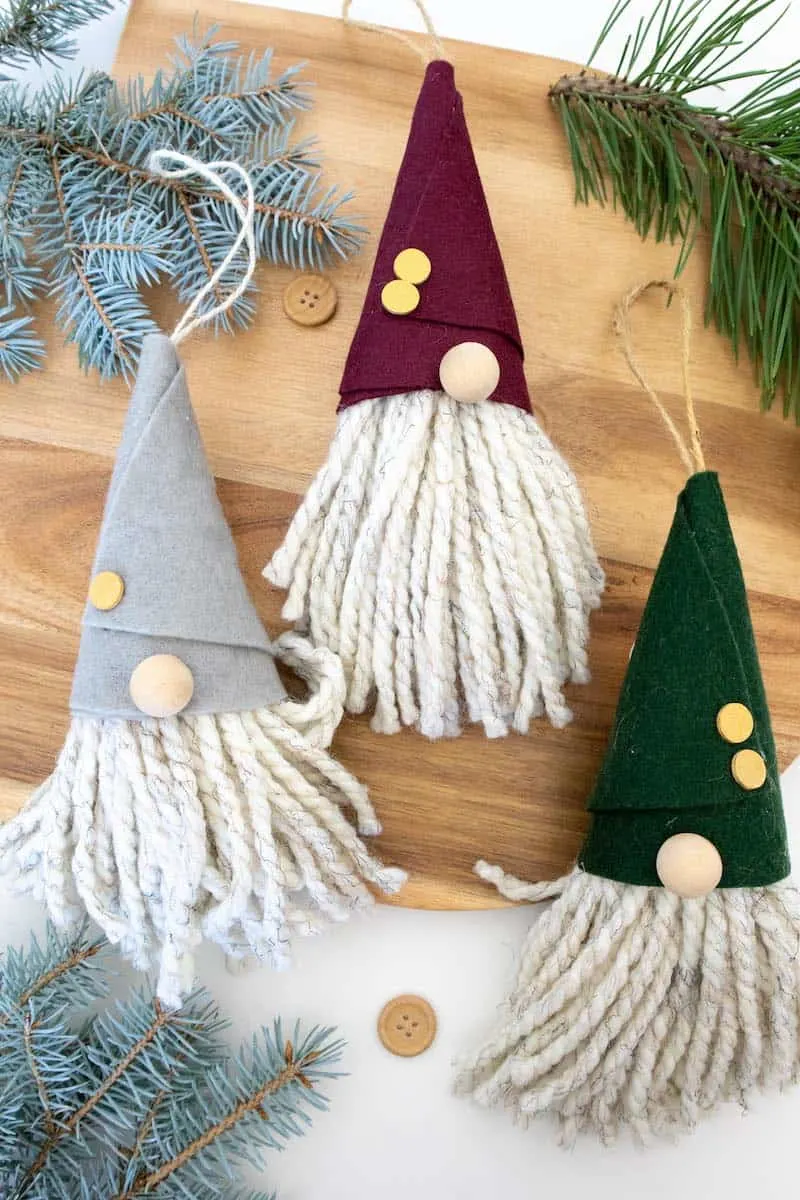
When I found out how simple it was to make a gnome ornament, I knew I had to make a few (or a dozen, really!) to add to my home this year! Gnomes are a hot trend for the holidays right now. And when you can make them with just felt, yarn and hot glue, why wouldn’t you add these to your tree?
This DIY tutorial is very similar to my DIY gnome wine bottle topper. And I love that! The materials are almost the same, so you could make both the wine bottle topper and these ornaments with the same craft supplies!

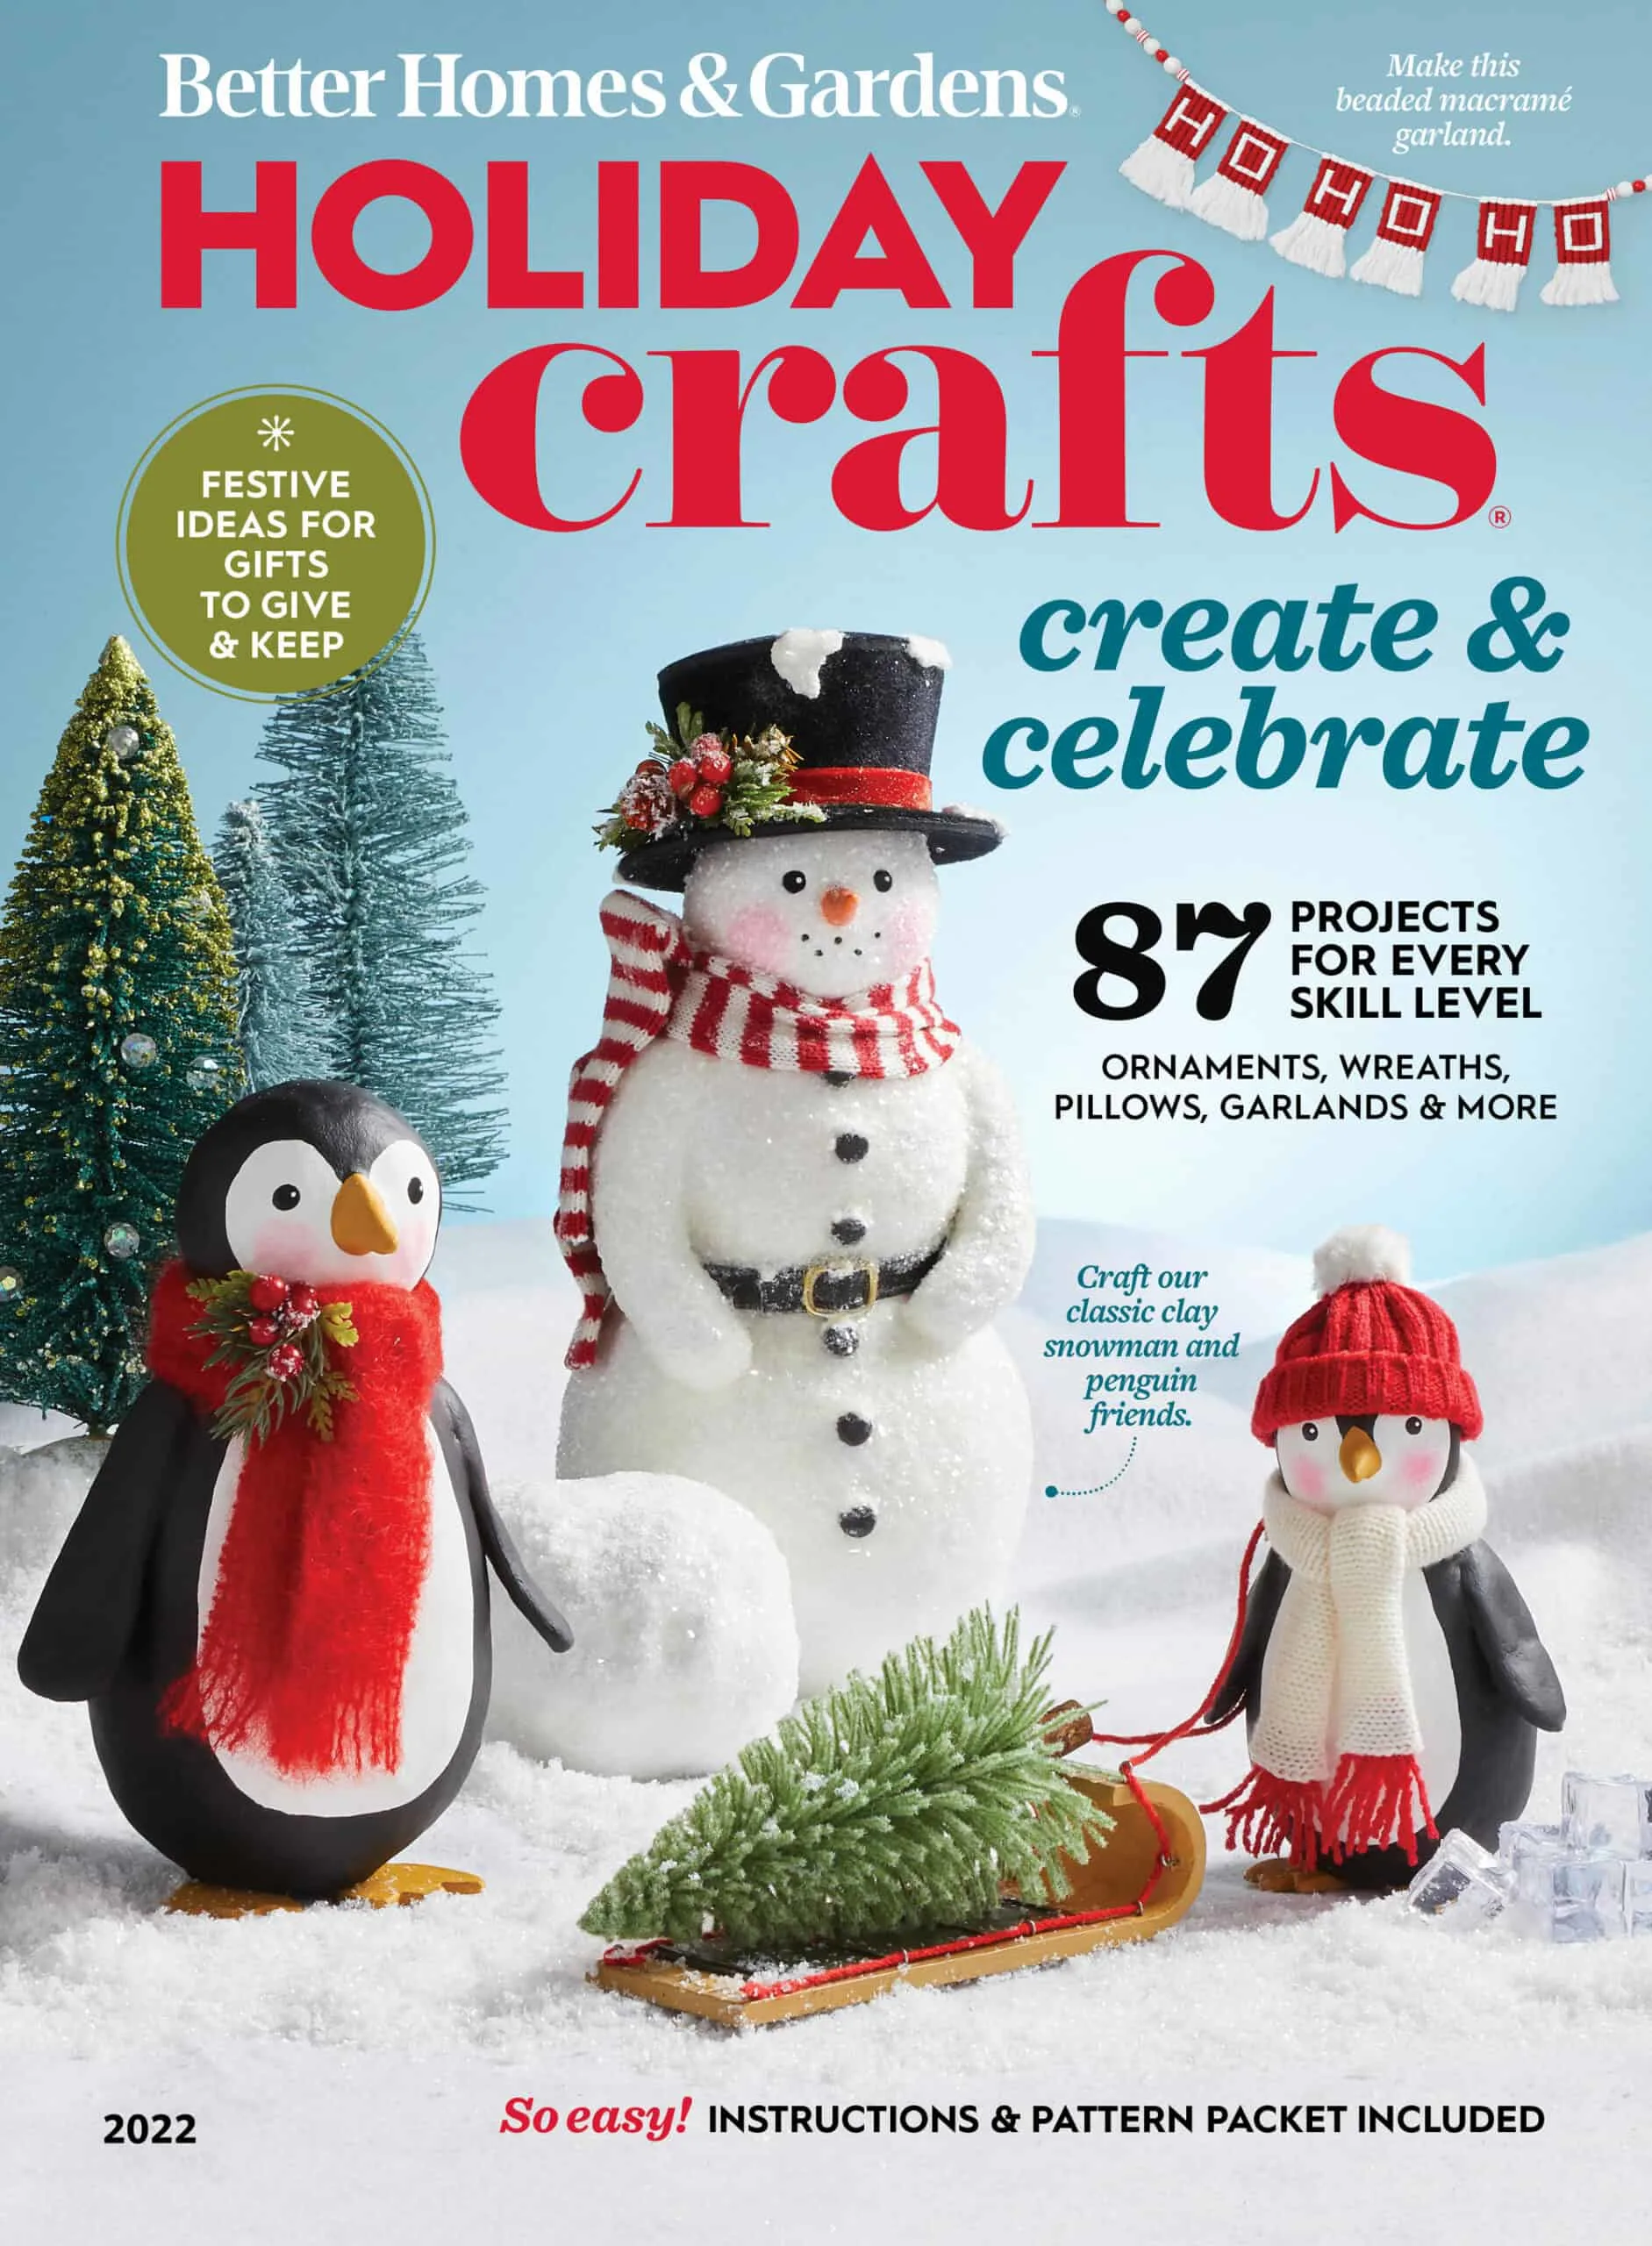
As Seen in Better Homes & Gardens Holiday Crafts 2022 Magazine!
My ornaments are featured on Page 91 of this popular DIY magazine!


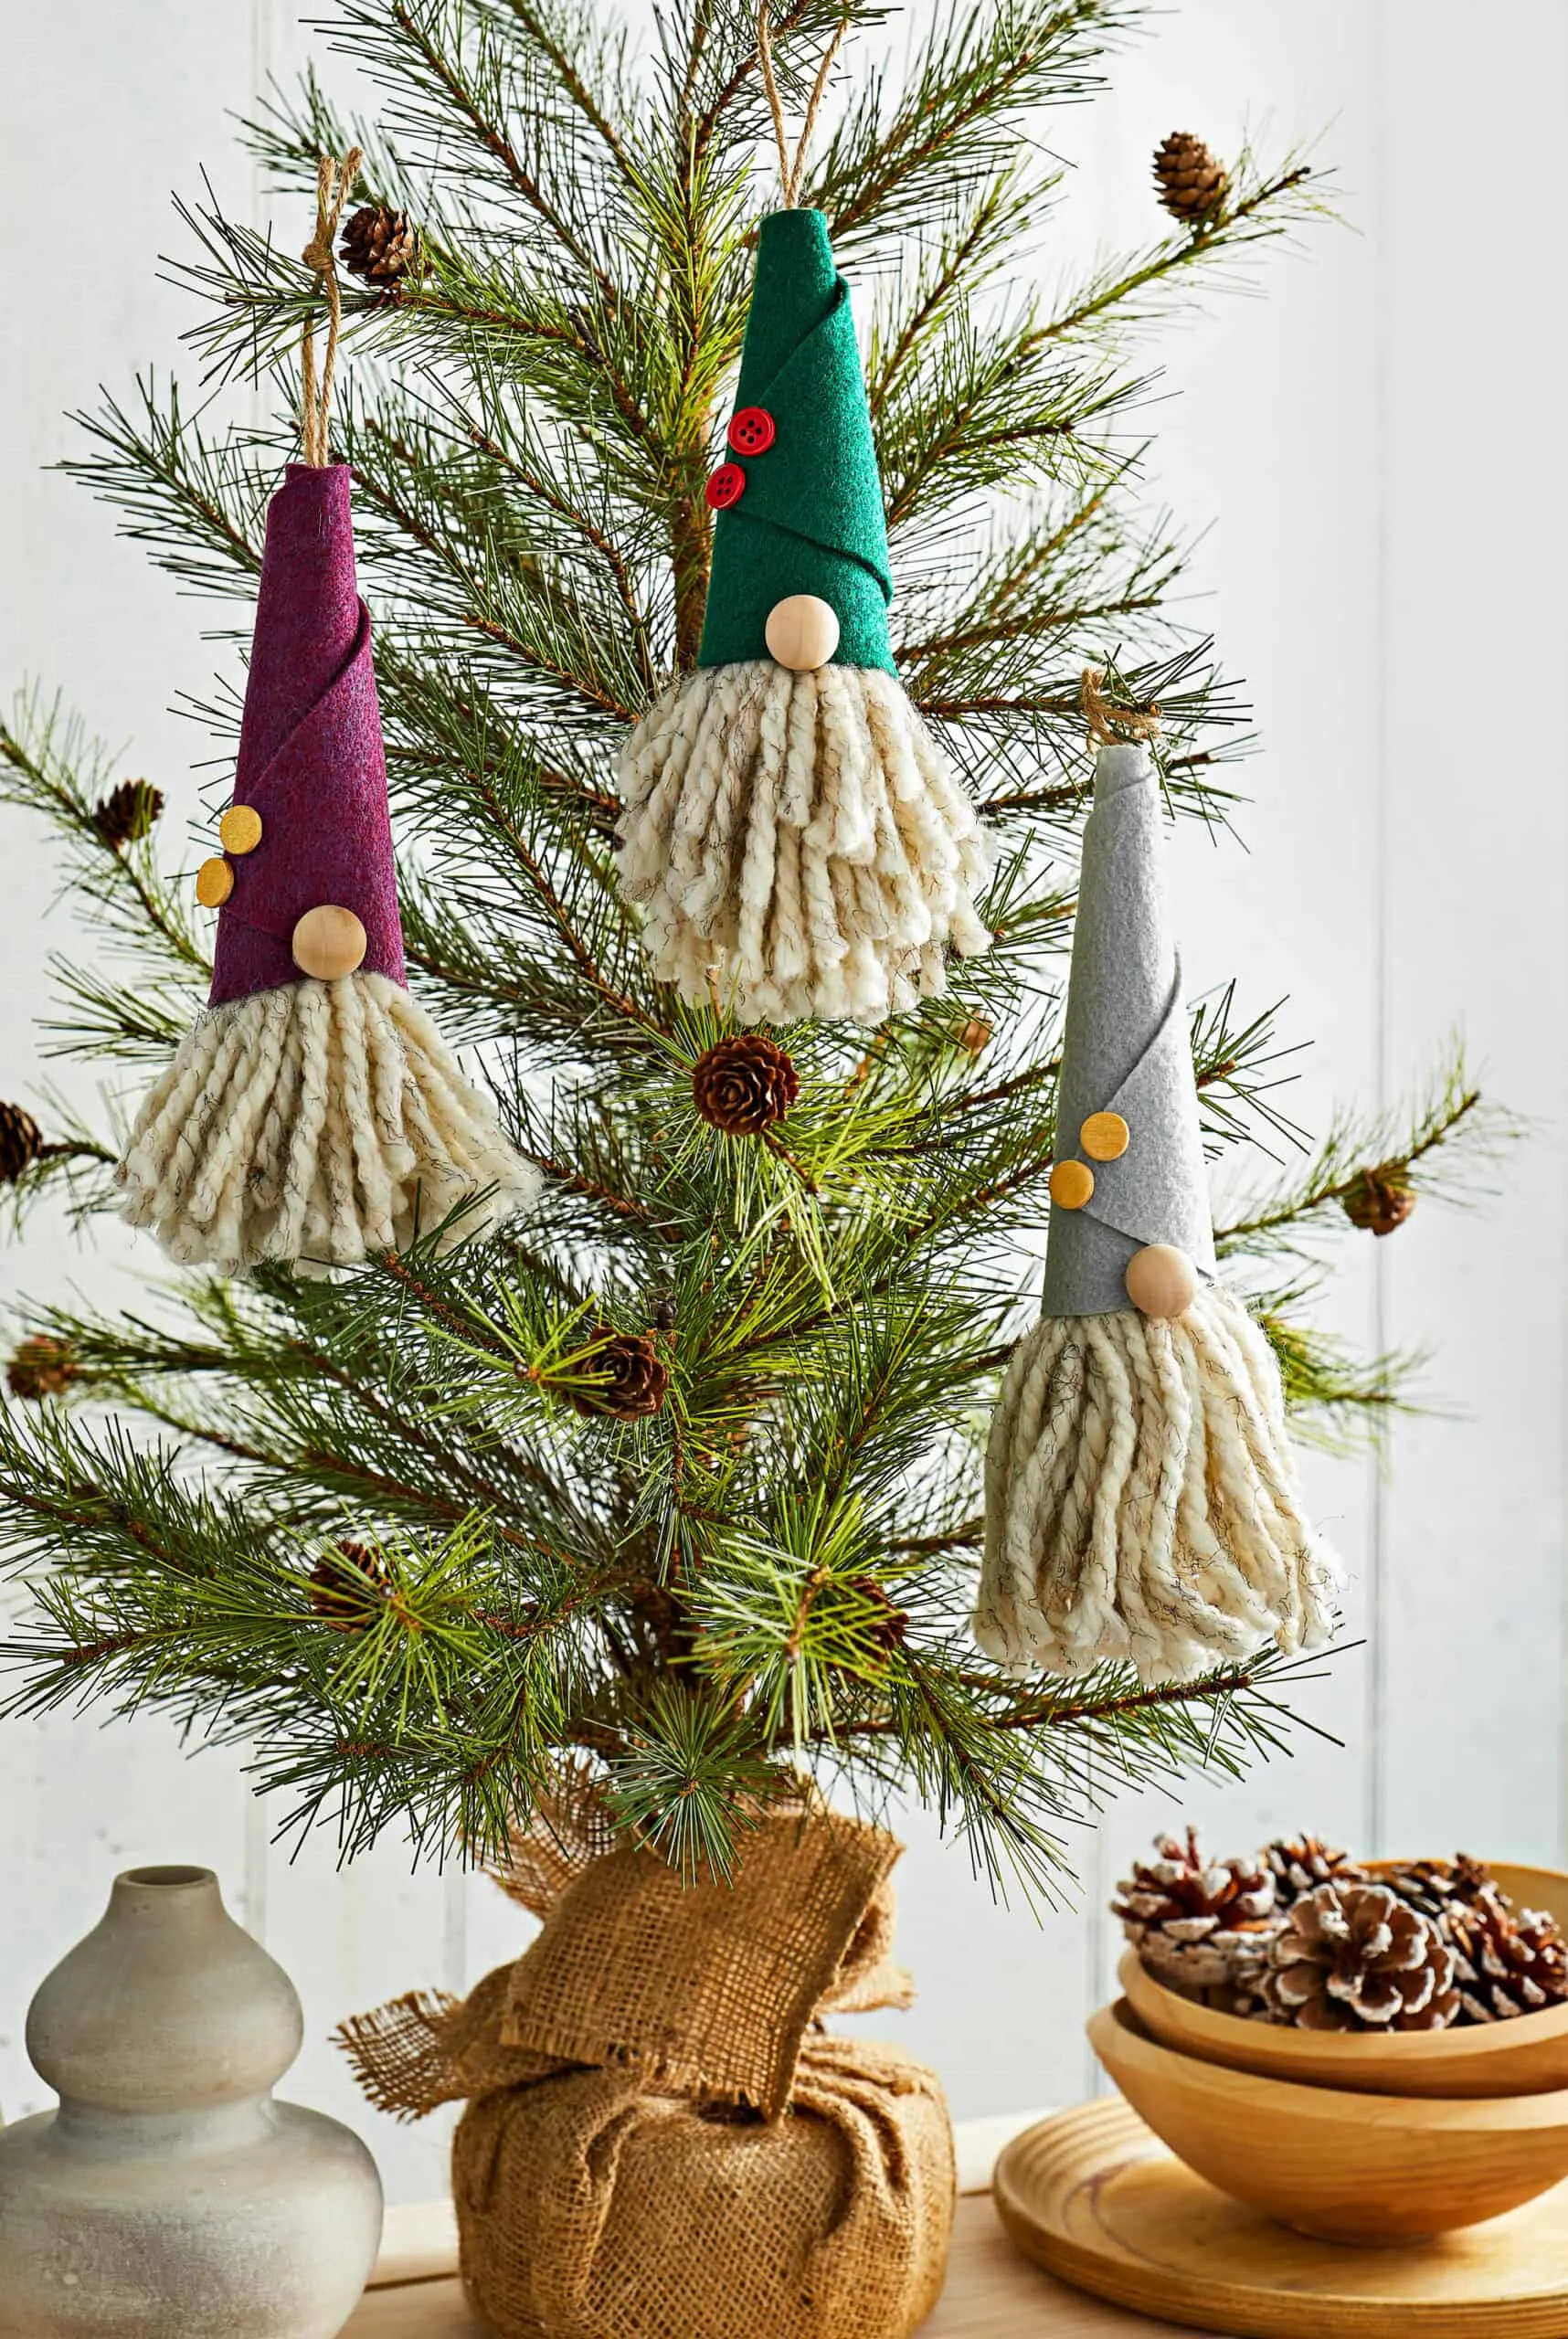
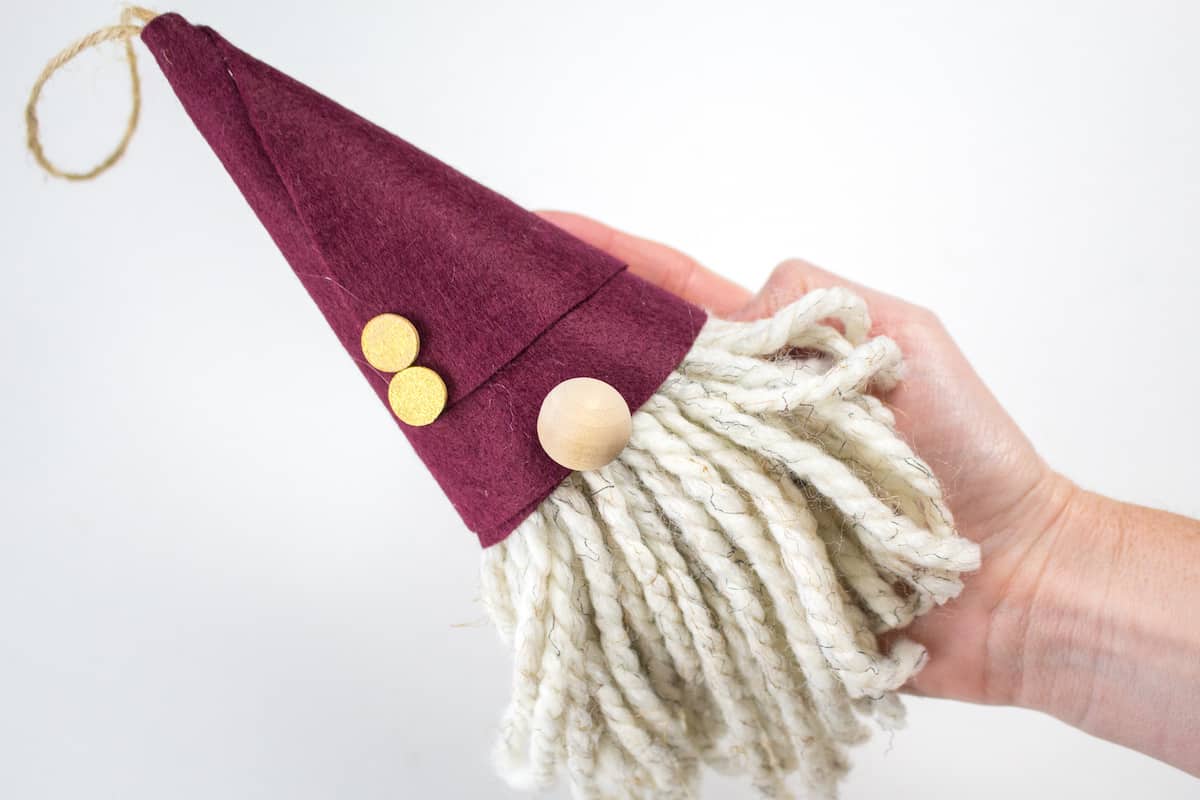
These gnome Christmas ornaments are oversized. As you can see in the instructions photos, they are bigger than the palm of a hand! So you can use them in a variety of other ways, such as door knob hangers, present toppers, hanging from the center of a wreath on the front door, etc.
You might also like my easy DIY Grinch Gnome, too!

How To Make a Gnome Ornament (No-Sew)
Supplies
- Free Printable Gnome Hat Pattern – click this link to download it!
- Wool-Ease Thick & Quick Yarn, Wheat
- Felt Sheets (I used maroon, forest green and grey)
- Fabric Scissors
- Twine, 3mm
- Wood ball, solid unfinished, ¾” diameter
- 2 small wood circle slices, ¼” diameter (or use 2 buttons)
- Hot glue gun with clear glue sticks
- DecoArt Extreme Sheen in 24K Gold
- Fine tip paintbrush


Directions
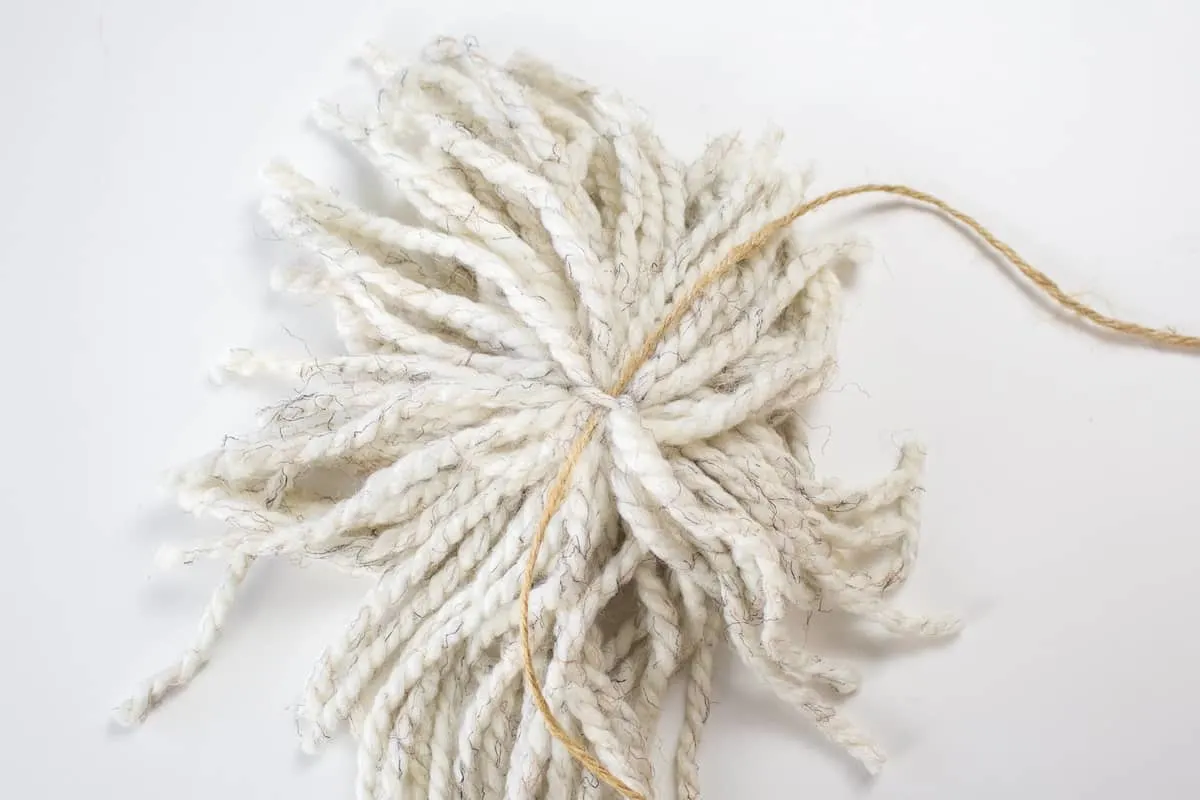
Take one end of the yarn and begin wrapping it loosely around the palm of your hand, approximately 50 times.

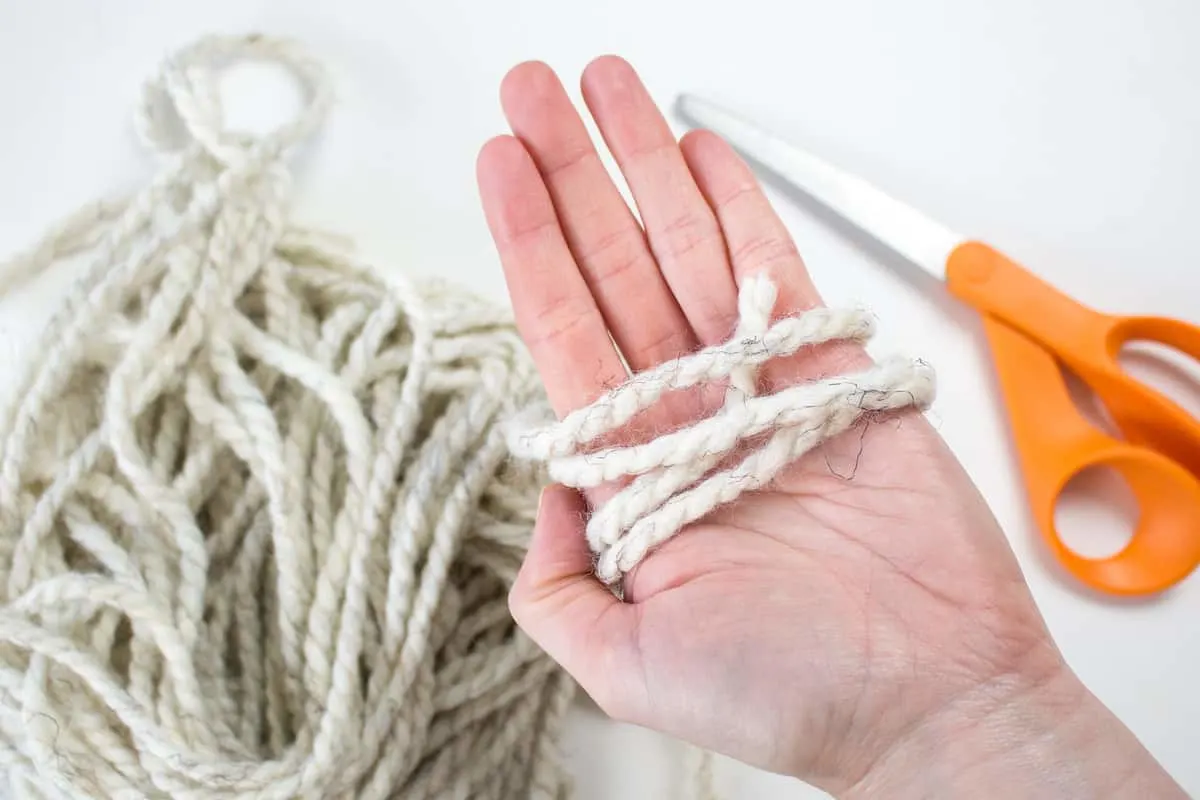


Cut the end of the yarn after wrapping around your hand.
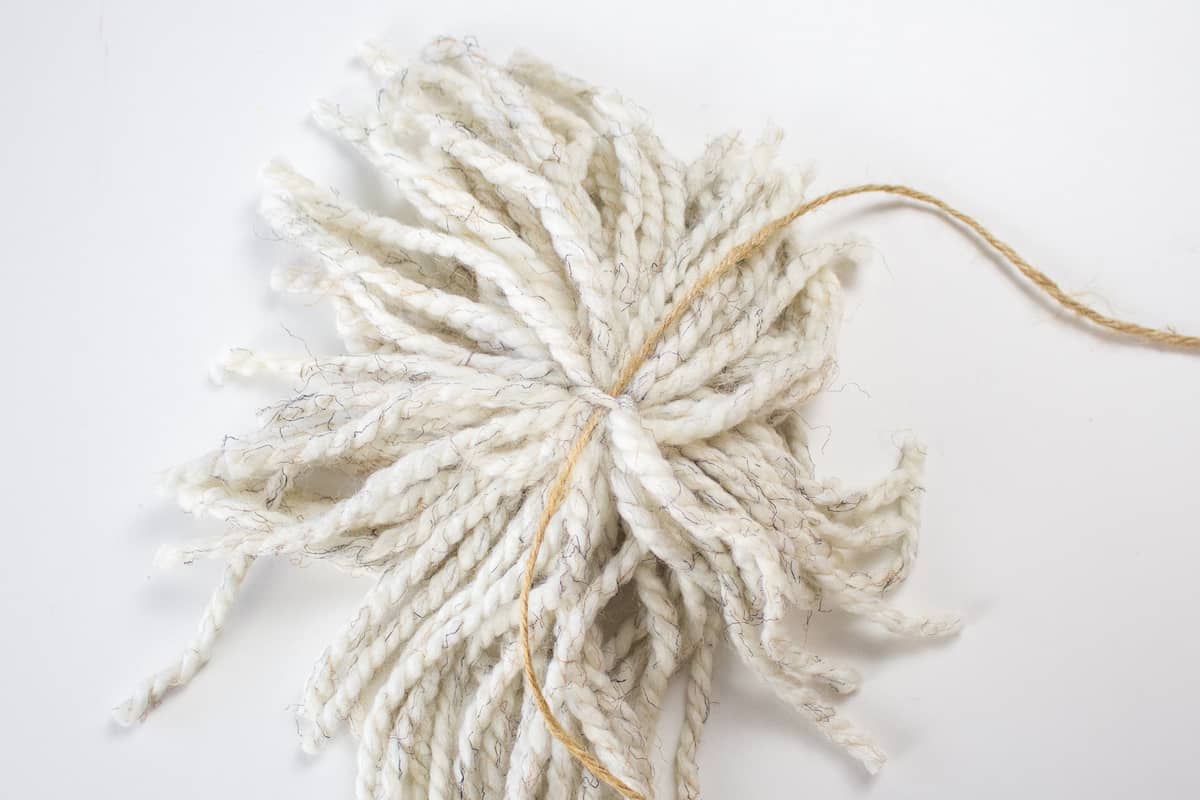
Now, cut a 5” long strand and secure that around the wrapped yarn, removing your hand. Tie the strand into a tight knot around the yarn that was wrapped around your hand.

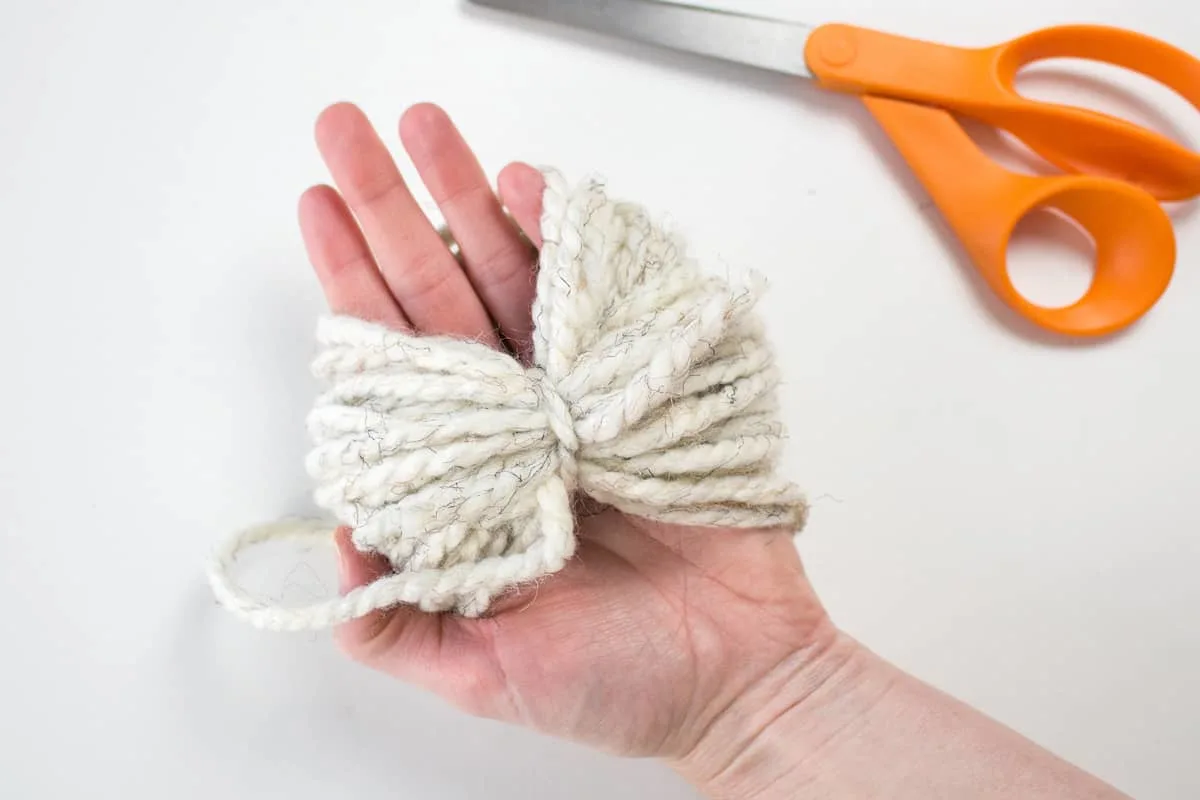
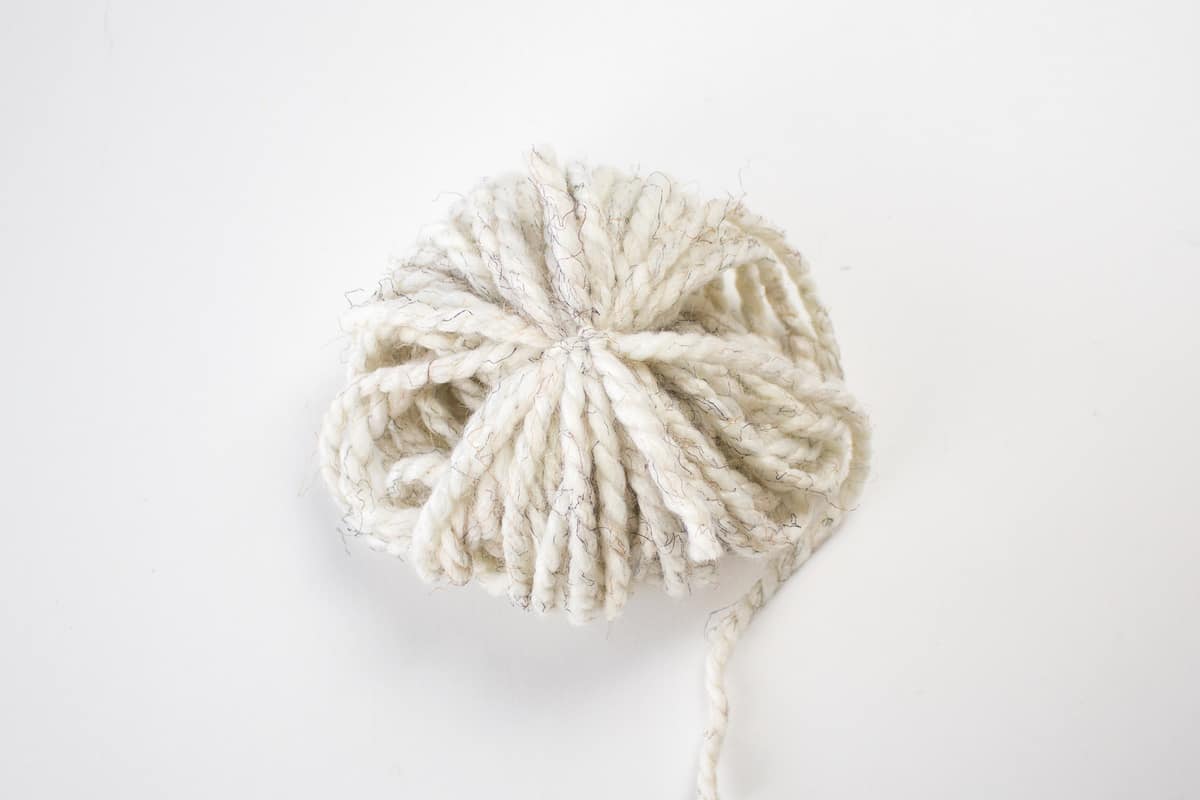

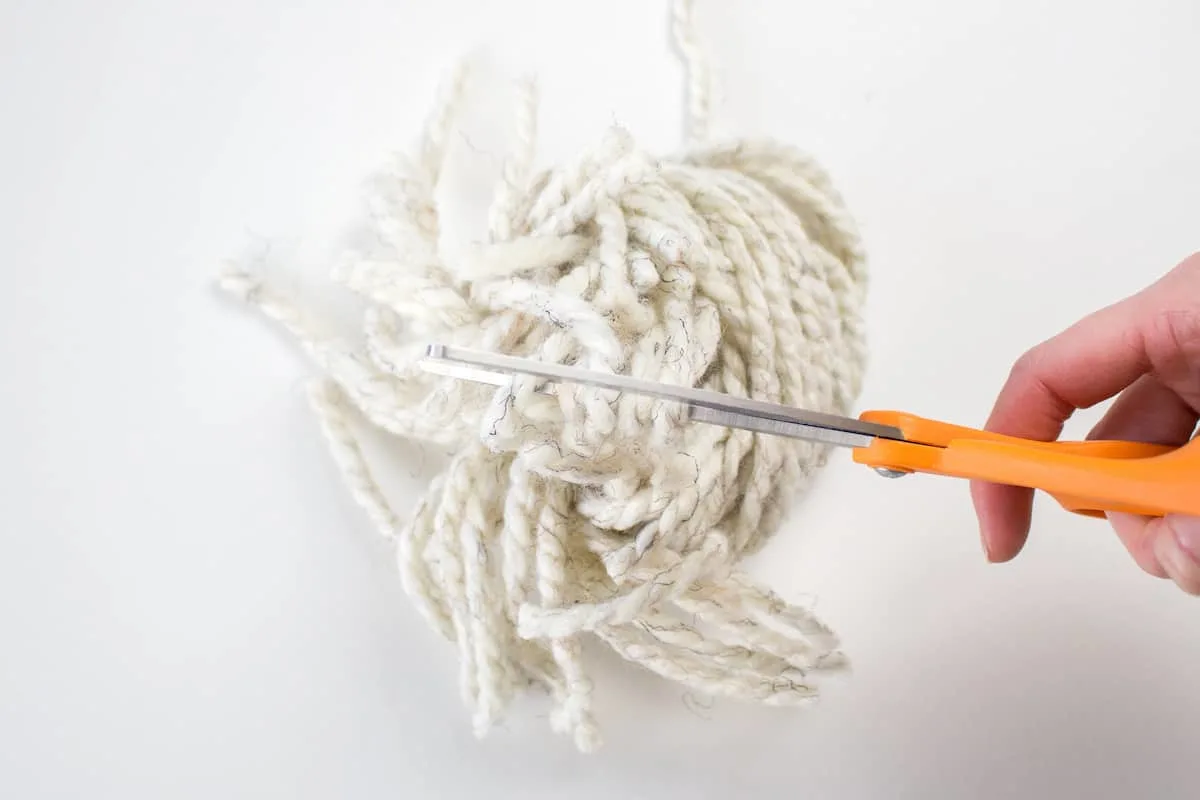
Cut the yarn loops to form pom-pom. Put pom-pom aside for the time being.

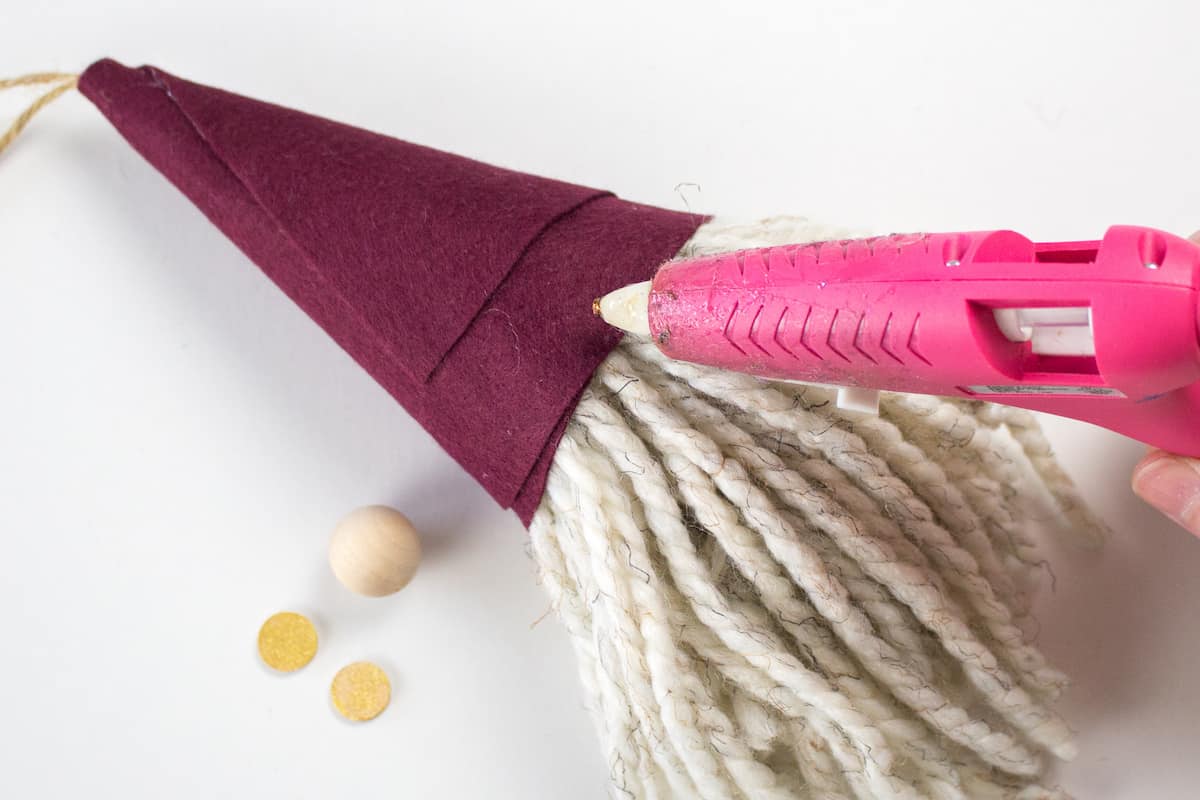
Paint the surface of the wood circles in gold paint. Let dry.


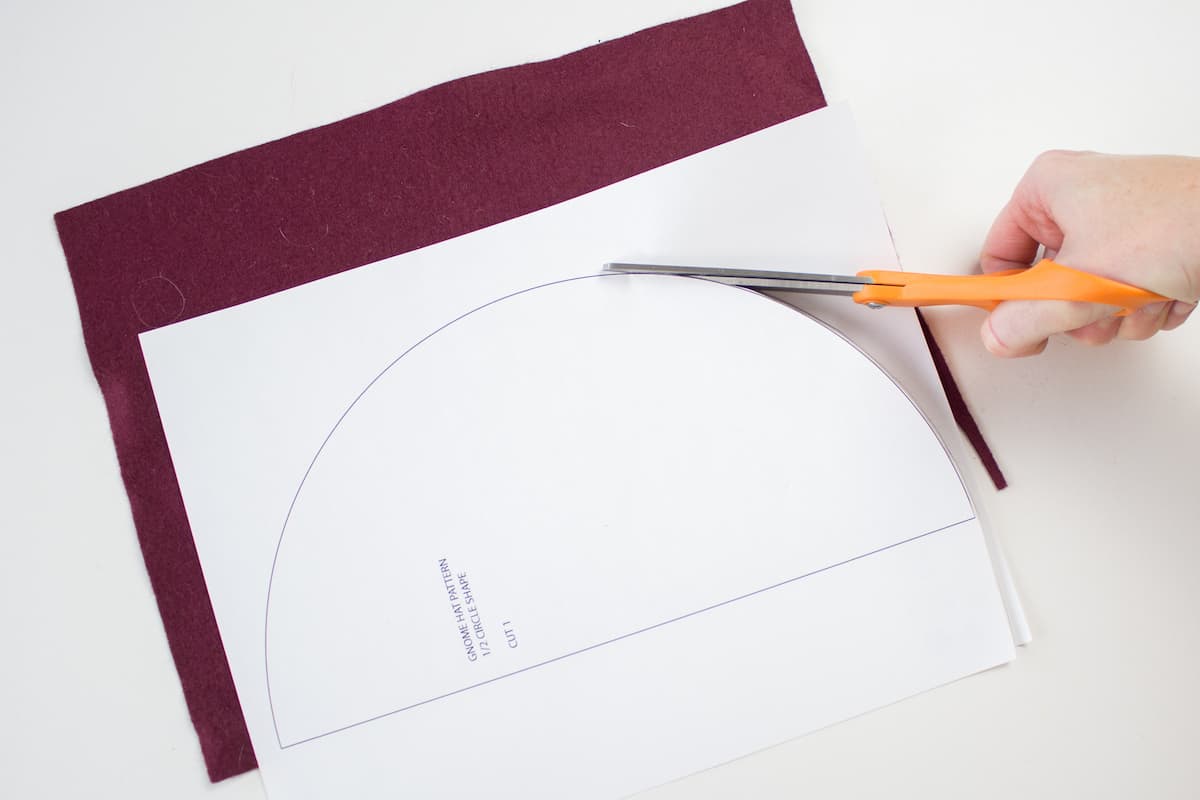
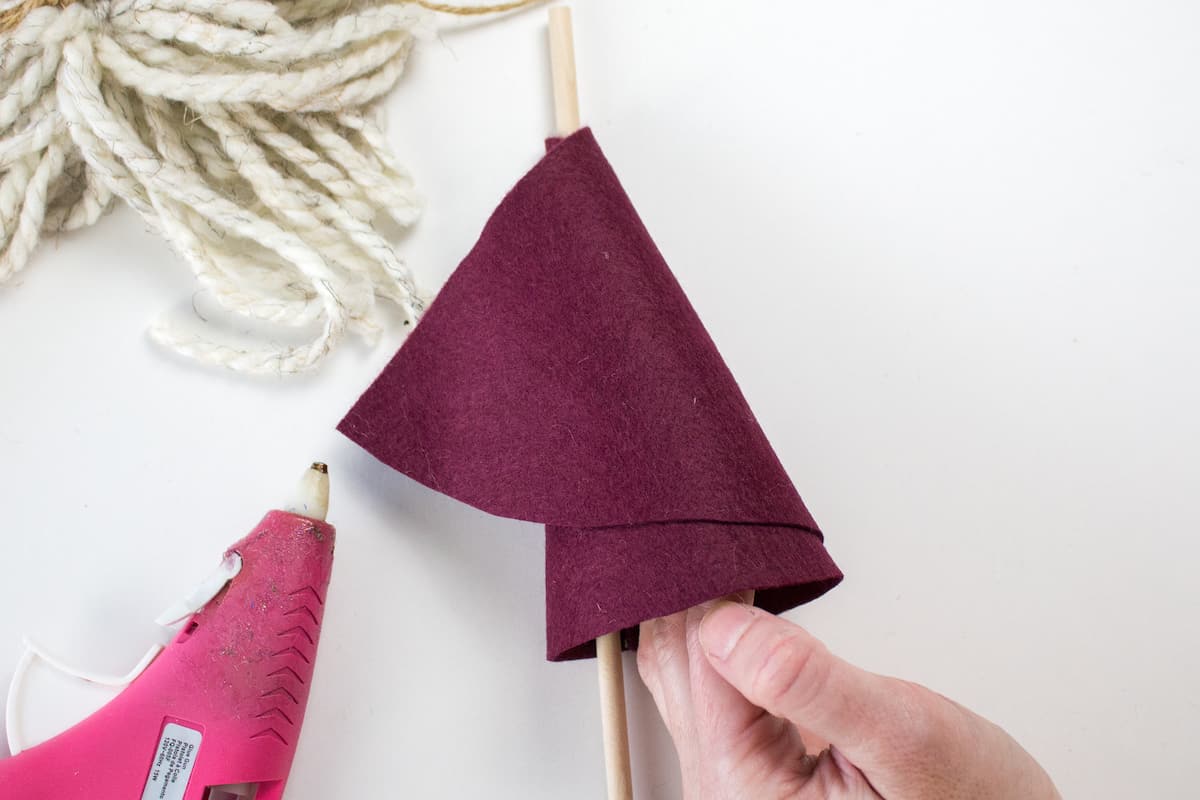
Print out the gnome hat pattern (the link to download is in the supplies list). Place the pattern on top of the felt sheet and cut along the solid line.

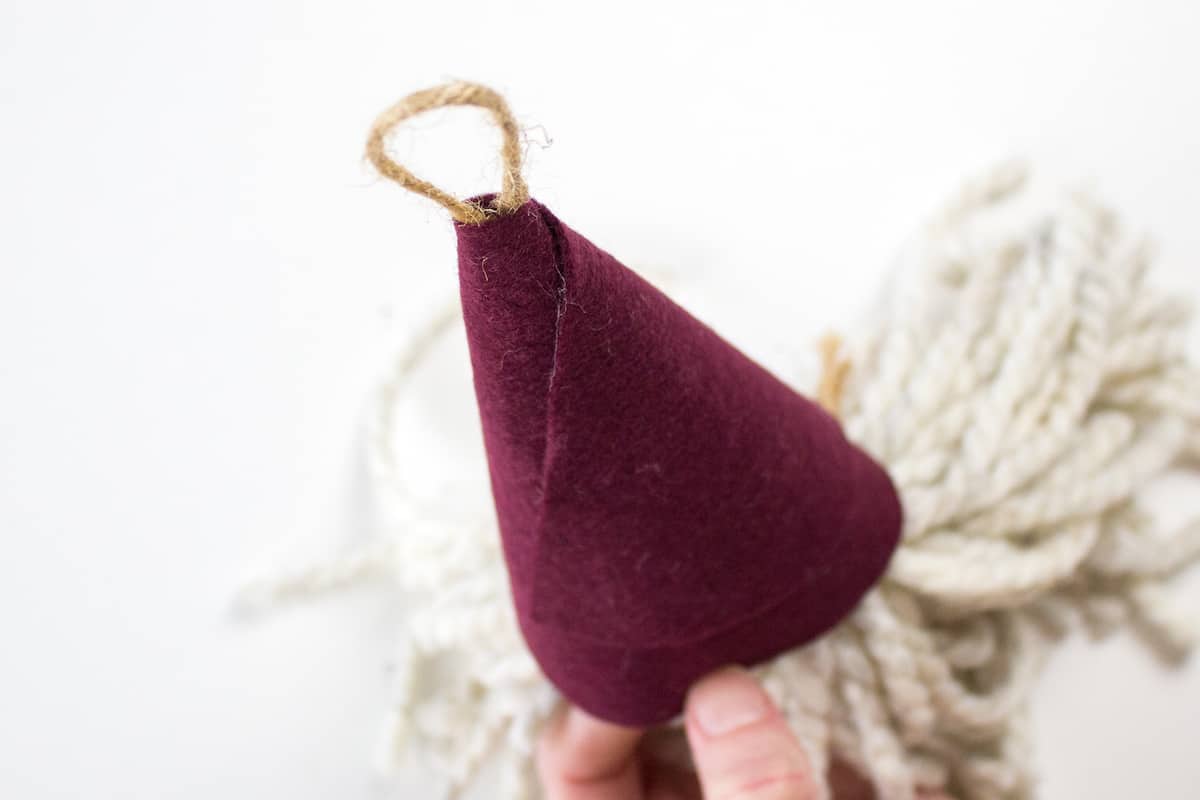
Wrap the felt into a cone-shaped gnome hat using a wooden dowel (or pencil) to help wrap the felt around leaving a small opening at the cone tip.

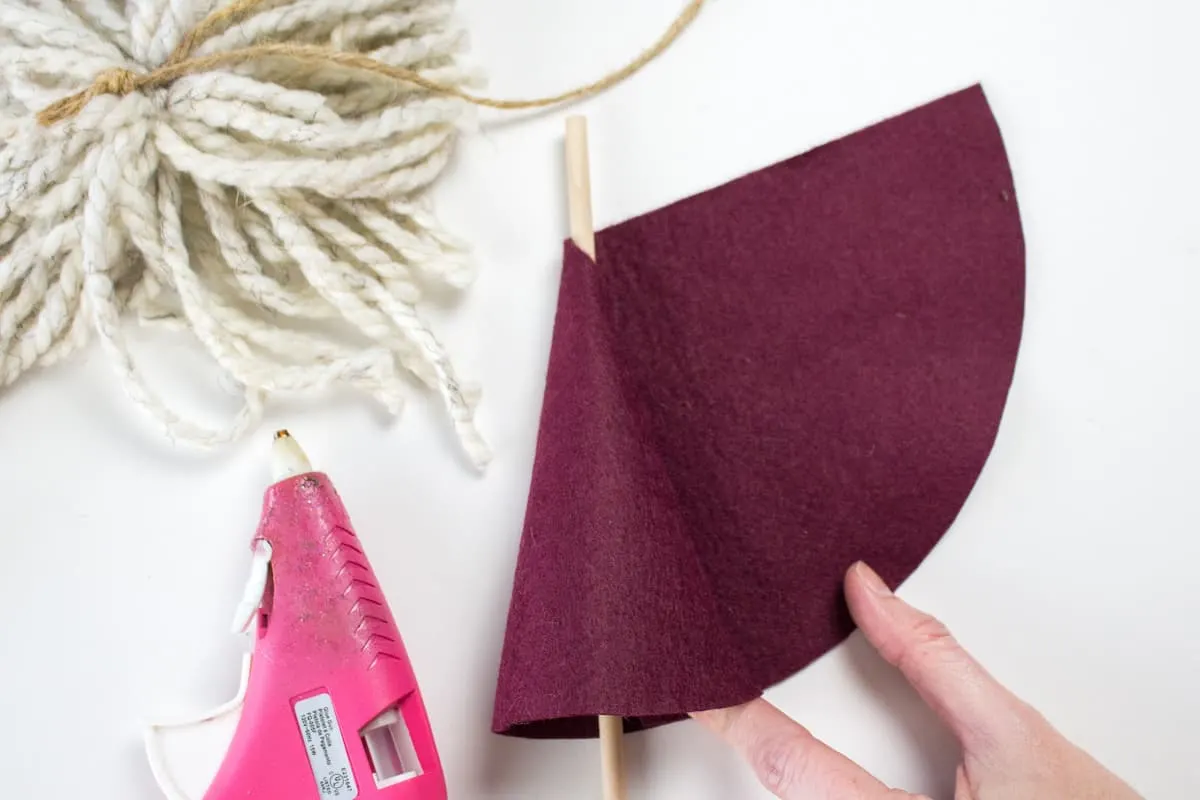
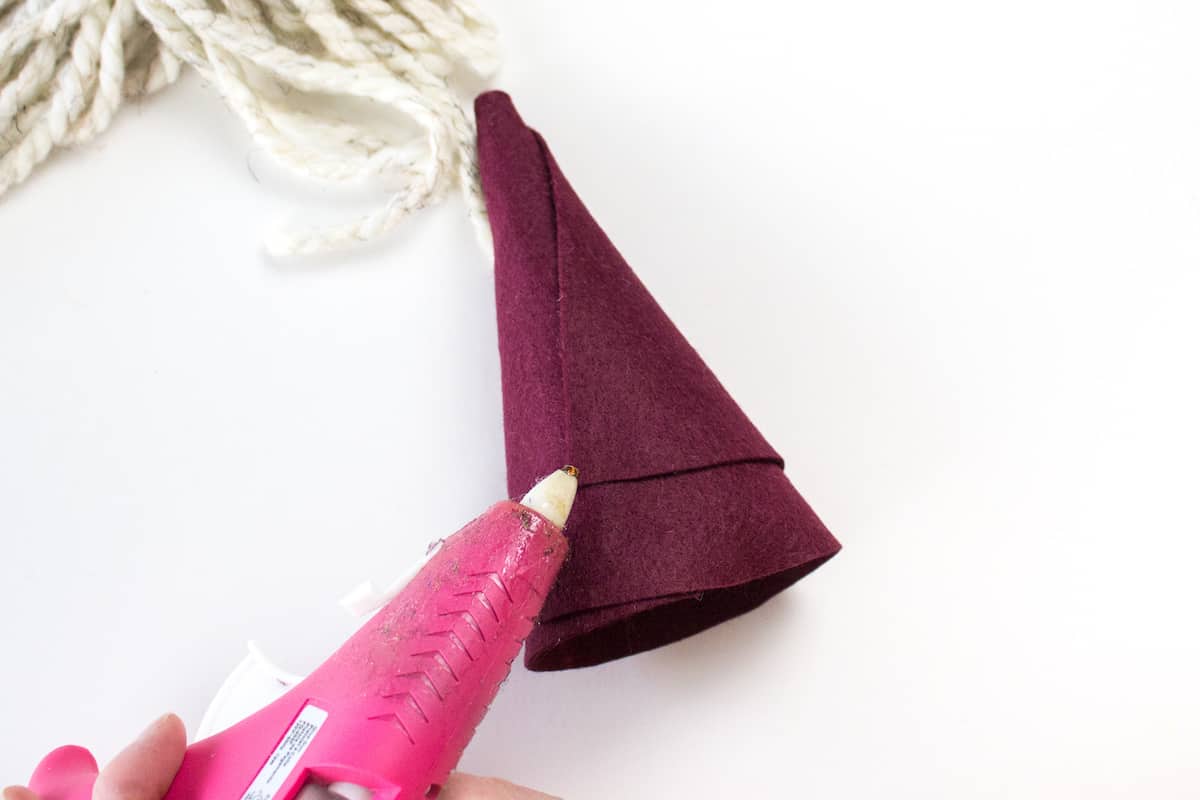
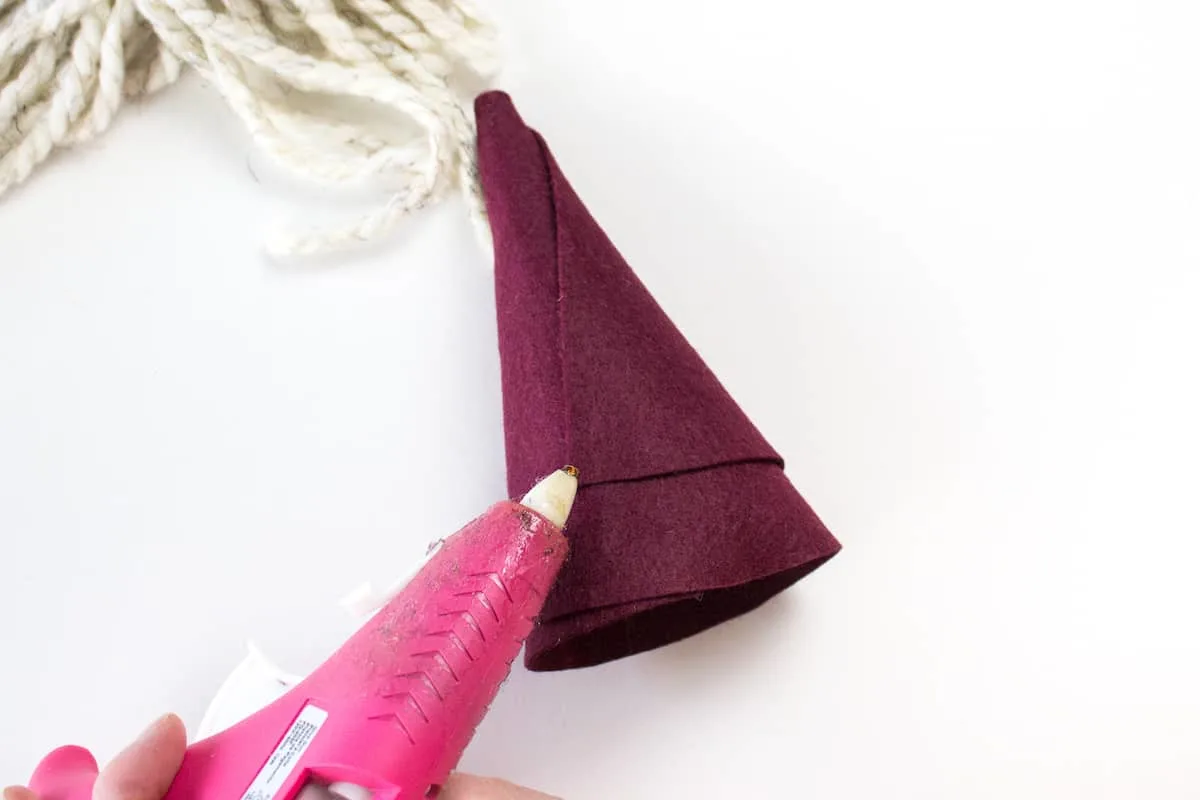
Glue the overlapping edges of the felt cone-shaped hat to hold in place.

Cut a piece of twine 20” long and fold in half.


Tie the cut ends of the twine around the pom-pom, weaving the twine under the pom pom knot to secure first.


Pull the looped end of the twine up through the hole at the top of the hat.

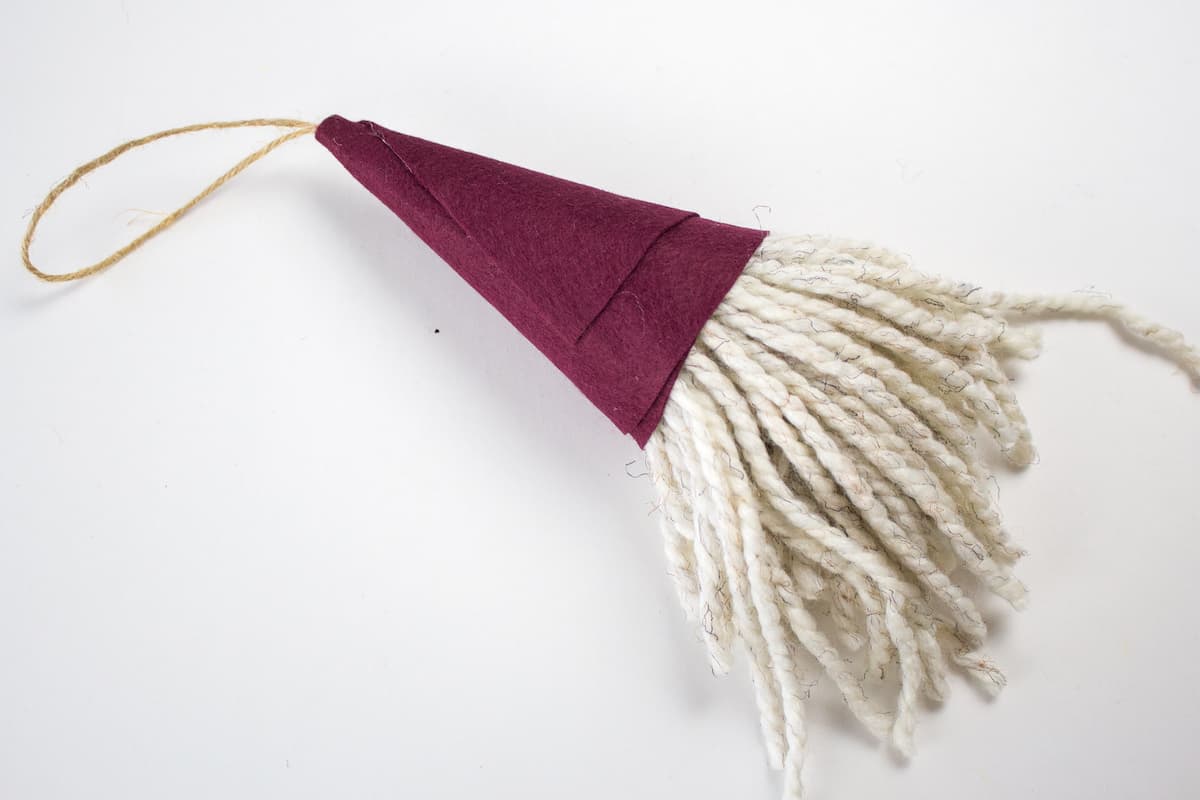
Pull on the twine gently to pull the gnome beard into the hat.

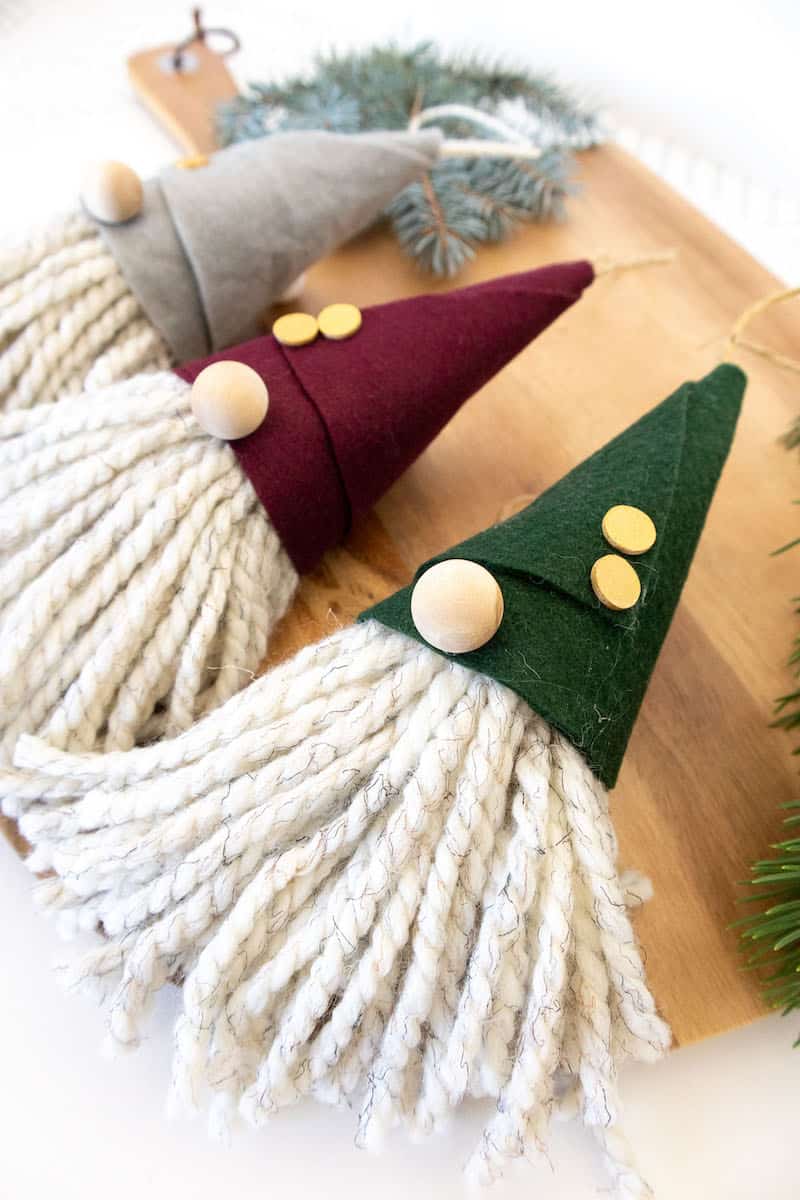
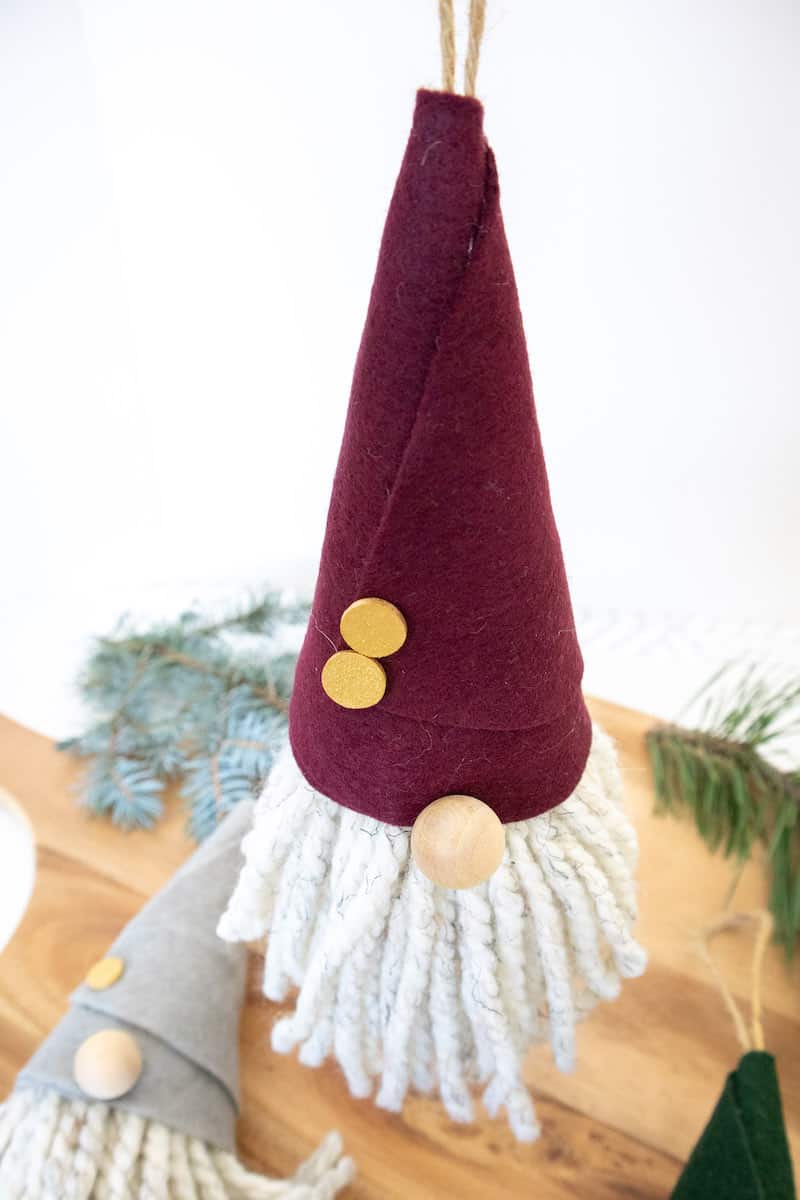
Glue one wood ball to the bottom edge of the hat. Glue two painted wood circles onto the front of the hat as shown (or use buttons if you’d like).

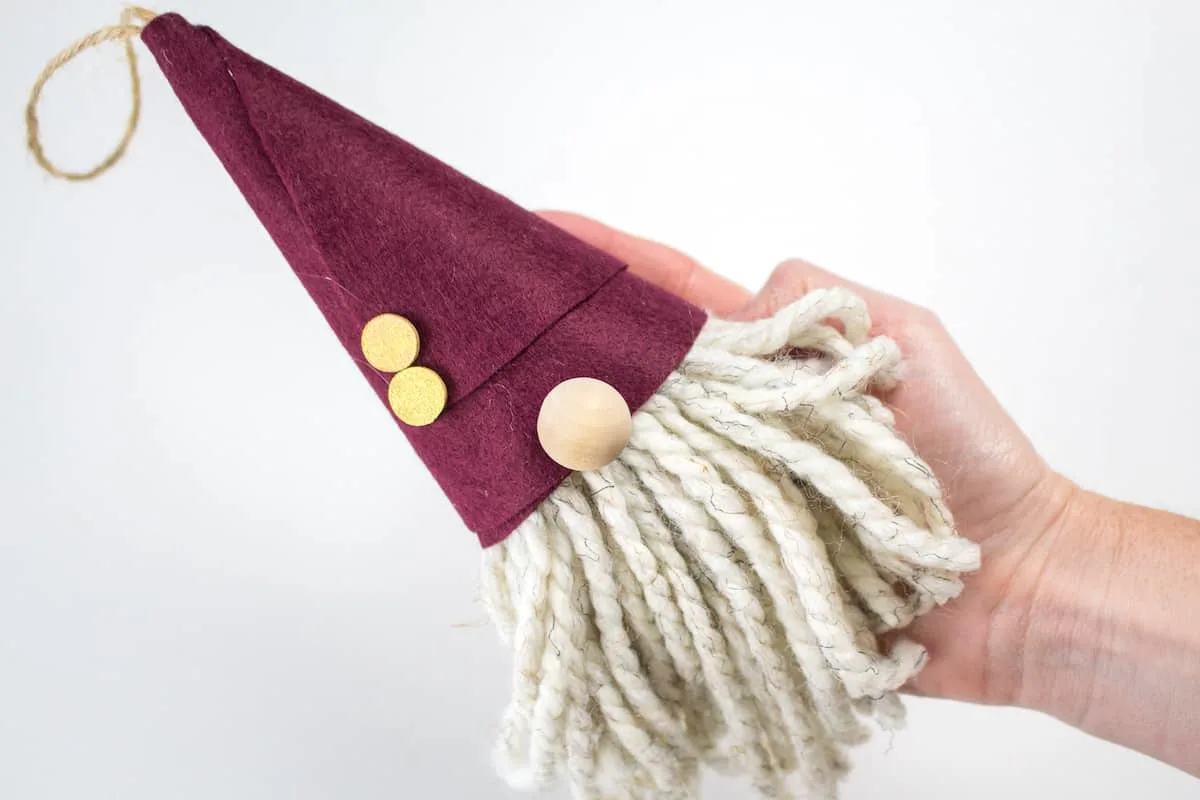
Trim any really long and uneven yarn ends. Be sure to keep the yarn in the center the beard the longest to really look like a gnome beard!
More Scandinavian Christmas DIY Projects:

Janice
Monday 15th of January 2024
Very cute! They look easy to make. And they have an upscale look. There are endless ways to embellish the hat!
Kimberly
Tuesday 16th of January 2024
Agree! You could add so many different embellishments!
Violeta
Monday 27th of November 2023
Your felt & yarn gnomes turned out so cute, what a fantastic idea! I wanted to drop a quick message to let you know that I’ve featured your tutorial on Crafts on Display, hope you enjoy it!
Louise
Thursday 16th of November 2023
Do you glue the beard to the bottom of the hat or glue the string at the top to hold it in place?
Kimberly
Monday 20th of November 2023
Louise, I didn't. If you pull the string up tight through the hole in the hat, the beard will be held in place. You can, of course, glue it if you would prefer.
Mona
Thursday 16th of November 2023
How do I save and print the instructions? Thanks
Kimberly
Monday 20th of November 2023
Hi Mona! Click on the link in the supply list and you can download the pattern for free.
Ginger
Tuesday 7th of November 2023
when I try to download the pattern for the gnome hat, it takes me to a place to check-out and buy the pattern. Can You help me please.
Kimberly
Friday 10th of November 2023
Hi Ginger, Yes, it can sound confusing when checking out on the platform. The pattern is indeed free, but the language used by the hosting platform might make you think you have to pay (which you don't). I've sent you the pattern to your email.