


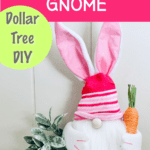

This no sew DIY Easter bunny gnome is so easy to make with Dollar Tree supplies!
Spring is in the air, and with Easter just around the corner, it is the perfect time to get crafty and make some delightful DIY Easter decorations. If you are looking for a fun and easy project that doesn’t require any sewing skills, then you will love our No Sew DIY Easter Bunny Gnome. This adorable bunny gnome is the perfect addition to your Easter decor, and it is sure to bring a smile to anyone’s face.
This entire project will cost less than $5 to make!
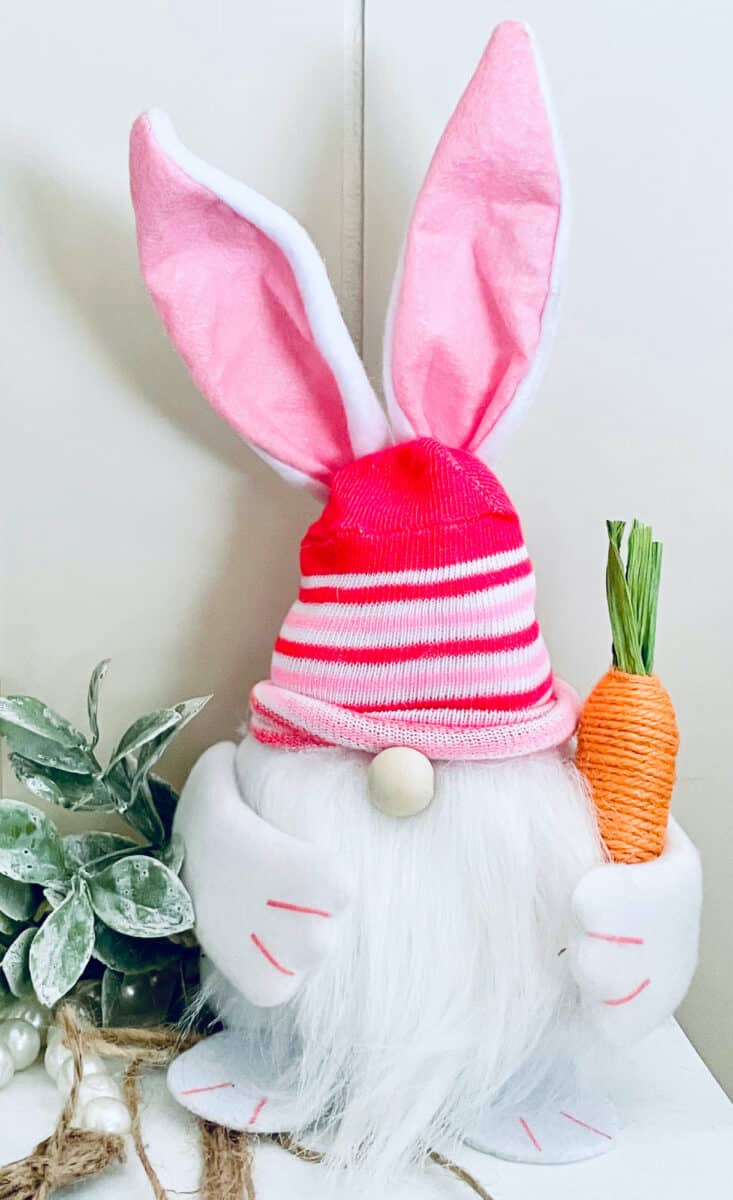

Our Easter bunny gnome is so easy to make because it uses an Easter bunny plushie to make the gnome body, ears, feet and arms. All you need to do is assemble the pieces together with glue.
There is no need for sewing to create a cute and whimsical decoration that will be the envy of all your Easter guests.

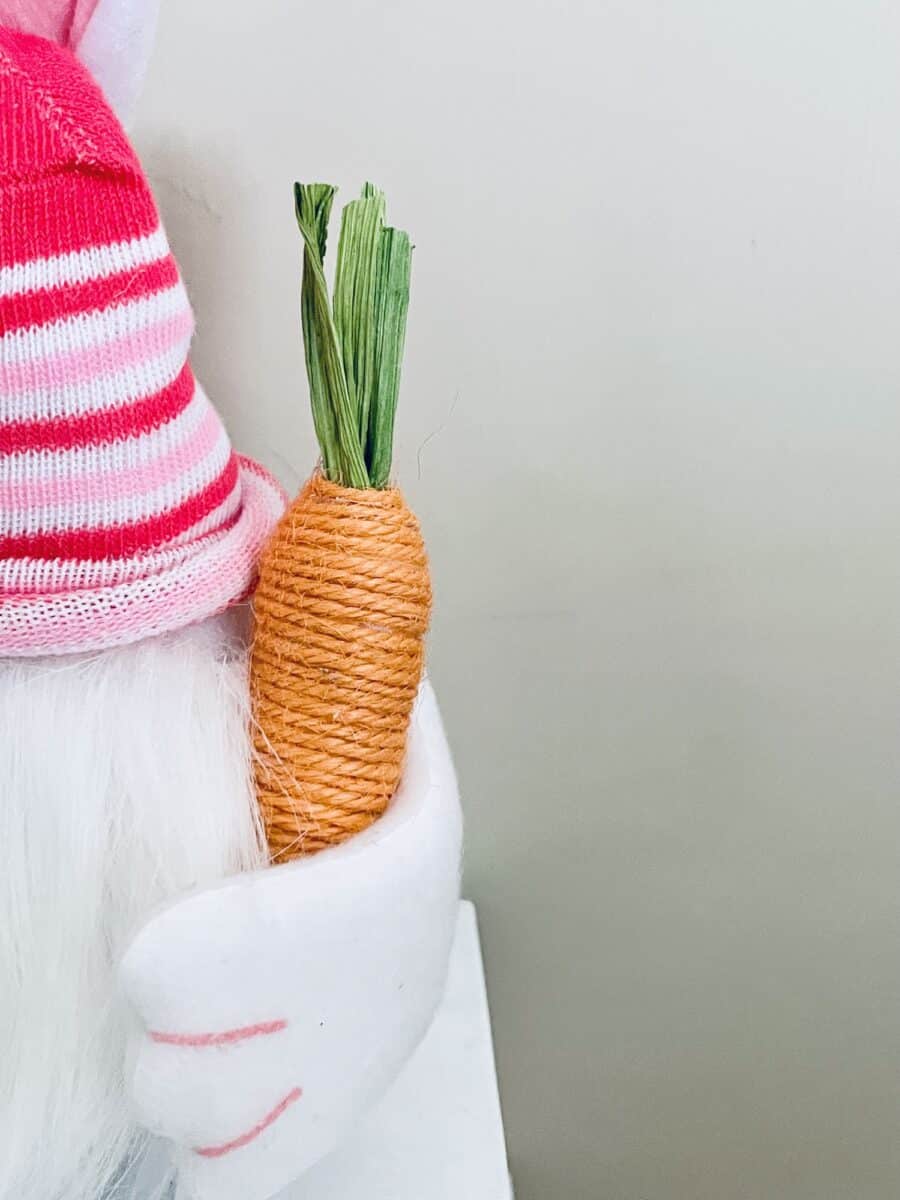
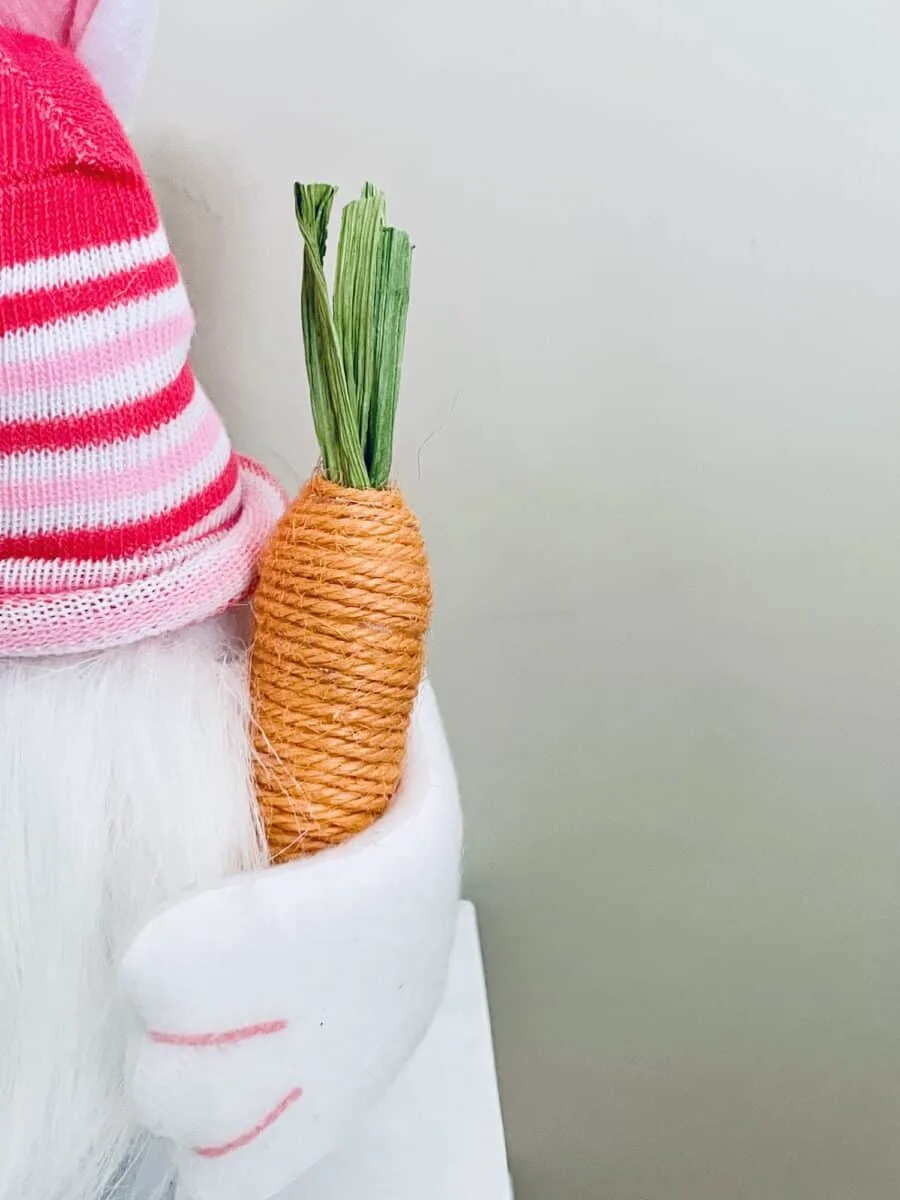
The carrot that we used with this DIY bunny gnome is the same that we used for our cute carrot Easter basket. If you have any leftover from that craft, it’s easy to add one to this cute gnome.
Be sure to see all of our cute Easter crafts!
We used leftover scrap fur from another gnome project we did. However, I have seen faux fur beards in the toy section at the Dollar Tree that will work, as well.
If you like inexpensive crafting ideas, be sure to check out all of our Dollar Tree DIYs!


DIY Easter Bunny Gnome
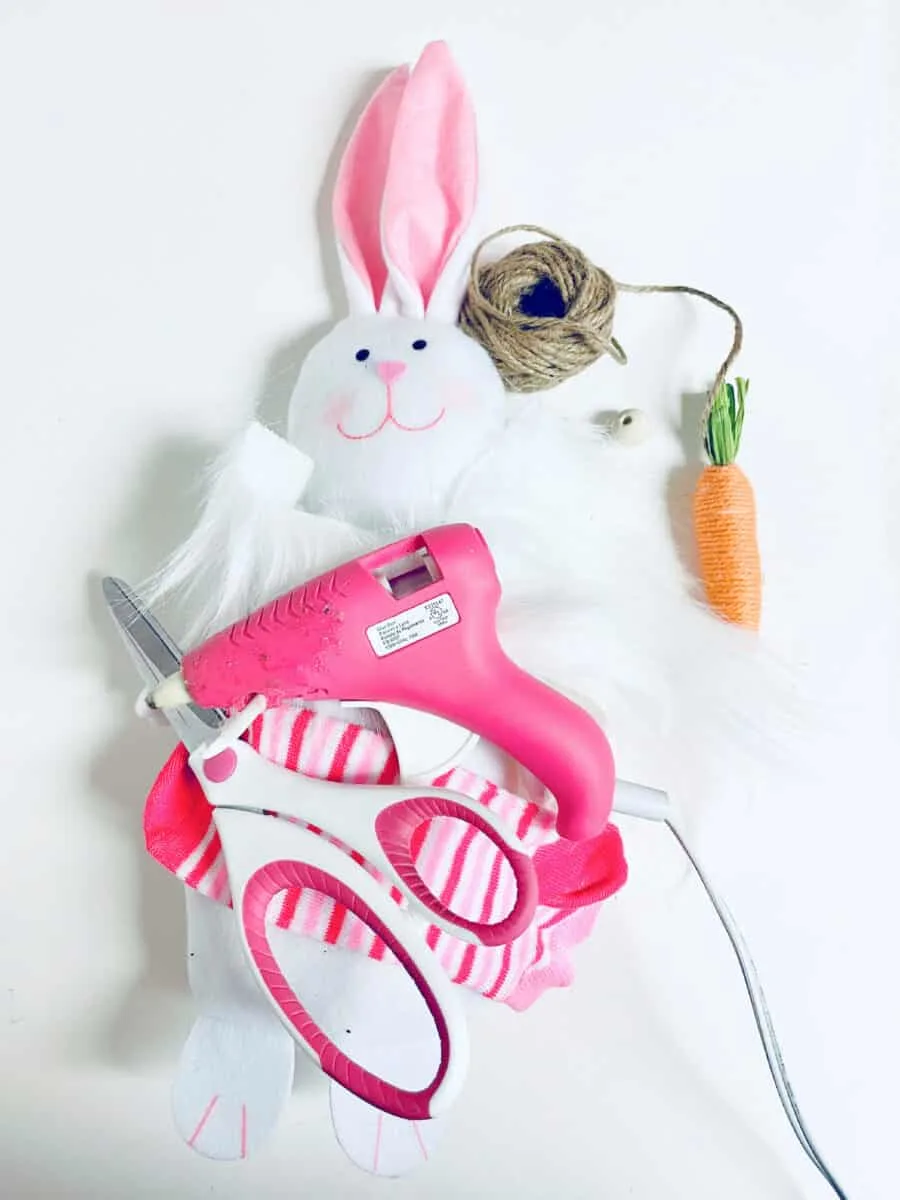
Supplies
- Dollar Tree Plush Bunny
- Kids Sock
- White Faux Fur
- Wooden Bead
- Hot Glue Gun and Glue sticks
- Scissors
- X-acto Knife (optional)
- Twine
- Twine Carrot (optional)

Instructions
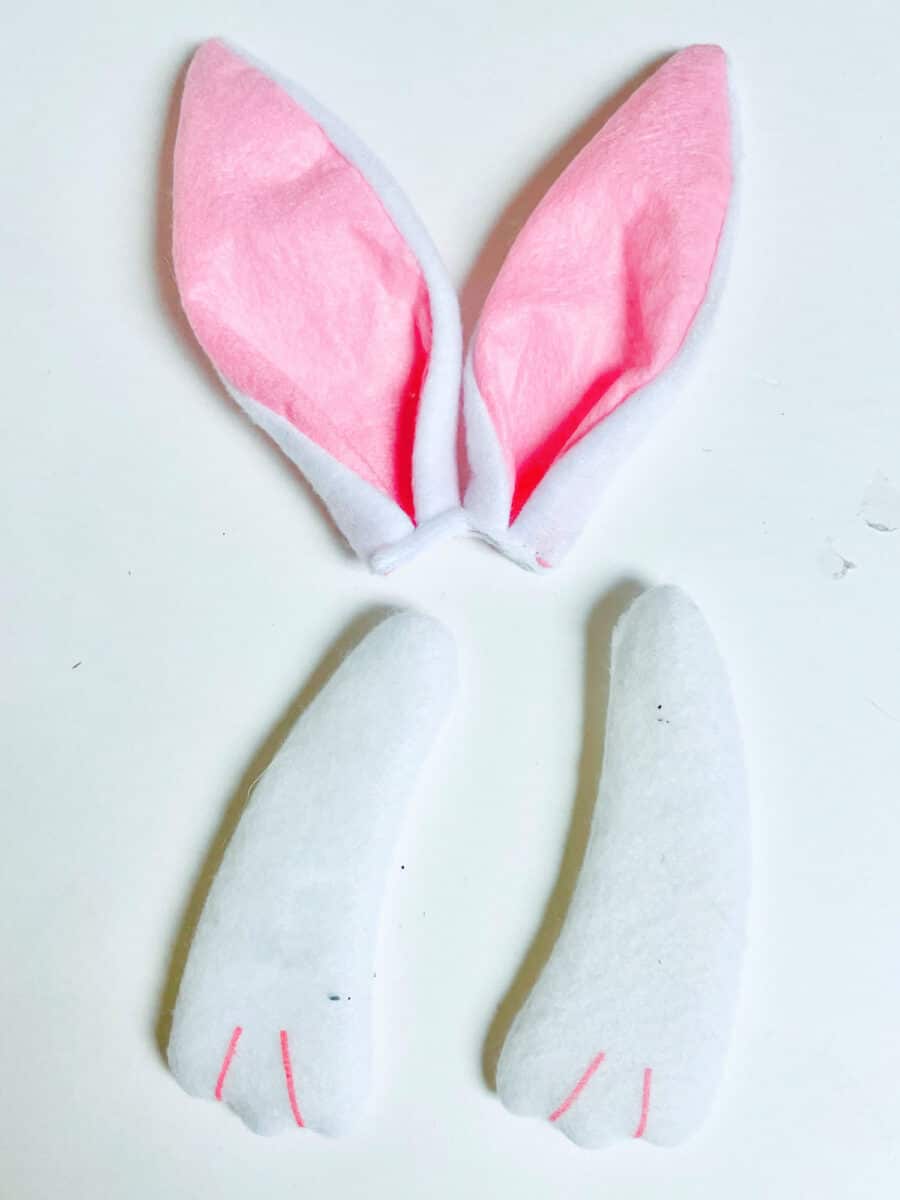
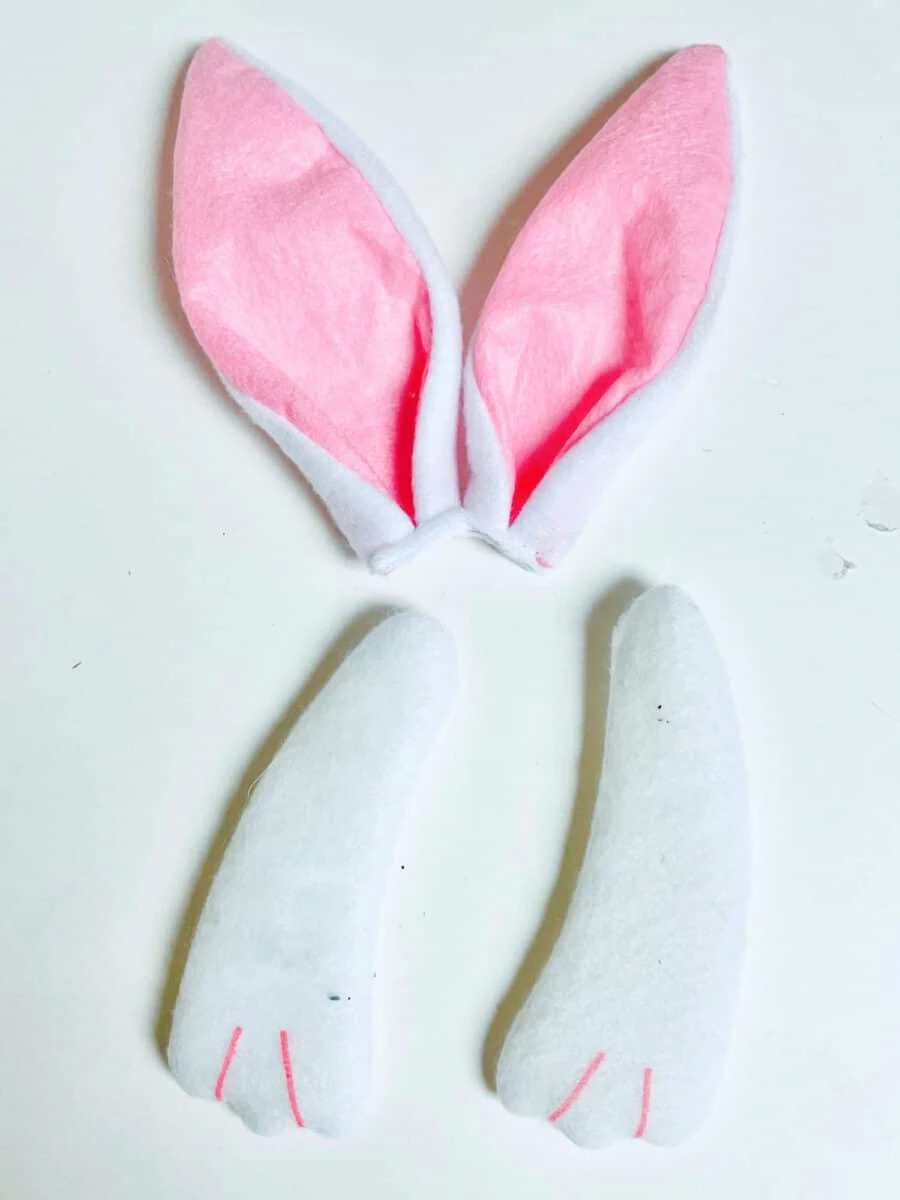
Cut off the ears and pull off the arms of the plush bunny doll. They aren’t on very securely so they are easy to pull off.
Cut the head off of the bunny. You will only be using the body so you can keep the head for another craft.
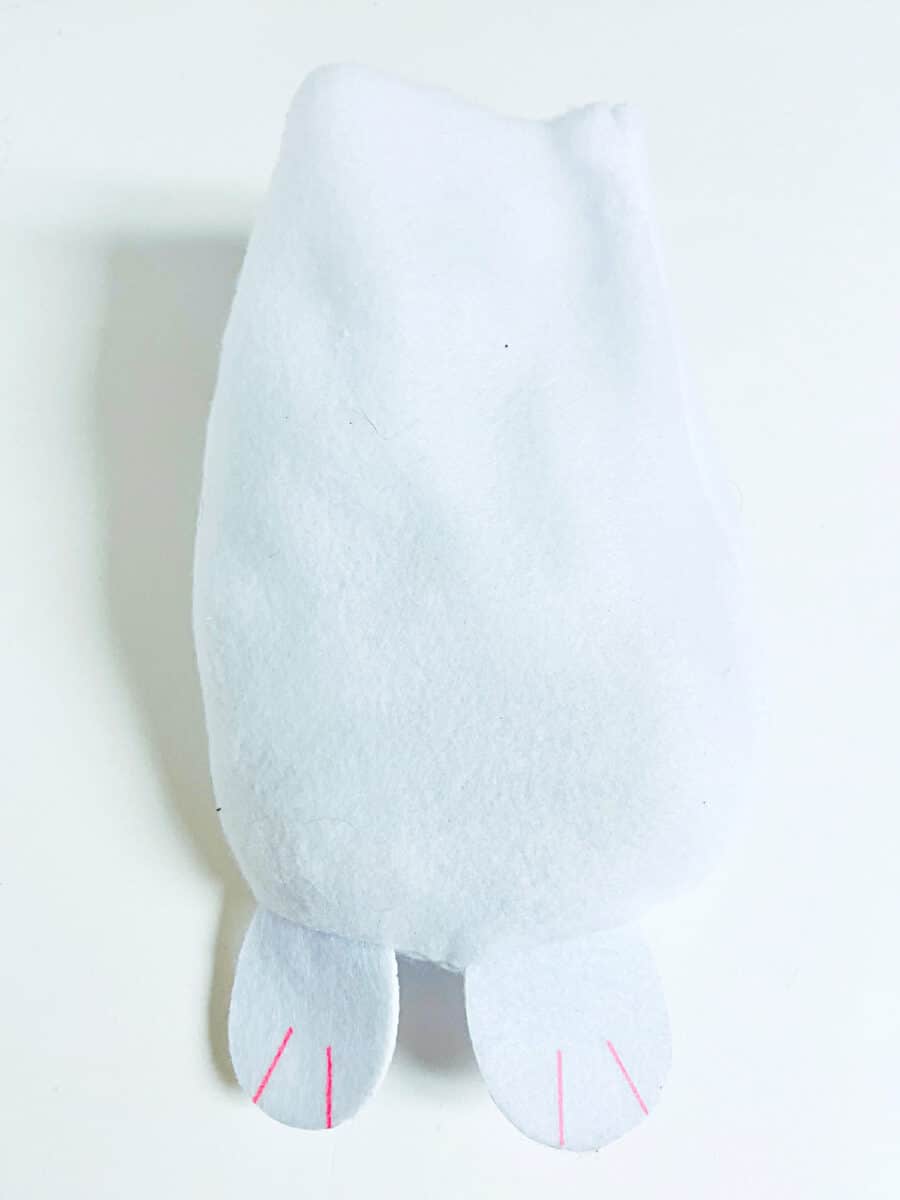
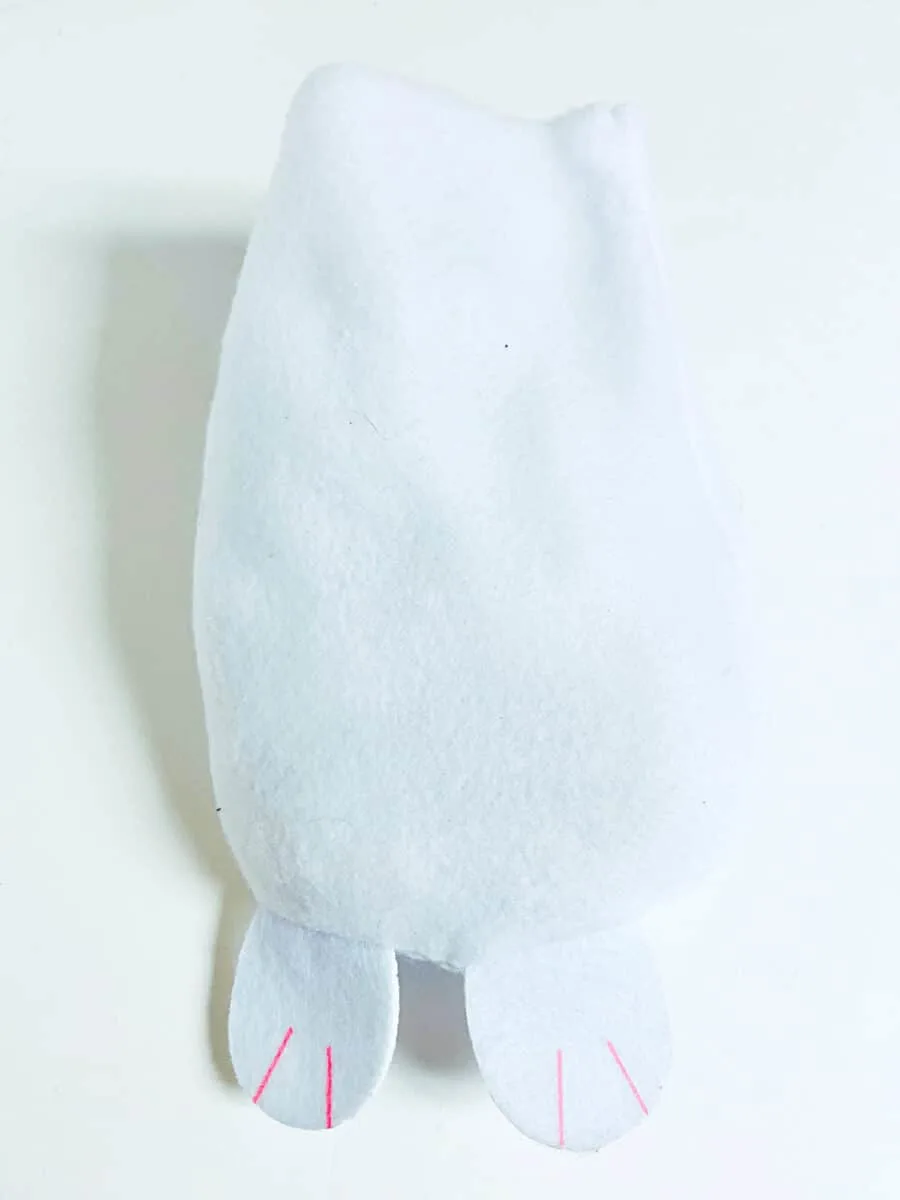
Remove some of the stuffing in the body if necessary. I needed to remove some stuffing, but it will depend on your bunny and the shape and size of gnome that you want.
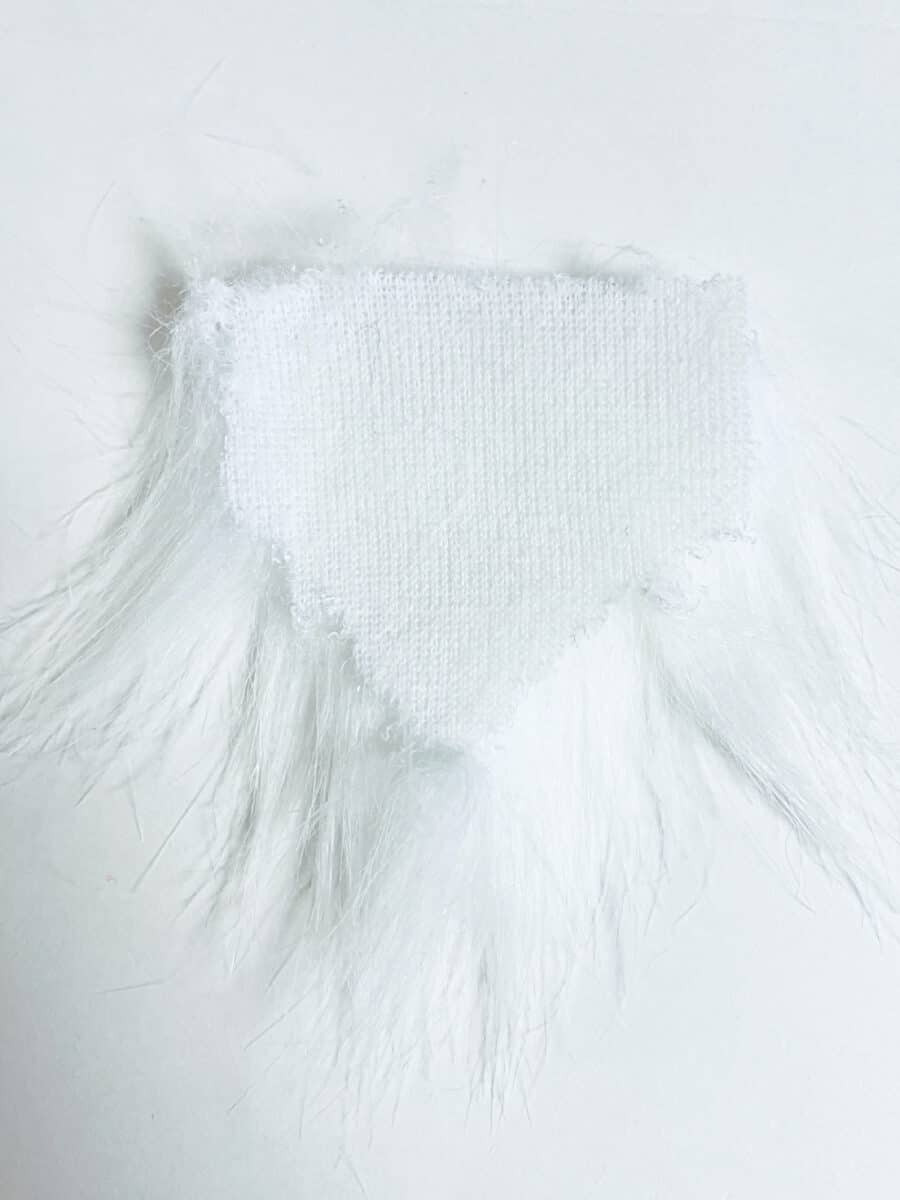
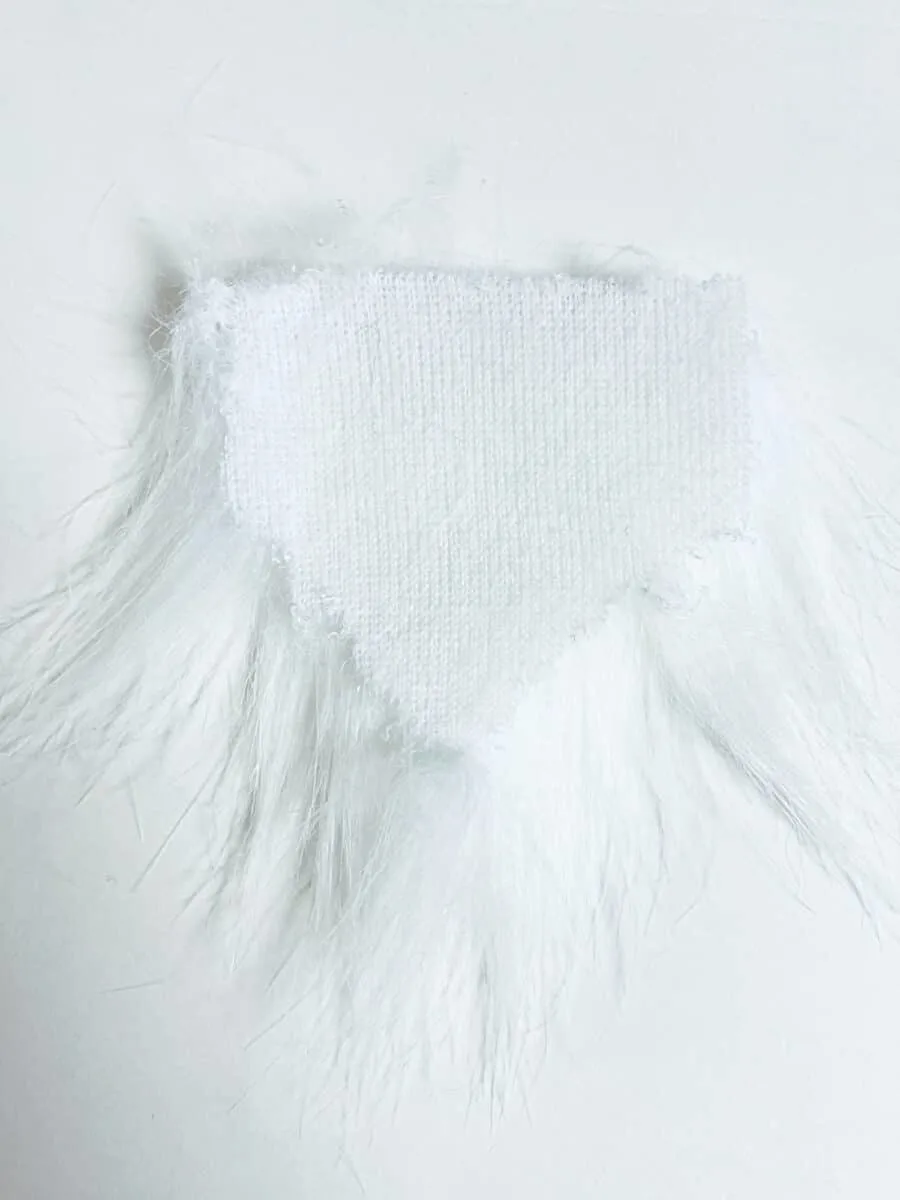
Now it’s time to cut the fur beard. There are two different ways you can do it:
- Flip the fur over to the backside. Use an X-acto knife to cut the fur into a beard shape.
- On the backside of the fur, use the sharp edge of one scissor blade to cut a triangle shape to be the beard.
Whichever way you decide to cut, just don’t cut the beard with scissors in the normal way. A normal straight cut with scissors will cut the fur too sharply and the beard will not have a natural jagged edge.
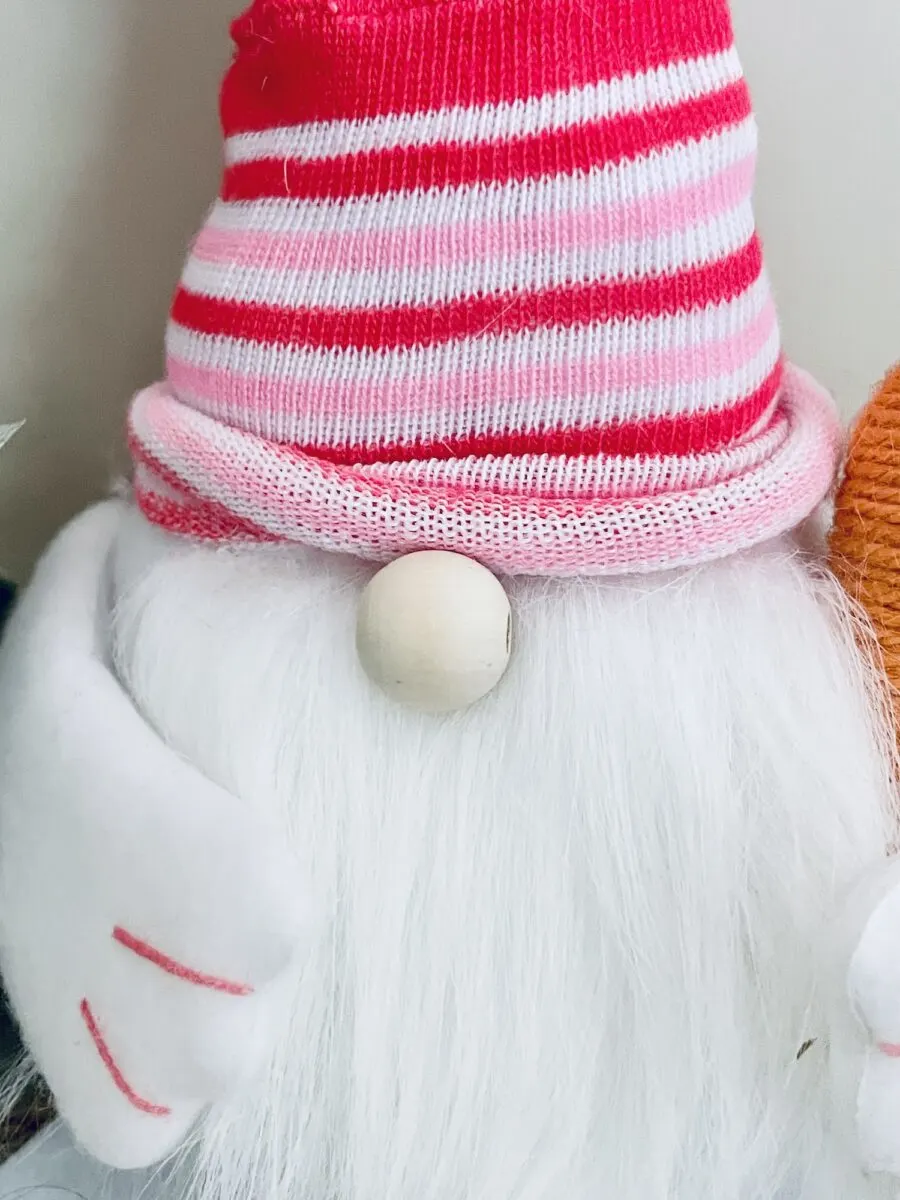
Put the sock over the top of the bunny body. Allow the bottom of the sock to roll up just a bit to make the brim of the hat. Secure it with hot glue.
Add a strip of hot glue to the backside of the faux fur beard and glue it underneath the sock.
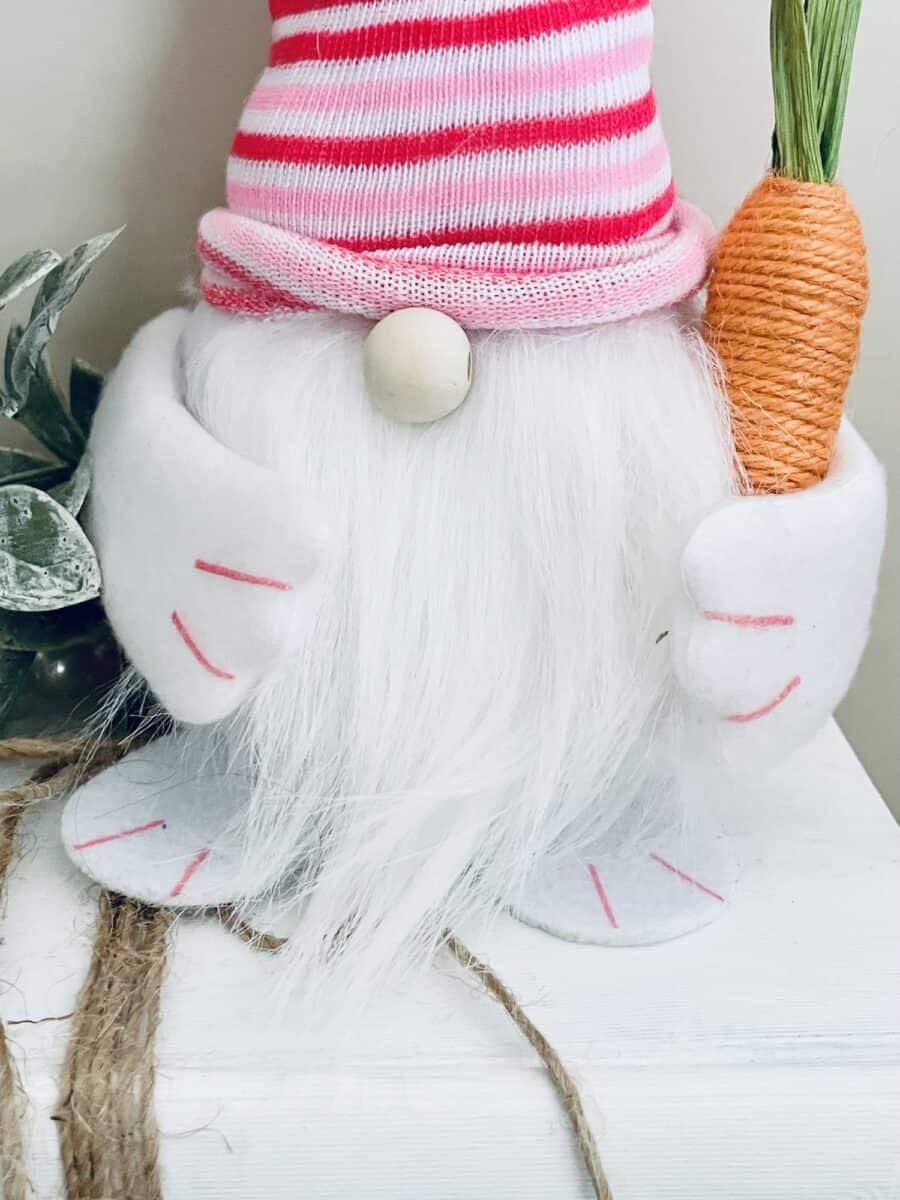
Add a dab of glue to the backside of the bead and place it as a nose underneath the sock hat.
Next, put some hot glue to the base of the bunny ears and press them firmly to the backside of the gnome hat.
Add some hot glue to the inside of each arm and press each arm firmly to the body of the bunny gnome to secure. Make sure you put the correct arm on each side with the pink embroidery fingers pointing outward!
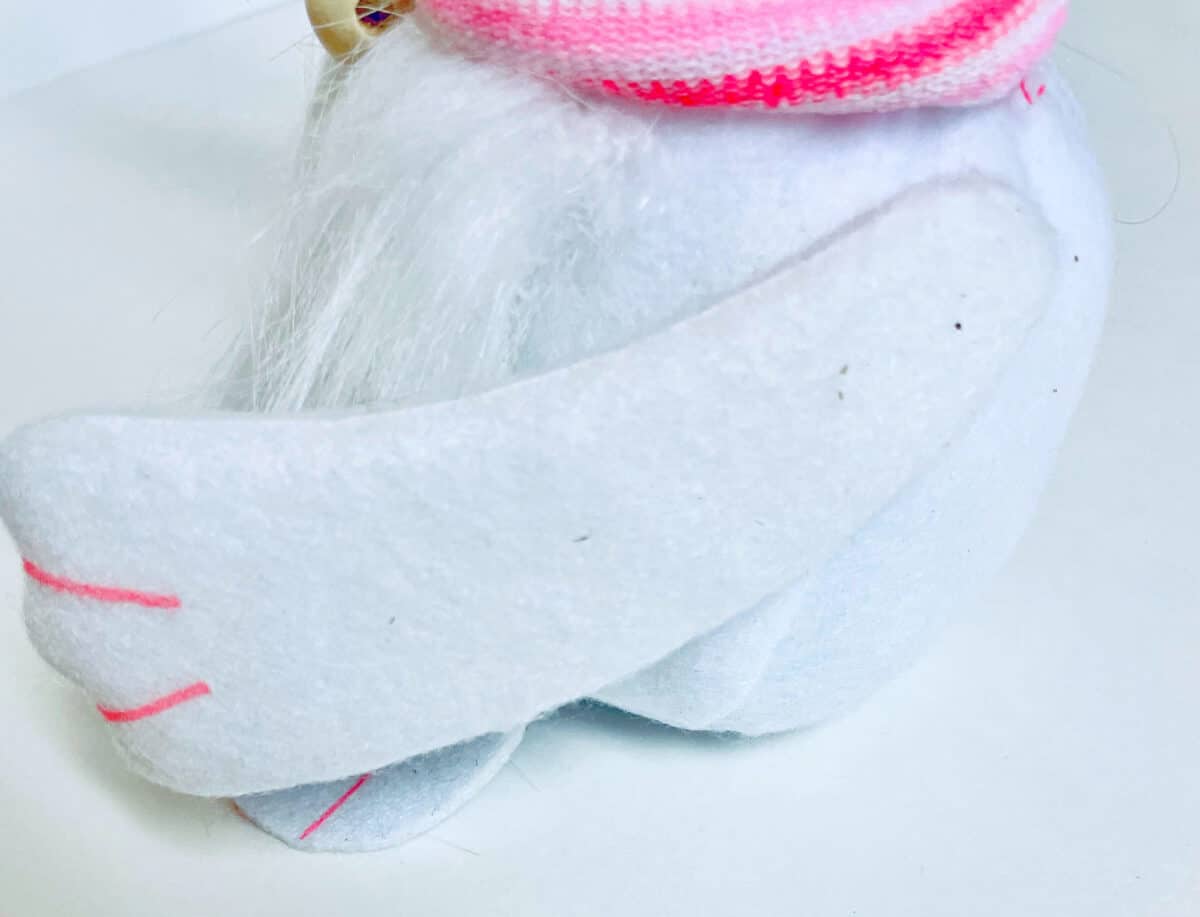
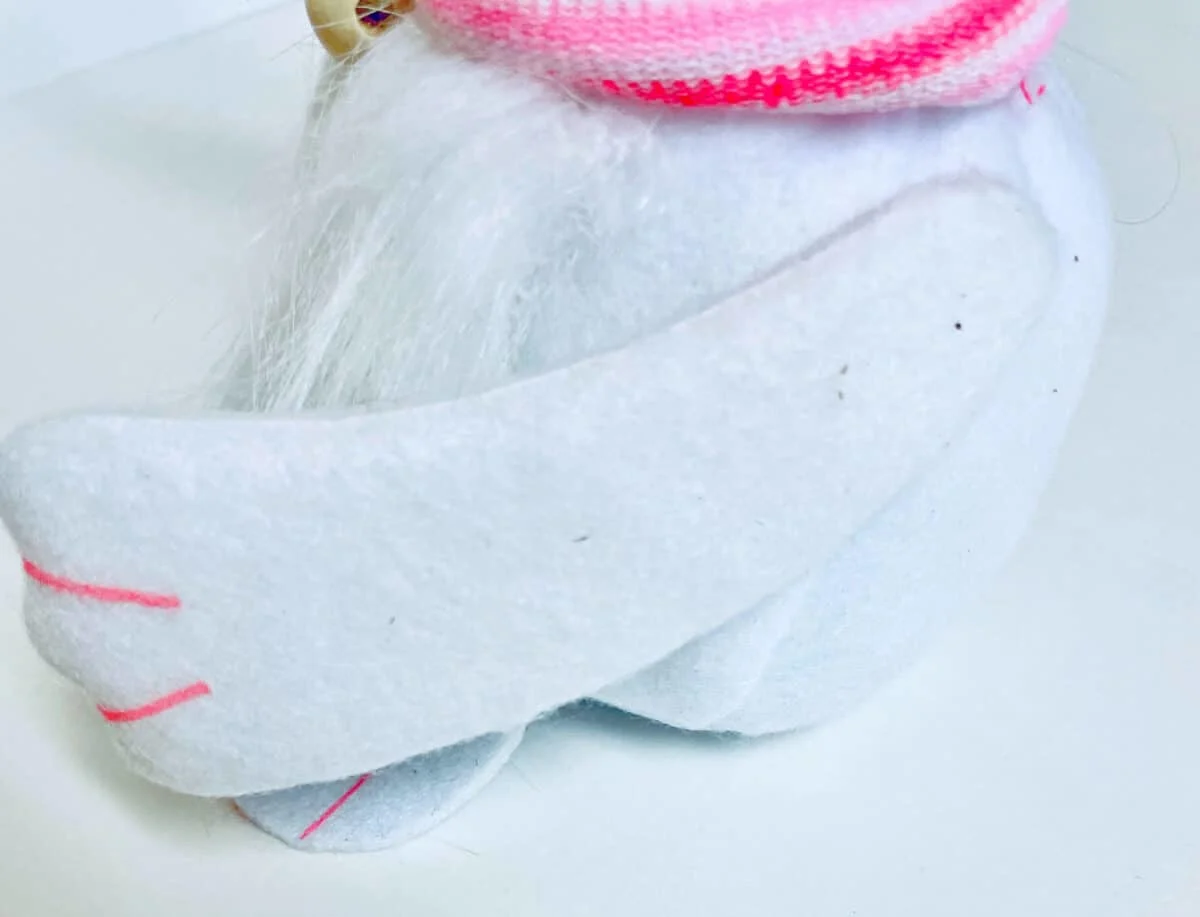

NOTE: If you would like to add a carrot to the Easter bunny gnome, you may want to do this before gluing on the arm. Tuck the small carrot underneath the arm and add a dab of glue to secure.
Look making gnomes? Then you will also enjoy these DIY gnome crafts:
- Easy DIY Gnome Ornaments
- Mason Jar Gnome
- DIY Grinch Gnome
- Vampire Gnome (paper craft project)
- Gnome Wine Bottle Topper
