
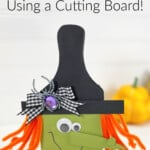


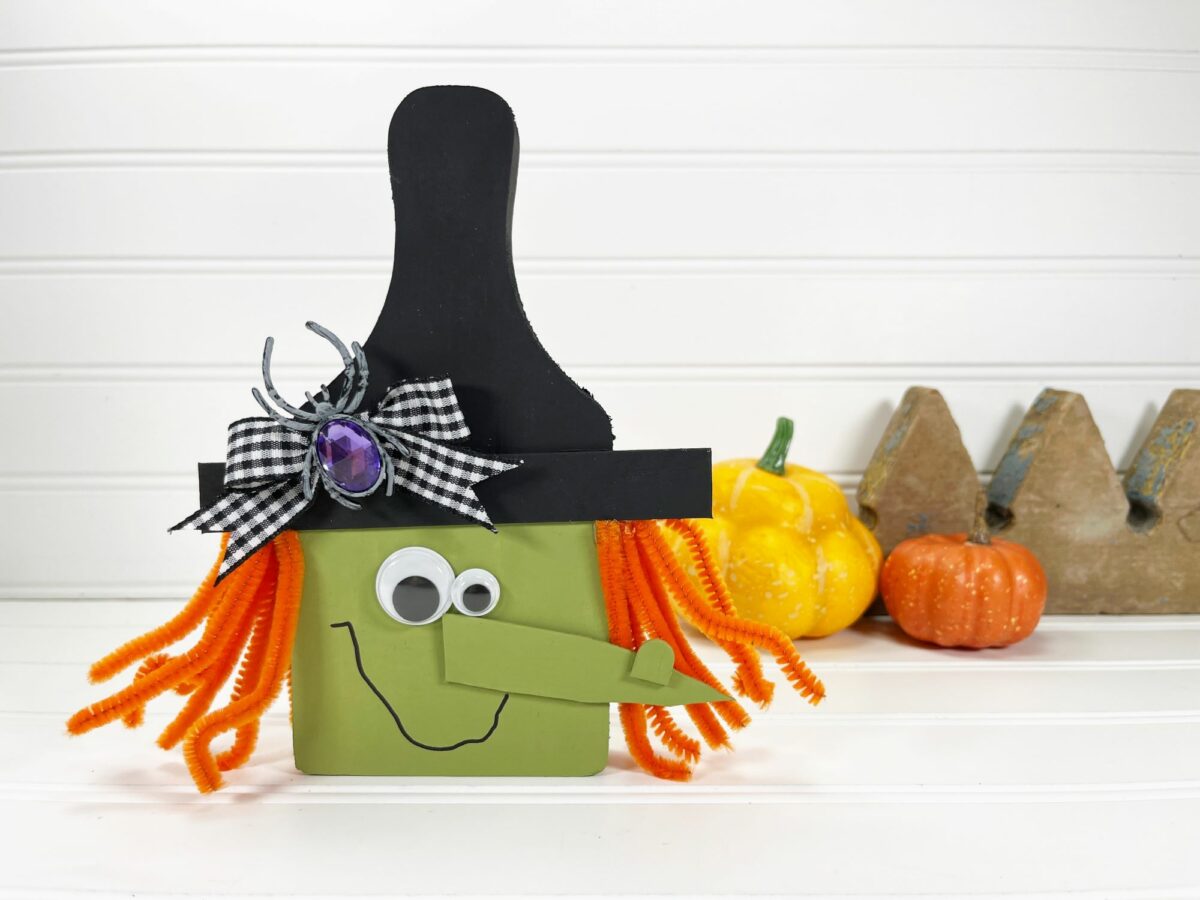
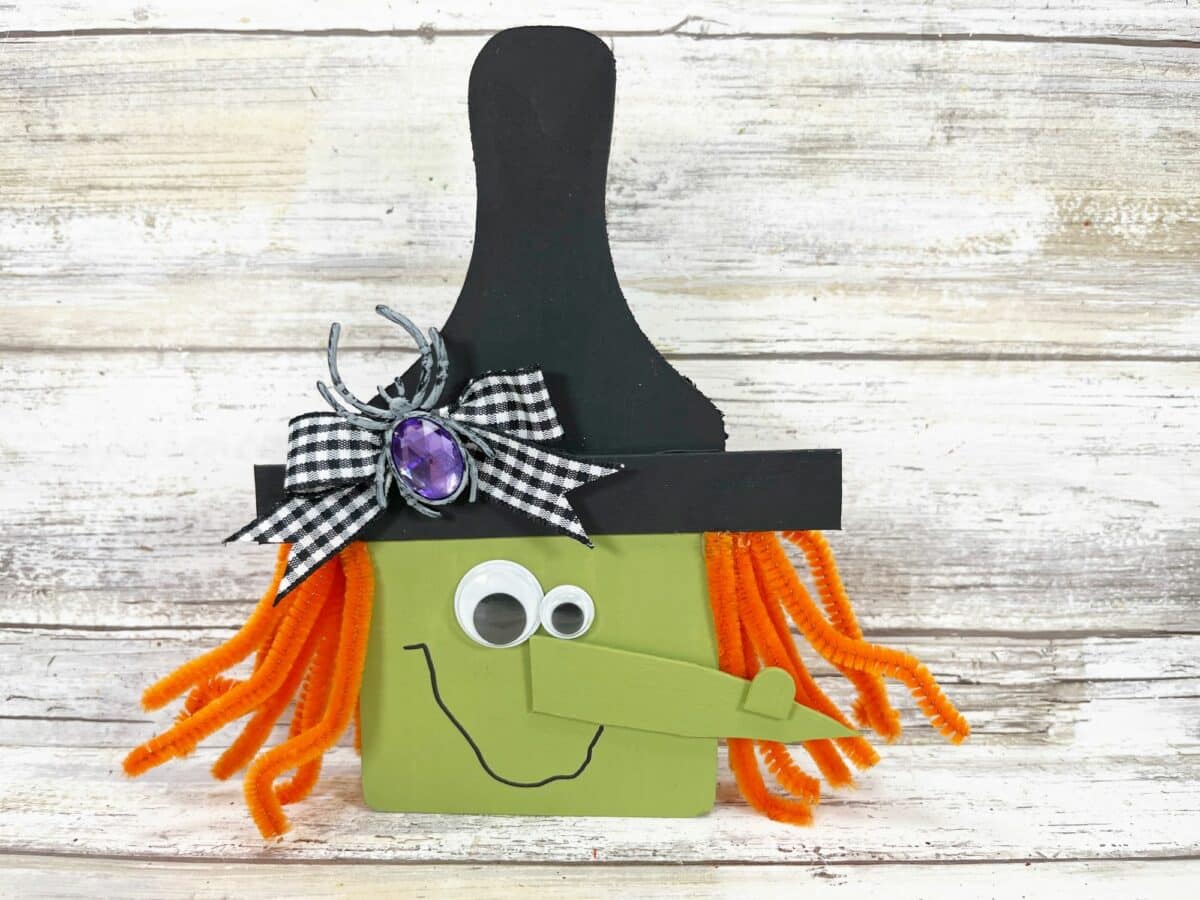
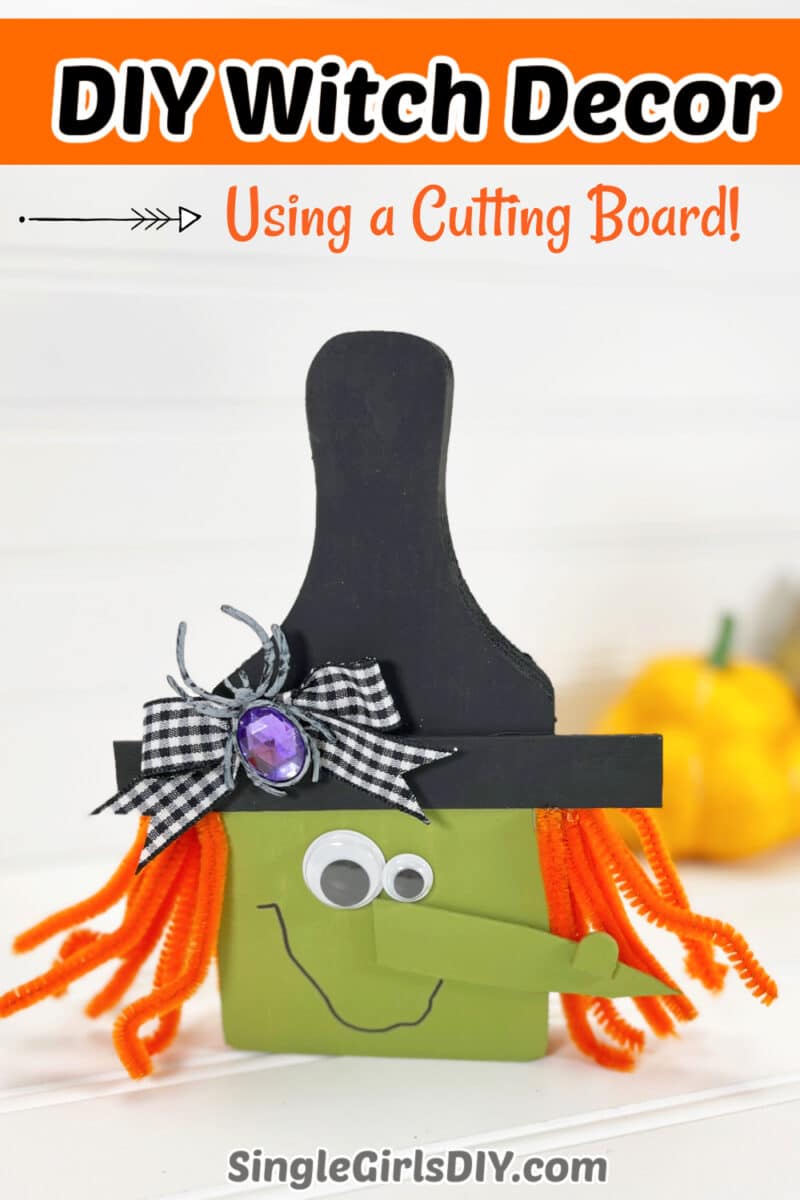
Our cute cutting board witch craft is easy to make with dollar store supplies. This Dollar Tree DIY costs just a few dollars to make in less than an hour.

If you like witch crafts, be sure to see our easy witch paintbrush gnome, too.
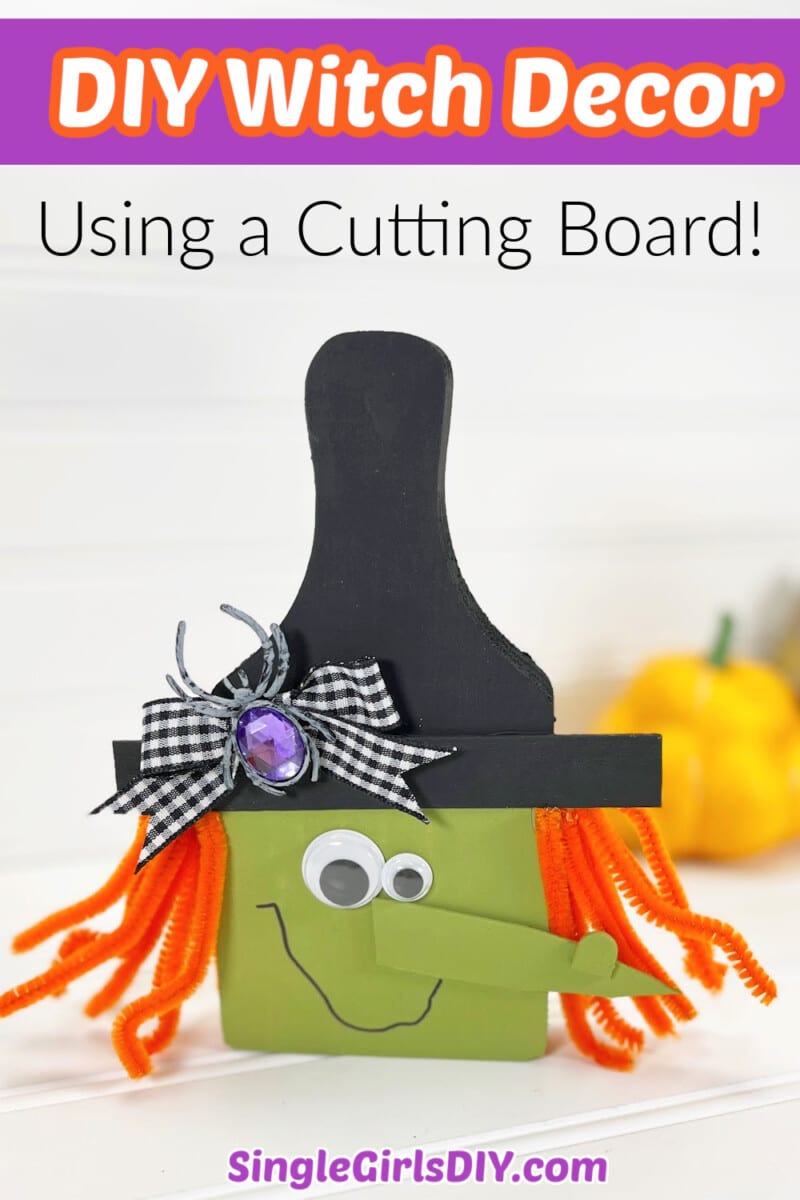

DIY Cutting Board Witch
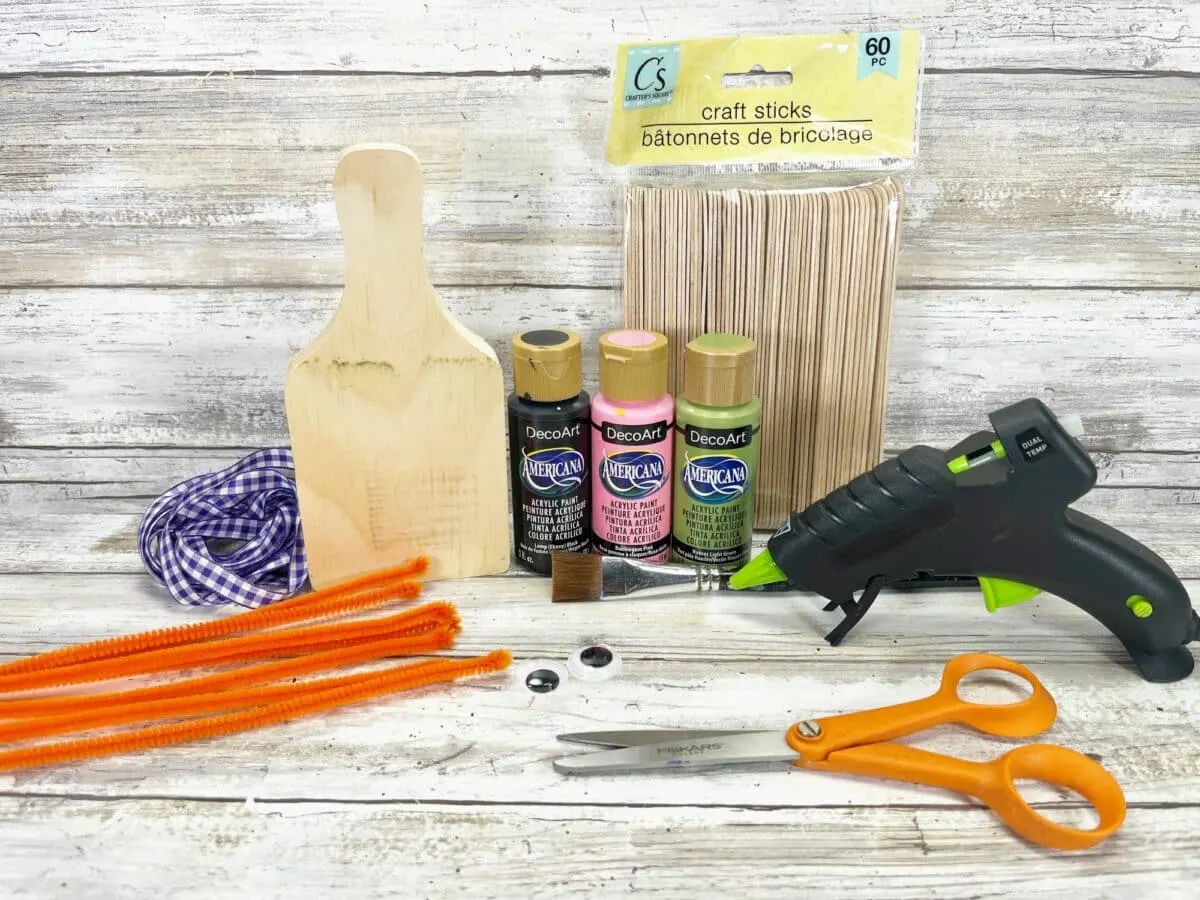
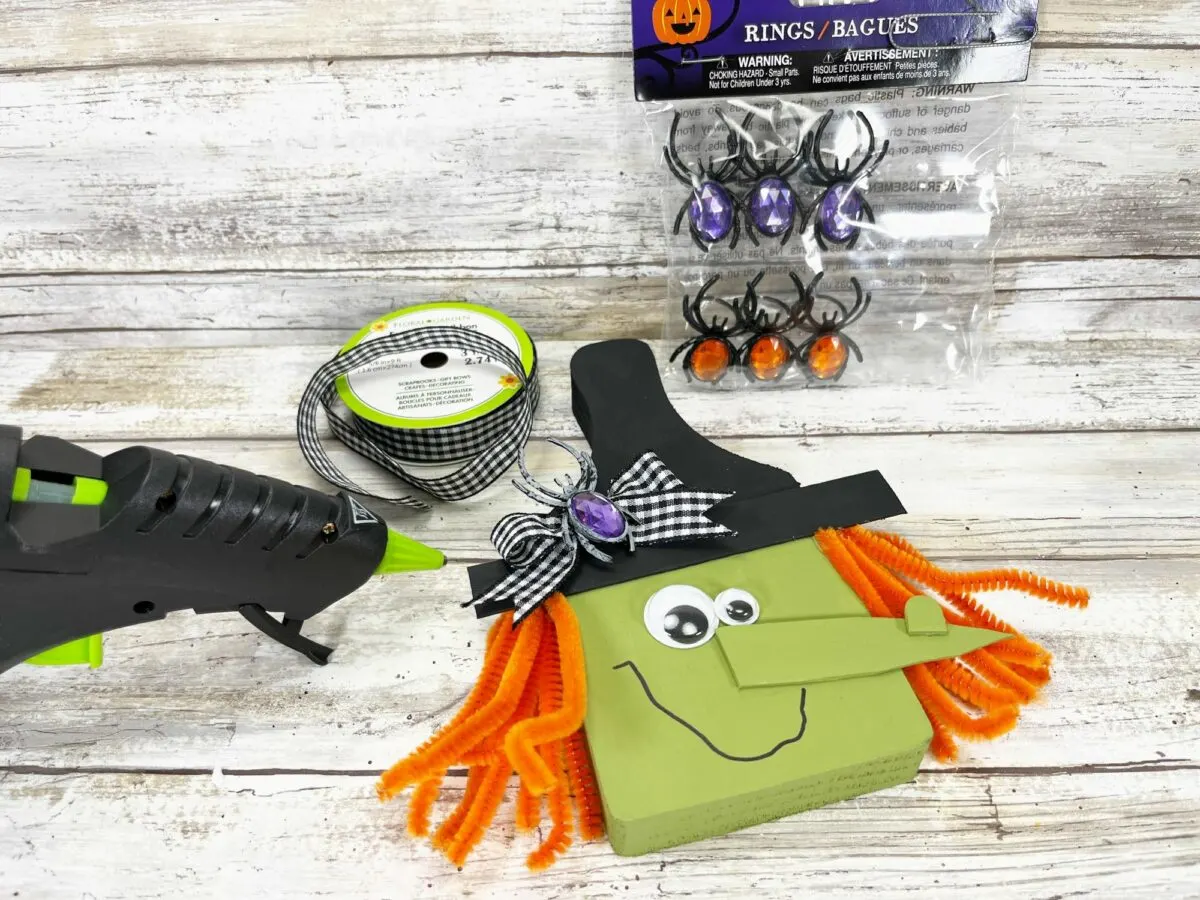
All supplies, other than paint, were purchased at the Dollar Tree.
Supplies
- 2 Jumbo Craft Sticks
- 1 Regular Craft Stick
- Unfinished Wooden Cutting Board
- Spider Ring
- 2 Google Eyes
- Black Gingham Ribbon
- 4 Orange Chenille Stems
- Acrylic Craft Paint (Muted Light Green, Black, Grey)
- Hot Glue Gun or Craft Glue
- Paintbrush
- Permanent Black Marker

Directions
Step 1
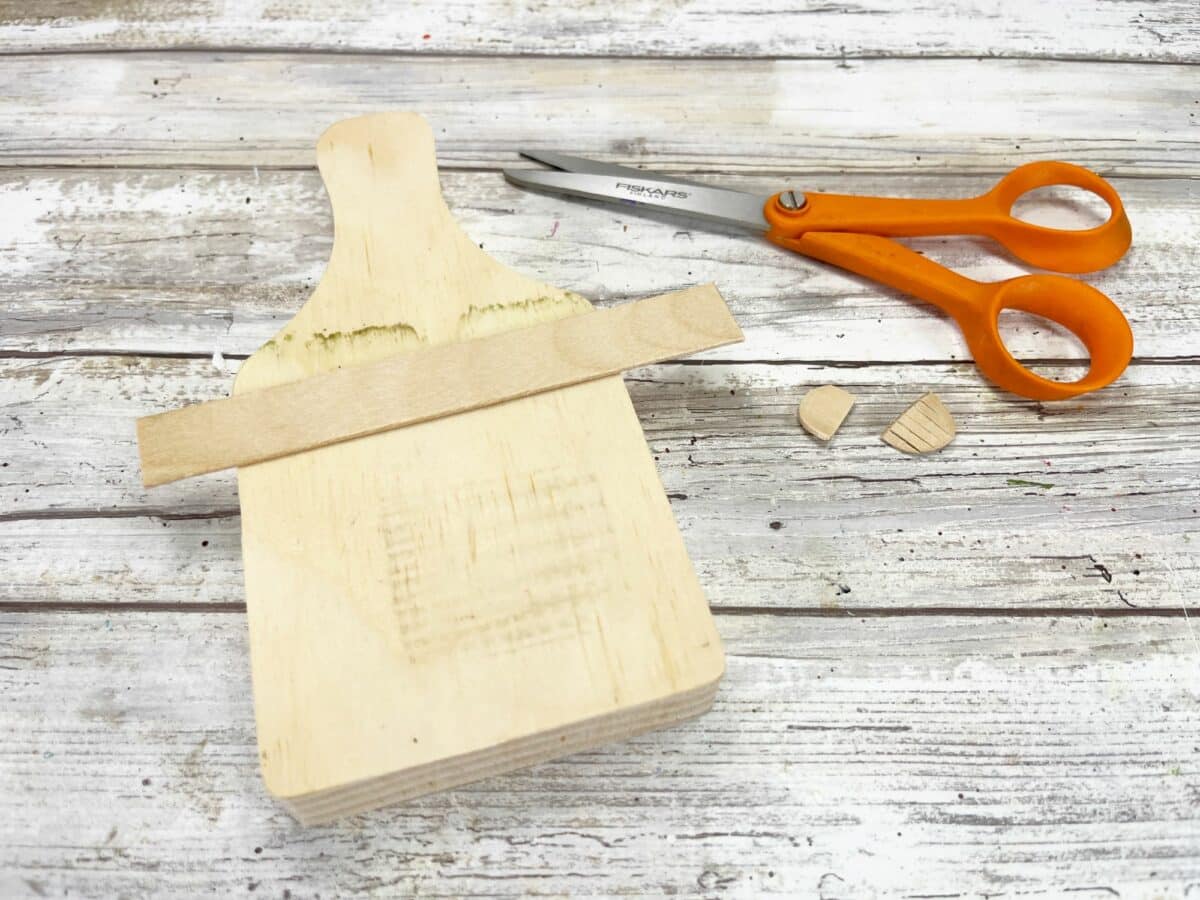
Lay the jumbo craft stick across the top of the cutting board and draw a line with a pencil. Have the straight part on top of the stick be at where the curve starts towards the handle and draw the line there.
Then measure the jumbo craft stick to be 4.5” long, trimming the rounded ends off with scissors.

Step 2
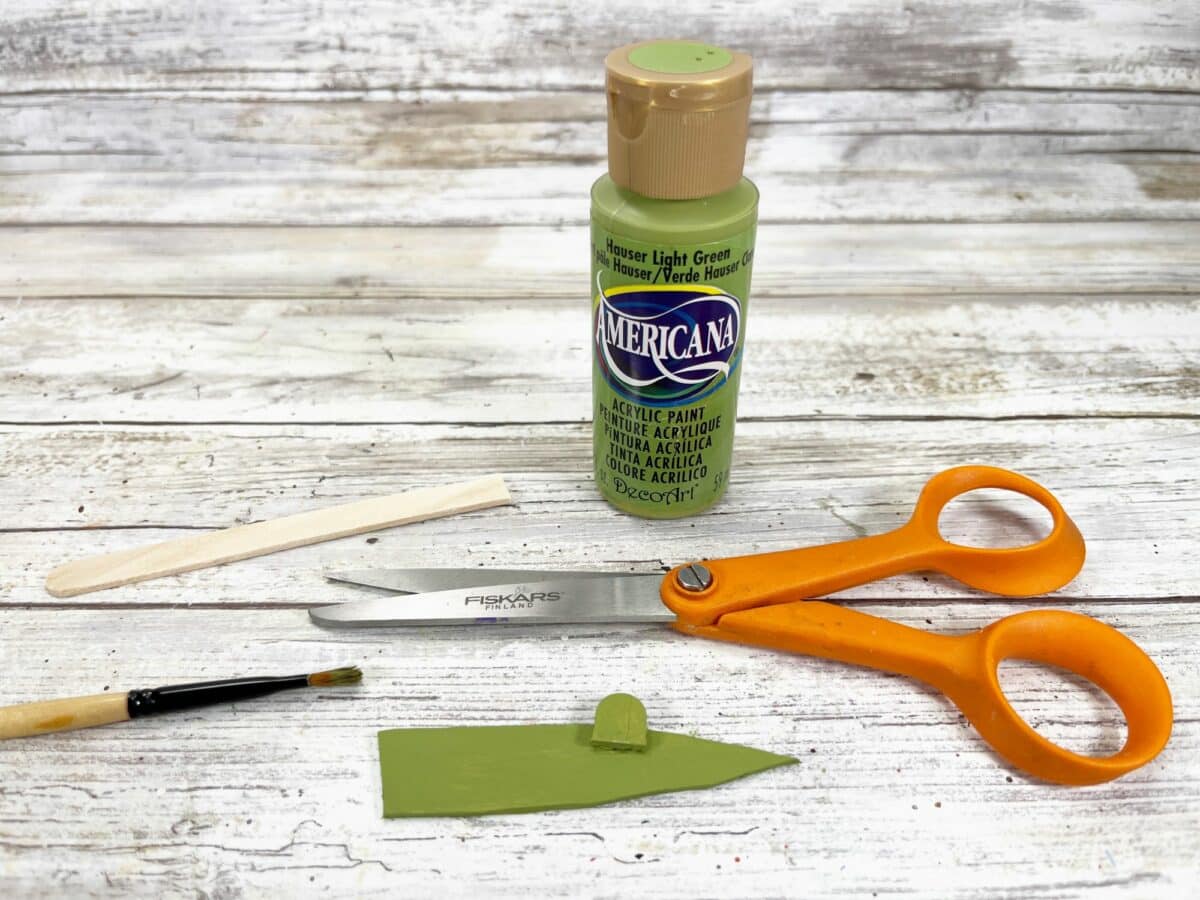
Trim a second jumbo craft stick into a pointed nose shape by cutting with scissors.
Then, cut the end off of a regular craft stick. This small rounded piece will be the witch’s wart.

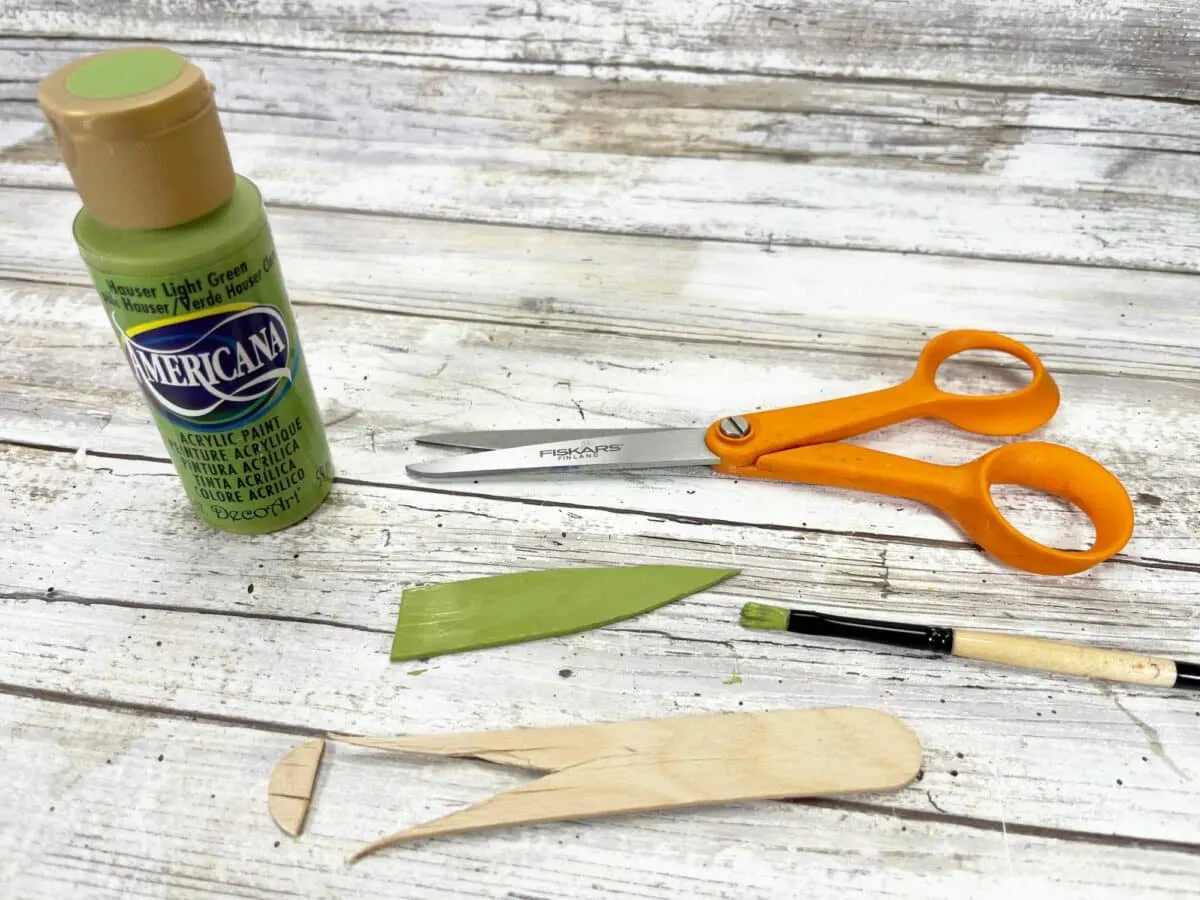
Glue the wart onto the nose.
Paint the nose and wart with a muted light green acrylic craft paint.
Allow to dry, and apply a second coat, if needed.

Step 3
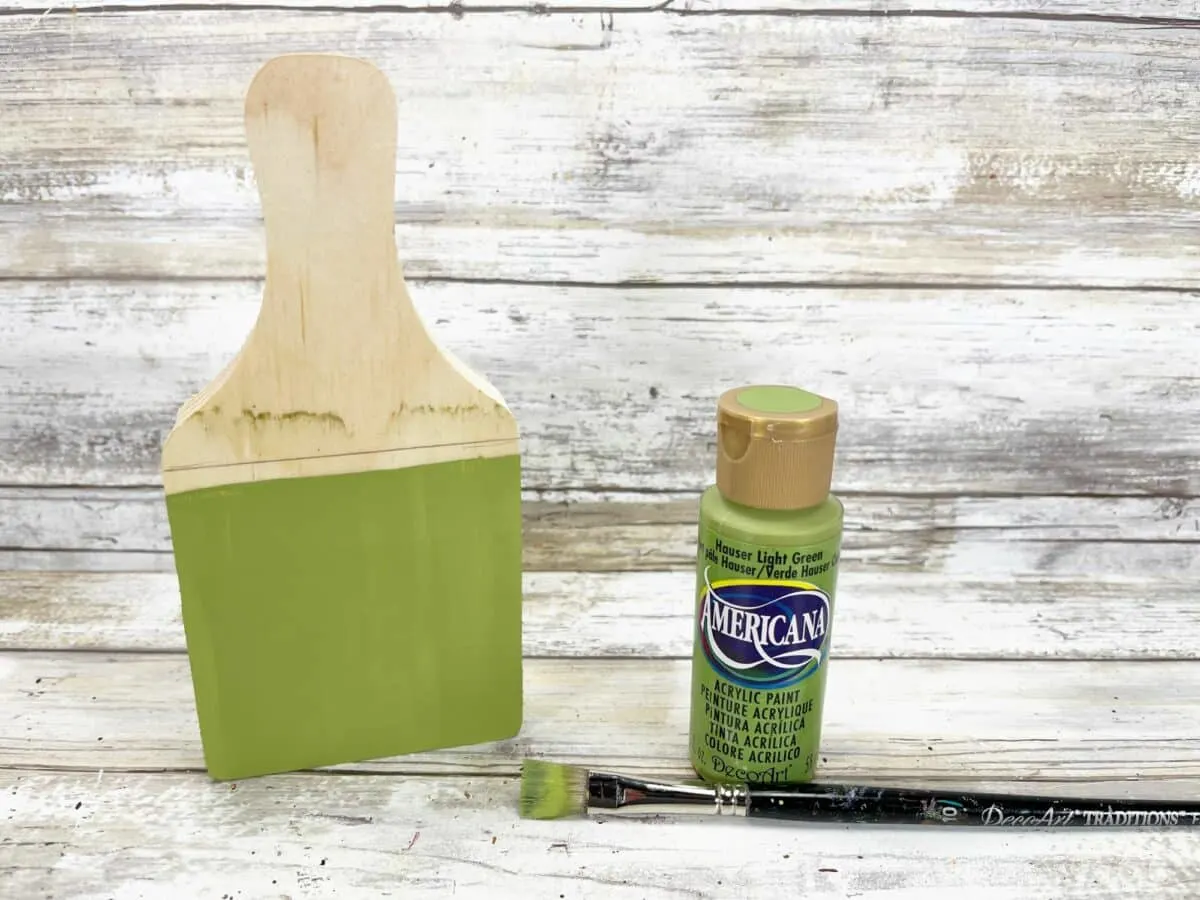
Paint the bottom half of the cutting board below the straight line with the green paint.
Allow to dry and apply a second coat, if needed.

Step 4
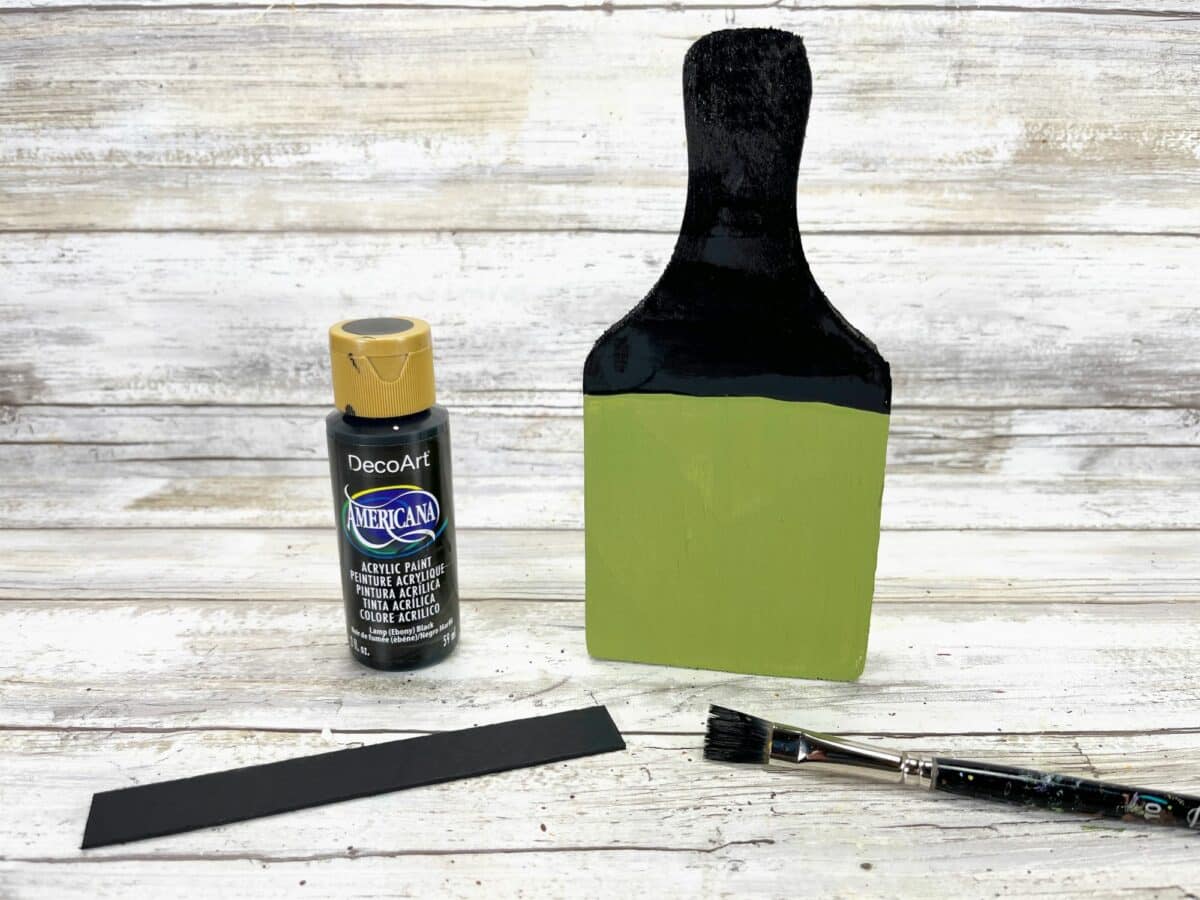
Paint the top half of the cutting board and the jumbo craft stick with black acrylic craft paint.
Allow to dry and add a second coat, if needed.
Glue the craft stick hat brim across the area where the black and green paint meet.

Step 5
To create the witch’s hair, cut two orange chenille stems in half with scissors.
Gather the four pieces together and twist them together in the middle. Then bend the bundle in half.
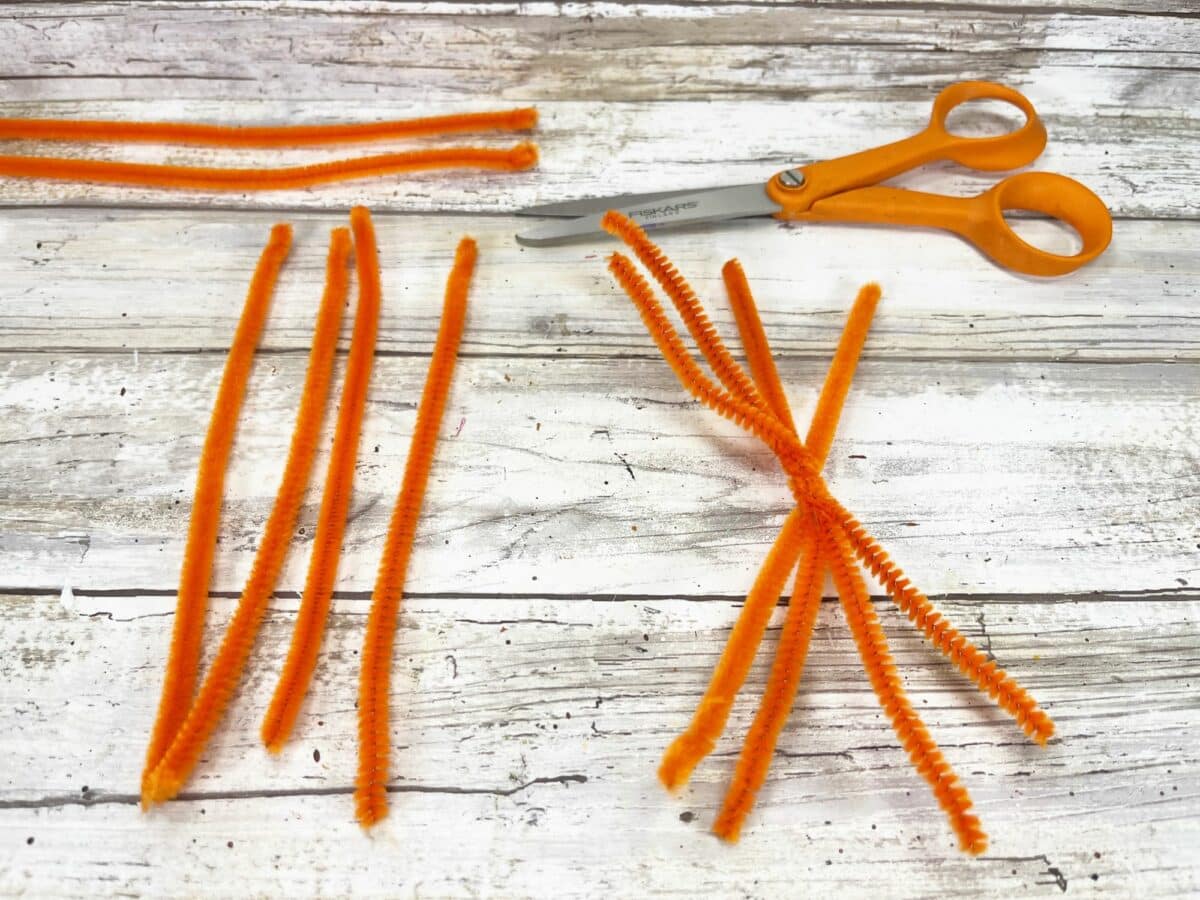
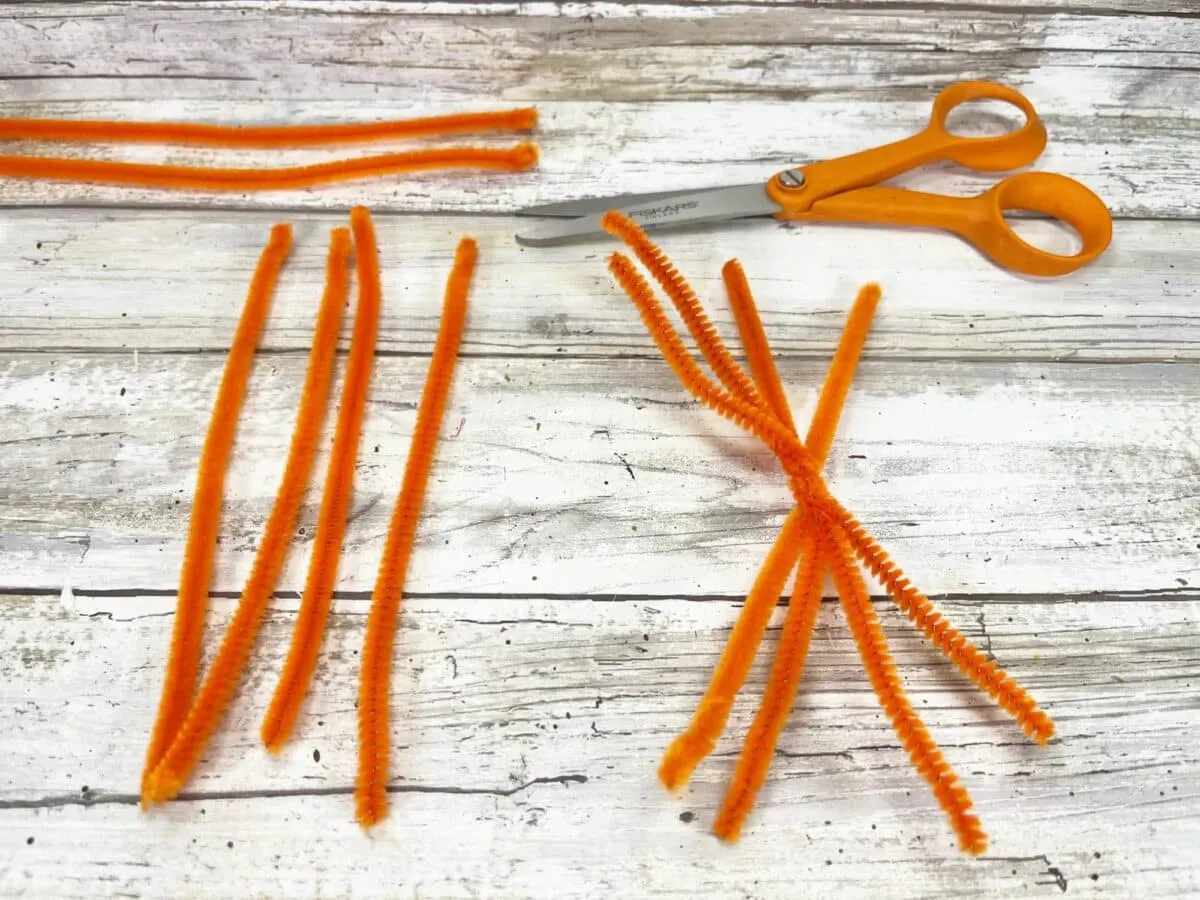
This is the hair for one side of the witch. Now repeat the same process with two more chenille stems for the other side.
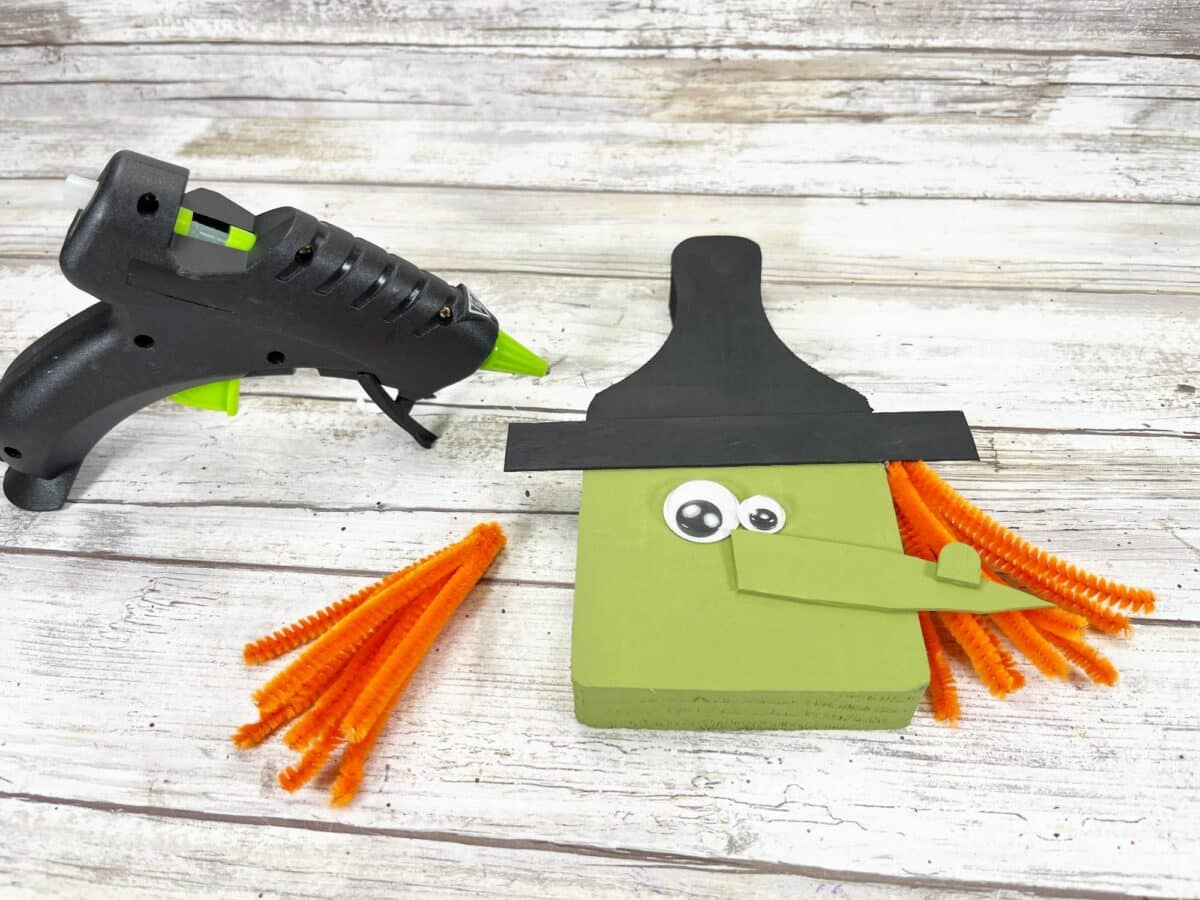
Step 6
Glue two wiggle eyes to the witch face underneath the hat brim.
Then, underneath the yes, glue the witch’s nose.
Glue the two bunches of orange hair to the left and right sides of the witch’s hat brim, just behind the craft stick hat trim.

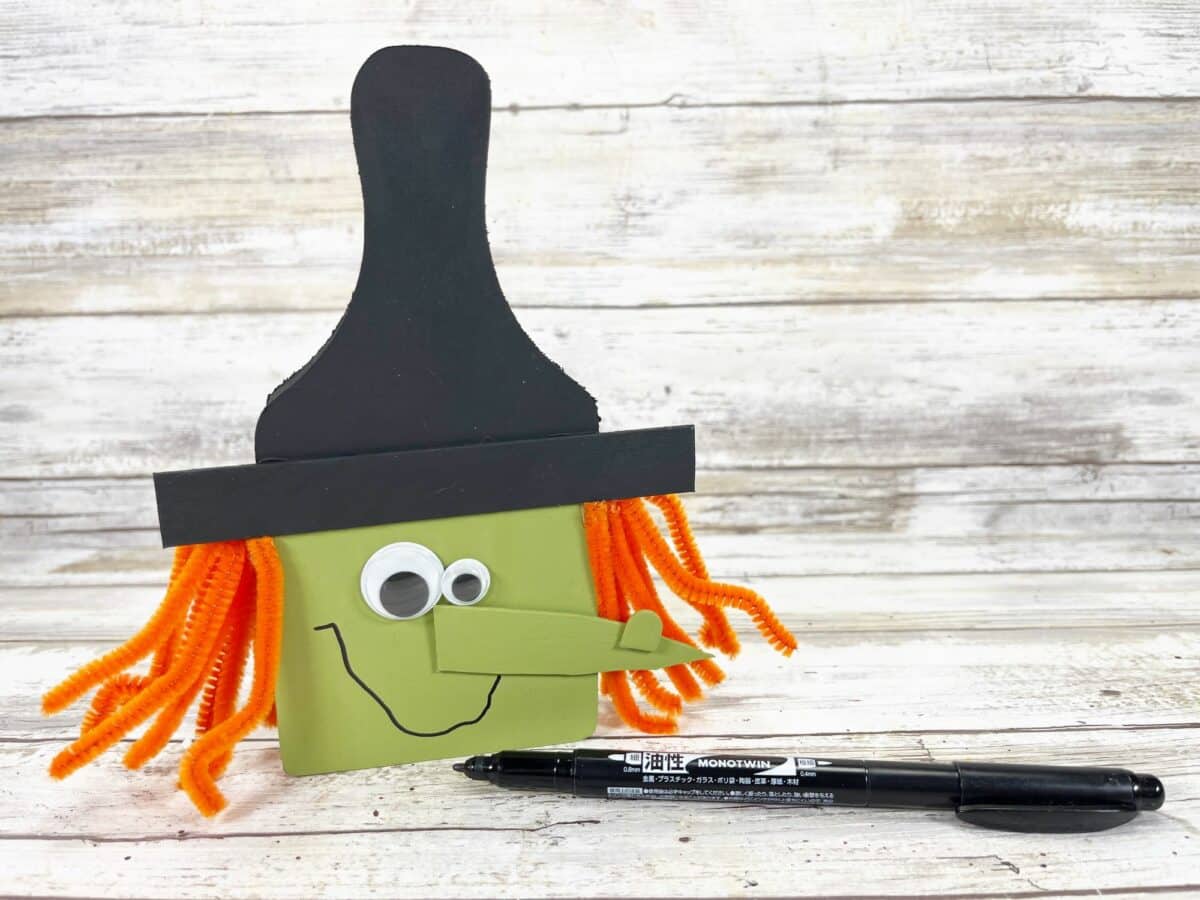
Step 7
Draw on a crooked smile with a permanent black marker.

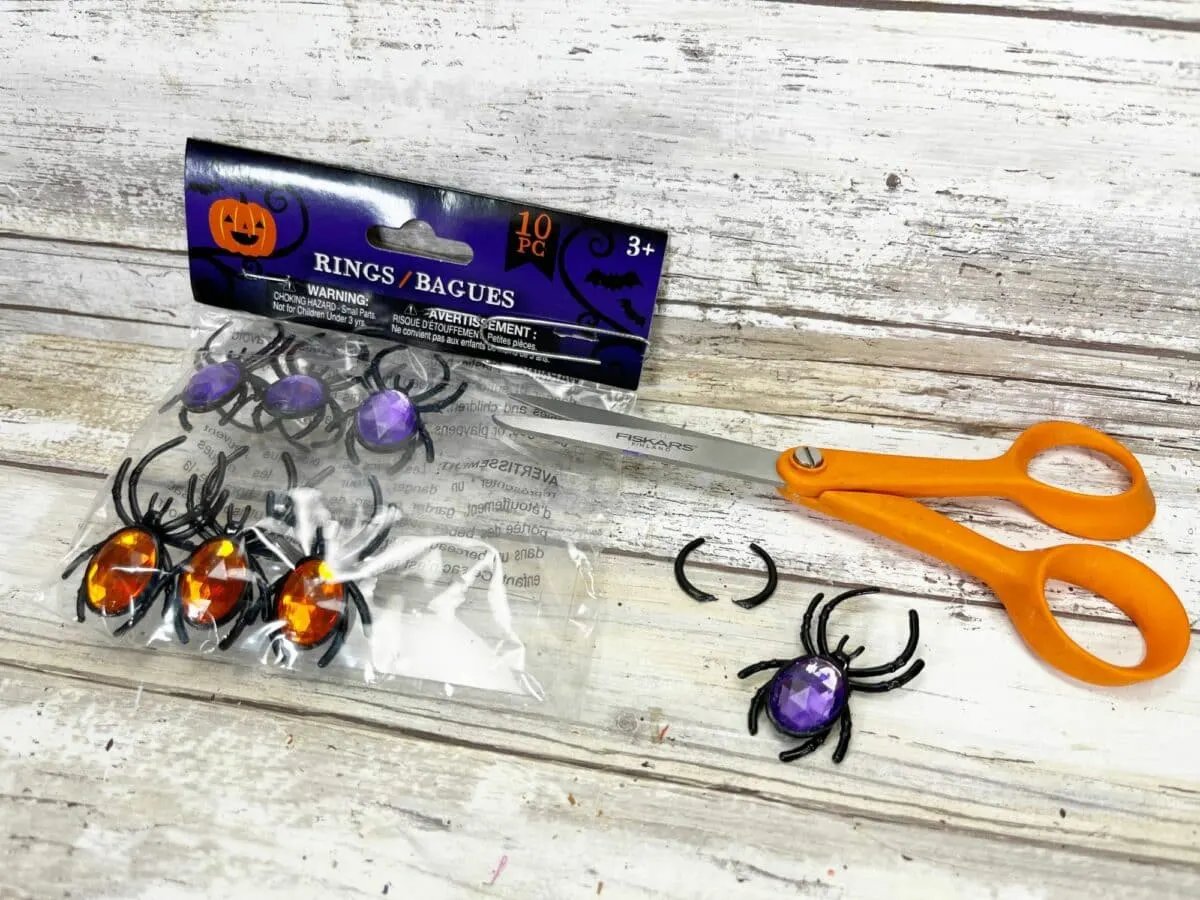
Step 8
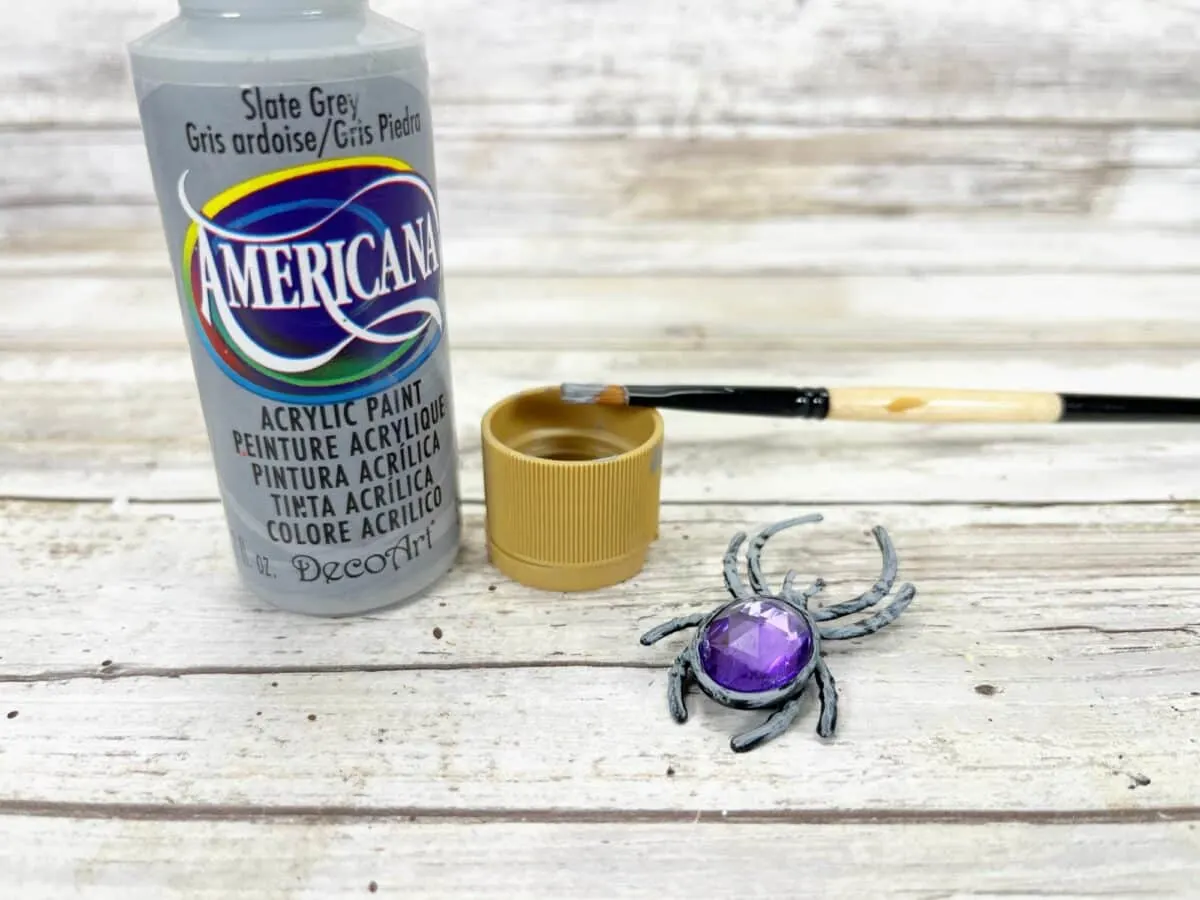
Using one of the spider rings, cut off the ring part.

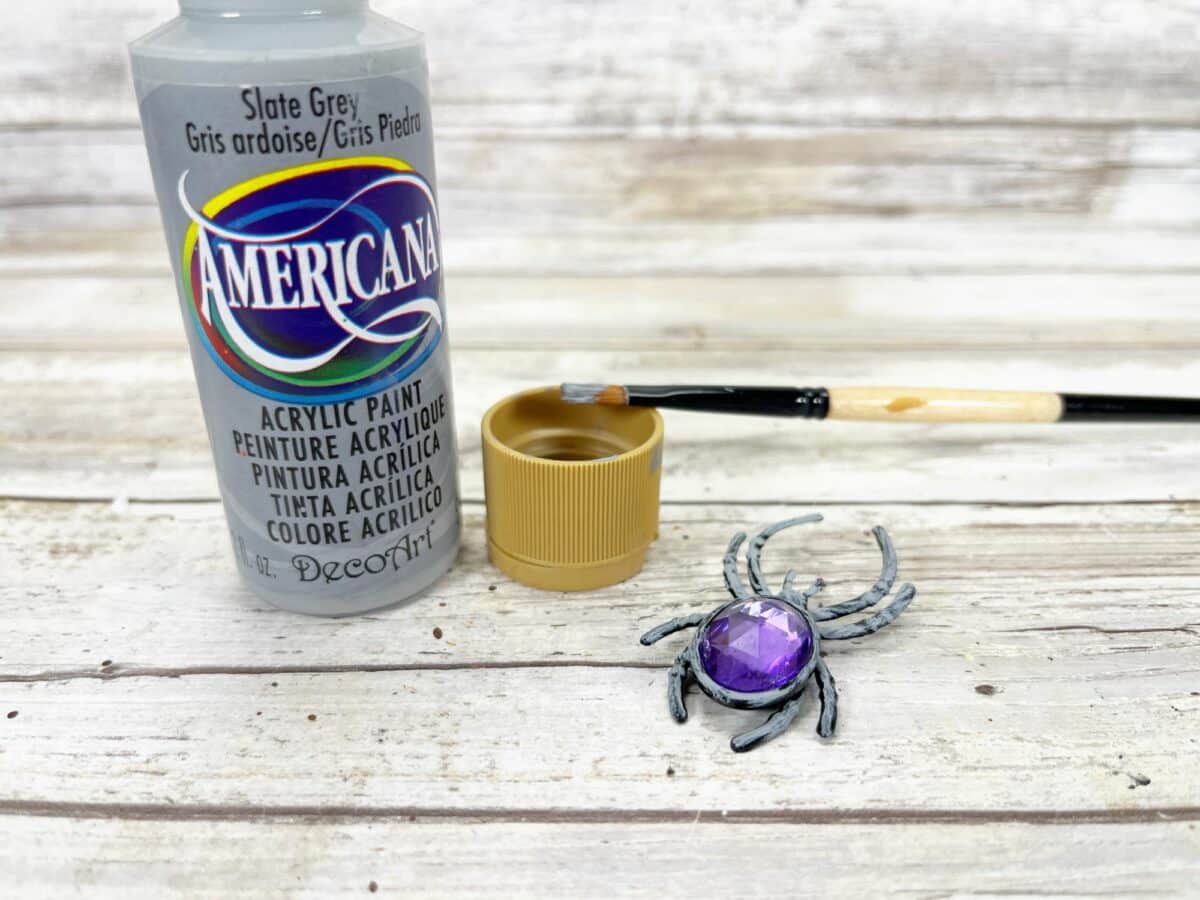
Then, paint the spider legs with grey acrylic craft paint, allowing some of the black plastic to show through. Allow the paint to dry.
Step 9
Tie a box with the ribbon. Notch the ends, if you would like.

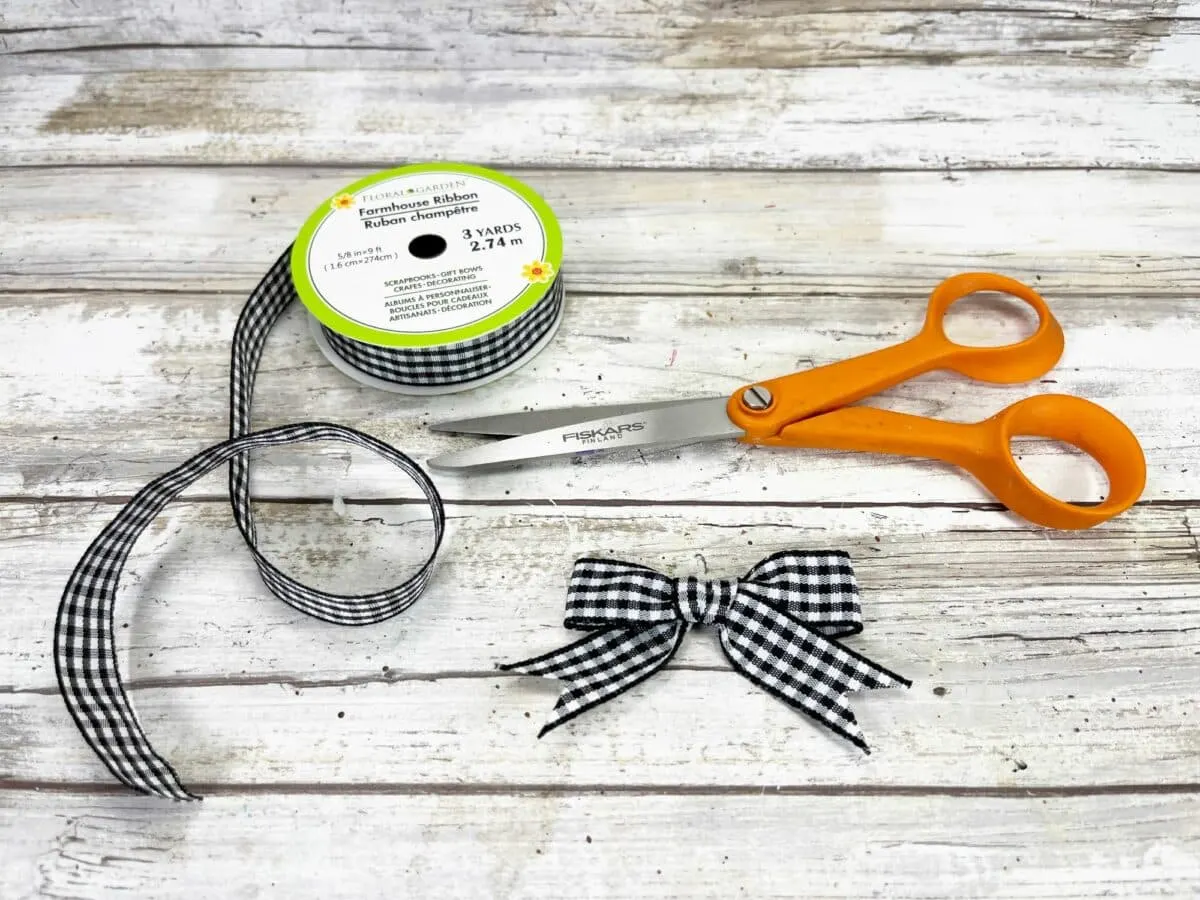
Glue the bow to the witch’s hat. Then glue the spider to the center of the bow.


If you like this Cutting Board Witch craft, be sure to Pin It for later!
Be sure to see our other great cutting board crafts:
