
I have a few Easter eggs in my holiday decor that were made for me decades ago. I love them. They were made with the big plastic eggs that pantyhose used to come in. Does anyone remember that? (Or pantyhose for that matter?)
Well, these colorful eggs are heirloom quality, too. These instructions for how to decoupage Easter eggs use fabric and craft eggs that will last for generations.
What I love about this Easter craft is that you can take bits and bobs of craft supplies and make them into the most darling Spring decor.

If you are like me, you might have little pieces of ribbon or fabric that you can’t part with, but won’t be good for making many other things.
Or maybe you have some random buttons, or artificial flowers that aren’t on stems. (Especially flowers that have fallen off while making these easy Easter basket floral bouquets.) All of those bits are perfect to make these cute Easter eggs.
You might want to check out my other Easter crafts, too! Such as these adorable Easter mason jars.
Or my pretty Easter banner made with Cricut. And this cute peeking Easter Bunny frame. You’ll want to display all of these decorations year after year!

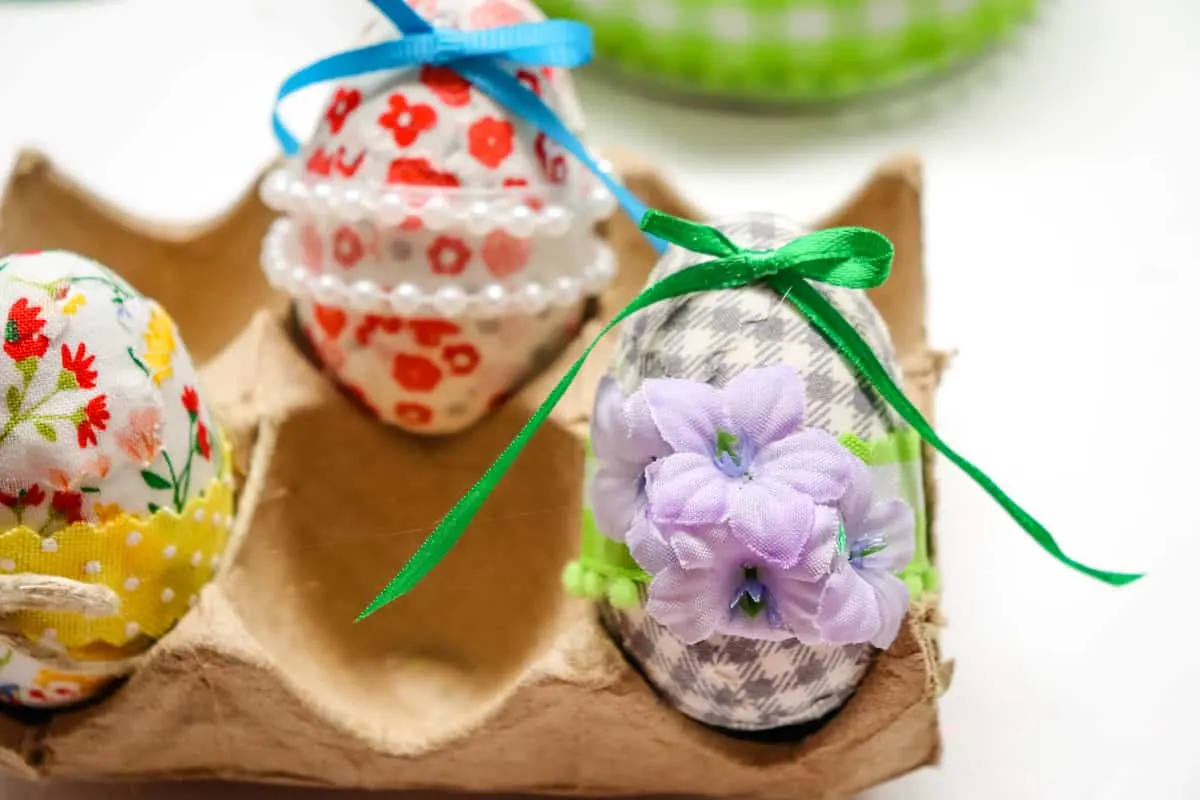
Once you have made several of these decoupaged eggs, you might be wondering how to display them. Here are some ways to decorate with these eggs:
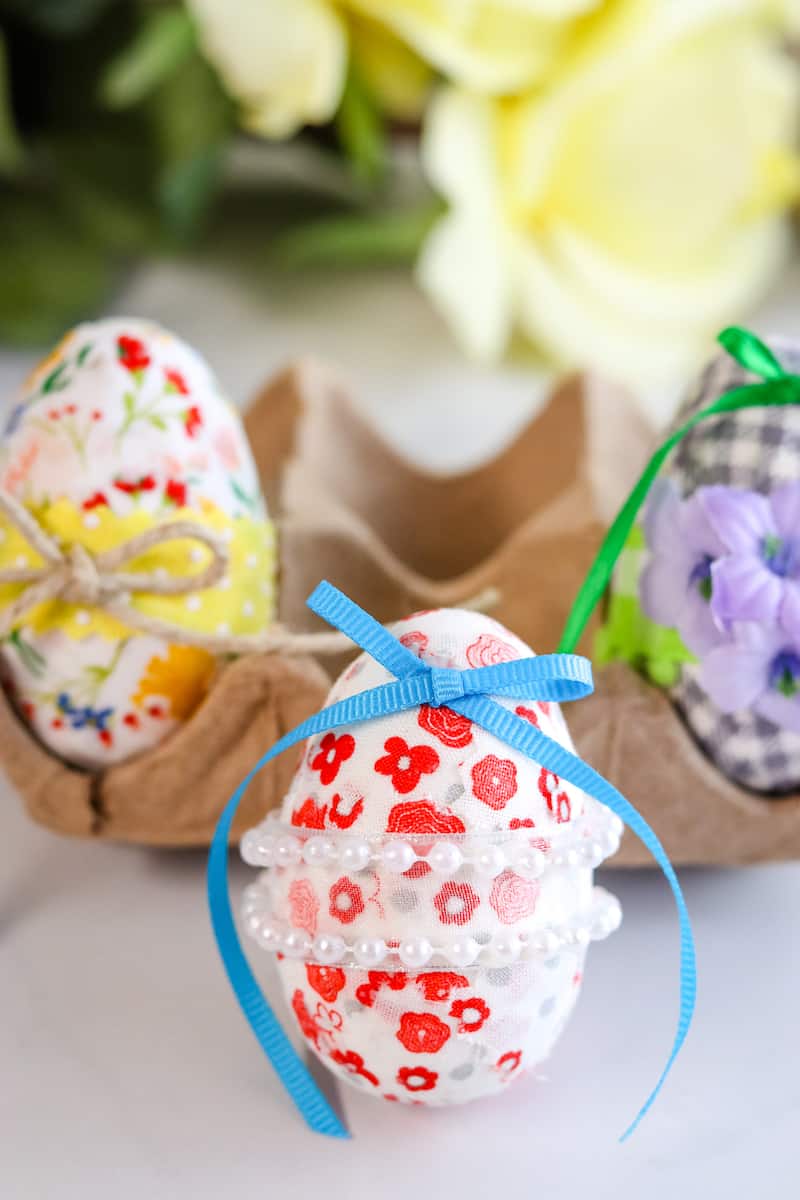
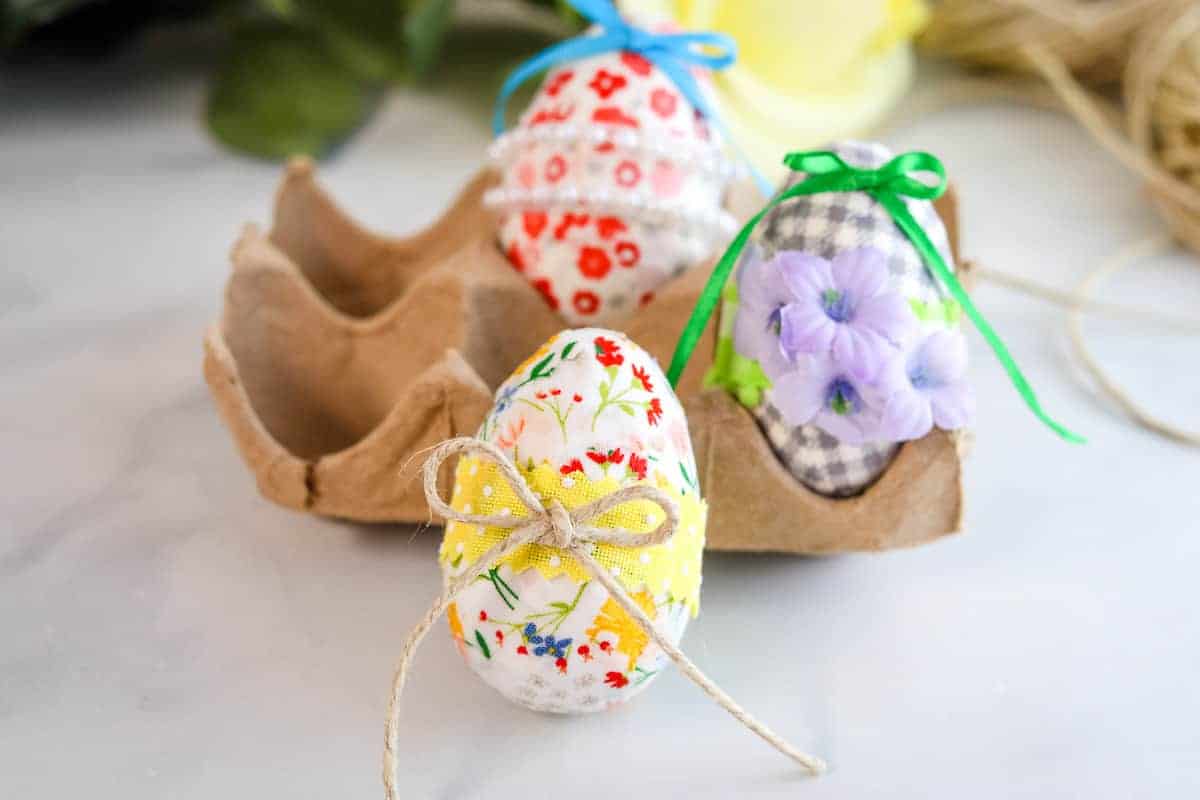
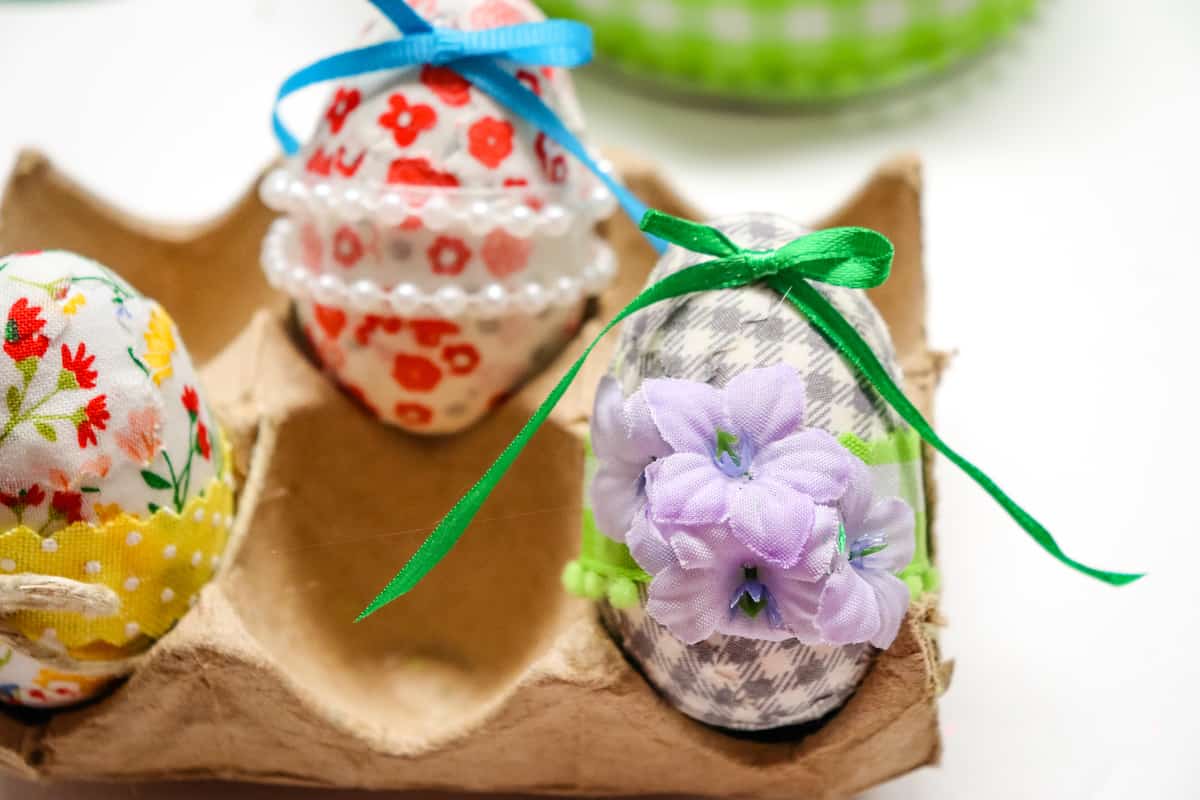
- Use a trimmed down egg carton. This could be a cardboard egg carton your edible eggs came in. Or you may also find these egg cartons at the Dollar Tree. This porcelain pink egg holder would be beautiful and can be reused.
- Add several to a bowl and place on a table.
- Display individually in decorative egg cups.
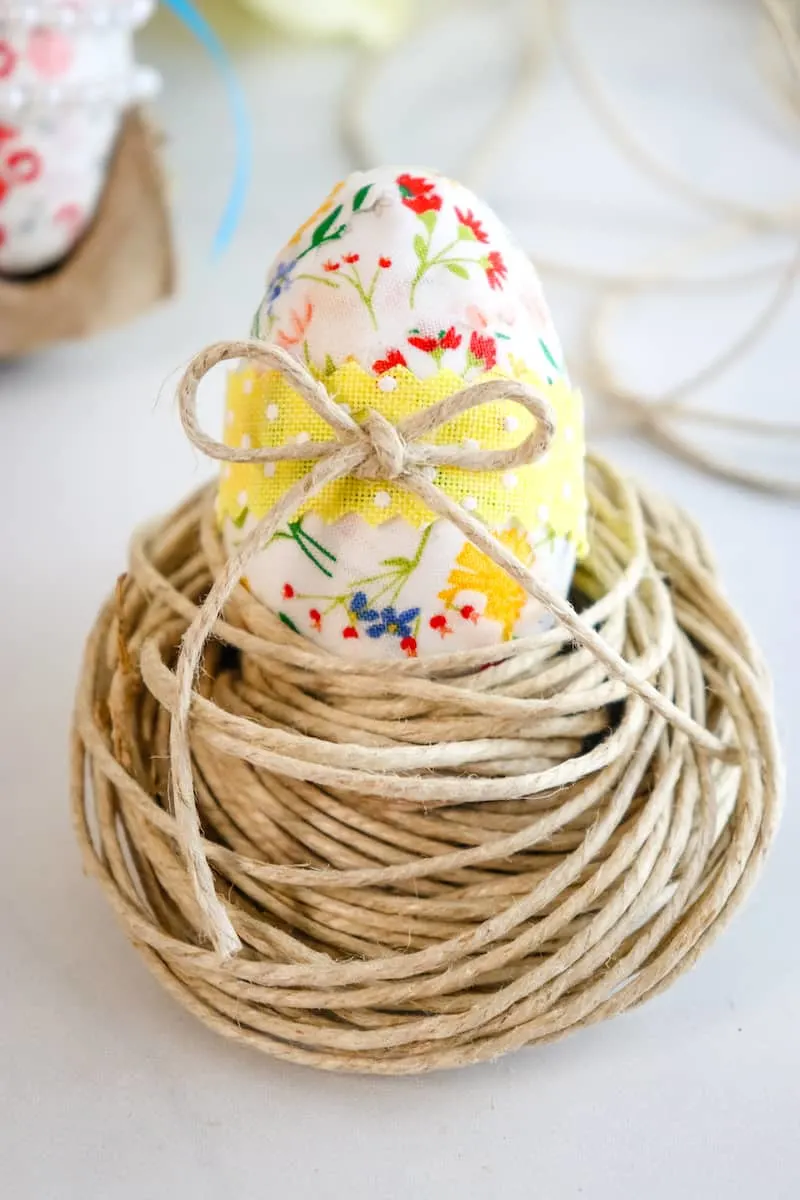
- Nestle in a fake birds nest. I also love the way one looks nestled in my roll of twine!

Did you know that you can also decoupage on glass, too? Here’s how I decoupaged a paper napkin to make a farmhouse vase.
How to Decoupage Easter Eggs with Fabric
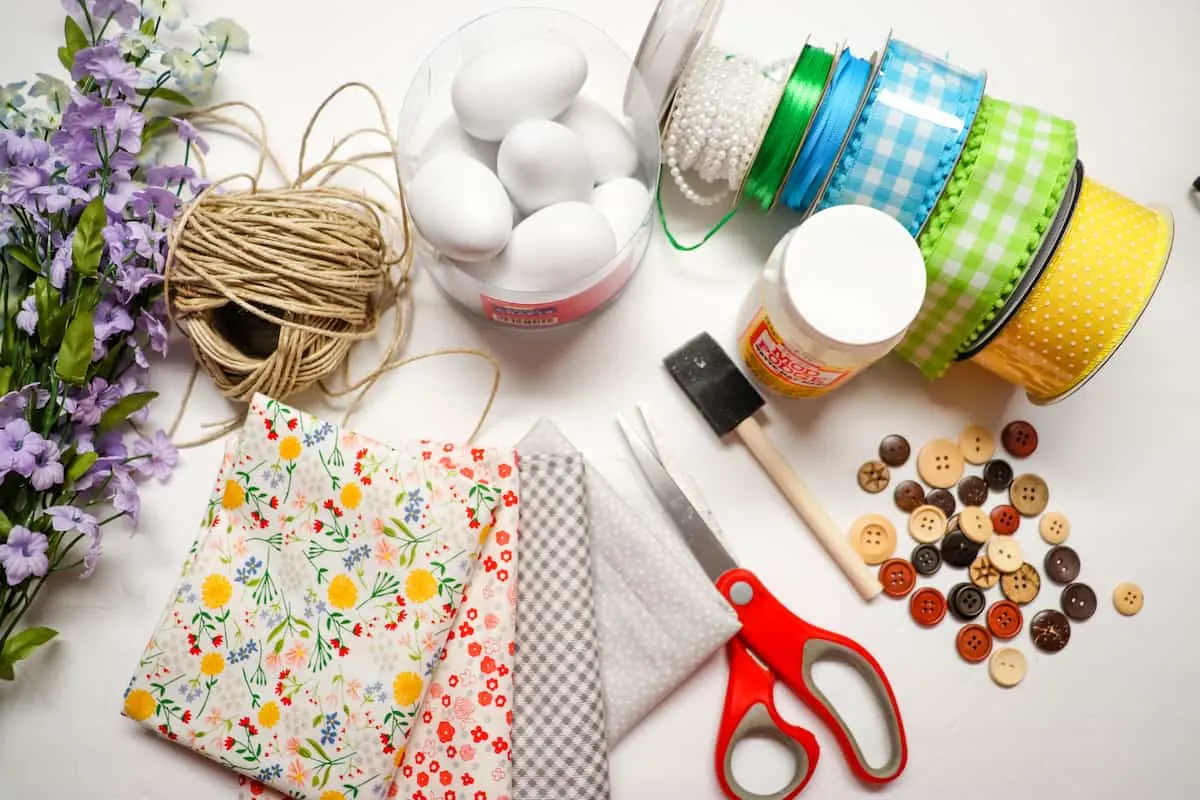
Supplies
- Fabric scraps (I bought mine from this family-owned Etsy shop and this Amazon shop)
- Variety of ribbon
- Twine
- Wood buttons
- Florals
- Craft eggs
- Mod Podge, Matte Finish
- Foam Brush
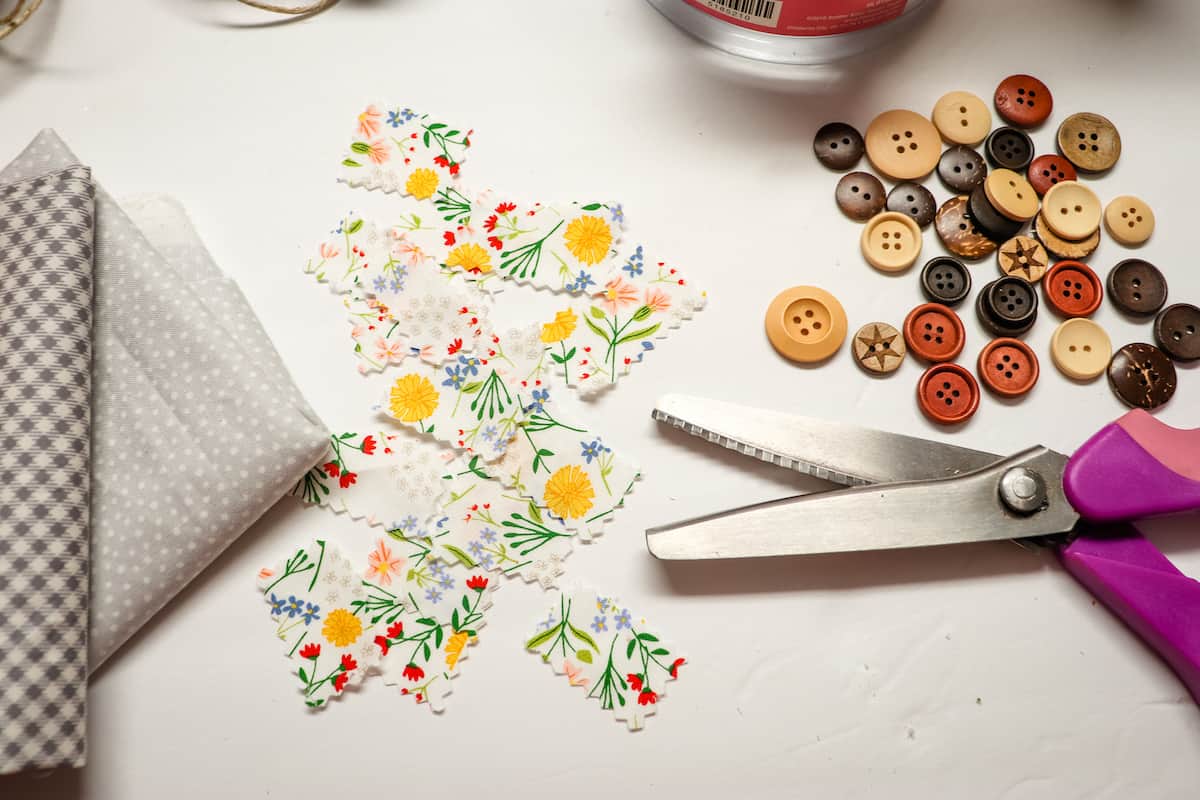
- Scissors – Pinking Sheers make nice edges

Instructions
Step 1
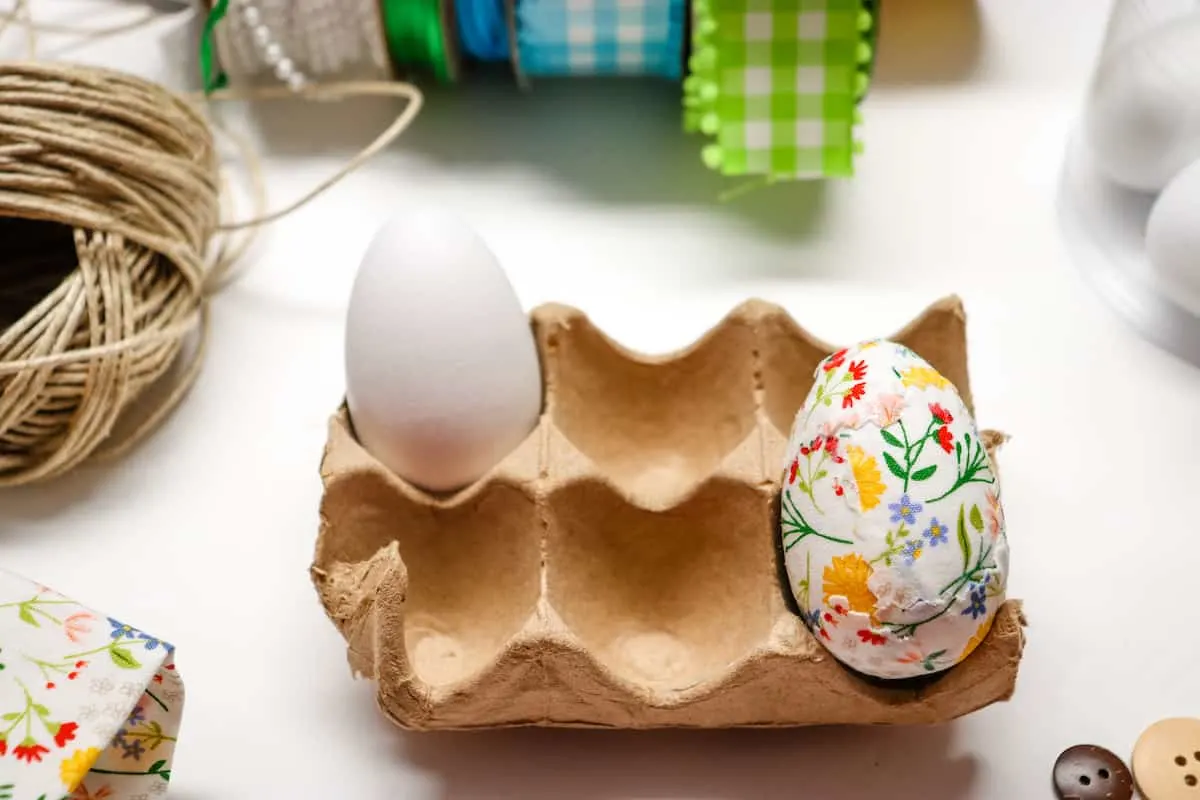
Cut out many small pieces of fabric, approximately 1” x 1 ½”. You will want patterns and colors that coordinate nicely.

Step 2
Use the foam brush to spread Mod Podge on the craft egg. Apply the fabric to the Mod Podge and gently rub it into the fabric to dampen it and to adhere it to the egg. You can dab a little extra Mod Podge on top of the fabric with your foam brush.
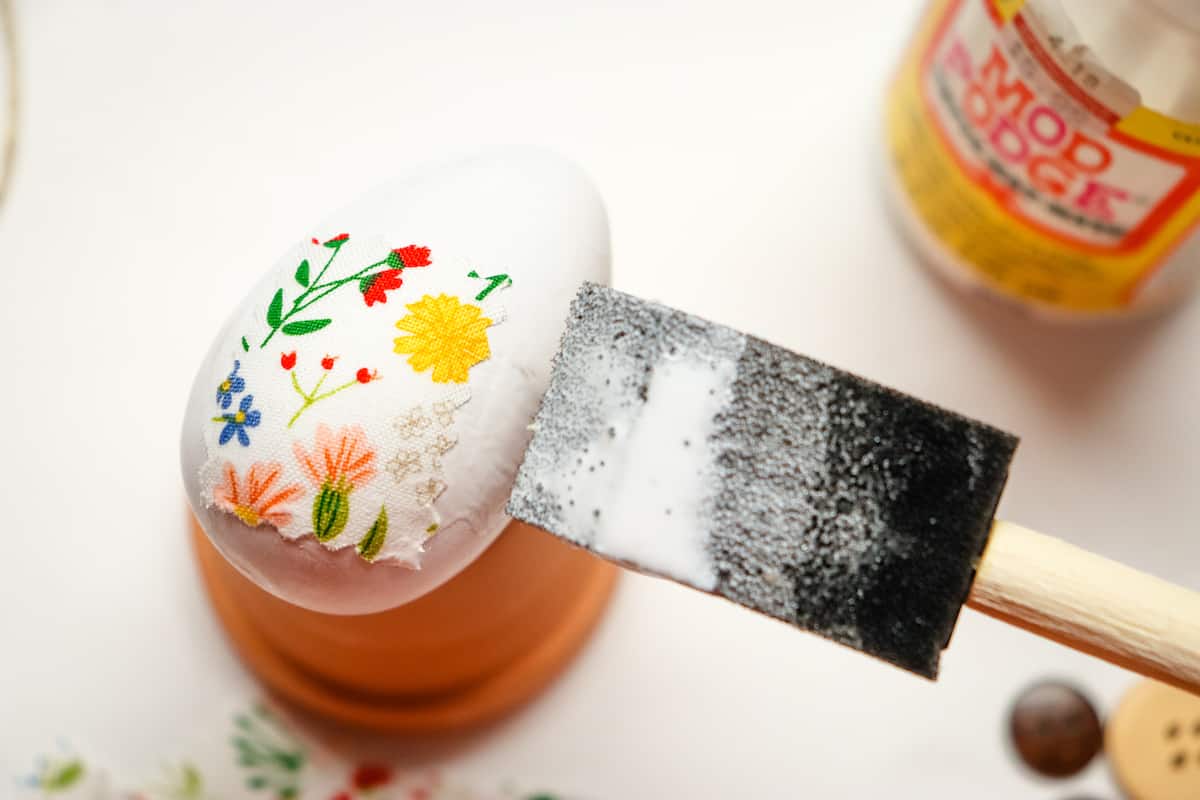
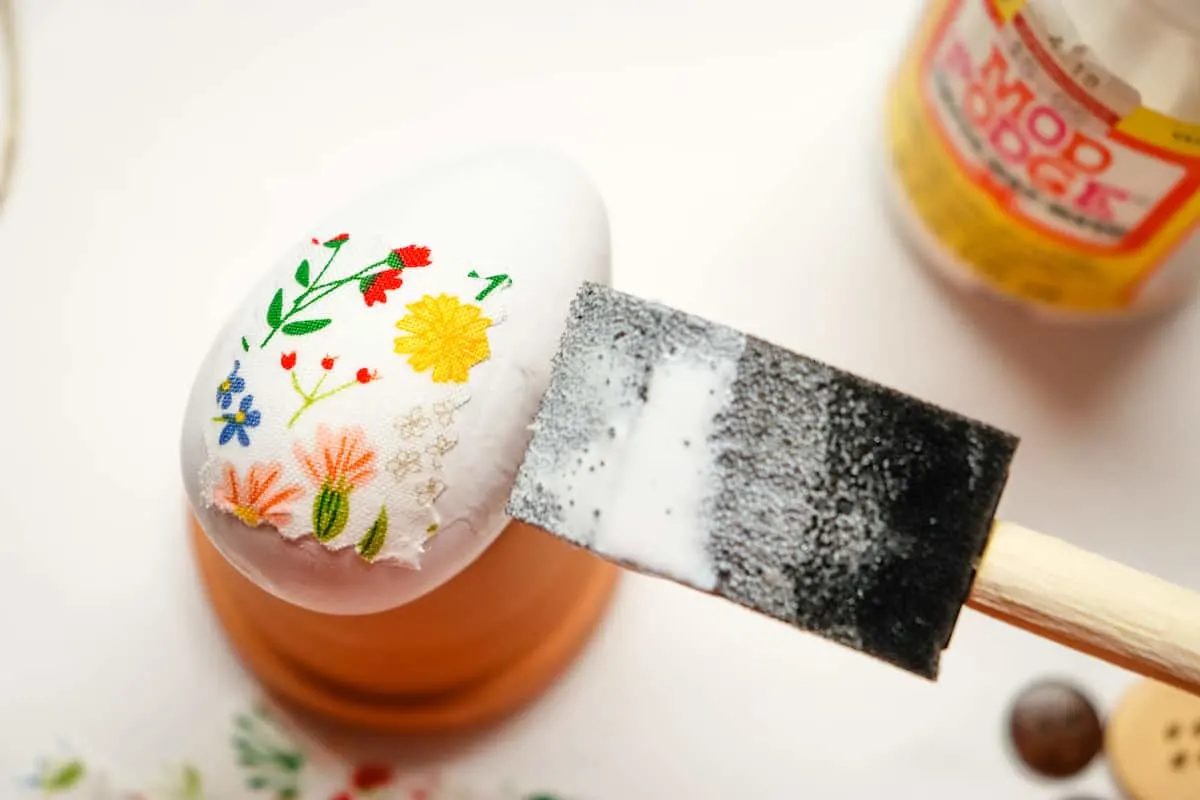
Make sure fabric edges are laying down and not curling up.
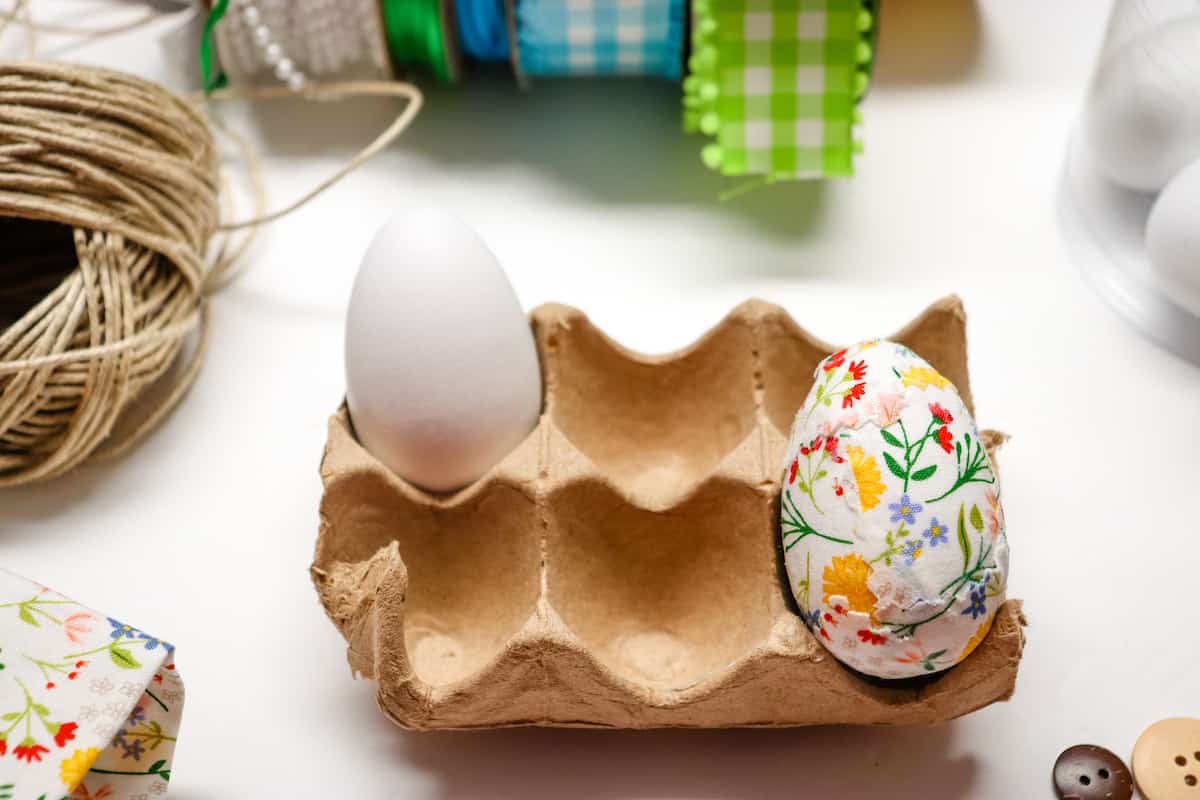
Step 3
Continue this process using the Mod Podge glue to overlap fabric pieces until the egg is completely covered. There is no right way to lay the pieces down. Just use your imagination.
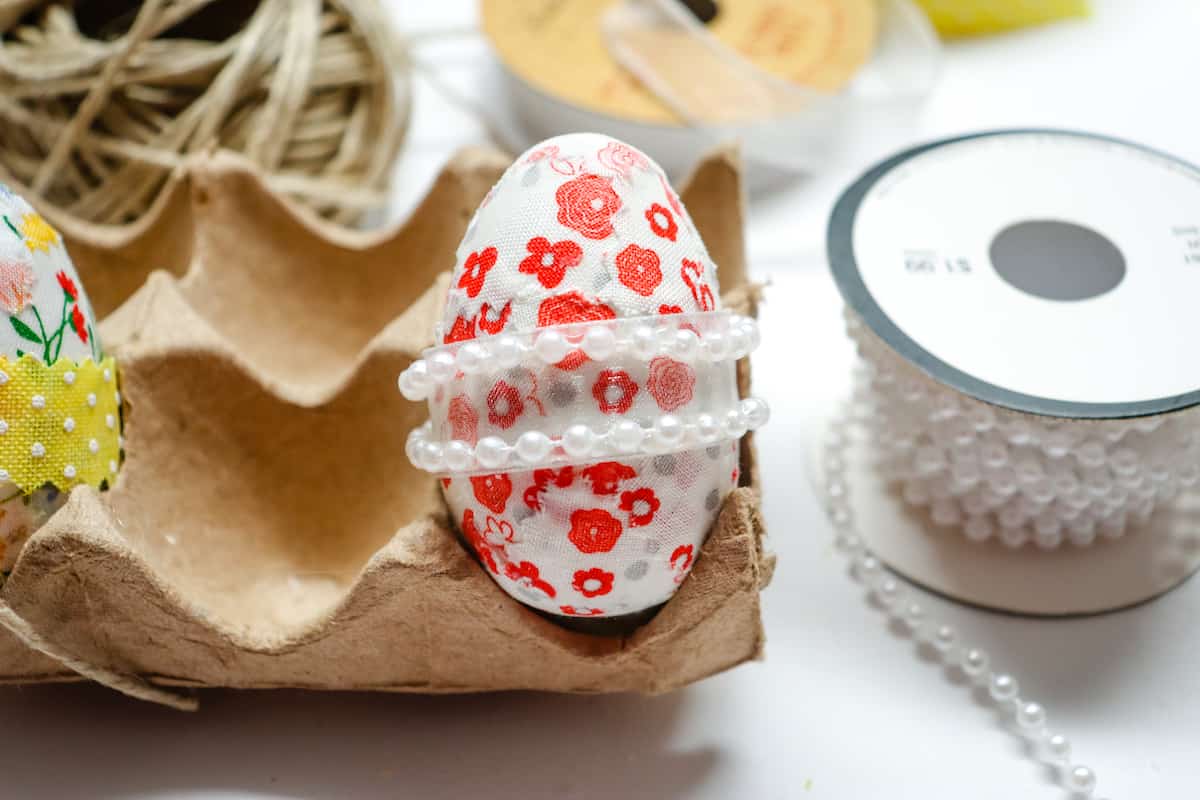
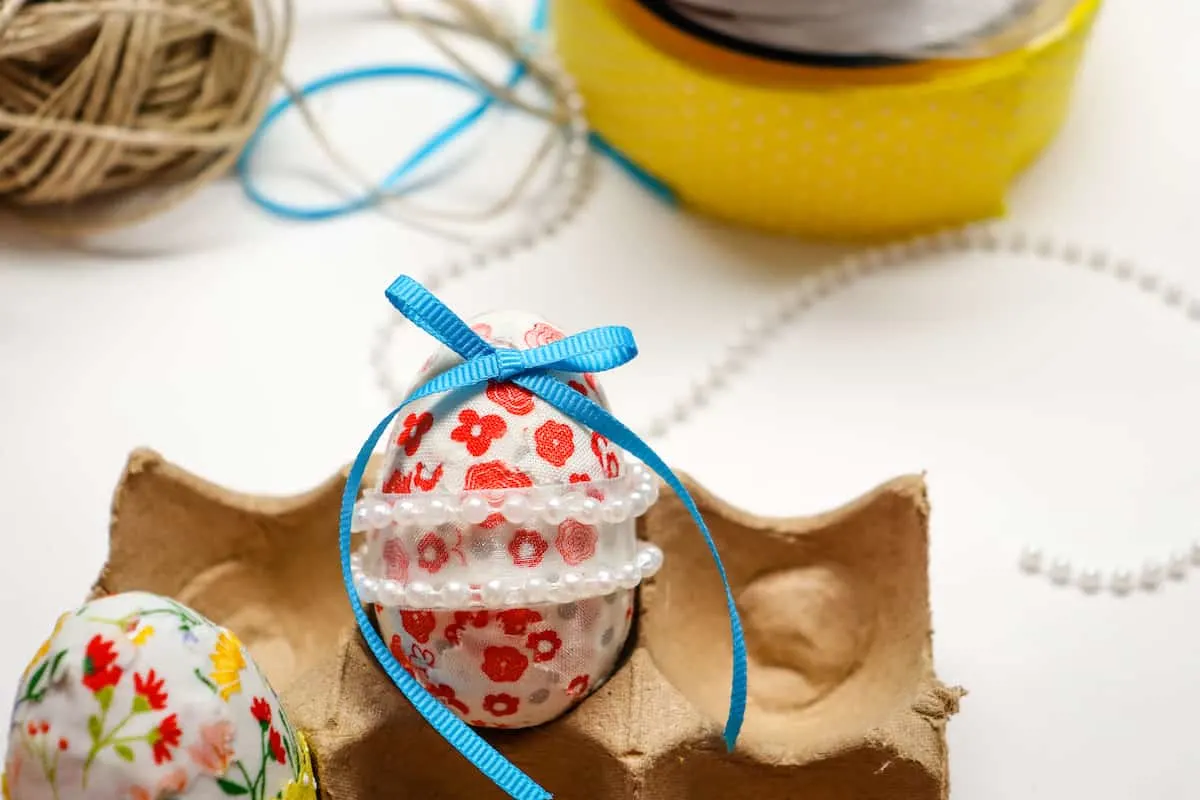
Step 4
Now it’s time to decorate! Use your pieces of ribbon, buttons, flowers, etc. The yellow ribbon I used was actually far too wide for this project, so I cut it down the middle lengthwise with the pinking sheers. Use hot glue to attach the decorations. Tie a tiny jute twine bow or thin ribbon bow and glue to the front of the egg.


Looking for other unique ways to decorate Easter eggs? I think you’ll love my other ideas:
- Farmhouse Twine Wrapped Easter eggs
- Gilded Easter eggs
- Tissue Paper Easter Eggs
- Nail Polish Easter eggs
- Glitter eggs
- Galaxy Easter eggs
- How to Tie Dye Eggs
