
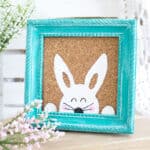

This cute peeking Easter bunny frame art is so simple to make that you’ll want to paint one for all your friends and family.
Using our free Easter bunny stencil, you can repurpose an inexpensive frame into this colorful and festive Easter art. This makes a great Easter gift or hostess present, too. Perfect for your family who is hosting Easter dinner.

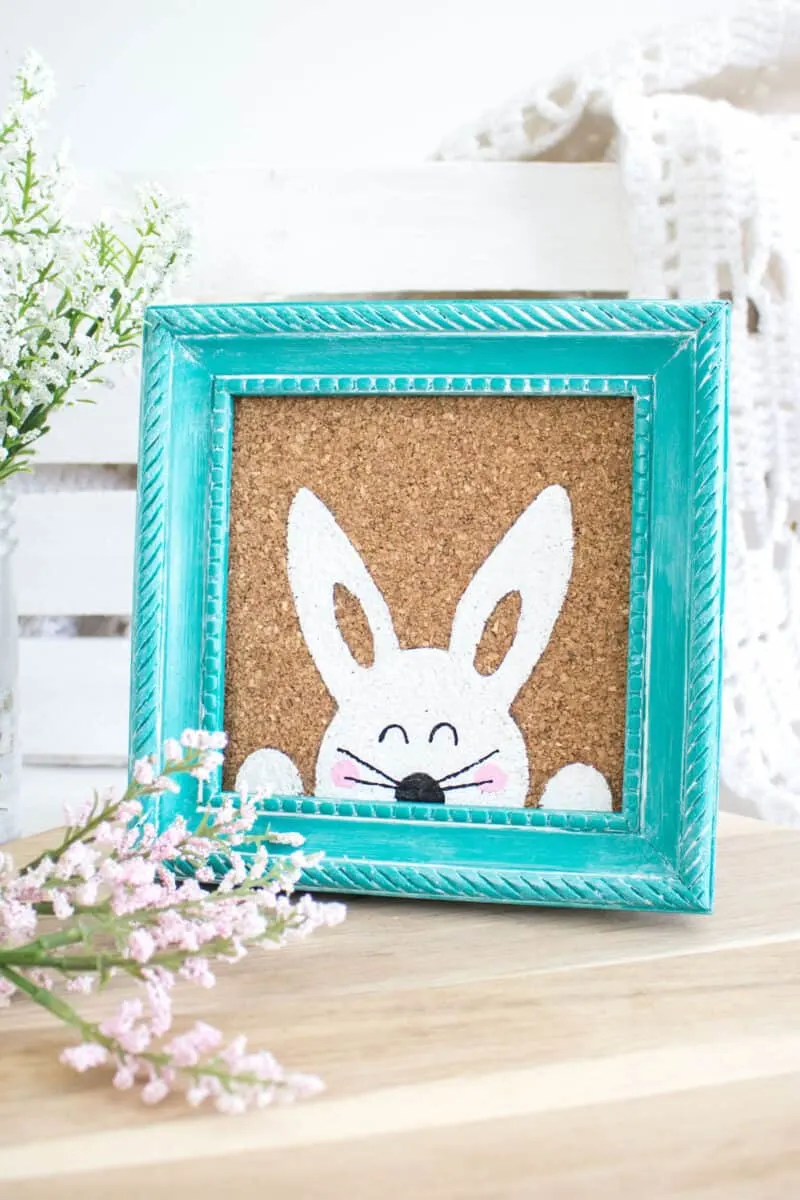
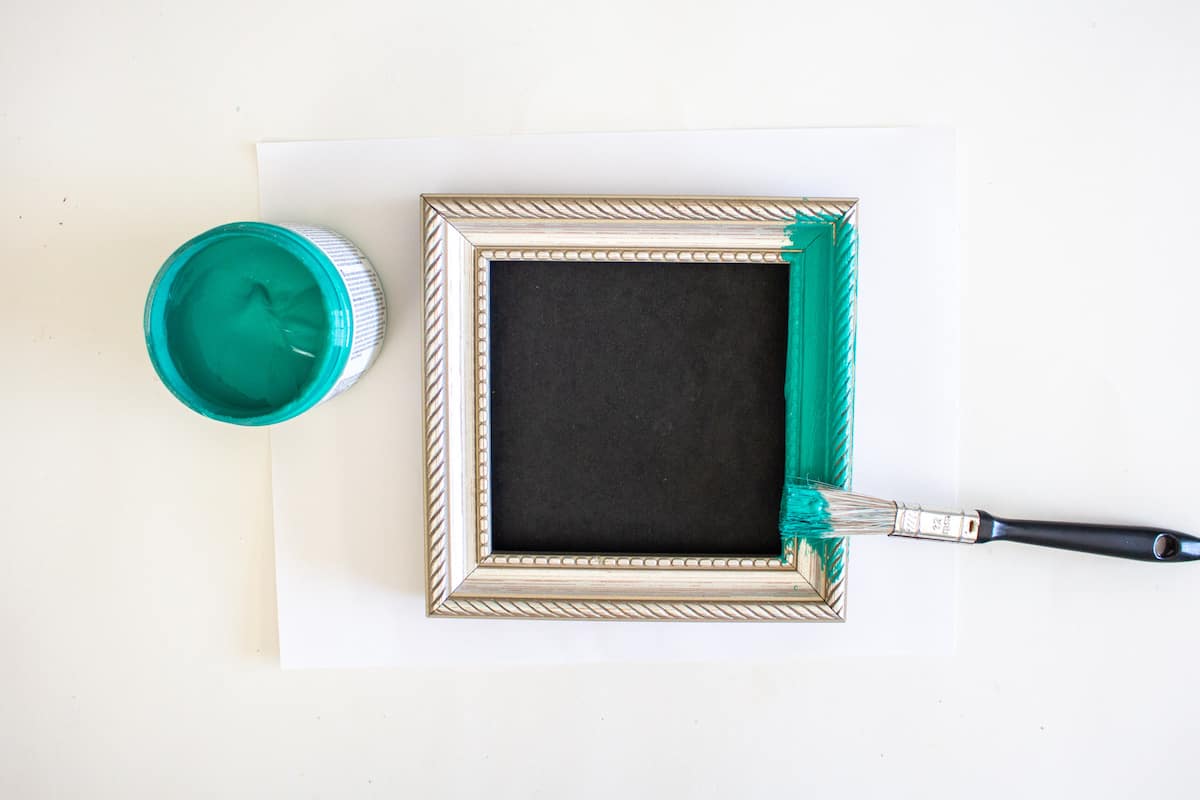
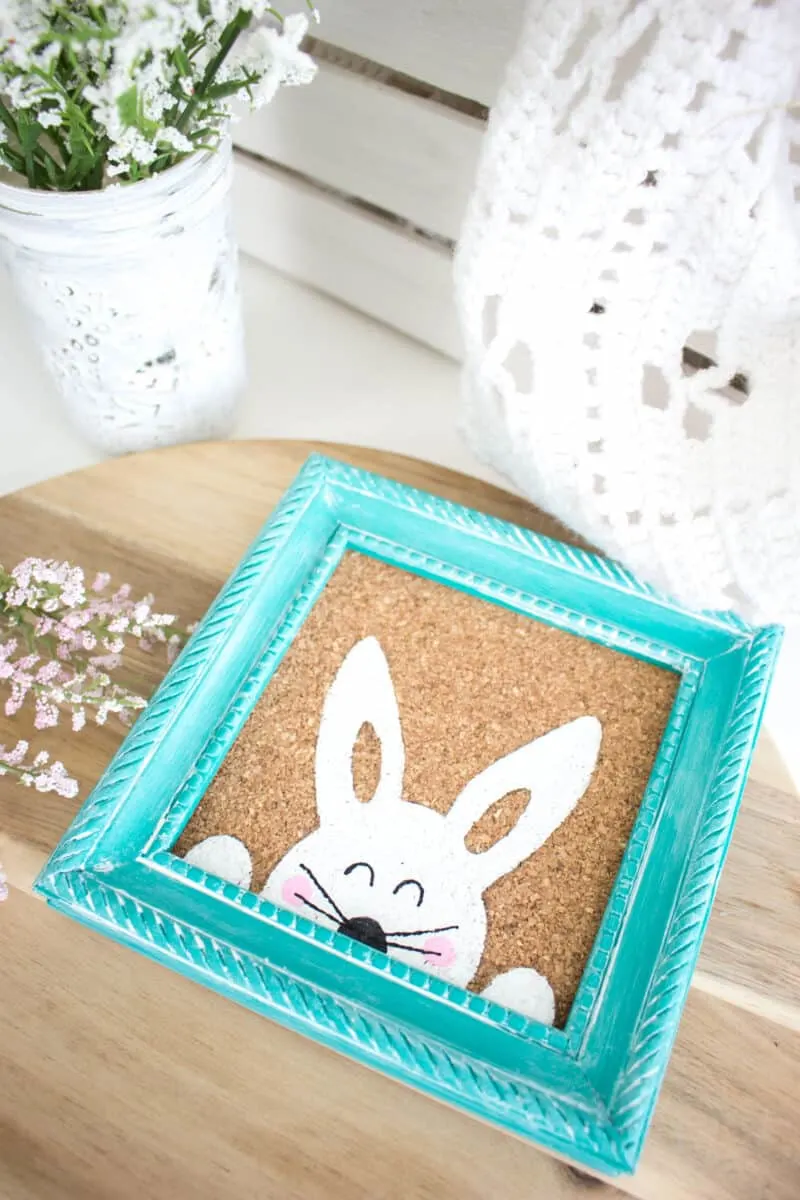
While I used a bright turquoise color for the frame, you can use whatever color you’d like.
And, you can use whatever frame you would like. The stencil can be customized in size when printing. If you use a frame that is more vertical than square, you will just have more empty cork space above the Easter bunny. Consider adding the year, or a name in the extra space above with a paint pen.
You will want to check out my other Easter crafts, too. The colors just make me smile, and I hope they do the same for you, too!
- Easter Bunny Butt Wreath
- Cute Easter Mason Jars
- Pretty Easter Banner
- Decoupaged Easter Eggs
- Easy Dollar Store Easter Basket Centerpieces
- Farmhouse Twine Wrapped Easter Eggs
- Gilded Easter Eggs
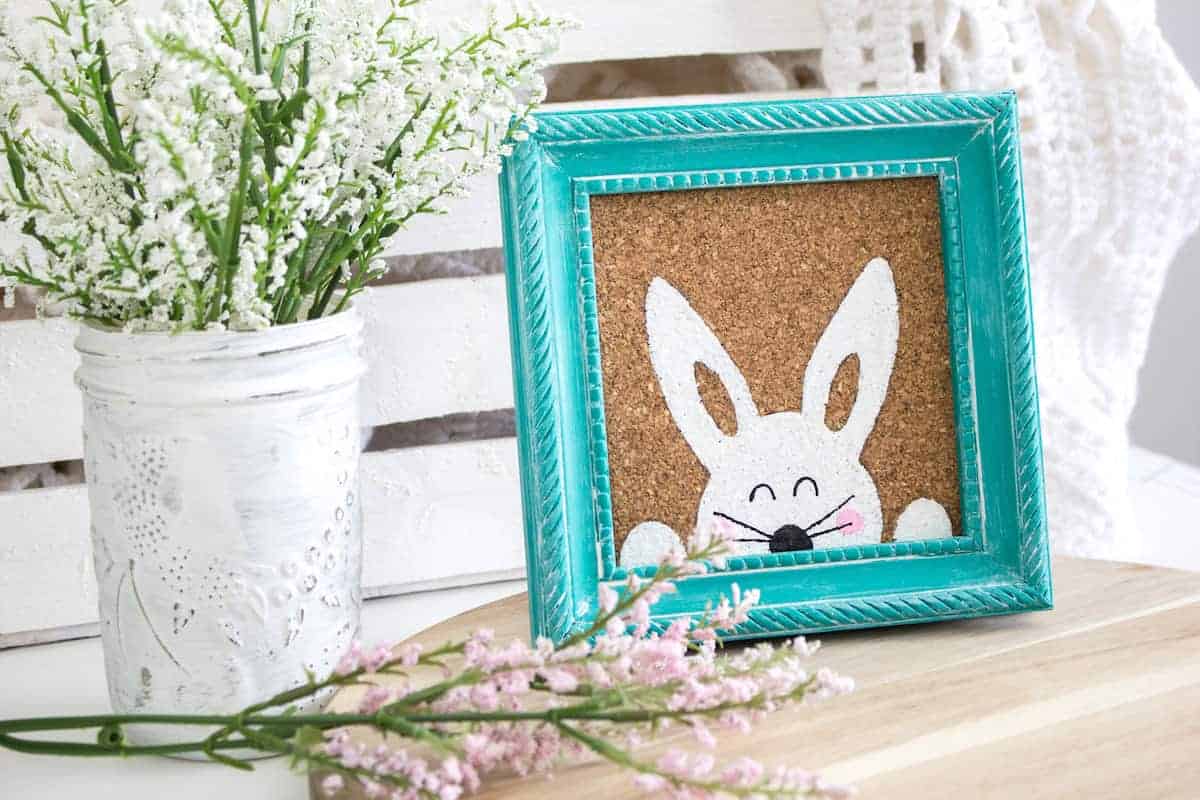
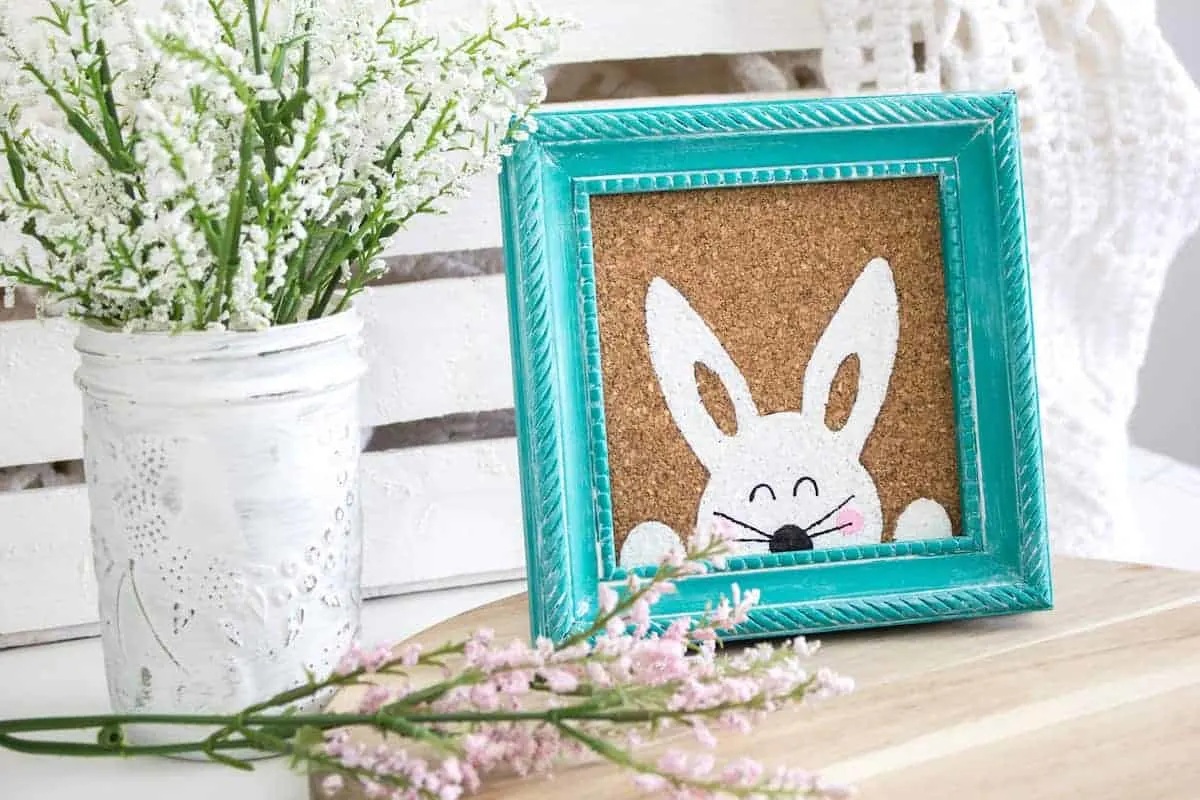
Cute Peeking Easter Bunny Frame
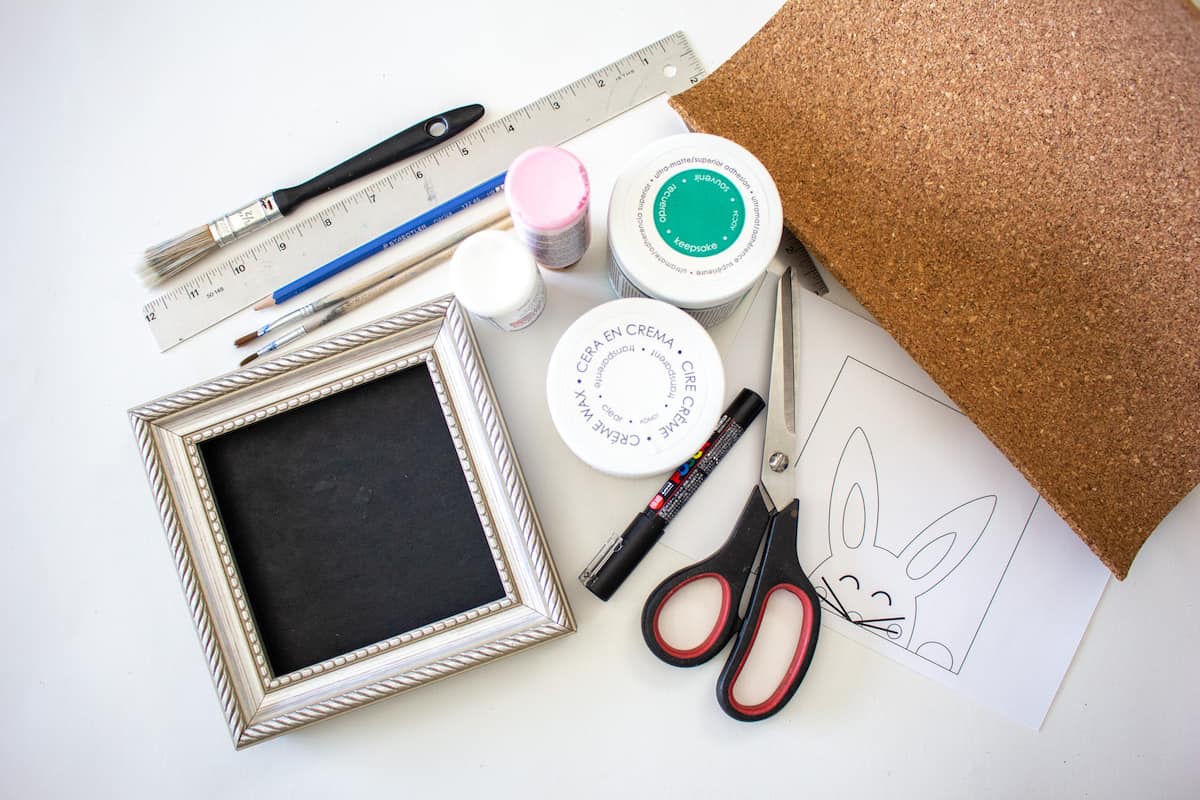
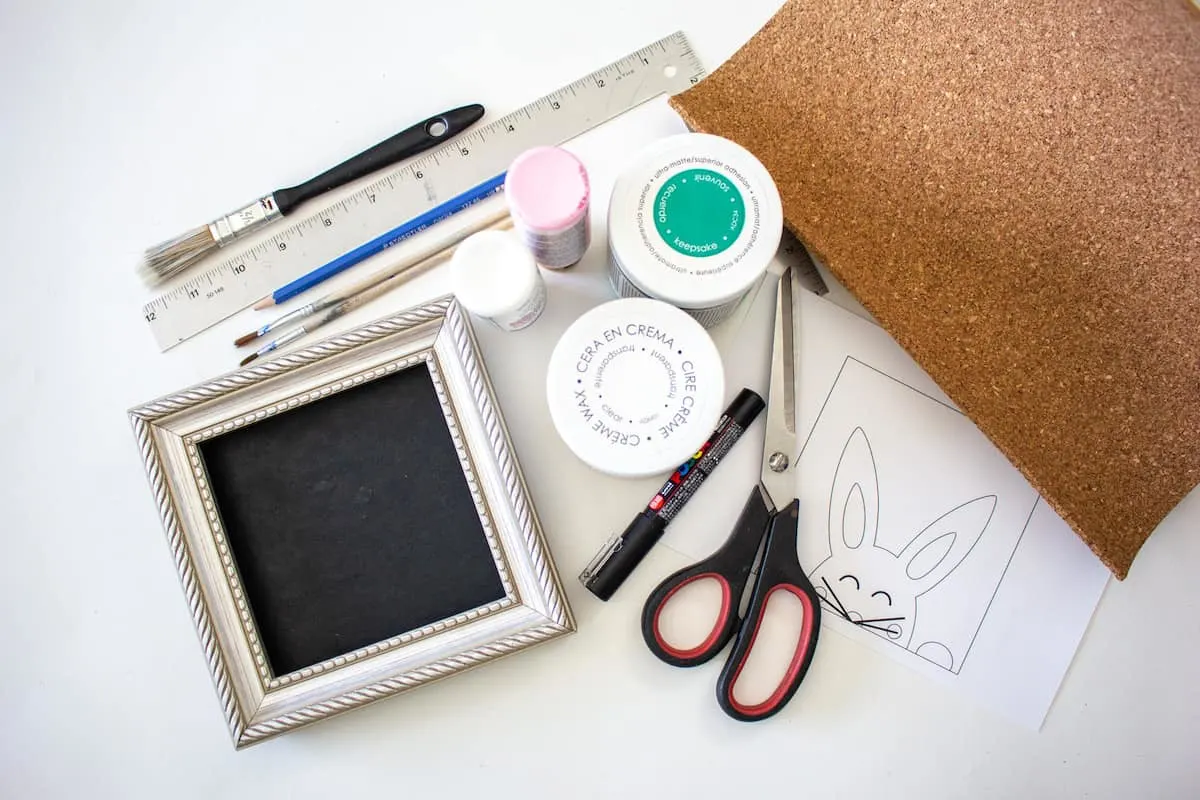
Supplies
- Peeking Easter Bunny stencil template
- 5” x 5” inexpensive thrifted or Dollar Store photo frame
- Americana Decor Chalky Finish in Keepsake
- Americana Decor Creme Wax in White
- Americana Acrylics in Snow White and Poodleskirt Pink
- Black paint pen
- Paintbrushes, assorted sizes and paper towel
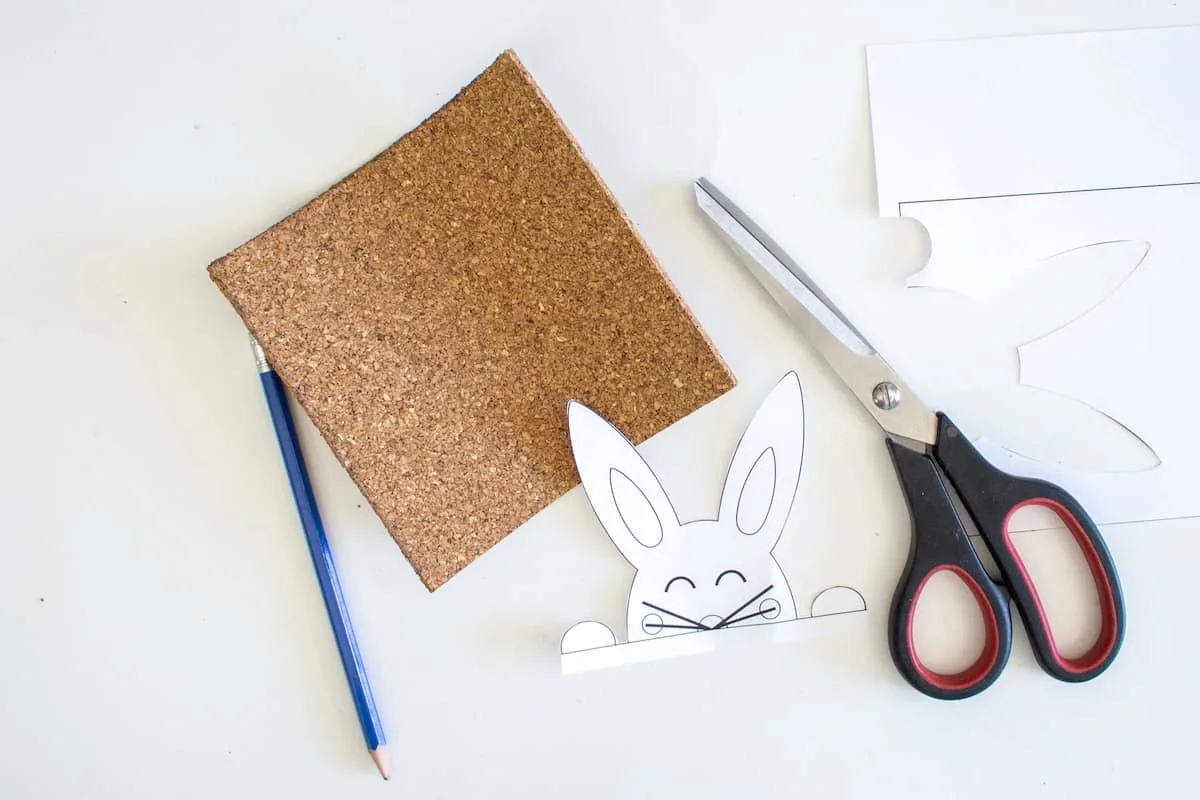
- Cork sheet (I have seen these in the Dollar Tree before)
- Pencil
- Scissors
Instructions
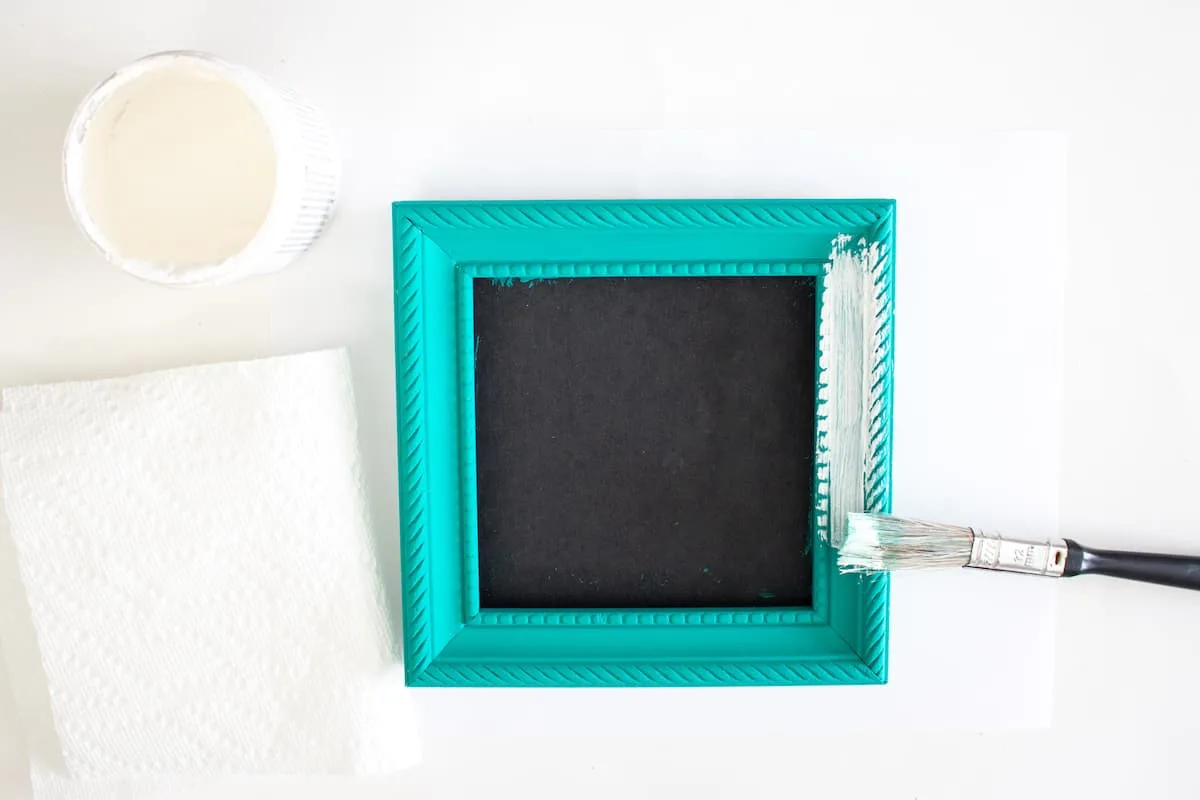
Step 1
Remove the glass and the backing from the picture frame. Apply a coat of chalky paint (I used the color Keepsake) to the frame. Let it completely dry.

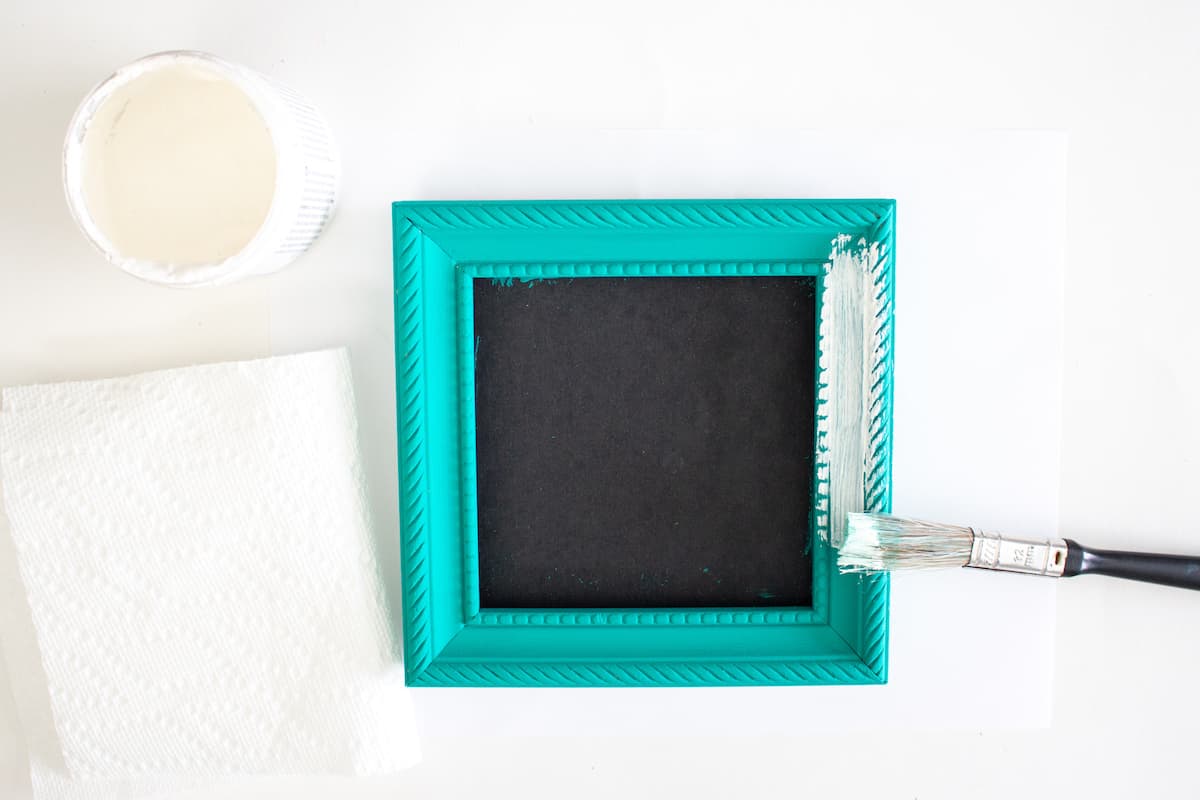
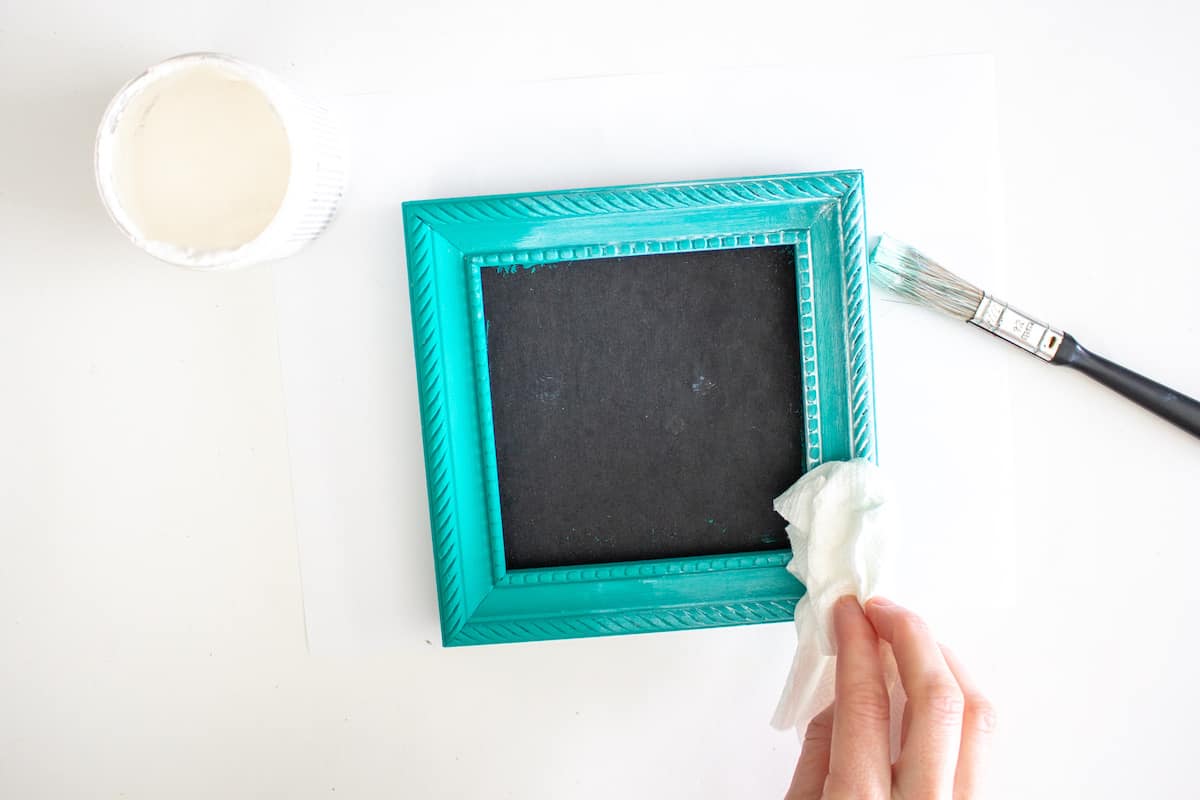
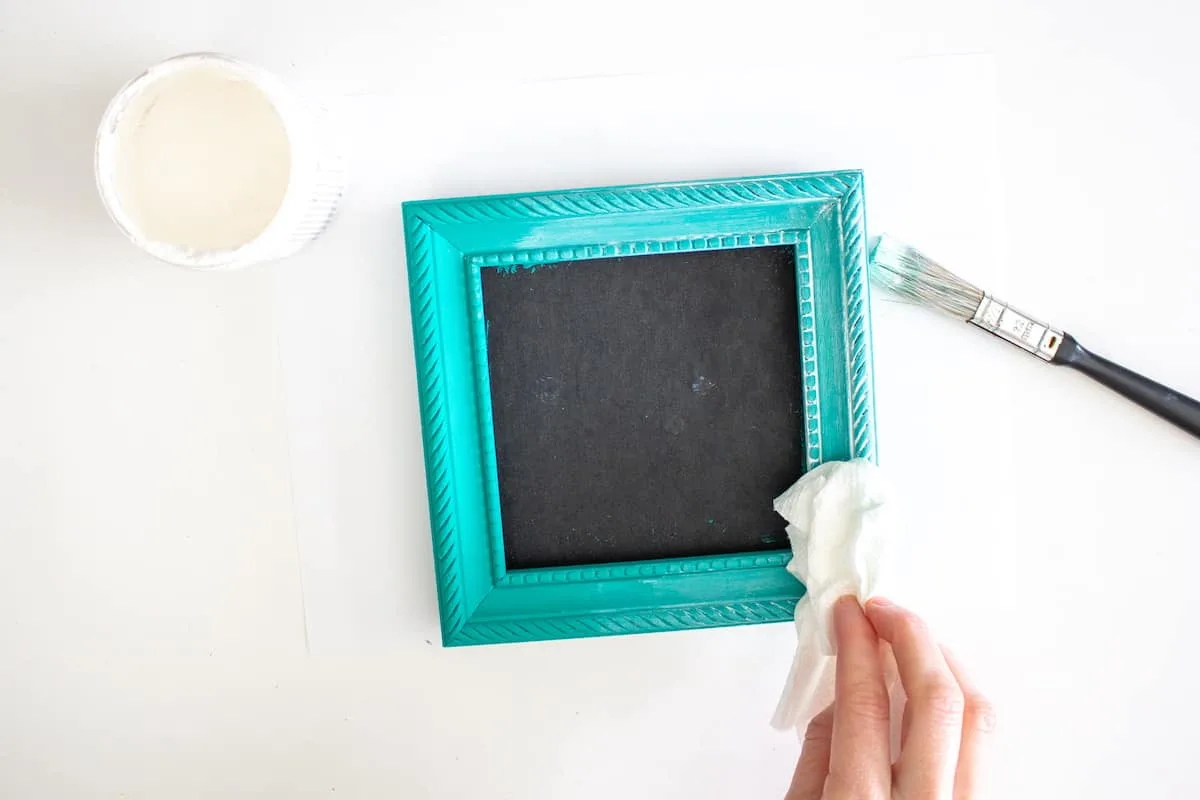
Step 2
Apply a coat of white creme wax over the frame to slightly distress the edges. Rub off the excess with a clean paper towel. Put the frame aside to dry.
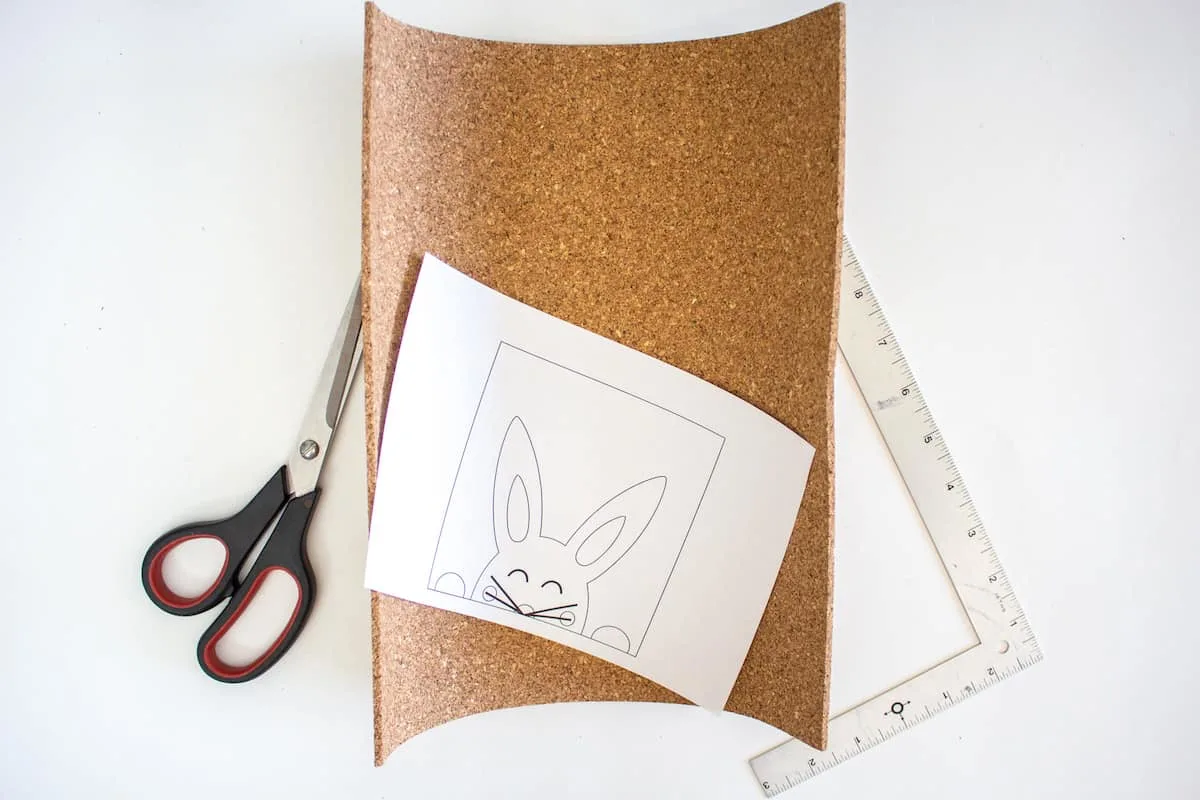
Step 3
Cut a sheet of cork to fit inside the photo frame. Measure the cork just like you would a picture going into the same frame by cutting the correct length and width.
Step 4
Print out the peeking bunny template. Size it as needed to fit your frame (do this when printing by enlarging or minimizing the image before printing).

Step 5
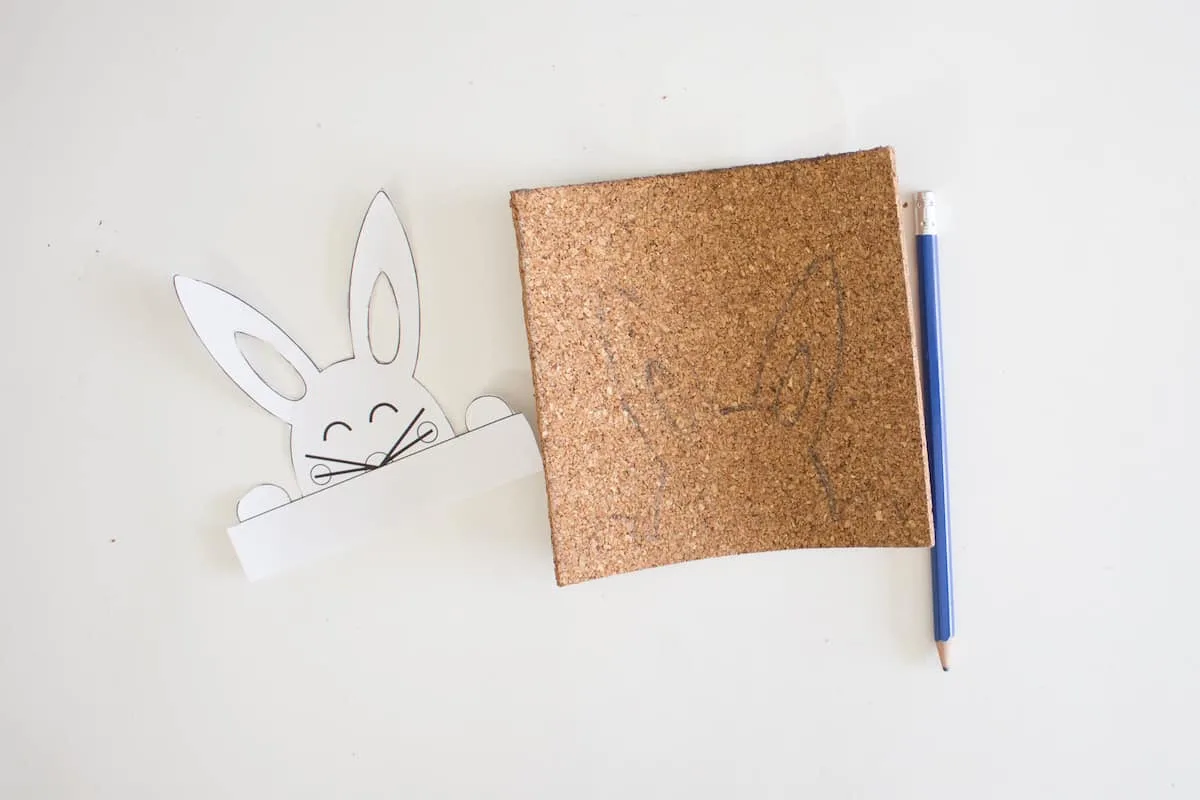
Cut out around the bunny along the solid line. Use the cut out as a stencil to mark the cork.
Trace around the bunny directly onto the cork. If using pencil, you might need to draw over the line a few times so that you can see it. However, if you were to use a pen or marker instead, it would show through the white paint.


Step 6
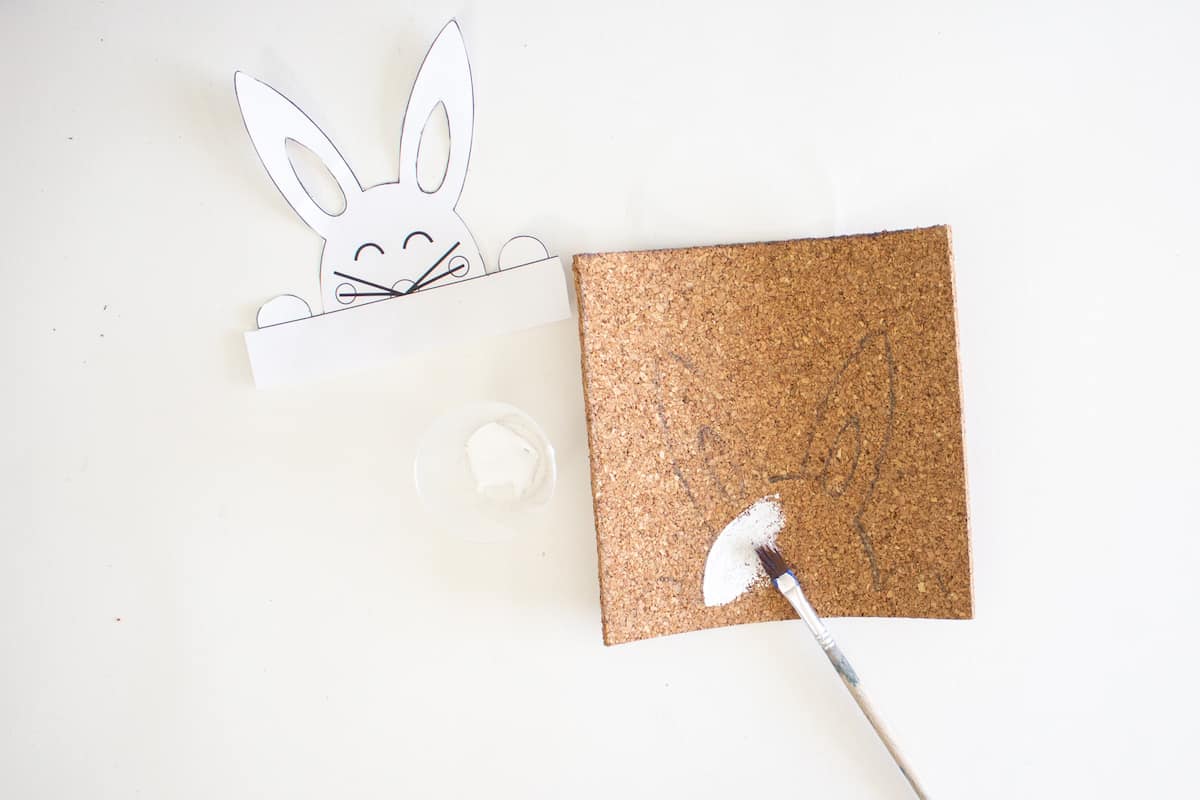
Using a fine tip paintbrush, fill in the penciled area with white paint. Let dry and add an extra coat of paint if needed.

Step 7
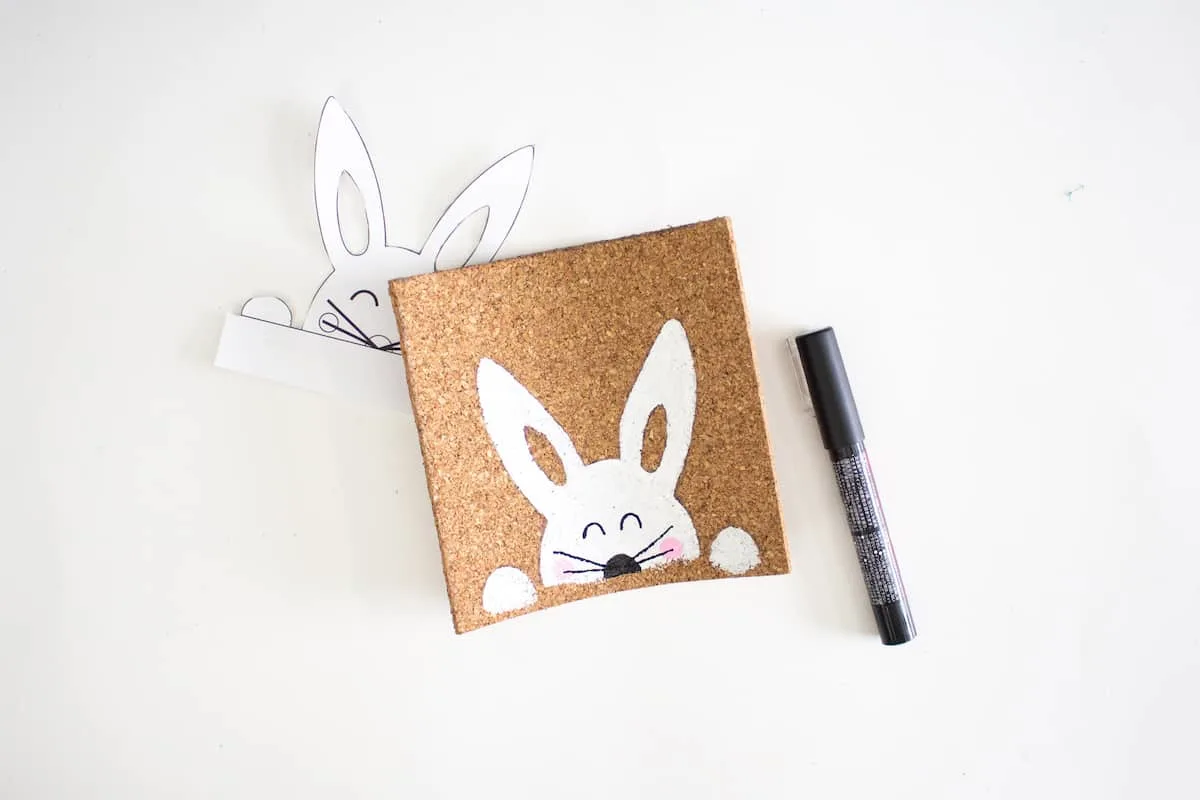
Paint a half circle with black paint pen for the bunny nose. Add two small circles beside the nose in pink for the rabbit’s cheeks.


Step 8
Draw two upside down half circle lines for the eyes and add the whiskers when the cheeks are dry.

Step 9
Add the cork back into the frame to finish. You can put the glass on top, if the cork is not too thick.


Related Posts:

Encourage the Easter bunny to stop by your house with this cute Bunny Bait for the Yard!
