


It’s so easy to decorate for the holidays with a cute banner. They are so easy to hang on the wall, on a wreath hook, on a door knob or even instead of a wreath on a door.
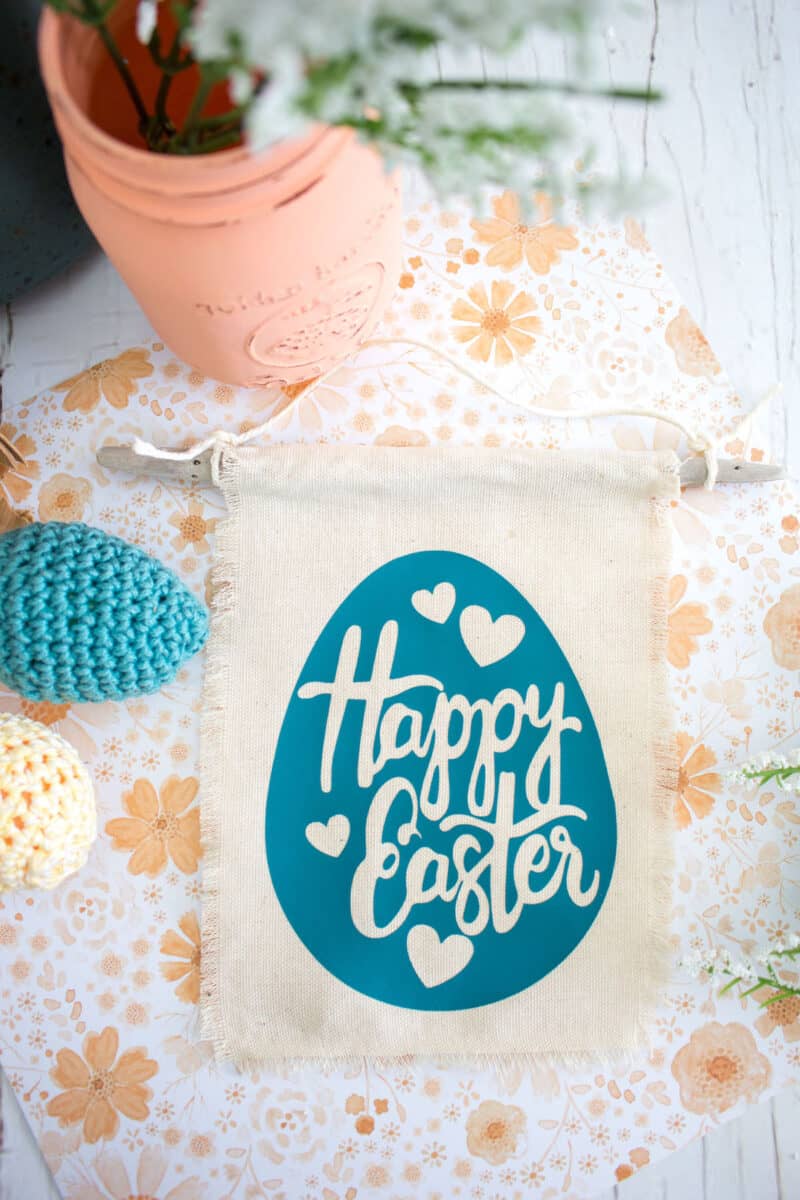
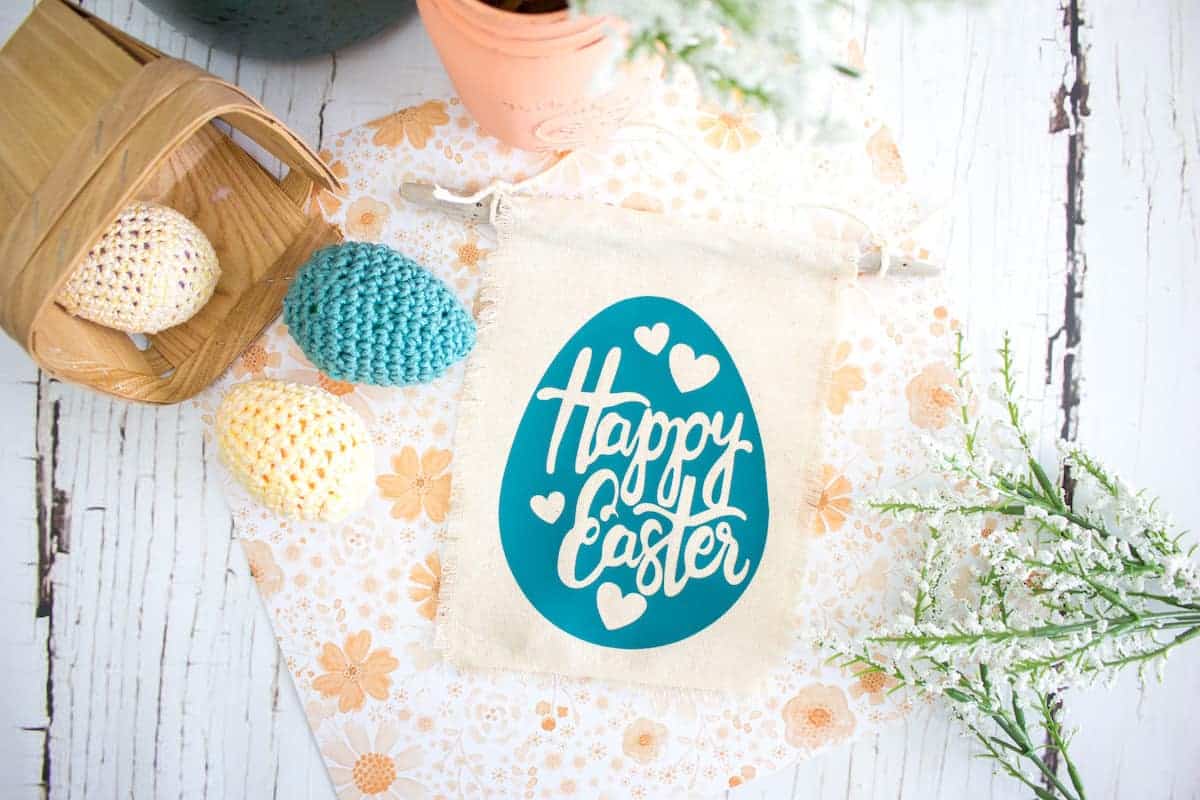
Which is why I think you’ll love making this easy DIY Easter Banner with our free SVG file. It’s a fun and happy design that is easy to make in any color that makes you happy.

These make great gifts for friends and family, too. Or make them to sell at craft fairs. (Our Easter Bunny Butt wreath would be great to make and sell, too!)
This is just one of our many Easter crafts that are so colorful and cheerful!
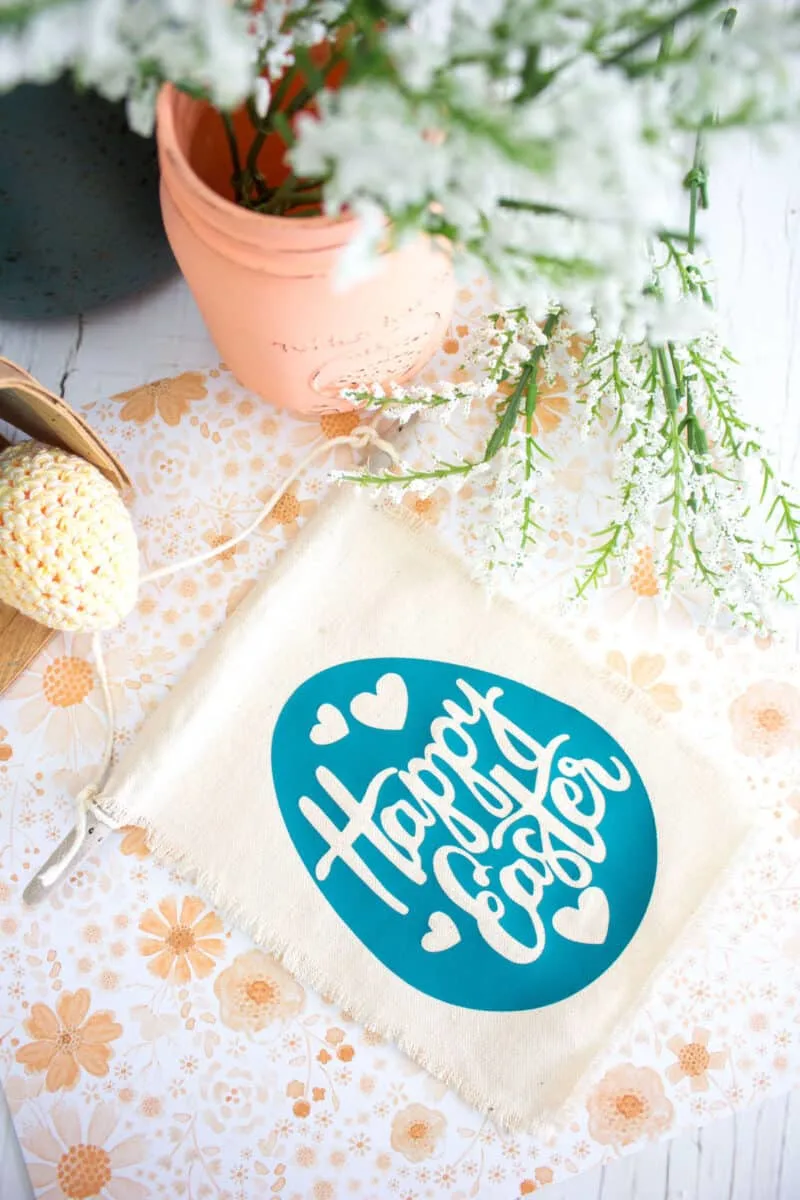
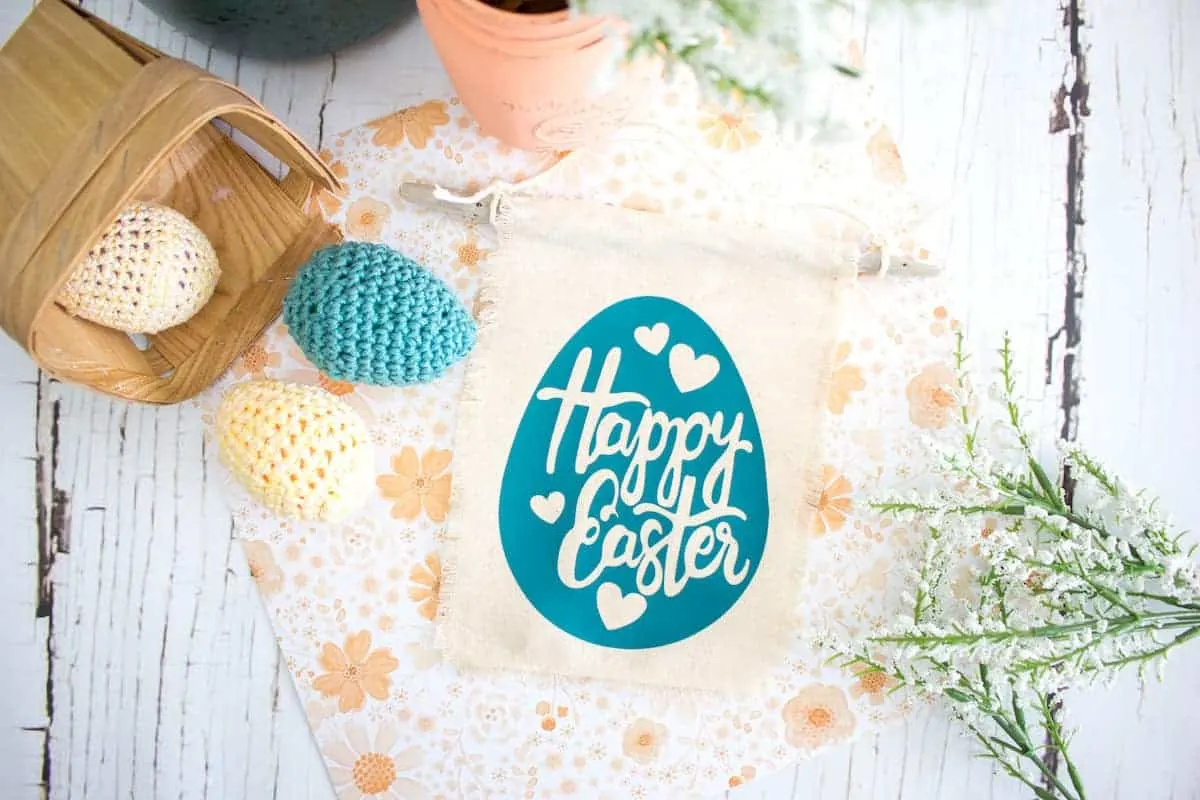
We chose a bright teal color for the egg, but you can choose another color. And while we put ours on a cream-colored cotton canvas material, you might like to use a bright white canvas material instead.
P.S. If you like the peach-colored jars in the photo, here’s our tutorial of how to chalk paint mason jars.
If you like Cricut projects, check out our cute Easter candy jars using an SVG file, too.

DIY Happy Easter Banner
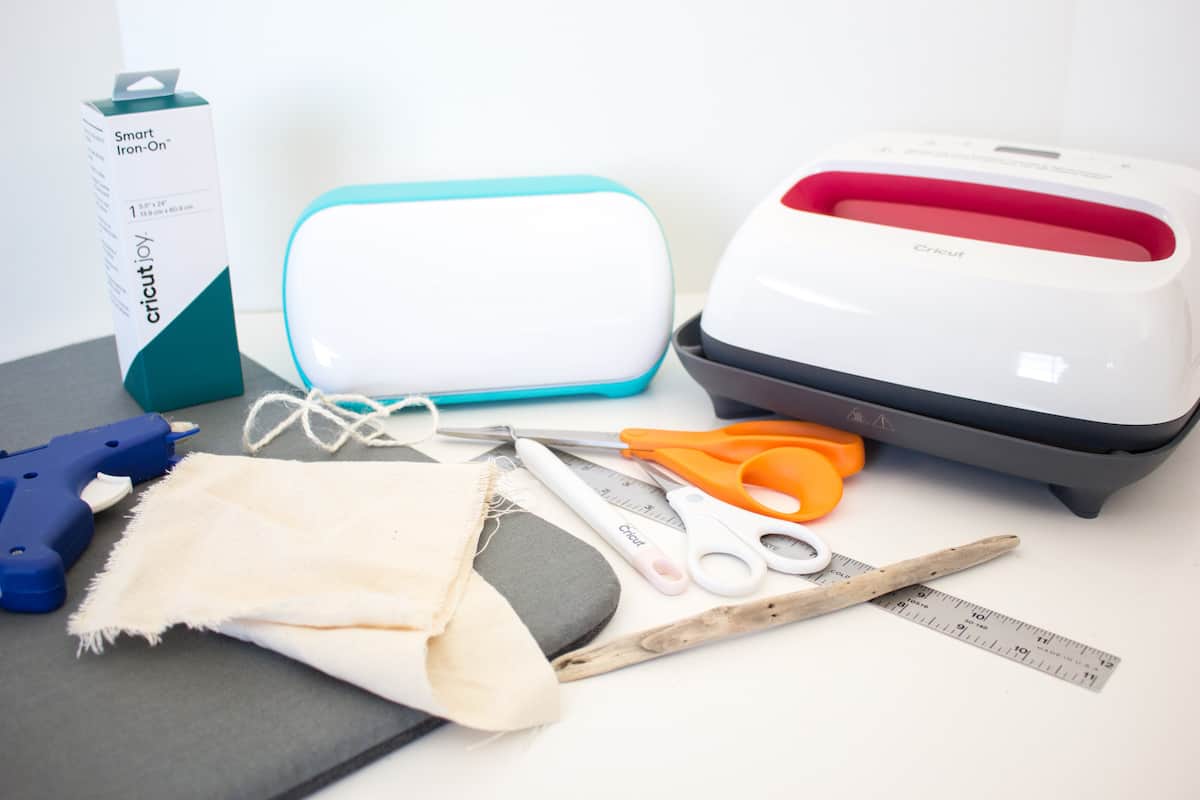
Supplies
- Easter Banner SVG
- Cricut Joy
- Smart Iron On in Teal
- Weeding Tool
- EasyPress 2 and mat
- 100% cotton canvas in a natural color, 6” x 8” with frayed edges
- Scissors
- Wooden dowel, stick or driftwood, ⅜” thick, 8” long
- Hot glue gun and clear glue sticks
- Natural twine, cut to 12” long

Instructions
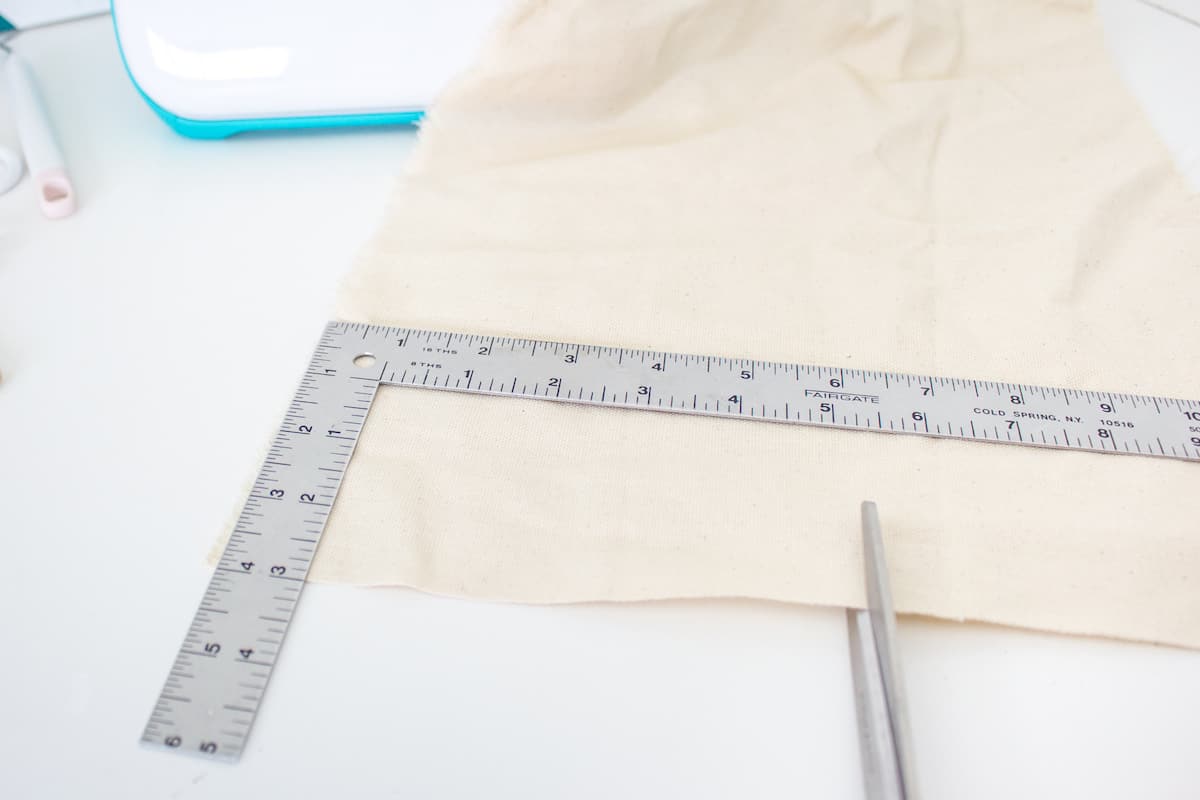
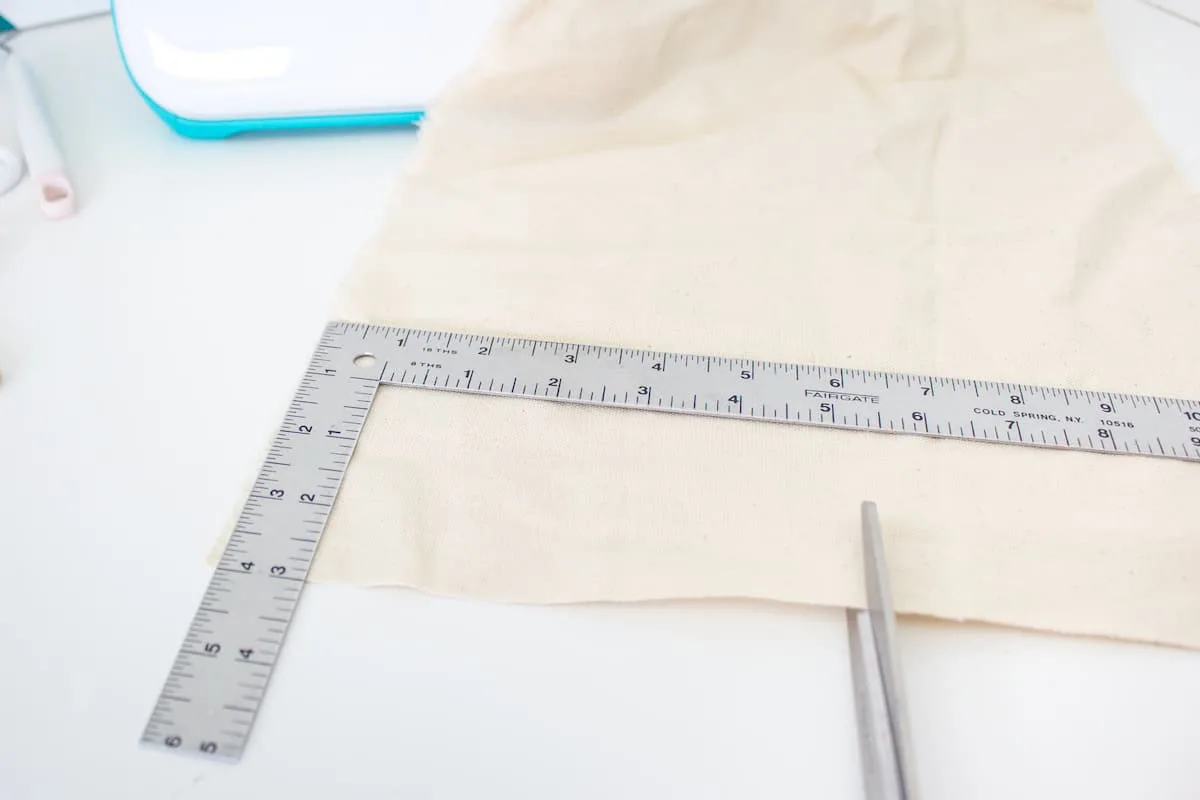
Step 1
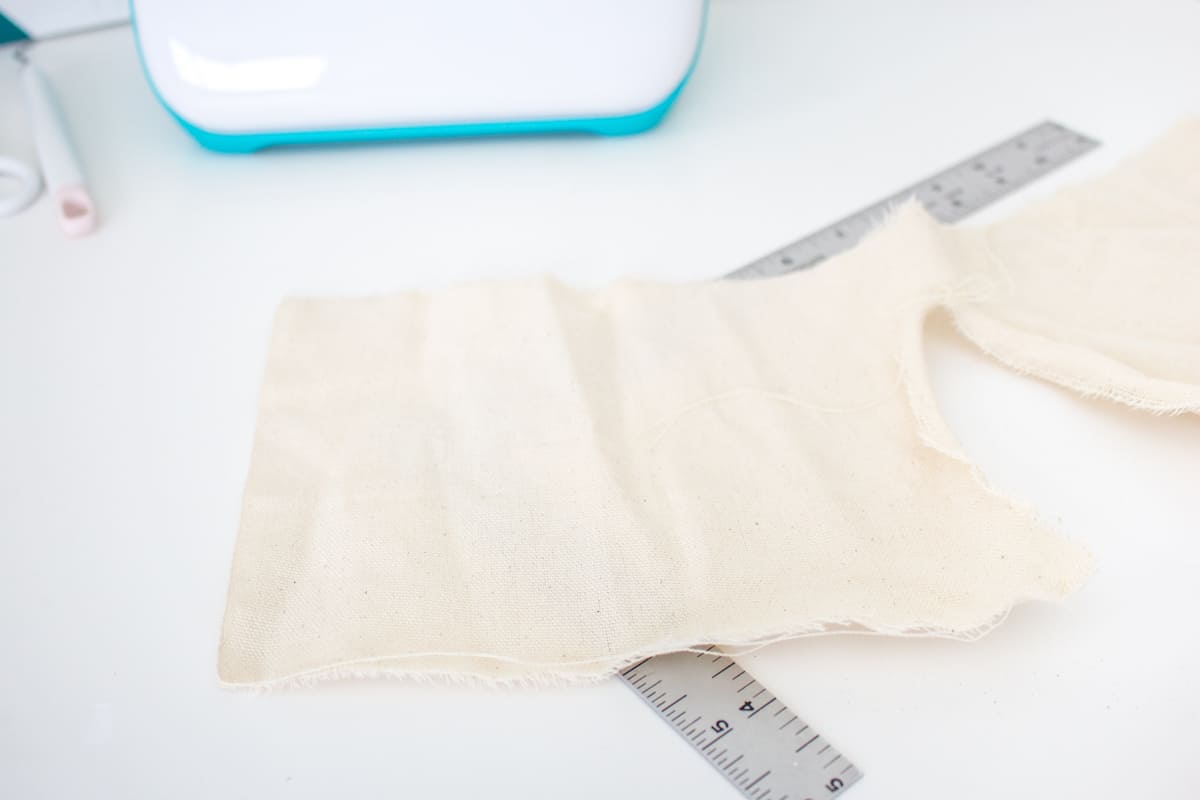
Cut a piece of 100% cotton canvas woven fabric measuring 6” wide x 8” high. Using scissors, make small cuts along the edges, then pull apart the strings and fabric to create a frayed edge.
You can fray the edge by pulling one piece of horizontal thread away from the edge. Then the vertical pieces of thread will remain, leaving a frayed edge. Continue to do this until you get the look you desire.

Step 2
Upload the Easter Banner SVG file into a blank canvas in Design Space.
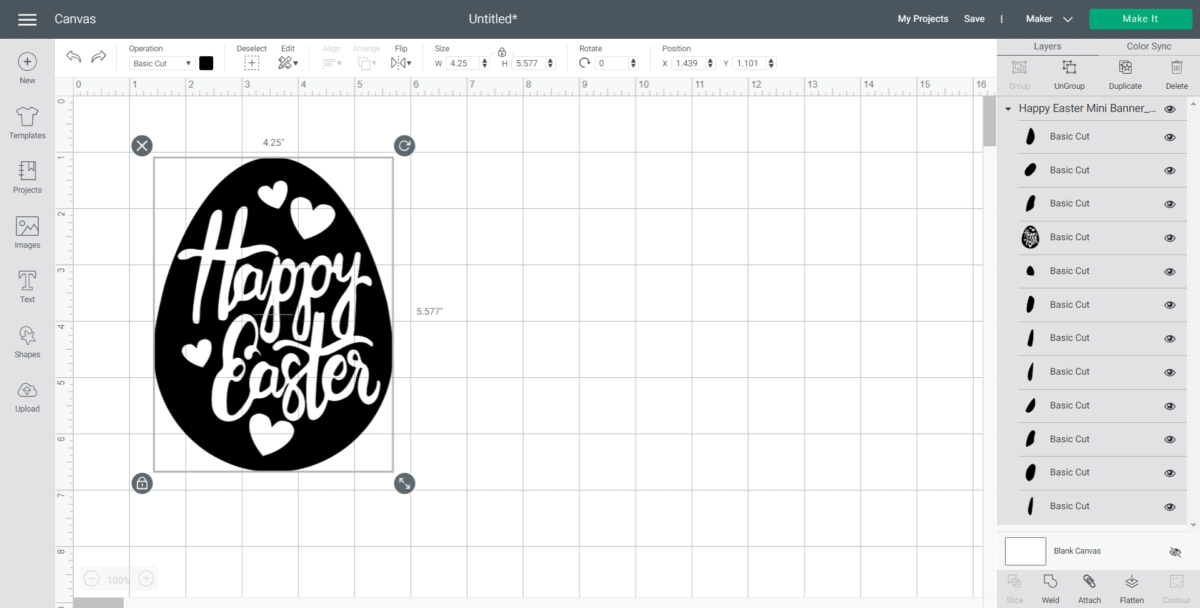
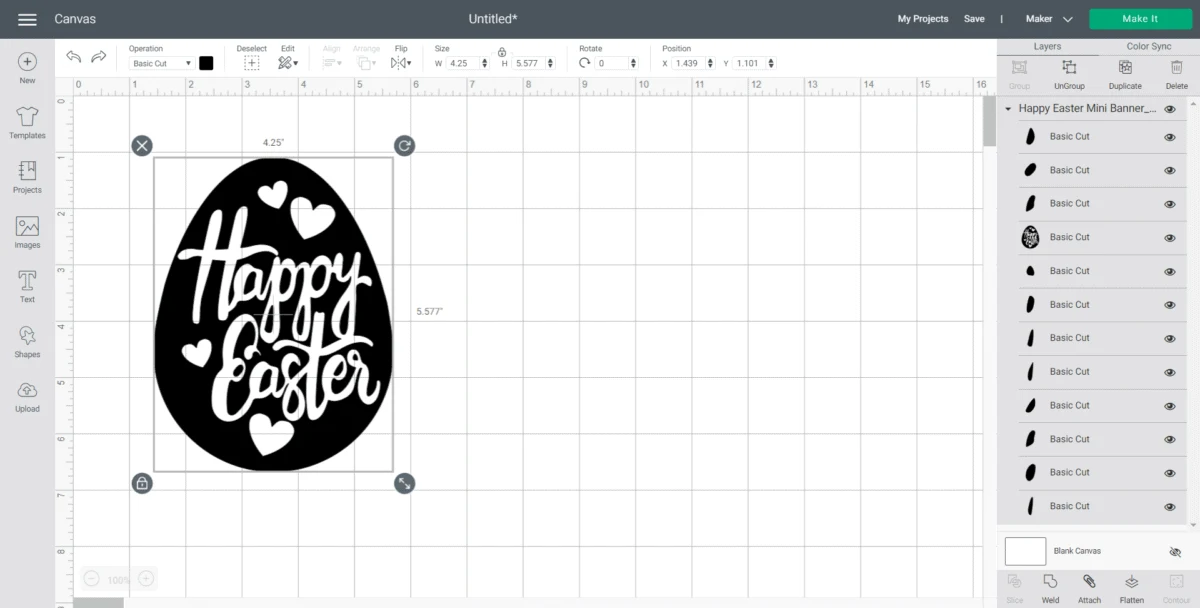
With the image selected, click on “weld” to merge all of the loose pieces together.
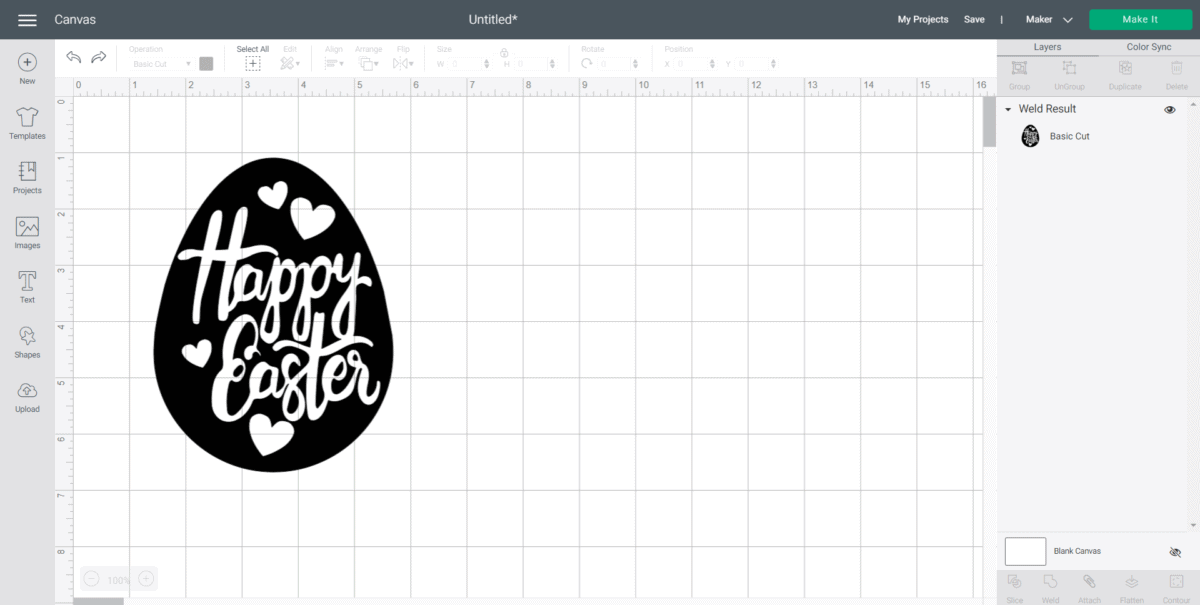
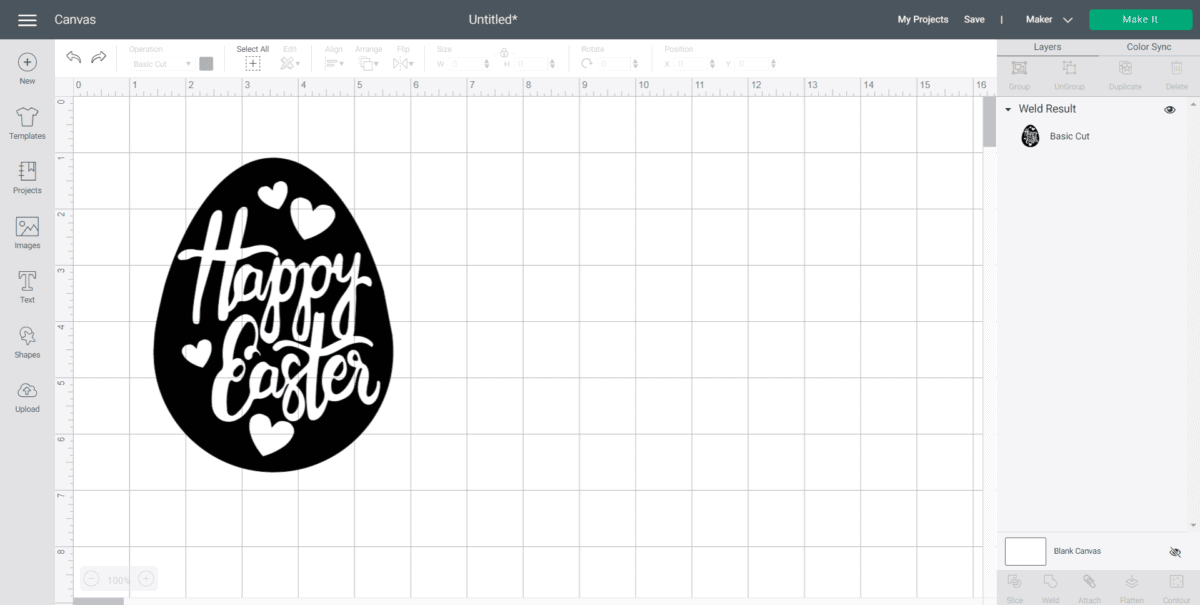
Maintain the size at 4.25” wide x 5.5” high.
Adjust the color to match material color if desired.
Step 3
With settings set to Cricut Joy, select “Make It” and choose “without mat” for cutting Smart Iron On.


Turn the “Mirror On” toggle button to on and continue.

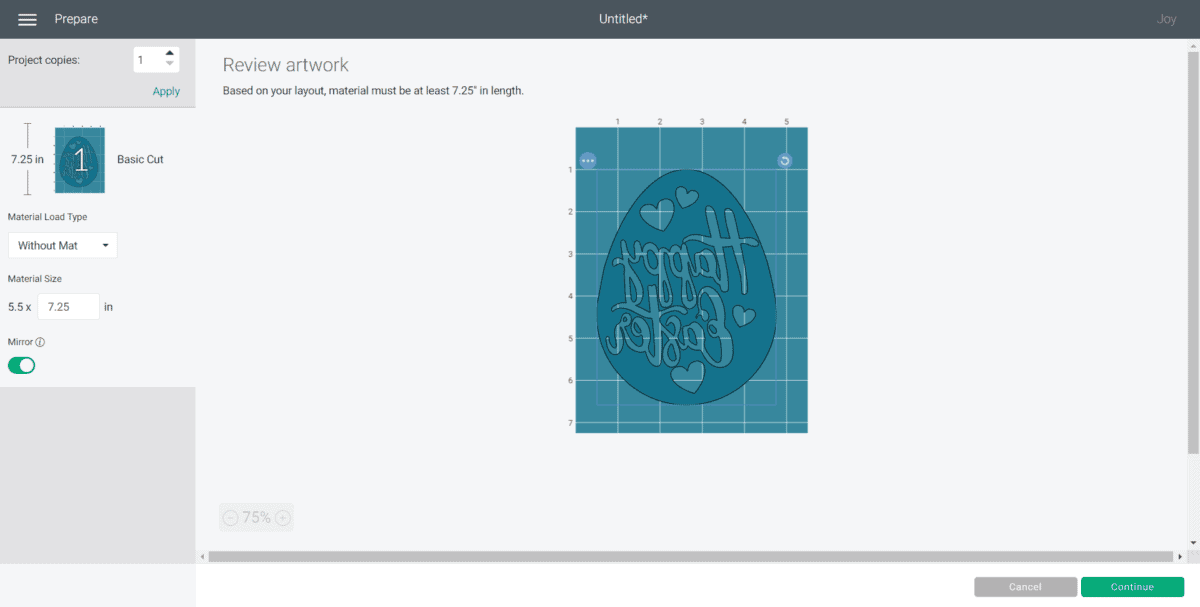
Choose the material type in the drop-down menu.
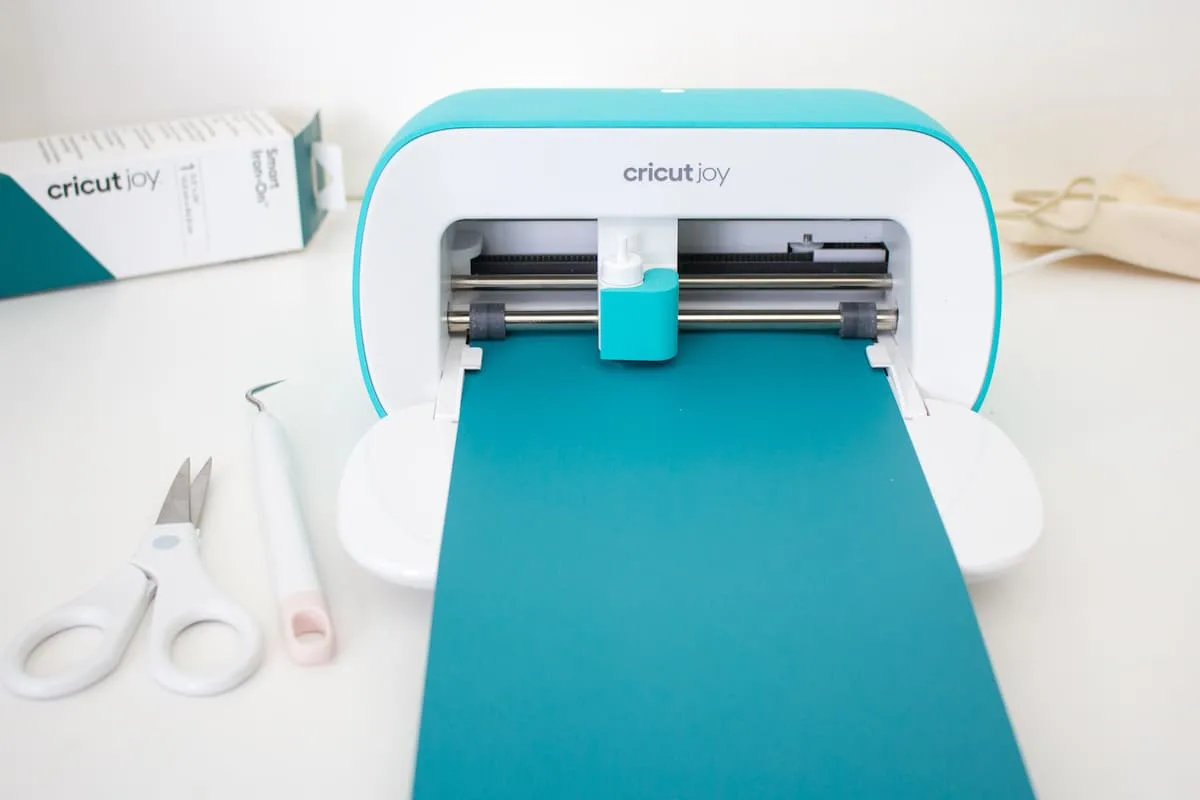
Step 4
Upload the Smart Iron On into the Joy with the shiny side down. Continue cutting by following the instructions.

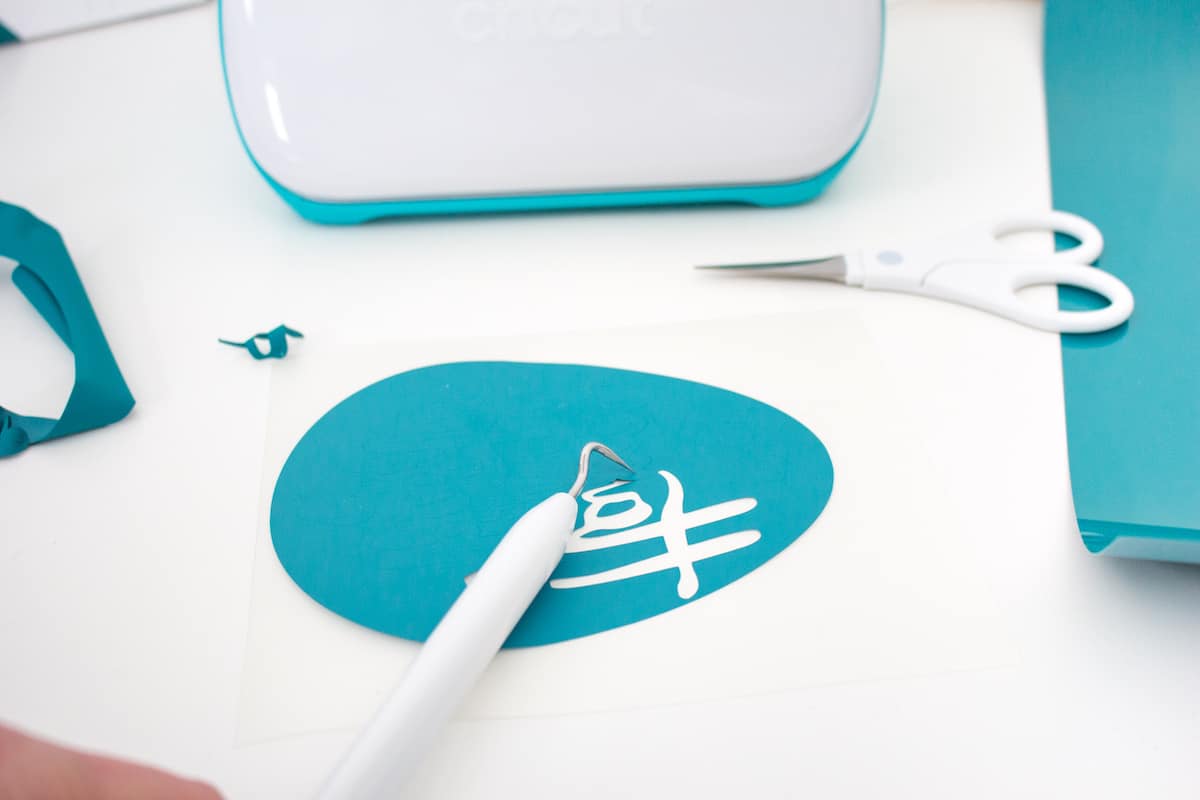
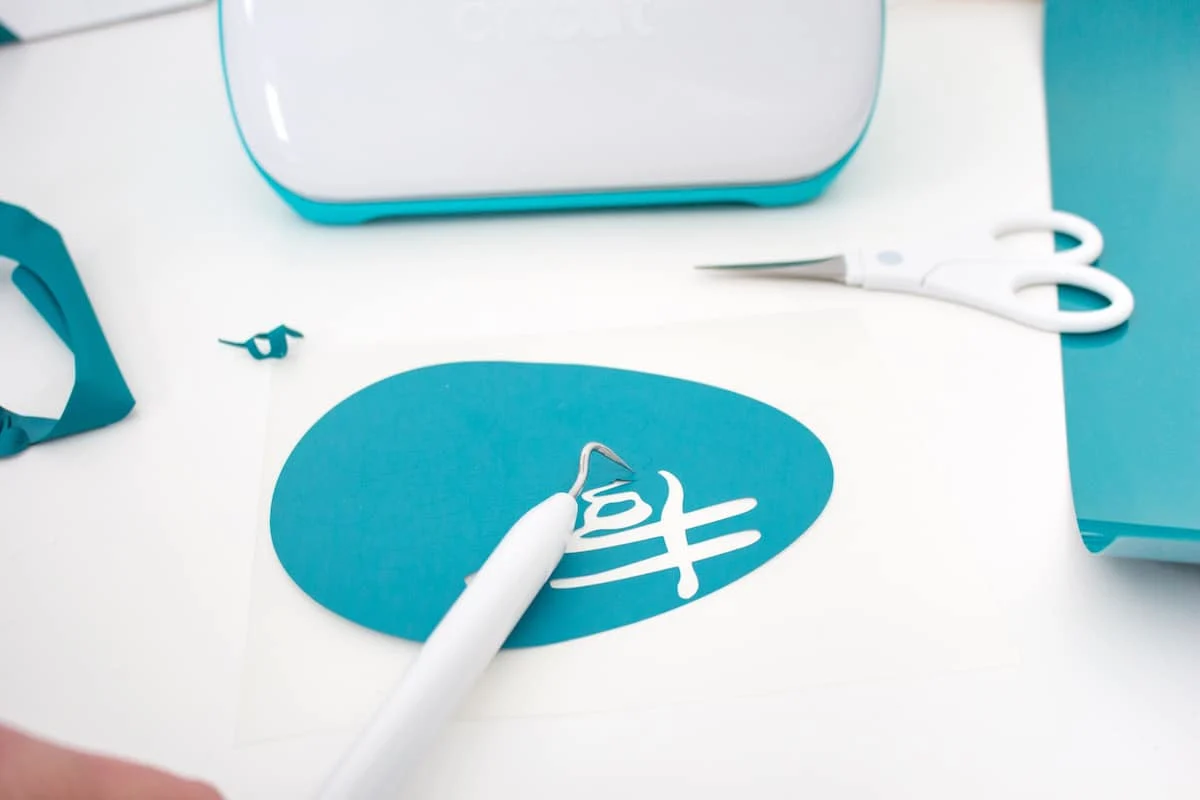
Step 5
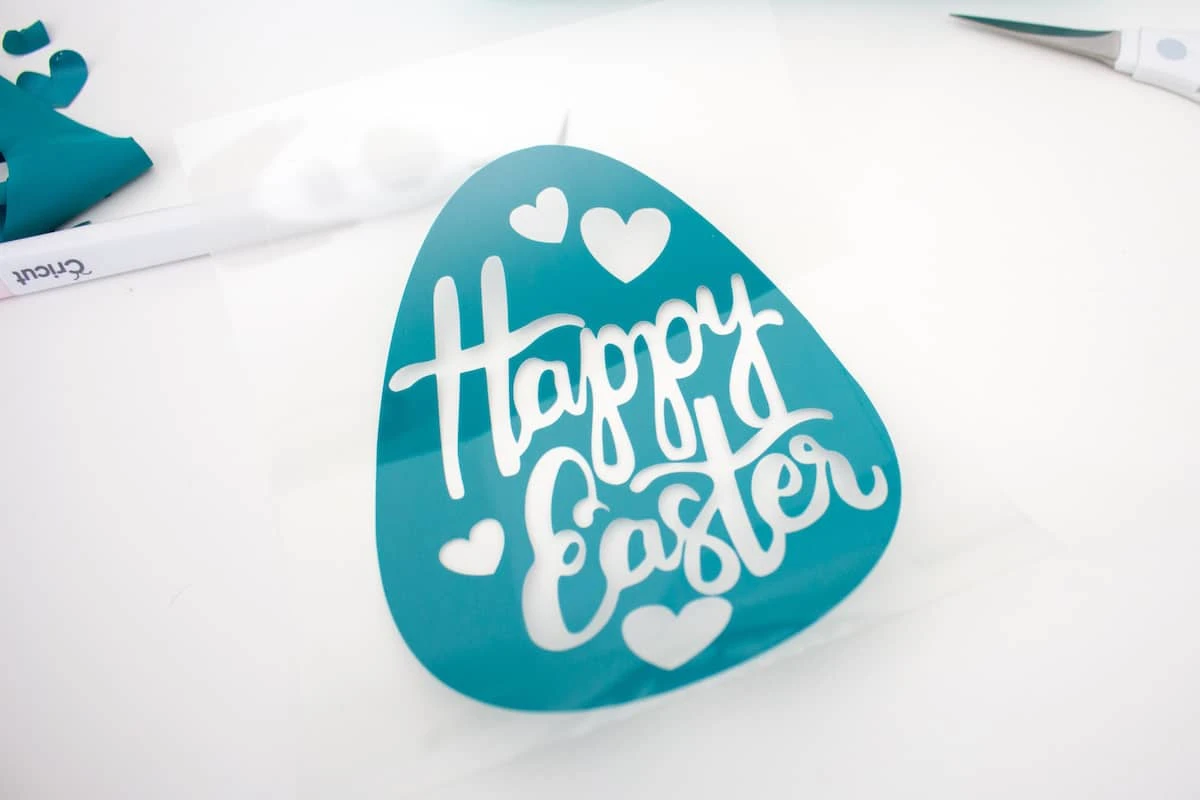
Remove the image after cutting. Get rid of the excess vinyl by using the wedding tool to remove the detail elements.

Step 6
Position the Easy Press mat on a flat surface.
Set the temperature following the chart for the type of vinyl and material being used. The temperature we used for these materials was 340 degrees F.

Step 7
Test a scrap piece of material and vinyl before applying your finished product. The test gives you time to adjust the timing and temperature to be just right.
Step 8
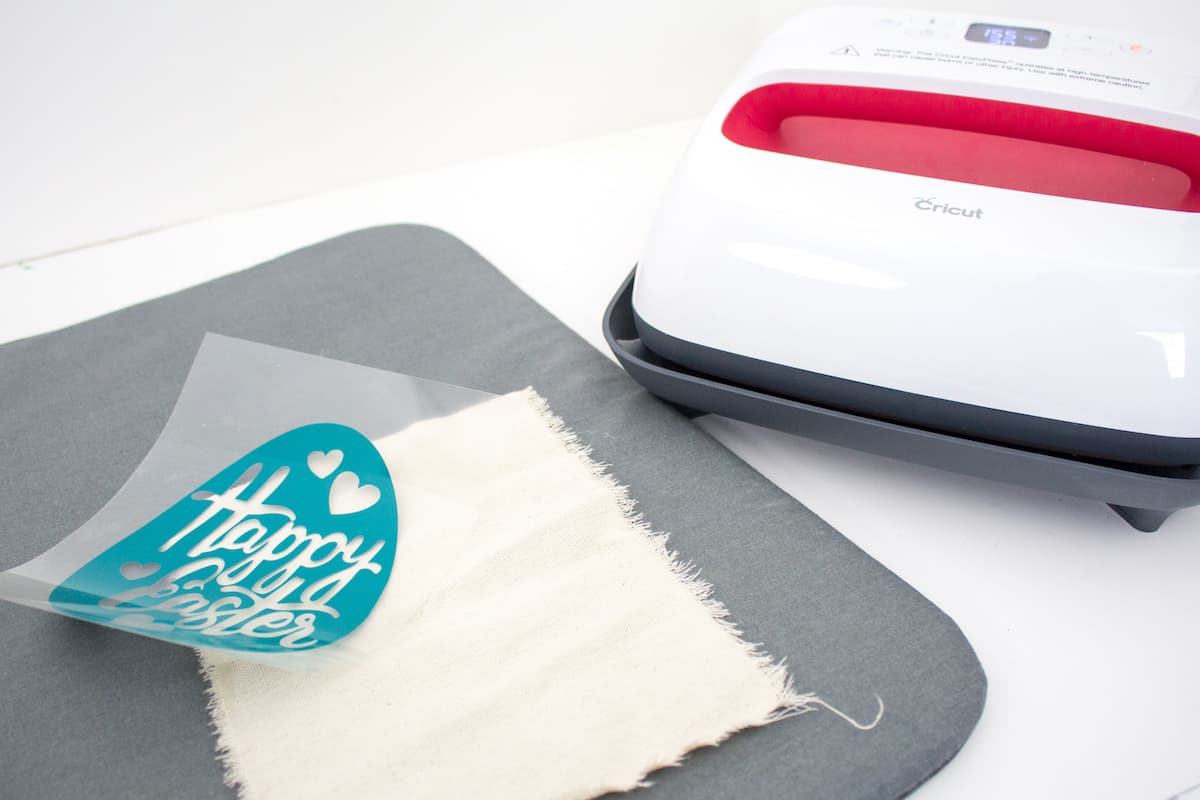
Pre-press the cotton canvas for 5 seconds.


Place the “Happy Easter” vinyl image with the shiny side up onto the canvas. Apply heat for 30 seconds.
Step 9
Turn the canvas over and press on the back side for an additional 15 seconds.
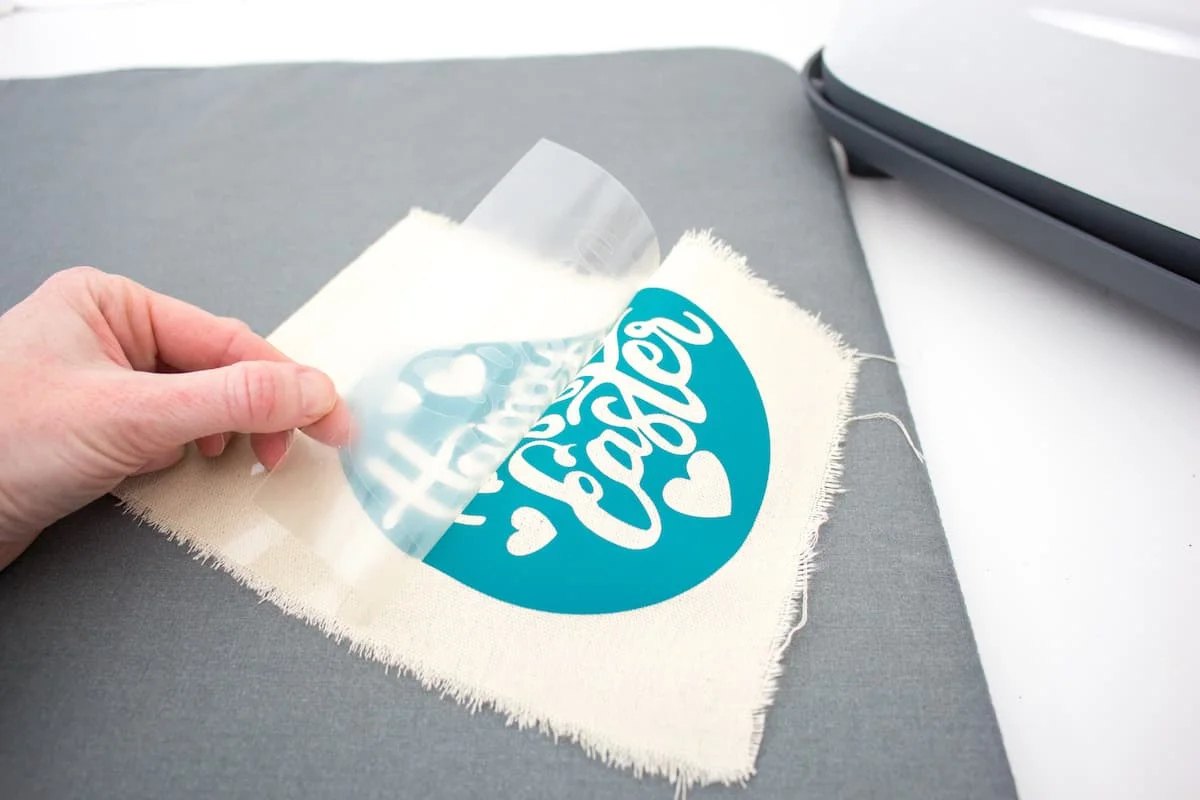
Step 10
Let the fabric cool and then peel the plastic part of the vinyl off carefully.

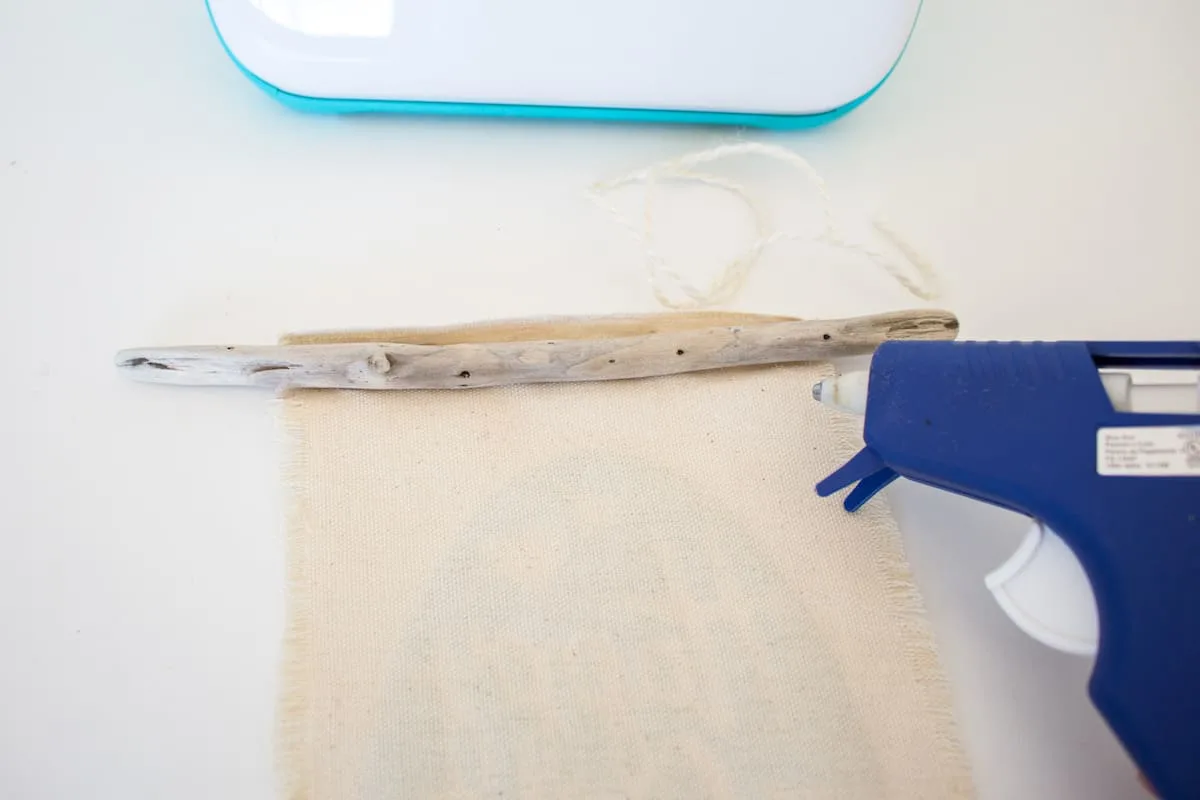
Step 11
With a preheated glue gun, apply a dab of glue along the top edge of the wrong side of the canvas. Press the stick into the glue.
Roll the stick downward and apply more dabs of glue (or a straight line of glue) to hold it in place.

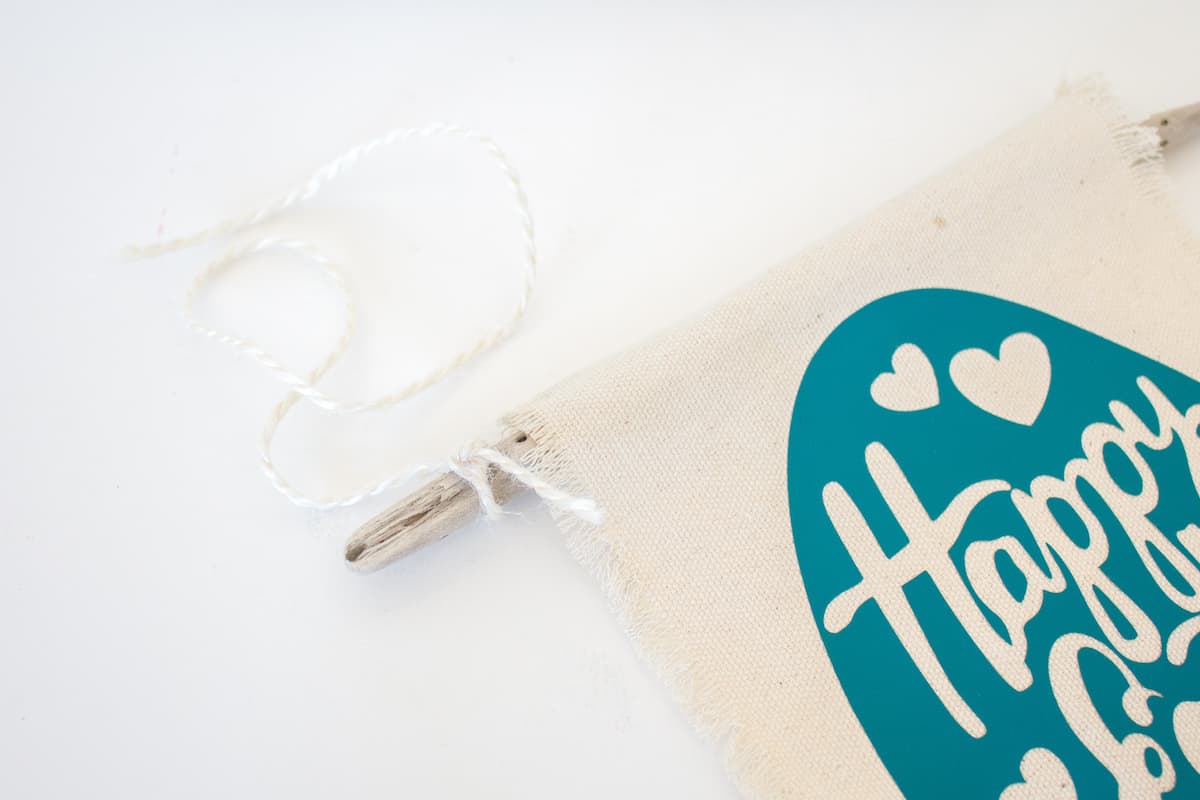
Step 12
Tie a piece of twine to both ends of the stick, making a large loop in between from which to hang the banner.

Be sure to Pin This craft to remember for later!
If you’d like more Easter crafts, we think you’ll like these ideas:
- DIY Bunny Bait for the Yard
- Cute Peeking Easter Bunny Frame
- Decoupaged Easter eggs
- Farmhouse Twine Wrapped Easter eggs
- Easter Basket Floral Bouquet Centerpieces
- Gilded Easter eggs

Laura
Tuesday 21st of February 2023
Love it
Kimberly
Monday 27th of February 2023
Thank you!