
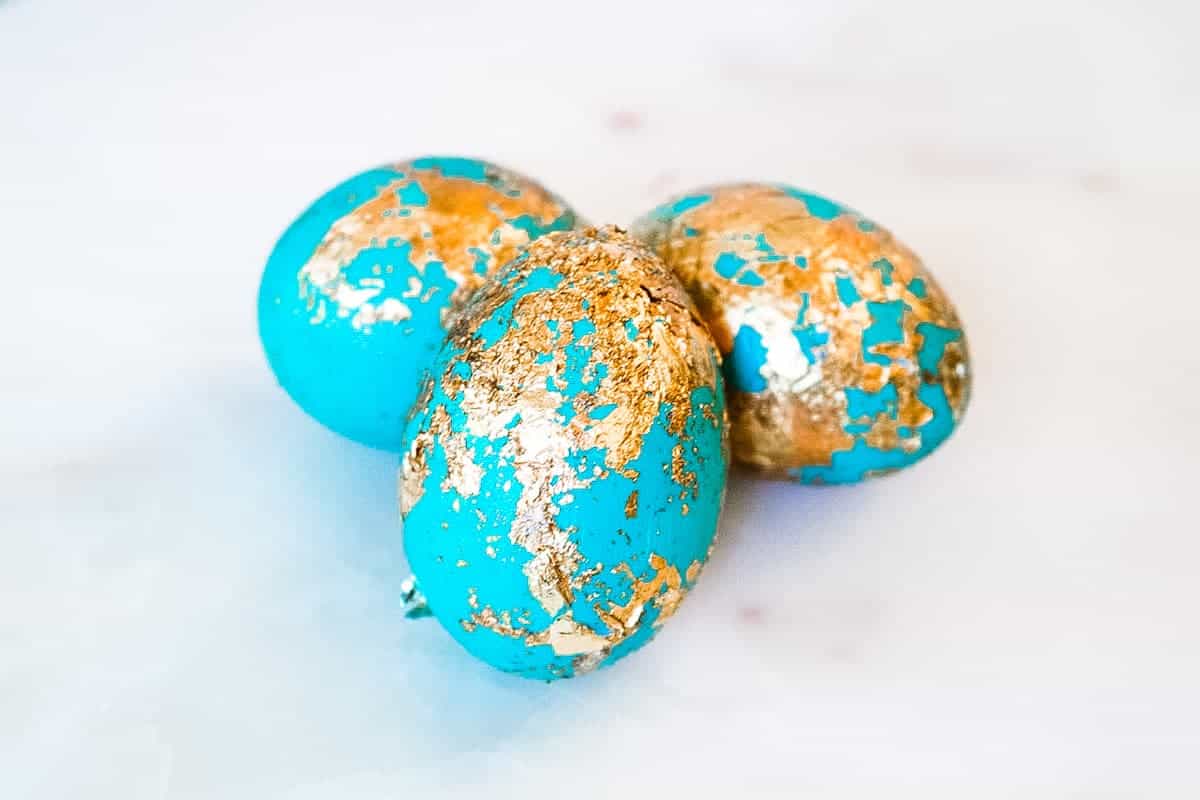
These gorgeous gilded Easter eggs are perfect for decorating your home with modern style.


I’m always looking for more adult ways to decorate for the holidays. Not that I don’t love my cutesy decorations that I’ve collected, though! But sometimes I want to add a touch of elegance to certain areas of my home.
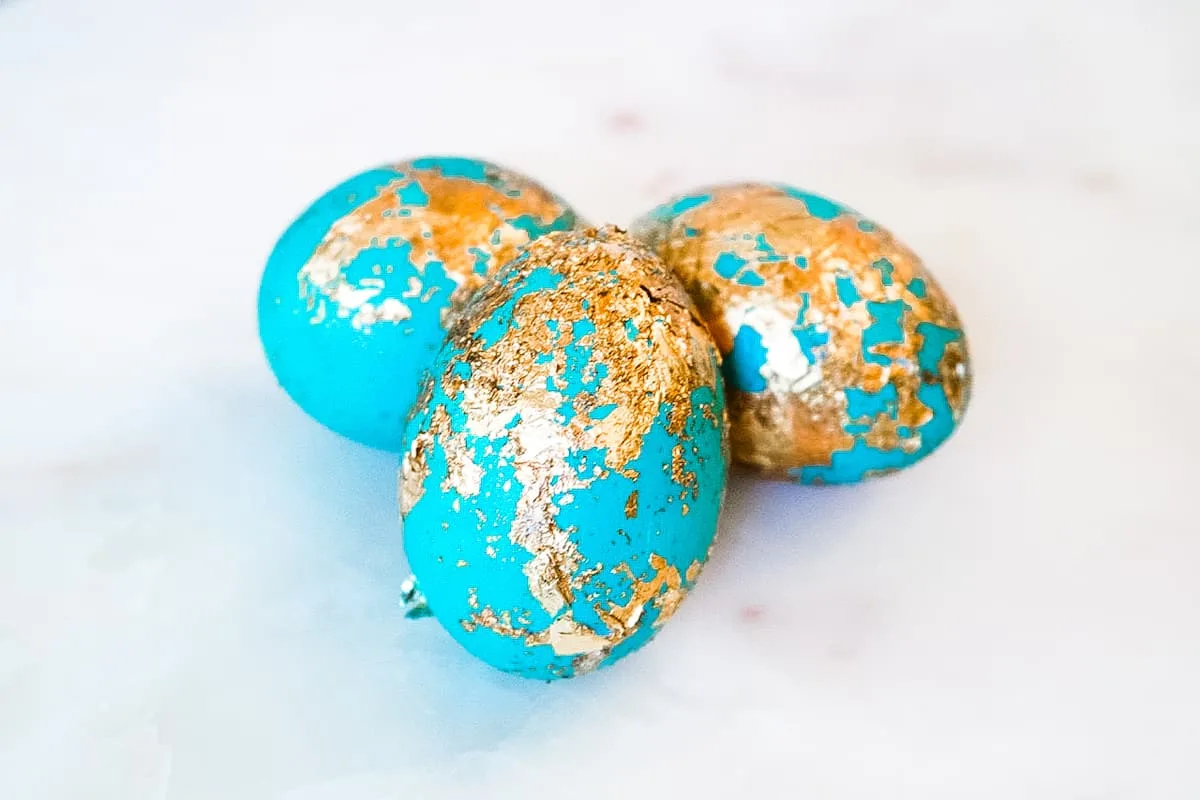
What I love about these gilded Easter eggs is that they are a classic Easter decoration. But the fancy metallic accents and bold vibrant colors make them perfect for modern decorating.
Though these eggs look very artistic and fancy, you will find that they are actually some of the easiest crafts to make! Much like my decoupaged eggs are, too!
You might enjoy these other cool ways to color Easter eggs, too! Such as tissue paper dyed eggs and Kool-aid dyed eggs.
Helpful Hints
- Yes, you can use real eggs. In fact, that’s how I tested this project in the first place. However, I can’t speak to the safety of using the products on edible eggs. And, these are so beautiful you probably don’t want them to be destroyed after someone peels their egg!
- You might want to gently rough up the white wooden egg with some sandpaper if you find the paint is not sticking.
- Chalk paint is excellent to use to give a matte finish underneath. Plus, it will adhere to a painted surface, such as the ready-made white wooden eggs, if they have a varnish to them.
- Using gold leaf flakes is less expensive and easier than using gold leaf sheets. However, if you already have gold leaf sheets at home, feel free to use those.
- You can also use silver leaf flakes or bronze leaf flakes for a different gilding color.

How to Make Gilded Easter Eggs
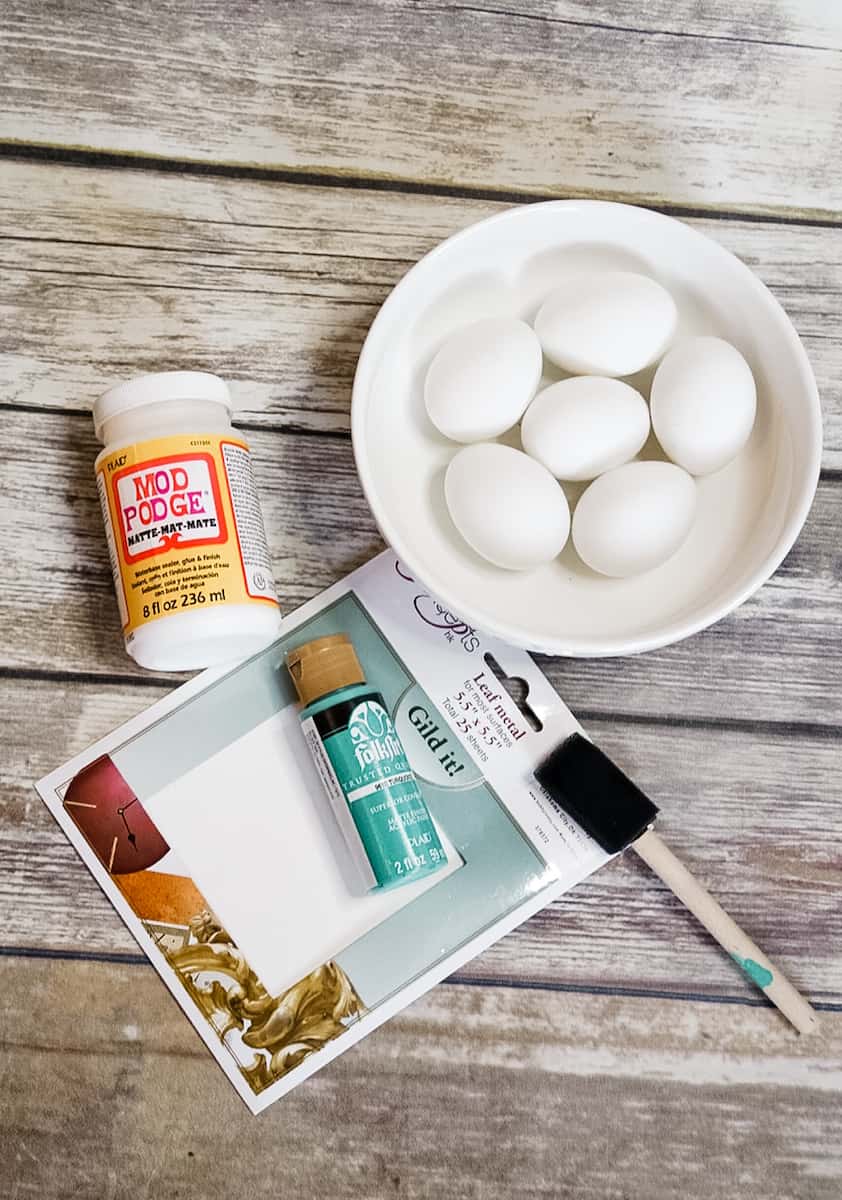
Supplies
- White wooden Easter eggs (or hard boiled eggs)
- Acrylic paint
- Gold leaf sheets or Gold Leaf Flakes (the gold leaf flakes are less expensive than sheets)
- Mod Podge (you can choose from either matte or glossy Mod Podge, depending on what finish you would like)
- Foam brush

Instructions
Step 1:
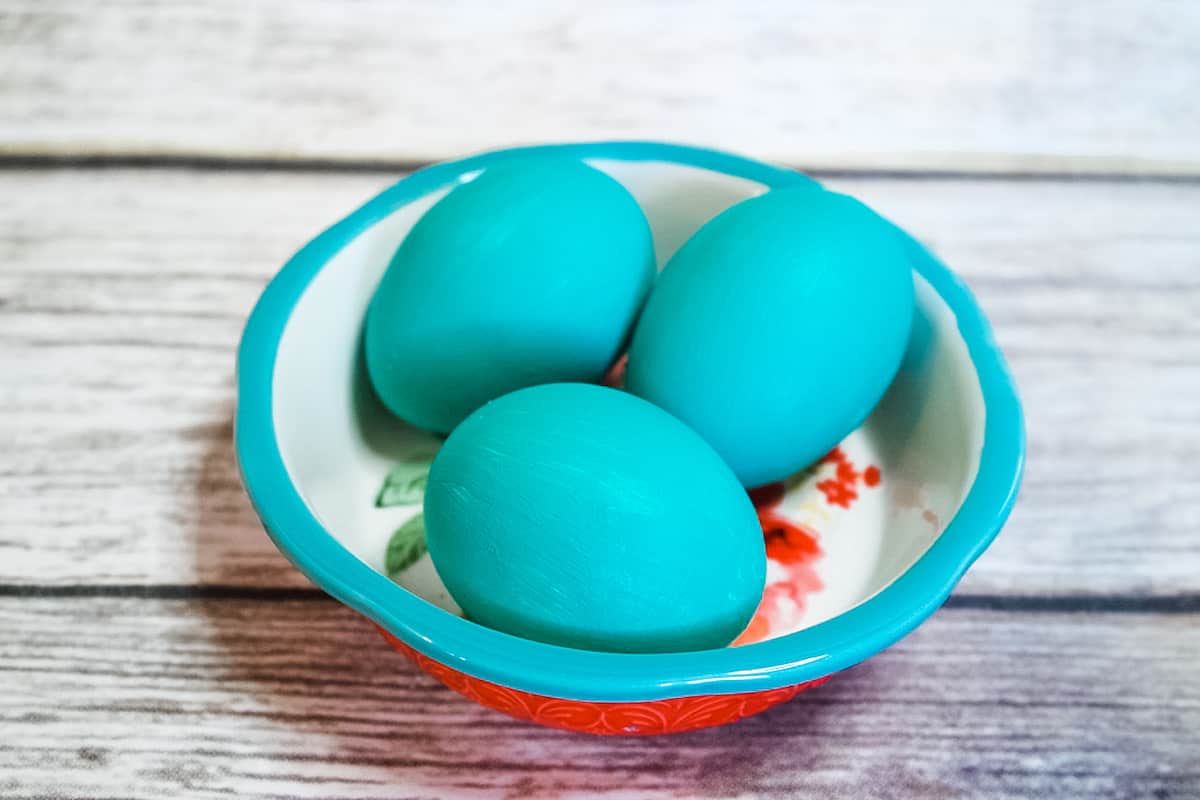
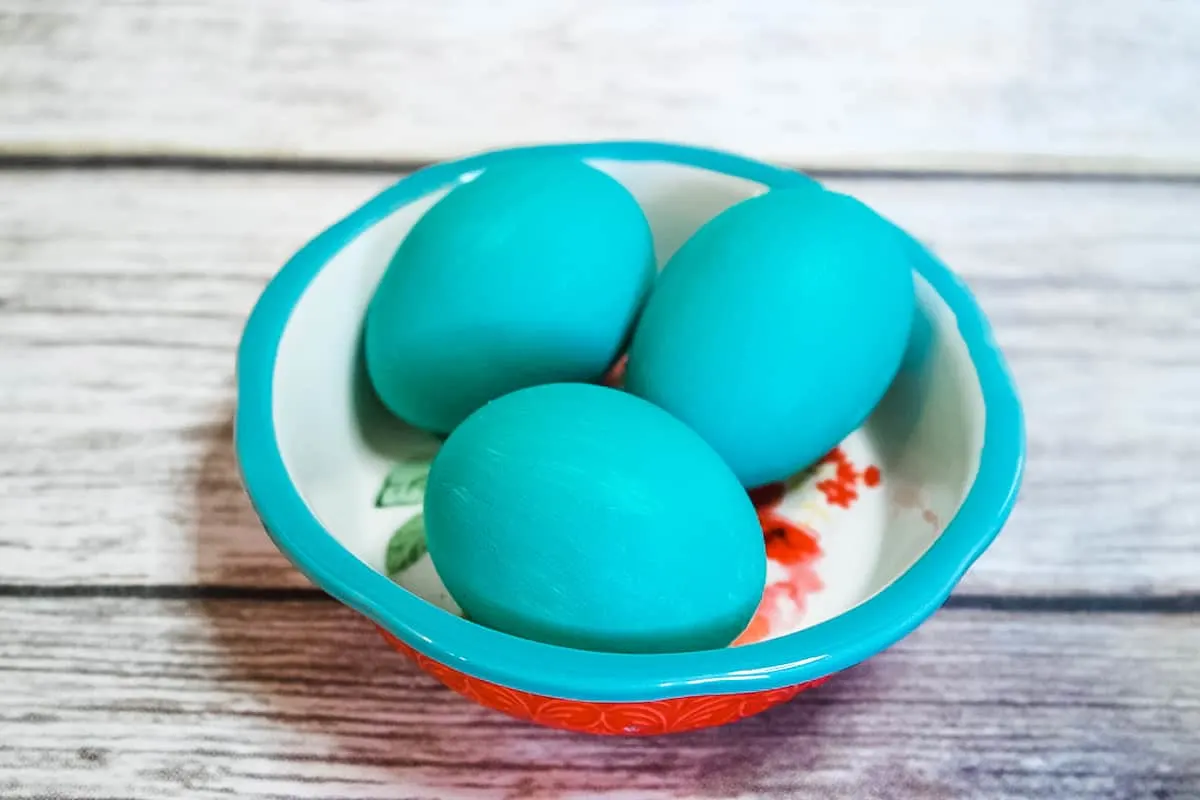
Paint the white egg. I used a Tiffany-blue colored teal to really stand out with the gold leaf. This could take 3 coats of paint. Let dry completly.
Step 2:
With the brush, add a thin layer of Mod Podge over the egg.


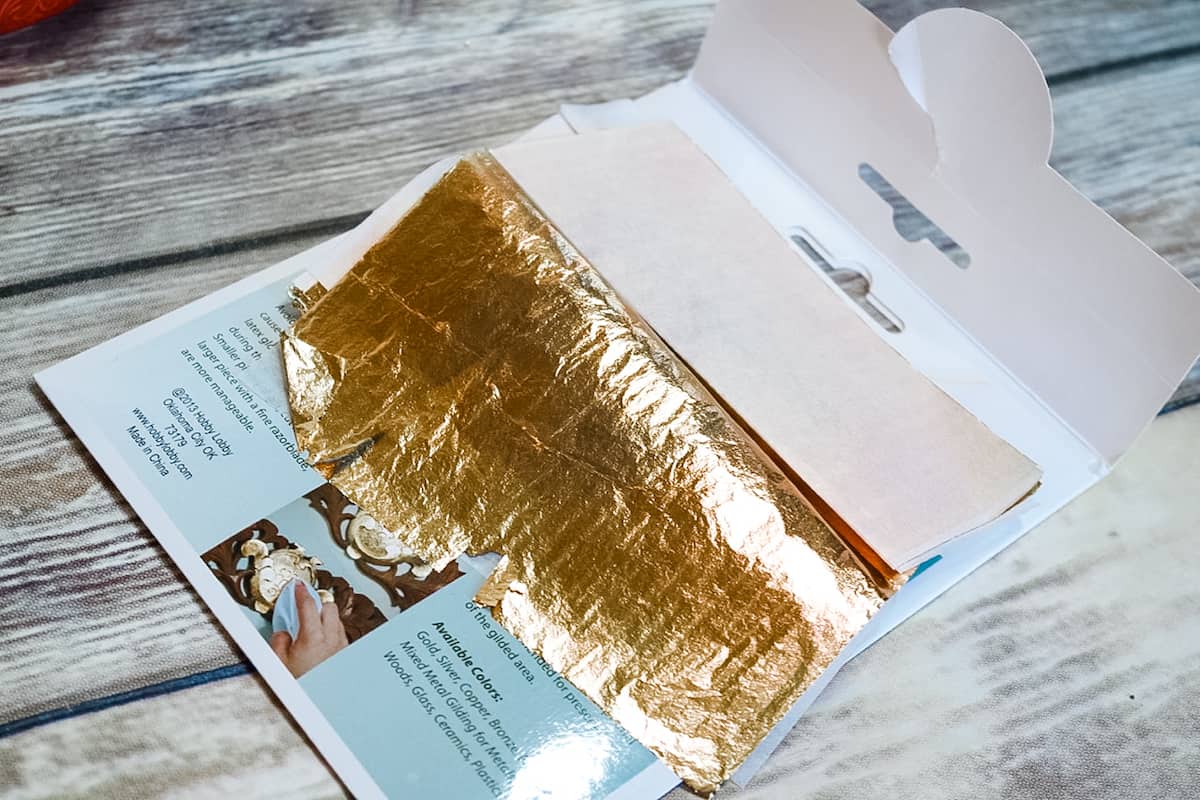
Step 3:
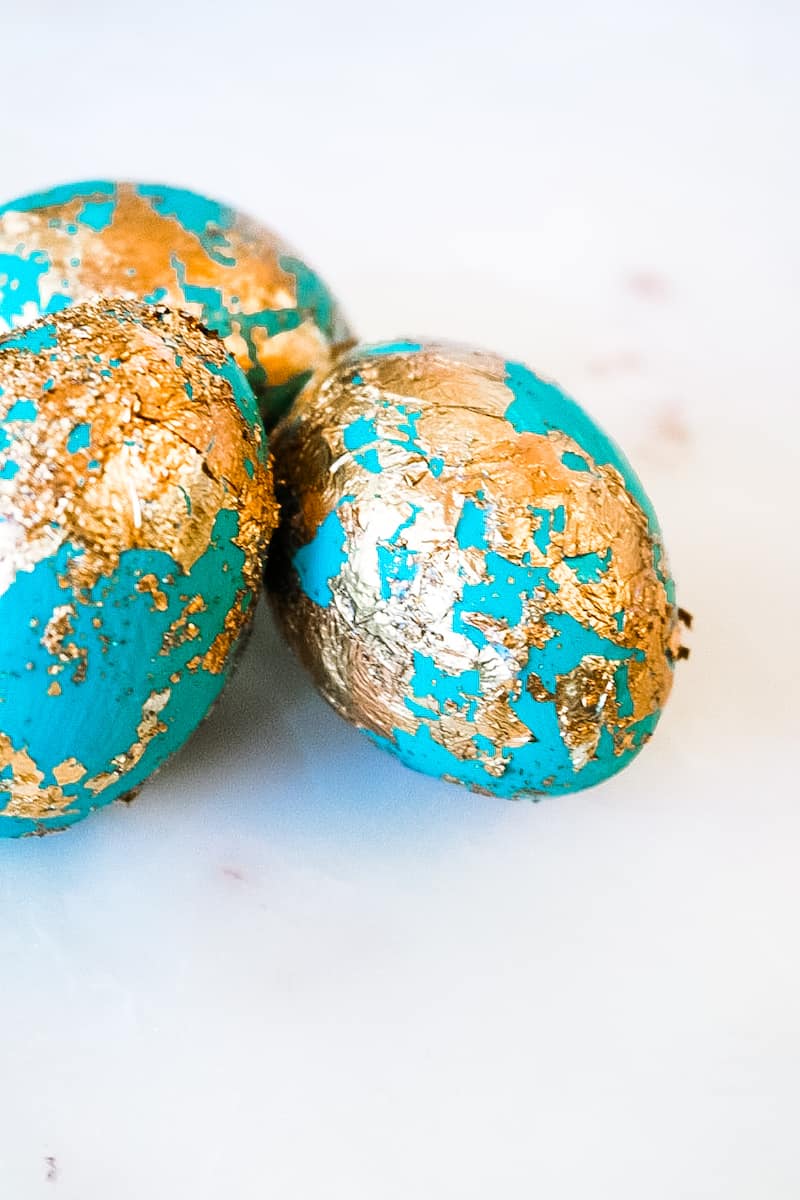
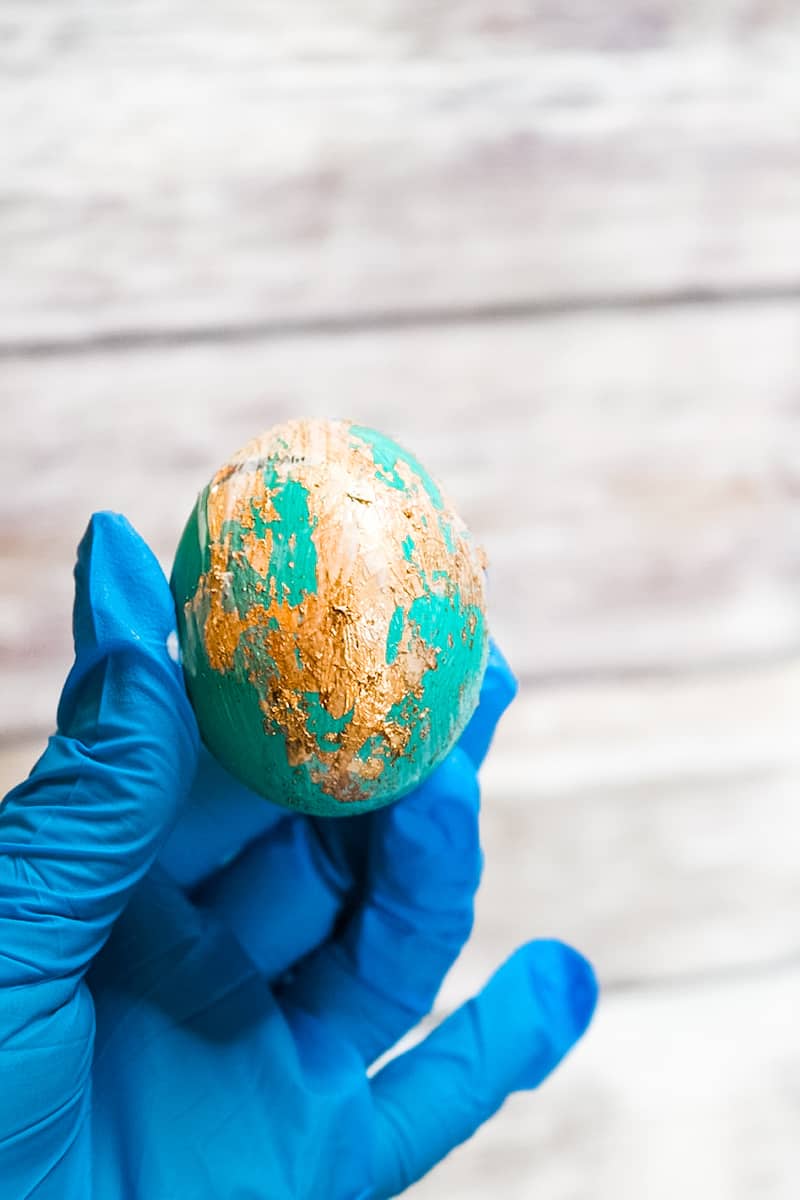
While the Mod Podge is still wet, apply the gold leaf. Using 1 sheet of gold leaf, break off pieces and adhere to the Mod Podge. Or, use gold leaf flakes.
You will want to allow some of the paint to show through for the gilded effect.

Step 4:
Apply another layer of Mod Podge over the top of the gold leaf. Let dry completely.
You can continue to add layers of gold leaf if you would like. However, be sure to apply a layer of Mod Podge, then gold leaf flakes, then another layer of Mod Podge as in the previous step.

You might also like these easy Easter DIY projects:
- 5 Natural Easter egg Dyes to Make with Foods
- Cosmic Galaxy Easter Eggs
- Mermaid Easter eggs
- How to Tie Dye Easter Eggs
- Twine Wrapped Easter Eggs
- DIY Glitter Easter Eggs
- Easy Nail Polish Easter Eggs
- Cool Whip Eggs
- Shaving Cream Eggs

Marsha Heskett
Tuesday 30th of March 2021
Exquisite!!! Luuuv these! Thanks for sharing & your ❤️
Single Girls DIY
Saturday 3rd of April 2021
Thank you!!!