


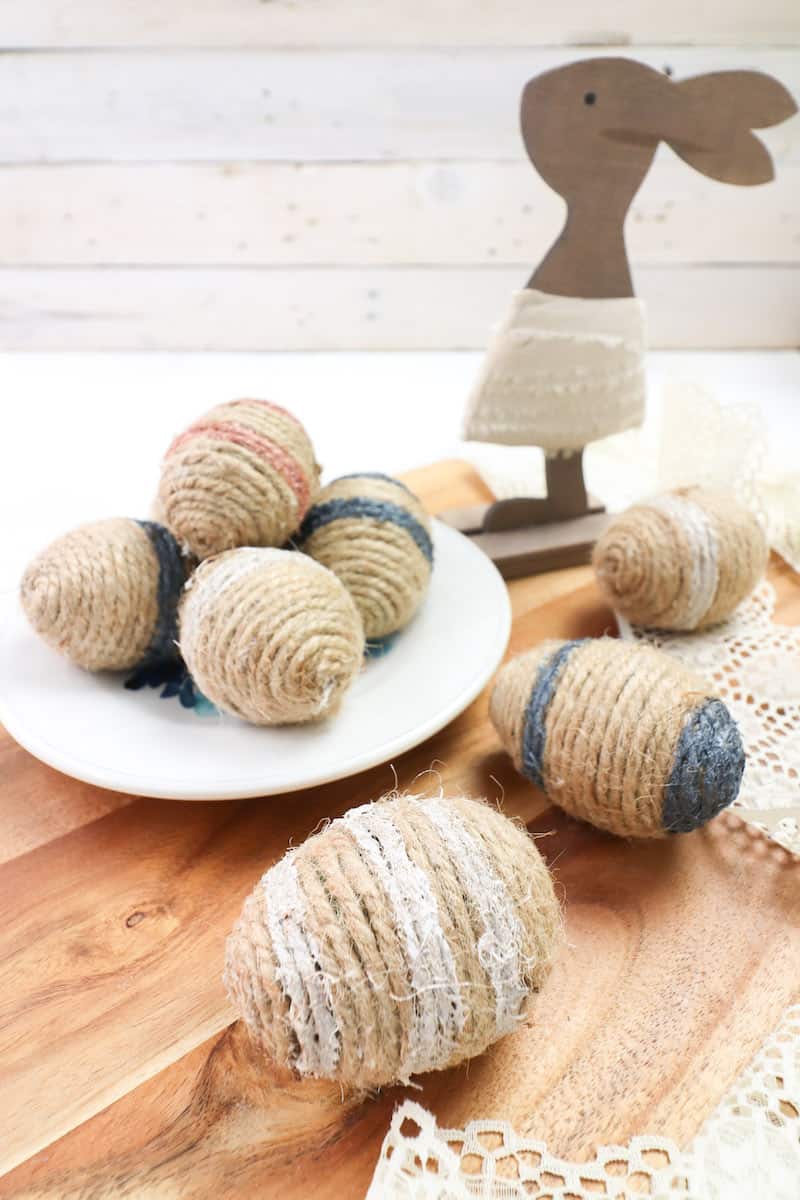
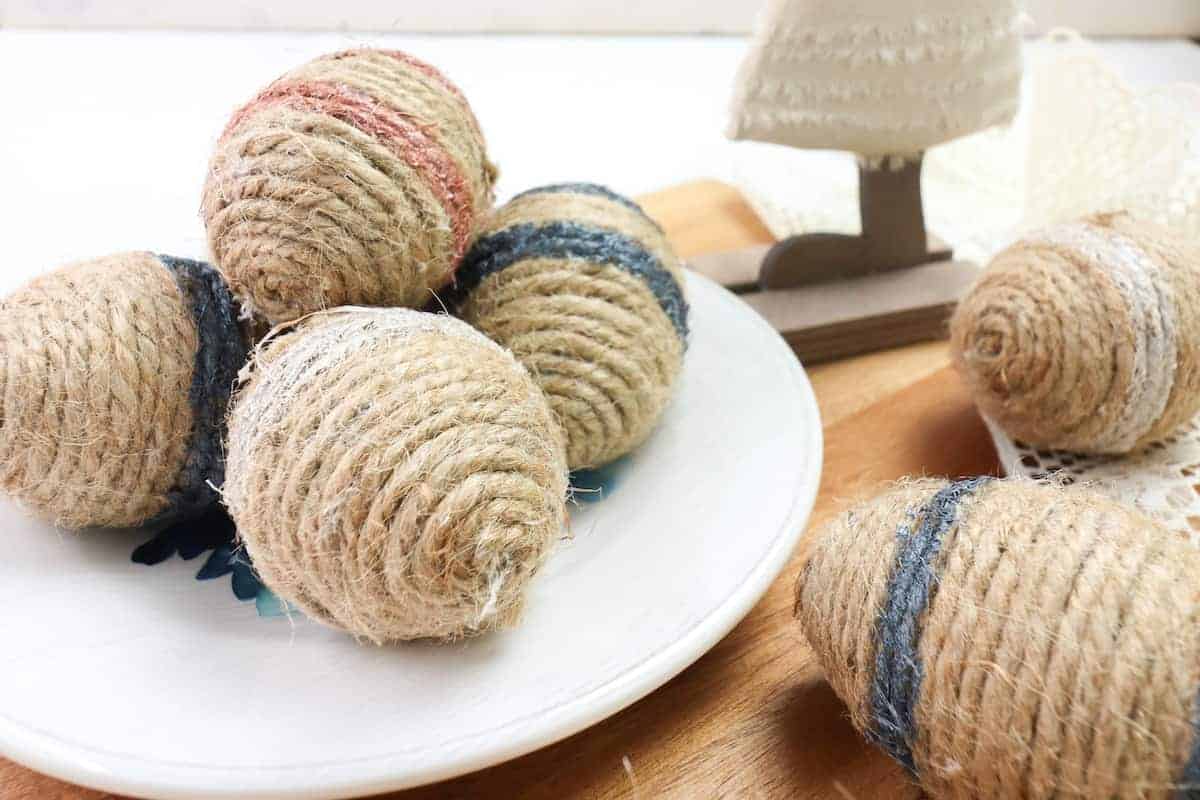
Make cheap plastic eggs into farmhouse style twine wrapped Easter eggs with this simple tutorial.

We all have cheap plastic Easter eggs around the house, right? If you don’t, then you can buy them for a buck at the dollar store.
But the neon colors and bright pastels might not fit your design look. Which is why I love this easy Easter DIY project!
It’s so simple to transform the plastic eggs into more modern, adult-like Easter eggs. And you don’t need a lot of fancy craft supplies.
So start upcycling those plastic eggs right now. This is a great, therapeutic craft to do while watching TV or a movie.
If you love these, you’ll like my easy decoupaged eggs, too.

FAQs
Do I Need Mod Podge or an Adhesive?
No, this project does not use Mod Podge or spray adhesive, which you might not have on hand. Instead, it uses simple hot glue.
Will the Hot Glue Stick to the Egg?
Yes, it will!
What Kind of Twine Should I Use?
There are a variety of different twines you can use.
- Jute twine is what we used. It’s inexpensive and a thicker rope, so you don’t have to wrap as many times around the egg. You can instantly and easily add more color by choosing one of these colored jute twines.
- Baker’s twine is more colorful, and you might like the stripe pattern it makes. However, it’s thinner so you’ll need to make more circles around the egg, which can be time consuming.
- Cotton twine has a softer feel. And it also has a more nautical look.
Can I Use Yarn Instead?
Yes, you can use yarn. It will be a little more difficult to glue if you use a thin yarn, so try to find thicker yarn.
Could I Get These Materials at the Dollar Store?
All of these craft materials (except for the hot glue gun) can be easily found at a dollar store. Which makes these a cheap Dollar Tree craft for Easter!

How to Make Twine Wrapped Easter Eggs
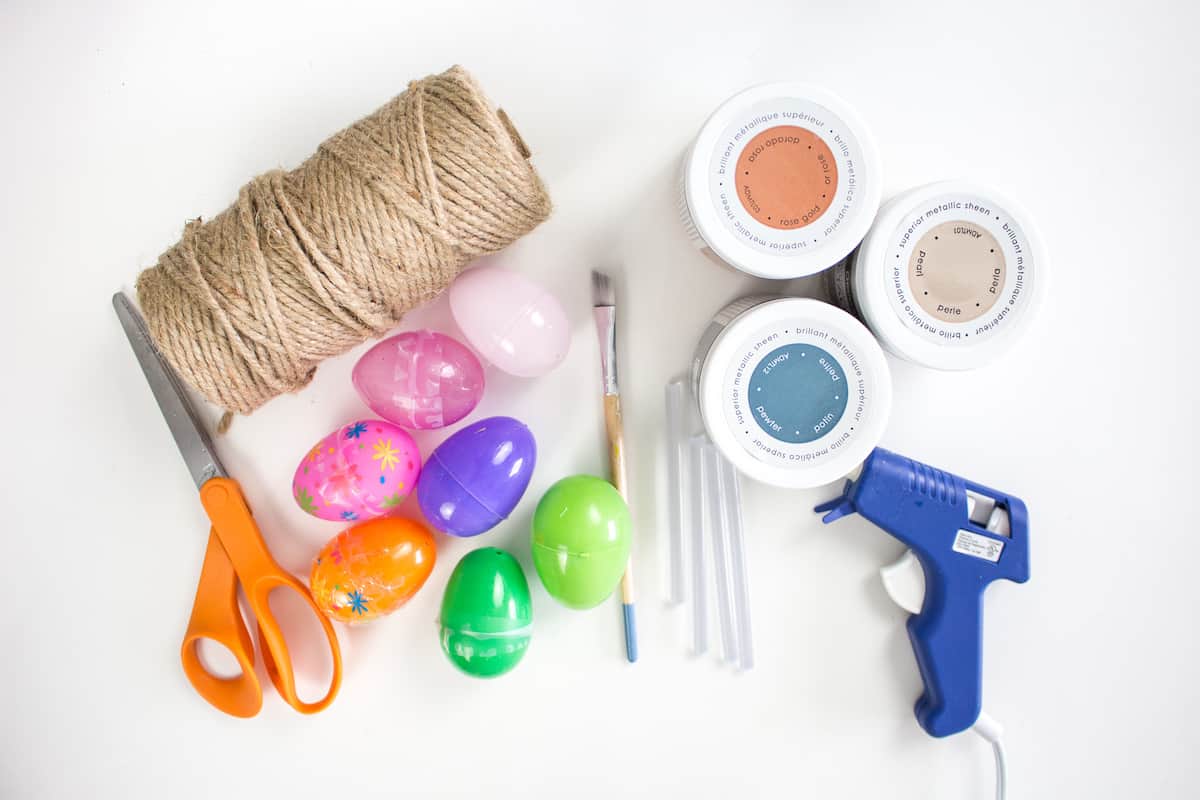
Supplies
- Plastic Easter Eggs
- Twine
- Scissors
- Hot glue gun with clear glue sticks
- Acrylic Paints (We used Americana Decor Metallics in Pewter, Pearl and Rose Gold)
- Paintbrush, ½″ flat

Instructions
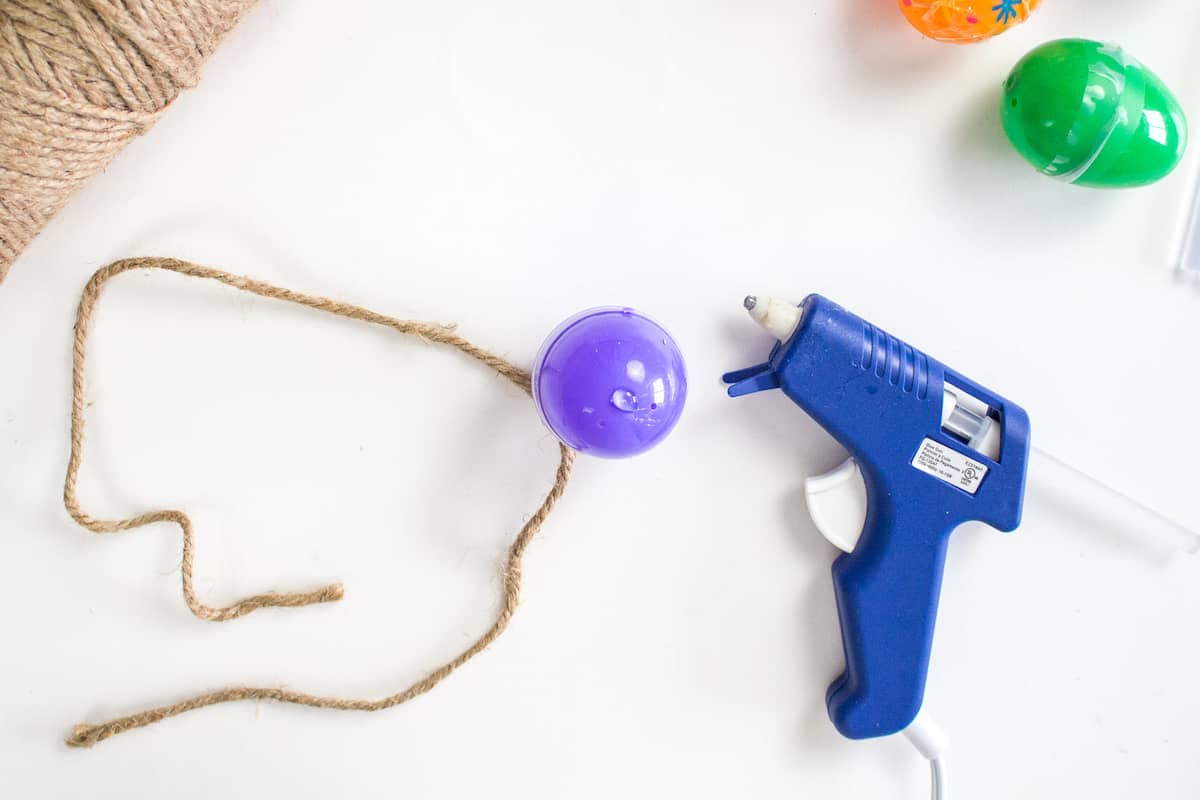
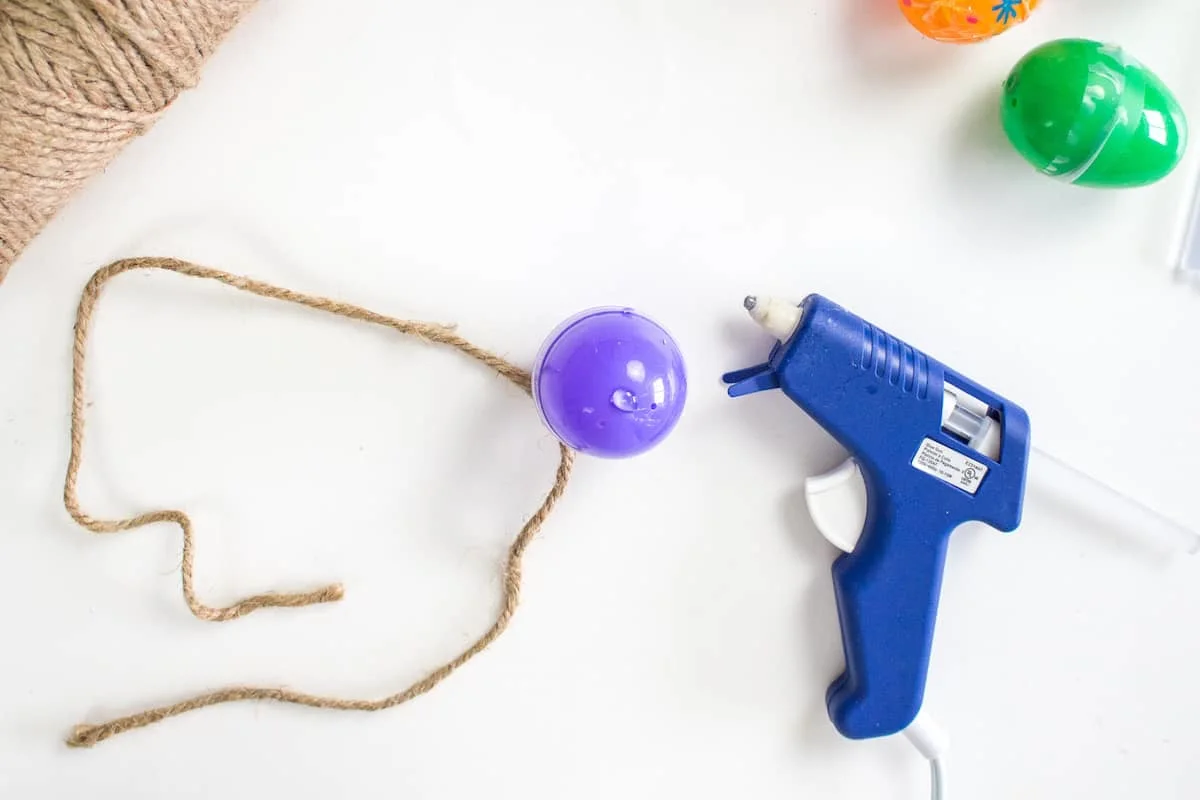
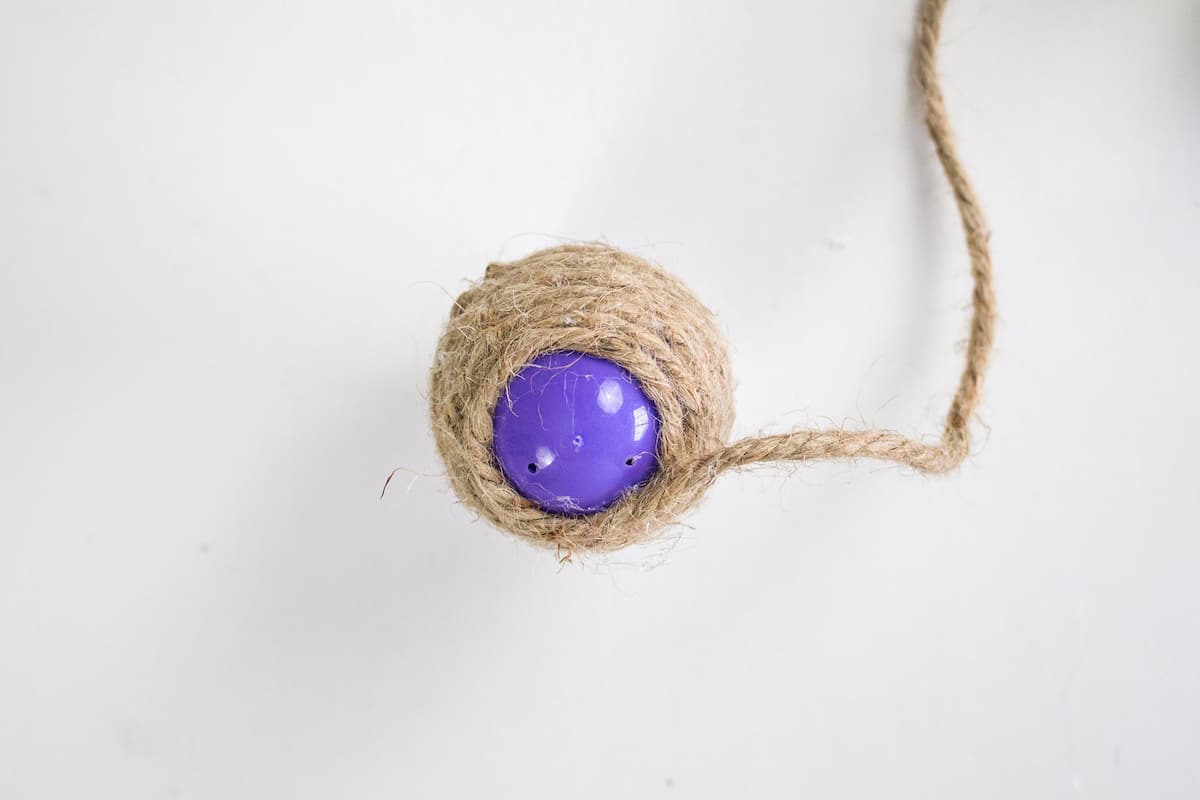
Step 1:
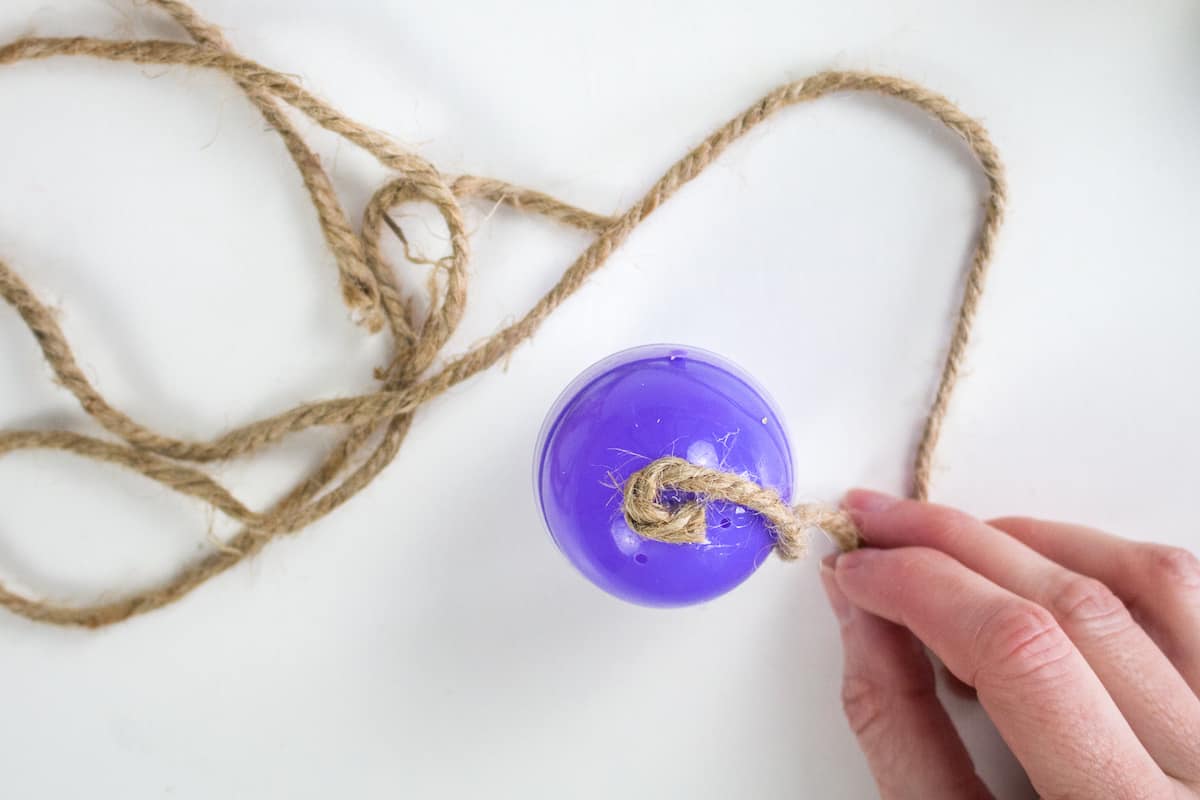
Heat the glue gun. Then apply a dab of hot glue to the bottom of the plastic egg. Press the end of the twine into the glue and carefully hold in place until glue sets.
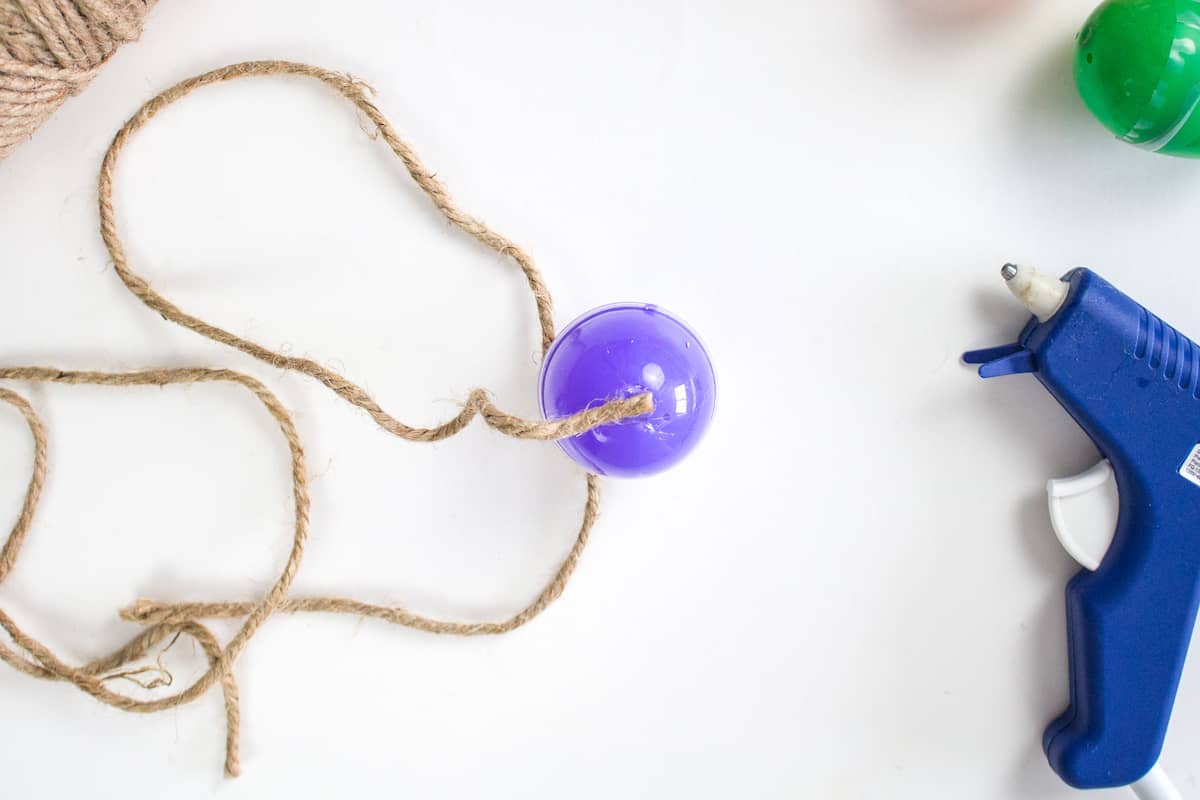
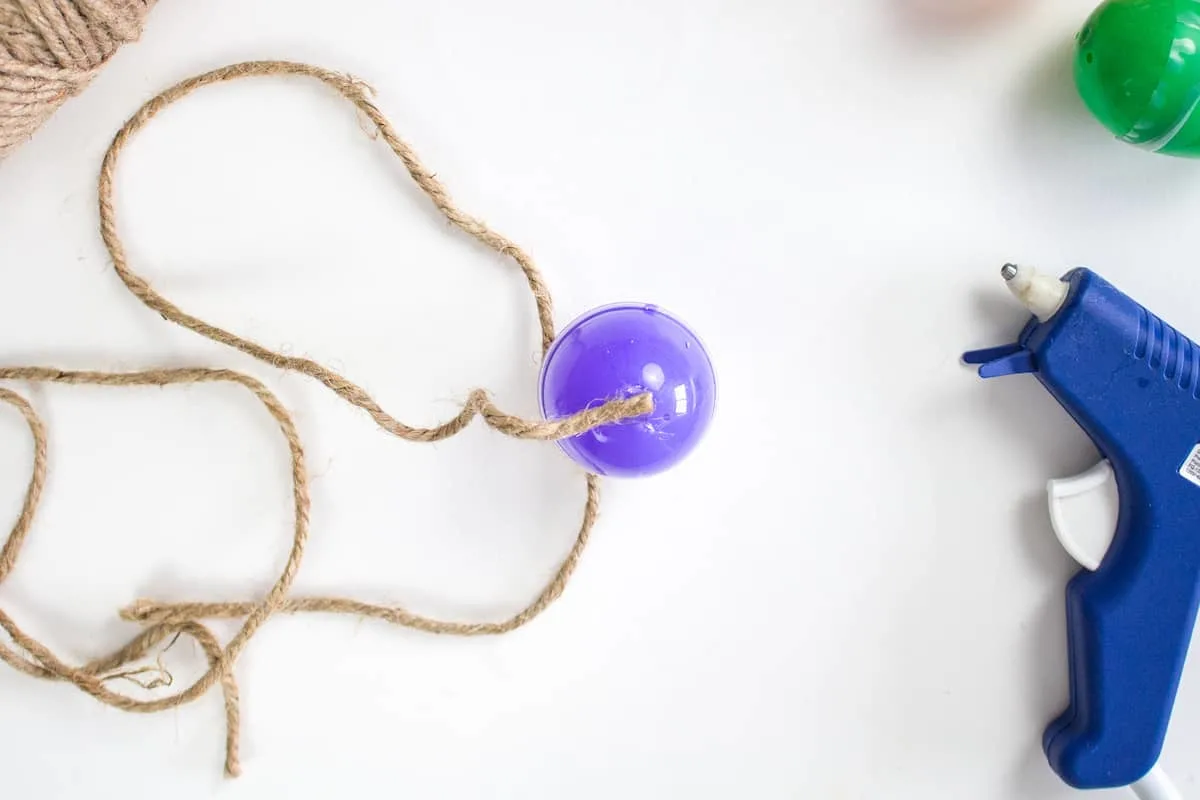
Step 2:
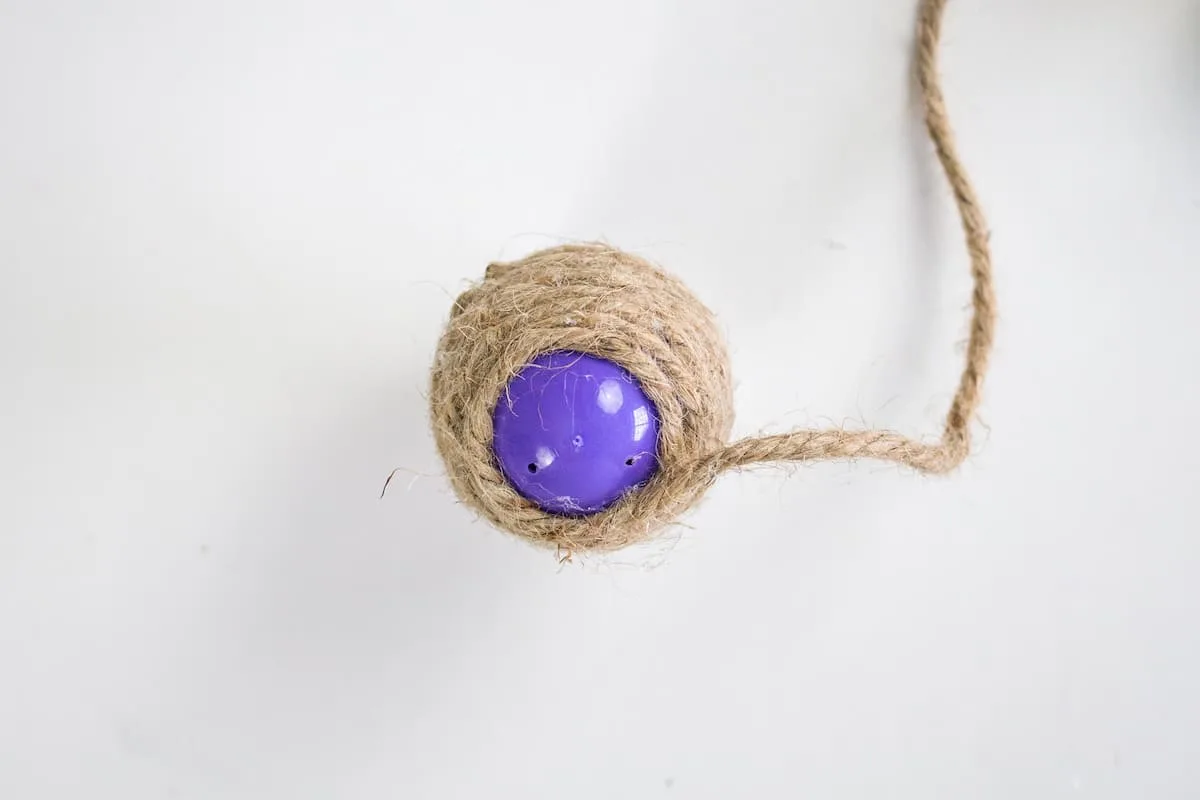
Apply another dab of glue next to the first dab and start to wrap the twine around in a circle.
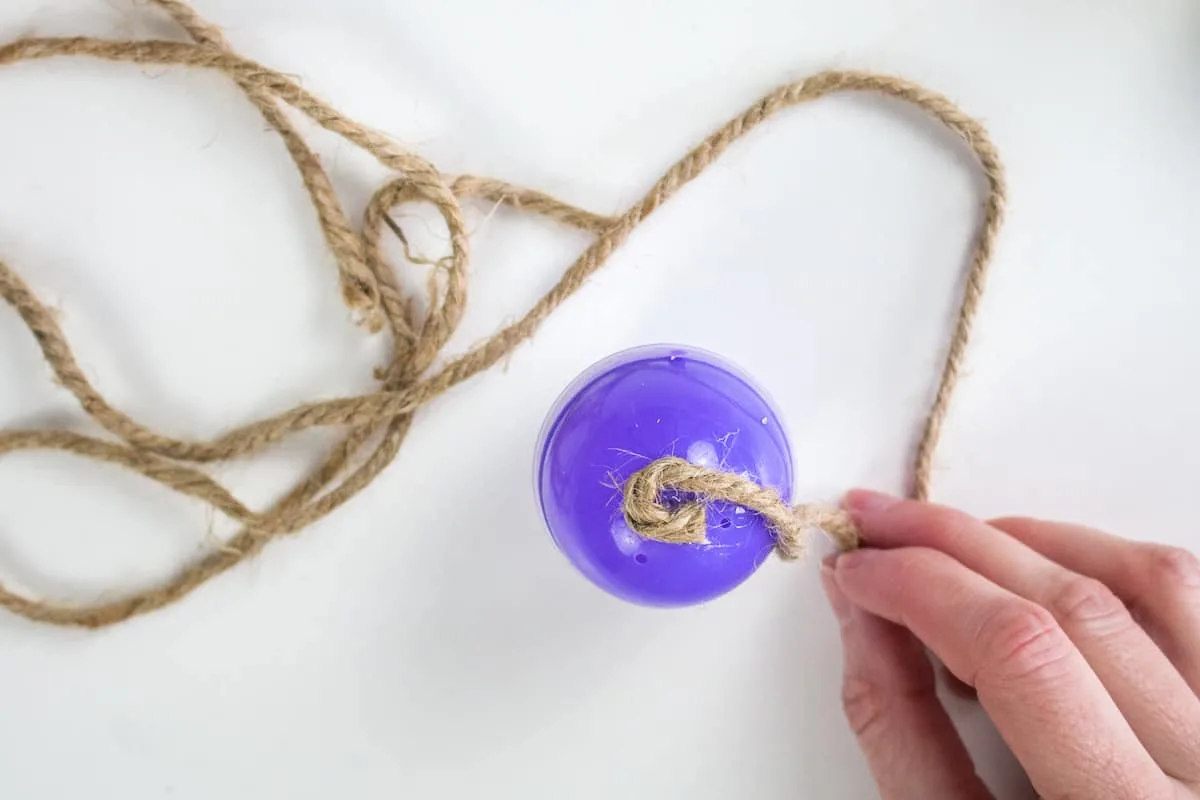
Working with small sections at a time, continue applying glue around the egg and wrapping the twine and pressing down into the glue.
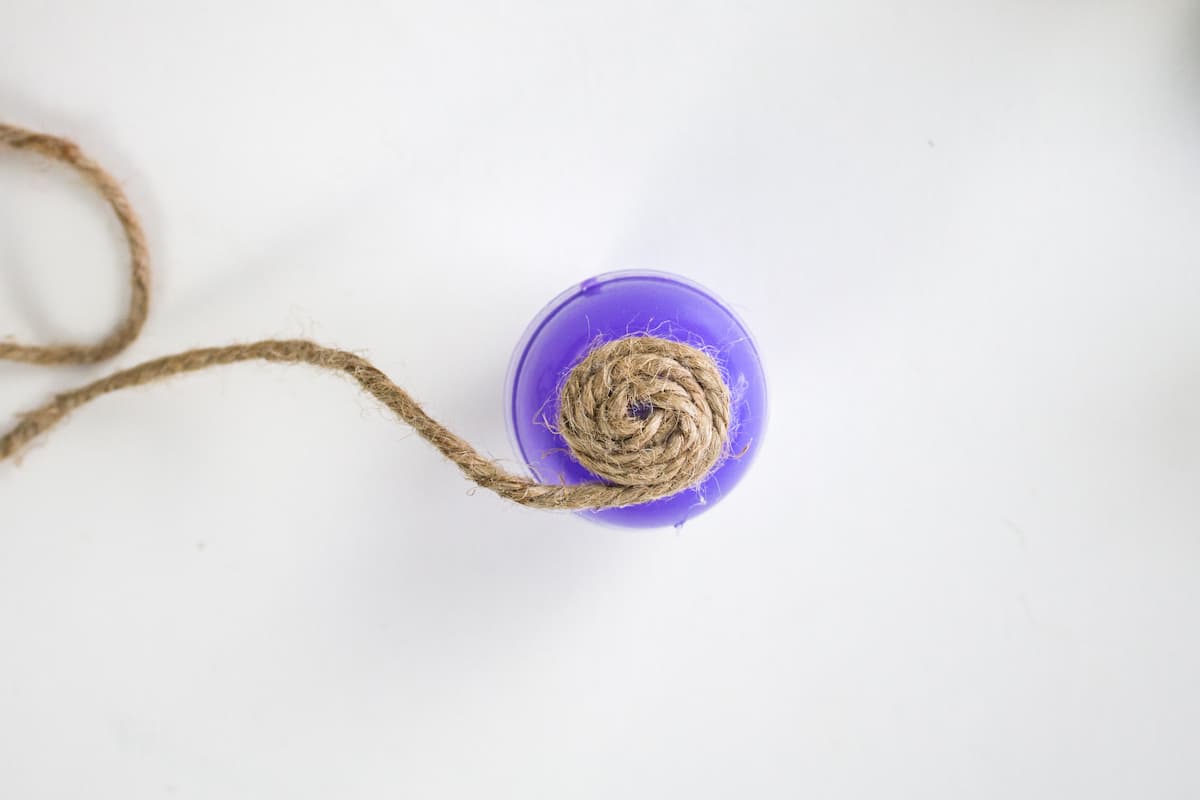
Make sure to keep the twine tightly lined up so that you don’t see the plastic egg underneath.
Step 3:
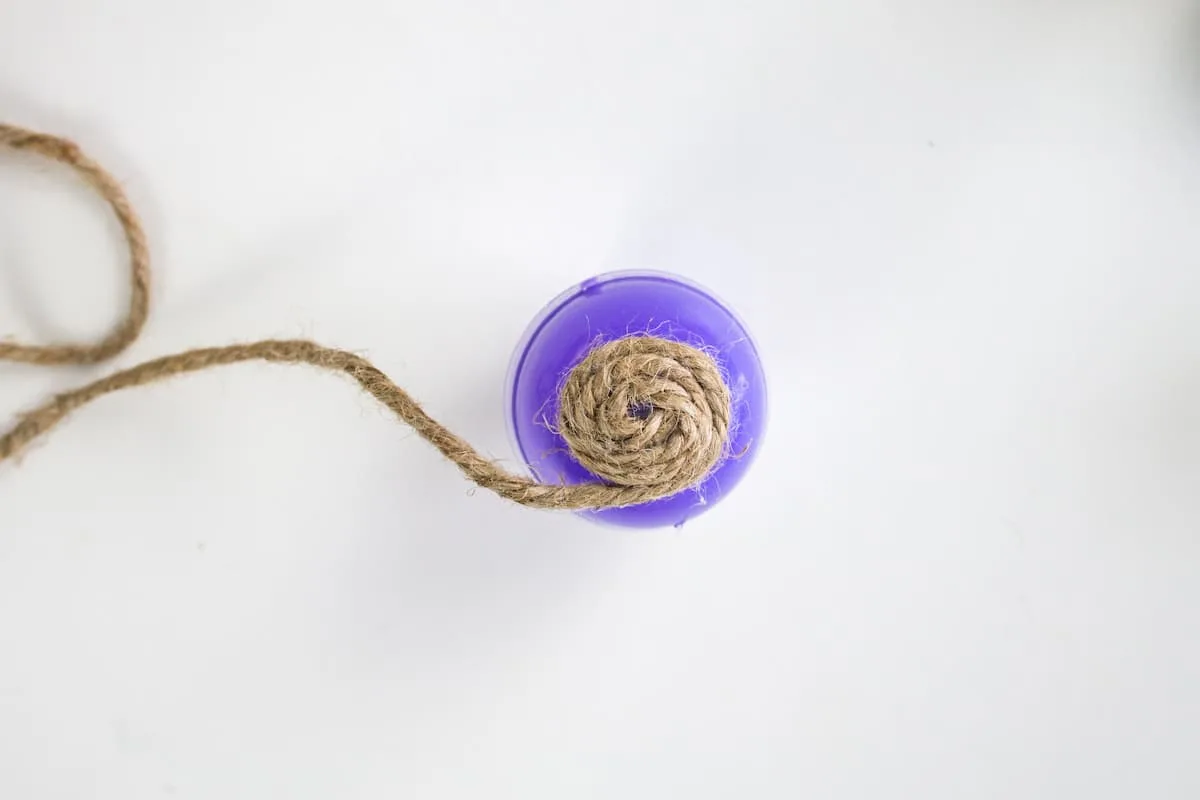
When you get close to the top of the egg, cut the twine to the length needed. You can estimate at this, but be sure to cut more than enough, rather than too little. Finish gluing the twine in place at the top.
If needed trim the excess end.
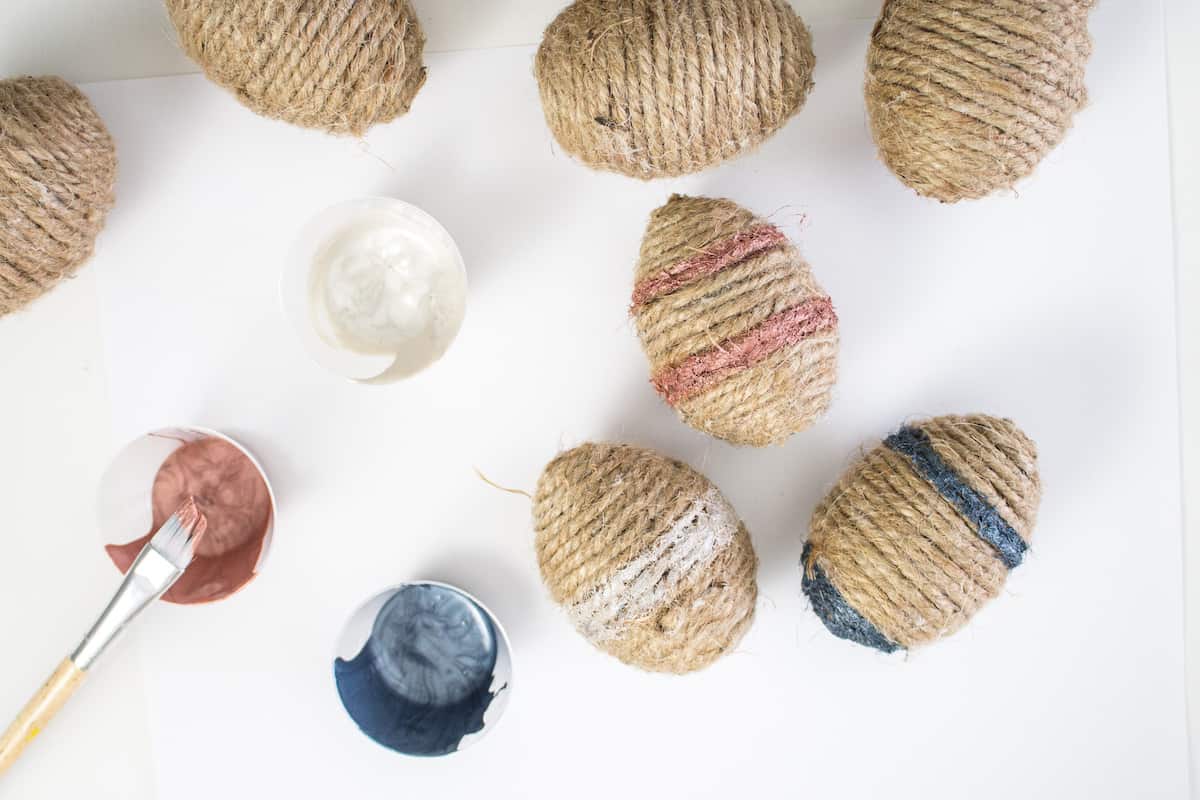
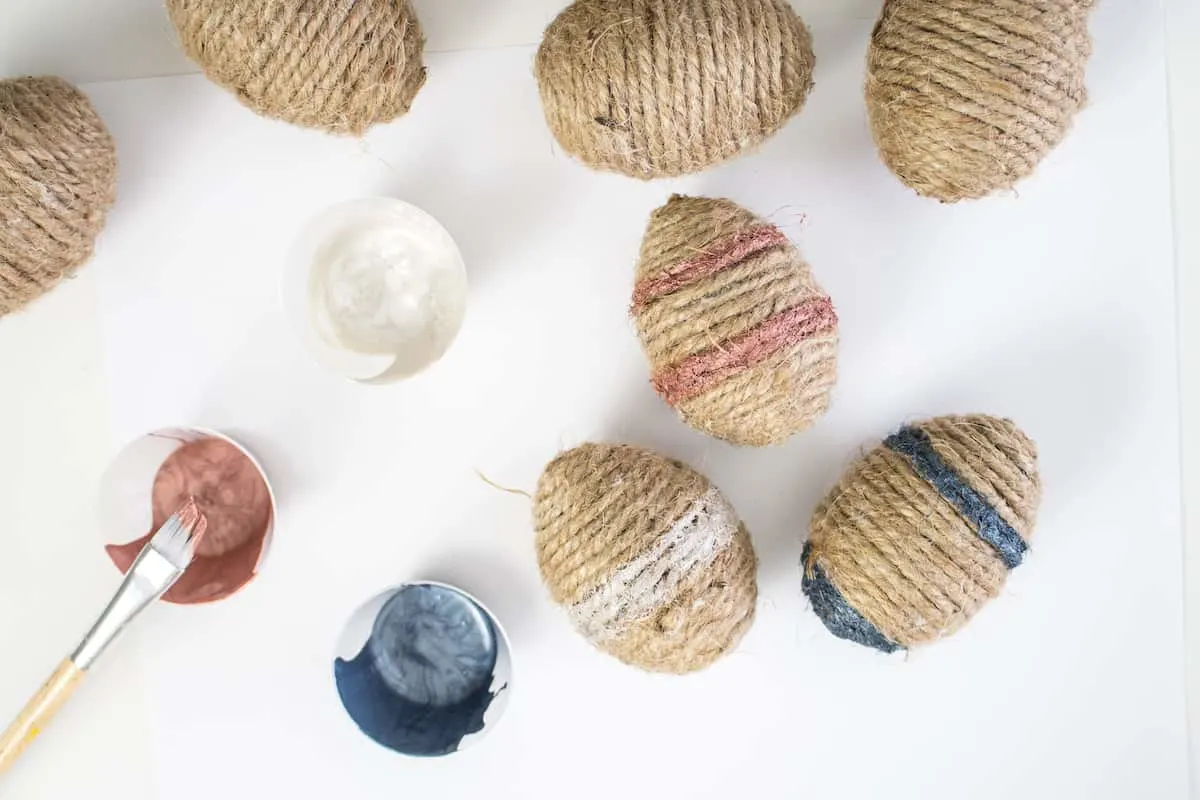
Step 4:
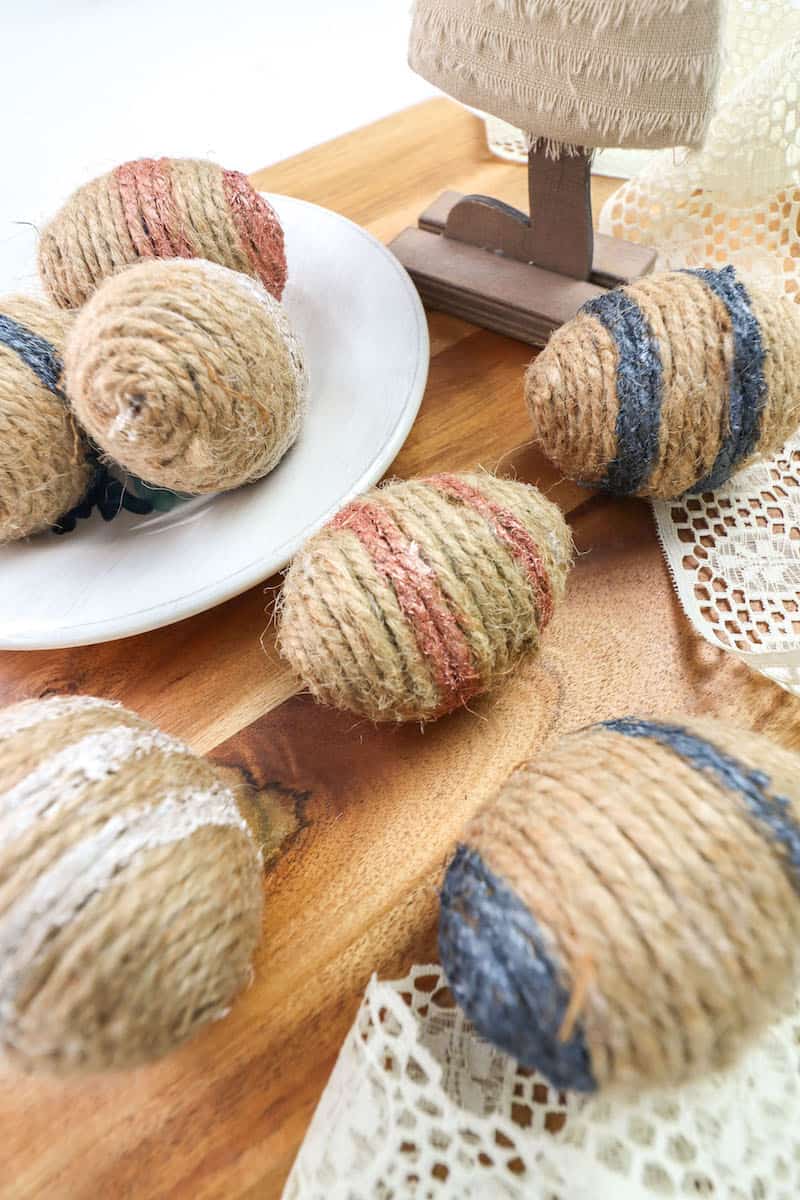
Dip the paintbrush into a paint color of your choosing. Paint stripes (or any other design, such as polka dots) onto the egg. You can add a combination of stripes, or a combination of colors, or whatever you’re inspired to do.


Be sure to check out our easy Easter DIY projects, including:
- Mason jar Easter candy containers
- Easy Easter Basket floral centerpieces
- Peeking Easter bunny frame
- Pretty Easter Banner made with Cricut
And here are some more fun ways to decorate eggs:
- DIY Galaxy Easter eggs
- Stunning Gilded Easter Eggs
- Nail Polish Marbled Easter Eggs
- Glitter Easter Eggs
