


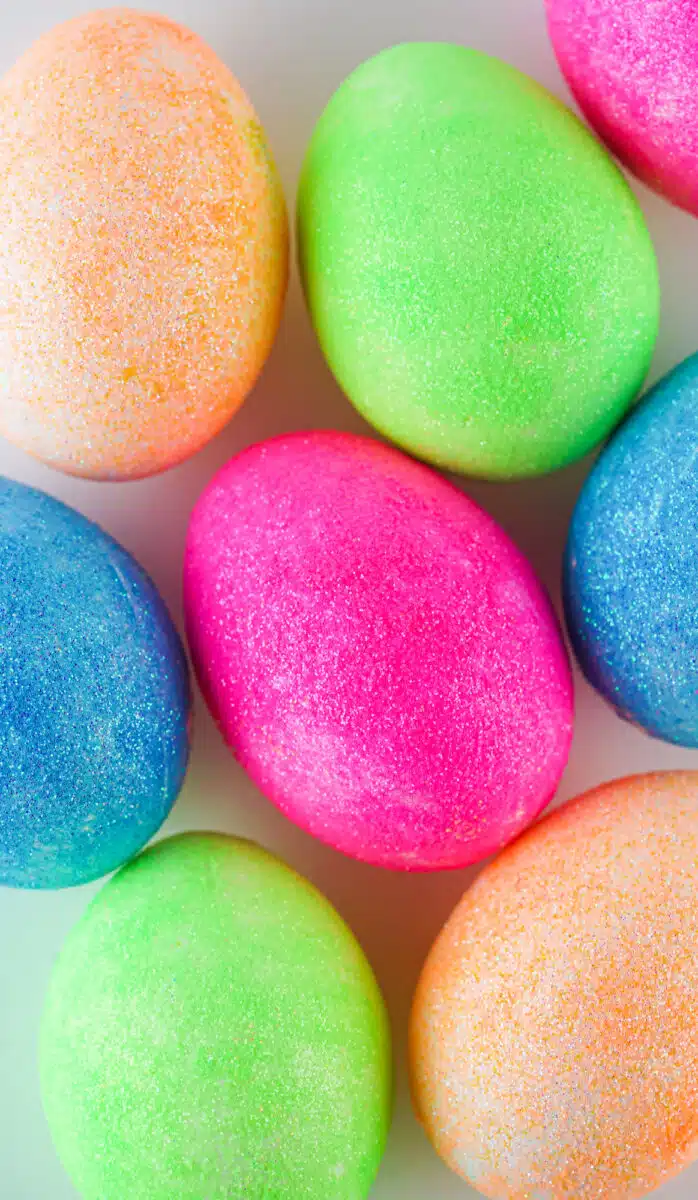
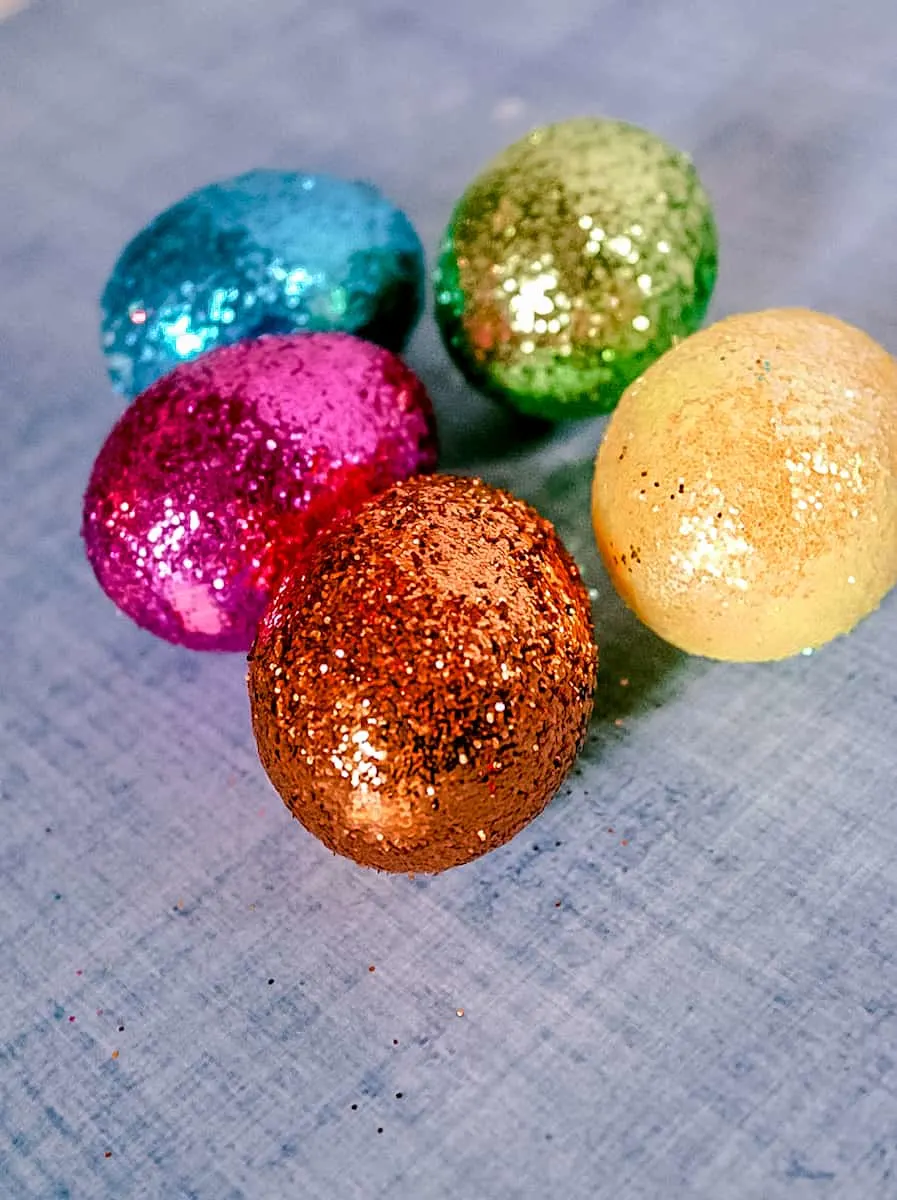
Sparkly glitter eggs for Easter is a fun way to add some sparkle to your holiday! Whether you are adding glitter eggs as decorations or want edible glitter Easter eggs, here are two easy ways to add some sparkle this year!
One way is to use glue and fine glitter. The other way uses Mod Podge, paint and chunky glitter. Both methods can be used on either hard boiled eggs or faux eggs, such as plastic Easter eggs or styrofoam eggs.

This is just one of our 20 ways to color Easter eggs! Be sure to see more of our ideas, such as:
Glitter Eggs (Using Glue)
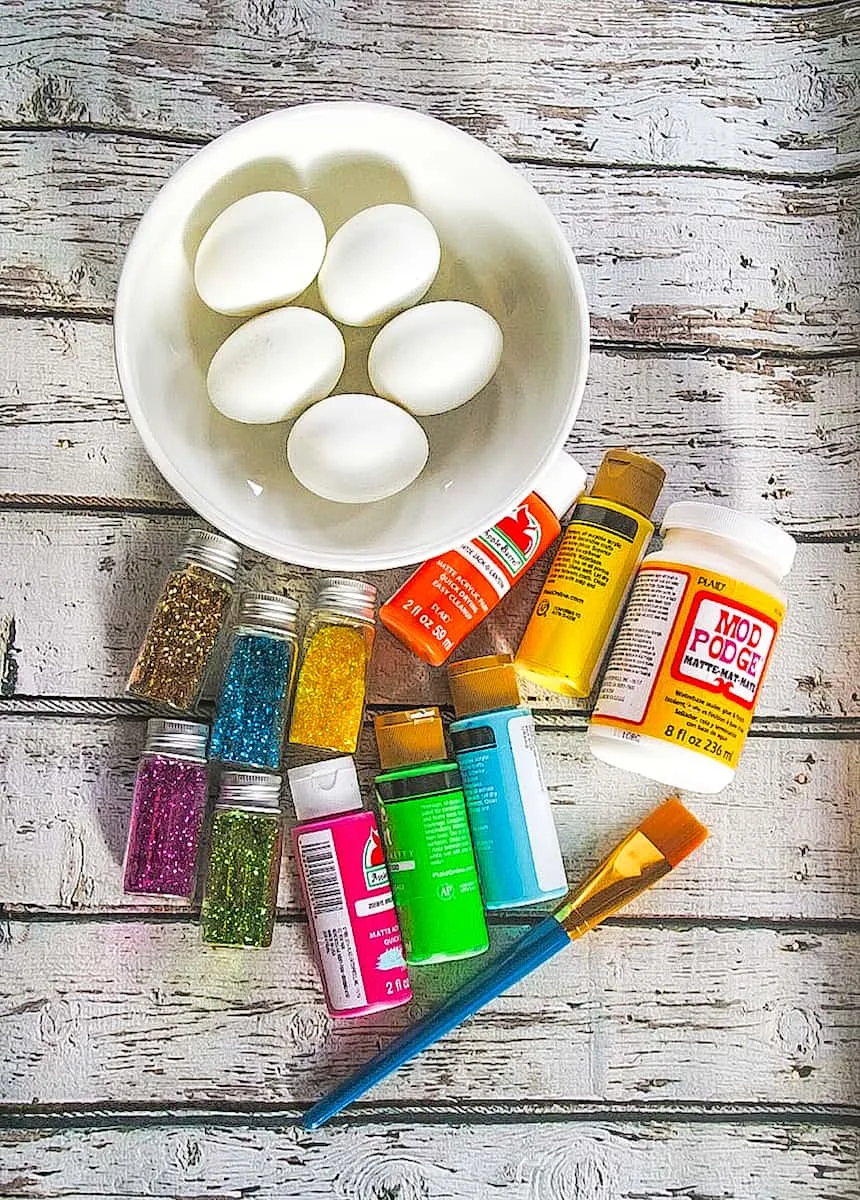
Supplies
- Hard Boiled Eggs (be sure they are dry!)
- Fine Glitter
- Craft Glue (such as Elmer’s Glue)
- Paint Brush
- Zip-Top Plastic Quart Baggies
- Hairspray (optional)
Directions
Step 1
Place a small amount of white craft glue in a small bowl or on a plate. I like to use disposable bowls or plates when working with glue.
Add glitter to a quart baggie. Put a different color in each plastic bag. Add at least 2 tablespoons, but more would be better.
Step 2
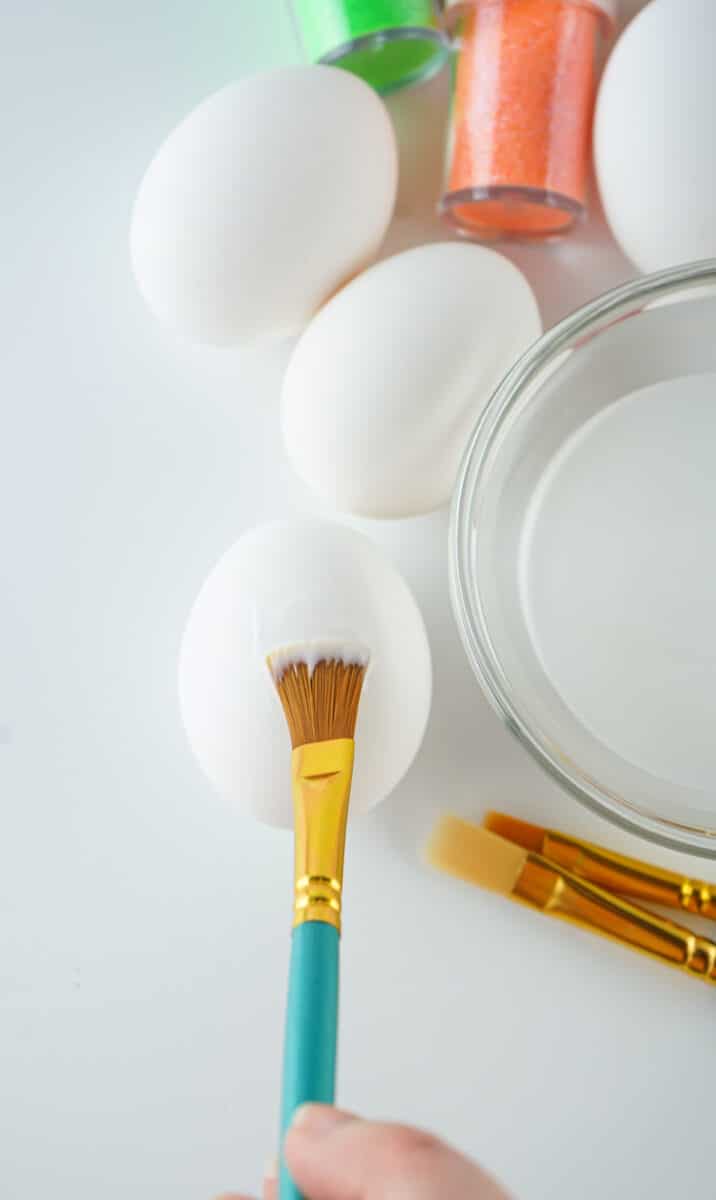
Use the paint brush to brush a thin layer of glue all over each egg. It doesn’t need to be too thick. Be sure that you don’t miss a spot, because that area won’t have glitter!

Step 3
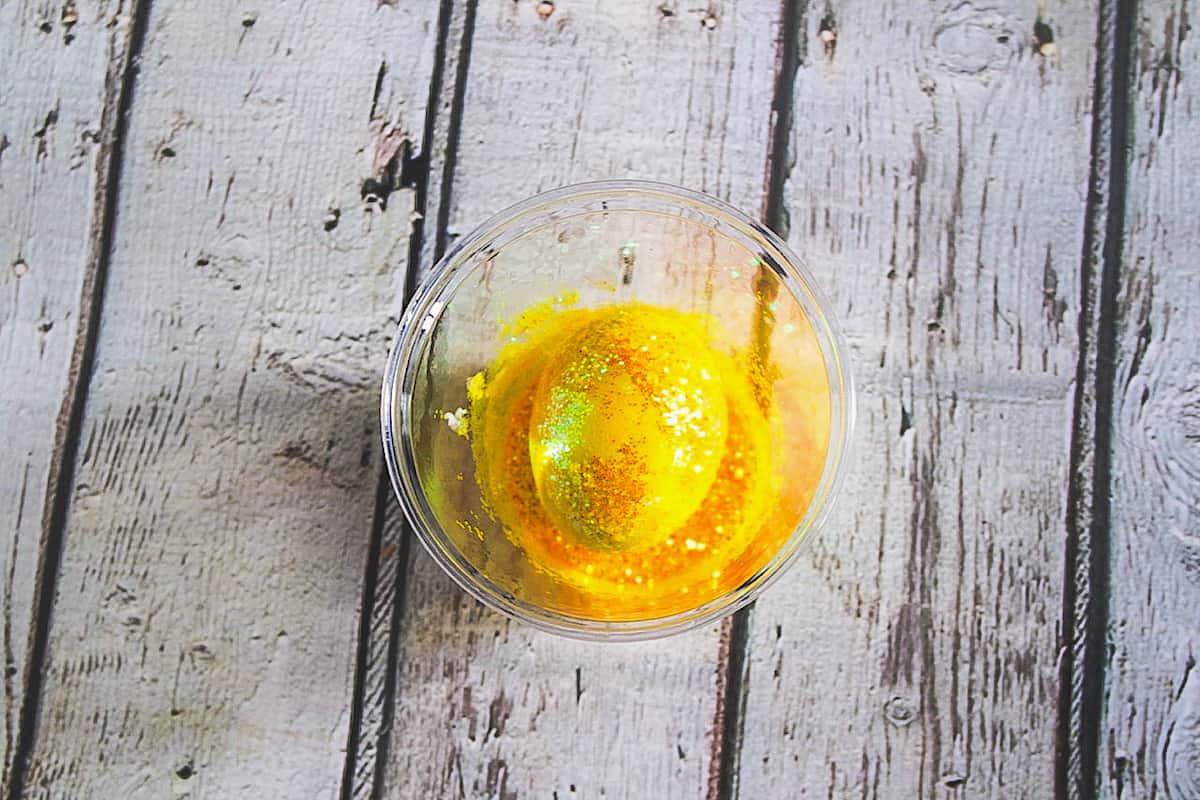
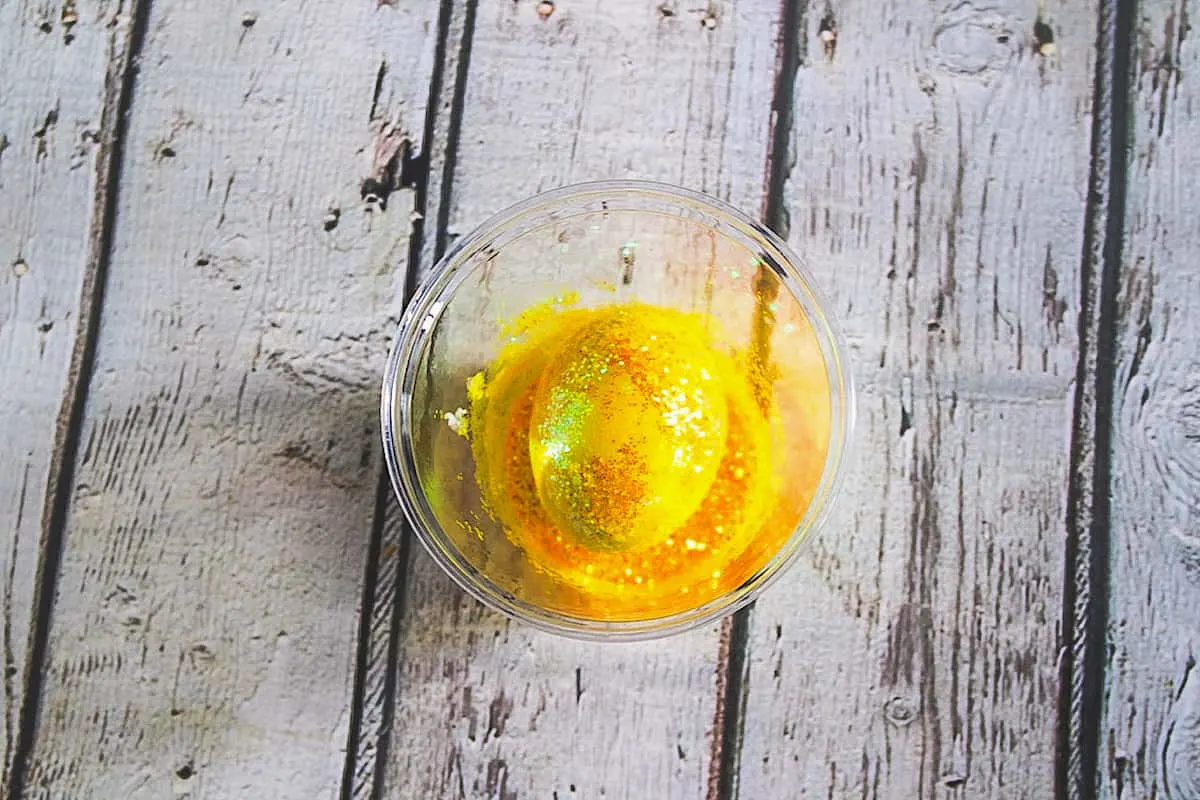
Place the egg in the bag of glitter and gently roll it around. Try not to scrape the sides too much or the glue will be wiped off.
Once the egg is completely coated, leave it in the bag, laying flat, for about 2 minutes.


Step 4
Gently remove the egg from the bag. If there are any places on the egg that did not get coated with glitter, apply glue on those spots with your paintbrush and place it back in the back to repeat the process.
When the egg is completely coated in sparkles, you can spray the egg with hairspray to help the glitter set and not fall off as much. After spraying the egg with hairspray, allow it to sit for about 10 minutes to dry.


Want to save this idea for later? Be sure to Pin It!


Glitter Easter Eggs (Using Mod Podge)

Supplies
- Eggs (wooden eggs or styrofoam eggs)
- Acrylic paint
- Paintbrush
- Glitter
- Plastic cups (one cup for each color of glitter used)
- Mod Podge

Instructions
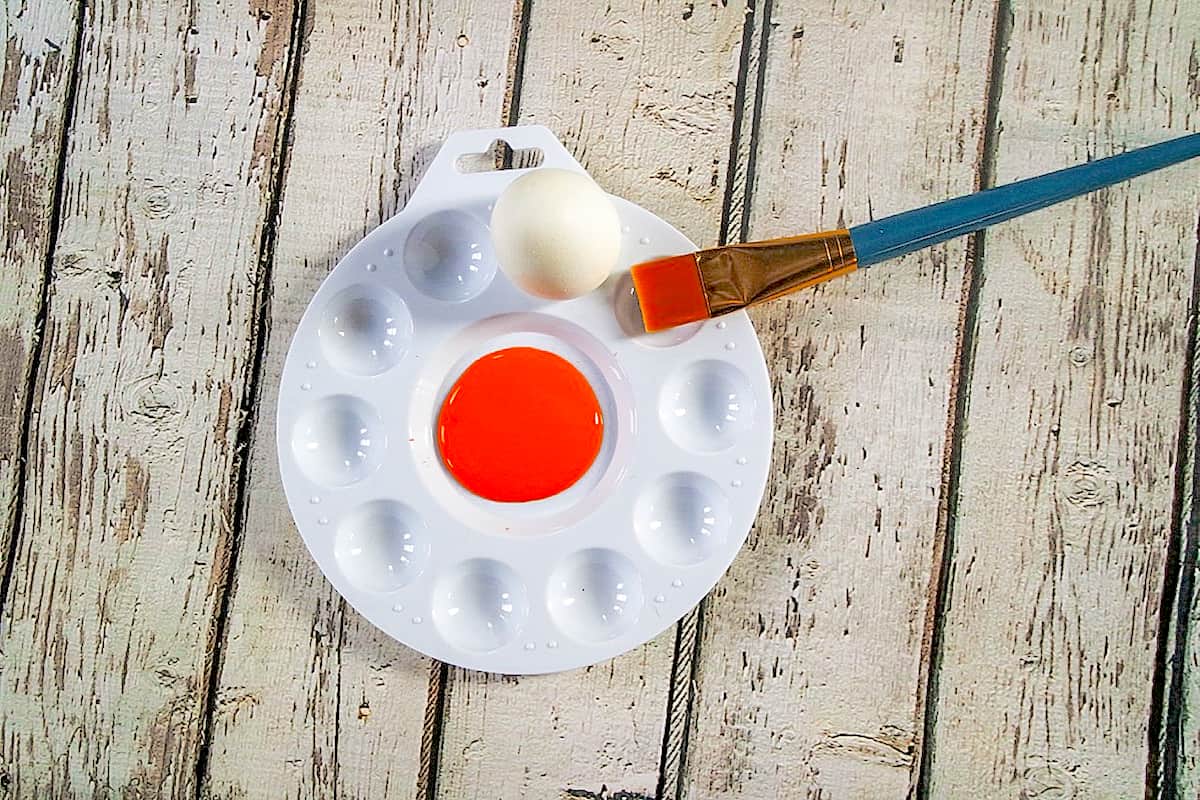
Step 1
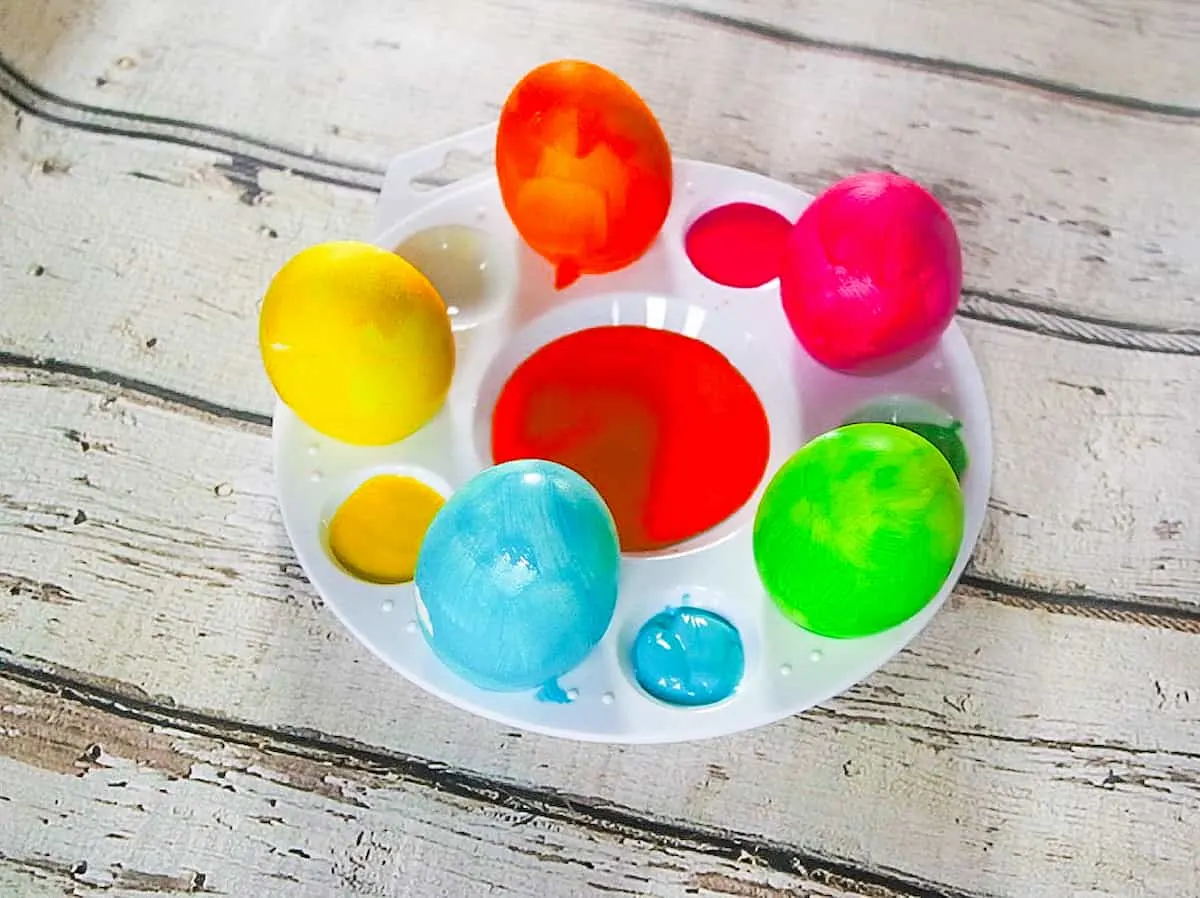
Paint each egg in the color of your choosing. Make sure that the entire egg is coated. Let dry completely.


Step 2
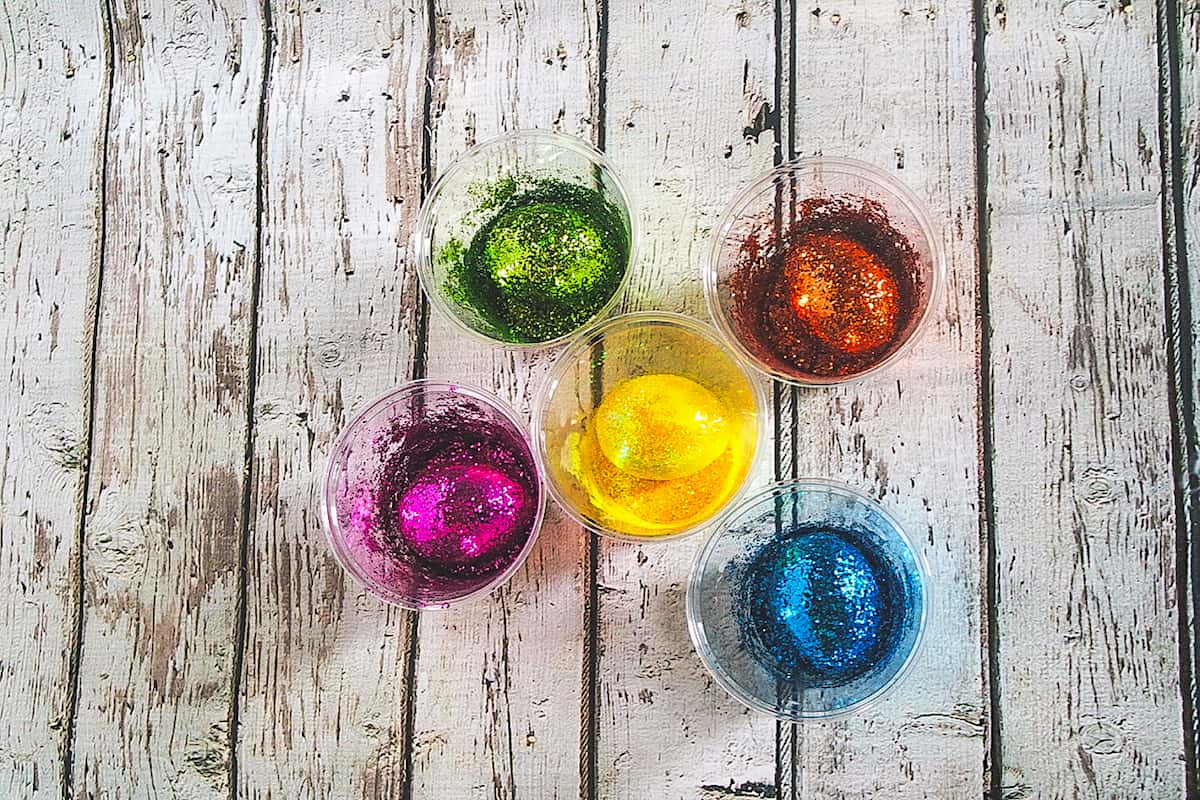
Put the glitter in a plastic cup.
Step 3
Using a brush, apply a thick coat of Mod Podge over the entire egg.
Step 4
Put your egg into the plastic cup with the glitter. Gently shake the cup around to coat the egg. You can also pour the glitter over the egg, or take a spoon and try to spoon the glitter over the egg, too.
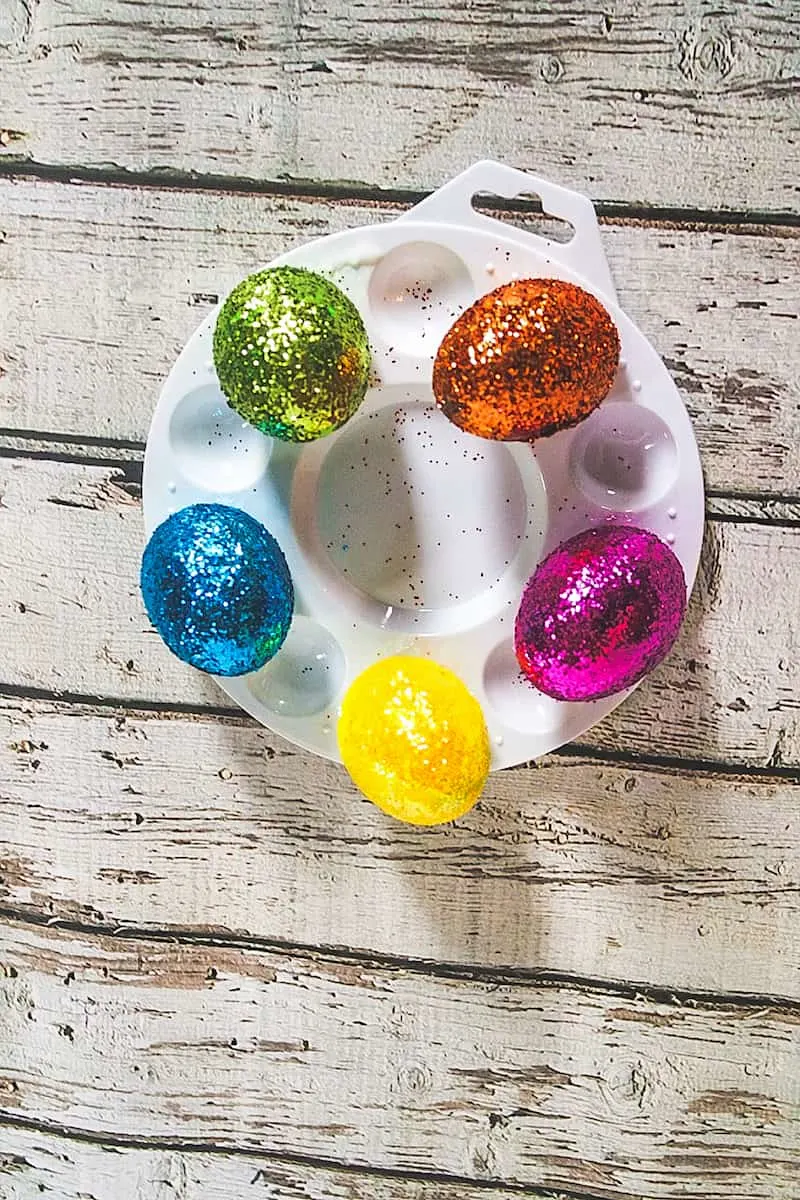
Once completely coated, allow the eggs to dry for 1 hour.


Be sure to Pin This to save these tutorials for later!


See more of our Easter egg decorating ideas next:
- Marbled Eggs
- Tissue Paper Dyed Eggs
- Gilded Easter Eggs
- Twine Wrapped Easter Eggs
- DIY Decoupaged Eggs

Missy Showalter
Thursday 10th of April 2025
So bright, vivid, and beautiful!!!
Kimberly
Saturday 12th of April 2025
They are!!!