
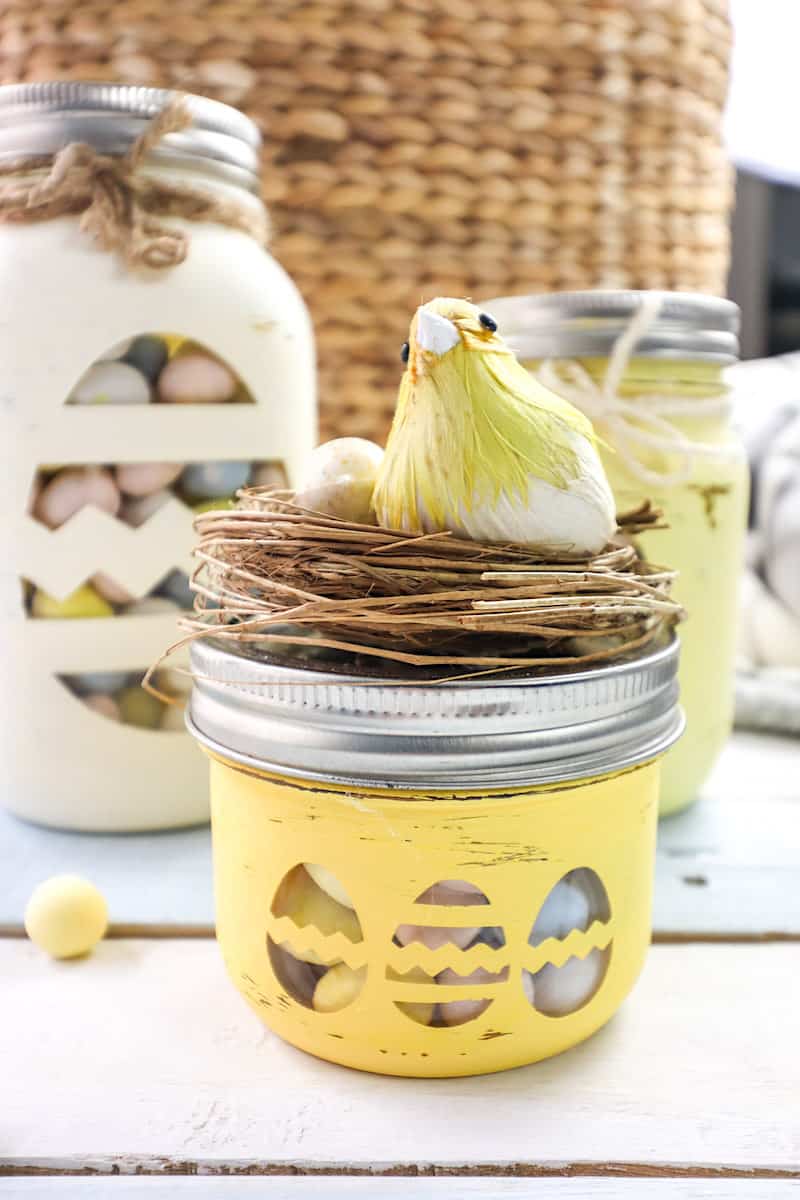
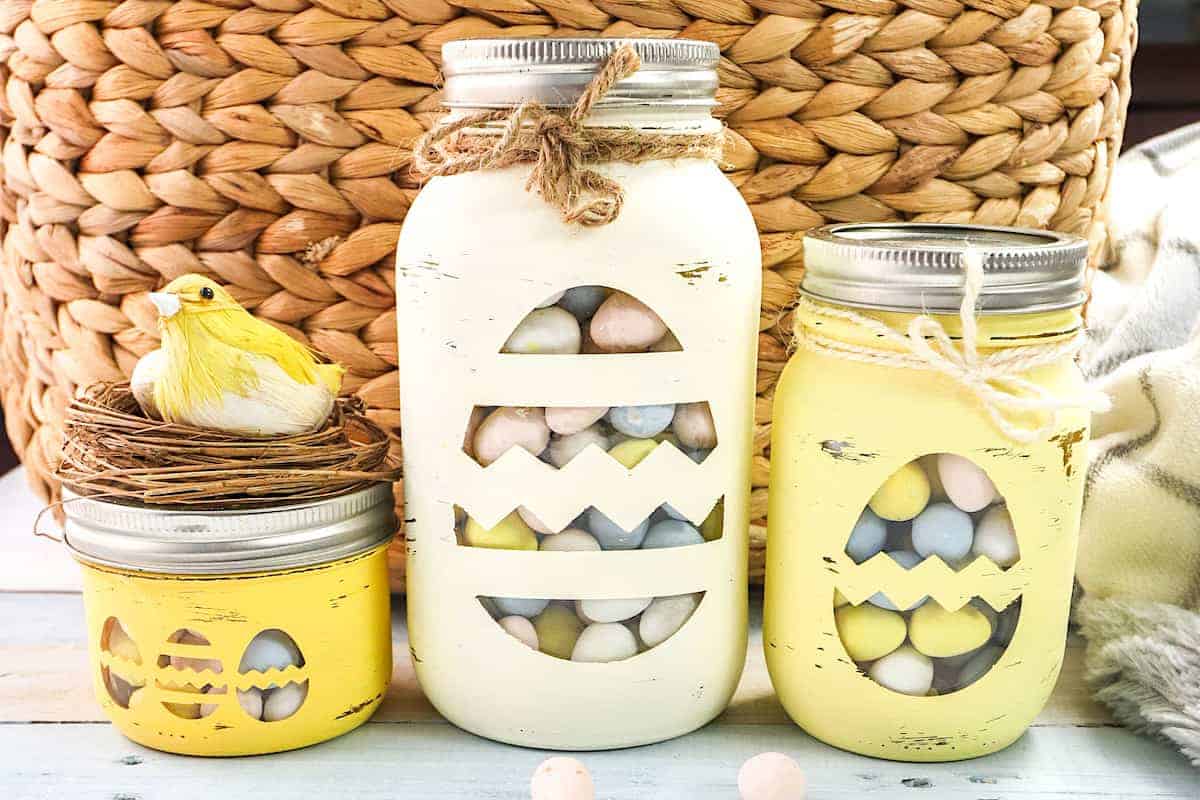
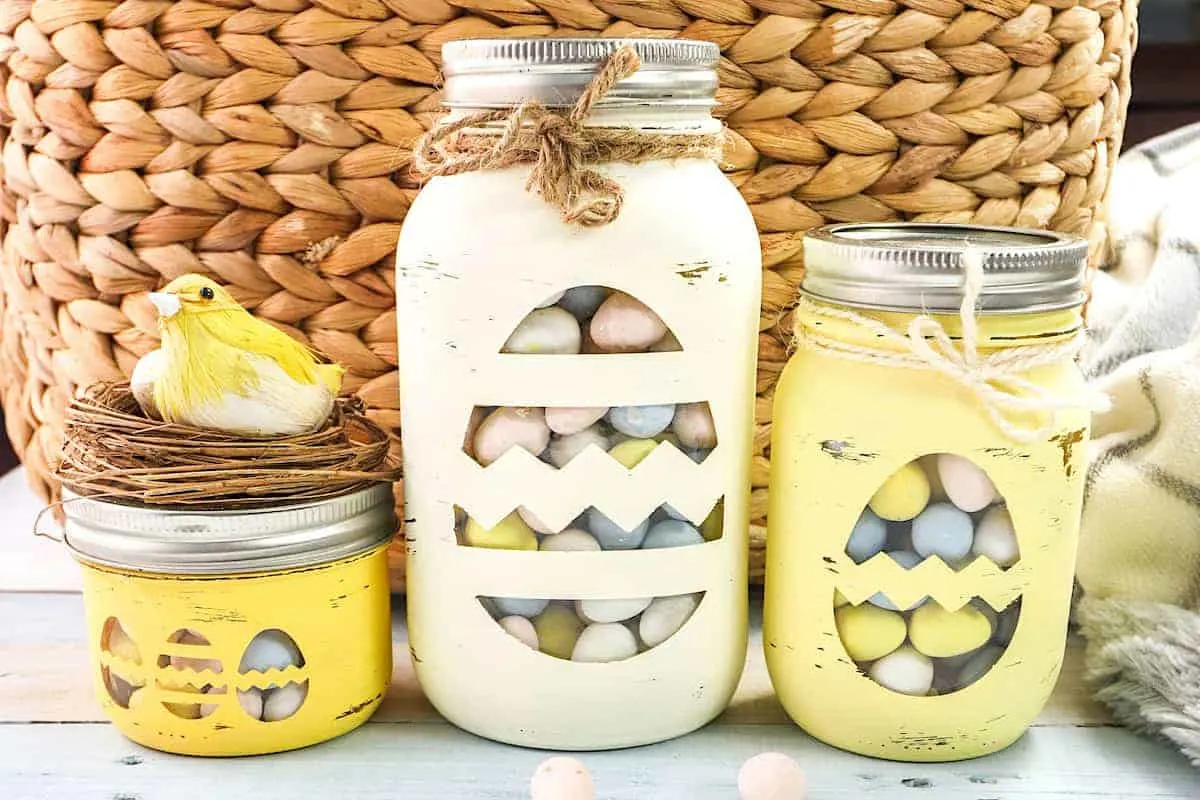
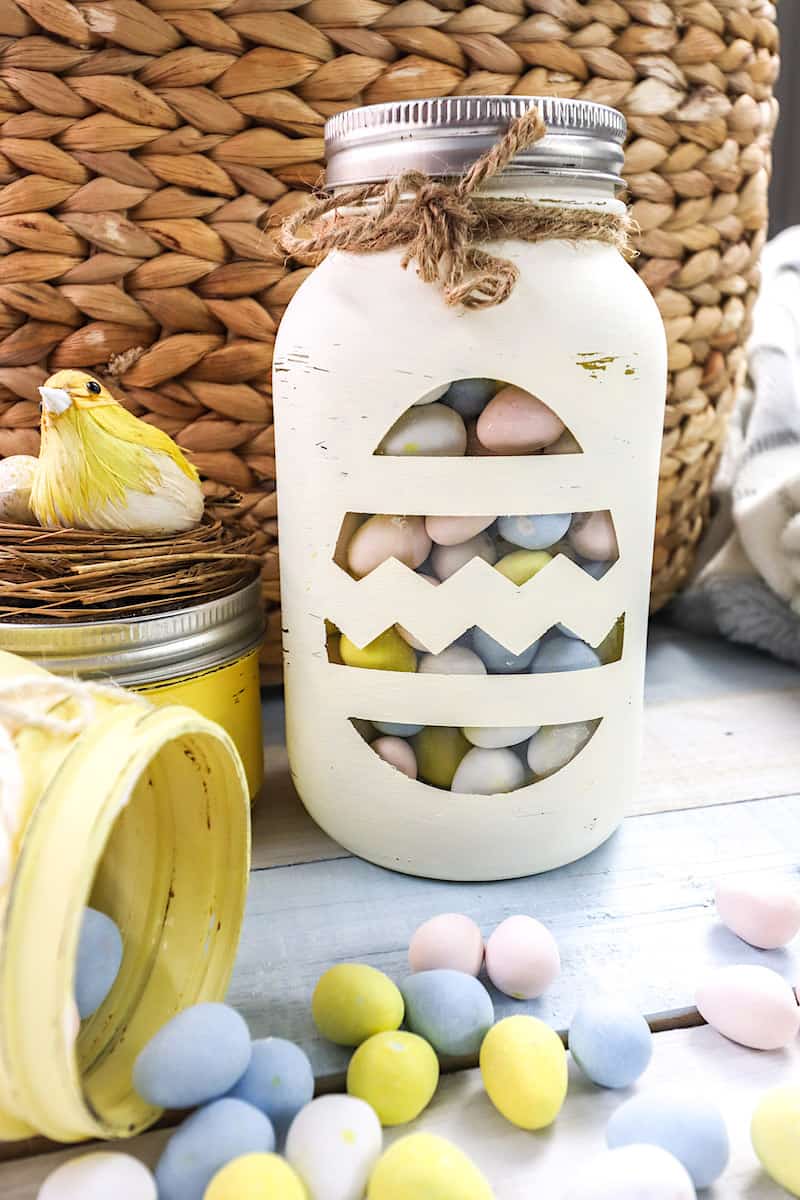
These decorated mason jars for Easter are so adorable! They make a peek-through image so you can see candies stored inside.

What I love about these jars is how easy they are to make. Yet, they look like designer gifts.
These Easter jars are perfect to give as gifts. It can be hard to find gifts for adults for Easter, so consider this a great idea for gift giving when you fill it with Easter candies.
Or, make these for yourself and store candies, nuts, or other foods.
For another cute Easter mason jar craft, be sure to see our DIY Edible Easter Snow Globes!
How to Make Easter Mason Jars
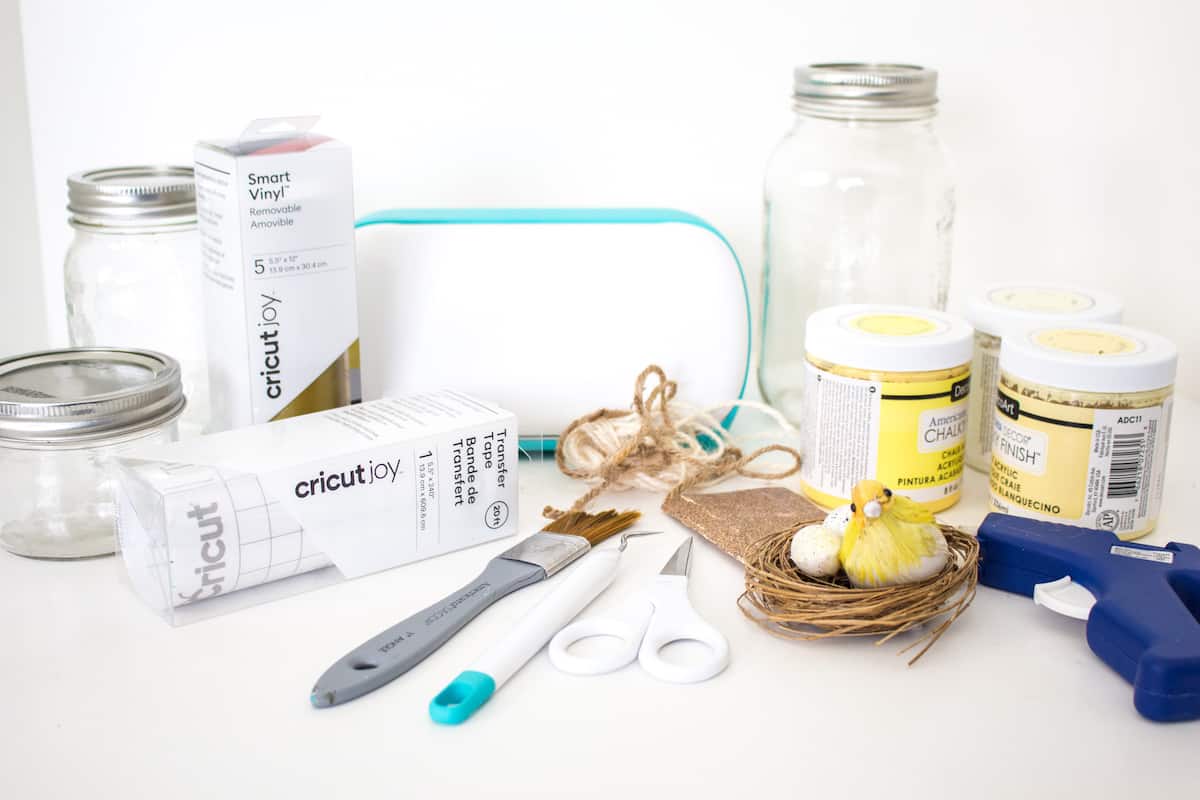
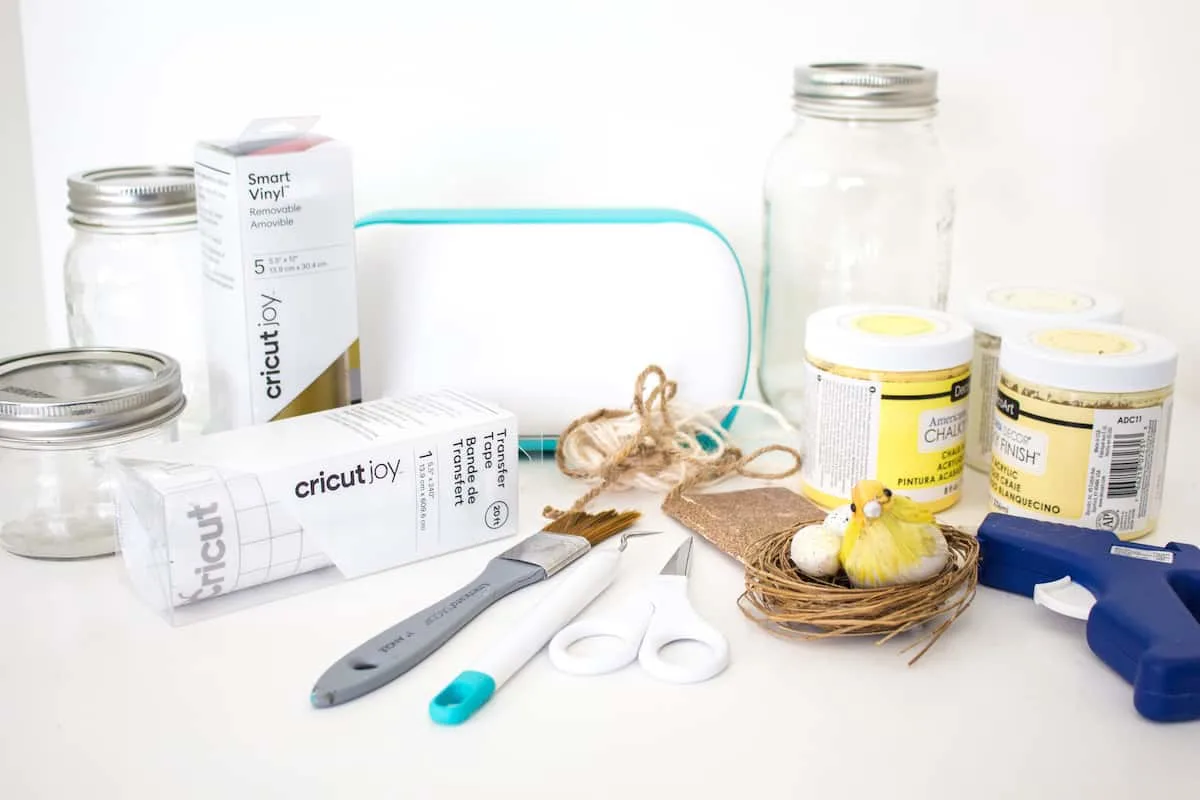
Supplies
- Glass Jars in assorted sizes with lids
- Free Easter Egg SVG
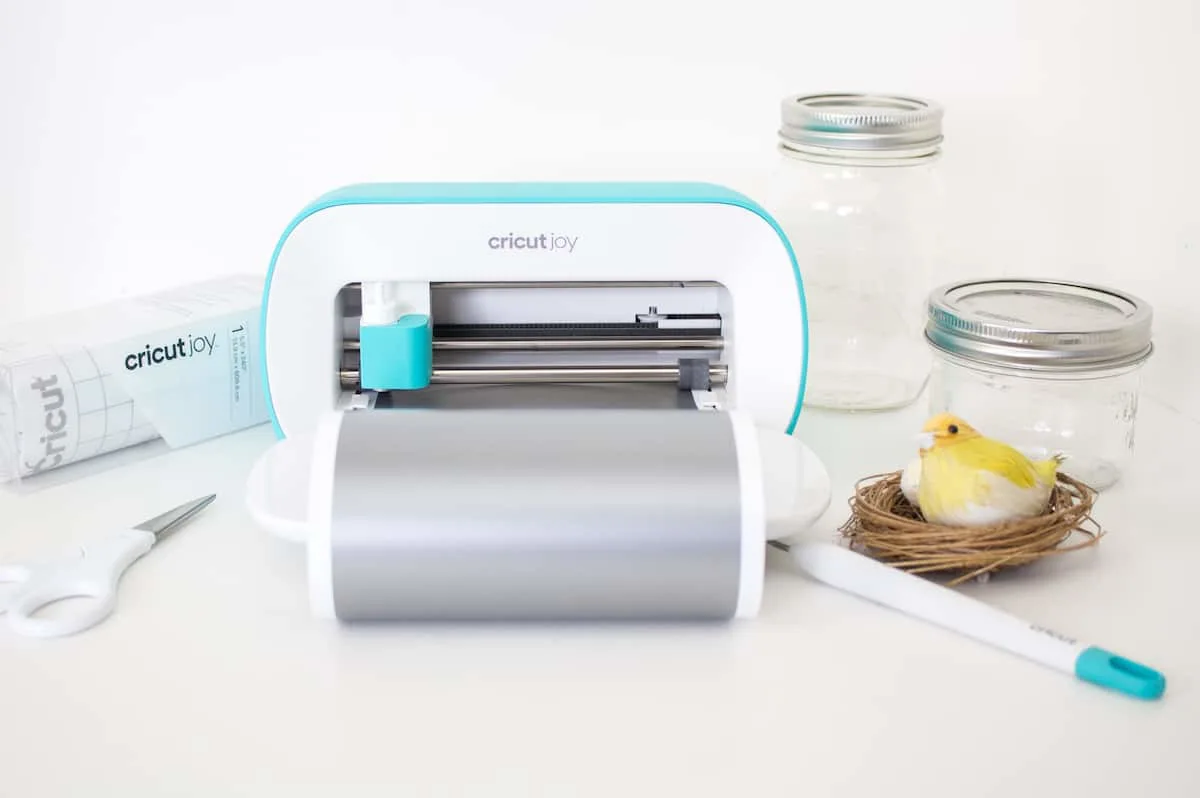
- Cricut Joy
- Smart Vinyl, Removable (in any color as it will be discarded, we used silver)
- Cricut Transfer Tape
- Scissors
- Weeding Tool (optional)
- Chalk paint (we used Americana Decor Chalky Finish Chalk Paint in Delicate, Rejuvenate, and Lace)
- Paintbrush
- Twine (or ribbon or yarn)
- Decorative bird on a nest
- Hot glue gun and clear glue sticks
- Sandpaper, 200 grit
Instructions
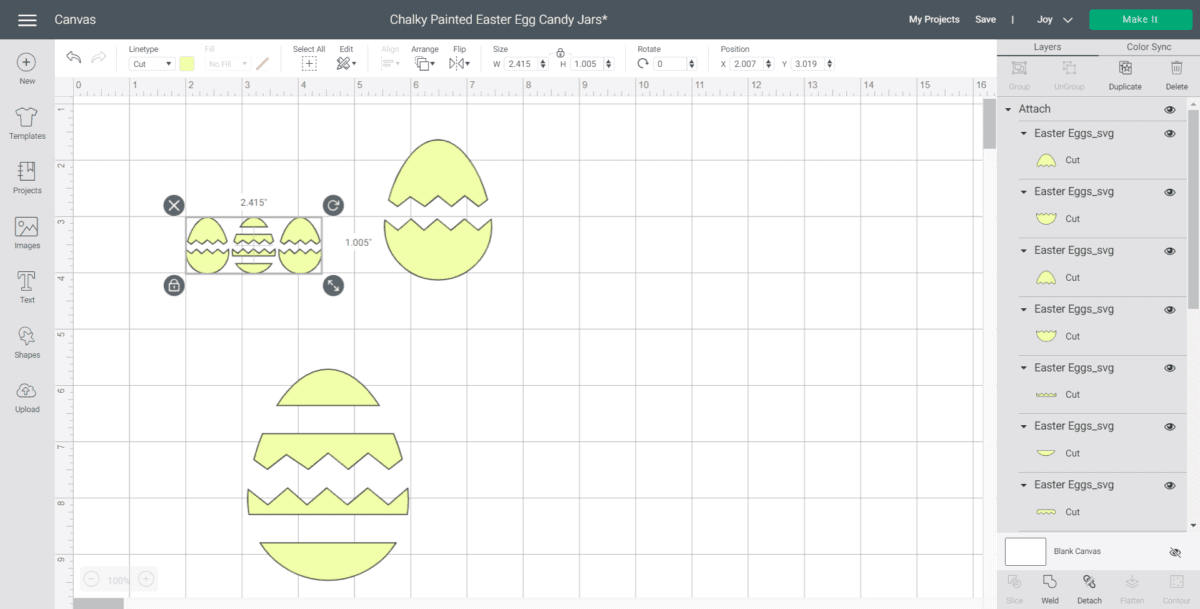
Step 1:
On a blank Design Space canvas, upload the Easter Egg SVG file.

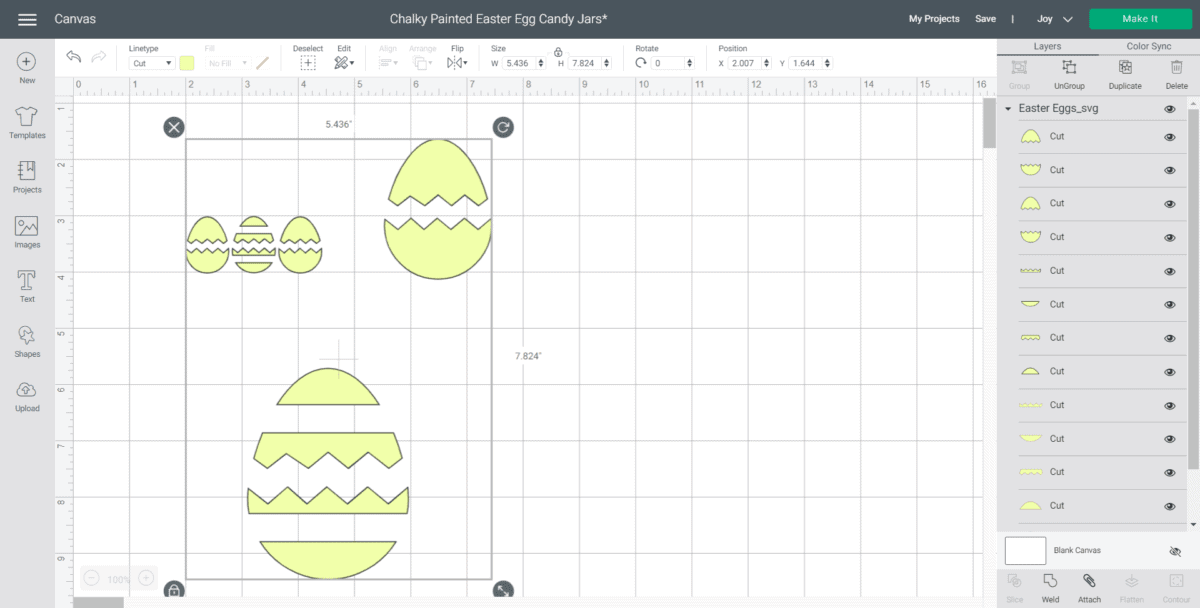
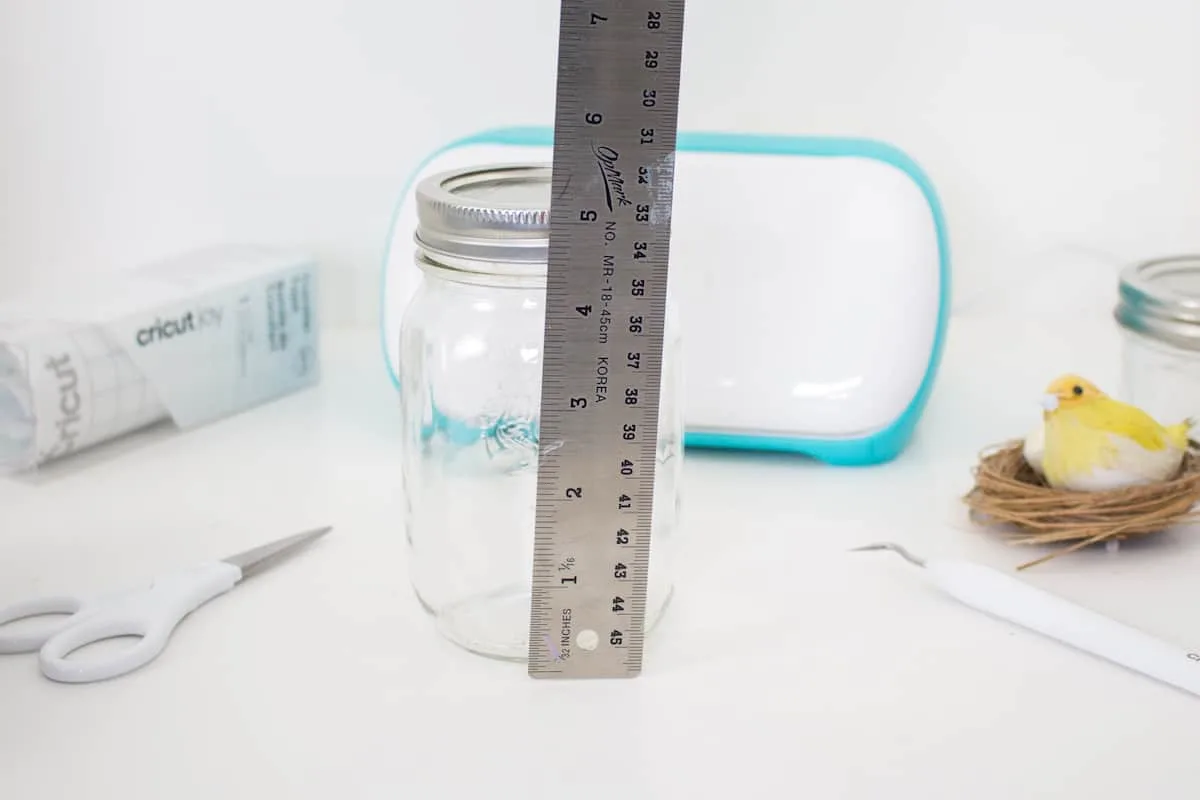
Step 2:
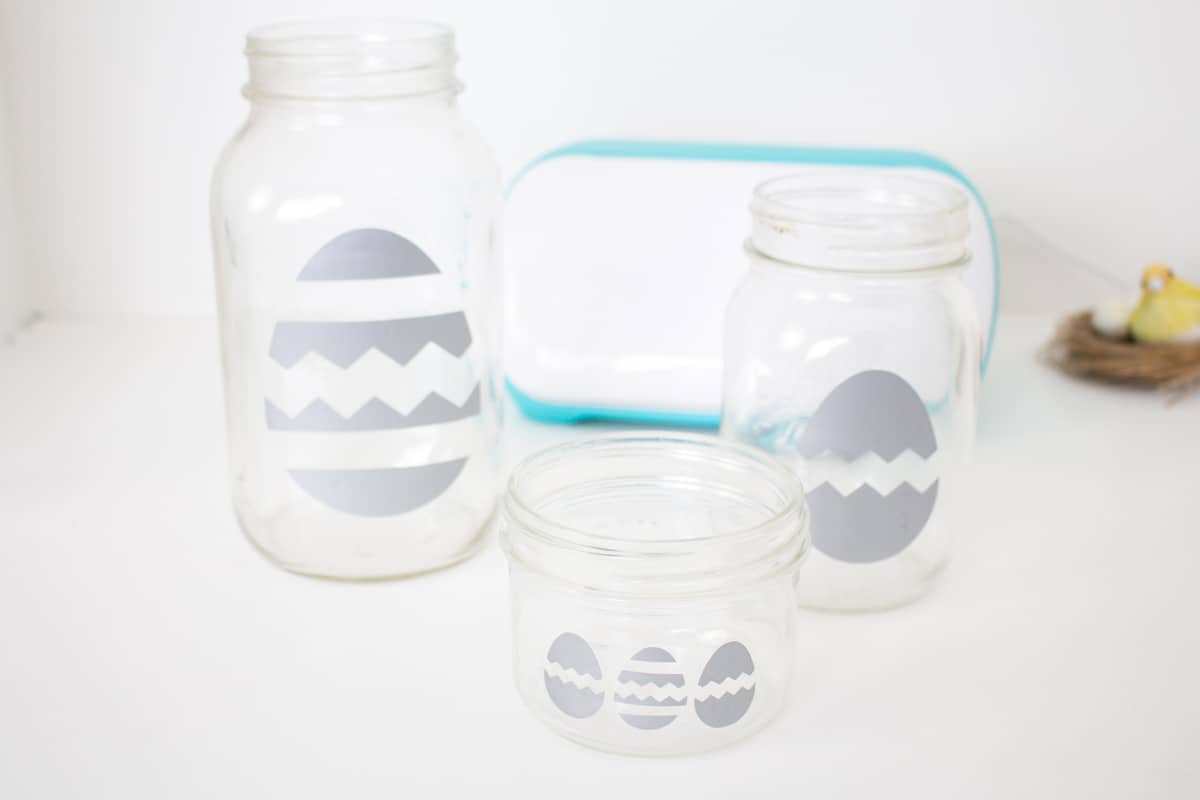
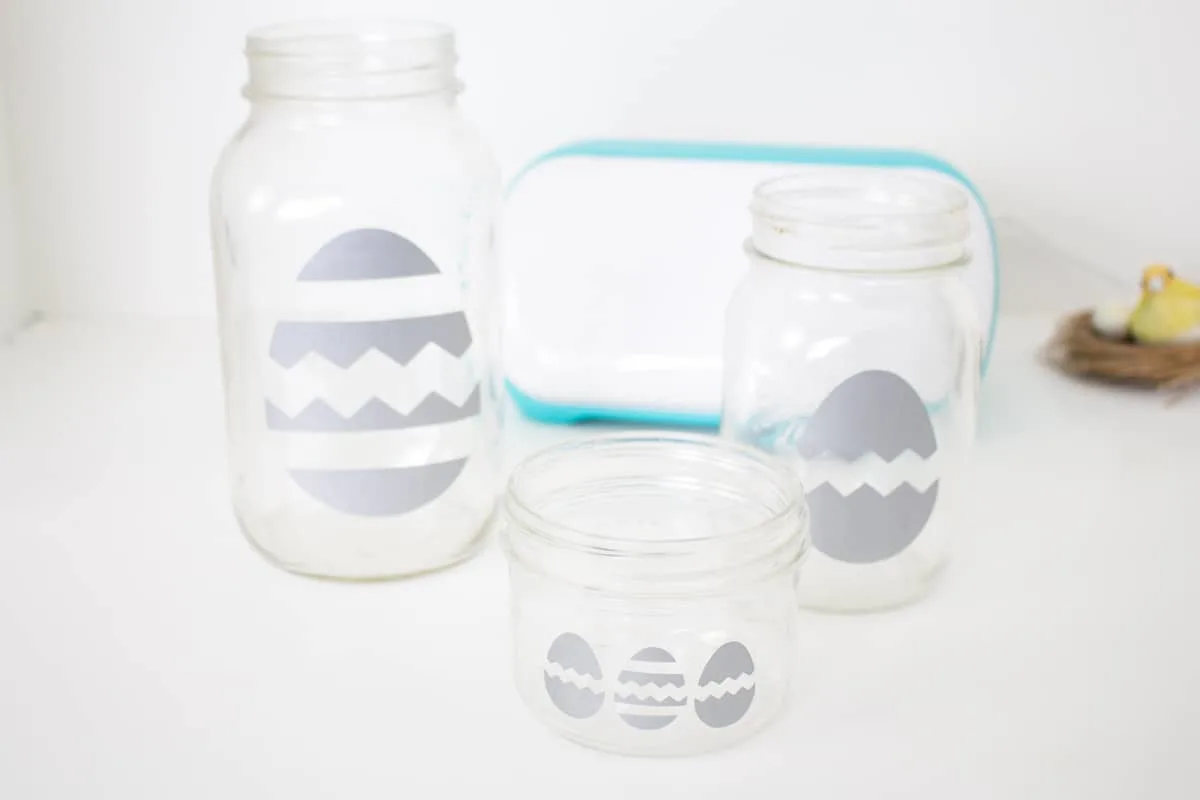
Measure the glass jar and resize the eggs to fit on the jars as needed. We resized the largest to 3.75” high, the medium size to 2.25” high and the smallest eggs to 1” high.

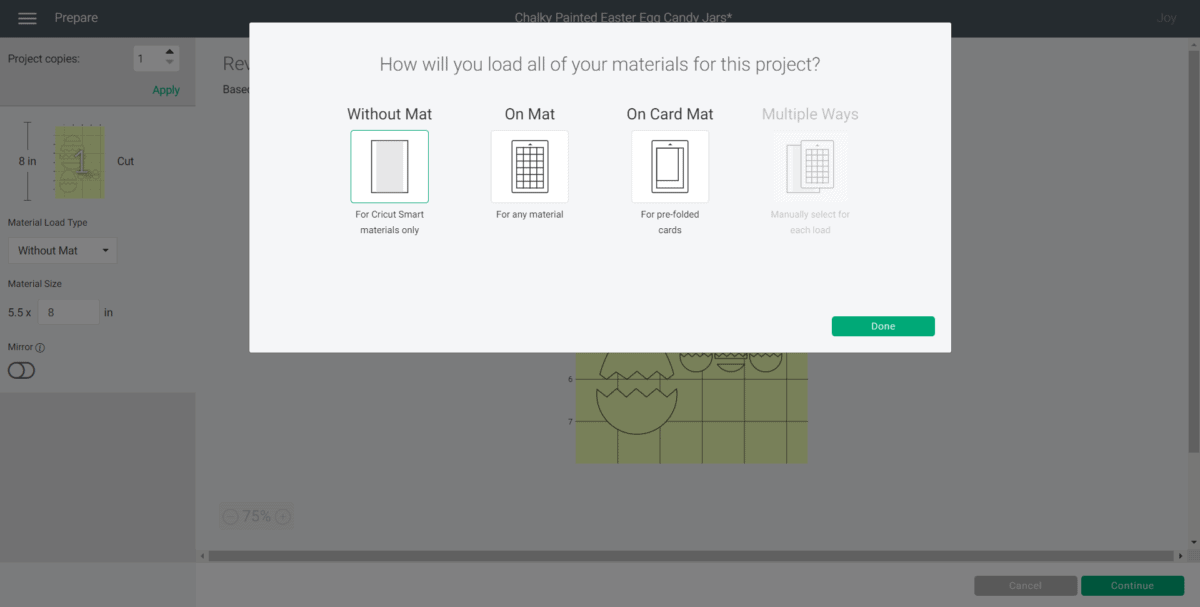
Step 3:
Select “Make It” in Design Space and choose to cut without a mat.
Set material type to Smart Vinyl, Removable.


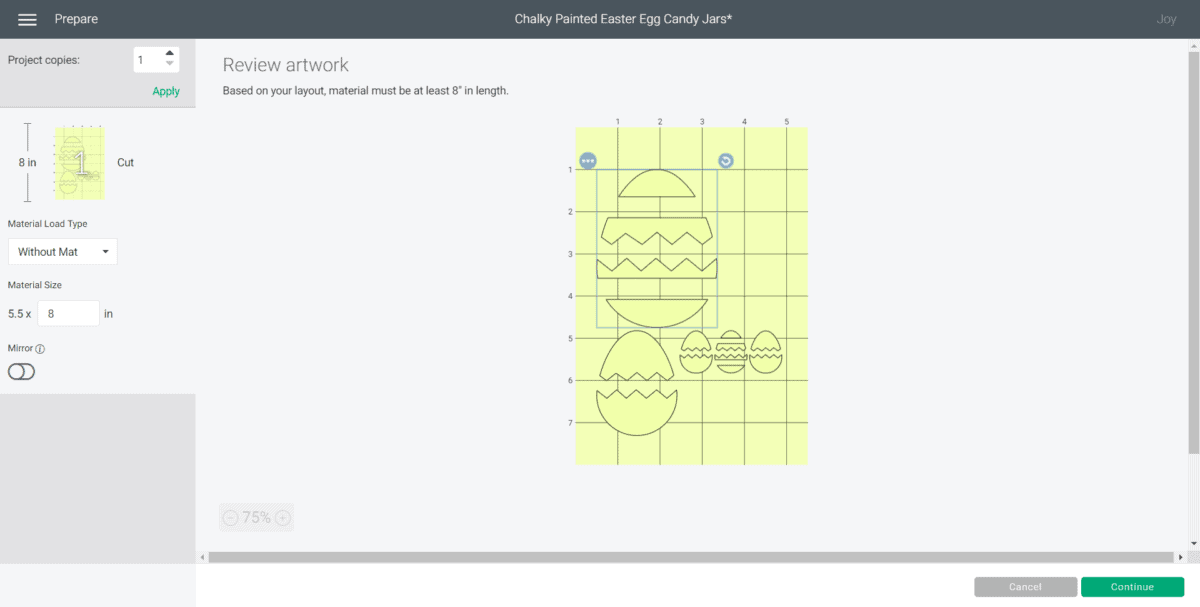

Step 4:
Follow the prompts for loading the mat into Cricut Joy and cutting the Smart Vinyl. Once the cut is complete, unload the vinyl.

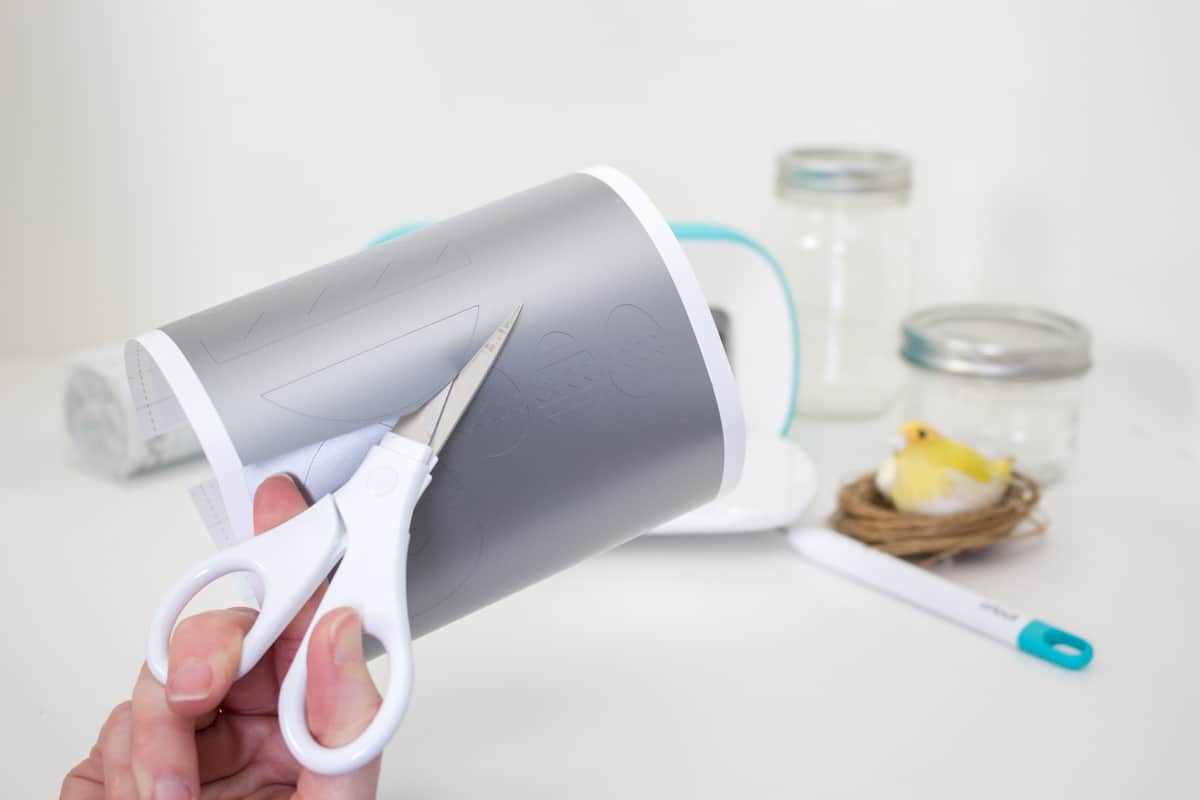
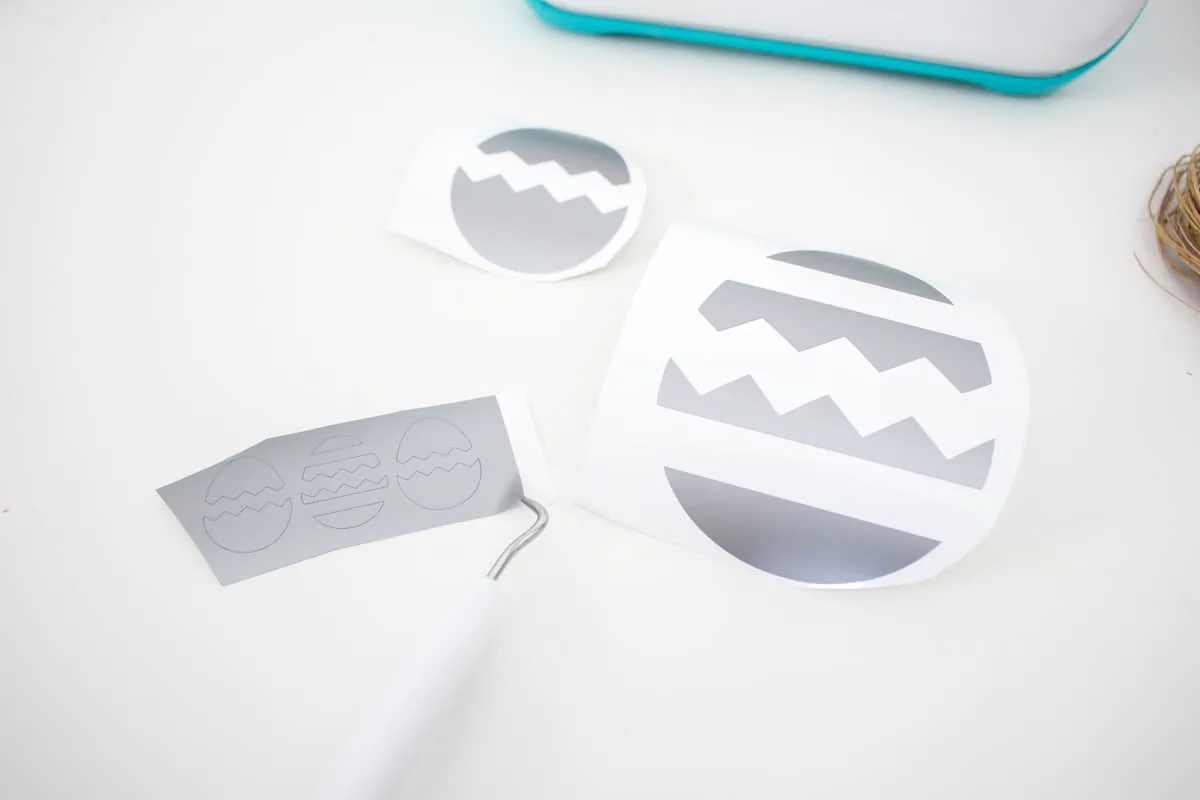
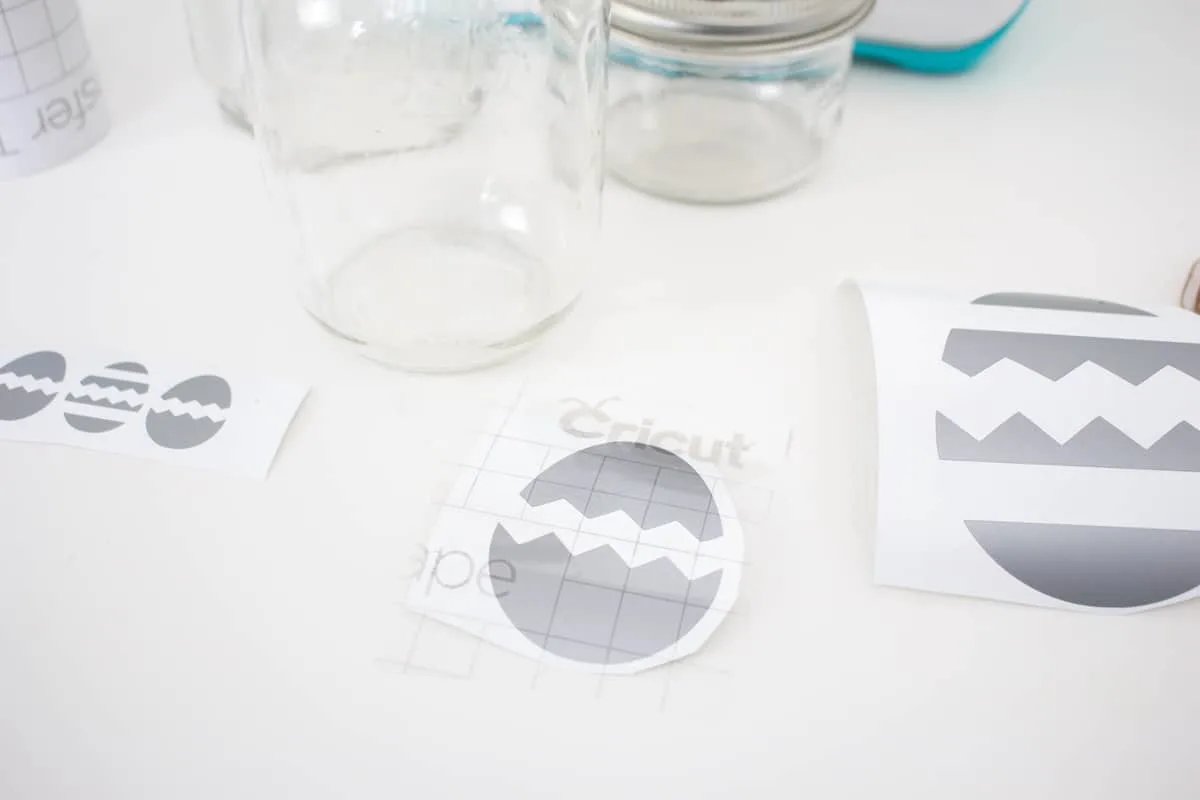
Step 5:
Cut around each egg image with scissors. Using a weeding tool or your fingernails, peel away the excess vinyl around the vinyl-cut images and discard.

Step 6:
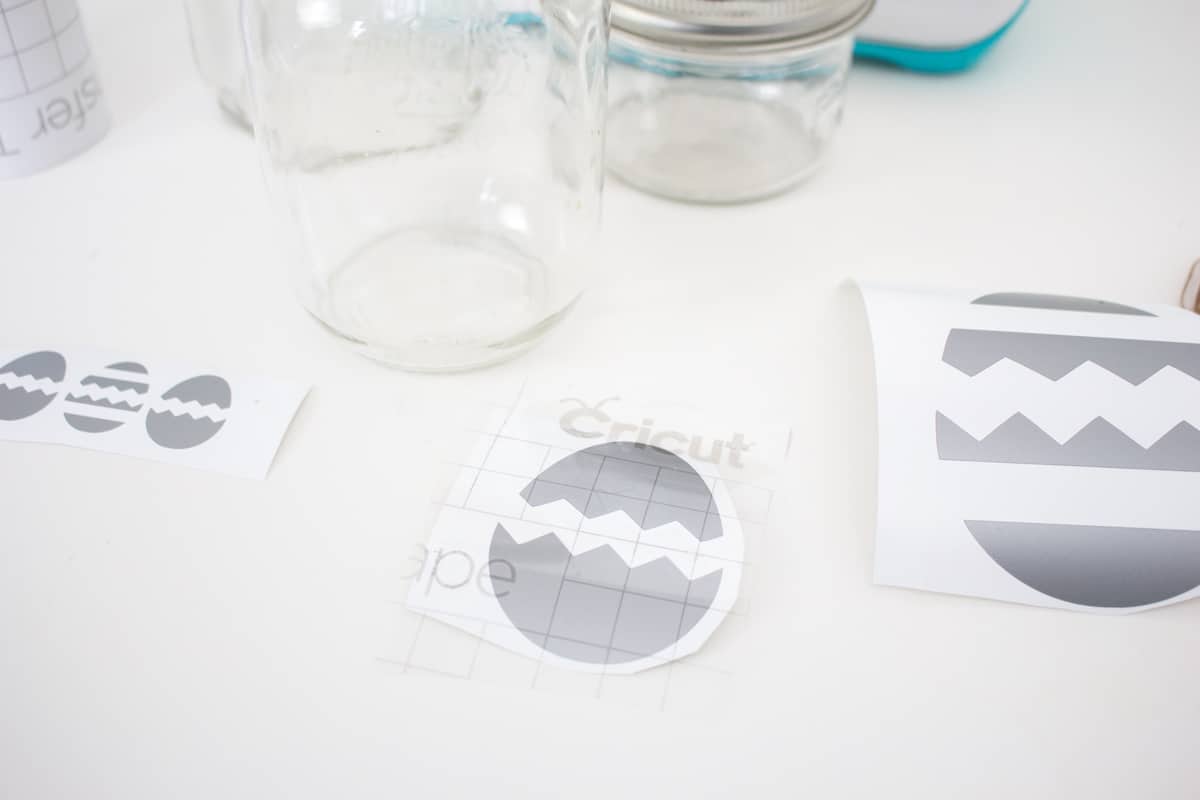
Cut a piece of transfer tape a bit larger than the egg.
Step 7:
Peel away the transfer tape backing and place the transfer tape overtop of the vinyl image. Gently rub the vinyl to help it stick to the transfer tape.

Step 8:
Peel away the backing, leaving the egg adhered to the transfer tape.
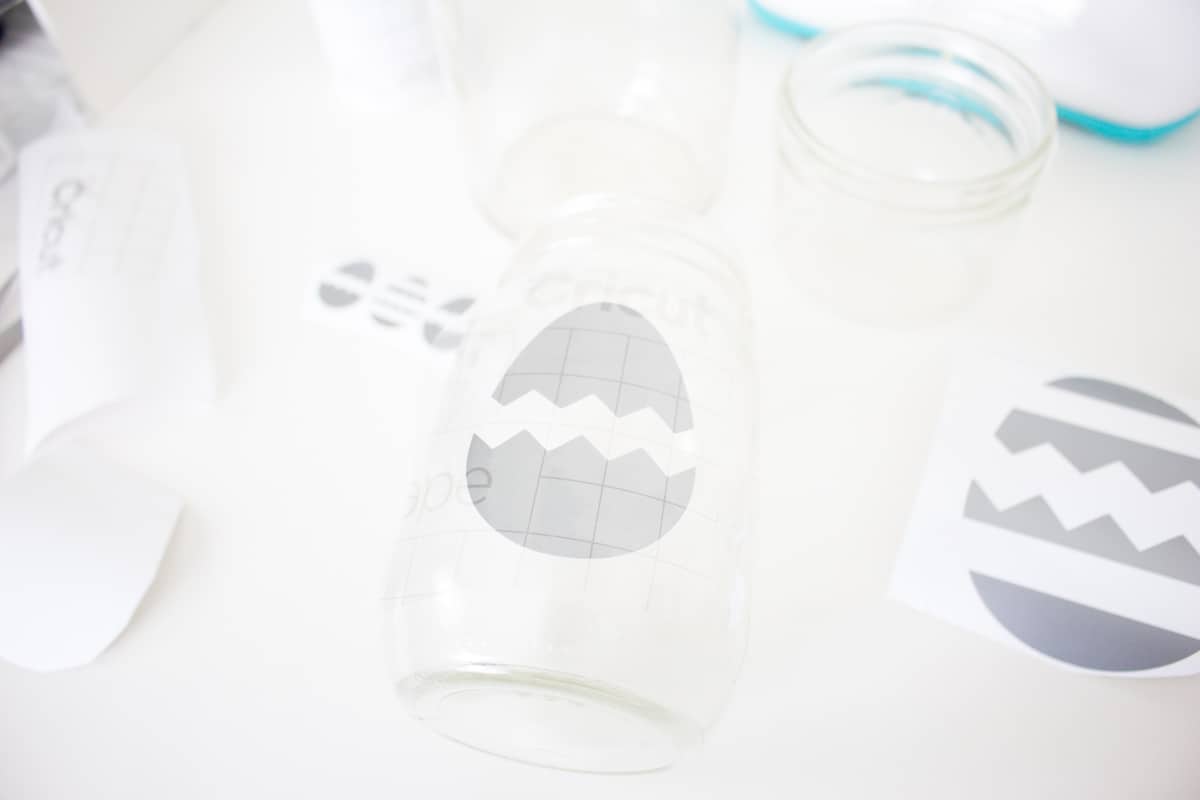
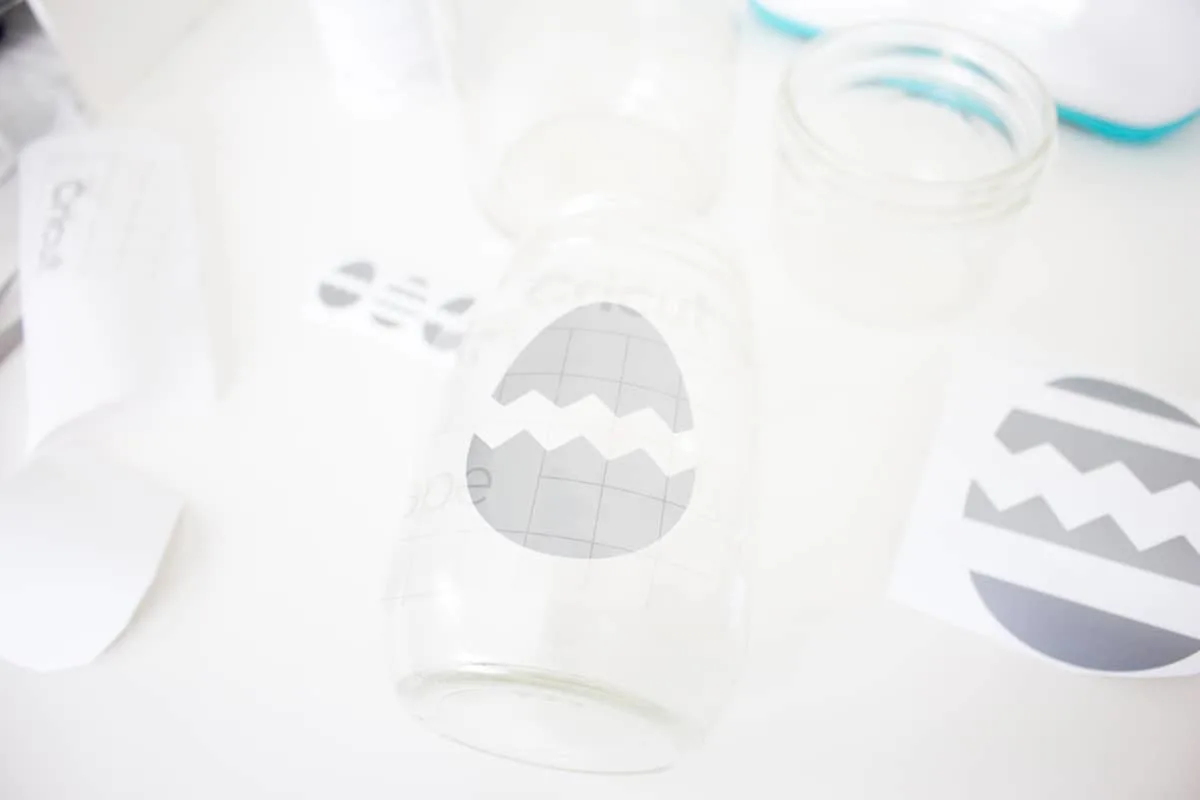
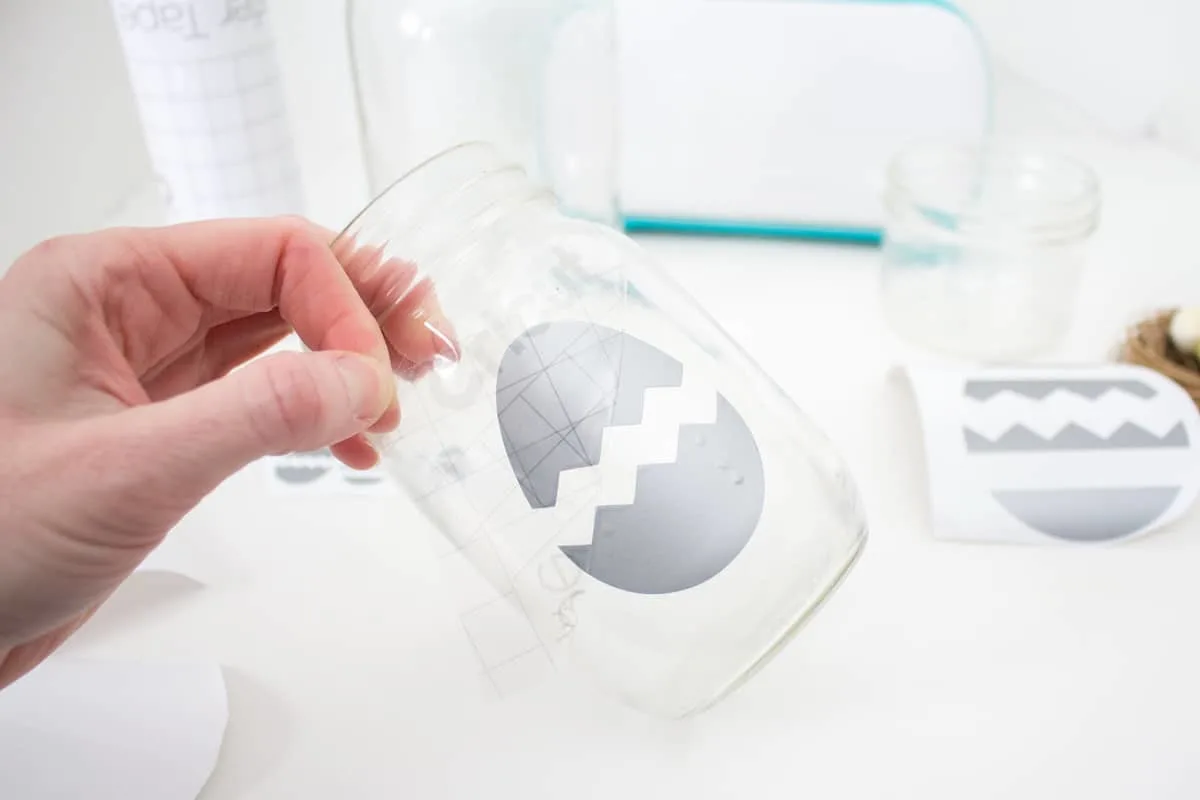
Step 9:
Place the egg and transfer tape on to the smooth side of a mason jar and press in place in the middle of the jar.
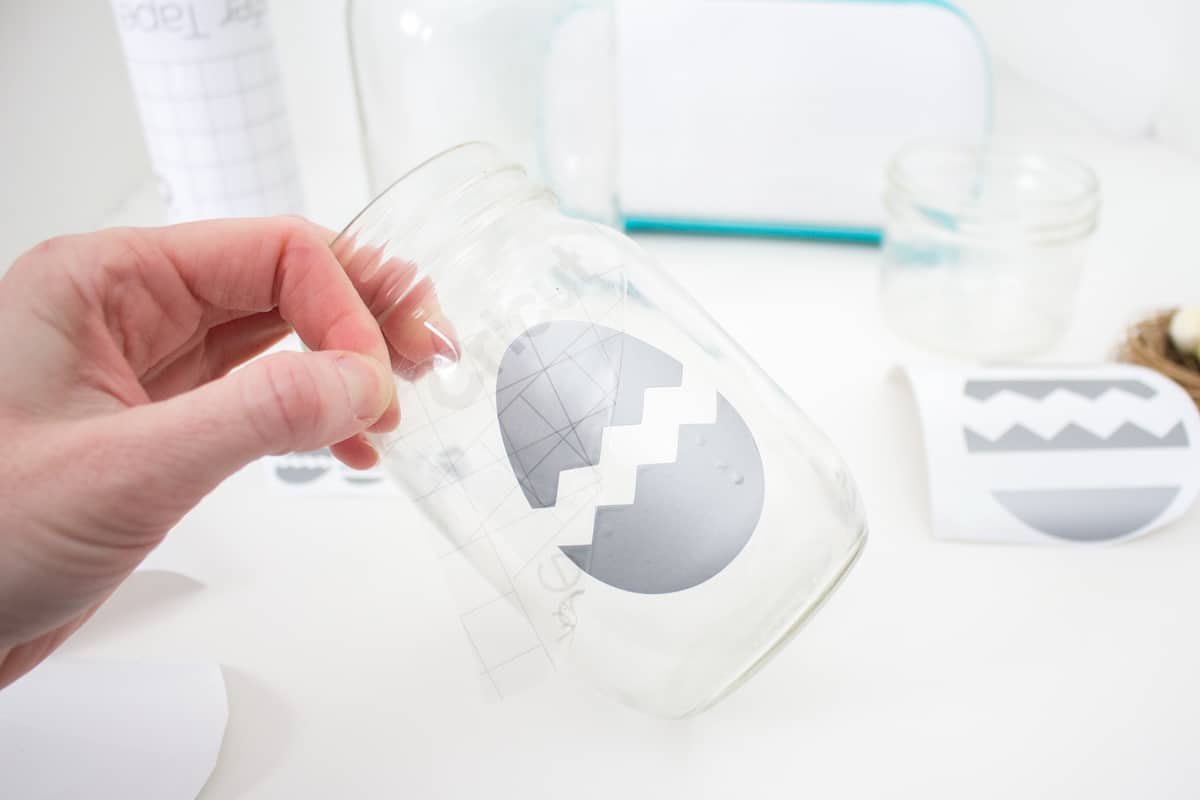
Step 10:
Carefully remove the transfer tape by pulling off slowly, leaving the vinyl egg design on the jar.
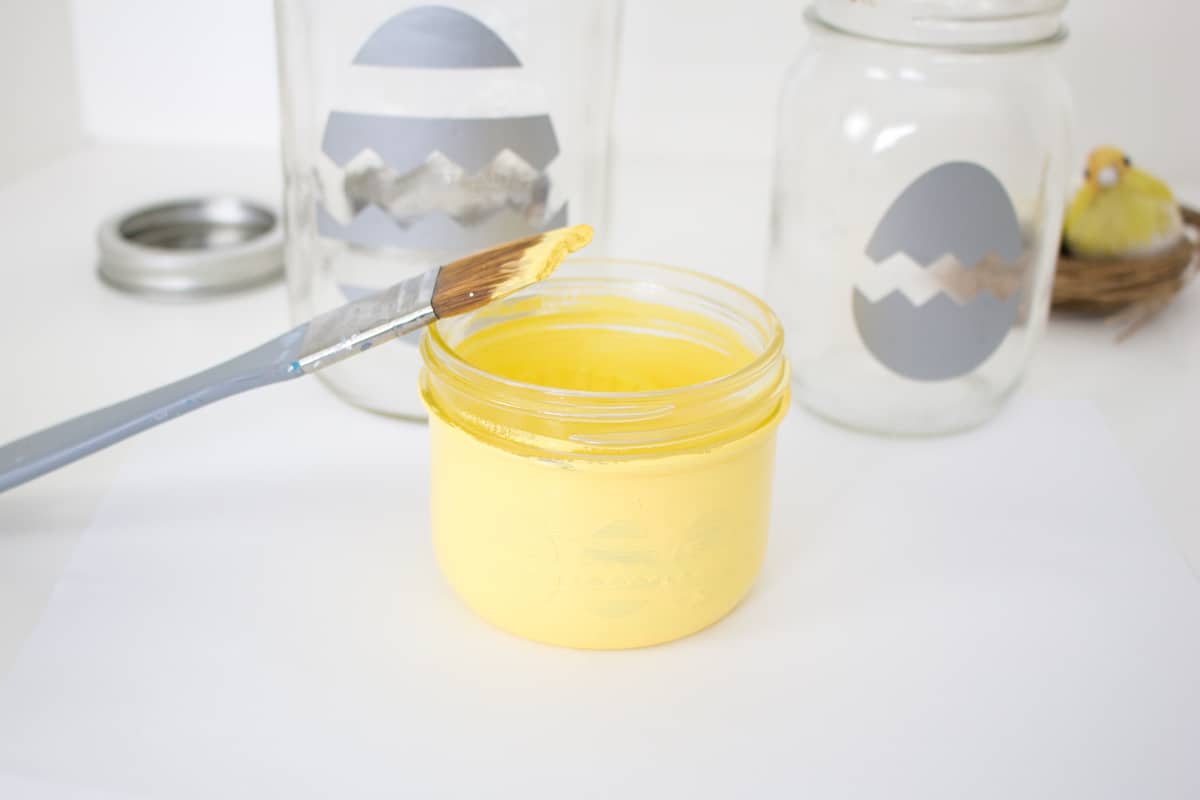
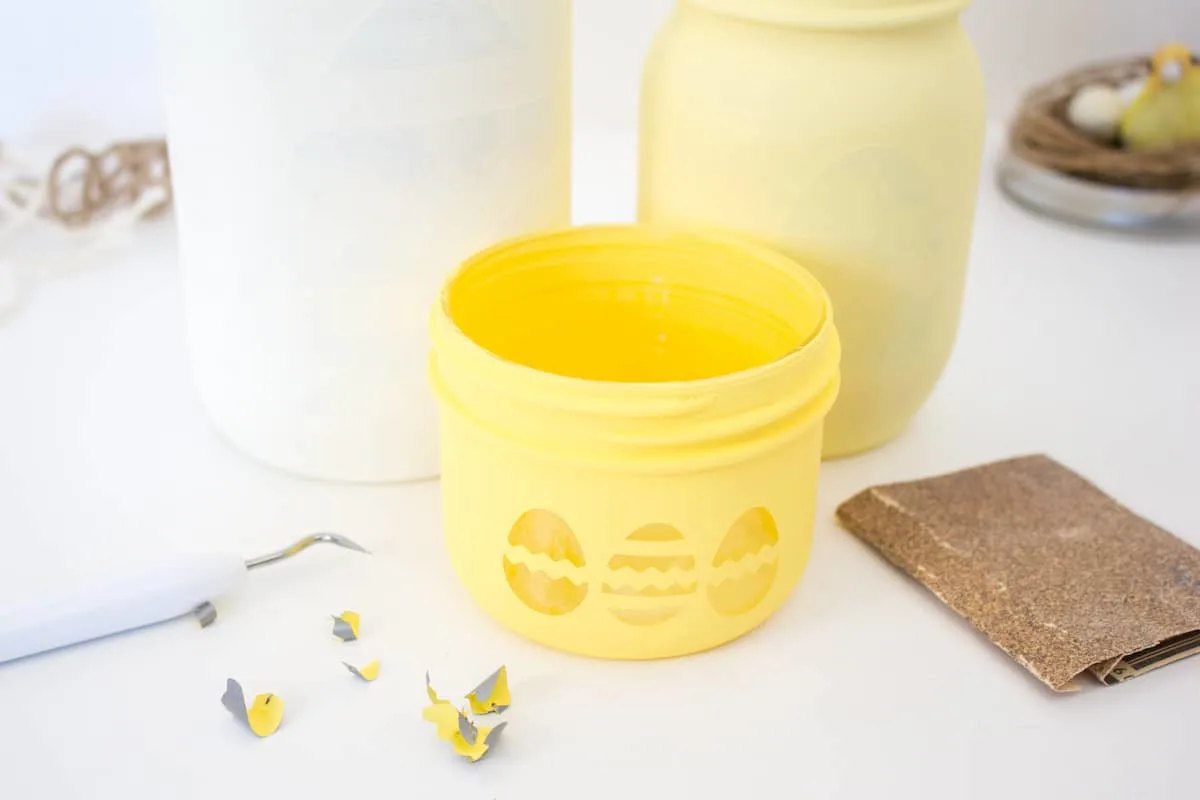
Step 11:
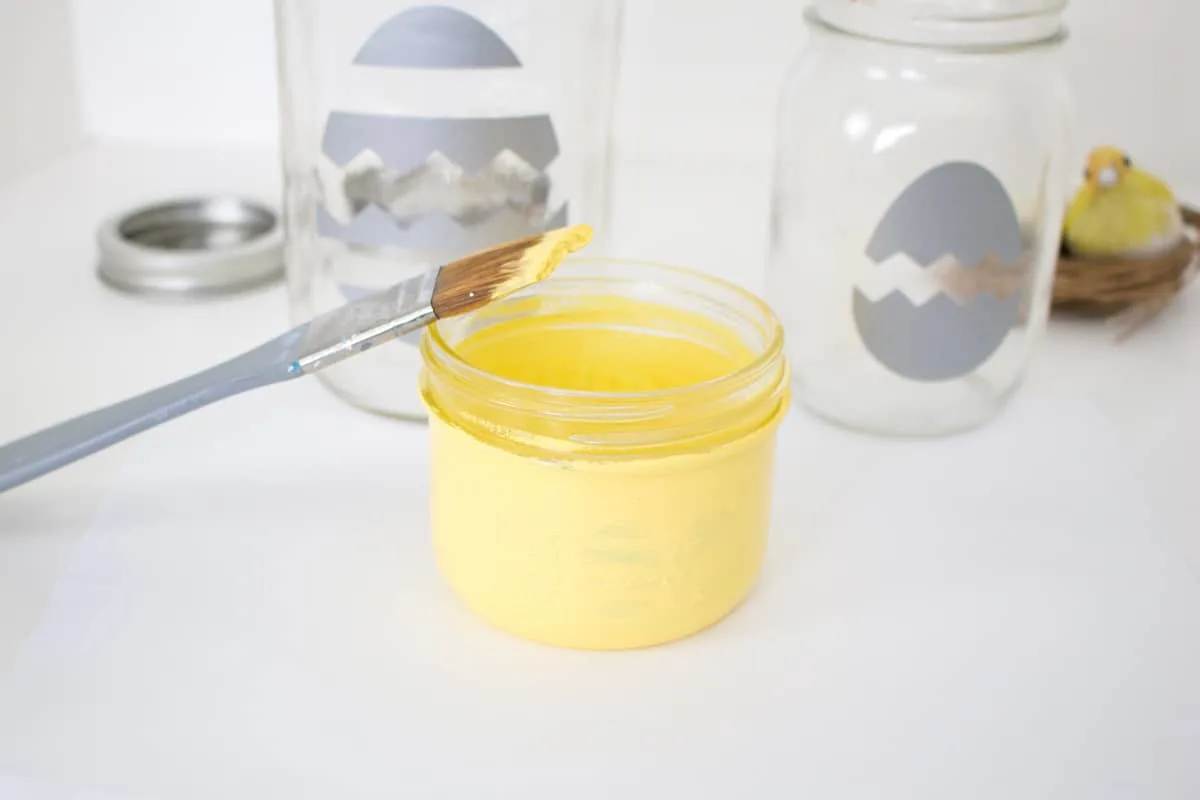
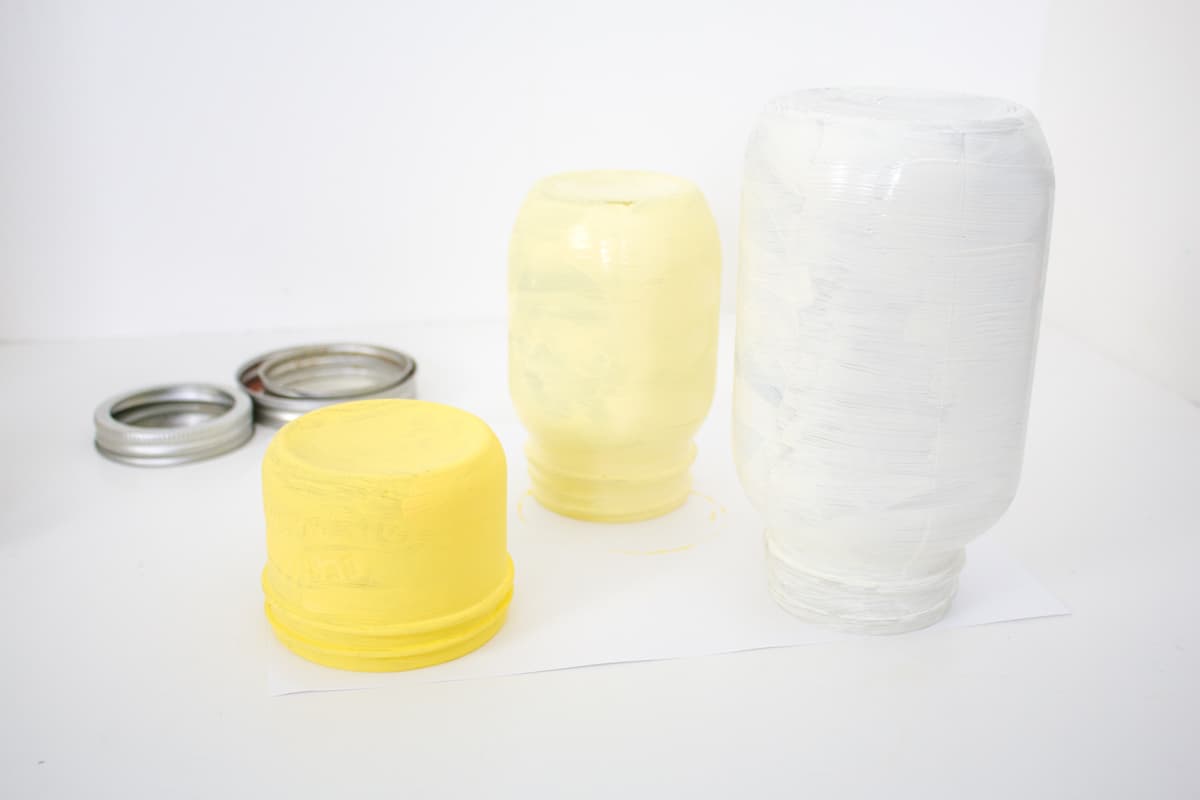
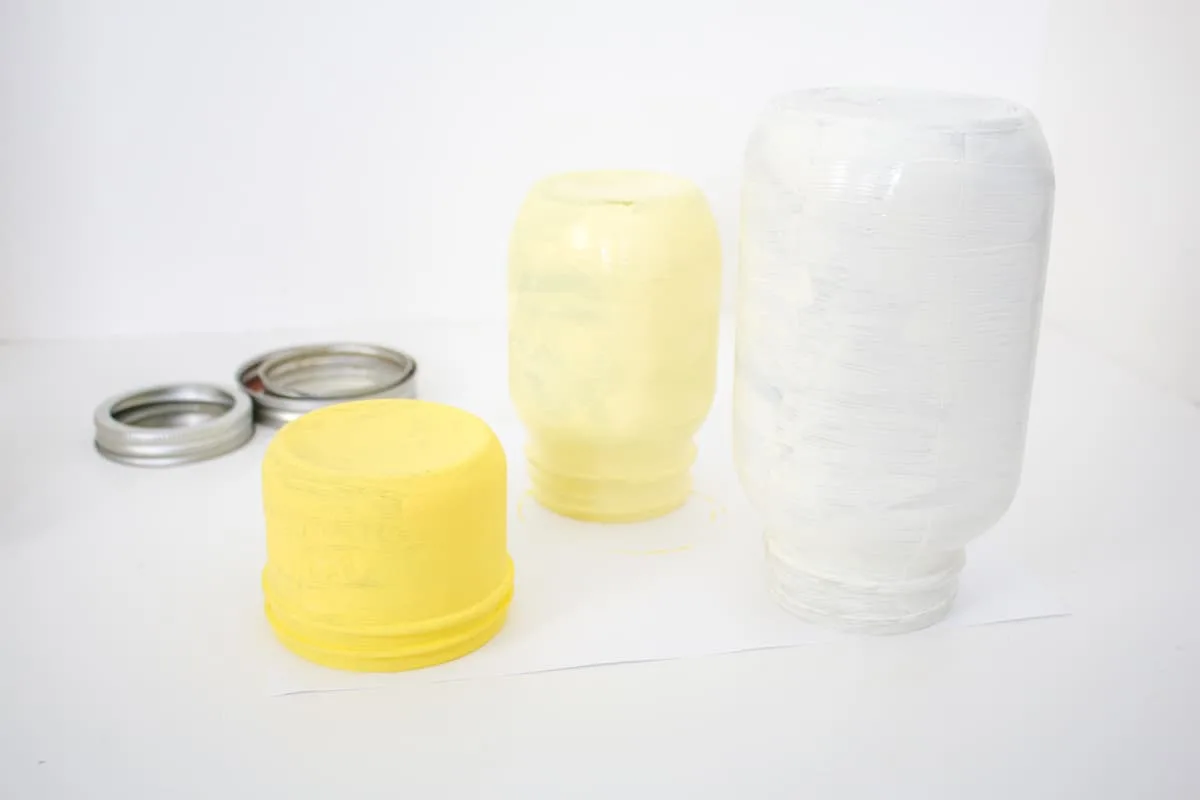
With a paint brush, apply paint (we used Chalky Finish in Rejuvenate for the small; Delicate for the medium size jar; and Lace for the largest jar) over the surface of the smallest jar, including the vinyl eggs. Allow to fully dry before applying a second coat of paint.
Step 12:
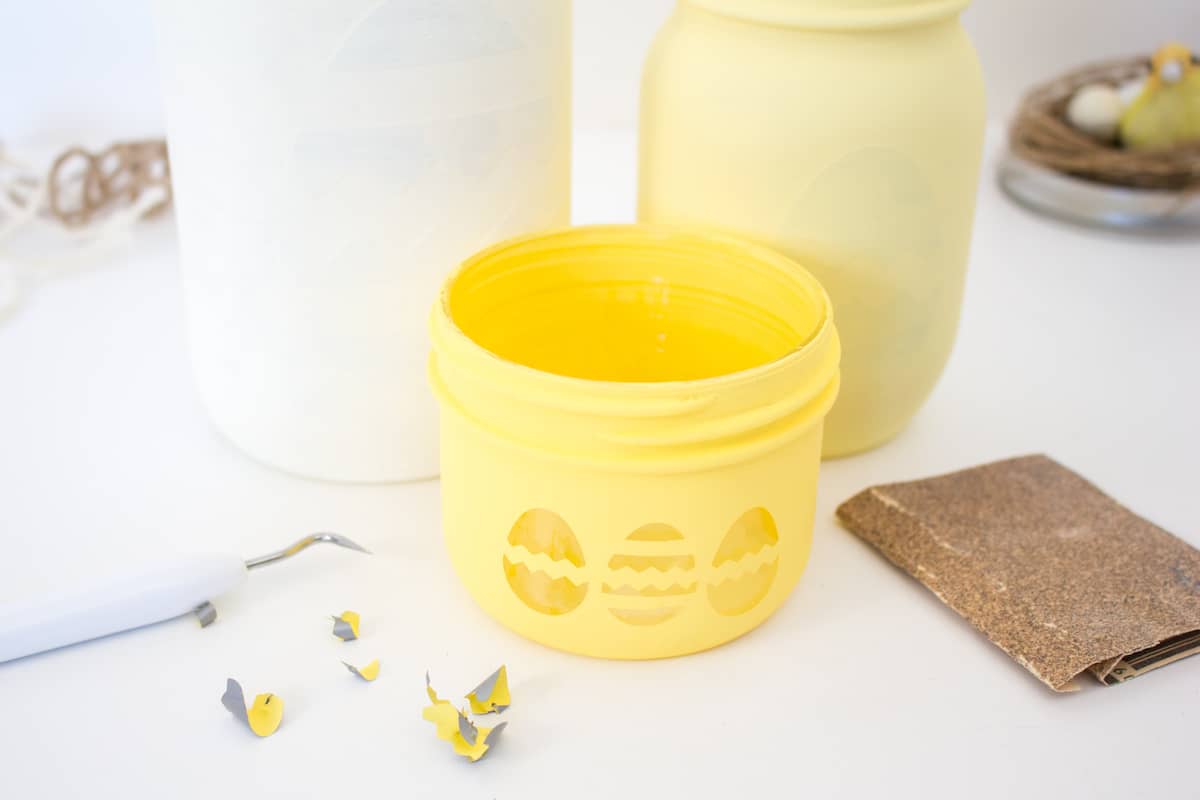
Once dry, pick off and peel away the vinyl egg shapes with the weeding tool or fingernails.
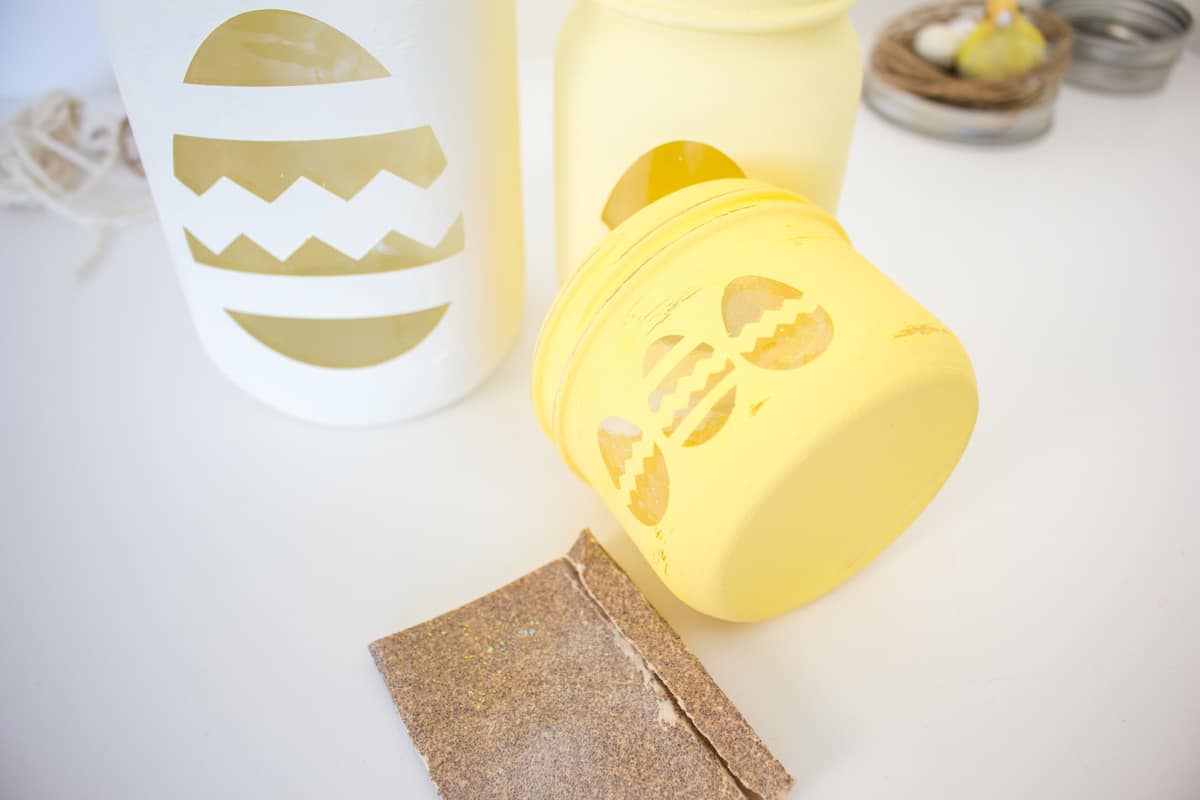
Step 13:
Using fine grit sandpaper, gently sand the painted jars over the edges to distress them, if you like.

Step 14:
To add the birds nest, apply a dab of glue to the top of the jar lid and press it down on top.
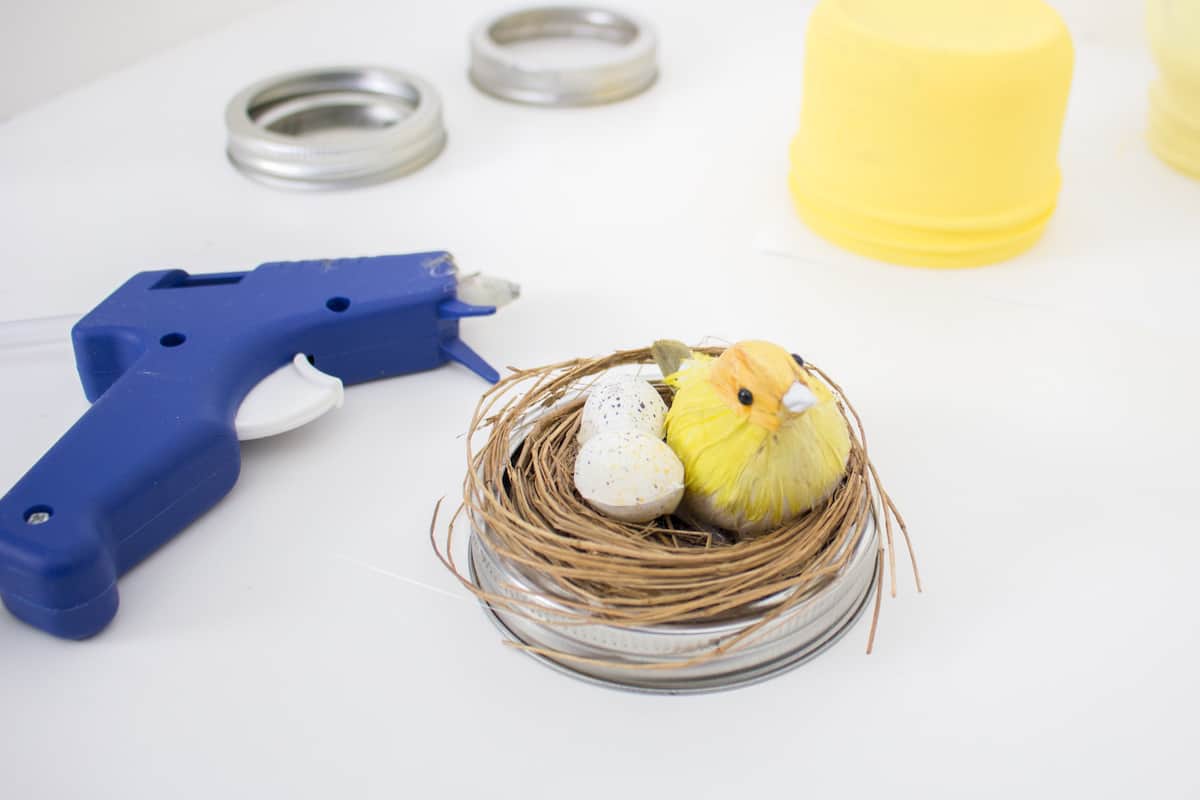

For another jar, tie a piece of twine around the neck.
Now you’re ready to fill with Easter treats and chocolate eggs.

You could even make these jars and turn them into candles using my easy hand poured soy candle instructions.
If you have a Cricut, check out this pretty Easter banner made with Cricut Joy.
This is just one of my many mason jar crafts. Be sure to check out my other ideas:
You might also like our easy twine wrapped Easter egg craft! And this adorable peeking Easter rabbit stenciled frame.

Deirdre Henry
Wednesday 13th of April 2022
Wonderful idea. Much better than getting one Chocolate Egg. Thank you for the clear instructions.
Kimberly
Wednesday 13th of April 2022
Thank you, Deirdre! I appreciate your support!!!