

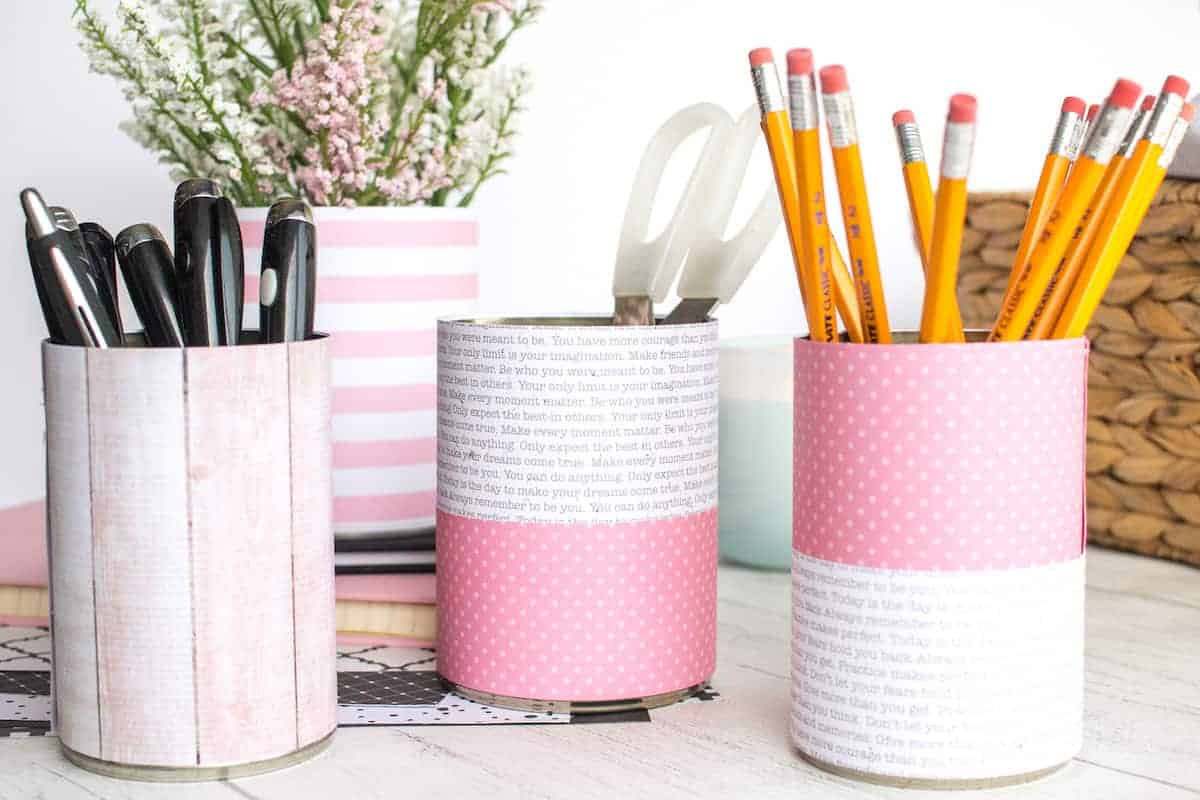
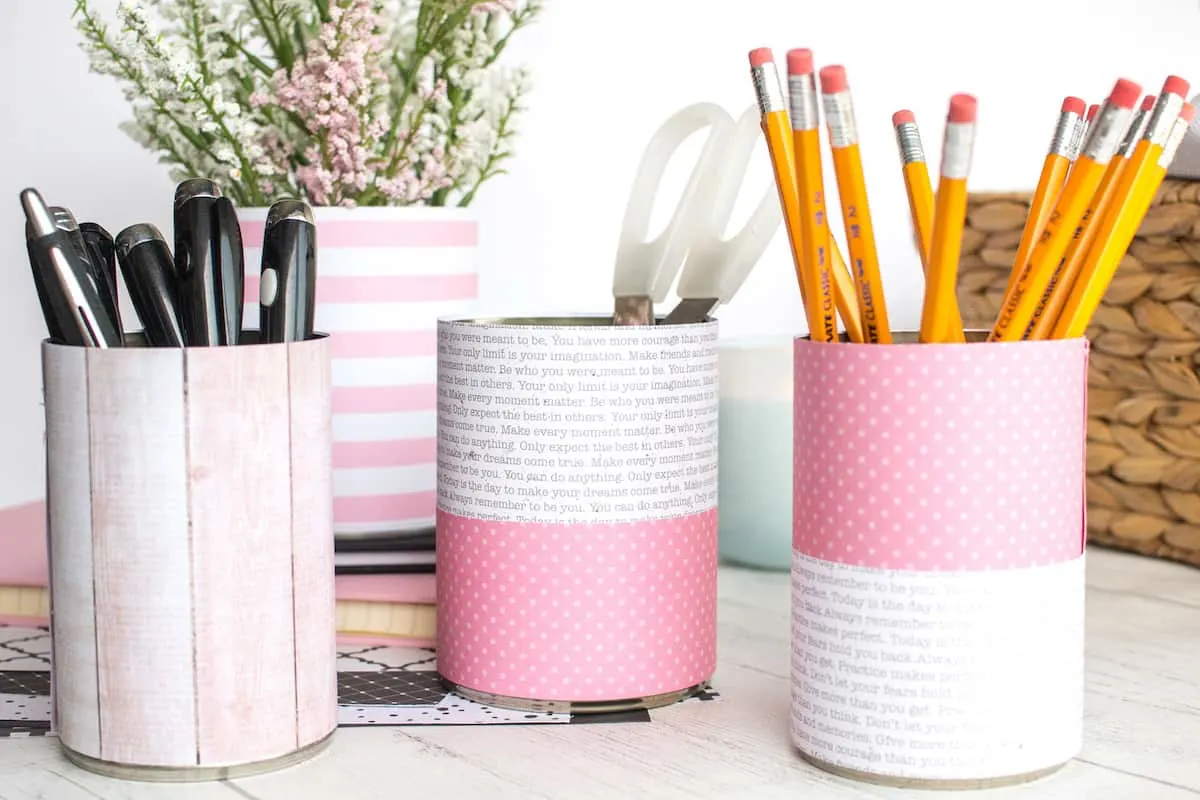
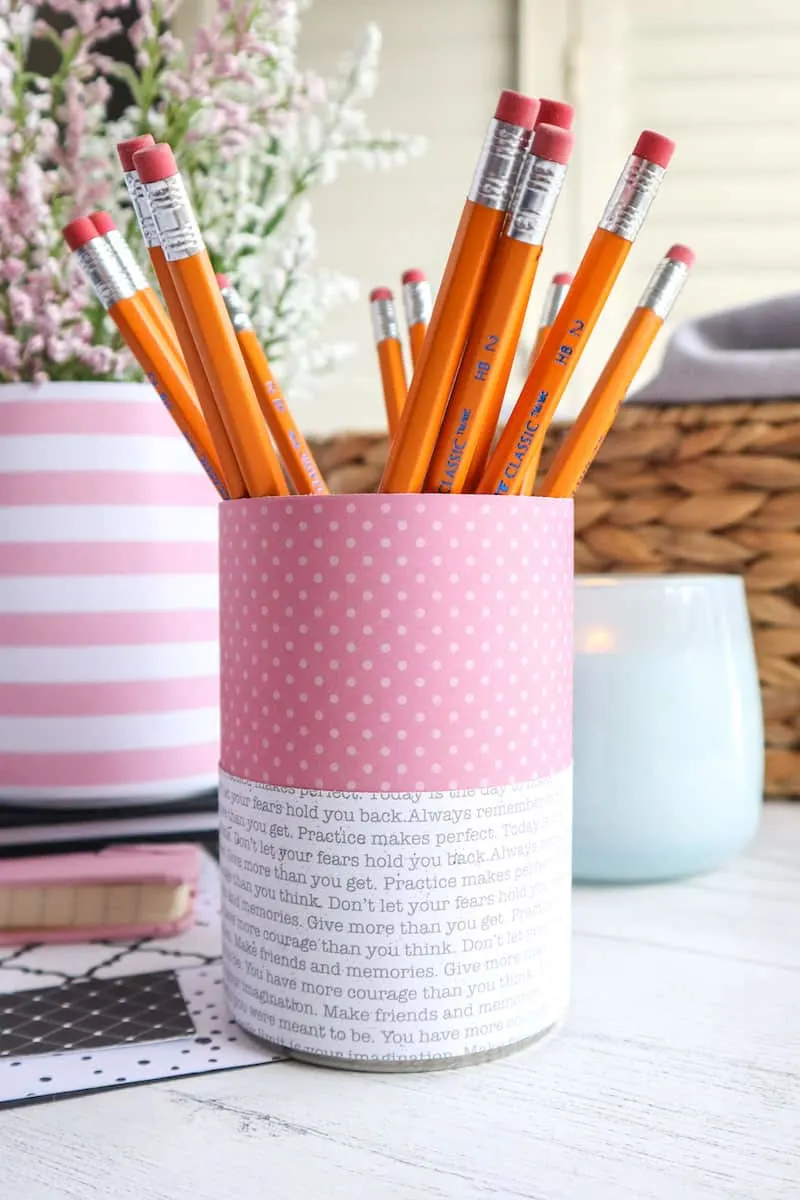
DIY tin can organizers are inexpensive to make yet add a pop of color and style to your desk for stress-free organizing.
I love being organized, how about you? It just makes things so much easier. But I like my organization ideas to be pretty.
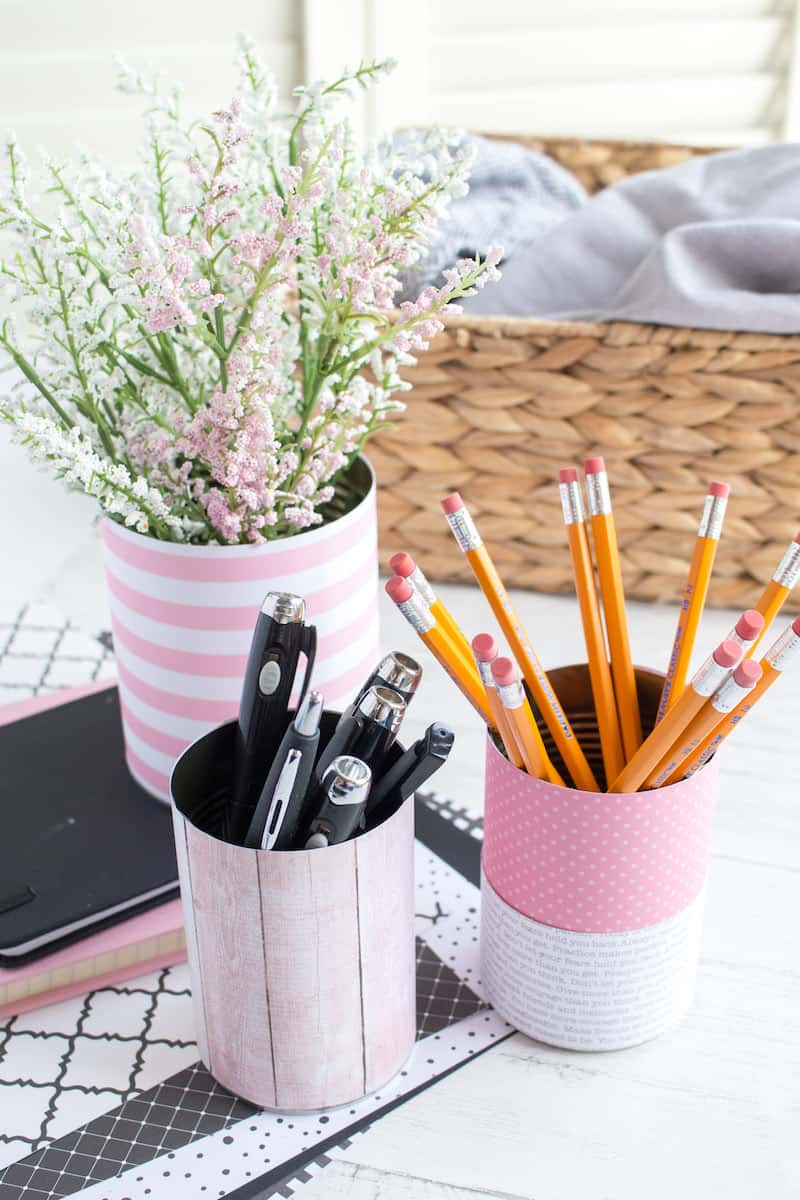
I’m all for saving money, too! Which is why these homemade tin can organizers from leftover food cans are the perfect idea for keeping my desk tidy and clean! (Be sure to see how I use tin cans as makeup brush organizers, too!)
Reusing items around the home to keep things tidy just makes sense to me. Why not upcycle stuff and save money? Which is why I also have these smart DIY storage organization projects that you’ll want to check out, too:
- Turn a cereal box into a desk organizer
- Make a decorative storage box out of a cardboard box
- DIY Jewelry Organizer out of shipping materials
- Oatmeal Container Plastic Grocery Bag Holder
- Popcorn Tin Storage Ottoman
- Make a Wicker Basket Out of a Straw Hat
I’ve got a lot of great DIY organizing ideas. Be sure to check out these thrifty ways to control clutter:

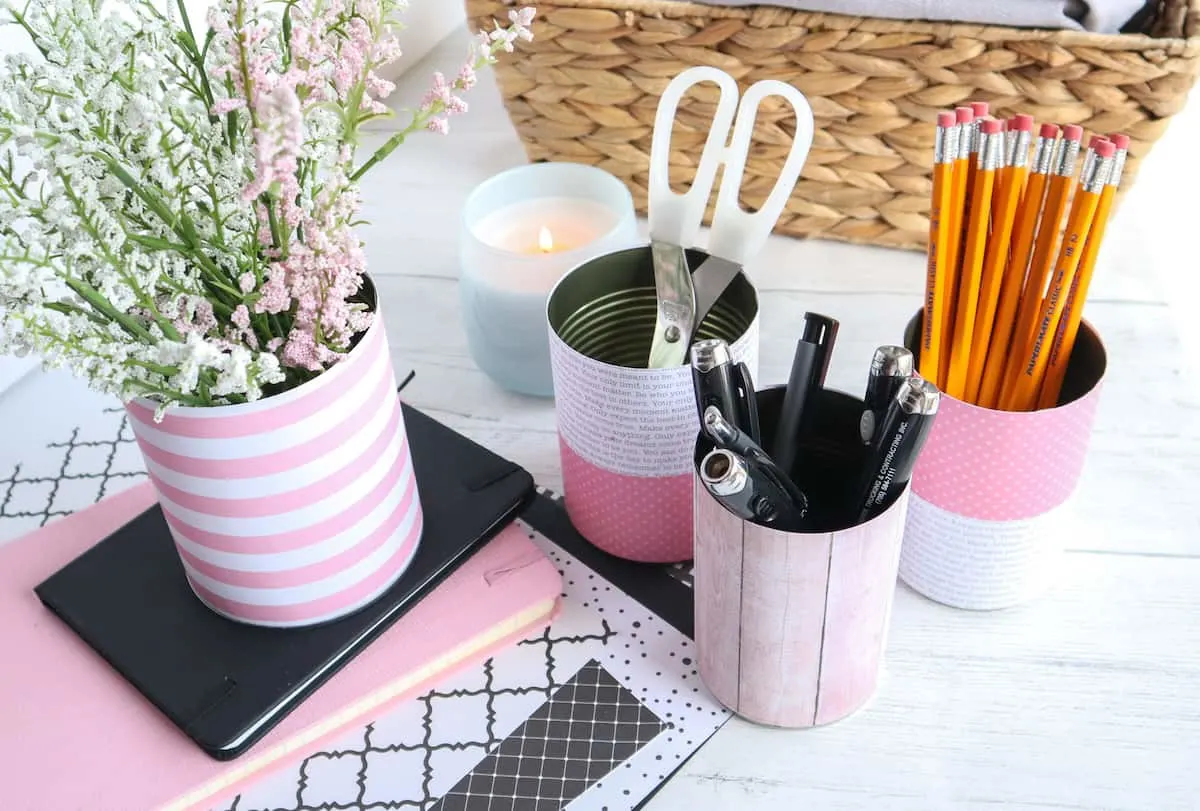
Homemade Tin Can Organizers for a Desk
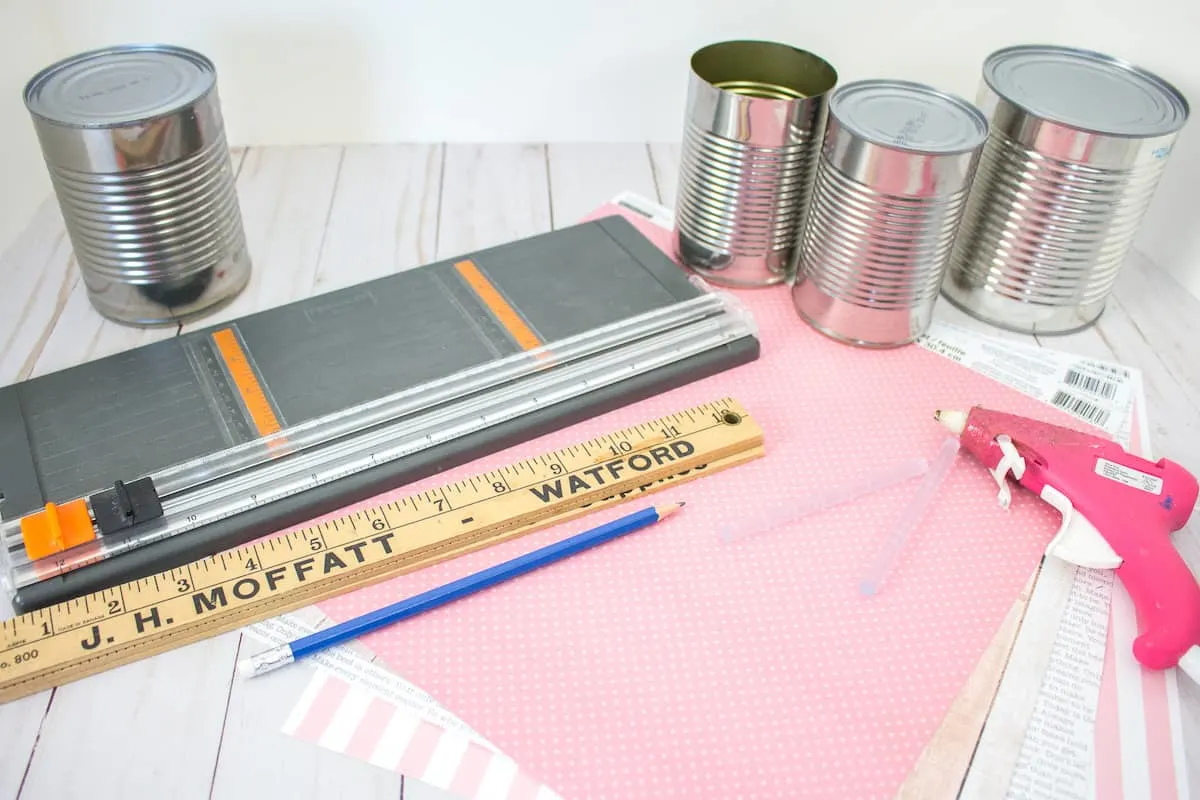
Supplies
- Tin cans in assorted sizes (cleaned and dried)
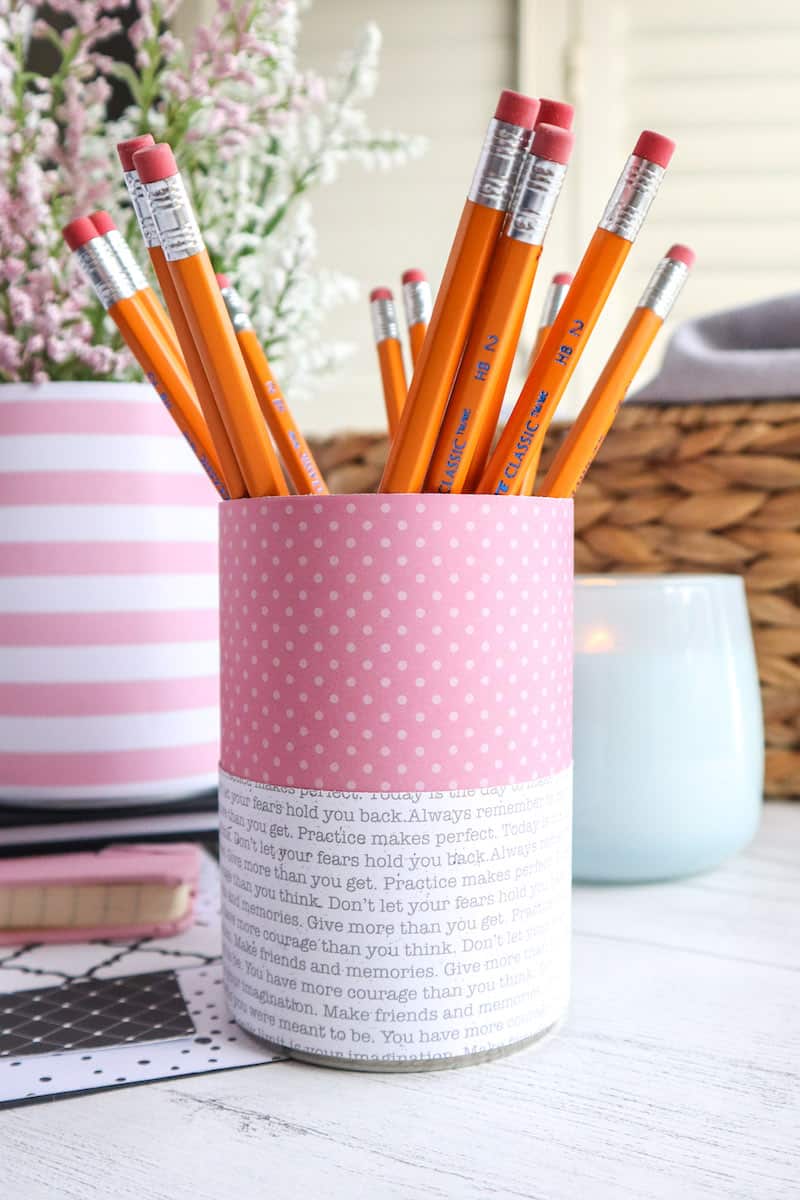
- Decorative scrapbook paper, 12” x 12” size in coordinating colors (we used Recollections brand in Light Pink Stripes, Typewriter Font, Pink Wood Planks, Pink Tonal Dots)
- Ruler
- Pencil
- Scissors or Paper Cutter
- Double sided tape or hot glue gun with clear glue sticks
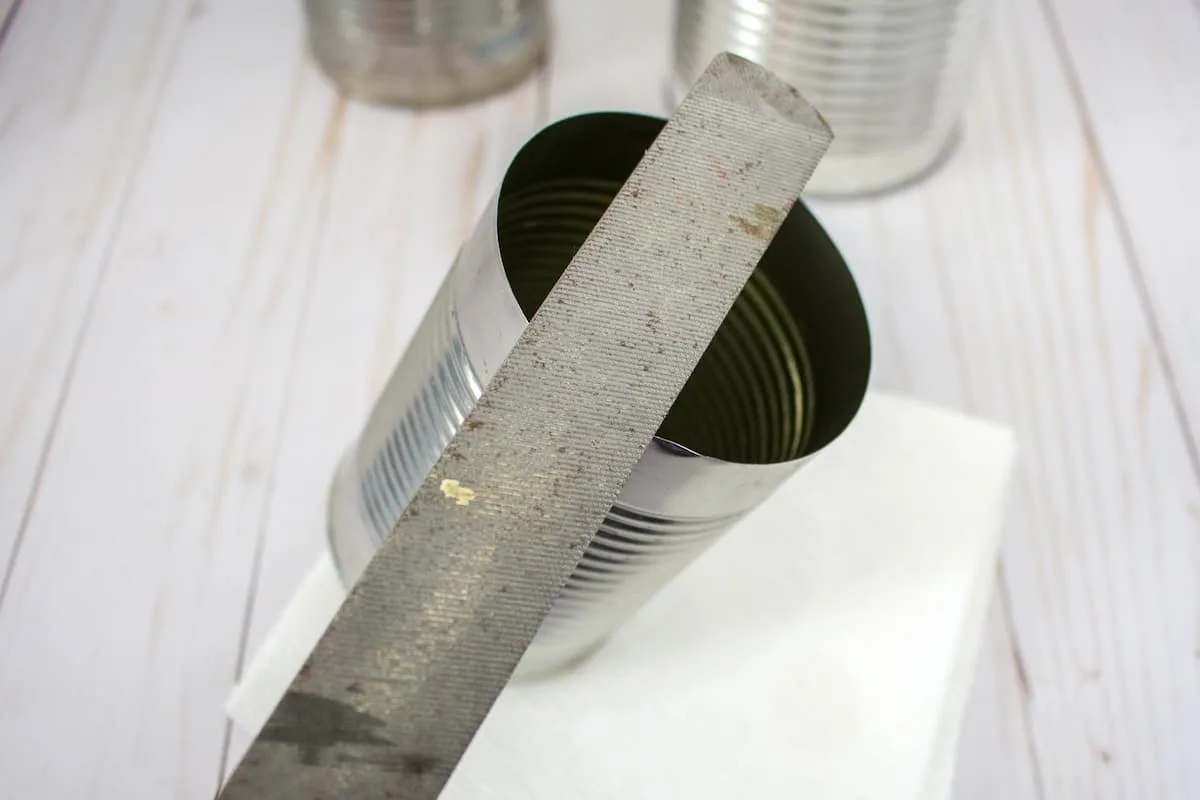
- Metal file (as needed)

Directions
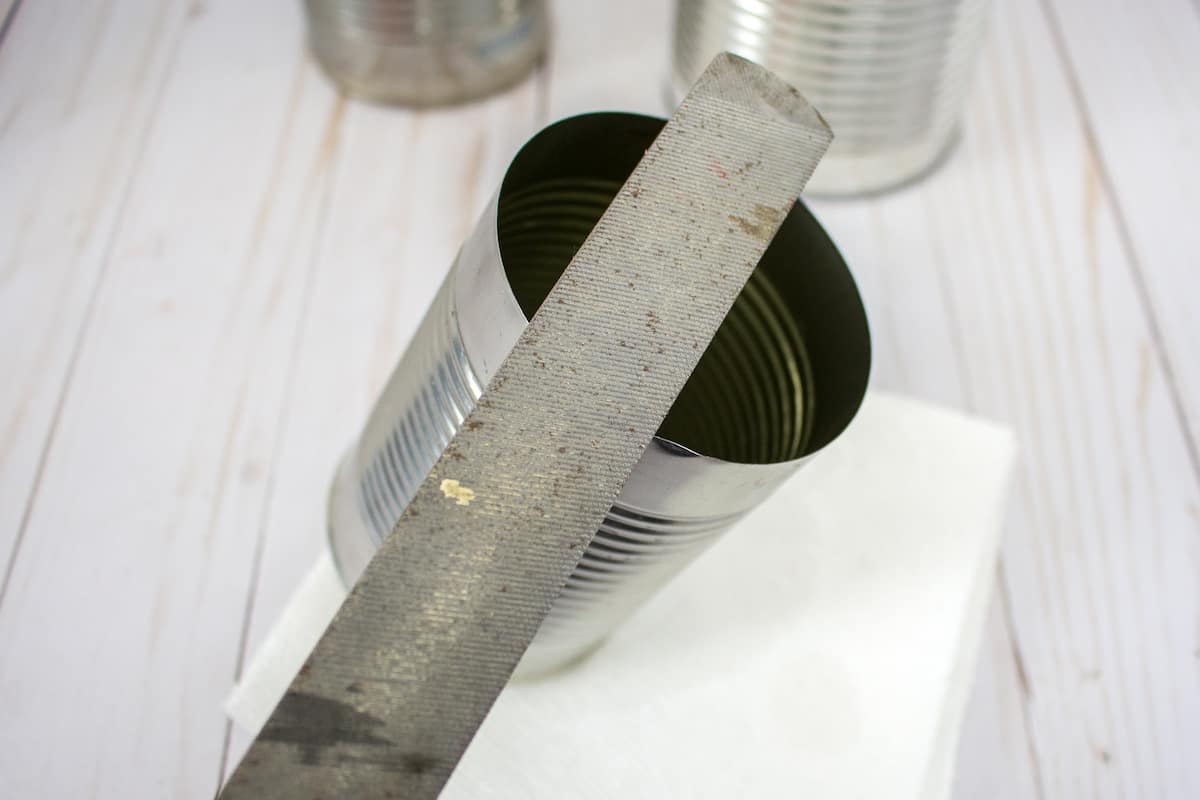
Preparing the Tin Cans
Wash and dry cans out thoroughly before using.
If the opening edges of the cans are sharp to the touch, use a metal file to smooth out the sharp edges.
Covering Cans with Paper: Single Sheet
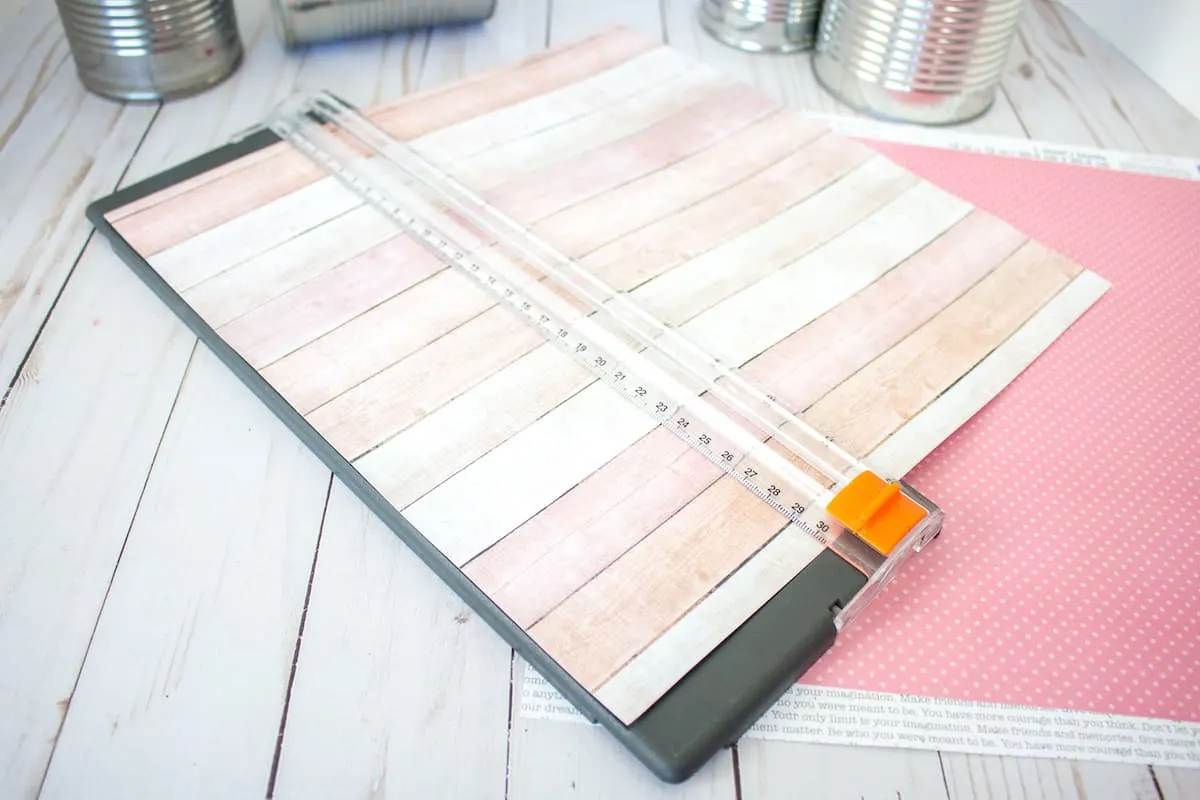
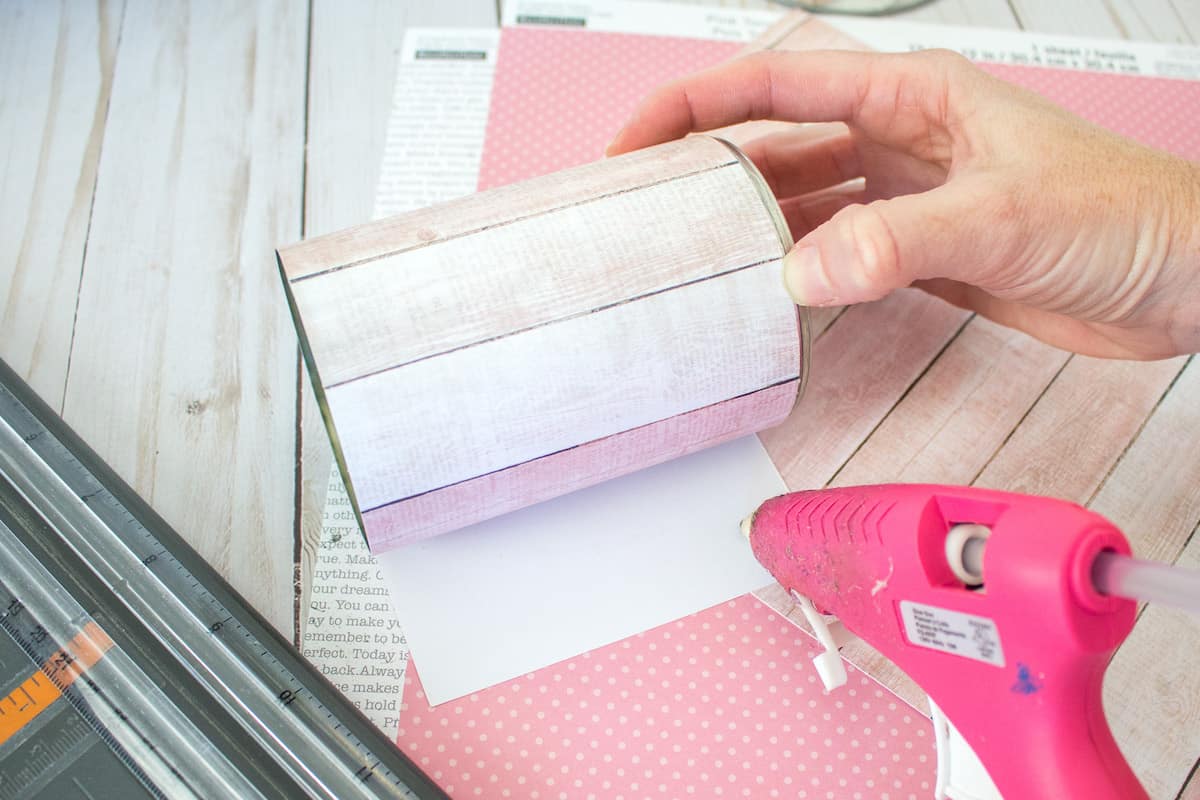
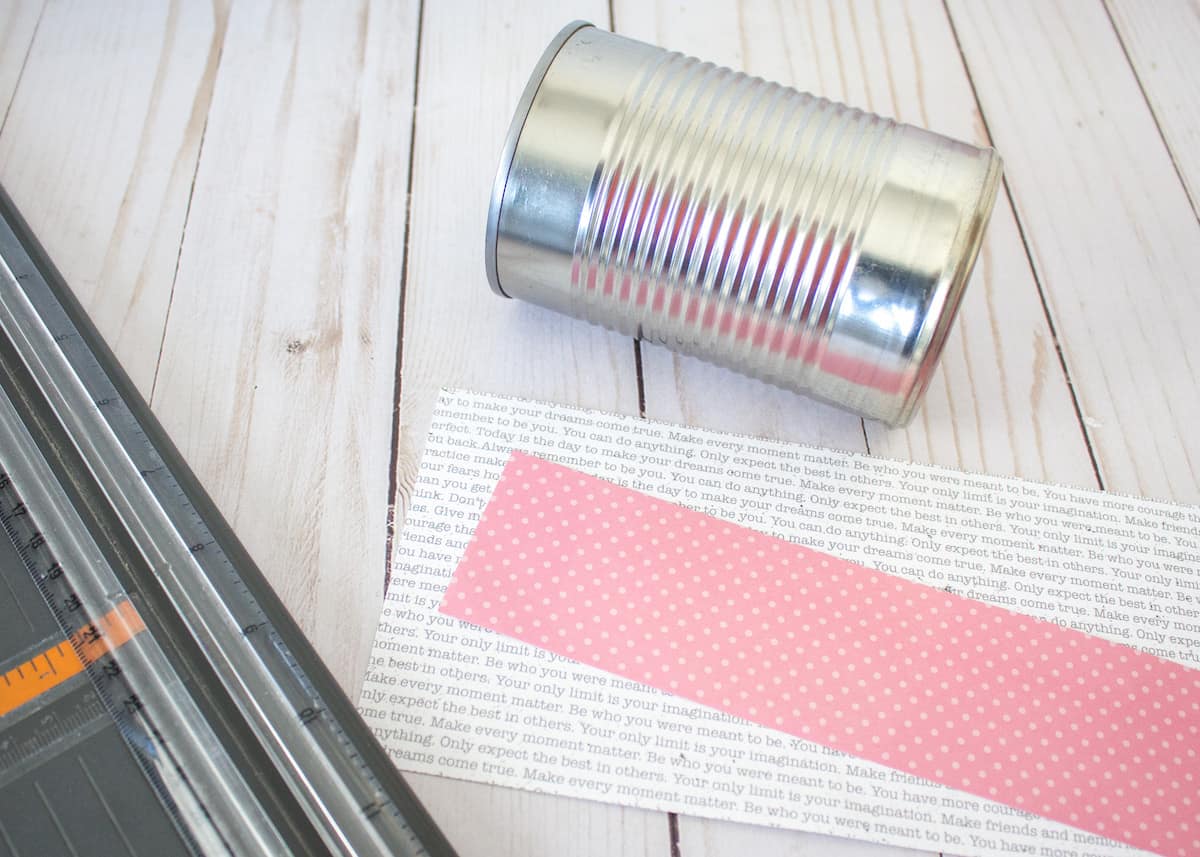
Working with one can at a time, select a piece of paper in any color and pattern of your choosing.
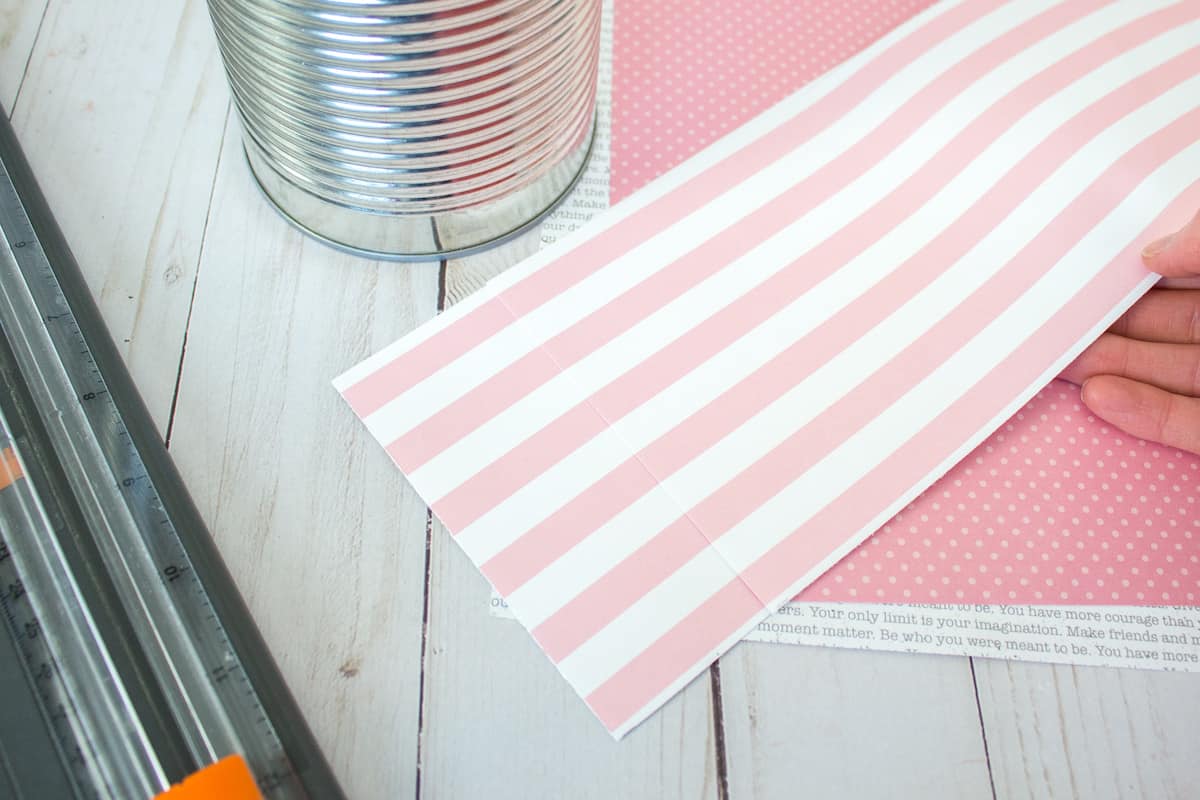
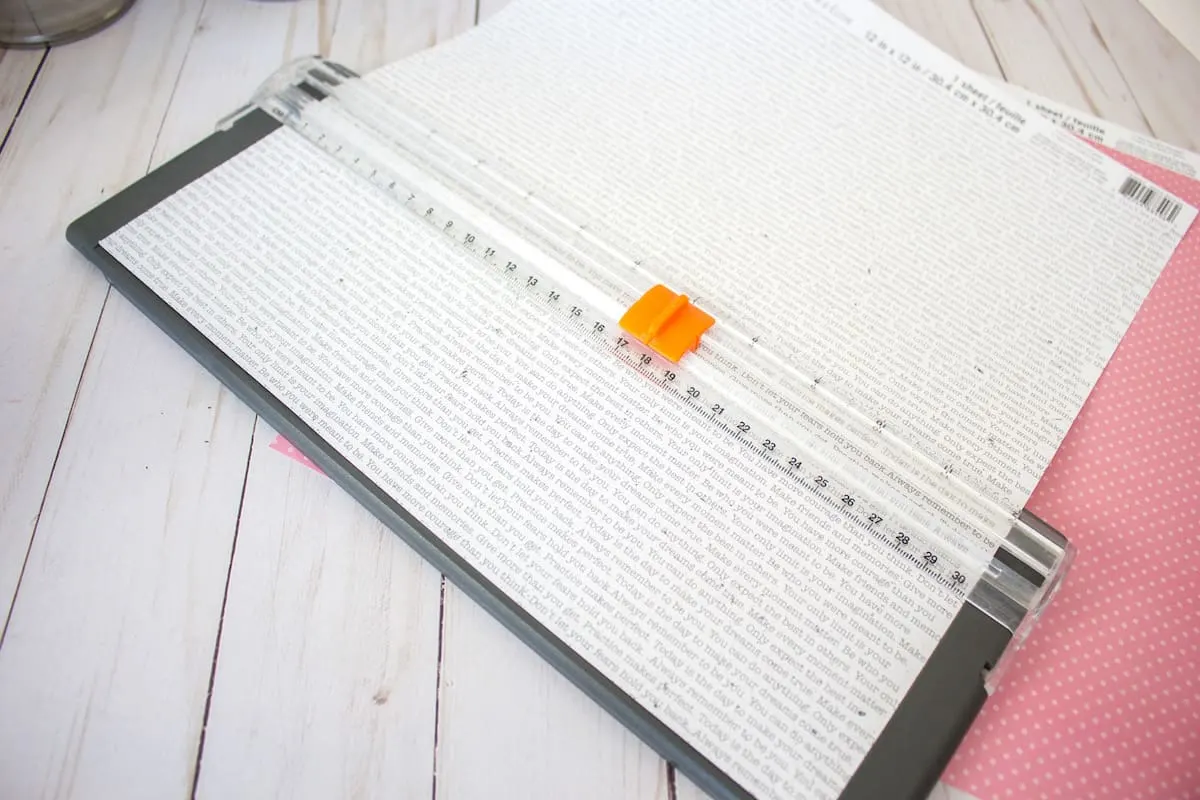
Measure the height of the can.


Using the paper trimmer, cut the paper to the size of the height of the can.

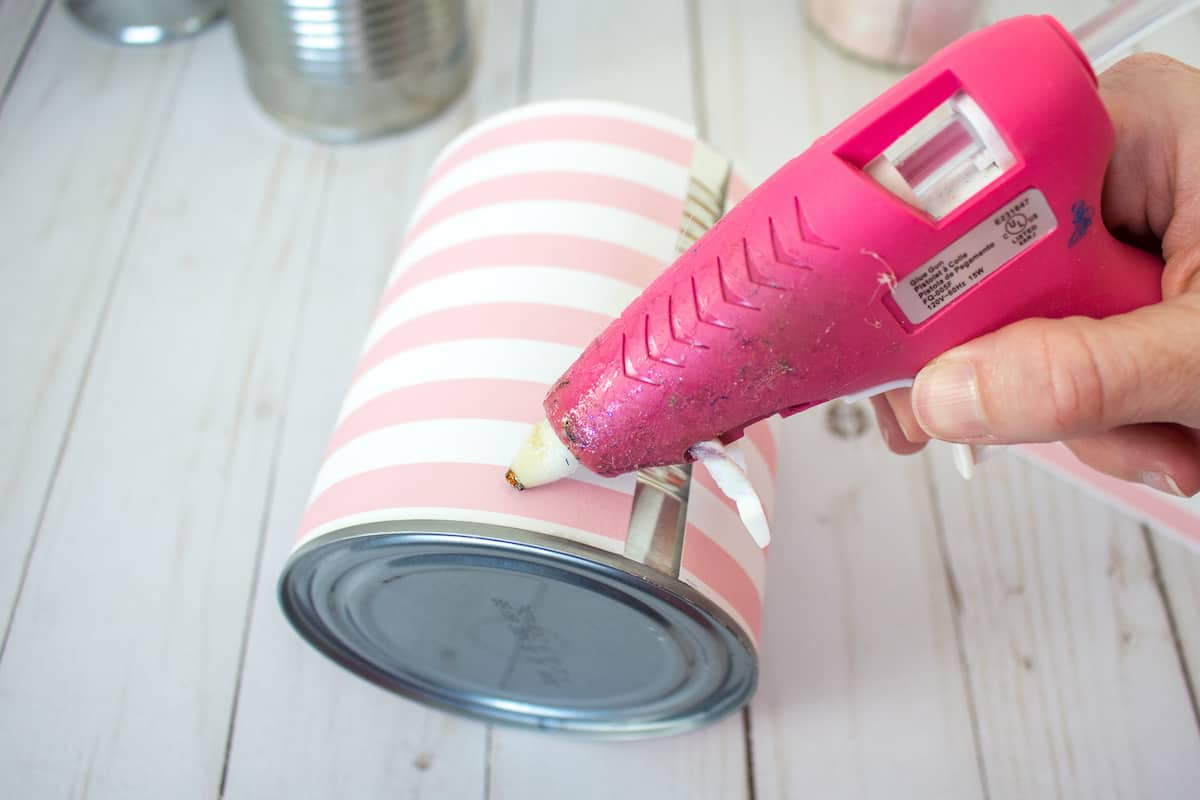
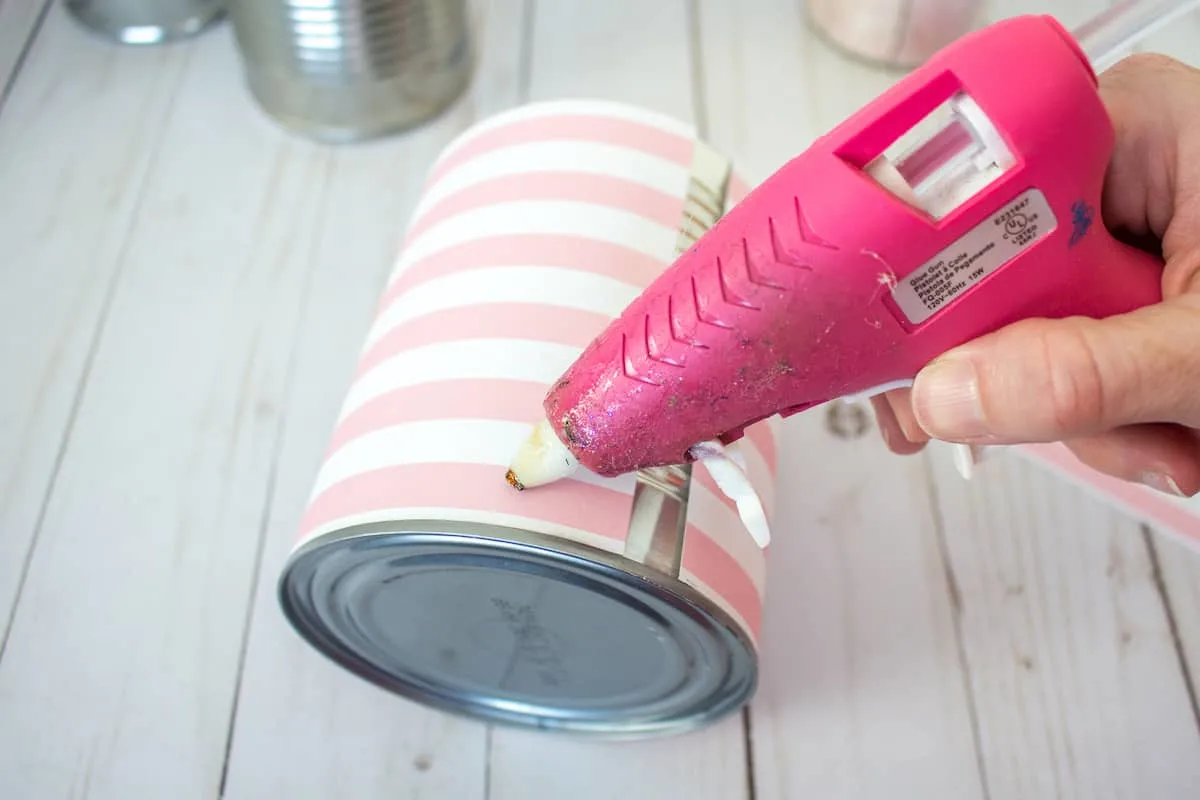
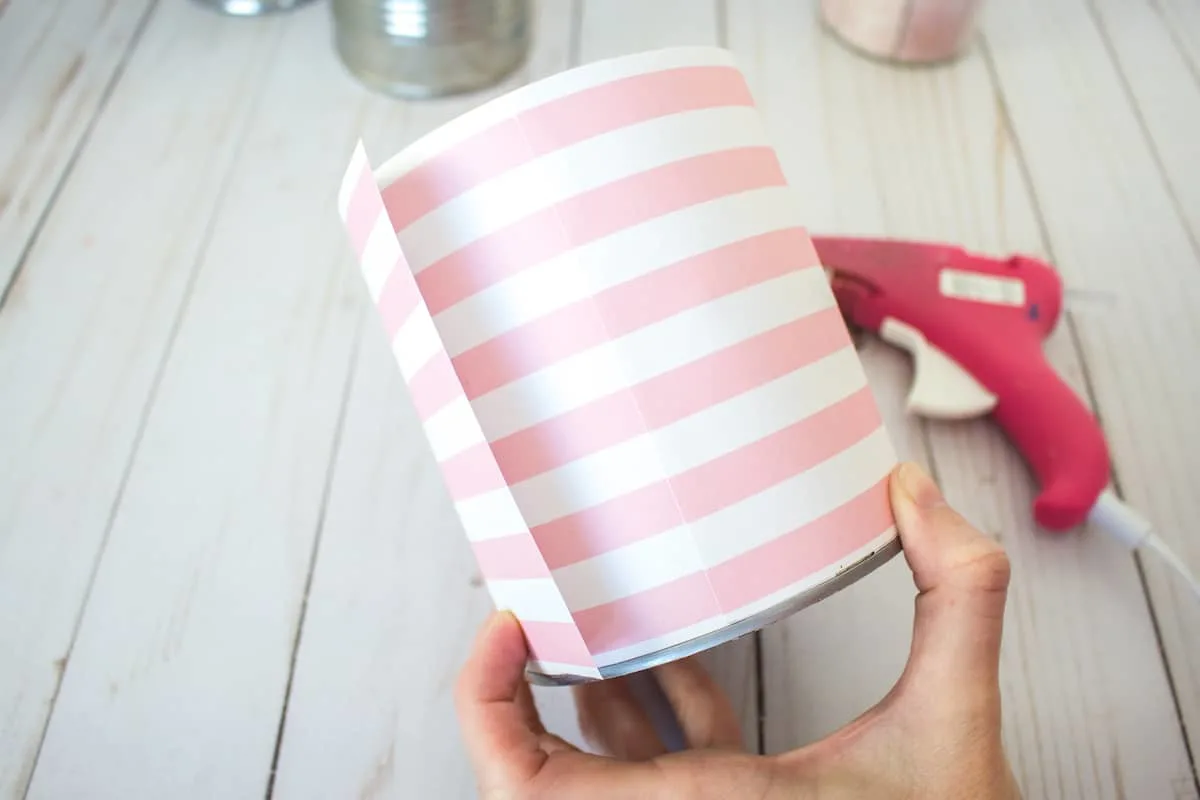
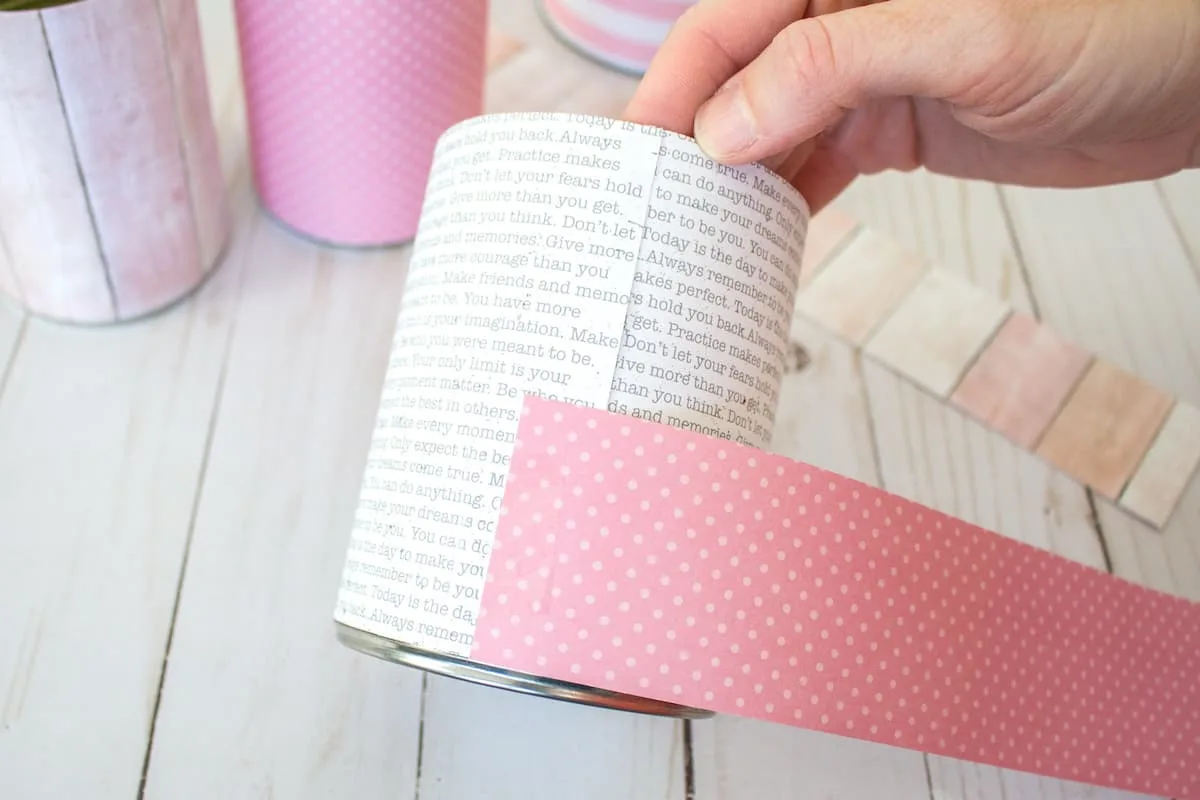
Place one short end of the cut paper on to the tin can and glue (or tape) it in place.

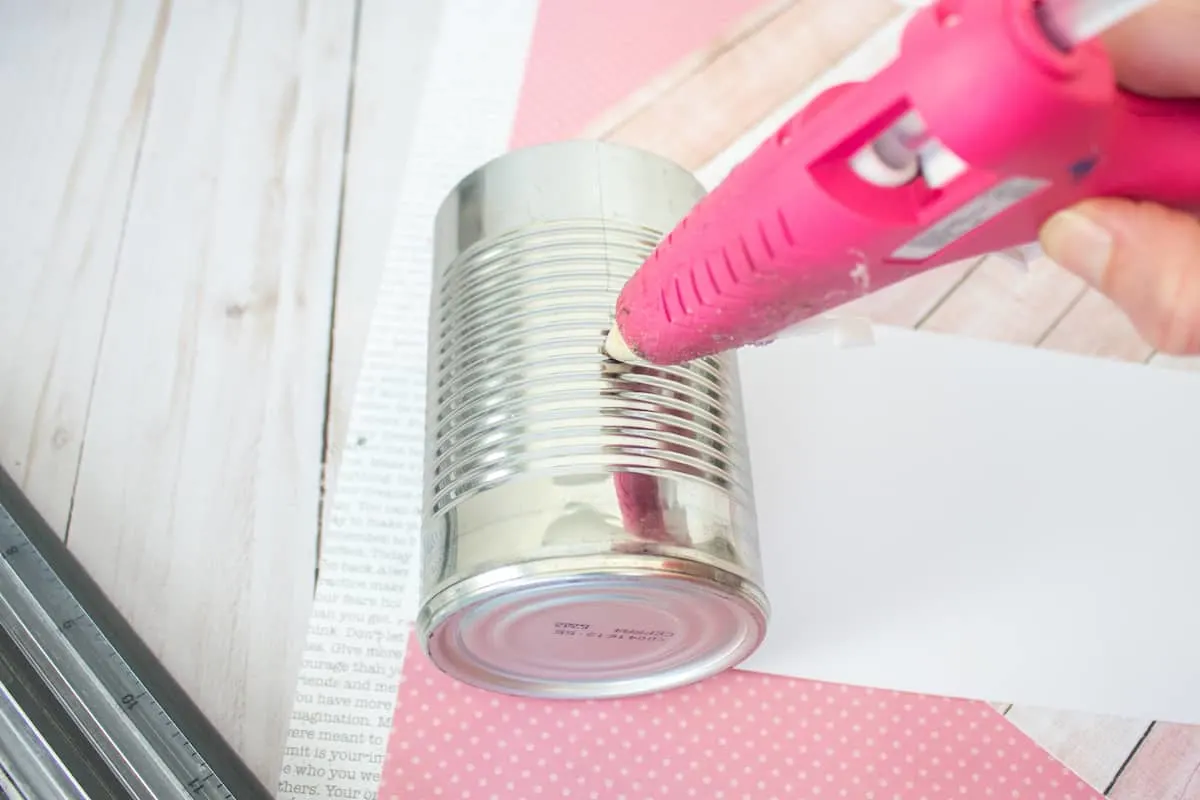

Once secure, wrap the paper around the can and glue or tape the other end in place.

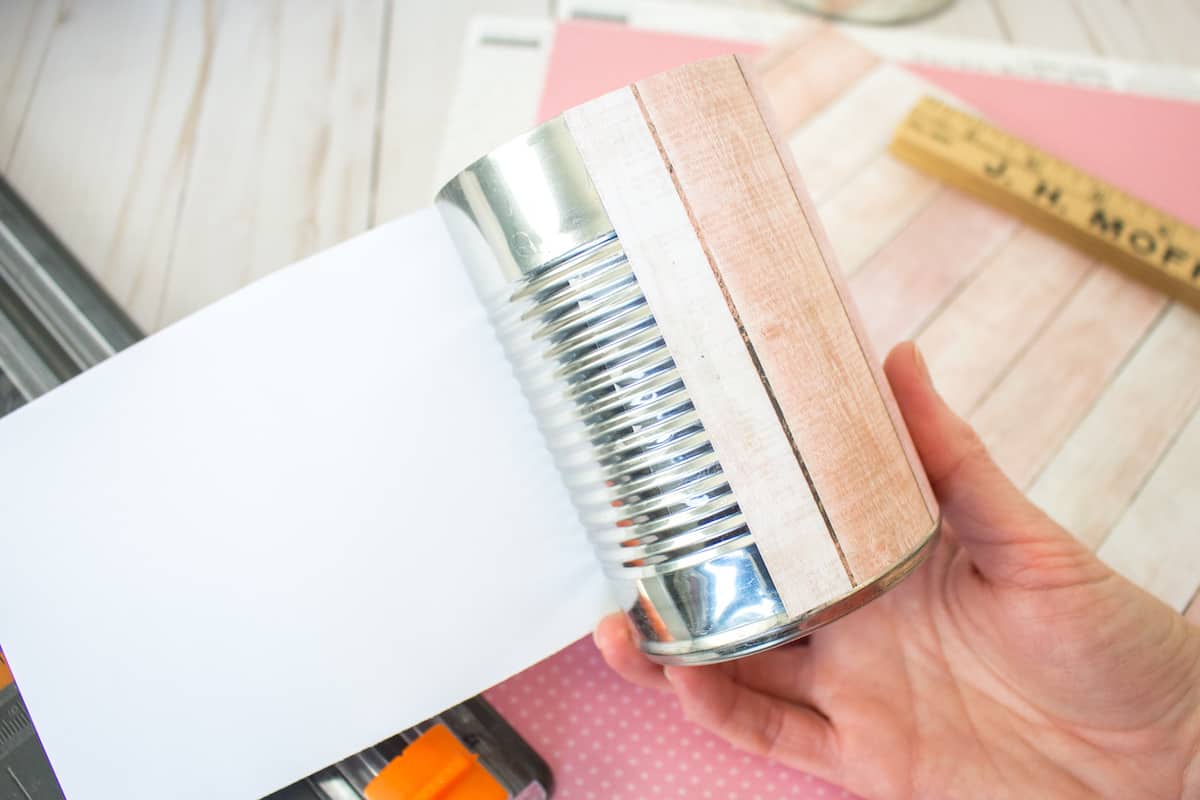
If the circumference of the can is longer than the sheet of paper, cut two identical sized sheets of paper to wrap around the can overlapping the gap with the second sheet of paper.
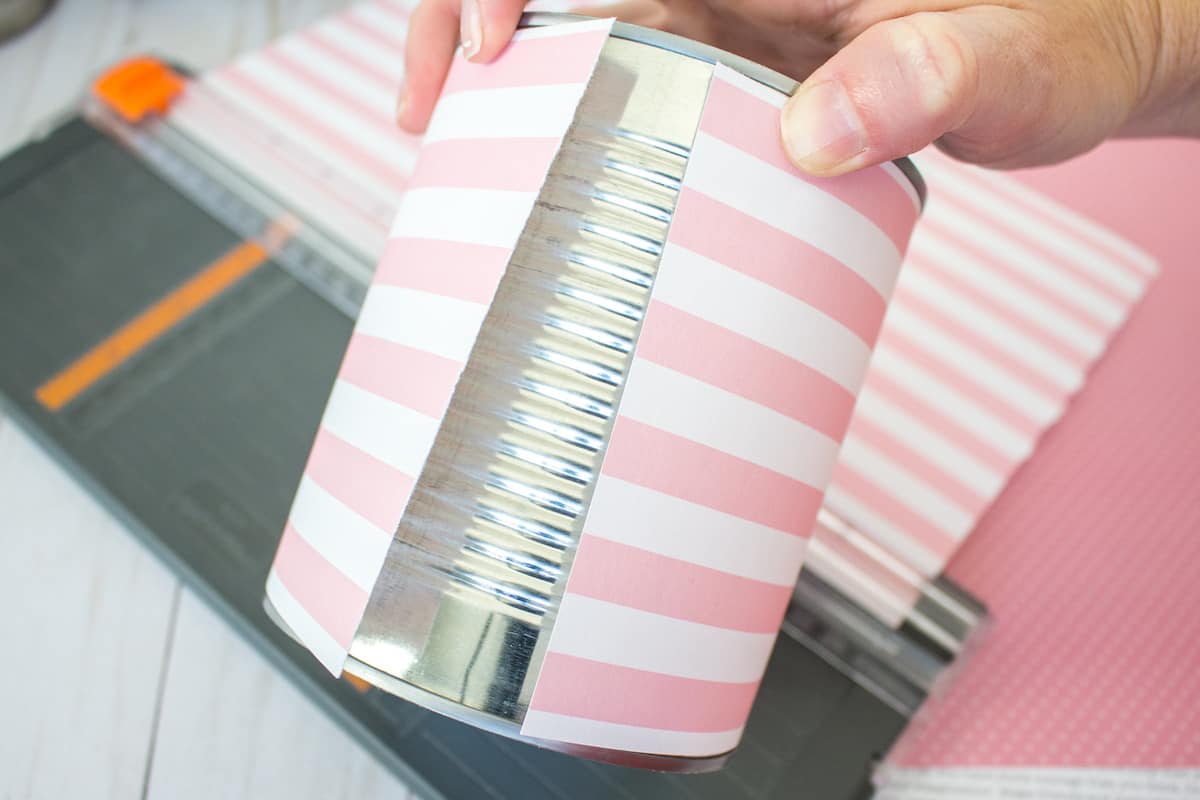
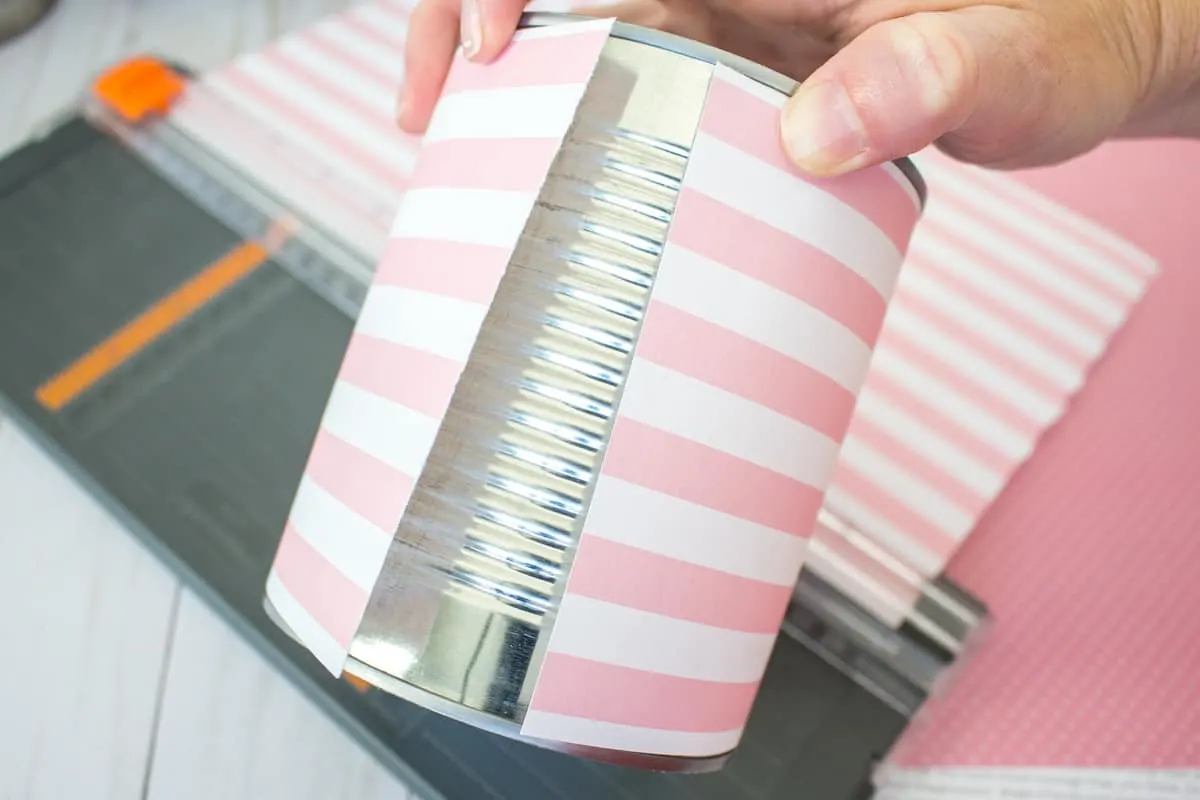


Covering Cans with Paper: 2 Sheets
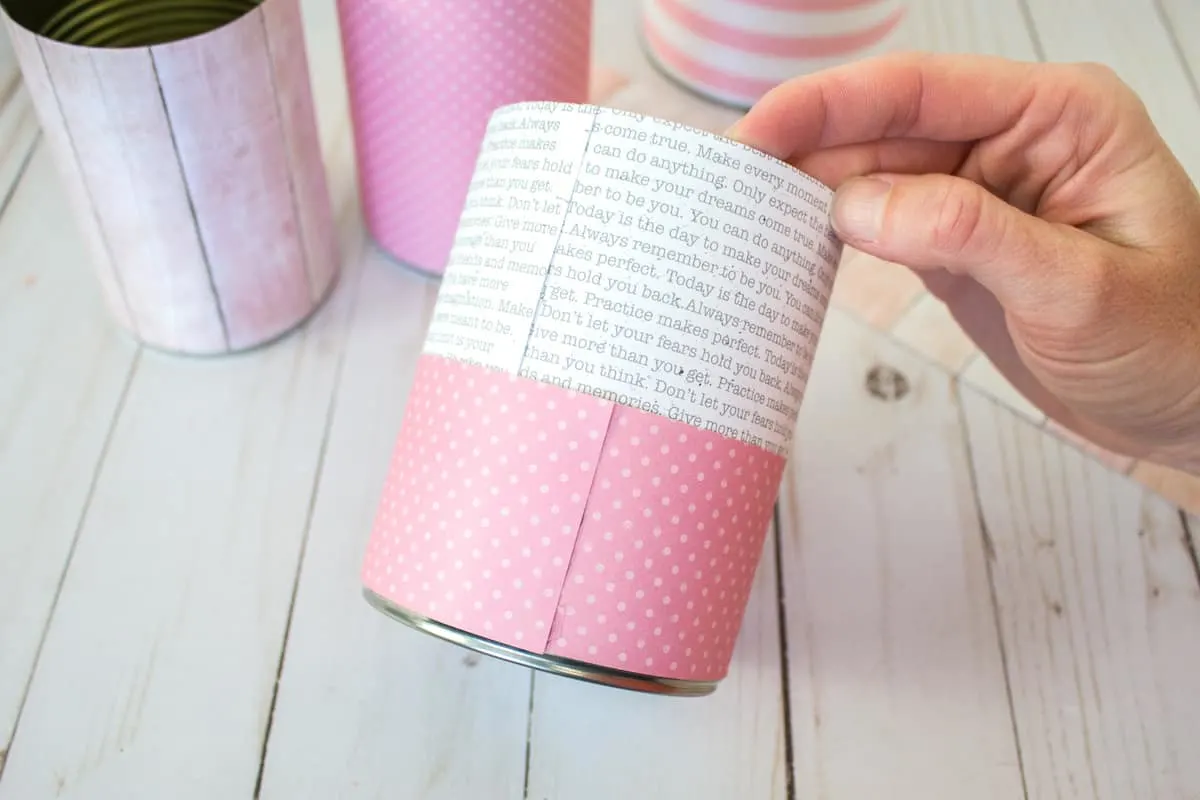
Measure the height of the can.
Using the paper trimmer, cut the paper to the size of the height.
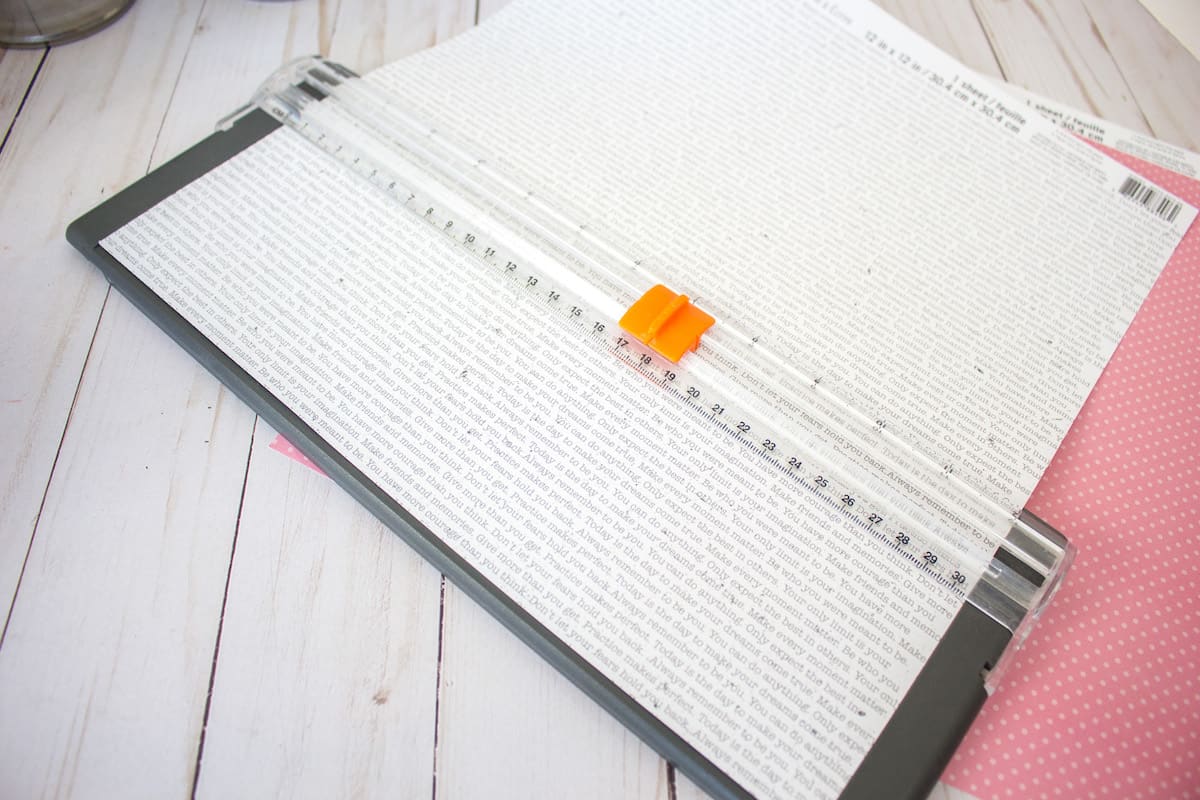
Cut another piece of paper half the length of the previous sheet.

Glue the larger sheet of paper on to the can first using same method as above.
Next, take the shorter piece of paper and secure it around the tin can in the same manner.


Repeat with the other cans and papers.

If you are inspired by these beautiful, yet easy, desk organizers, then be sure to browse all of our organization ideas.

Barbara
Saturday 15th of July 2023
Love them - especially the pink theme going on! Love mixing "type" with the printed paper.Such a clever upcycle! I volunteer with residents at an assisted living place, and this is something they could make and use for their pens, pencils, scissors, etc - or hair combs, nail files, etc. Thanks for sharing.
Kimberly
Saturday 15th of July 2023
Barbara, That is such a great idea!!! What a fun project to do. Yes, I like the mixing of paper, too! Makes it fun!!!!