
If you have a lot of online deliveries coming to your house, you need this DIY project! I have so many boxes at home and I hate to just recycle them. I always feel like I should be doing something practical with them.
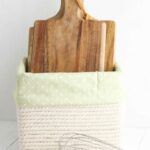
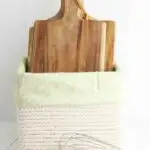
Make a DIY decorative storage box out of cardboard and organize your home on a budget! It’s so easy to turn a cardboard box into added storage and make it pretty at the same time.
This project is so super simple. And you might be able to do it with supplies you already have at home.
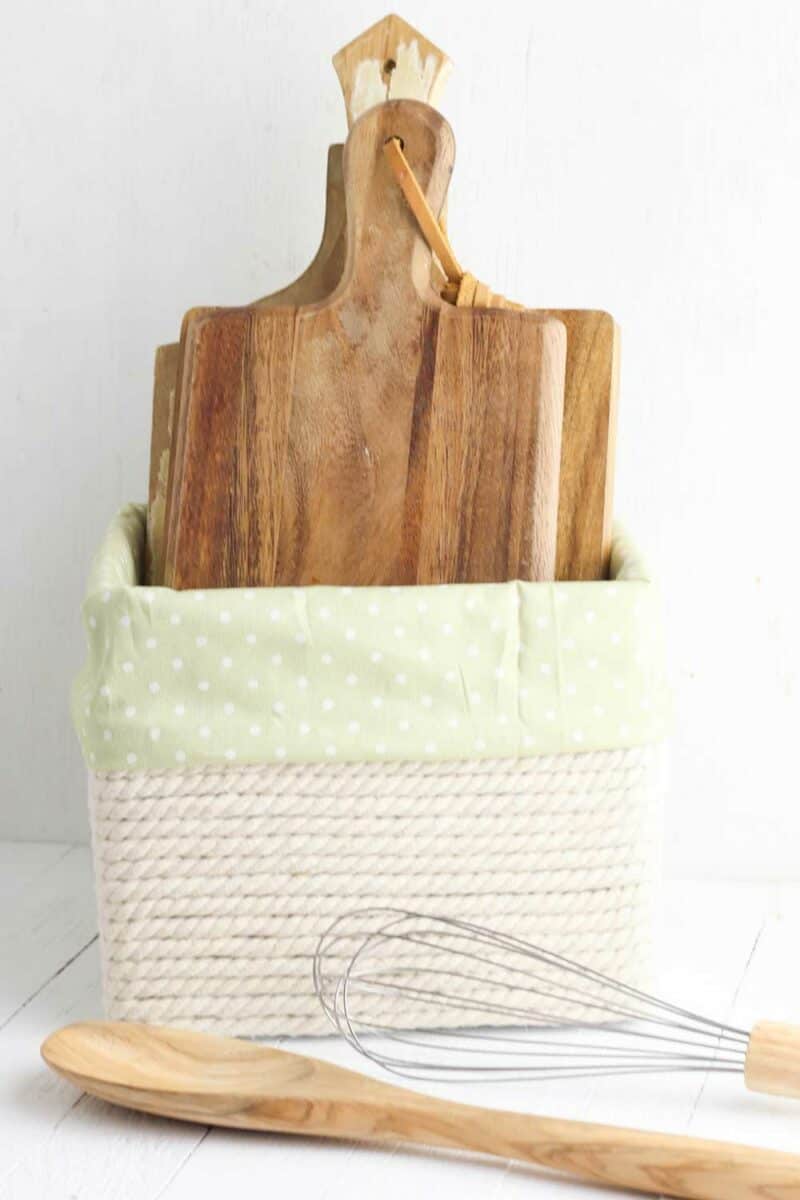
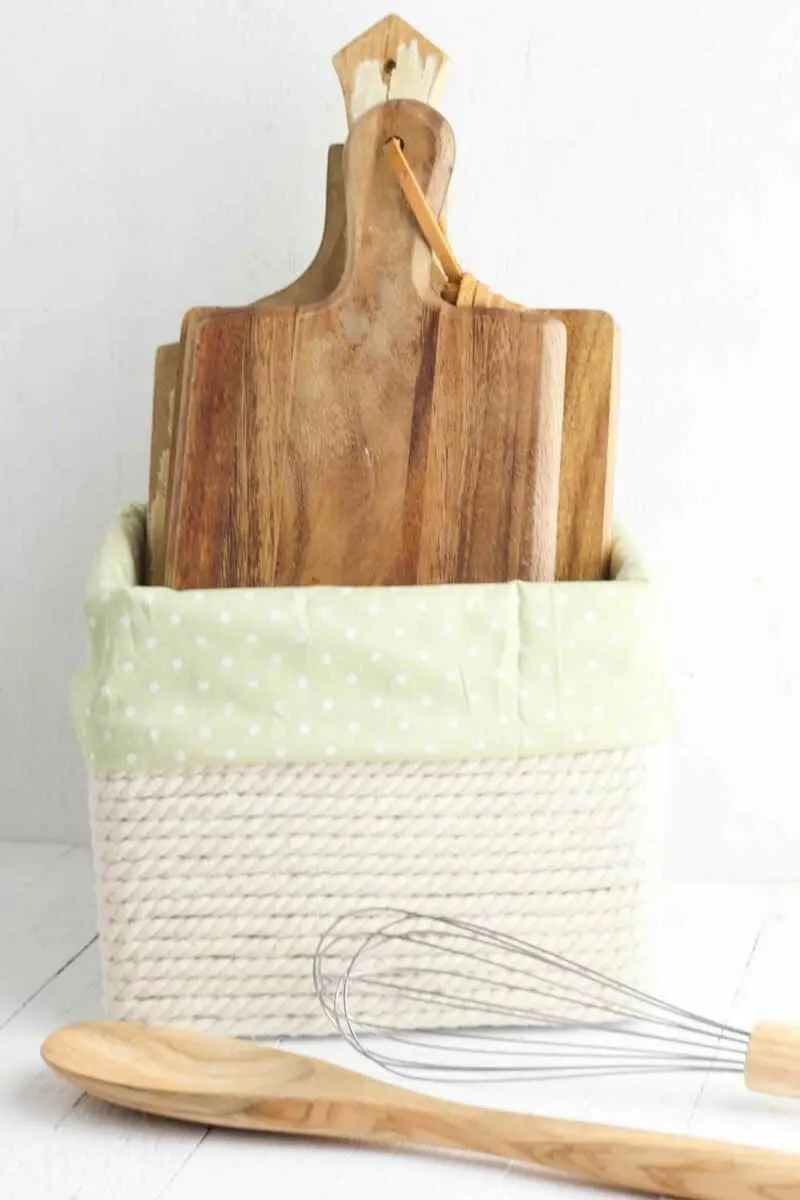
While I show wood cutting boards in this box in the kitchen, these decorative storage boxes would be great in these places, too:
- Linen closet
- Office
- Bedroom closet
- Pantry
- Mud room
- Coat closet
- Kids closets
- Underneath the bathroom vanity
- Laundry room
If you like this cheap way of creating storage, then you’ll love my other upcycling ideas, too:
- DIY Tin Can Organizers
- Cereal Box Desk Organizers
- Craft Supplies Storage Ideas
- Oatmeal Container Plastic Grocery Bag Holder
- DIY Wicker Basket from a Sun Hat
How to Decorate a Cardboard Box for Storage
Supplies
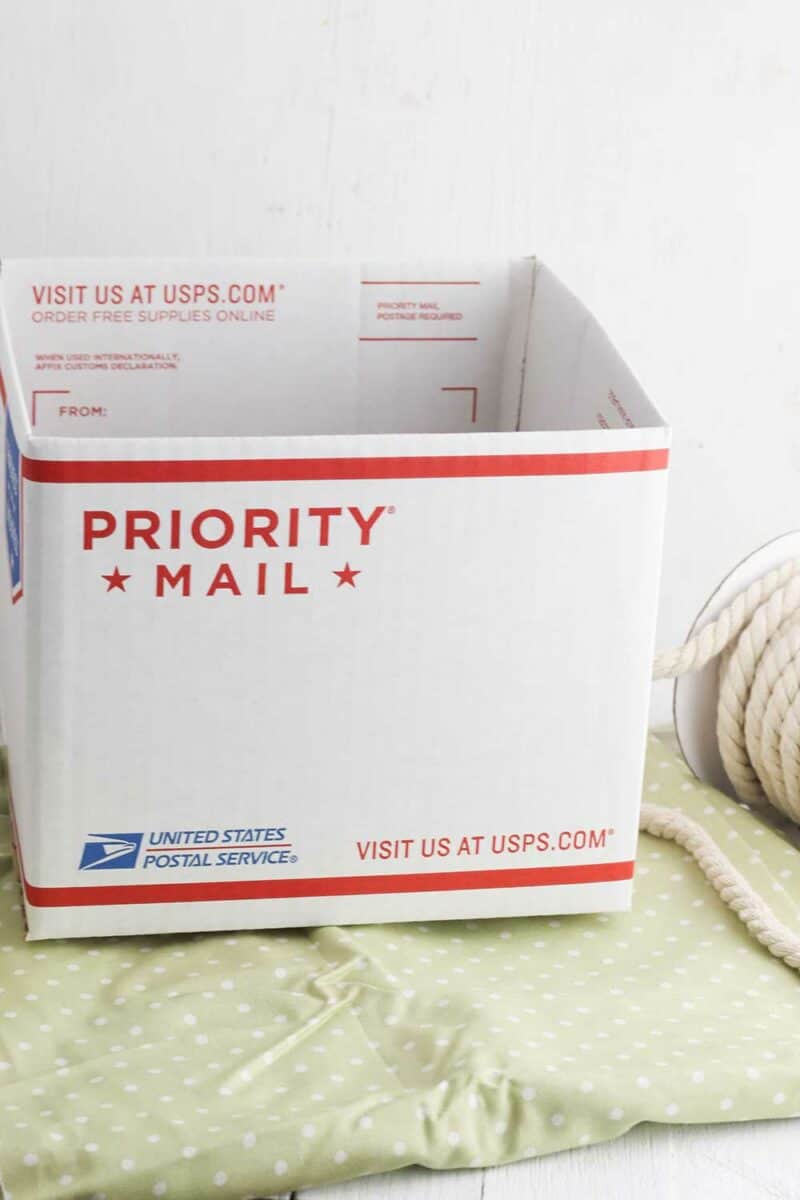
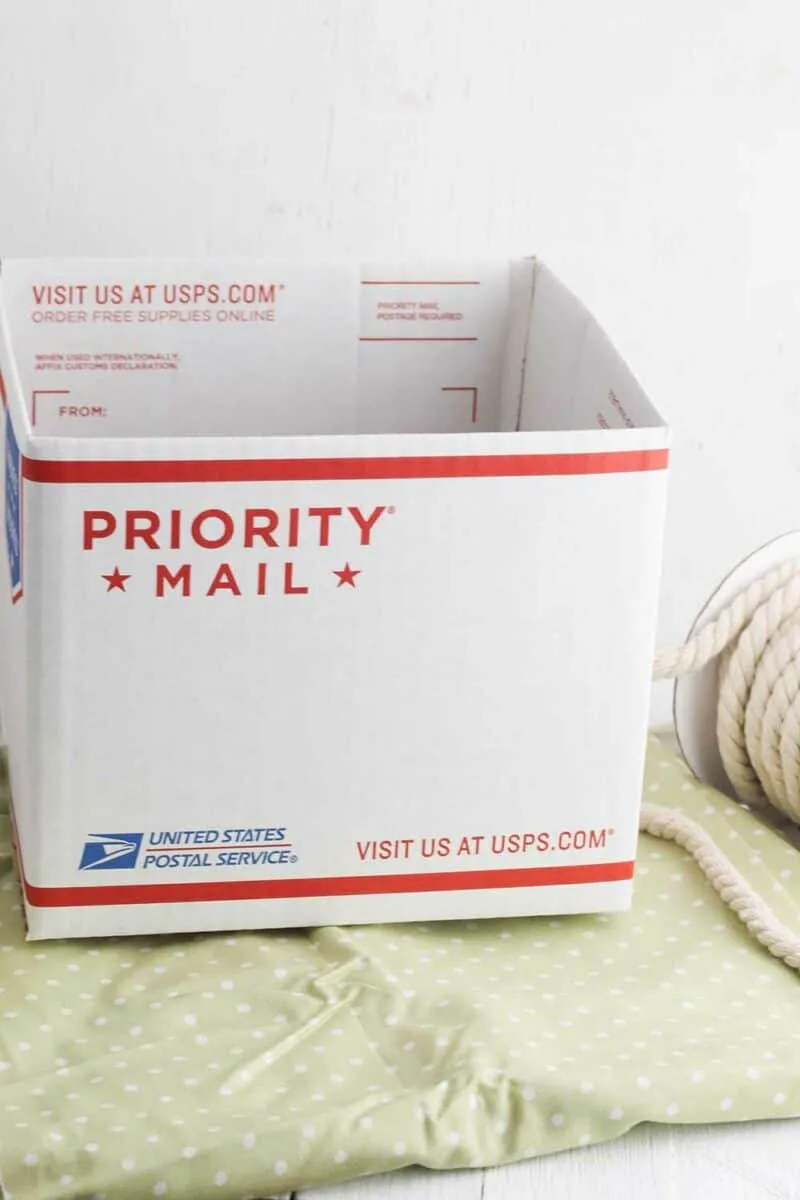
- Empty cardboard box (tape down the flaps if needed to keep it open and sturdy)
- Fabric
- Cotton nautical rope
- Hot glue gun
Instructions
Step 1
Measure enough fabric to wrap around the outer edge of the box. If you want the inside of the box to be covered, too, make sure the fabric is wide enough to fit down each side.

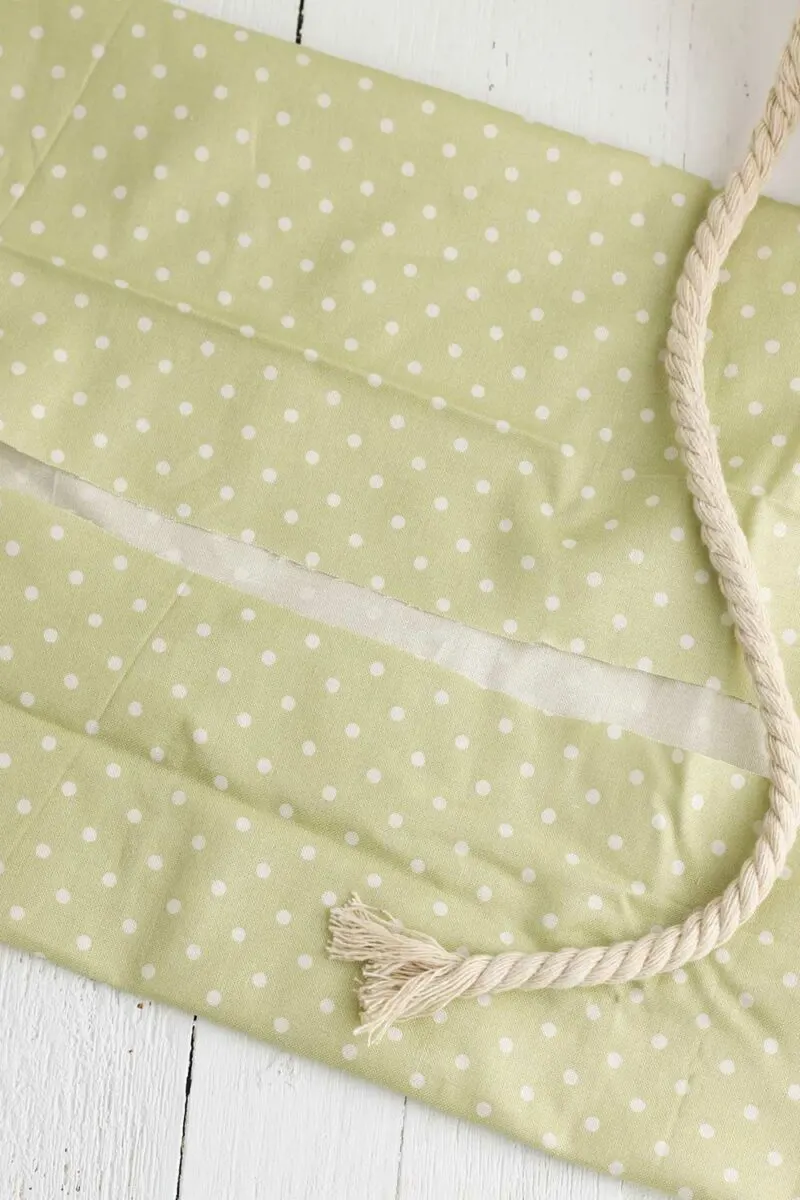
Step 2
Fold the edges of the fabric over on each side and glue them down using the hot glue gun to create a hem. Set the fabric aside.
Step 3
Use the hot glue gun to attach the cotton rope to the outside of the box. Continue wrapping and gluing the rope until it is completely covered.
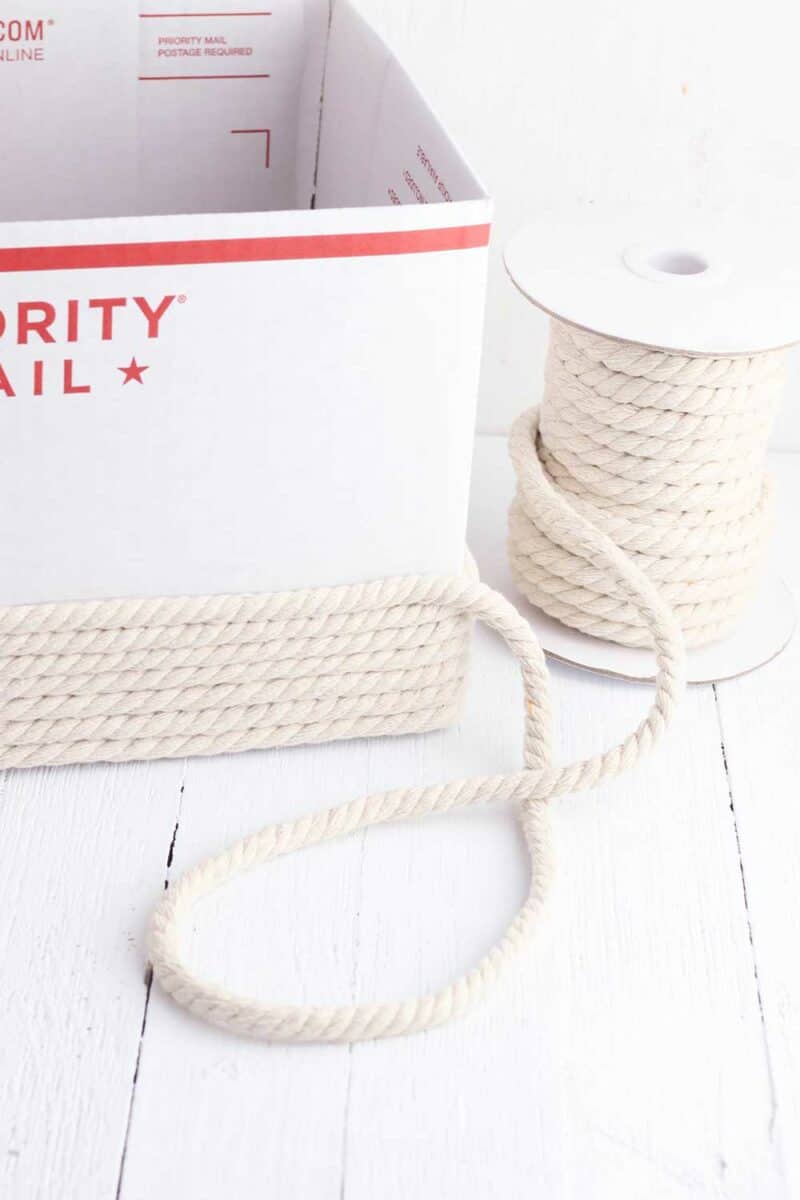
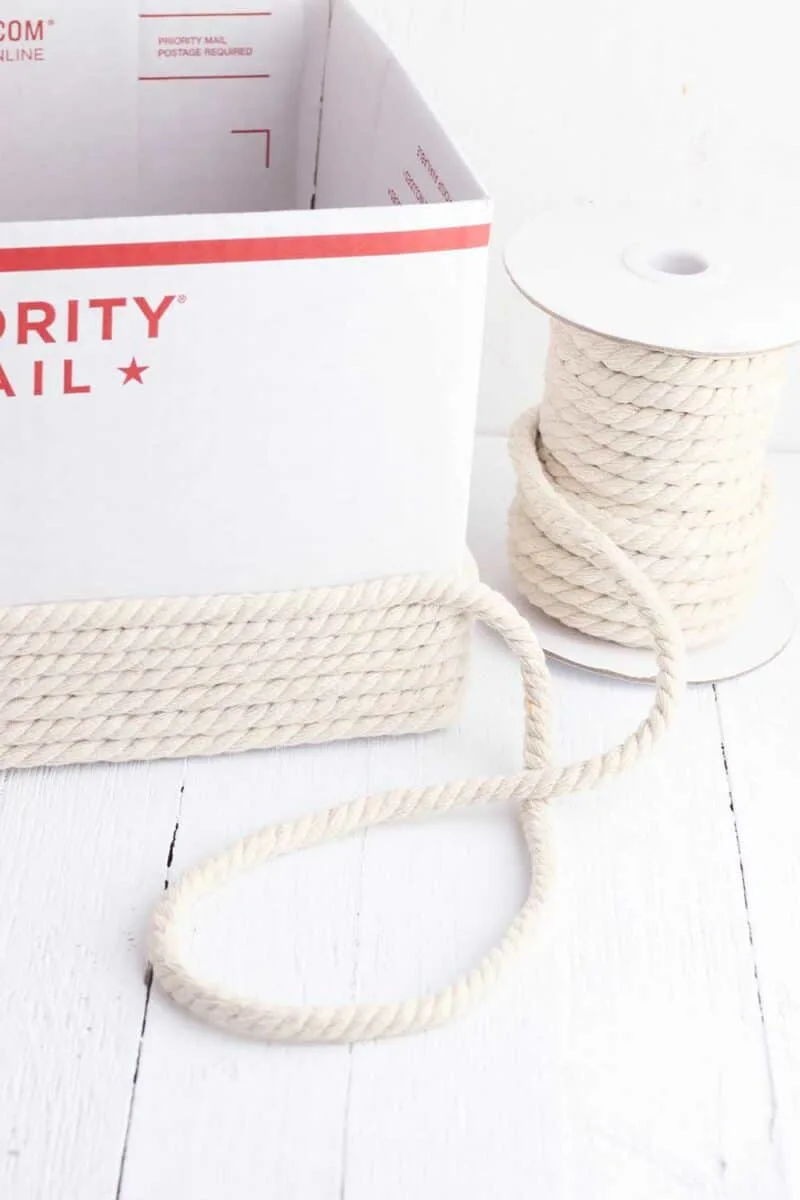
Step 4
When you have reached one inch from the top of the box, cut the rope and glue the end in place.
Step 5
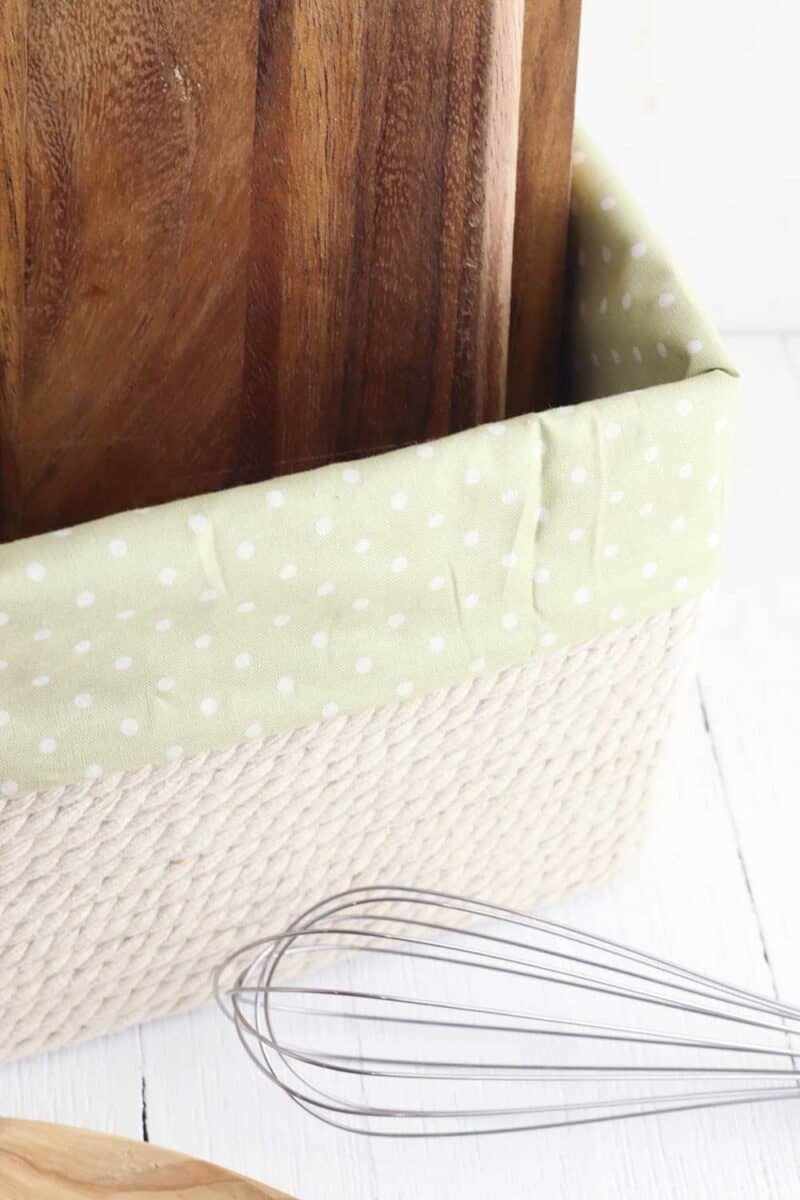
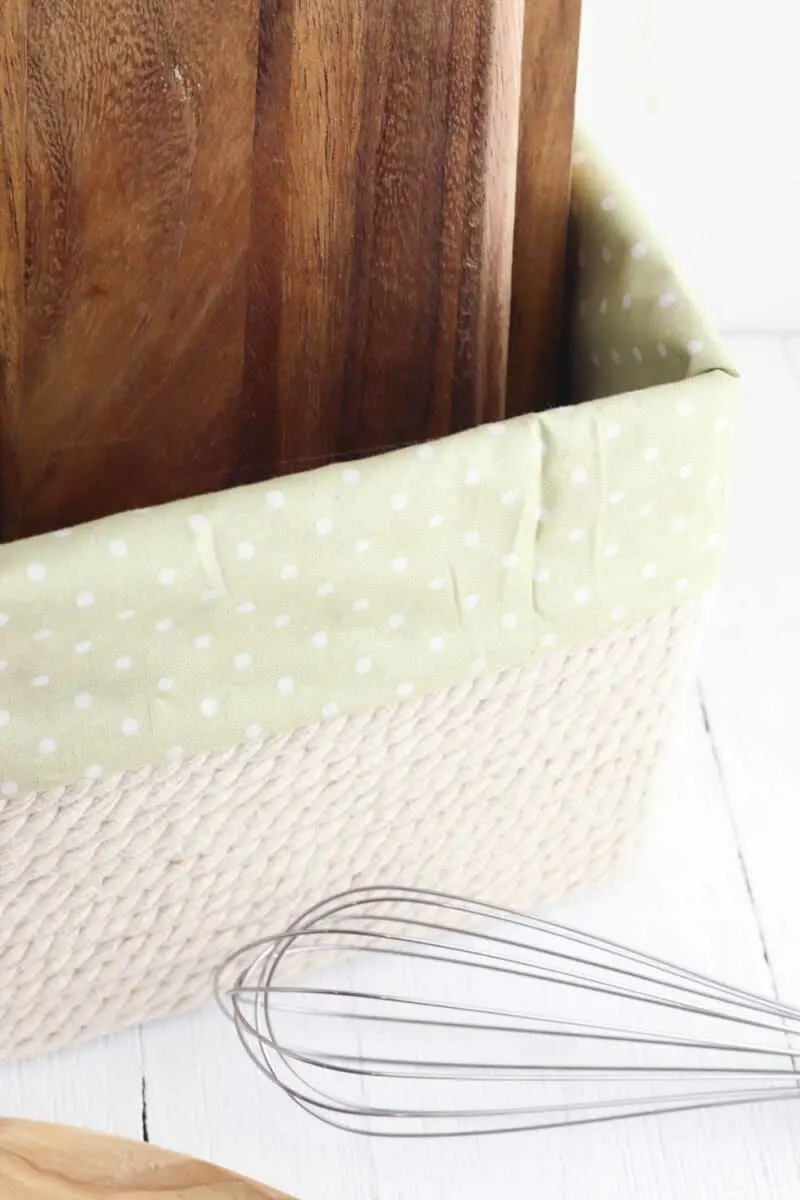
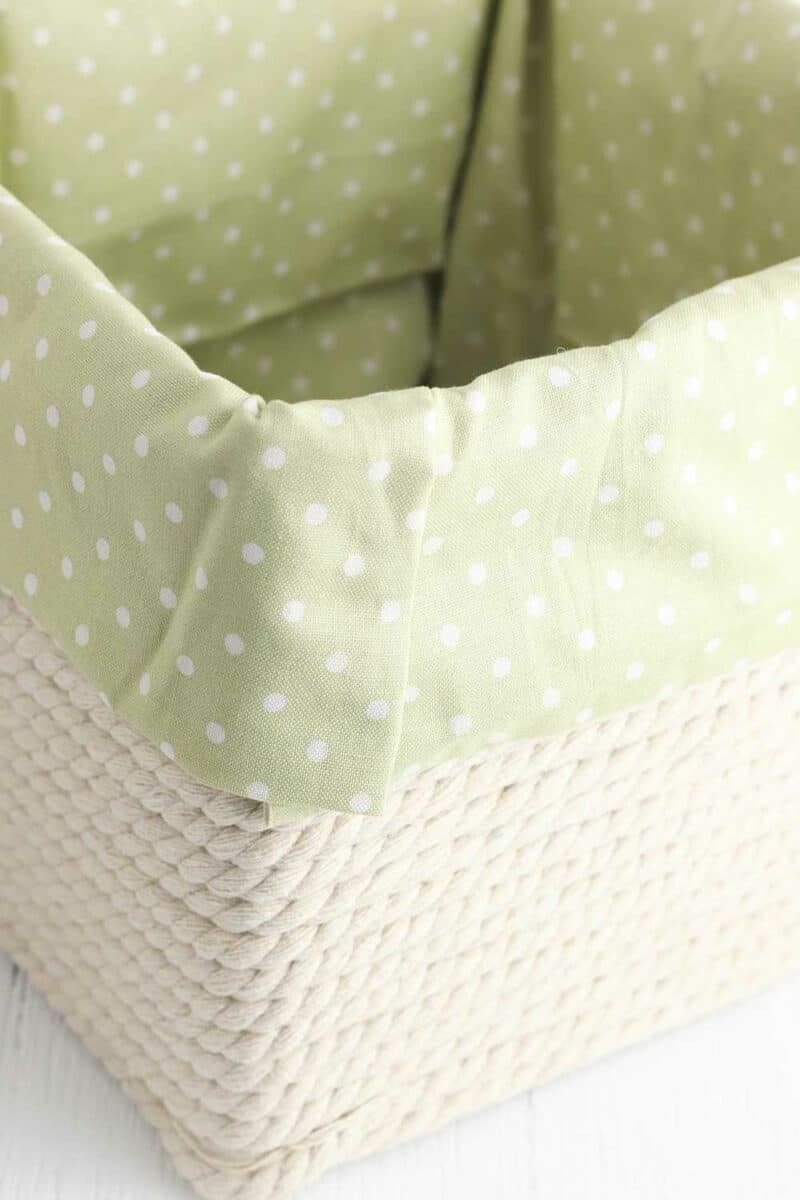
Place the fabric inside the box and position it so it folds over the top two inches of the box. Glue the edges around the outside of the box to hold it in place.

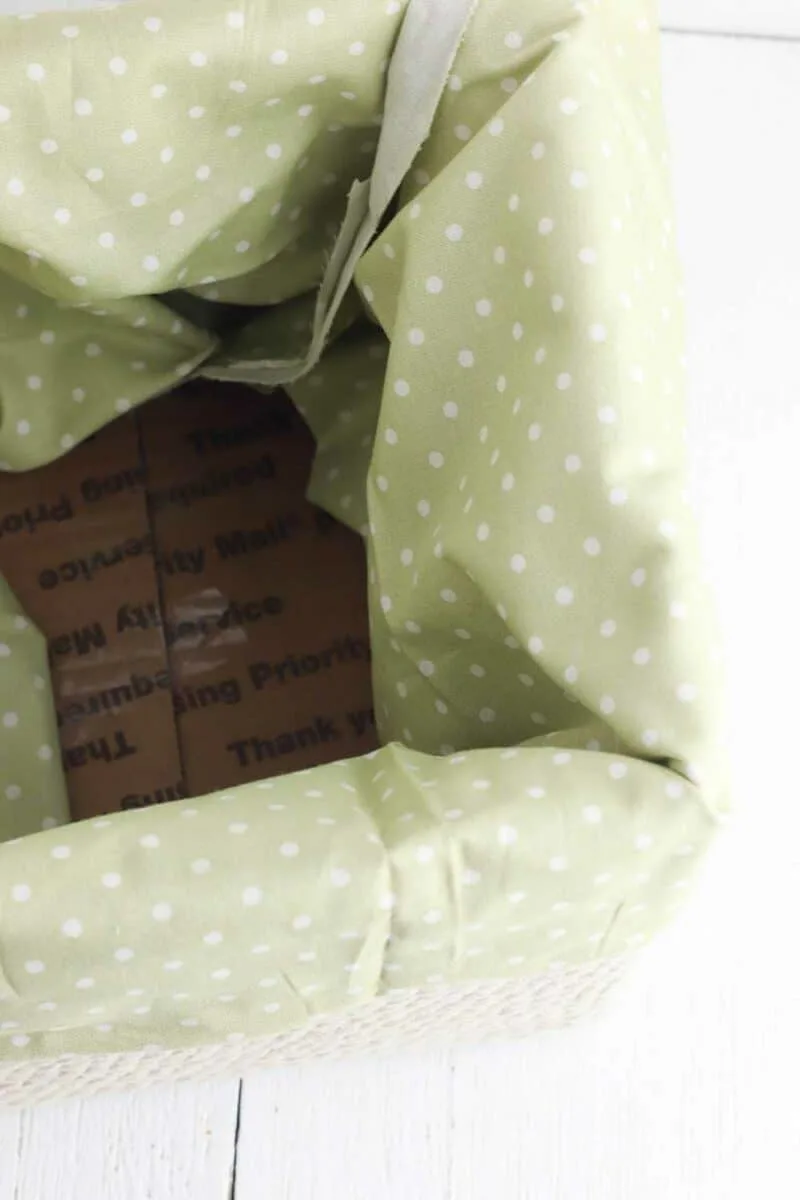
Step 6
Finish the rough edge of the fabric by folding it over and gluing the fold in place. Then, glue the end of the wrapped fabric to the box to secure it.

If you love decluttering, too, then check out my organizing tips and tricks.
And, you might like my free Clutter Control checklist download.

brenda
Wednesday 12th of February 2025
they were good decorative storage boxes made of cardboard, To you have any tutorials on making a drawers with other storage compartments. I'm trying to organize my craft room. I have never had to declutter before, but need ideas of different storage ideas without spending a lot of money. Please help me!!!!
Kimberly
Saturday 15th of March 2025
Brenda,
Did you see our easy Cereal Box organizer? https://singlegirlsdiy.com/cereal-box-desk-organizer/