

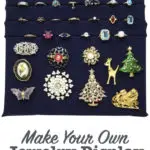

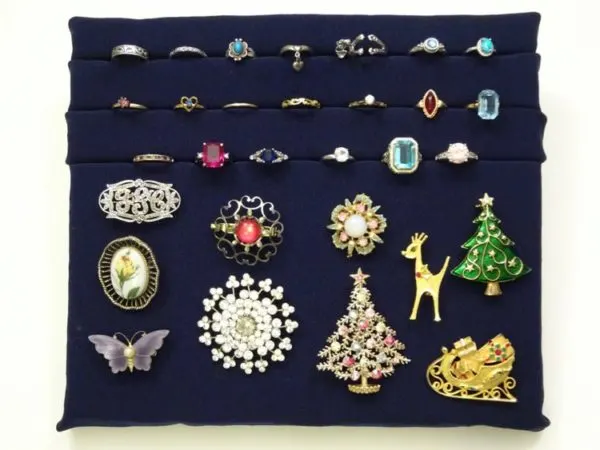
Have you seen rings displayed in a foam jewelry holder? It is so pretty to store rings where you can see them and enjoy them. Plus, it helps you to keep your jewelry organized. That’s why this DIY ring display was so fun to create.
This DIY jewelry organizer is easy to make and I used recycled materials so it was free!
If you want an easier way to store your rings, pins or brooches, make one of these jewelry displays. It looks great on your dresser, or tuck it into a drawer.
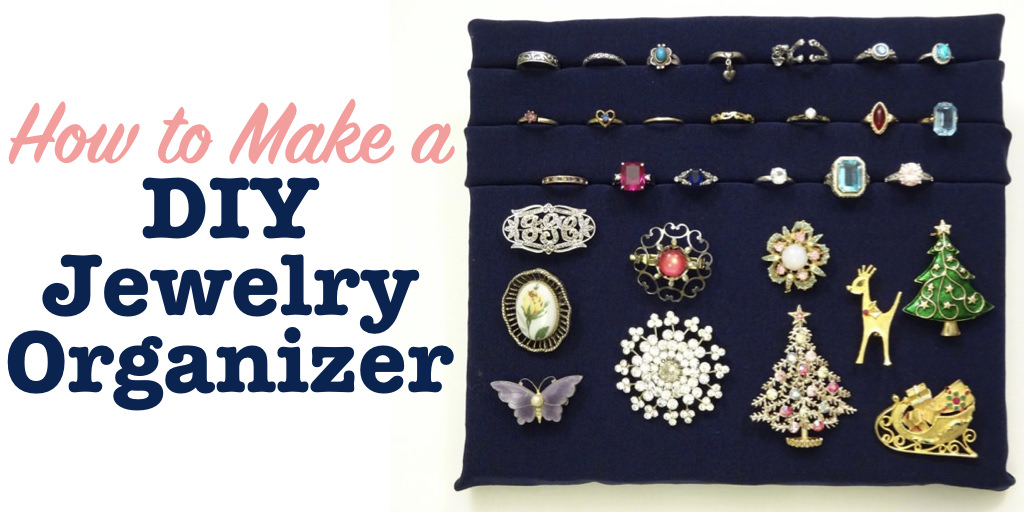
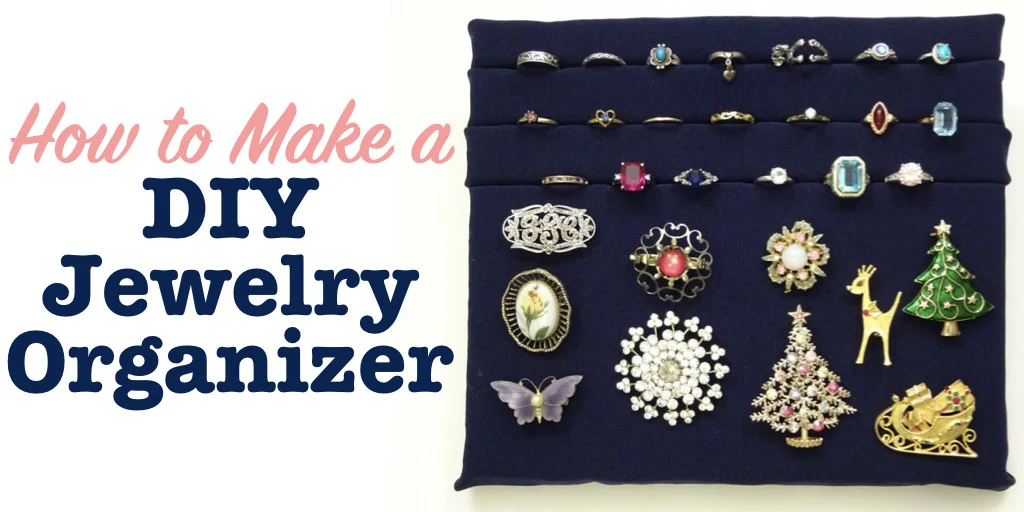
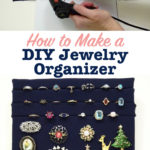
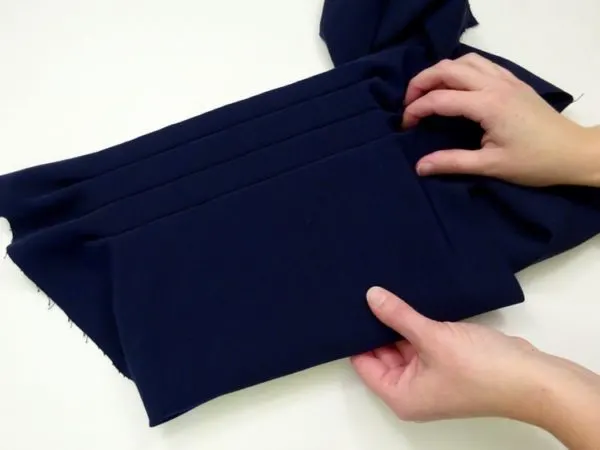
I push my rings into the space between the foam strips at the top, which holds them in place. This makes them easy to see, and also easy to remove and wear.
On the bottom piece, I simply stick the pins into the foam rubber.
This is just one of my favorite ways to store jewelry.
If you don’t have time for a DIY project but love this ring holder idea, you can buy similar foam ring holders.

You might also like this cute clay jewelry dish that I made, or my easy Dollar Tree DIY Jewelry Organizer Tray.
Helpful Tips for Making This Jewelry Organizer
- I used foam rubber that I found in a box as packaging material. This type of packing is often used in electronics and computers.
- The backing that I used was an old sign board, like the ones you see on the side of the street. If you don’t have thick corrugated plastic like that, use a really sturdy cardboard sheet. Or very thin plywood or any material that is sturdy and won’t bend.
- Velvet fabric is most often used for foam jewelry holders because it is soft and adds a touch of elegance to your jewelry display. However, use whatever type of fabric you like.
- You can make this any size that you like. It really depends on how much space you have to store it, and how many rings or pins you have.
- You can lay this flat in a drawer, or stand it up. I use a plate stand to hold mine upright and look like a piece of art.
HOW TO MAKE A FOAM JEWELRY HOLDER
Supplies
- Cardboard or thick plastic sheet (I used an old plastic sign board)
- Foam rubber, cut into strips
- Marker or pencil
- Craft knife
- Fabric, a few inches bigger than the backing piece in all directions
- Hot glue gun
Directions
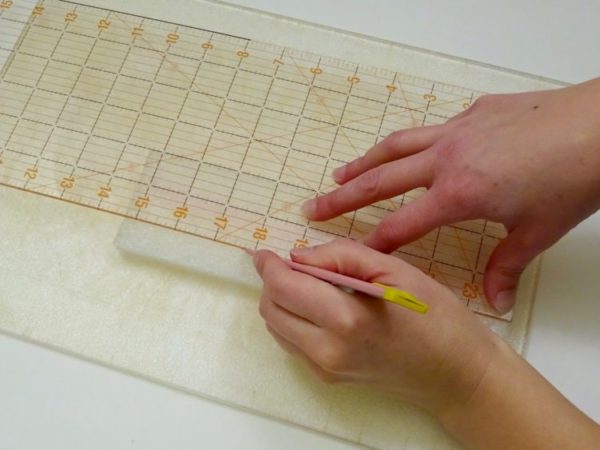
1. Cut backing to size
Start by marking out the size of your organizer on your cardboard or plastic backing material.

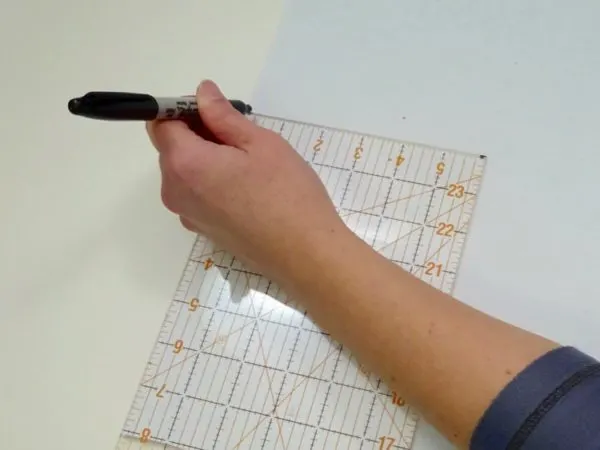
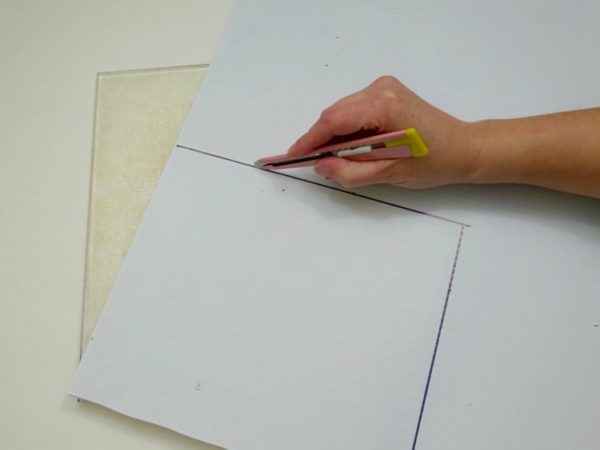
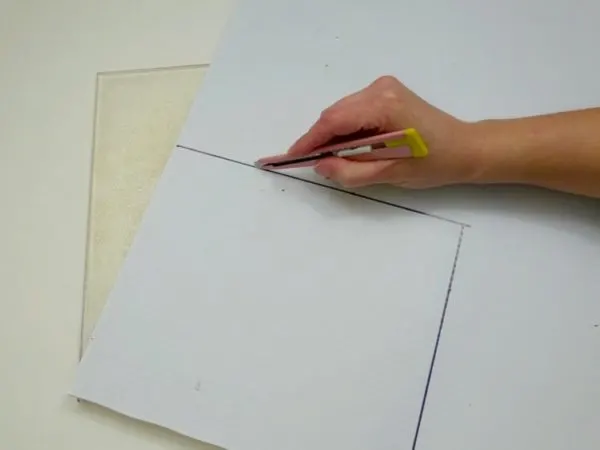
Then cut it out with your craft knife.
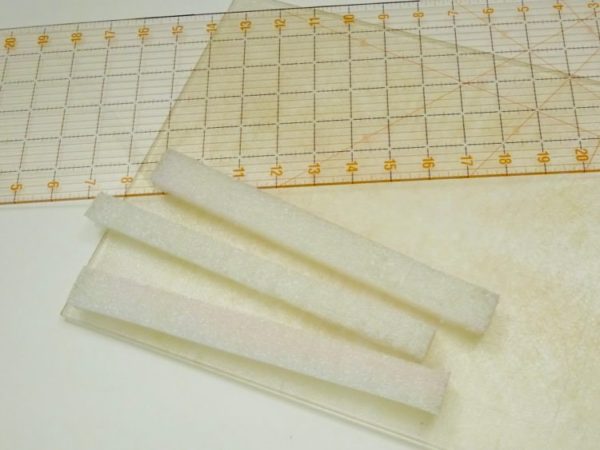
2. Cut the foam rubber strips
Next, cut the foam rubber into strips. They should be as long as the full width of the backing, and about an inch wide.

I also cut a much wider piece of foam, to have a spot to display pins and broaches.

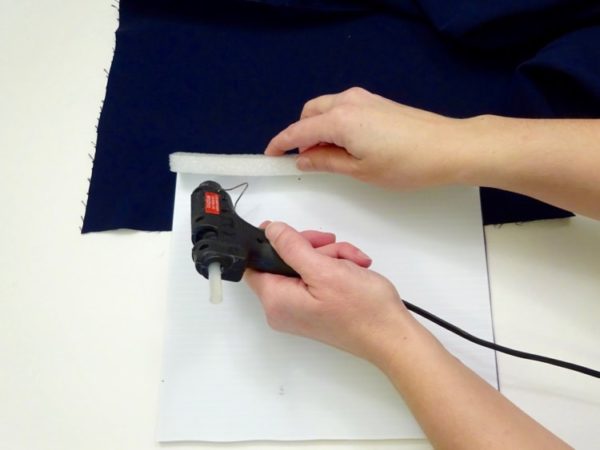
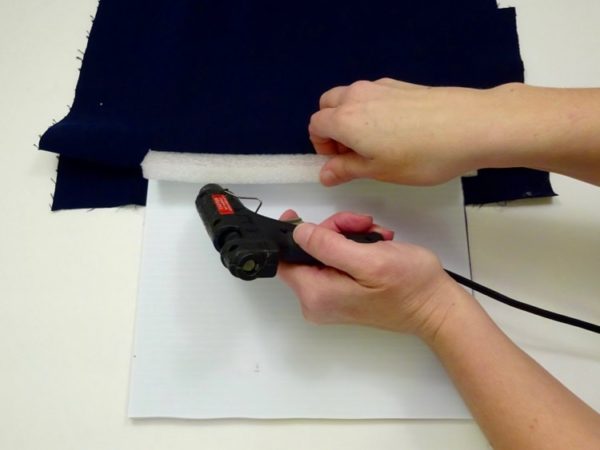
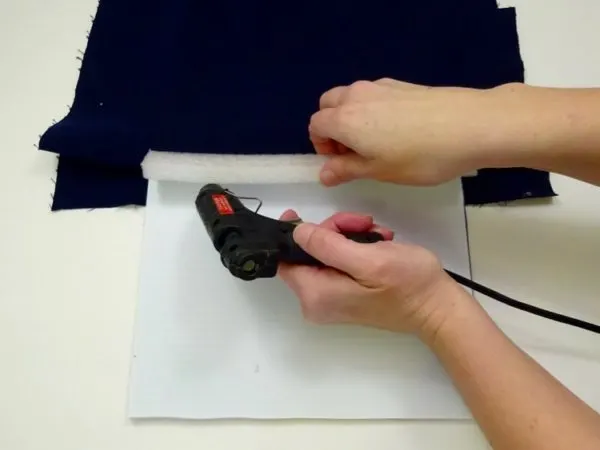
3. Glue the fabric

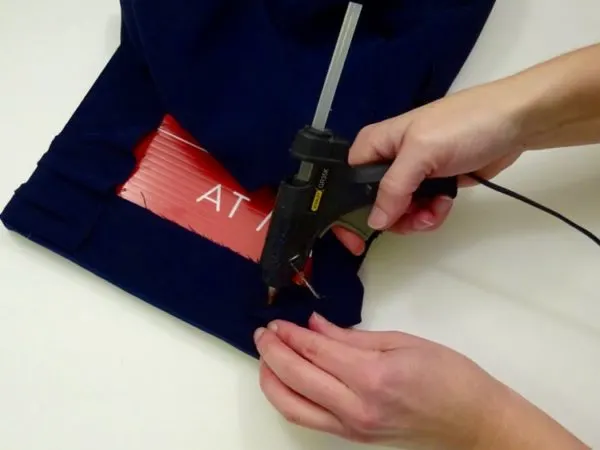
Use your hot glue gun to attach the top edge of your fabric to the back side of the backing board. Then flip the board back to the front side for the next step.
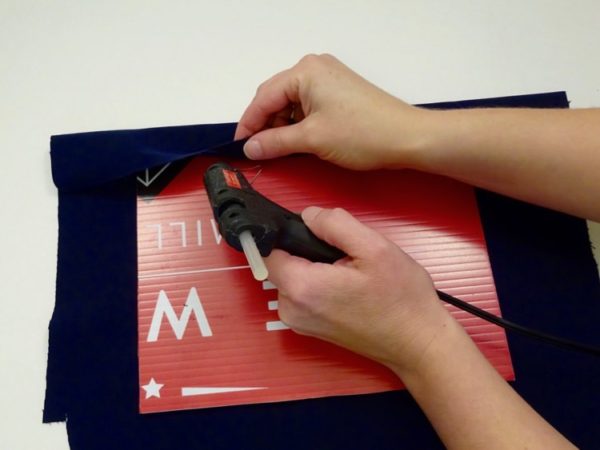
4. Attach the foam strips
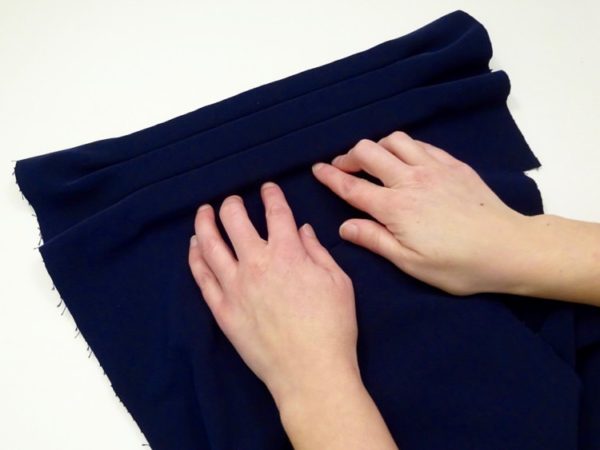
Glue one of the foam strips to the top of the board. Then add a bead of glue along the bottom edge of the foam.

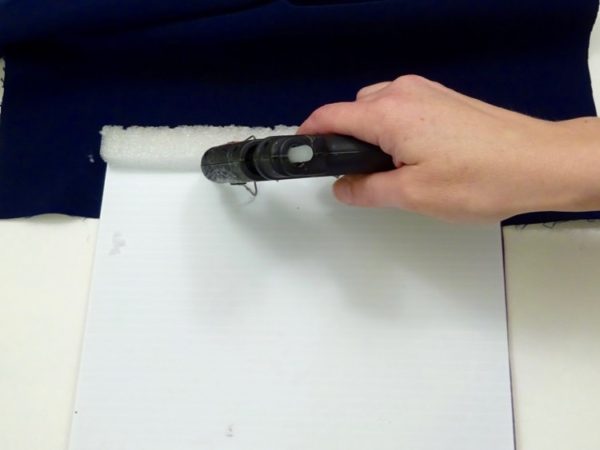
Pull the fabric tight, and push it into the glue at the bottom of the foam strip. This will hold it in place.

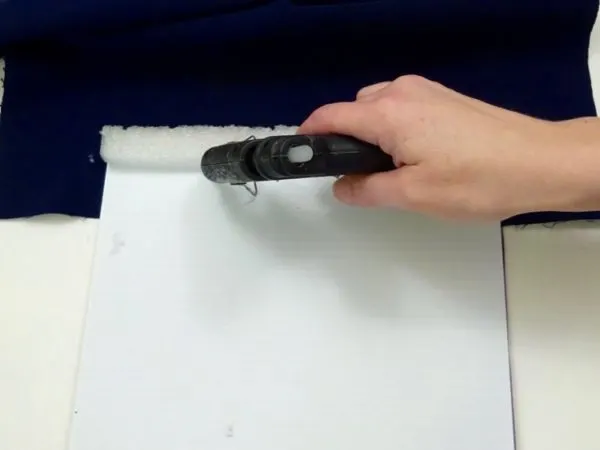
Flip the fabric back out of your way, and continue this process for the remaining foam strips.
Glue the strip down, add a bead of glue along the bottom, and press the fabric into place.

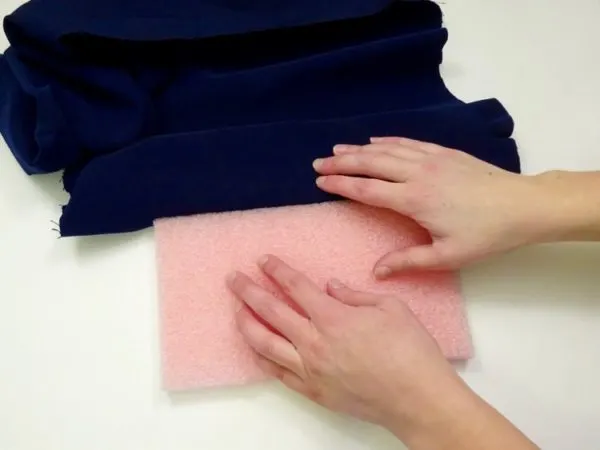
5. Add a place for pins (optional)
I also have a pretty collection of pins, many of which came to me from my grandmothers. I added a wider piece of foam to my organizer board, to create a spot for those pins.
The process was the same as attaching the narrower strips. However, after attaching this piece, I wrapped the edge of the fabric around to the back of the board and glued it in place.

This finished the front of the foam jewelry display.
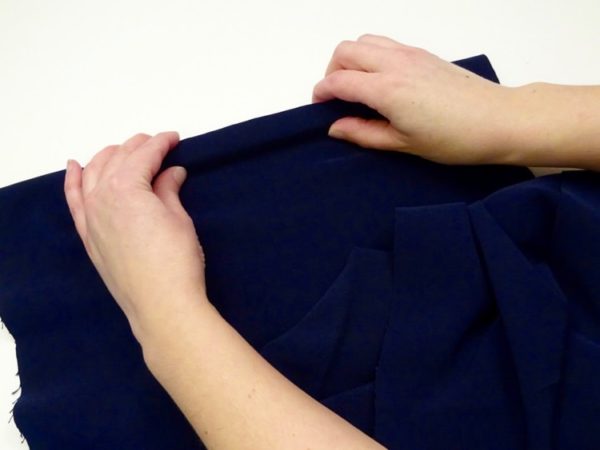
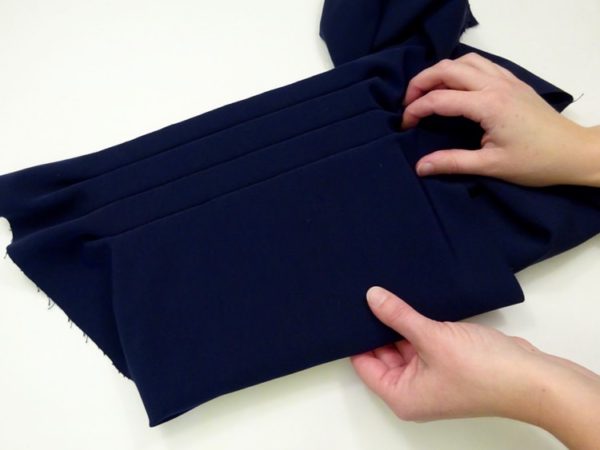
6. Finish the edges
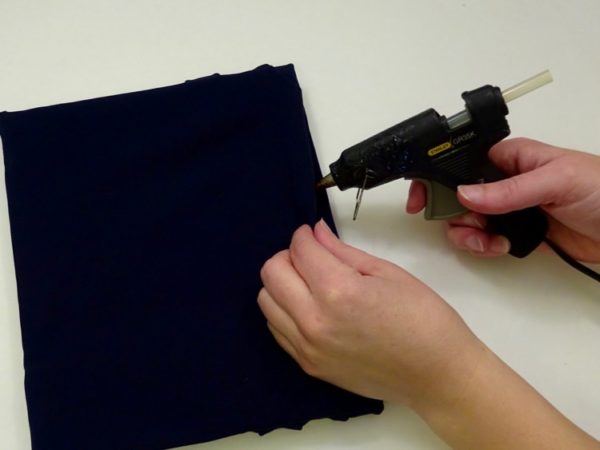
Since you cut your fabric larger than the backing board, you can now simply fold the edges over to the back, and glue them down.
I left my fabric long enough to cover the entire back as well. I just folded it up from the bottom to the top, and glued down the edges. This created a completely finished look.


Of course, this isn’t the only organization project that I’ve made from upcycling items around my home. Check out these other things I’ve made:
- Toilet Paper Tube Tiny Storage Box (great for rings, too!)
- DIY Tin Can Organizers
- Turn a Cardboard Box into a Decorative Storage Box
- Cereal Box Desk Organizer
- Pretty Display Shelves
