


This fun and easy method to make shaving cream eggs is perfect for anyone looking to ditch the traditional dye cups and add a twist to their Easter egg decorating! Using basic household items like shaving cream, food coloring, and vinegar, you will be able to transform boiled eggs into extraordinary marbled masterpieces in just minutes.
Dyeing eggs with shaving cream gives a tie-dye effect, with swirls of colors. No two eggs will be alike!


This is just one of our 20 fun ways to color eggs!
If you would prefer food-based dyeing ingredients, see our Cool Whip eggs. It is very similar.
DIY Shaving Cream
Supplies
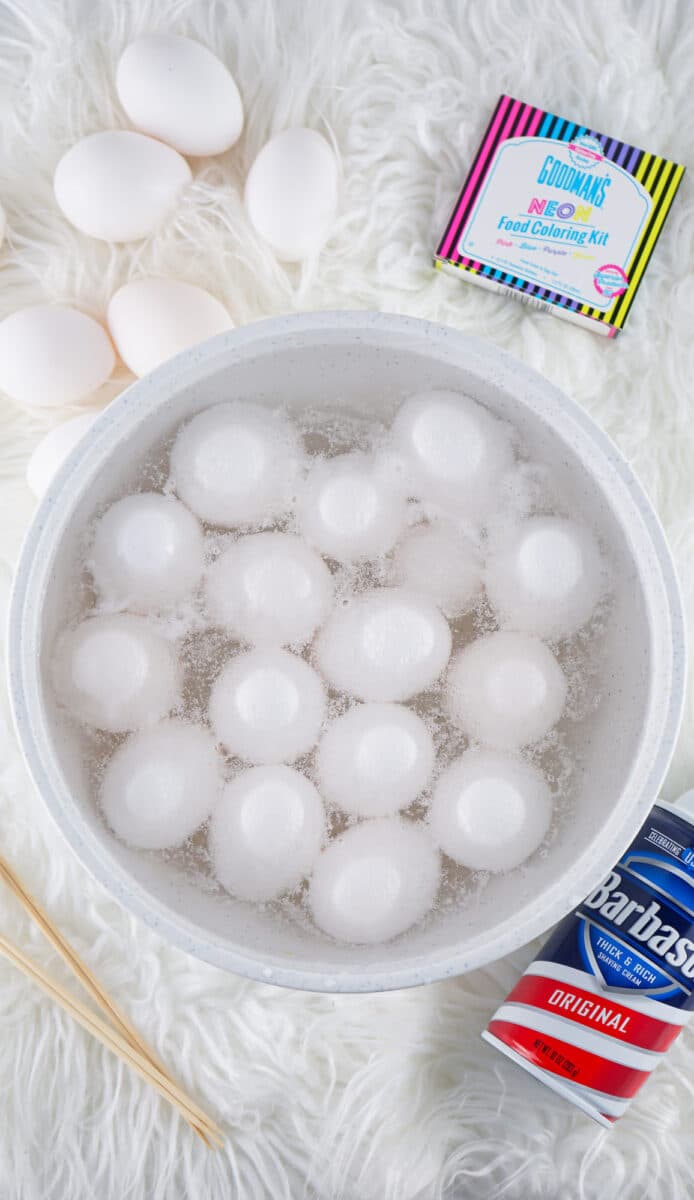
- Hard Boiled Eggs
- Can of Shaving Cream (I used this brand; be sure to get the white shaving cream, not the gel kind)
- White Vinegar
- Liquid Food Dye (I used this brand)
- Large Bowl
- Paper Towels
- Rubber Gloves (optional)
- Muffin Tin
Directions
Step 1
Add the boiled eggs to a bowl of vinegar and let them sit for about 10 minutes. The amount of vinegar you need will depend on how many eggs you are making. However, you will need the entire egg to be submerged in vinegar.
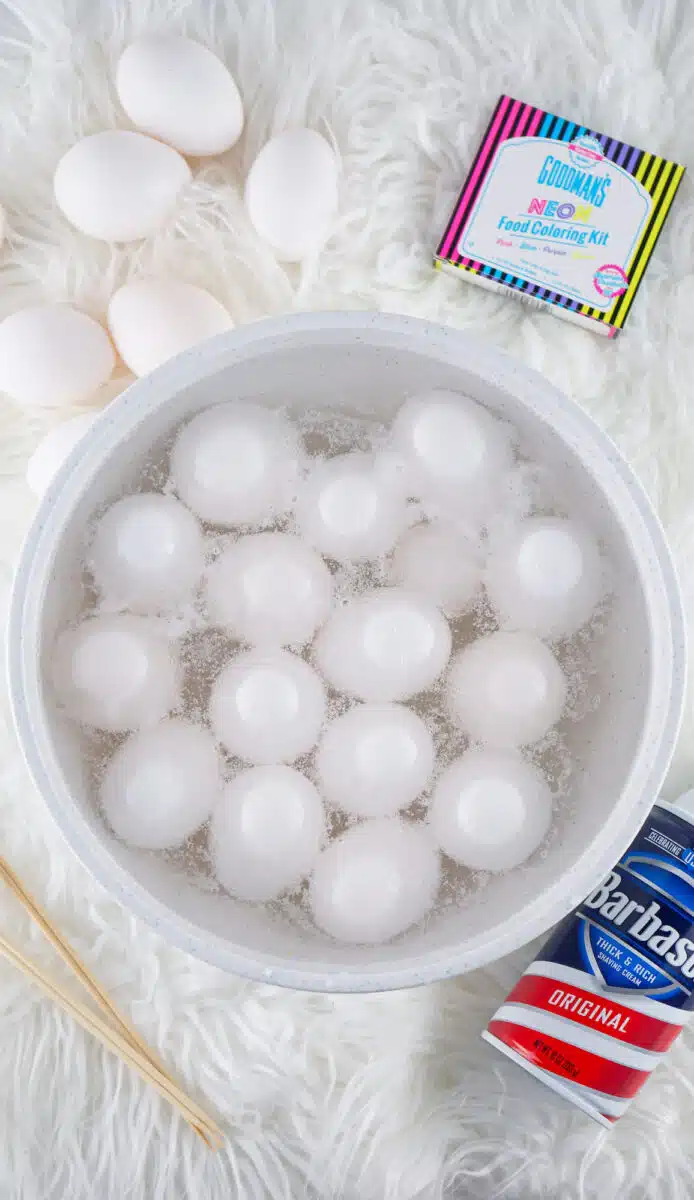
Then remove and pat dry. Let dry fully before dyeing (about 20 minutes).
Helpful Tip: After soaking the eggs, you can pour the vinegar back in another bottle and store it for another use, such as making beet-dyed eggs or tissue paper eggs.
Step 2
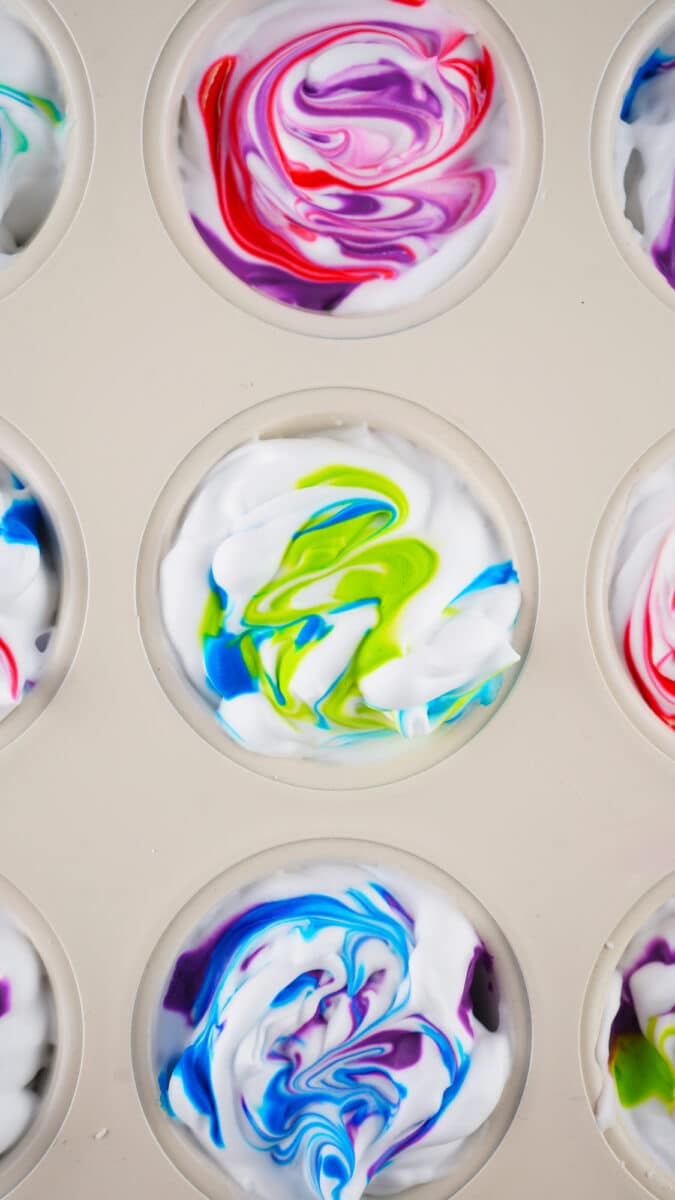
Fill each cup in the muffin tin with shaving cream. You can use a lot of shaving cream in each cup because you will have plenty!
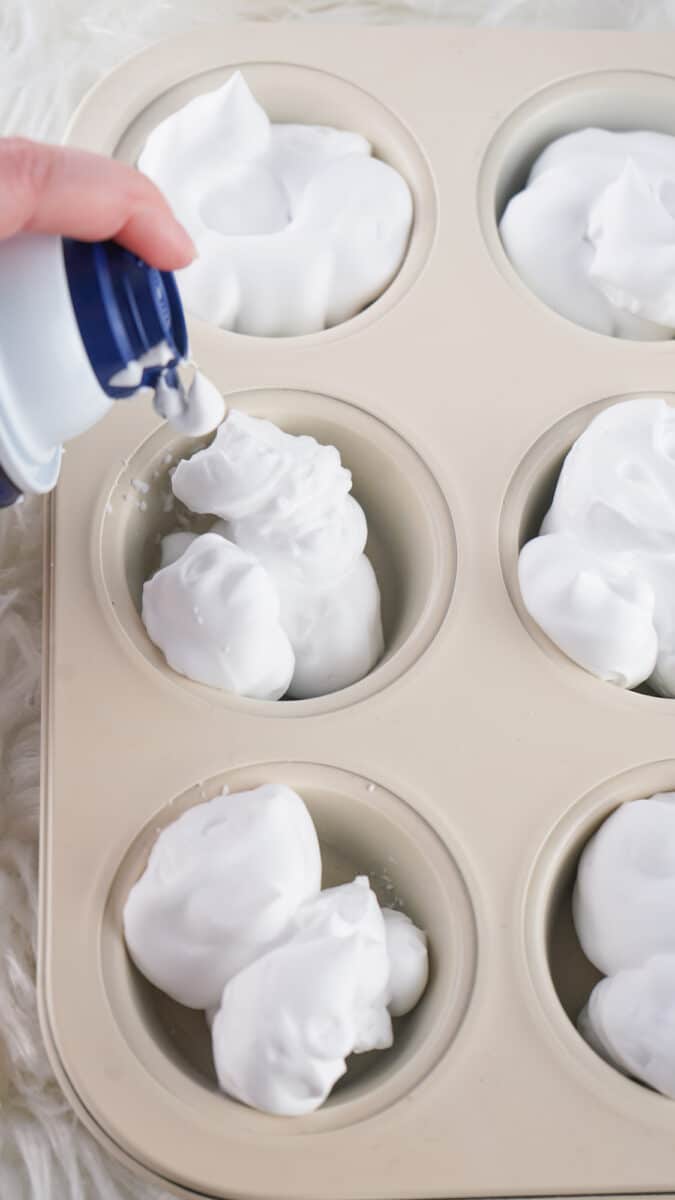
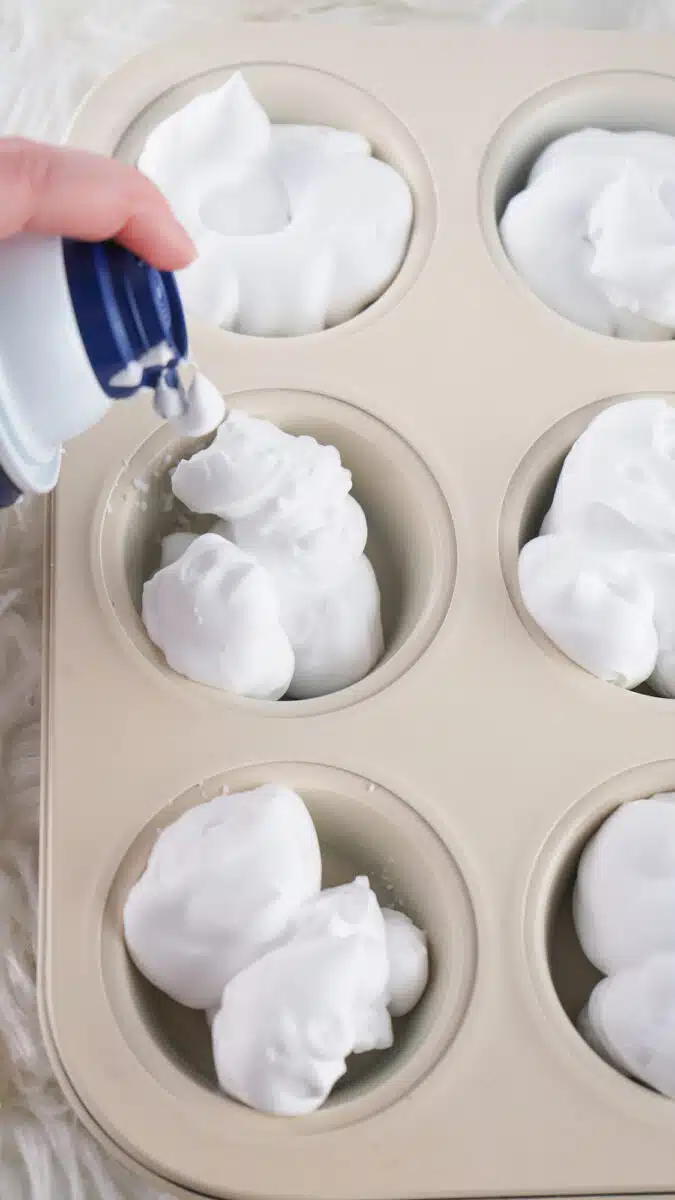
Add two drops of liquid food coloring in each cup. You can use one color or combine colors.
Using a toothpick, swirl the food dye into the shaving cream.

Step 3
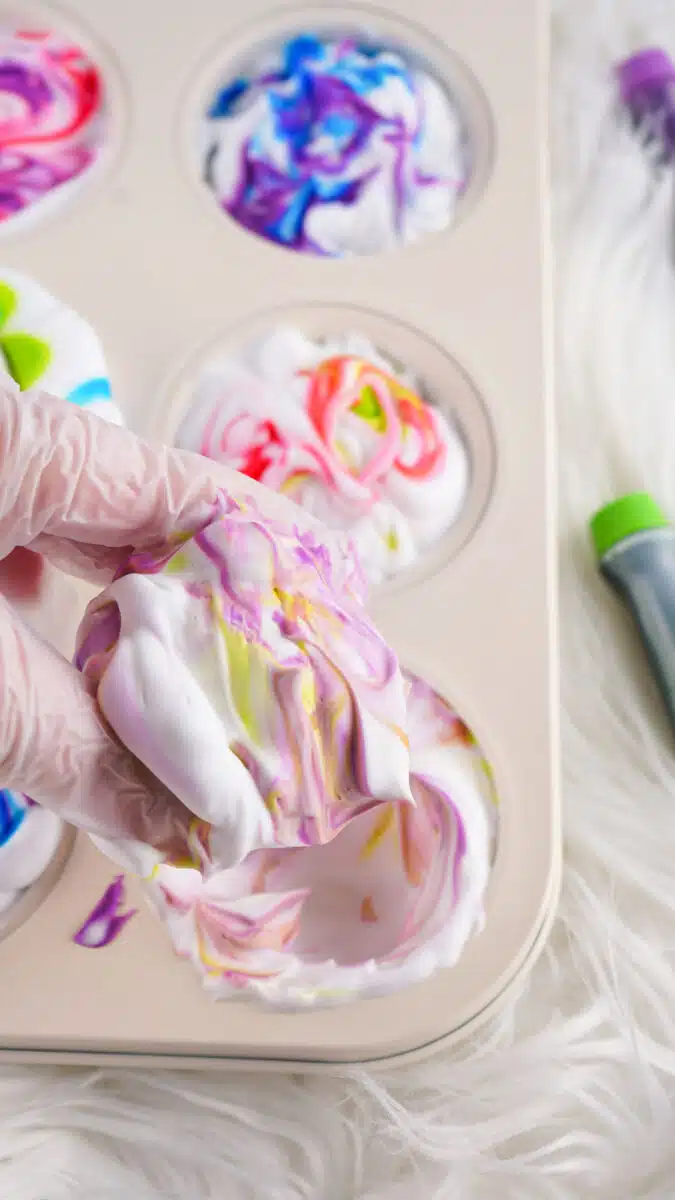
Put on a pair of rubber gloves if you don’t want your hands stained from the food dye.
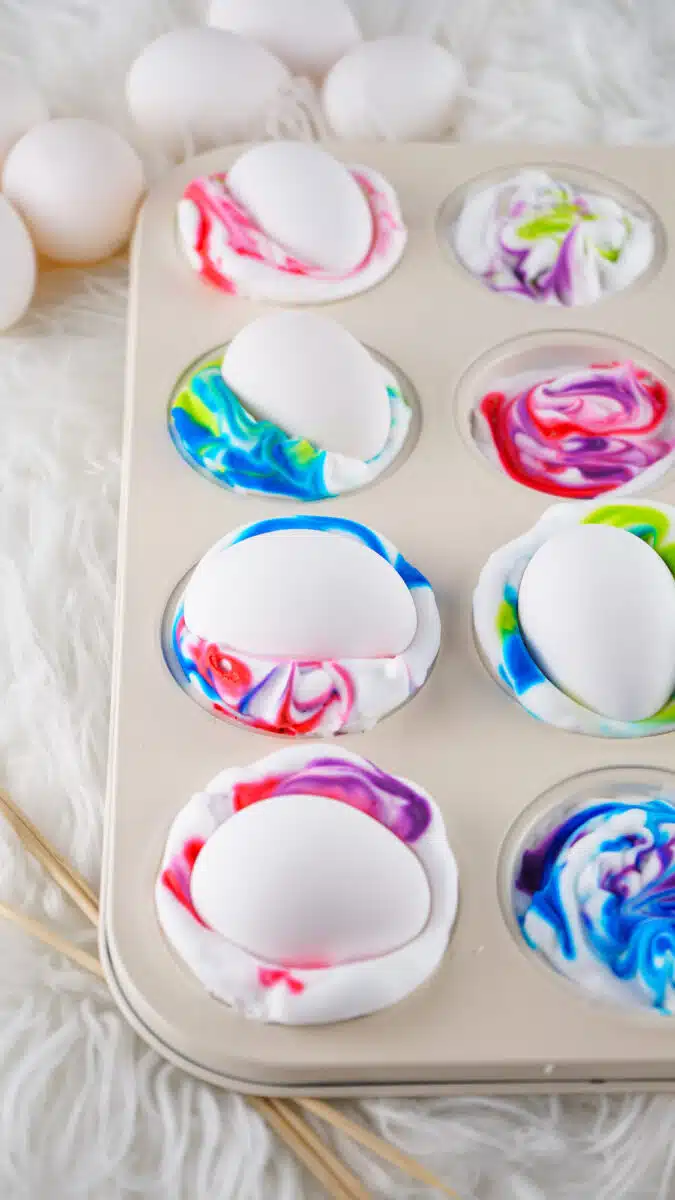
Place one egg in each cup and roll it around in the shaving cream until it is completely covered. Let the eggs sit for at least 10-15 minutes.

Step 4
Remove the eggs from the shaving cream cups. Using toothpicks can help to get the eggs out of the cream without messing up the coloring.

Rinse the eggs gently with water but DO NOT rub them!
Place on a paper towel to completely dry for about 20 minutes.
Helpful Tips I Learned While Doing This DIY Project
- Liquid food coloring is my preferred method. If you want to use a gel food coloring, only use one drop per cup.
- Gel dye colors are much stronger than the liquid dyes, so remember a little goes a long way!
- We made dozens of eggs with one can of shaving cream. There will be plenty in the can for this DIY project if it is brand new!
- If you don’t have a muffin tin, you could also use plastic cups or bowls, or a plate.
- Do not leave the eggs in the vinegar for longer than 20 minutes or the vinegar will start to eat away at the egg shell. If this starts to happen, simply remove from the vinegar and rinse well before use.
- Do not leave the eggs to sit in the shaving cream too long or it will start to eat away at the shell.
Are Eggs Dyed with Shaving Cream Edible?
It is not recommend to eat shaving cream eggs.
Pin This idea to save for later!


Want more cool ways to dye Easter eggs? See these ideas next:
