

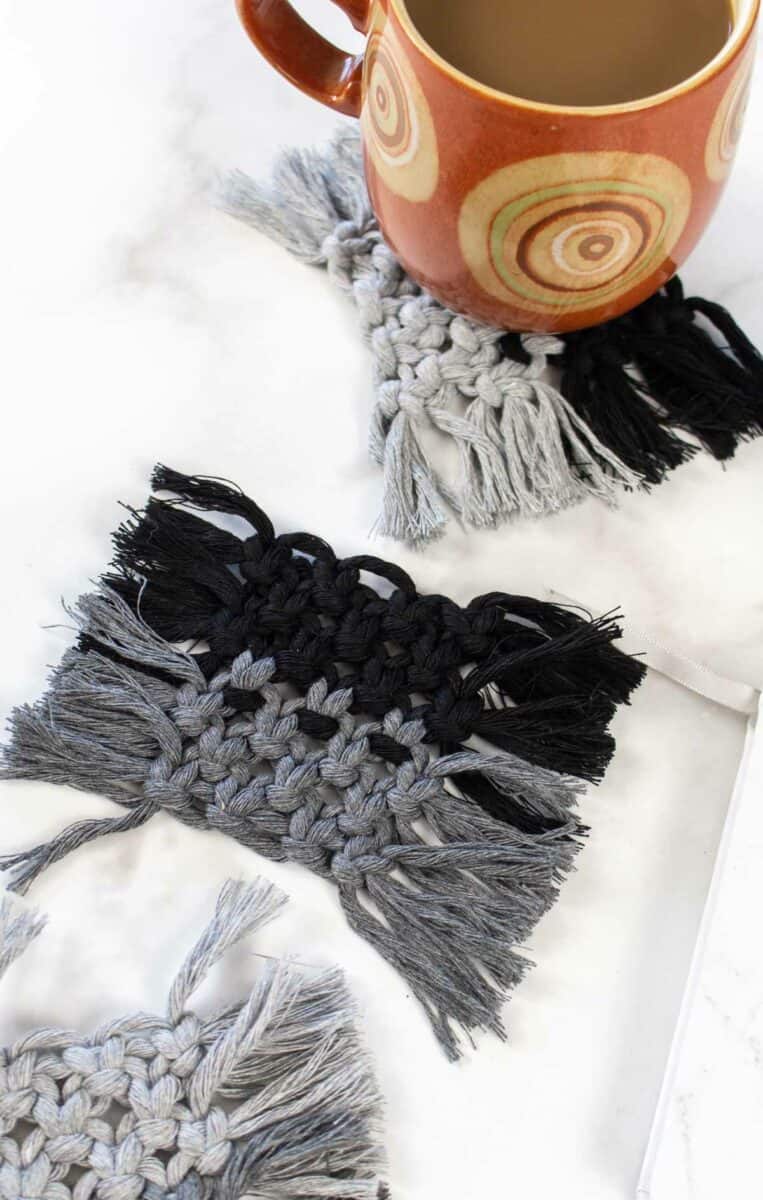
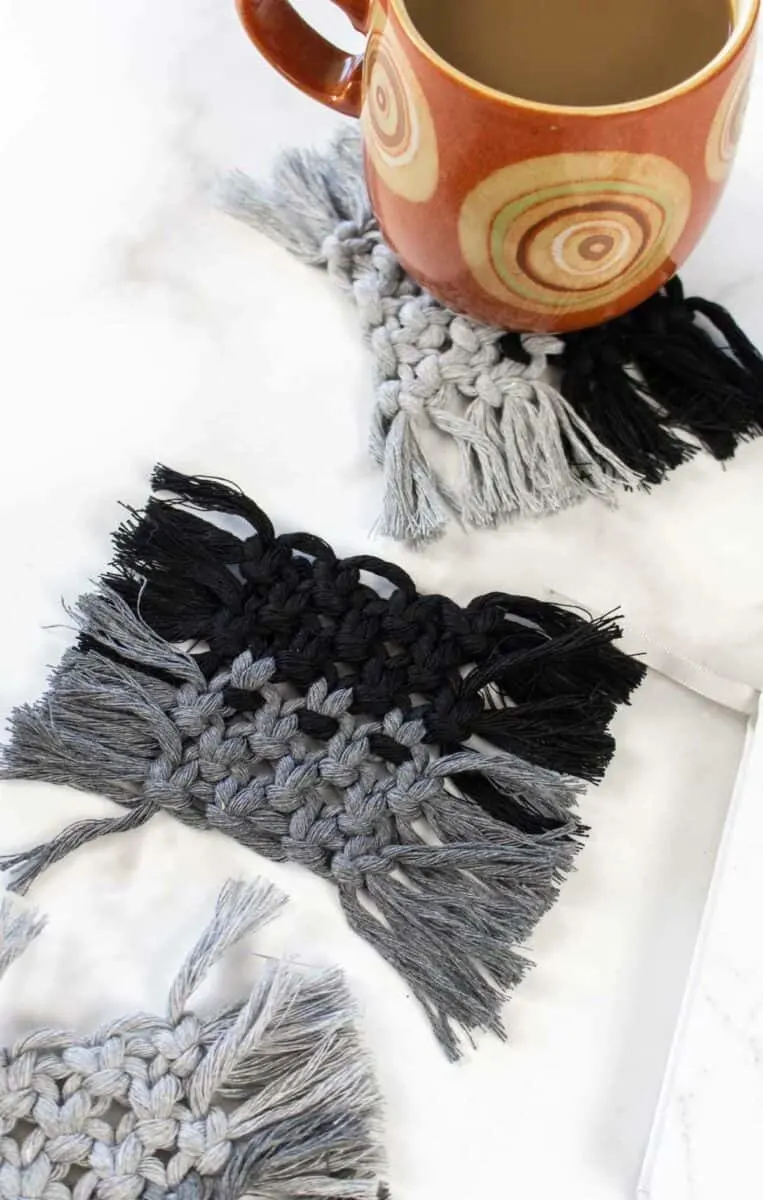
Macrame is having a huge compact lately, and I’m all for it! I love the simplicity of weaving yarn together to make really beautiful art. Which is why these DIY Macrame Coasters are among my new faves!
A craft project that doesn’t require glue, paint or a sewing machine is a rarity! These easy handmade macrame coasters are almost meditative to make.
The focus on tying knots and making patterns can be calming and soothing. You will have to focus only on the craft project, which can help the stress of the world seem to melt away.
What I love about these coasters is that they are perfect gifts. Everyone will be amazed that you made them on your own. I know I feel that way anytime I see other people’s macrame handiwork!
Want more DIY coasters ideas? Check these out:
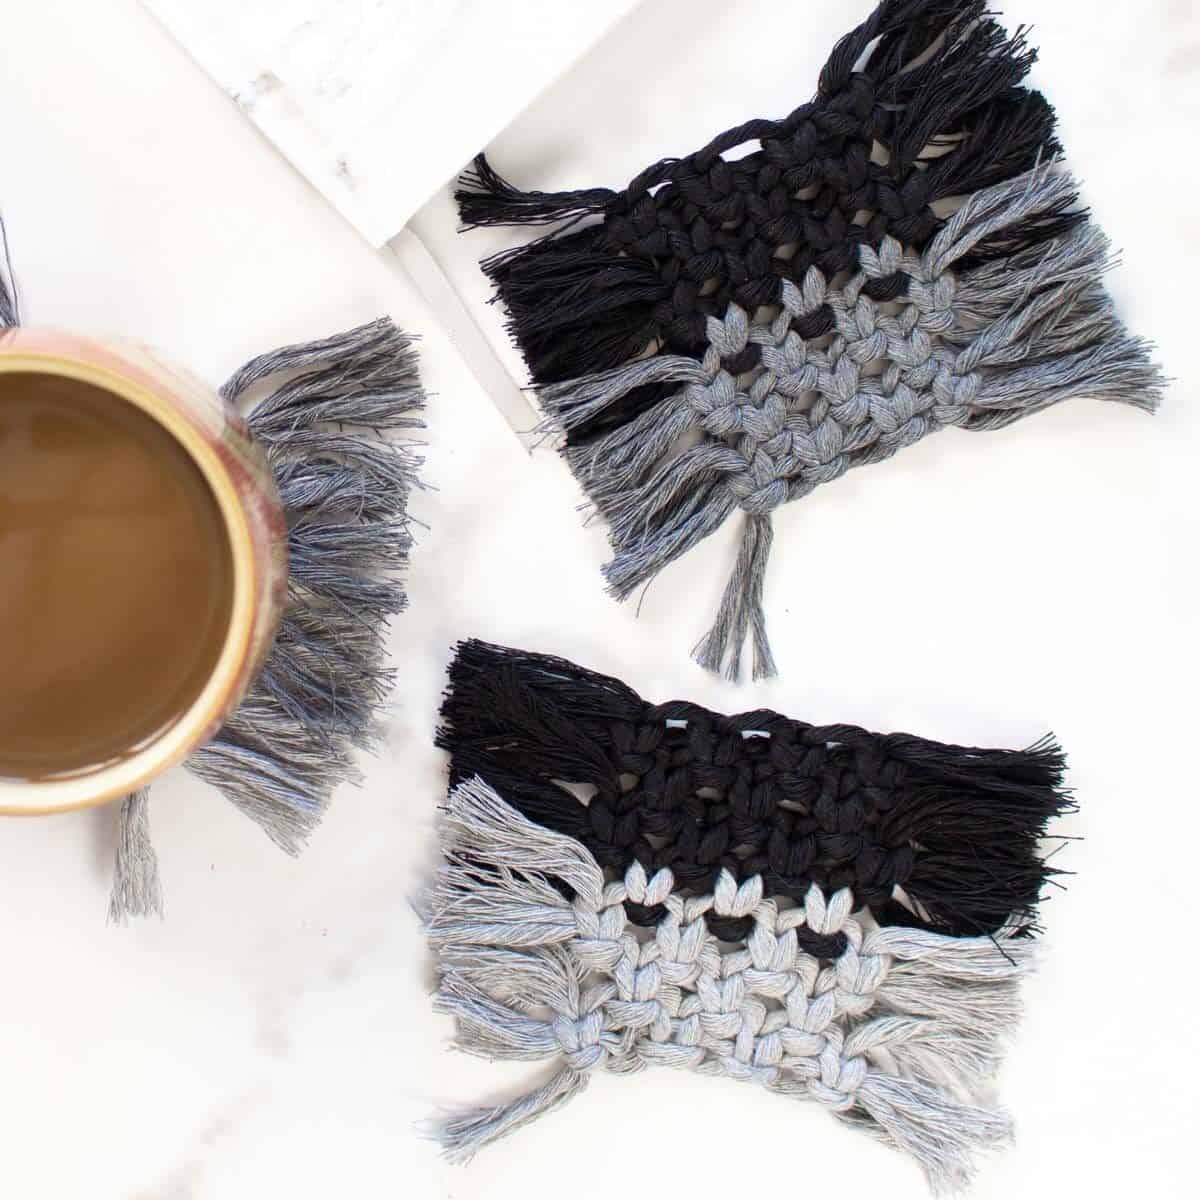
Customize the colors if you’d like to suit your style. If you don’t want a two-tone look, that’s fine! Just use neutral macrame cords. Or use bright colors. It’s up to you!

If you enjoy macrame, check out my easy macrame hanging wine bottle hanger and this cute mini rainbow macrame wall hanging.
And if you want more advanced macrame ideas, I encourage you to check out these amazing macrame tutorial books. The projects are crazy good!
How to Make Macrame Coasters with Fringe
This project makes 4 coasters.
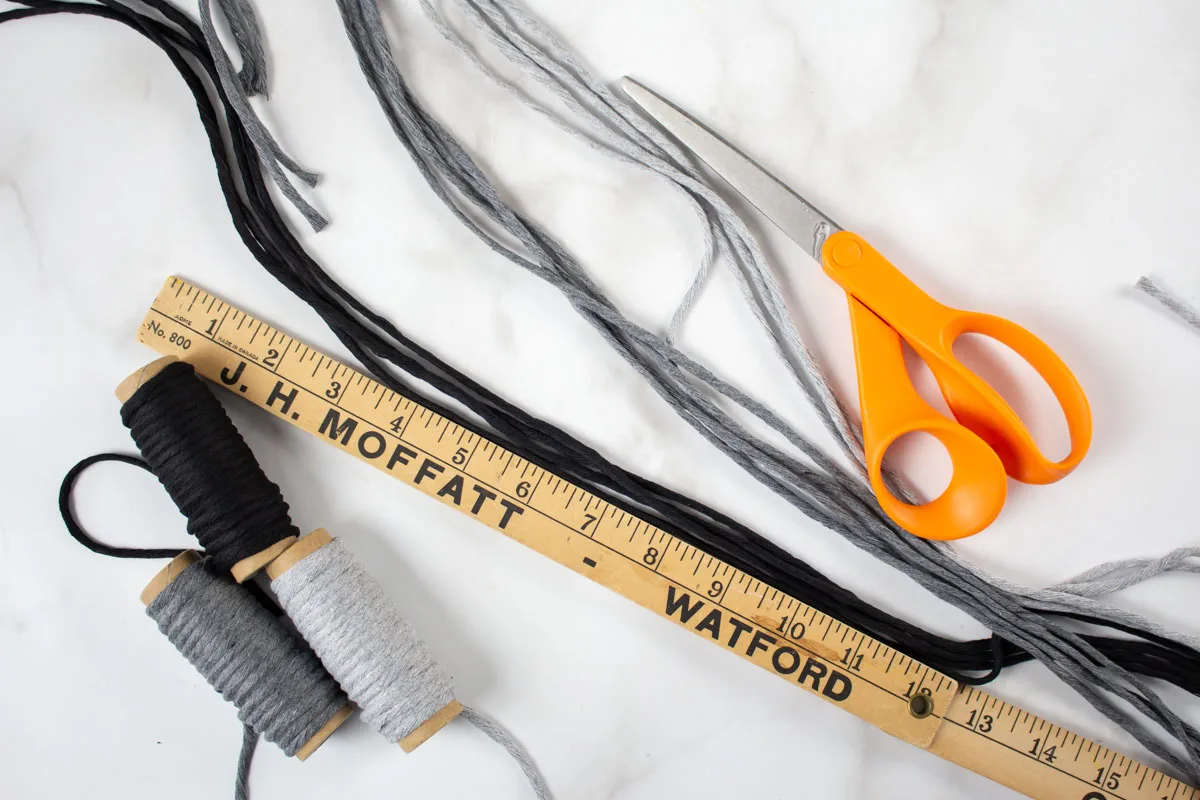
Materials
- 3mm single ply macrame cords in grey and black, about 9 meters long for each color (I used Macrame Spool Value Pack By Bead Landing from Michaels, however it was on clearance. If no longer available, you can find TONS of colors of inexpensive spools here.)
- Fabric scissors
- Wooden dowel, 1⁄4” thick x 8” long
- Ruler

Instructions
These instructions are to make one coaster.
Step 1
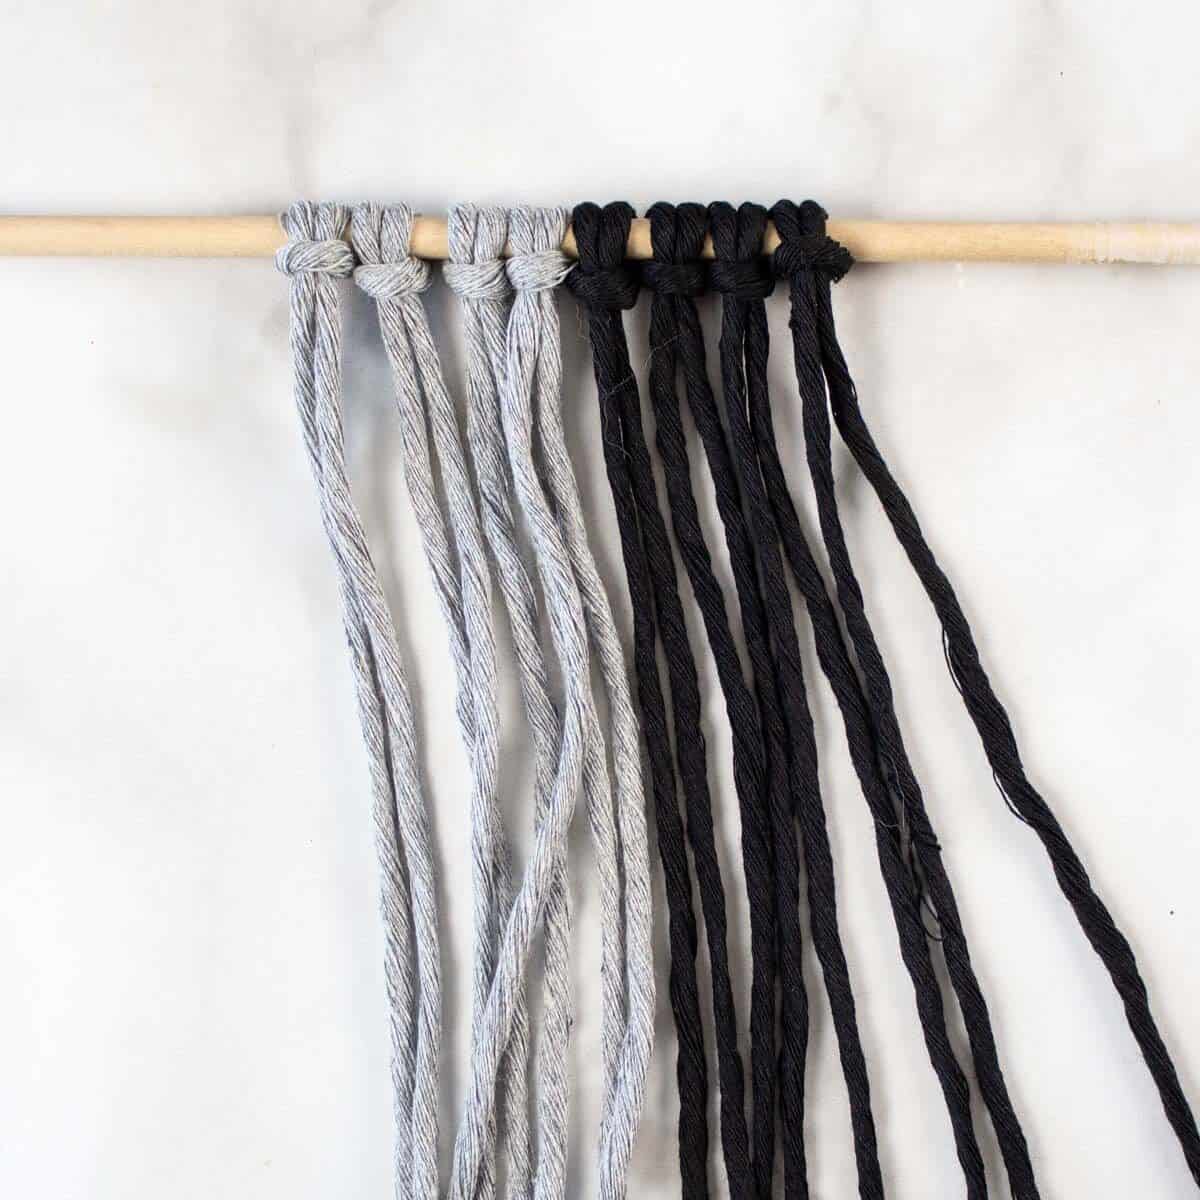
Cut the rope into 8 pieces measuring 28” long. You want 4 pieces in each color.
Step 2
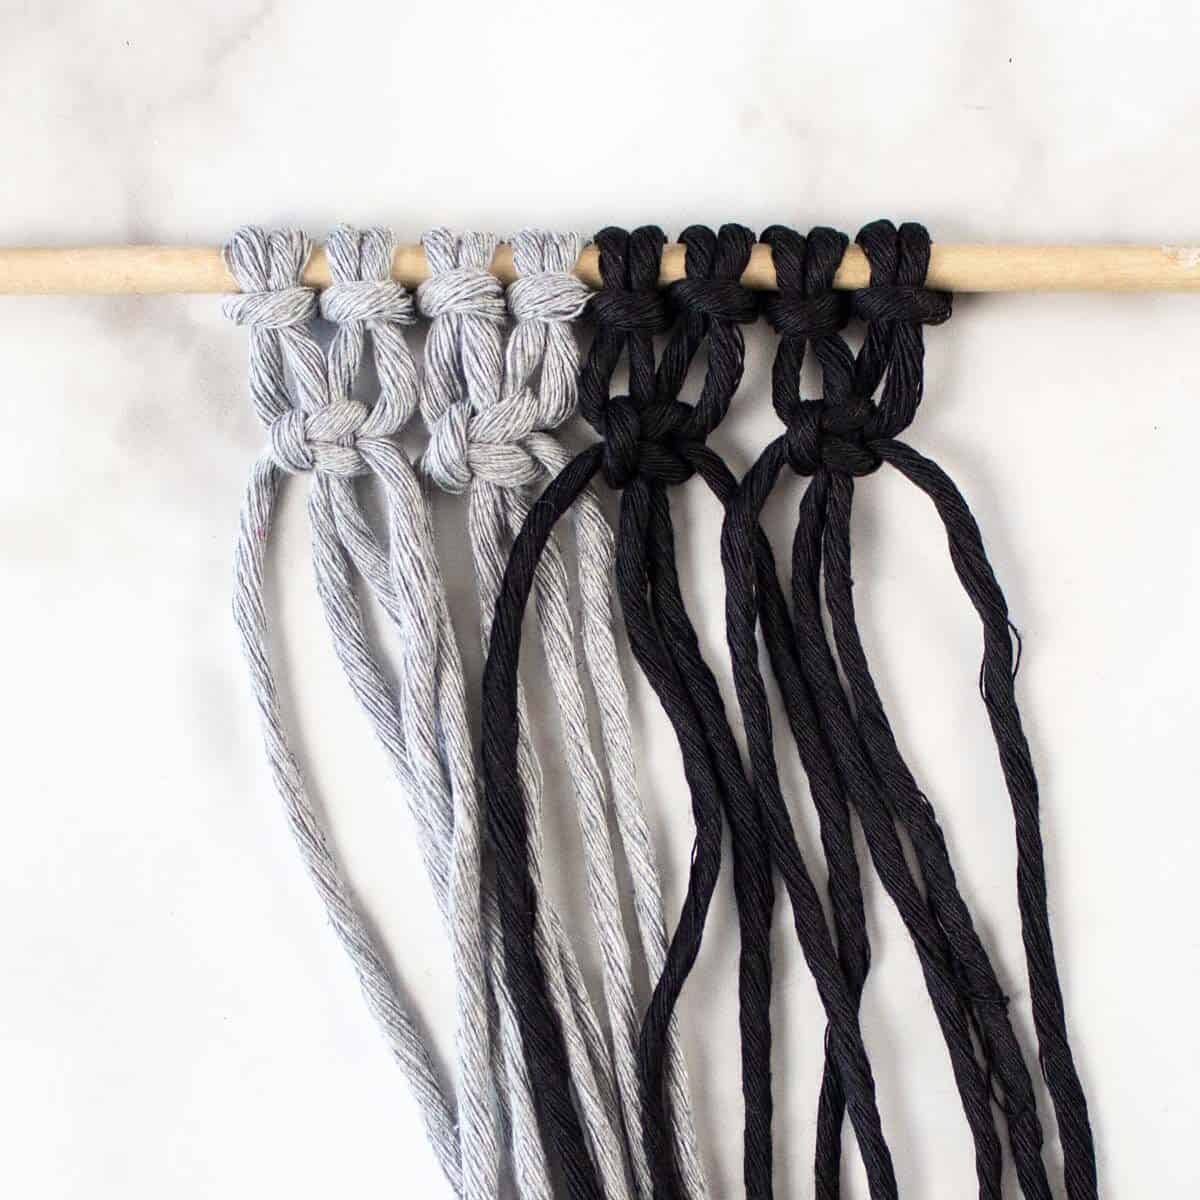
Attach each piece to the wooden dowel with a LARK’S HEAD KNOT. (see instructions below)
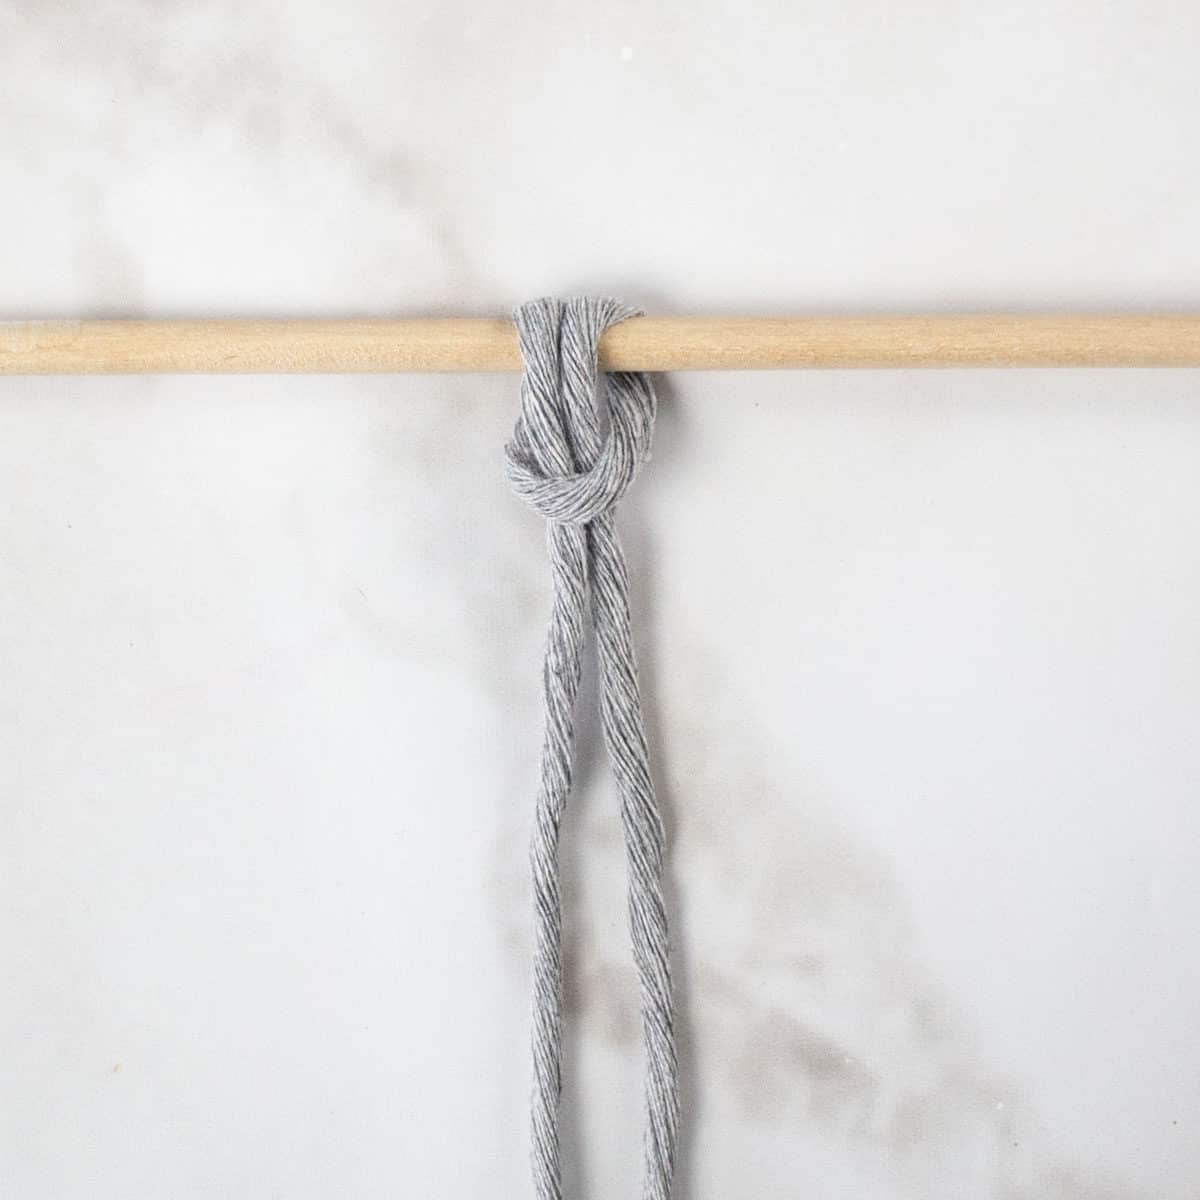
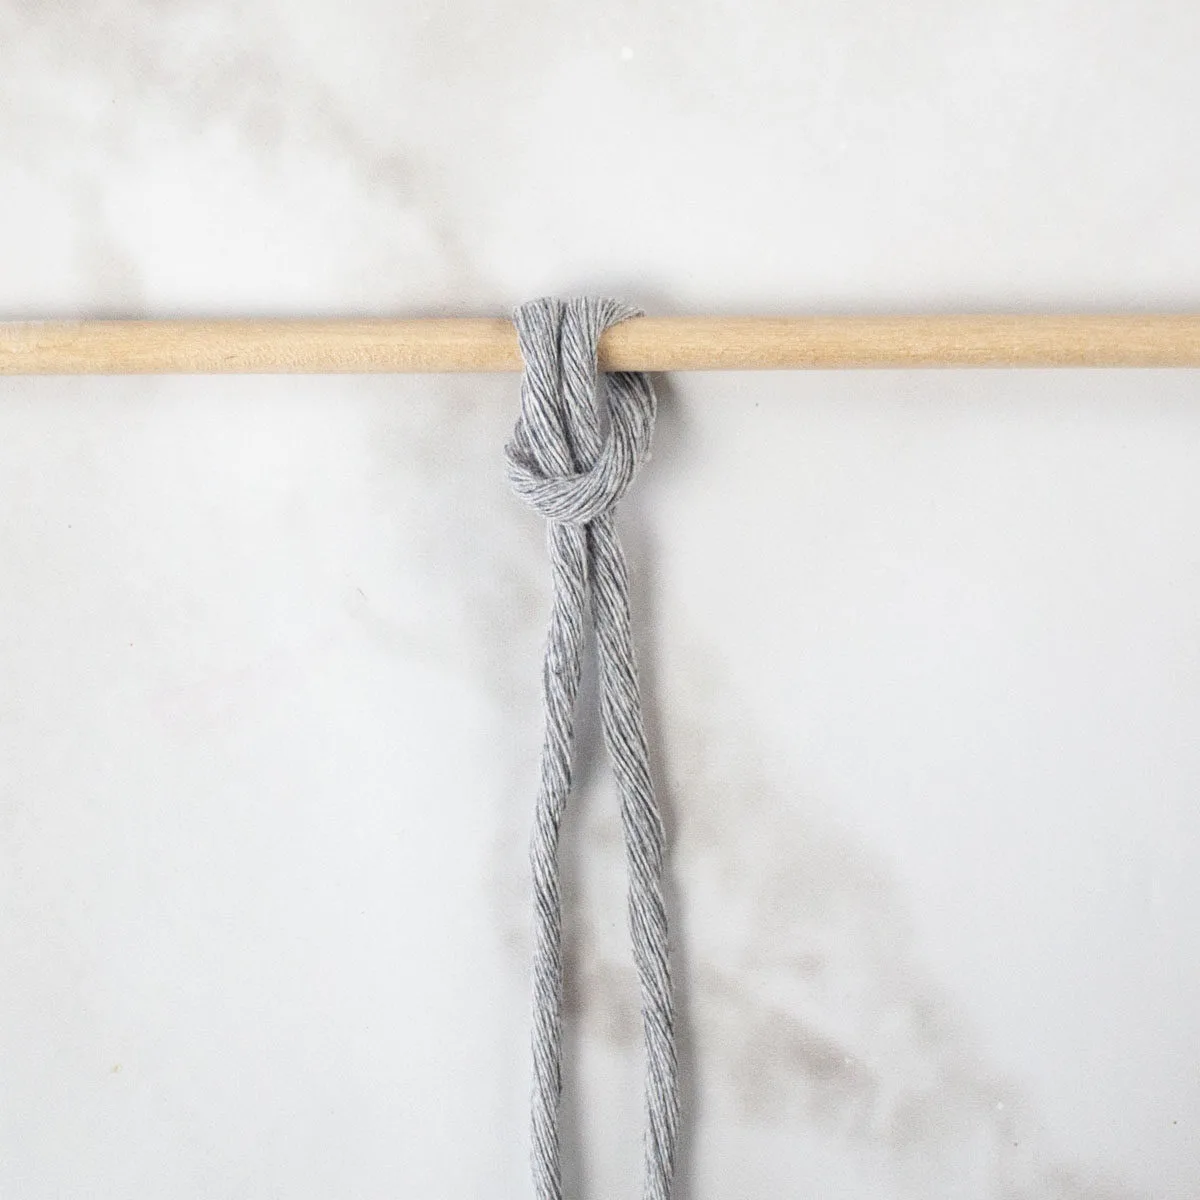
How to Make a Lark’s Head Knot:
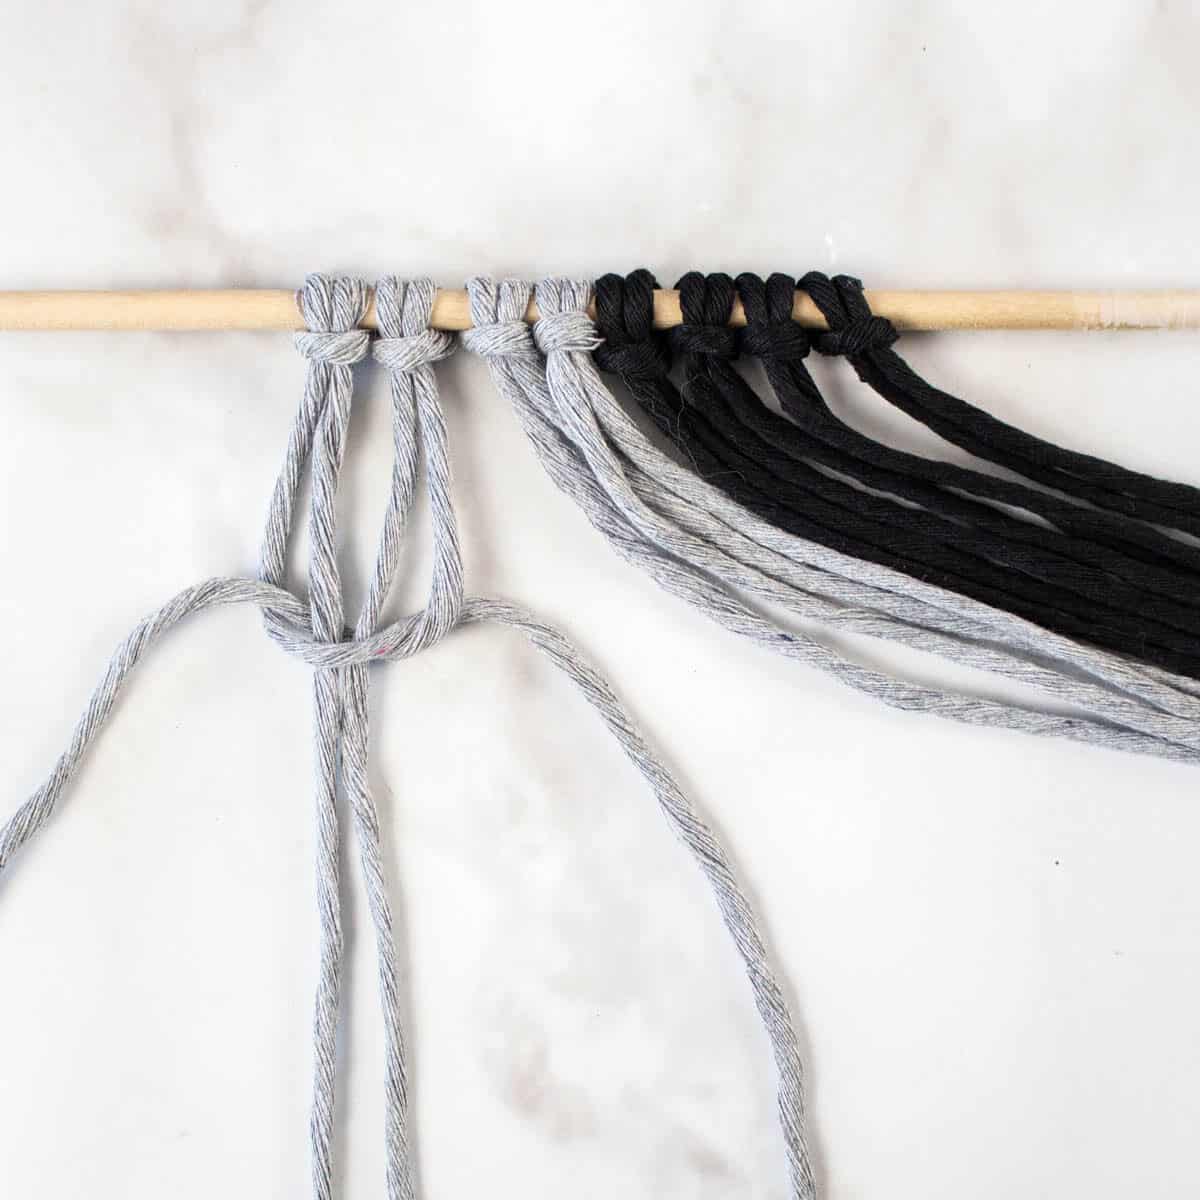
A Lark’s Head Knot is made by folding your cord in half and then placing the loop over the dowel. Carry the loop around the back and bring the two ends through the loop. Pull cord tight. Do this for all 8 pieces of cord and center them on the dowel.

Step 3
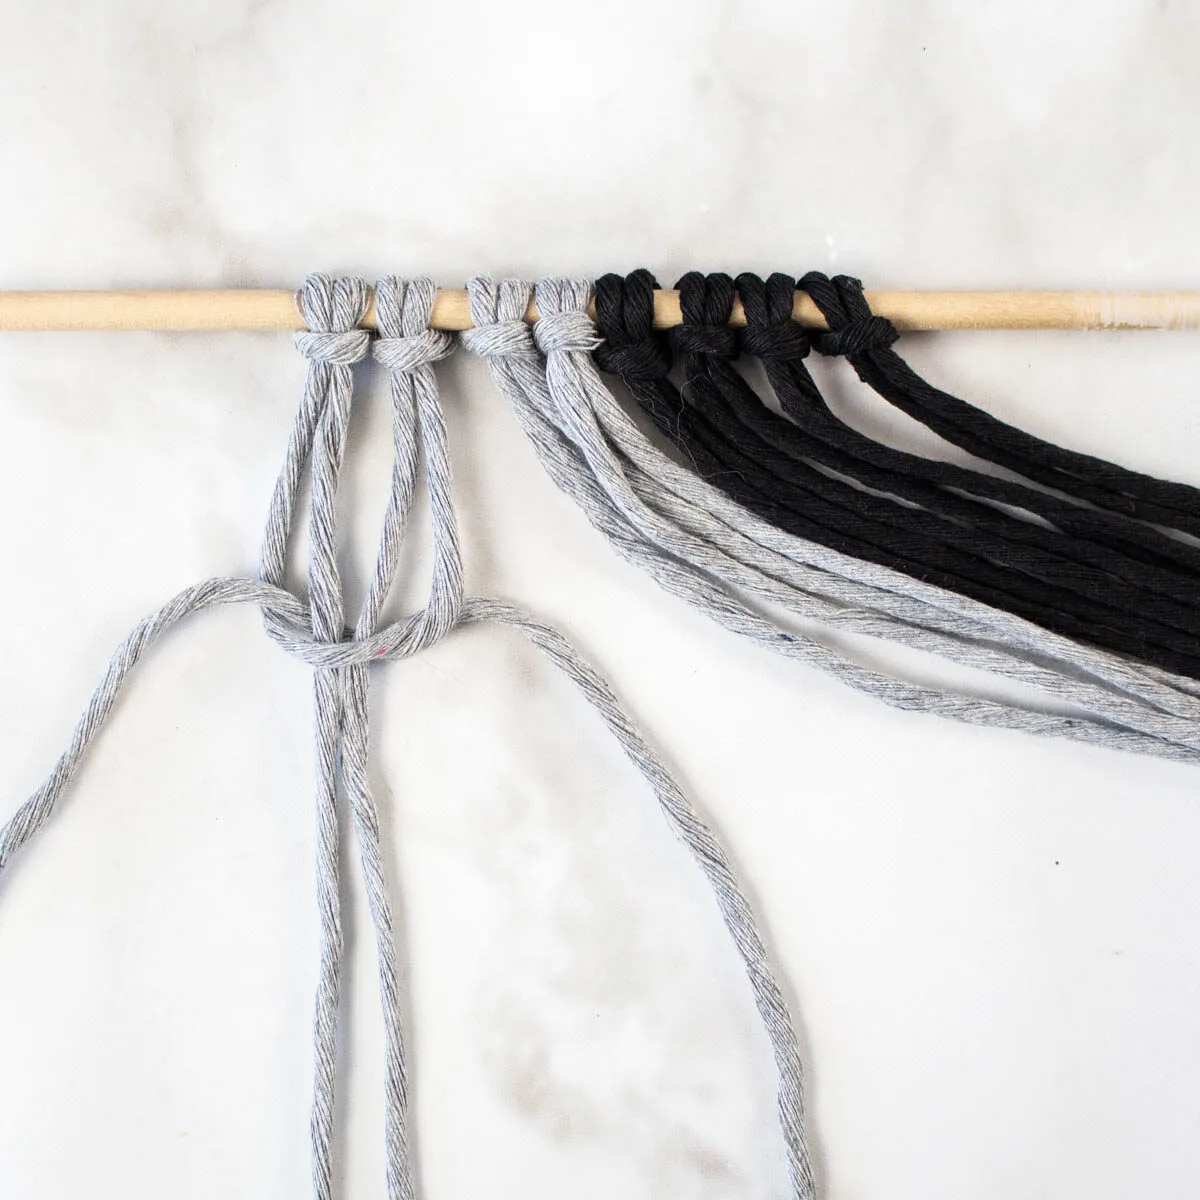
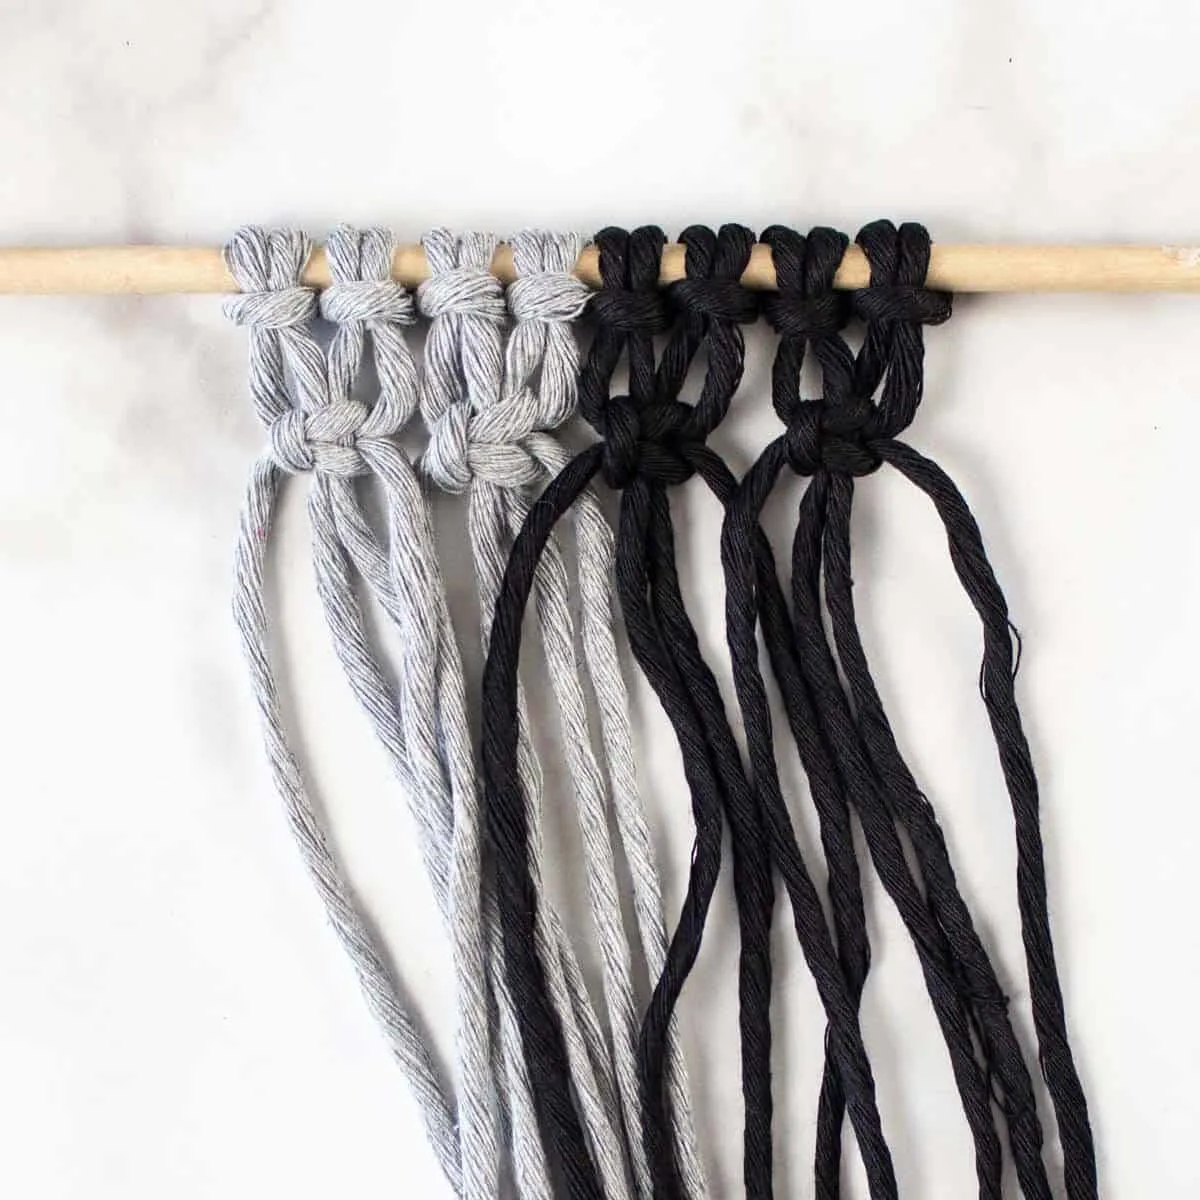
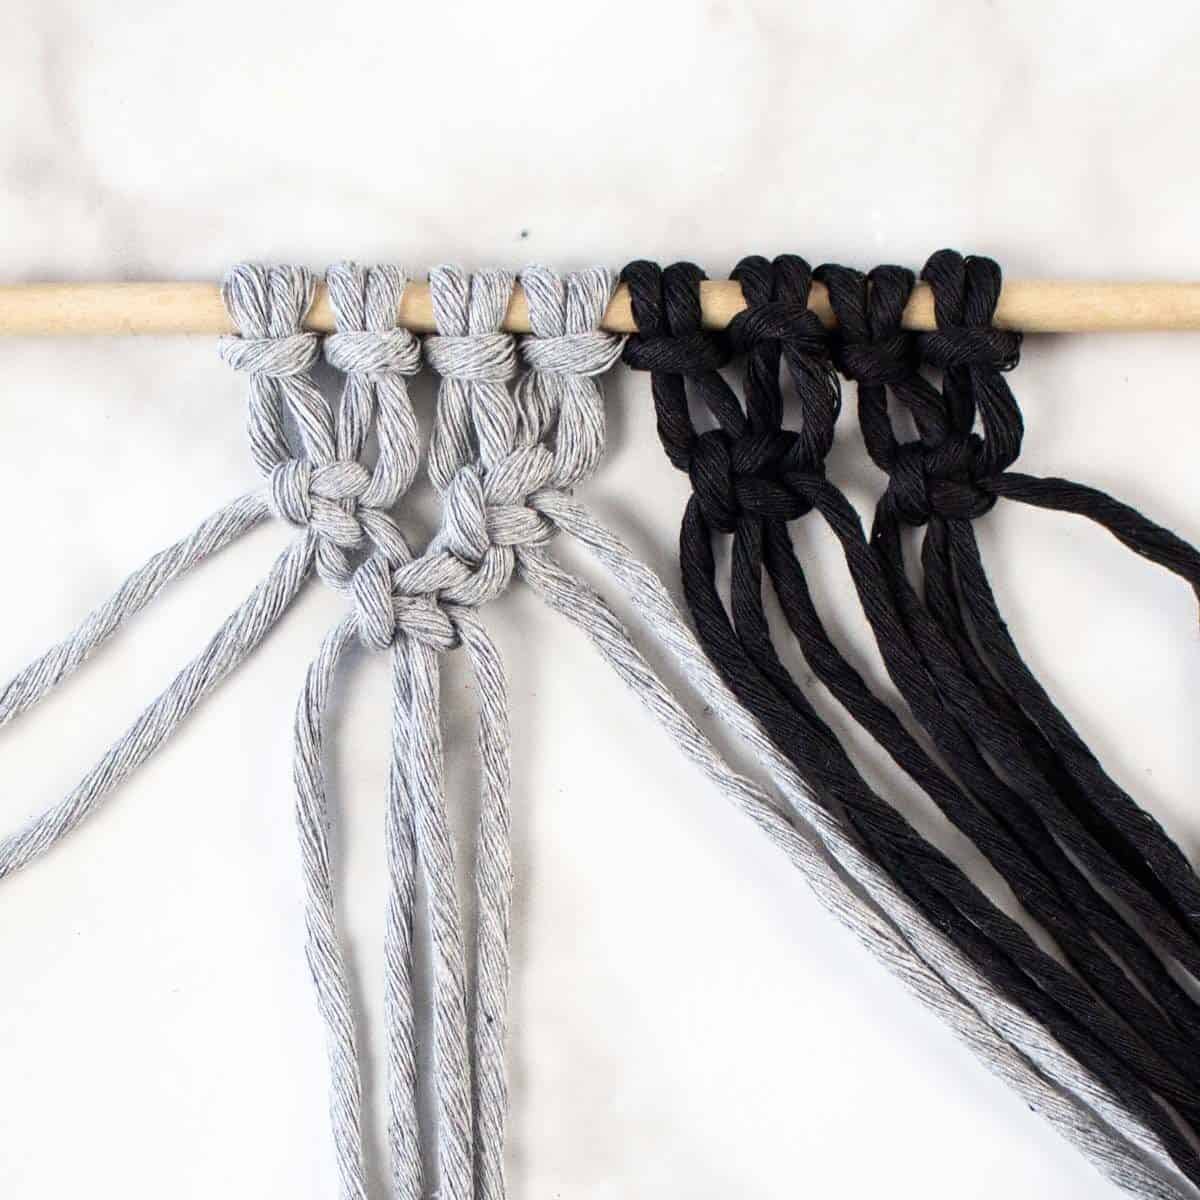
Leave a gap of ½” from the dowel and then begin tying knots with the first row.
For the first row, tie a SQUARE KNOT with every 4 cords. (see instructions below)
How to Make a Left Facing Square Knot
- Bring cord 1 over the filler cords (2&3) and under cord 4. Cord 4 goes under the fillers and up through the cord 1 & 2. Pull tight.
- Place cord 4 over filler cords (2&3) and under cord 1. Cord 1 goes under fillers and up through cords 3&4. Pull tight.
Step 4
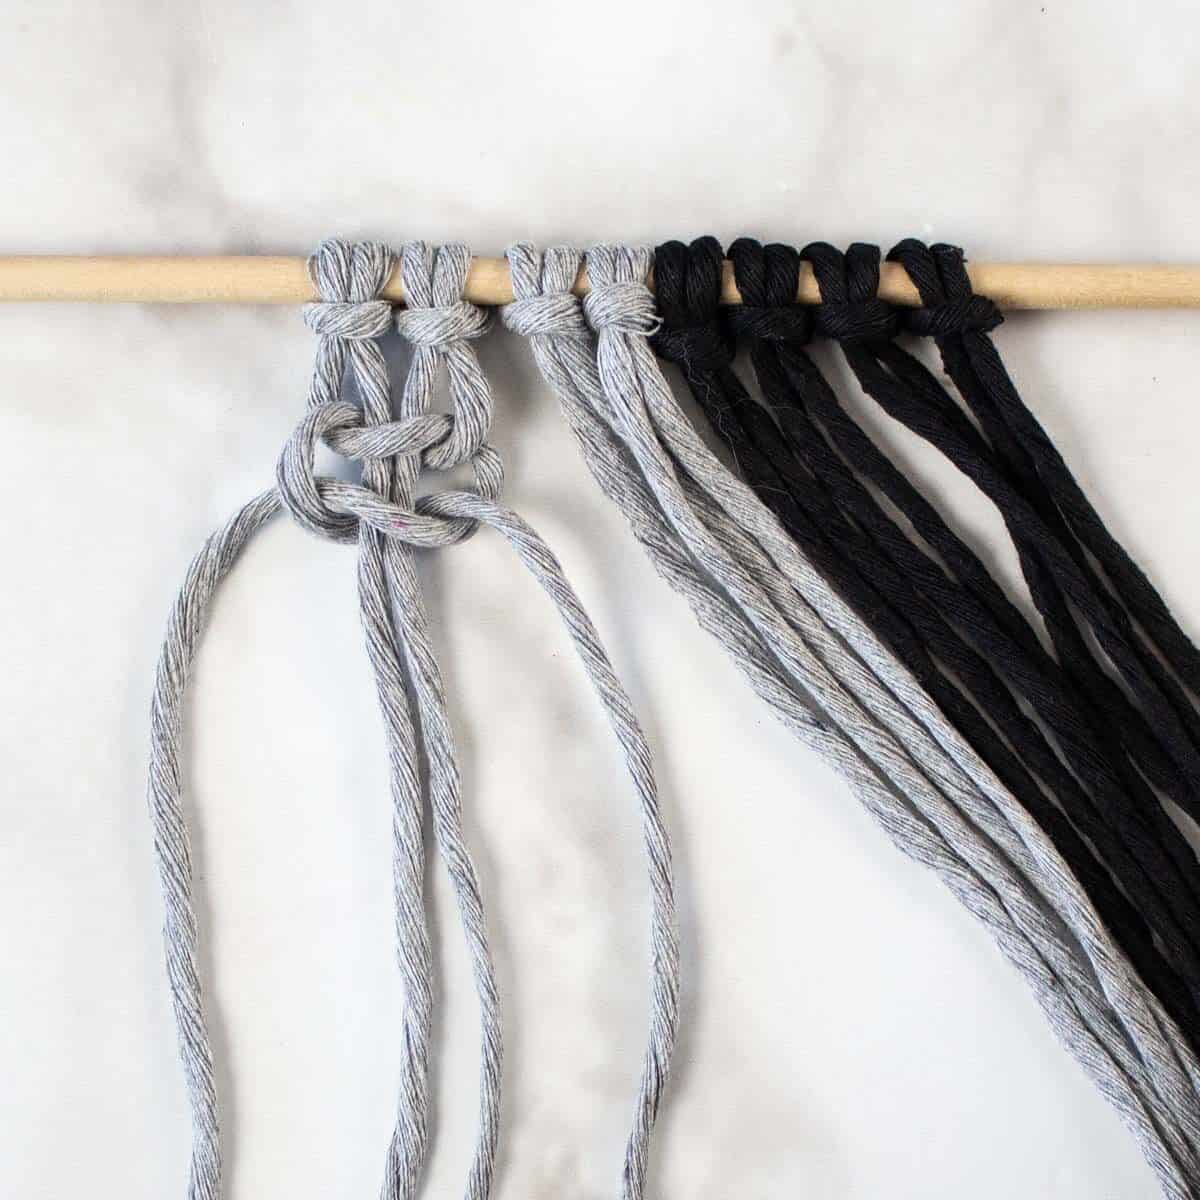
For the second row of knots, do not use the first 2 or the last 2 cords in the 2nd row. Just push them off to the side. Tie a square knot with every 4 cords.
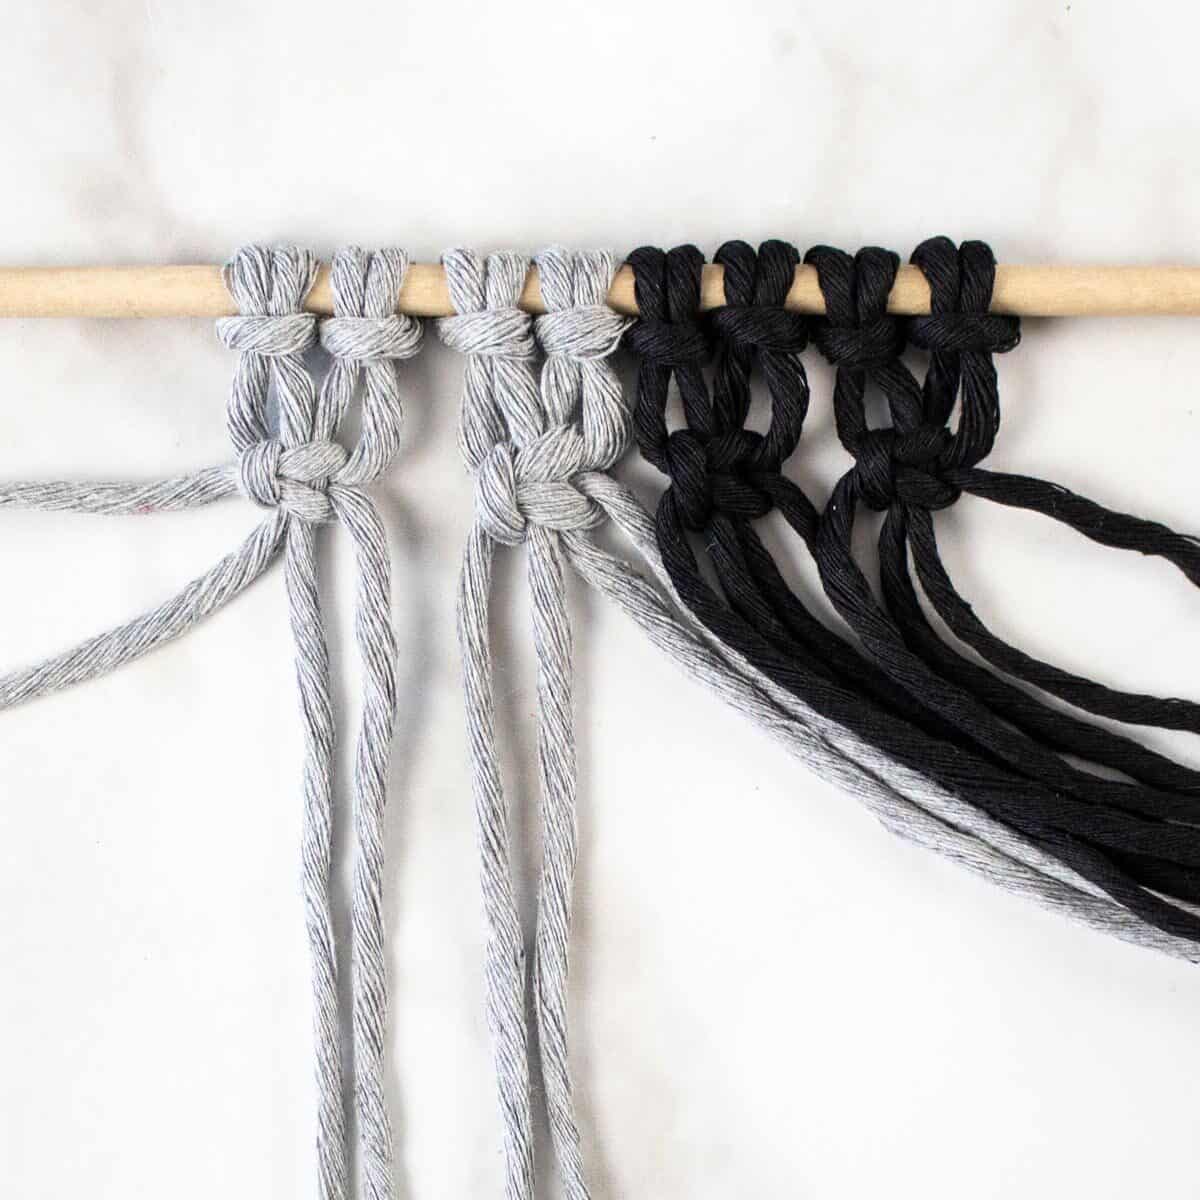

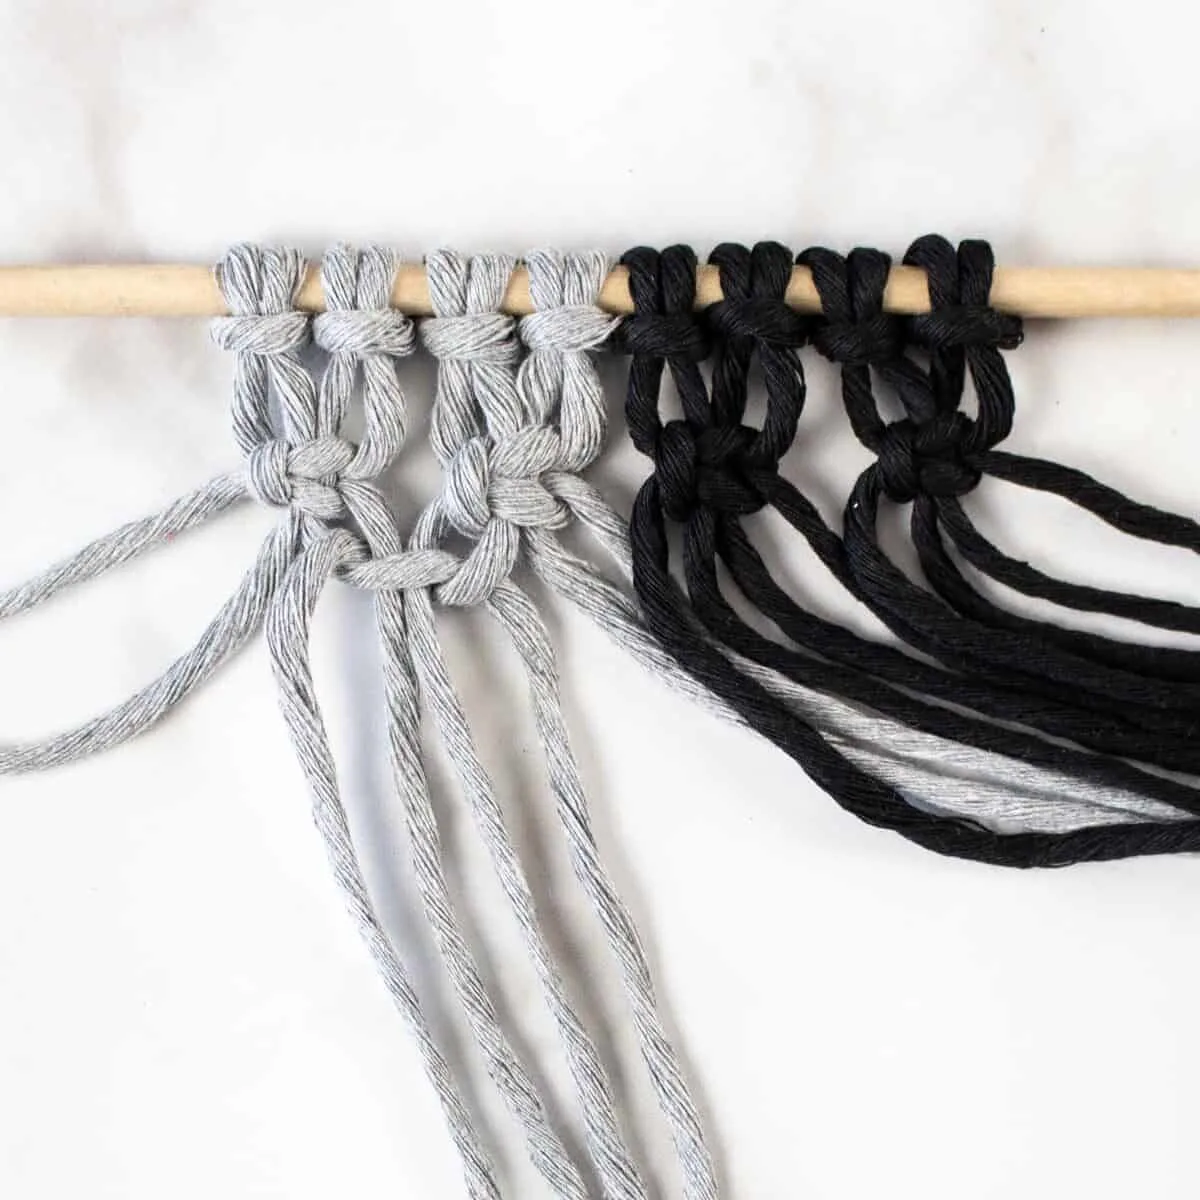
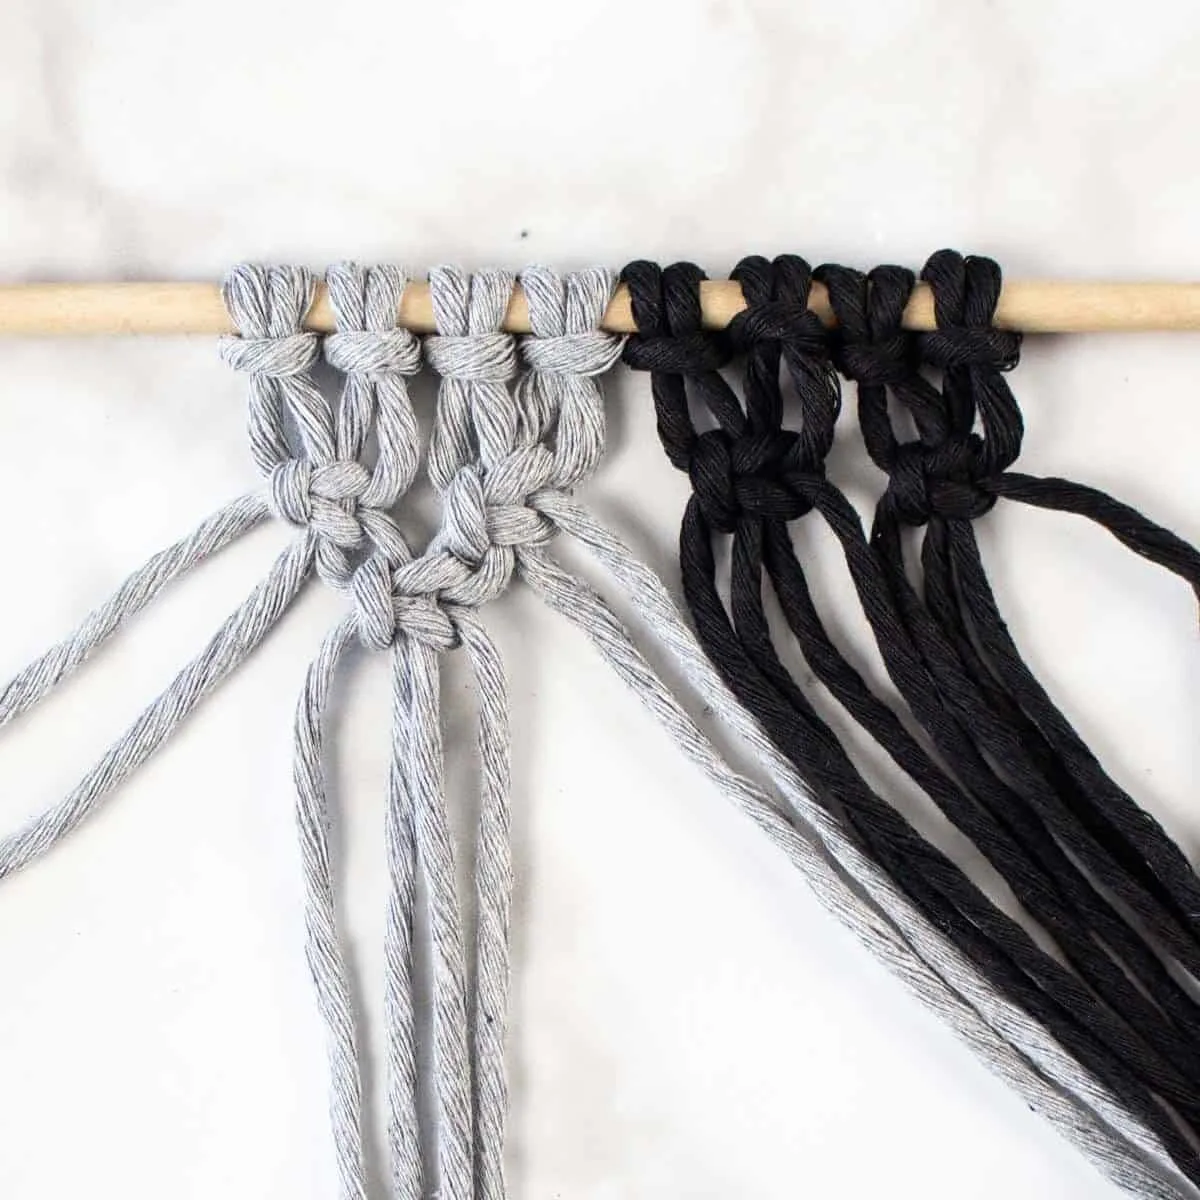
You will have one grey square knot, and your next square knot in the second row will be a combination of grey and black.
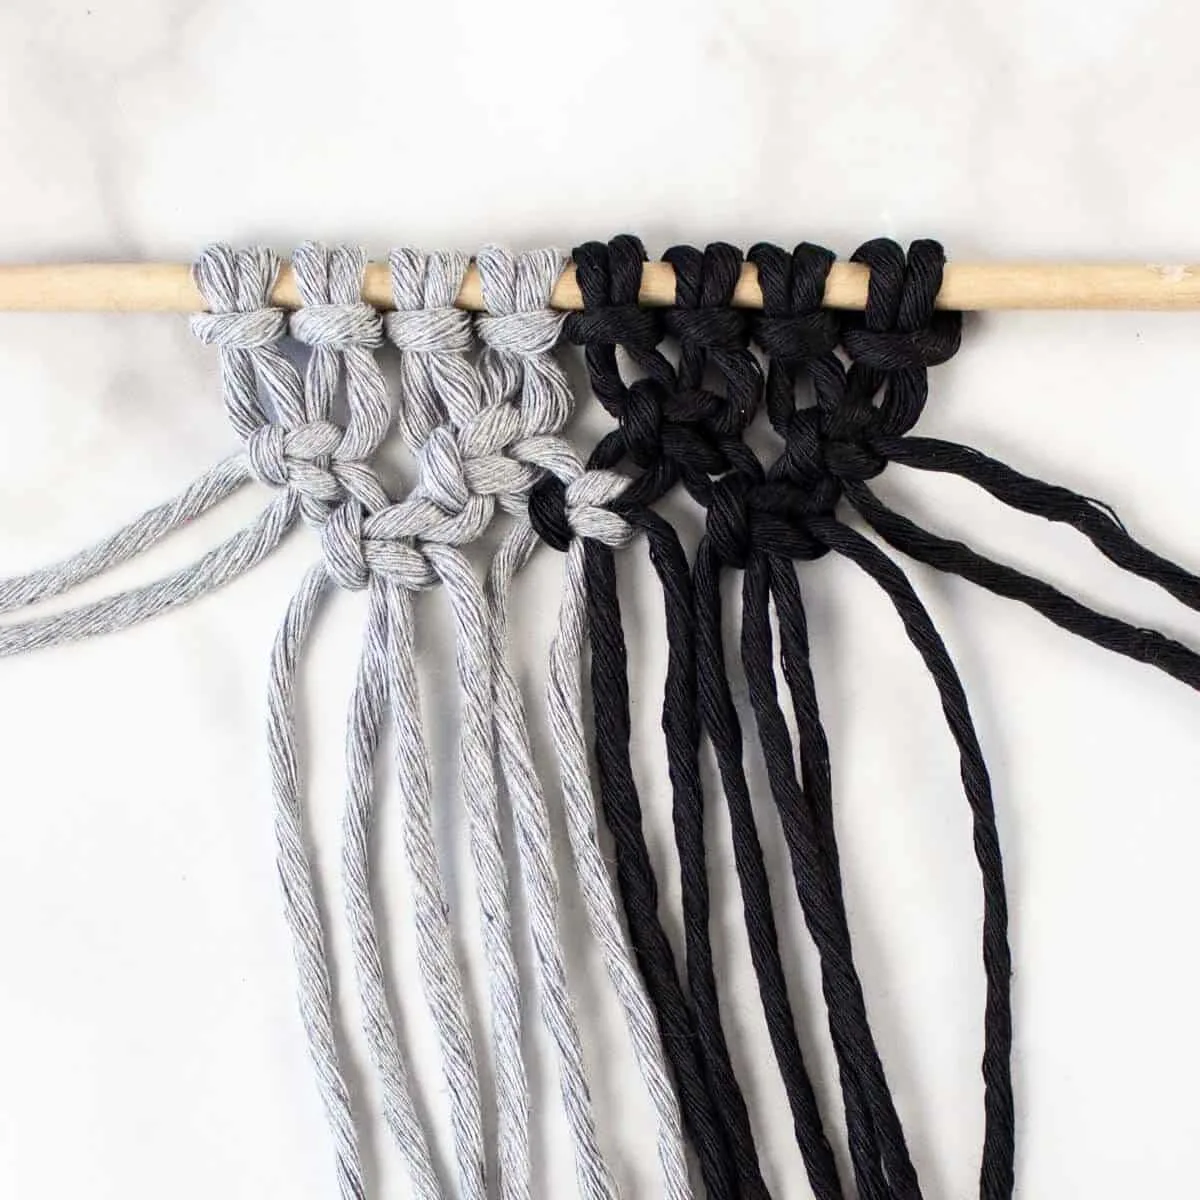
The third knot in the second row will be with four black cords.
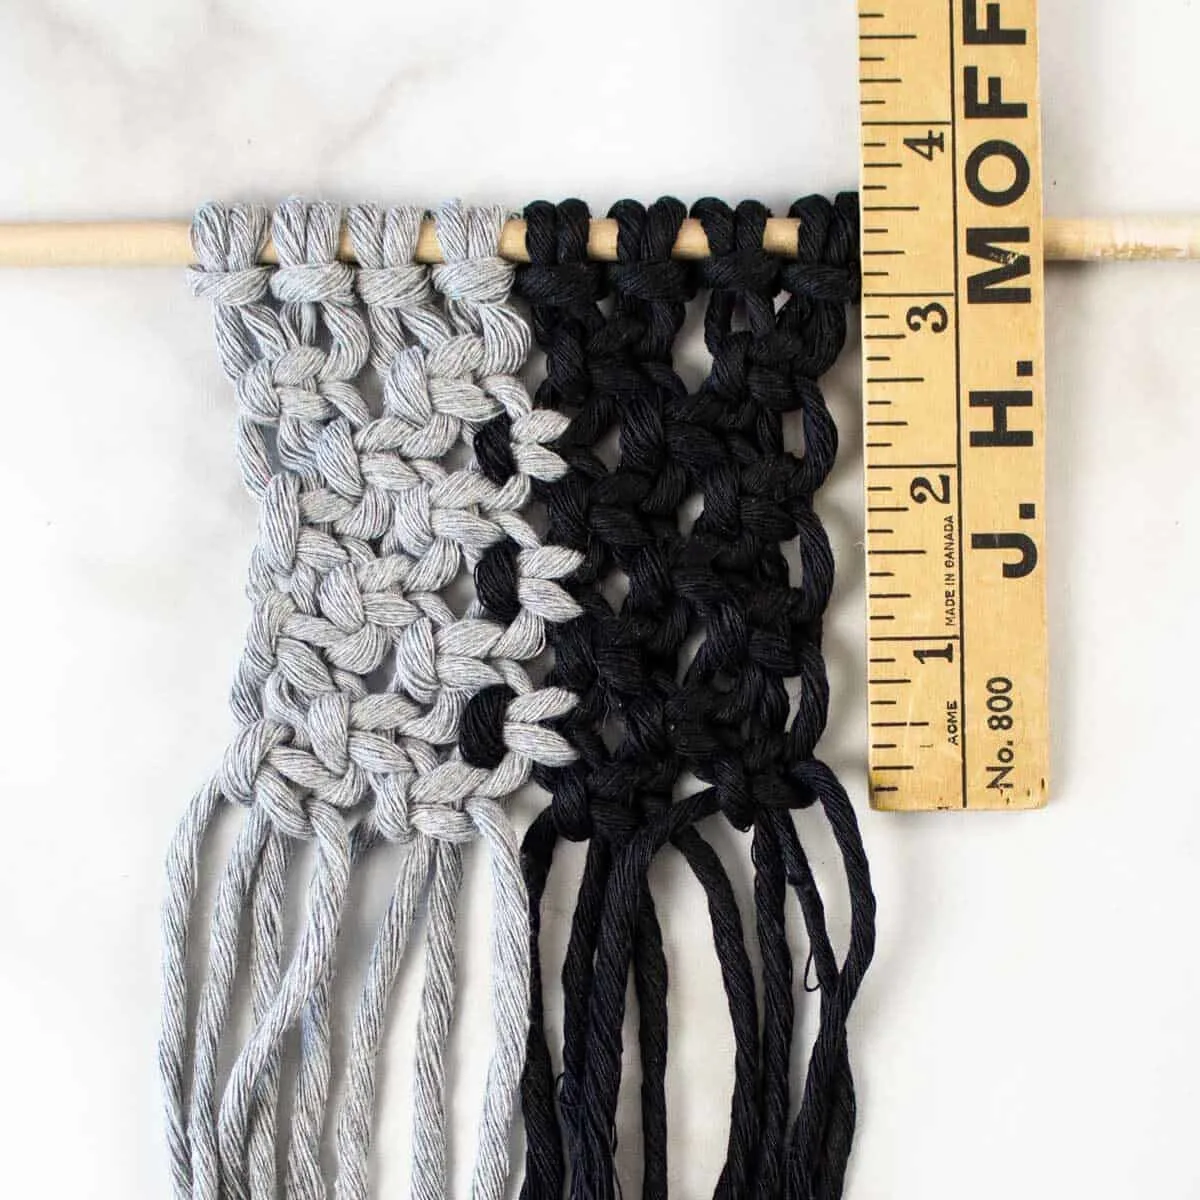
Step 5
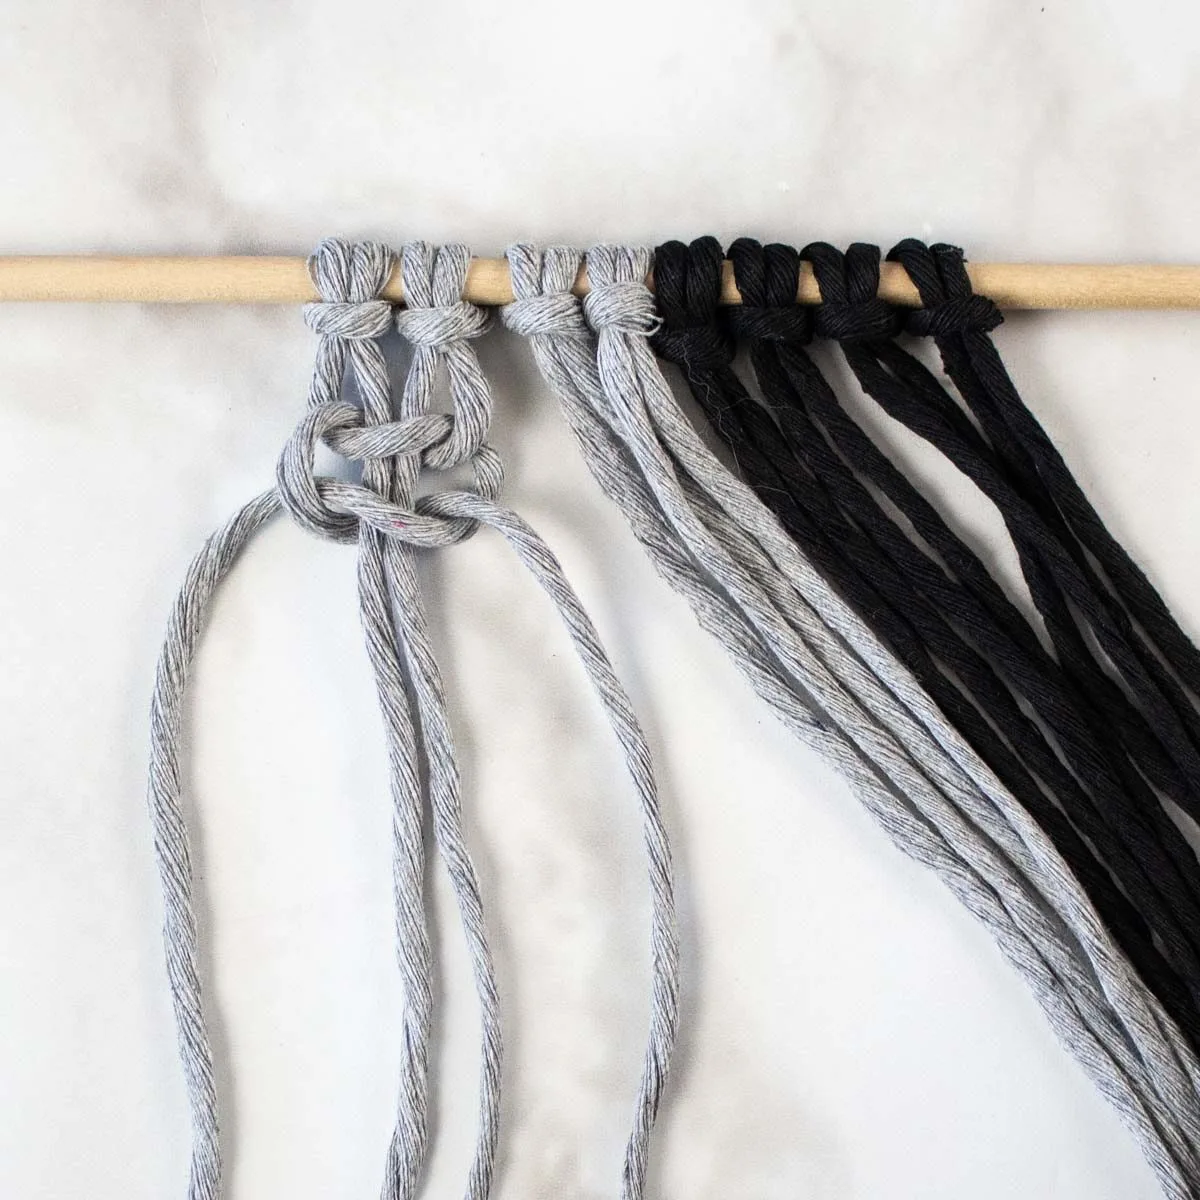
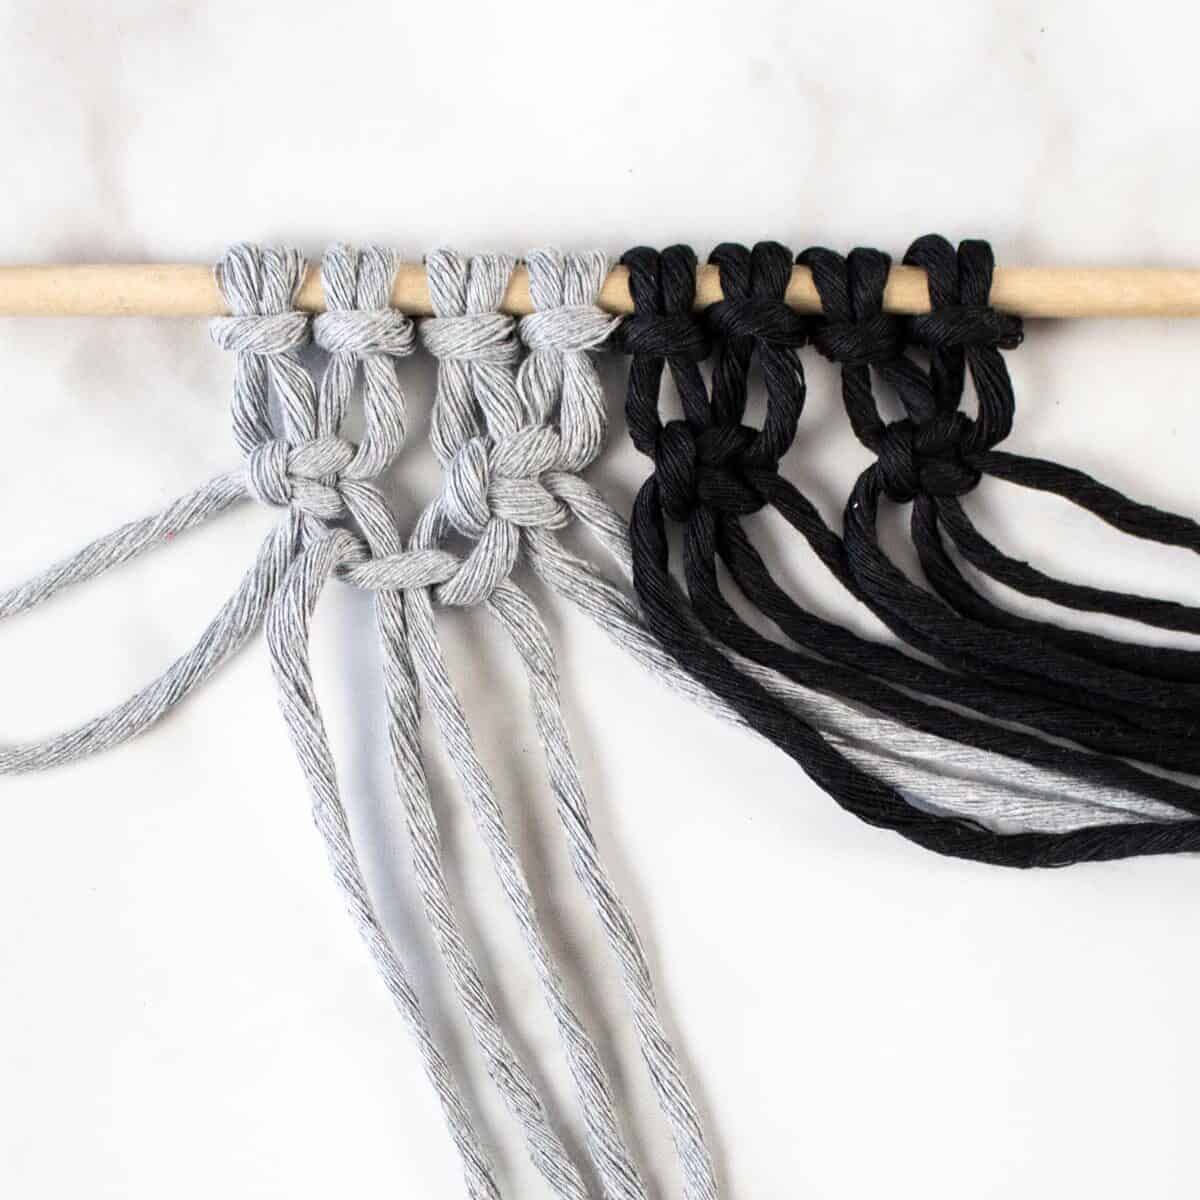
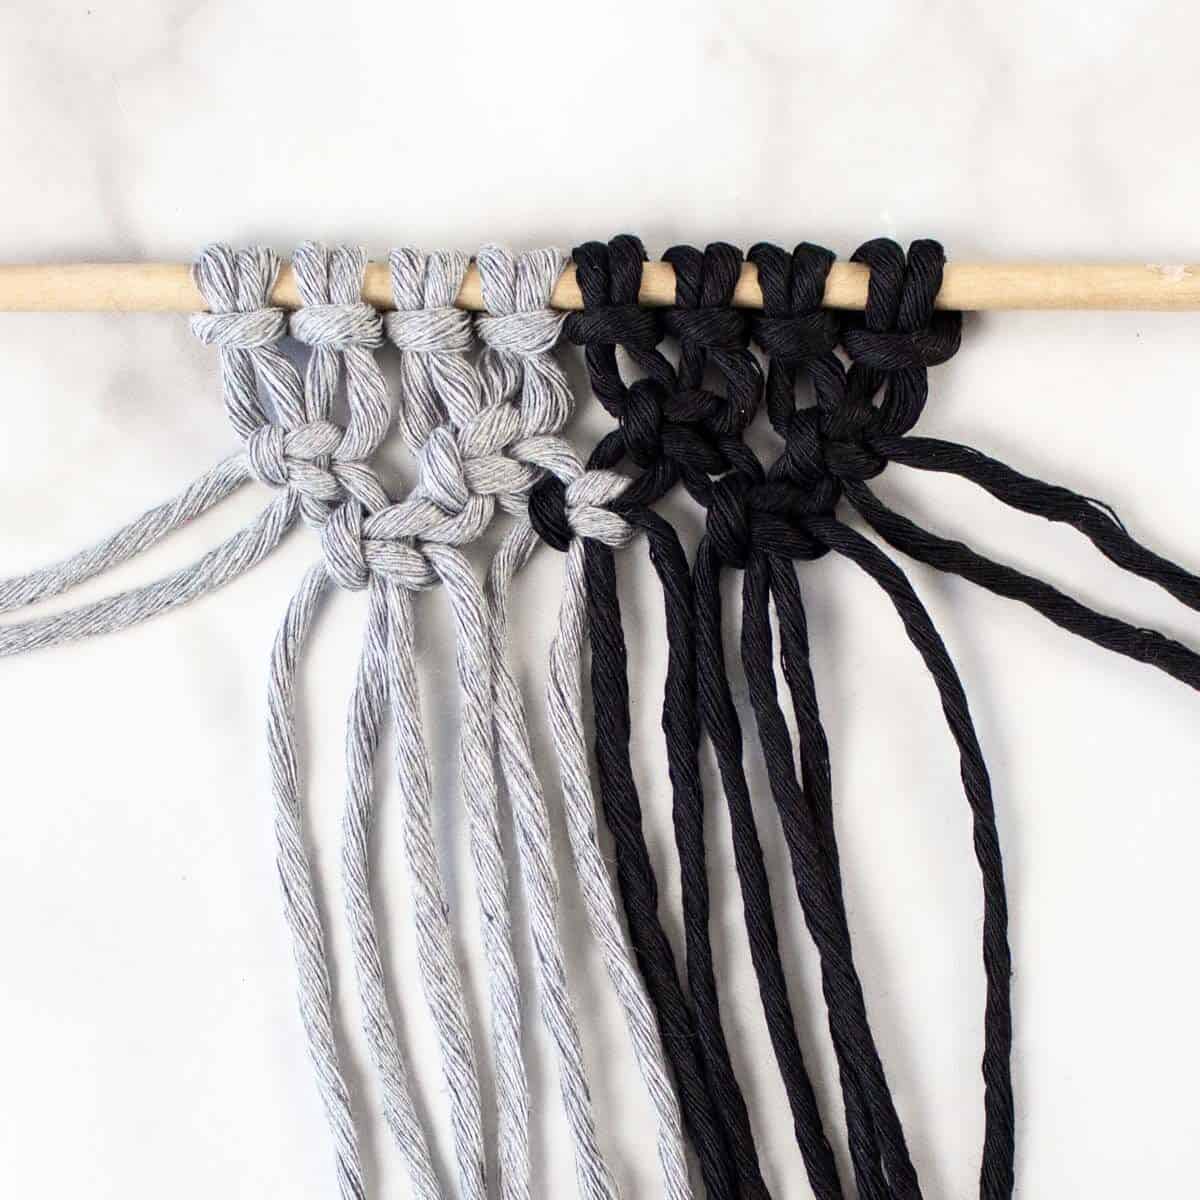
Repeat steps 3 and 4 until your macrame is 4” long from the wood dowel.
As you can see for my coasters, I had four rows of knots with the same color yarn for each knot (which repeats Step 3). The in-between rows of knots have a combination of grey and black square knots in the middle (which repeats Step 4).

Tie the final row of square knots tightly to avoid unravelling.
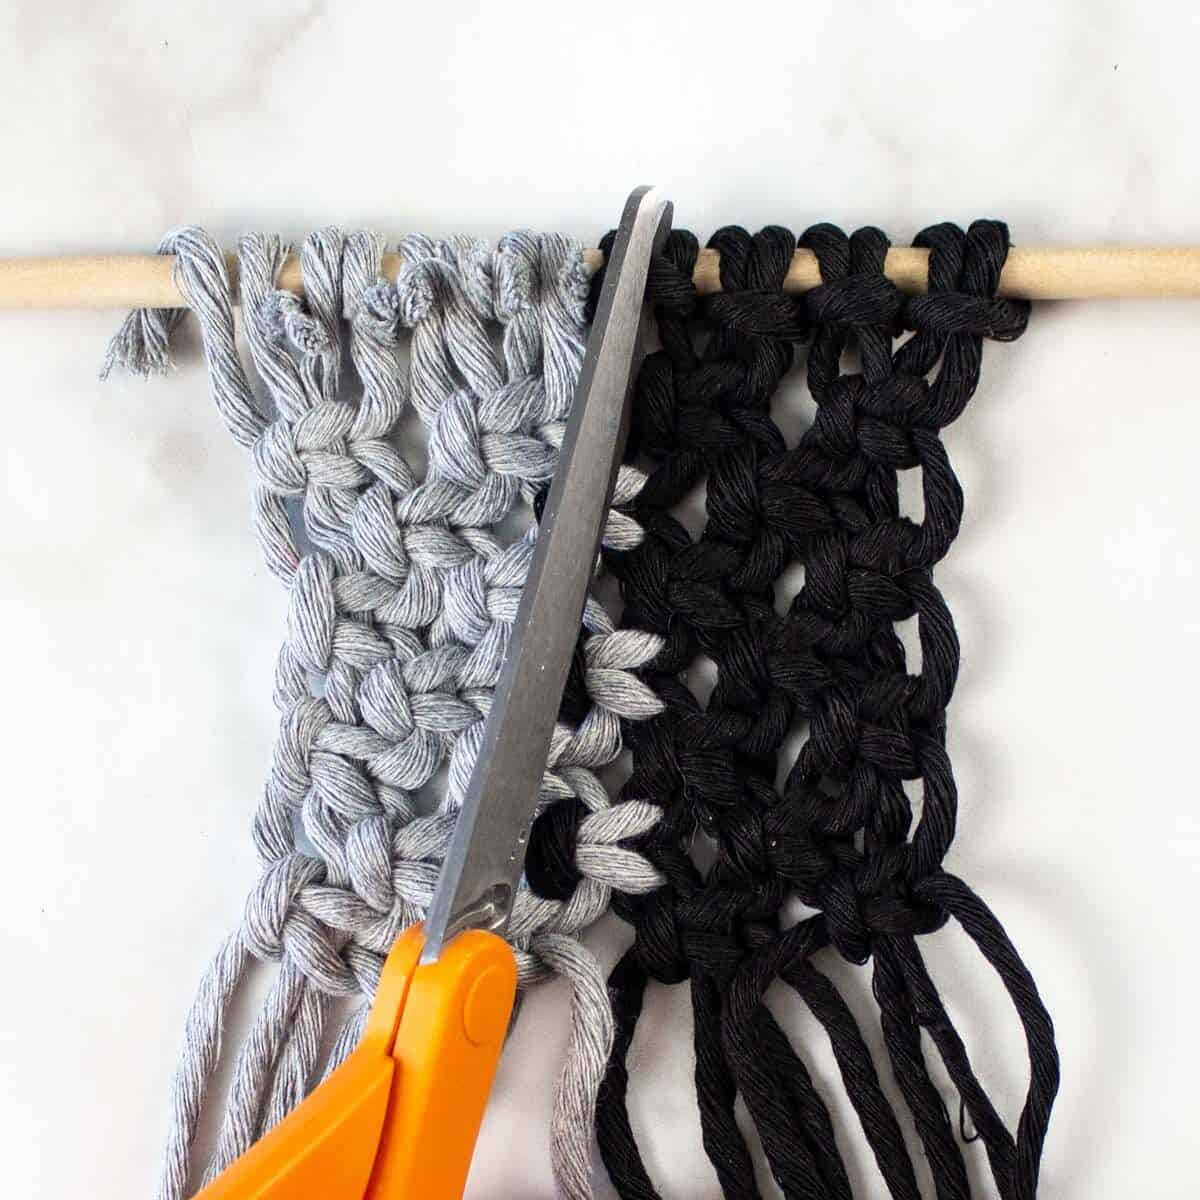
Step 6
To cut the macrame off the dowel, cut through the middle of every lark’s head knot (the yarn that is horizontal to the dowel that was the loop for making the knot).

Step 7
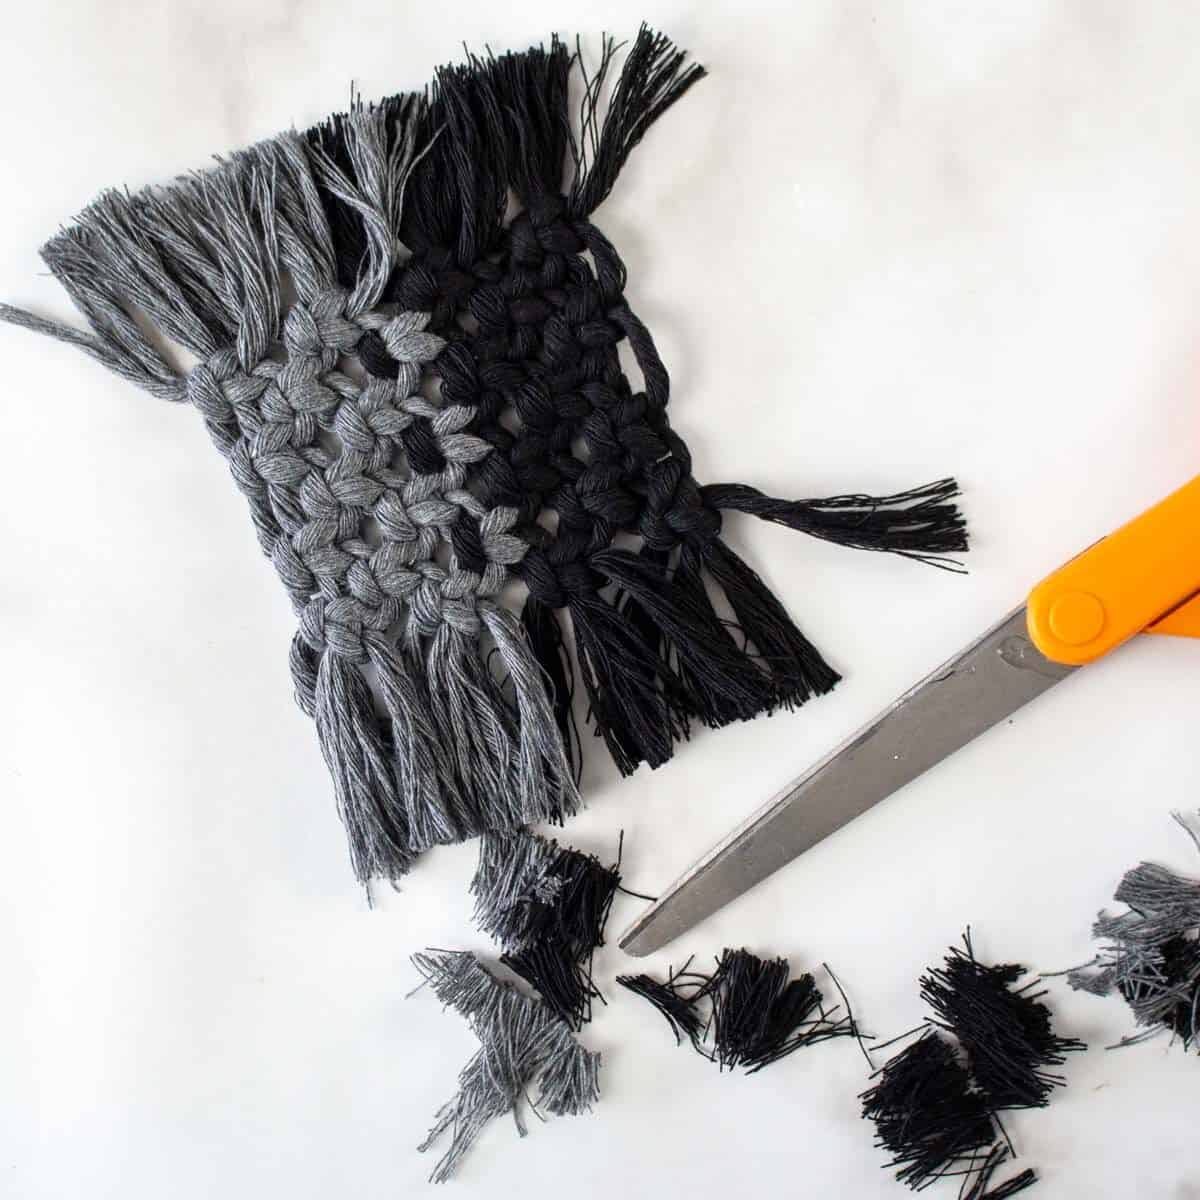
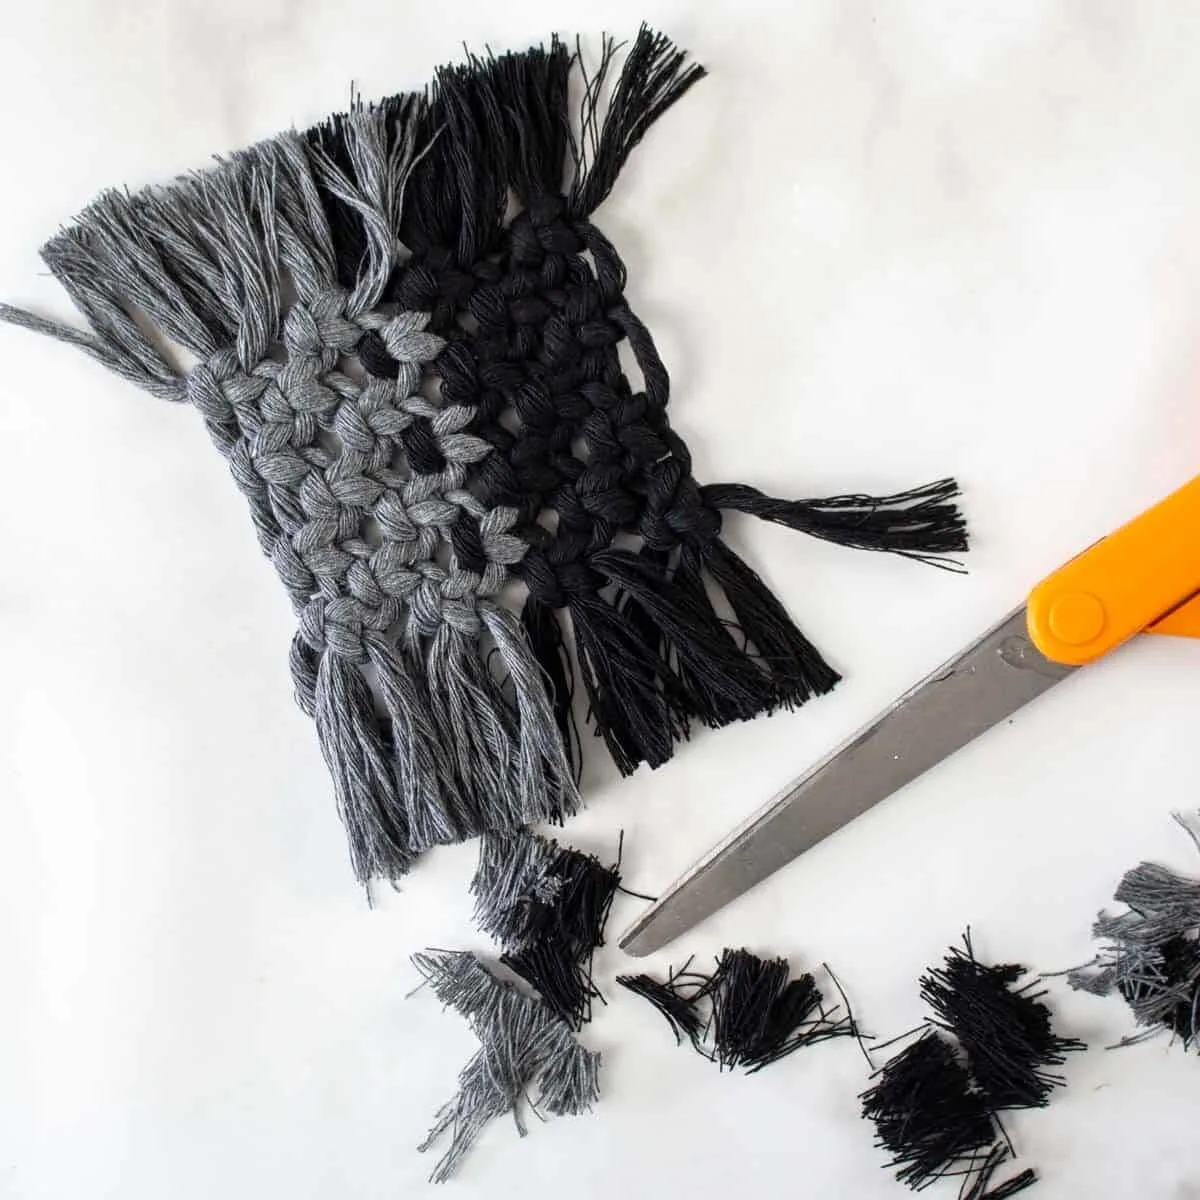
Unravel the entire fringe on both ends of the coaster.

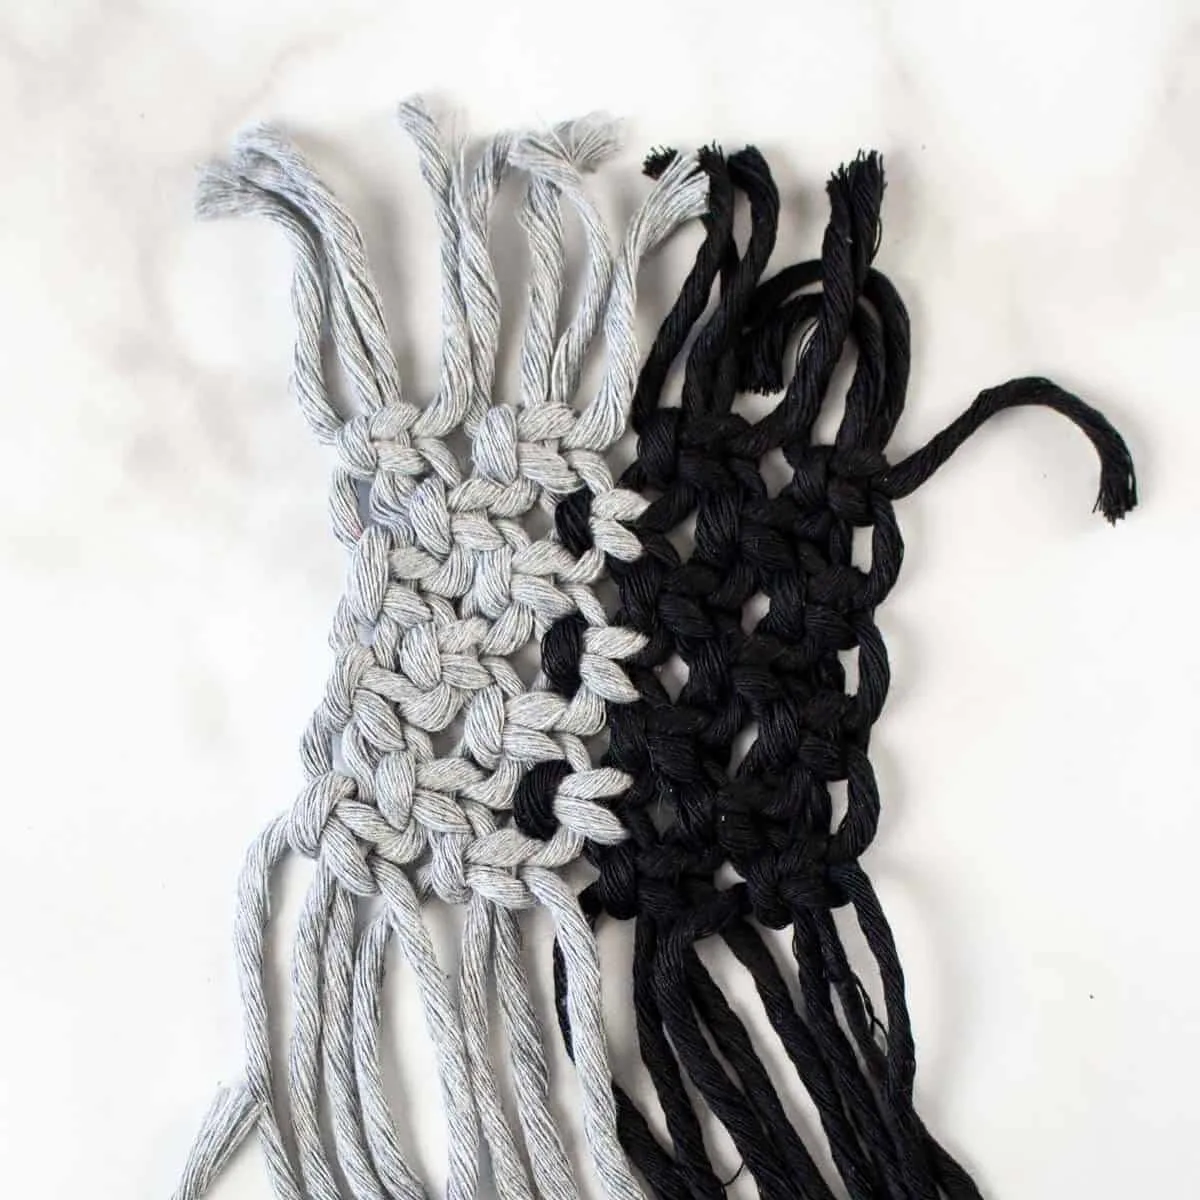
Give the fringe ends a trim to make even, about 1” long one either end.


I’ve got more cheap but thoughtful gift ideas! Check out these DIY Sharpie Mugs. You could pair the mug with coasters for a great gift idea!
You might also like this DIY Reed Diffuser or my boho wicker vase made from a sun hat.
