


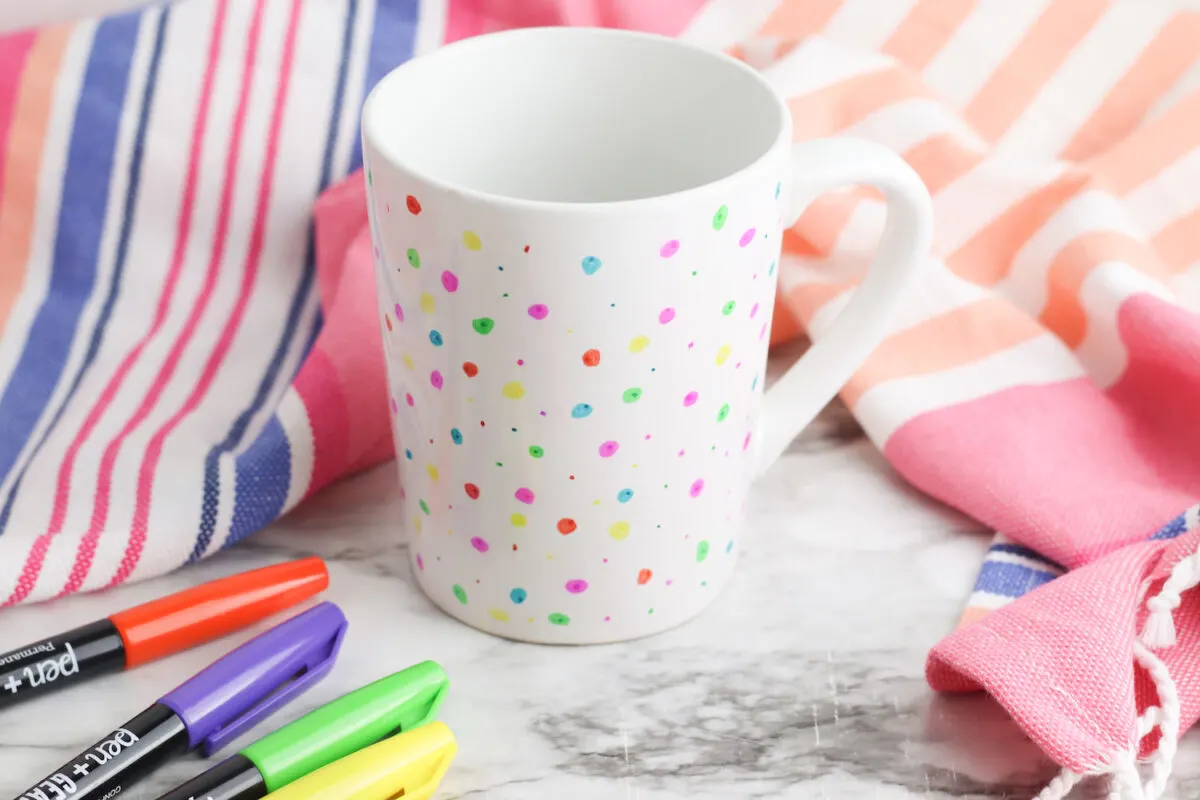
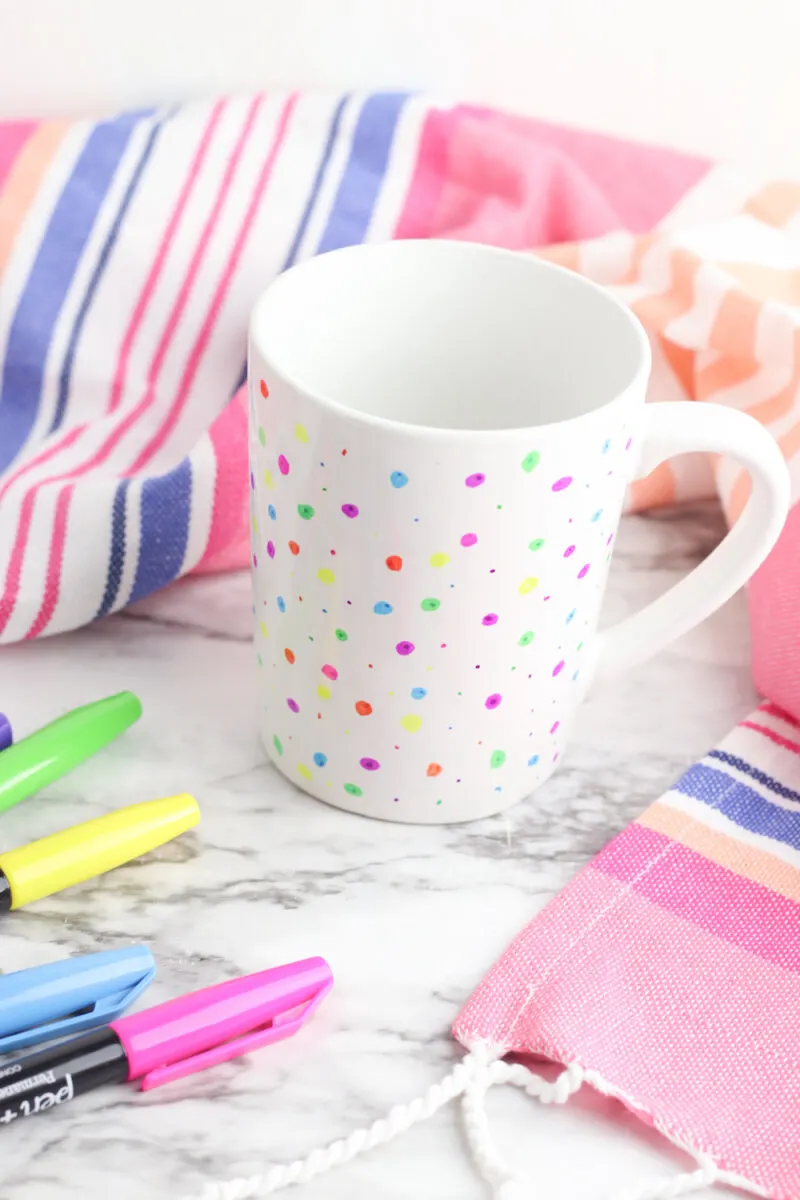
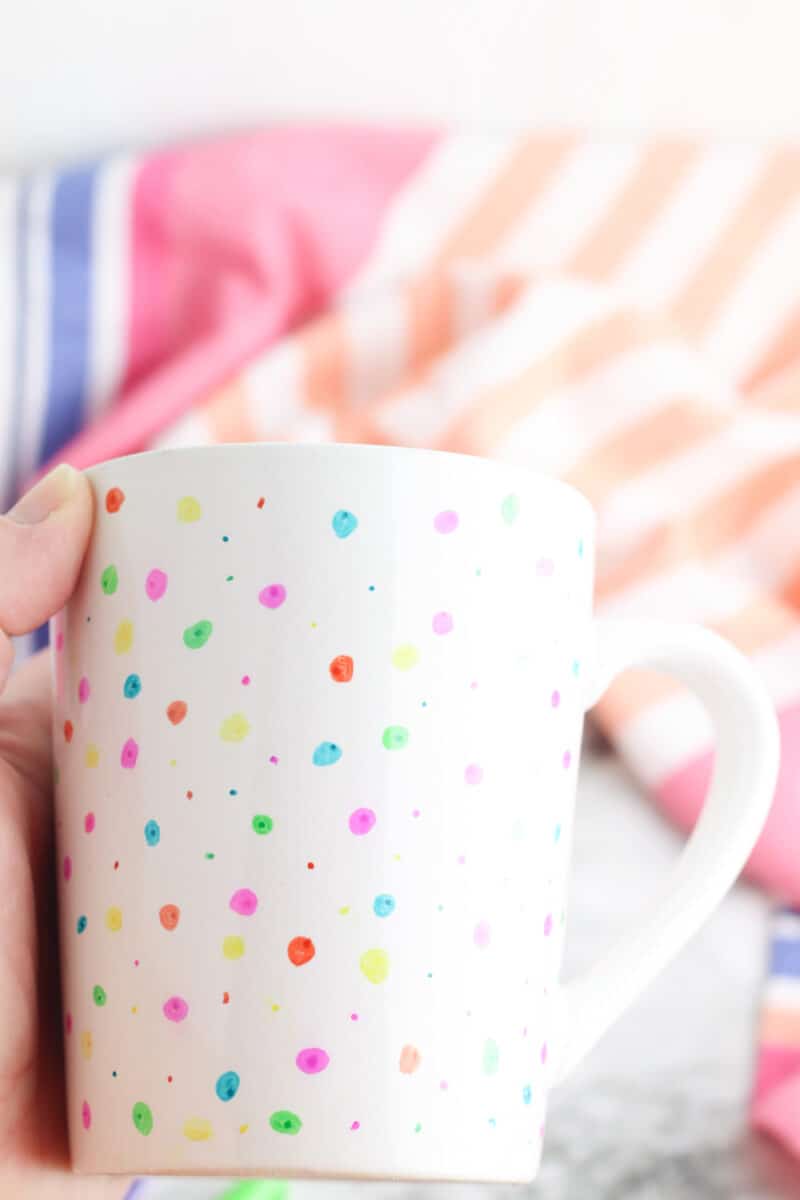
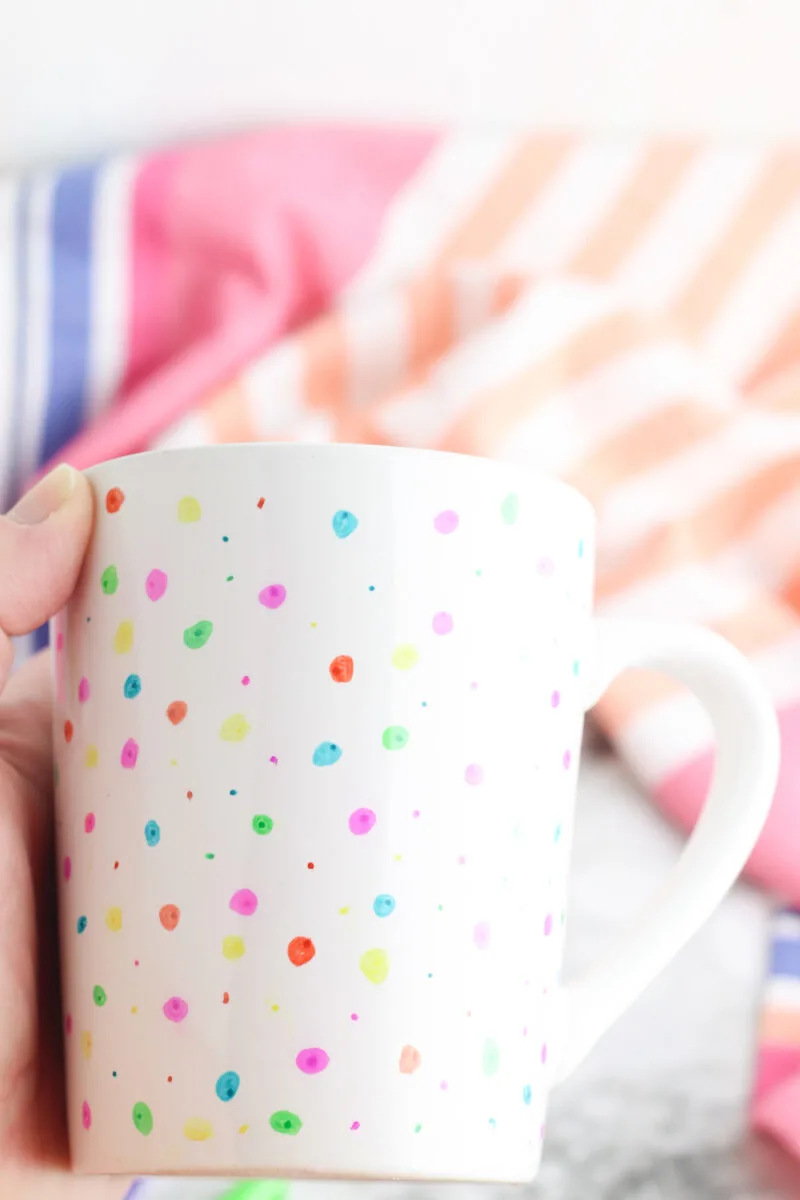
If you are looking for a cheap and easy personalized gift, you will love these easy DIY Sharpie Mugs!
They truly are so simple to make. You just need two supplies and a few minutes to make them a personalized mug that they will use every day.

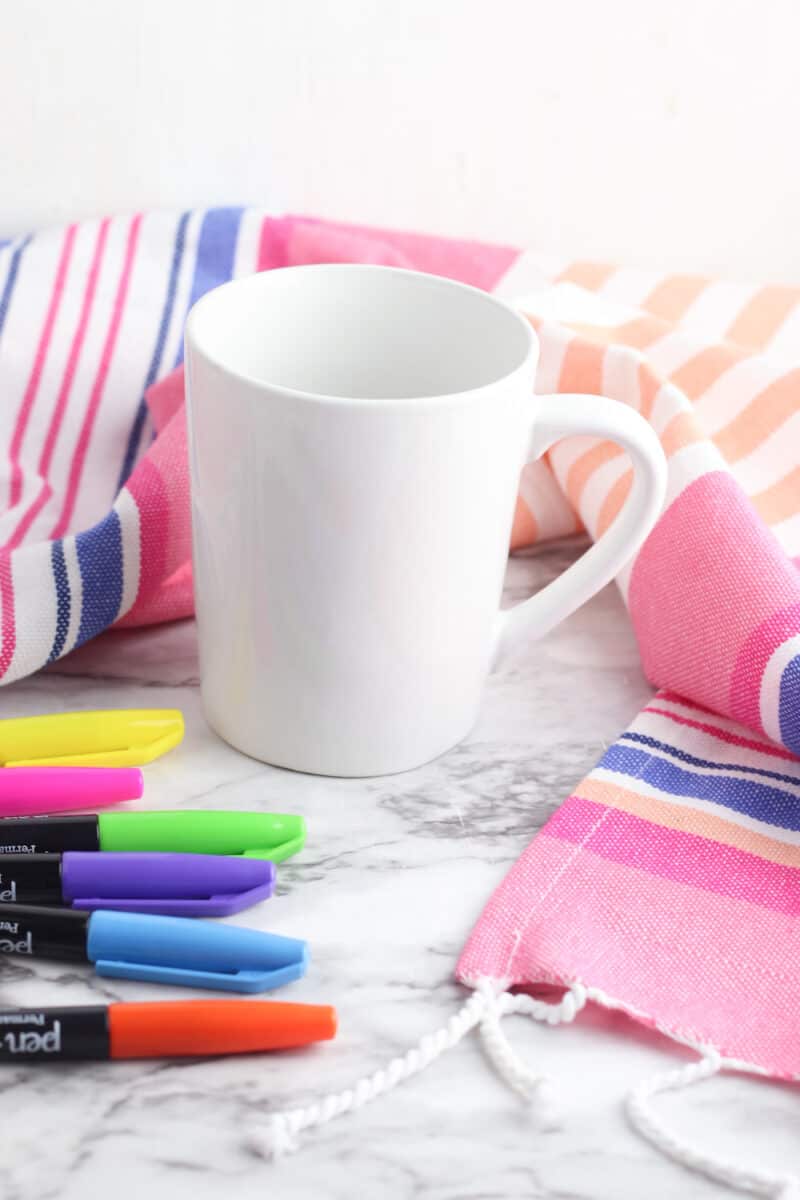
I bought a new mug at the Dollar Tree, but you could easily use old mugs from at home. Or find inexpensive mugs at thrift stores or garage sales. Heck, even Walmart and Target have really cheap plain mugs.
Let’s get to the DIY!
How to Make Sharpie Mugs That You Can Wash
Supplies
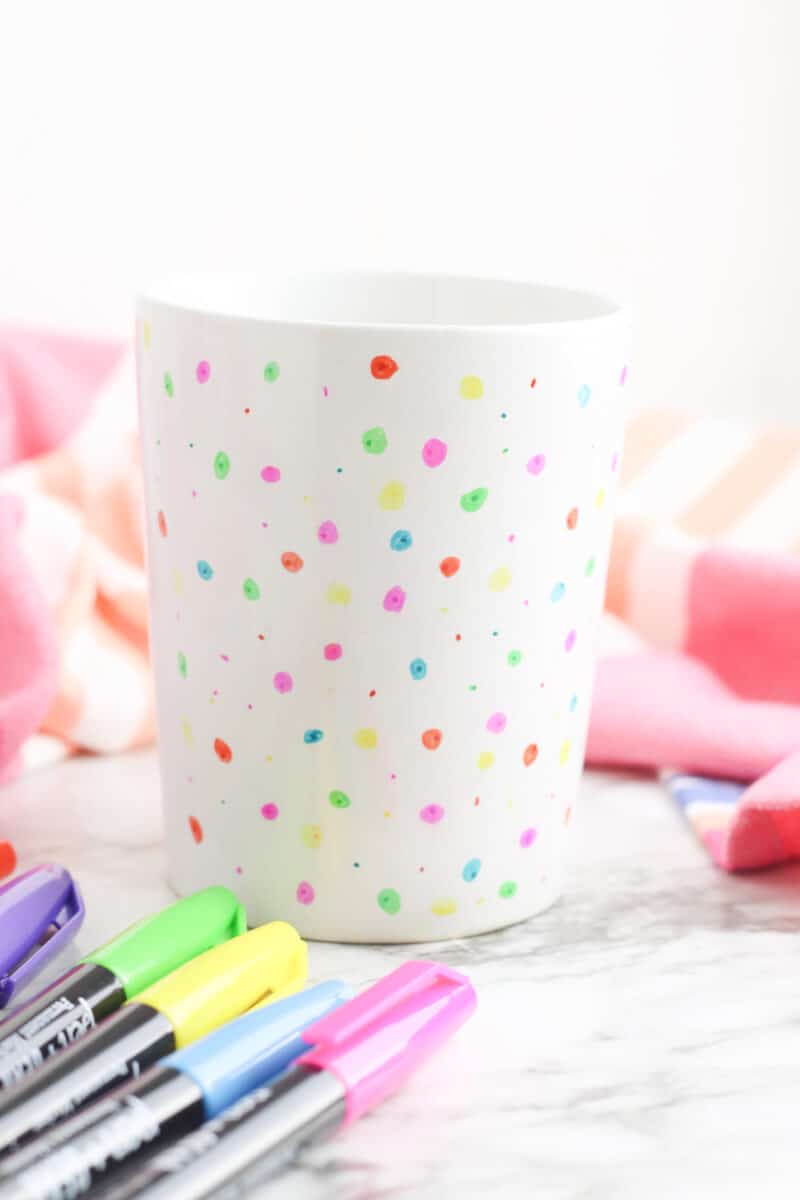
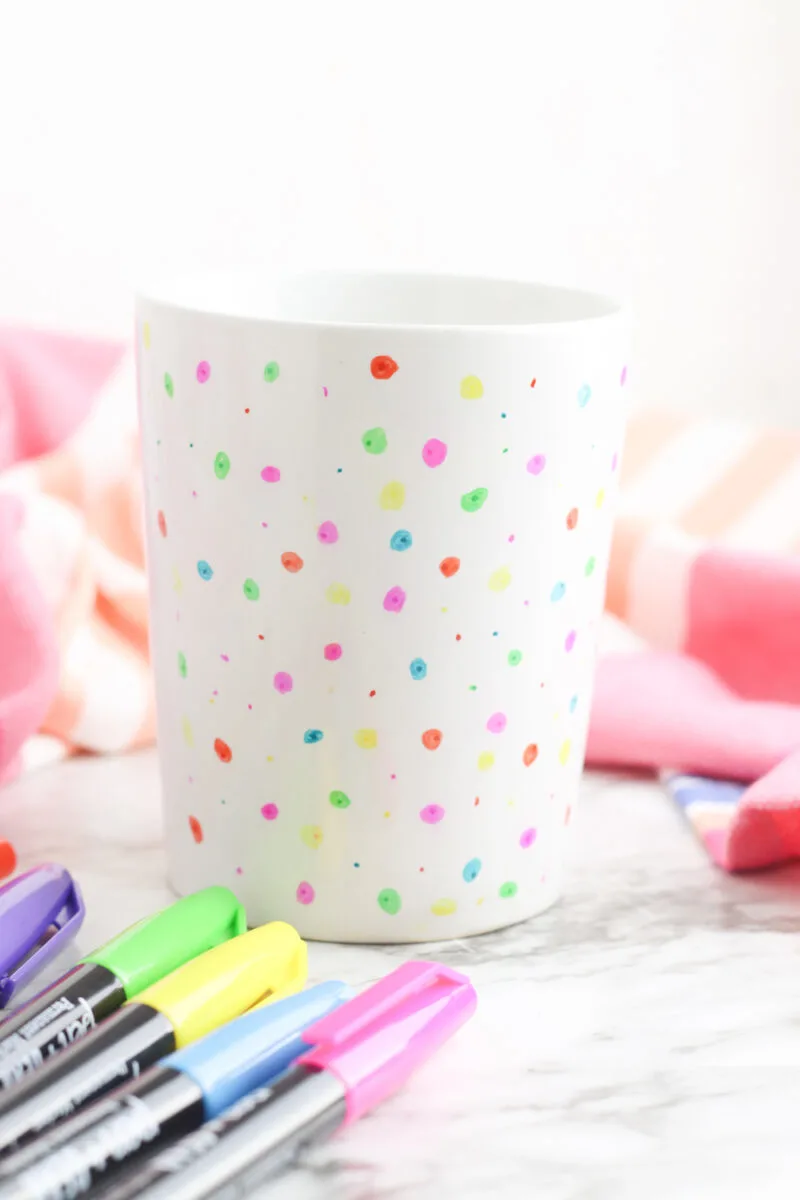
- Oil-based Sharpie markers (or DecoArt Glass Paint Markers, which also work really well)
- White mug, washed and dried thoroughly (I got mine from Dollar Tree)
- Baking sheet

Instructions
Step 1
Draw your design on the mug and let it sit for at least one hour to give the marker time to dry completely. You can let it sit as long as 24 hours to really make sure the markers set.

Step 2
Following these exact steps if really important! Don’t change them!
Place the mug on a baking sheet and put it in a cold oven. Turn the oven to 350 degrees and bake for 30 minutes. When the baking time is up, turn the oven off and allow the mug to stay in the oven until it is completely cool.
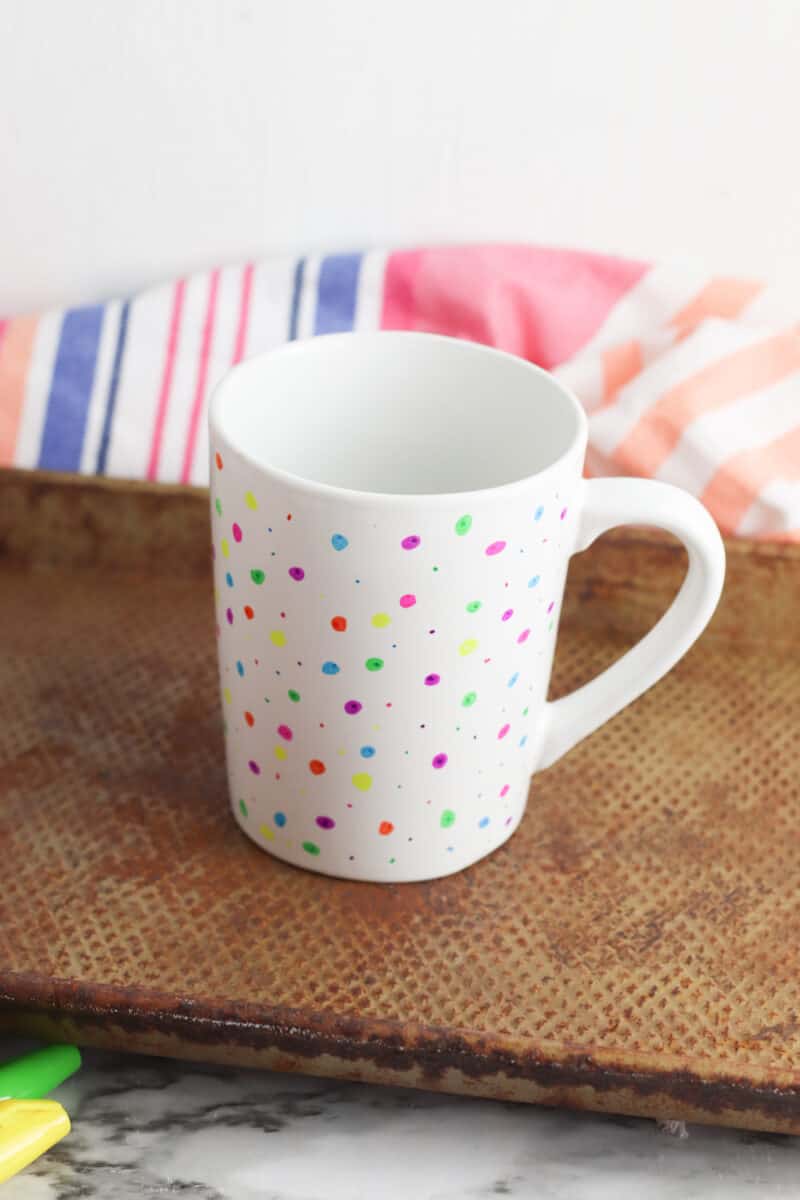

*Instead of using a baking sheet, you could also turn the mug upside down and place it directly on the oven rack.
FAQs For Making a Sharpie Mug
Can I Wash My Mug?
To keep the design from fading, hand wash the mug and allow it to air dry.
While you can put these mugs in the dishwasher, the design might only last until you empty the dishwasher! It can truly wash off that fast.
What Kind of Sharpies Should I Use?
All Sharpie markers will work, but you really want to use oil-based Sharpies for the best results (these also work really well for rock painting, too). These will last the longest. Other Sharpies are water-based, so they won’t last as long.
Will Any Type of Mug Work?
You want to choose plain mugs that have as little glaze, or shininess, as possible. Also, be sure the mug is as clean as possible, with no oily fingerprints on it. See helpful tips below.
Helpful Tips
- Rubbing your mug with rubbing alcohol, acetone or nail polish remover before drawing can help the markers to adhere better. It’s not necessary, but could help. (I use this technique in making decorated wine bottles, too.)
- Practice your design on a piece of paper before writing on the mug.
- Don’t want to draw? That’s fine! Choose to write a single word, such as “Mom” or “Boss.” Or write a favorite quote on the mug.
- Simple black and white designs look great. Or use colored Sharpie markers.
- You can make graphic designs or lines by using masking tape as a stencil. Or use stickers to use as outlines. Take the tape or stickers off before baking the mug.
- If you want to go back over the design with your markers to make the color darker, keep in mind to let it dry again after the second coat.
- An hour is the minimum time to dry before baking. You can let it dry longer, even overnight.
- It is very important to put your cold mug in the oven before you pre-heat it. You want the mug to warm up as the oven warms up. Otherwise, your mug could crack from being cold and going directly into a hot oven.
These mugs would look cute on my easy DIY macrame coasters!
If you love easy DIY projects that don’t cost a lot of money, check out my decorative wooden spoons or these toilet paper tube storage boxes.
These sea glass mason jars are also another quick and easy project!
