

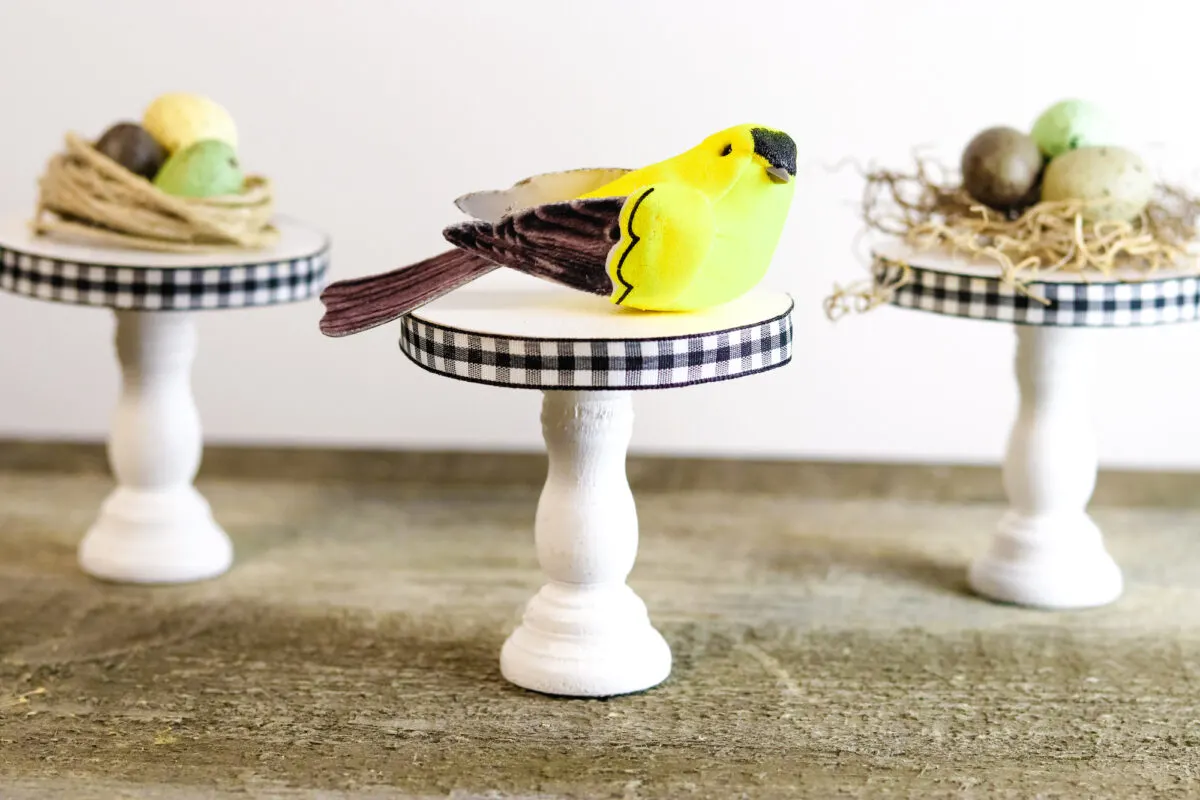
If you are making tiered trays or staging bookshelves, you will probably want to have some of your treasures be a different height than all of the rest. This creates visual interest, and allows smaller items to be shown, too.
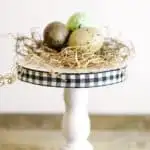
That’s why these easy DIY wooden pedestals are so great to make. The rustic farmhouse look of these pedestals add visual interest and texture.

Use these pedestals to raise the height of objects such as:
- Plants
- Faux plants (like my cute mini felt succulent pots)
- Statues
- Flower Pots (such as my cute Love flower pot)
- Pumpkins (such as my Rae Dunn-inspired Dollar Tree Pumpkins)
- Glass jars (such as my easy sea glass mason jars)
- Vases (such as my decoupaged Dollar Tree farmhouse vase)
- Small picture frames
For larger items, you might want to make my DIY Dollar Tree Display Pedestal.

How to Make Farmhouse Wooden Pedestals
I got my materials on Amazon. However, you could easily find these supplies at Michaels or any craft store. This is a great project when you have some odds and ends in your craft room and don’t know what to do with them.
Supplies
- Wooden Candlesticks, 4 inches
- Wooden Circles, 4 inches
- White Chalk Paint
- Mod Podge
- ⅜ inch wide ribbon (I used this Buffalo Gingham Check)
- Hot Glue Gun
- Foam brush or paint brush
- Craft glue
Instructions
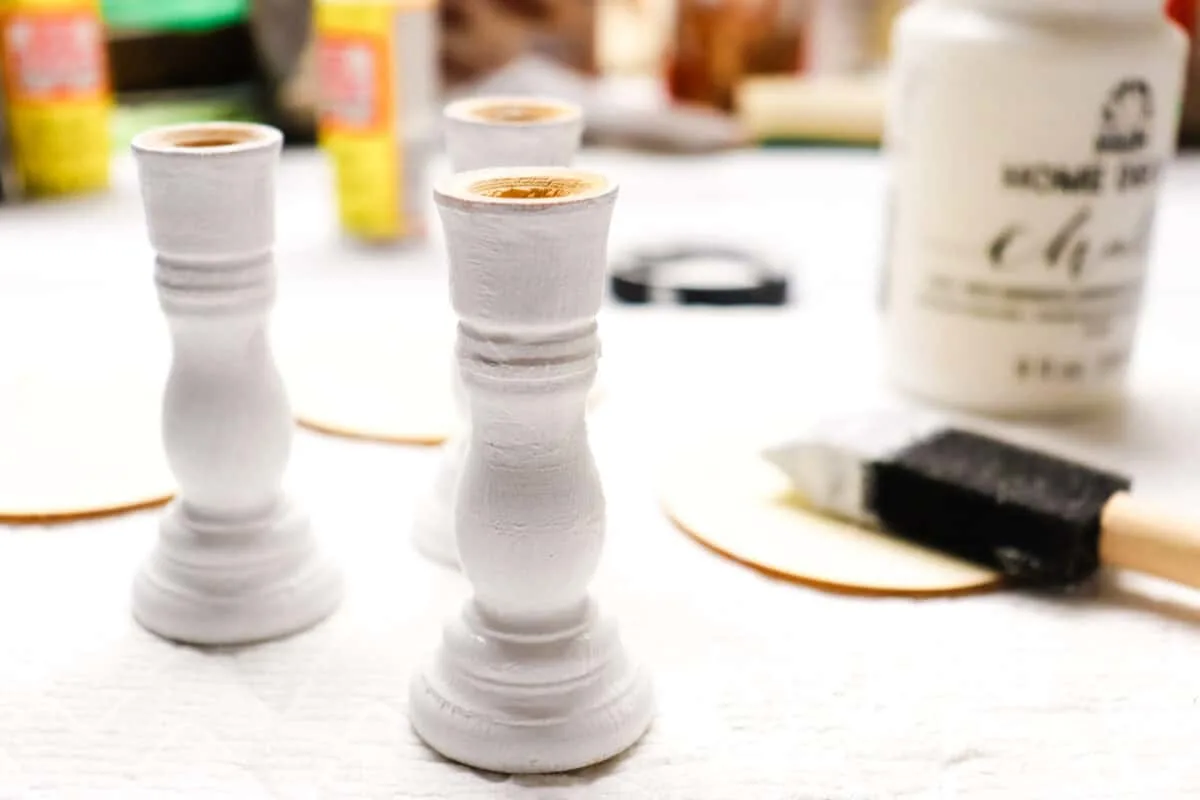
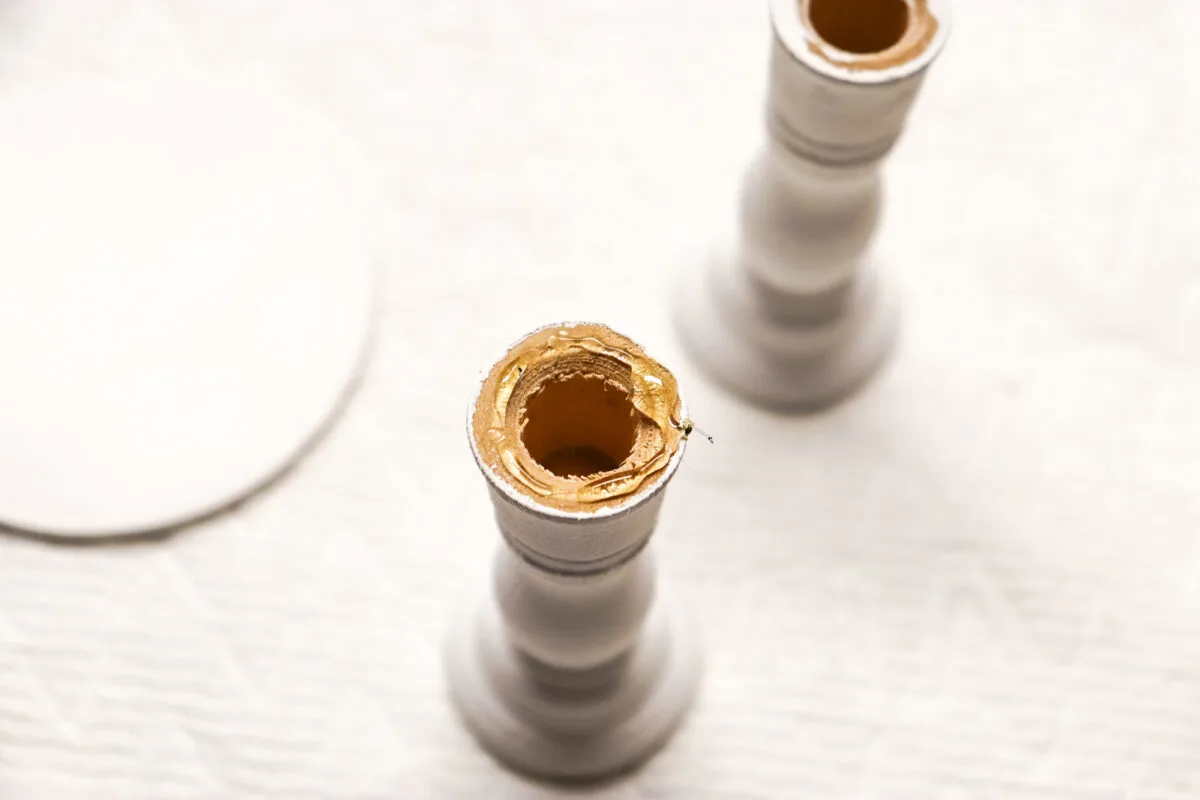
Step One
Paint the candlesticks and wooden circles white using a foam brush or paint brush. Allow to dry completely.

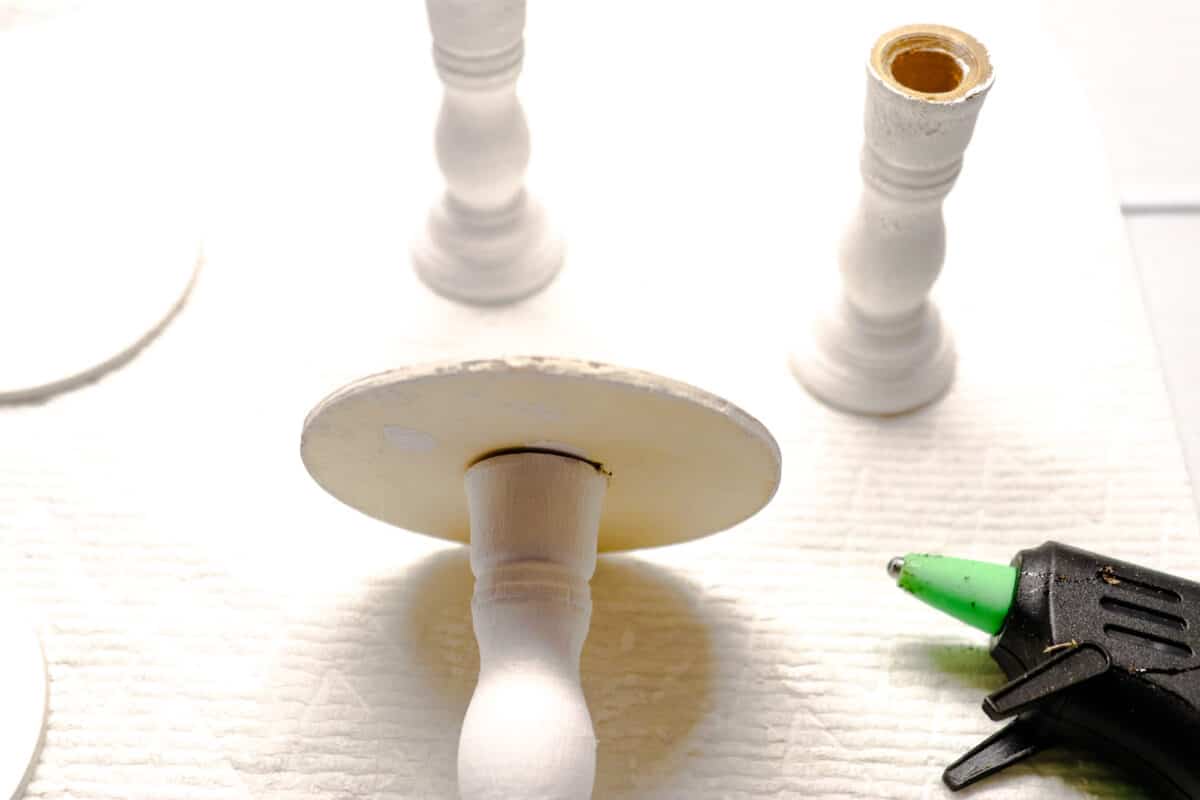
Step Two
Add a few drops of hot glue on top of a candlestick. Center the wooden circle on top. Press firmly until secure.


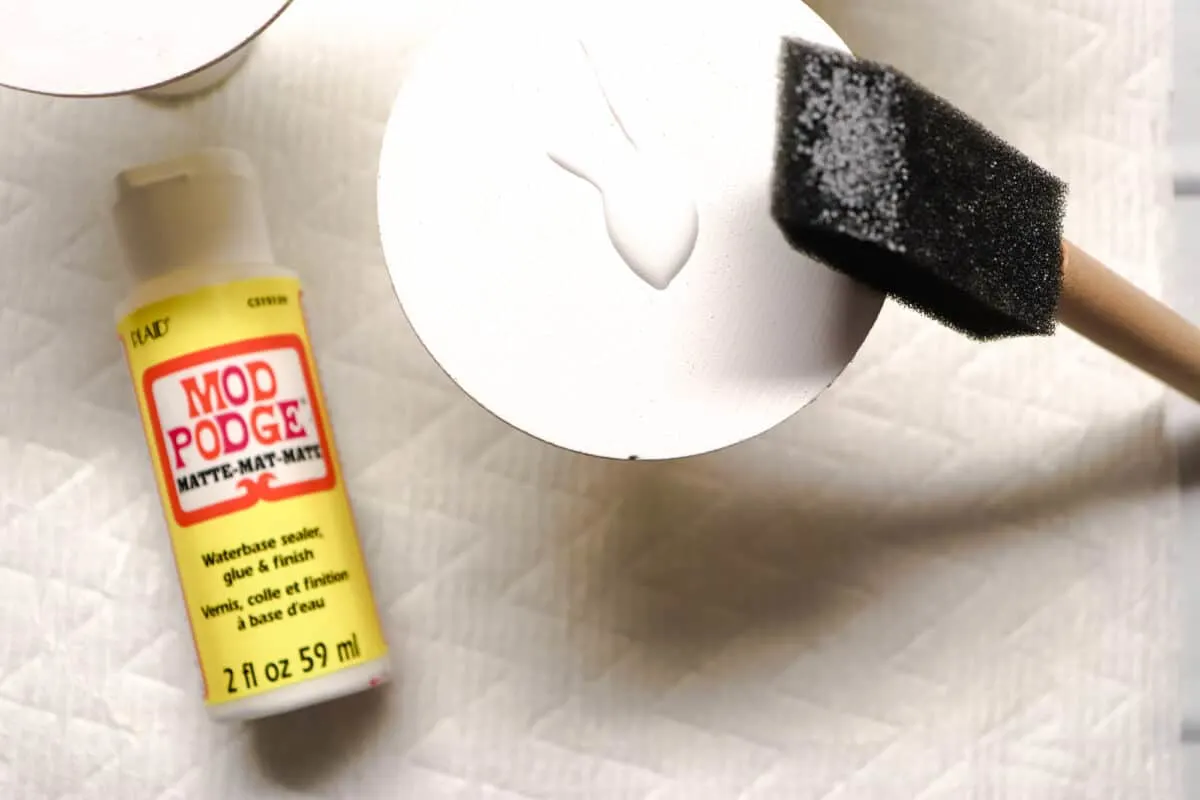
Step Three
Using a foam brush, coat the entire mini pedestal with Mod Podge to seal the paint. Allow to dry.

Step Four
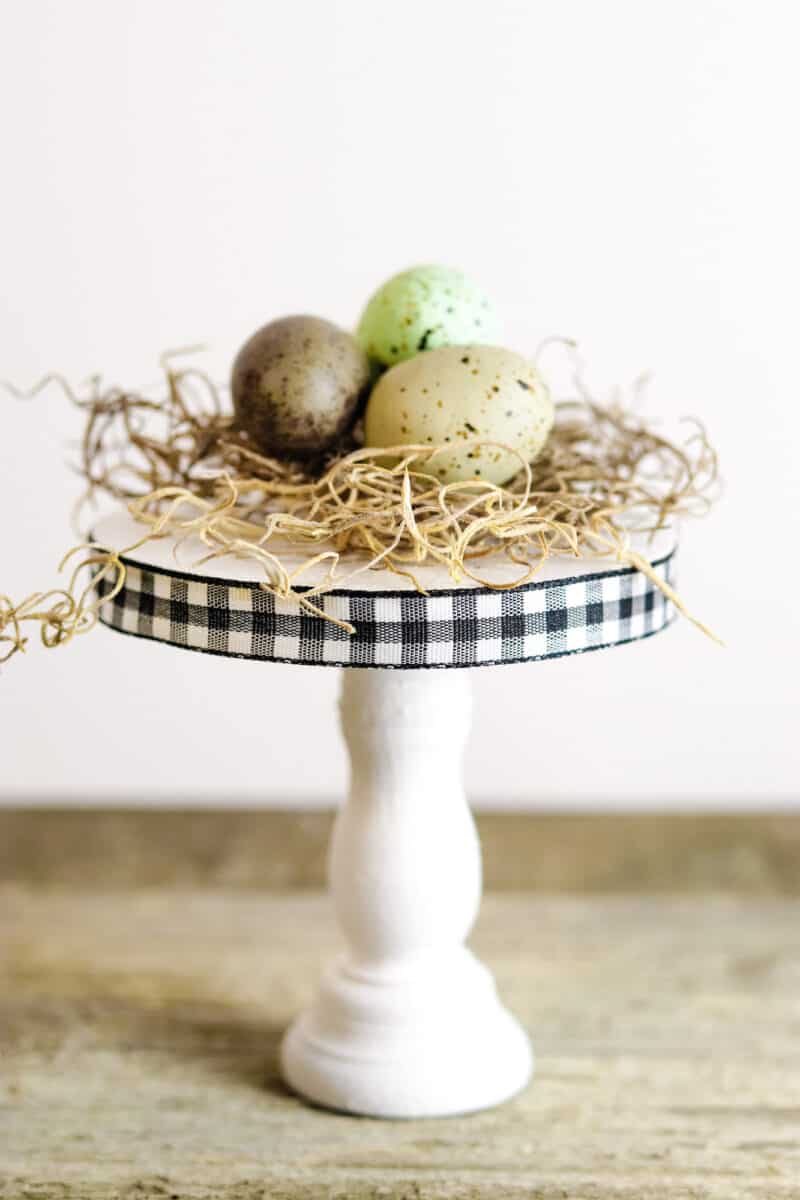
Using craft glue, attach the ribbon to the edge of the round circle on top of the pedestal. Add a layer of glue to the edge, then line up the edge of the ribbon, allowing the rest to hang freely beyond the pedestal base. Cut the ribbon where the edges meet together.
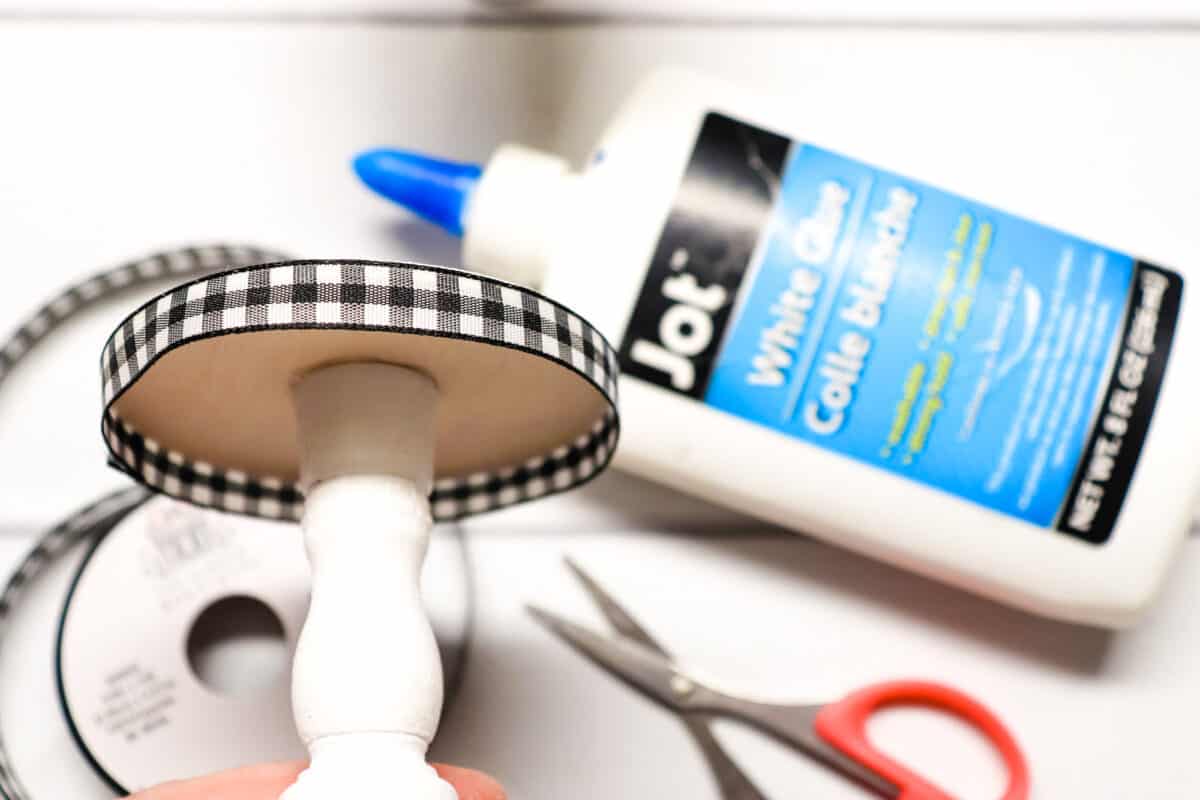

Hot glue is probably too messy and too thick for this delicate edge.
