


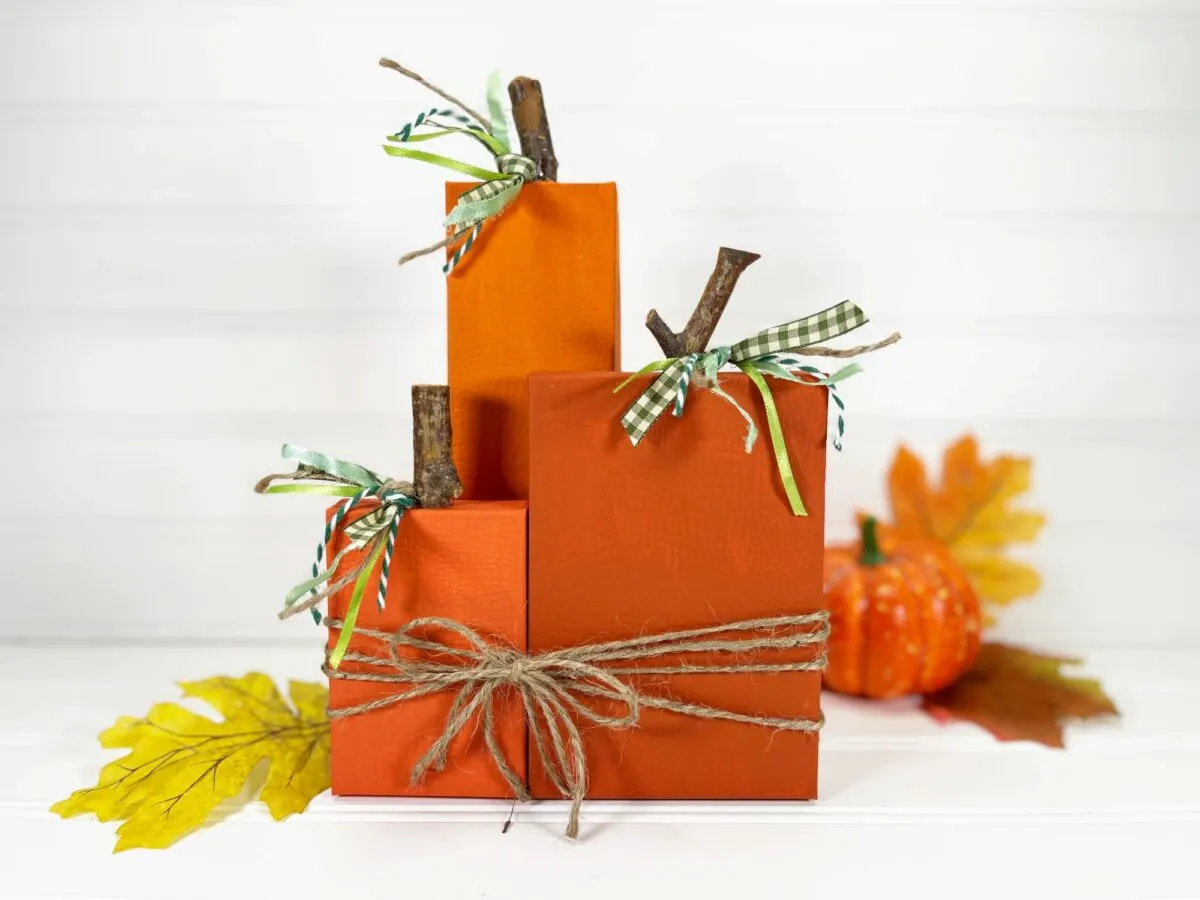
Sometimes the best craft ideas are the most simple! That is how I feel after making these easy box pumpkins.
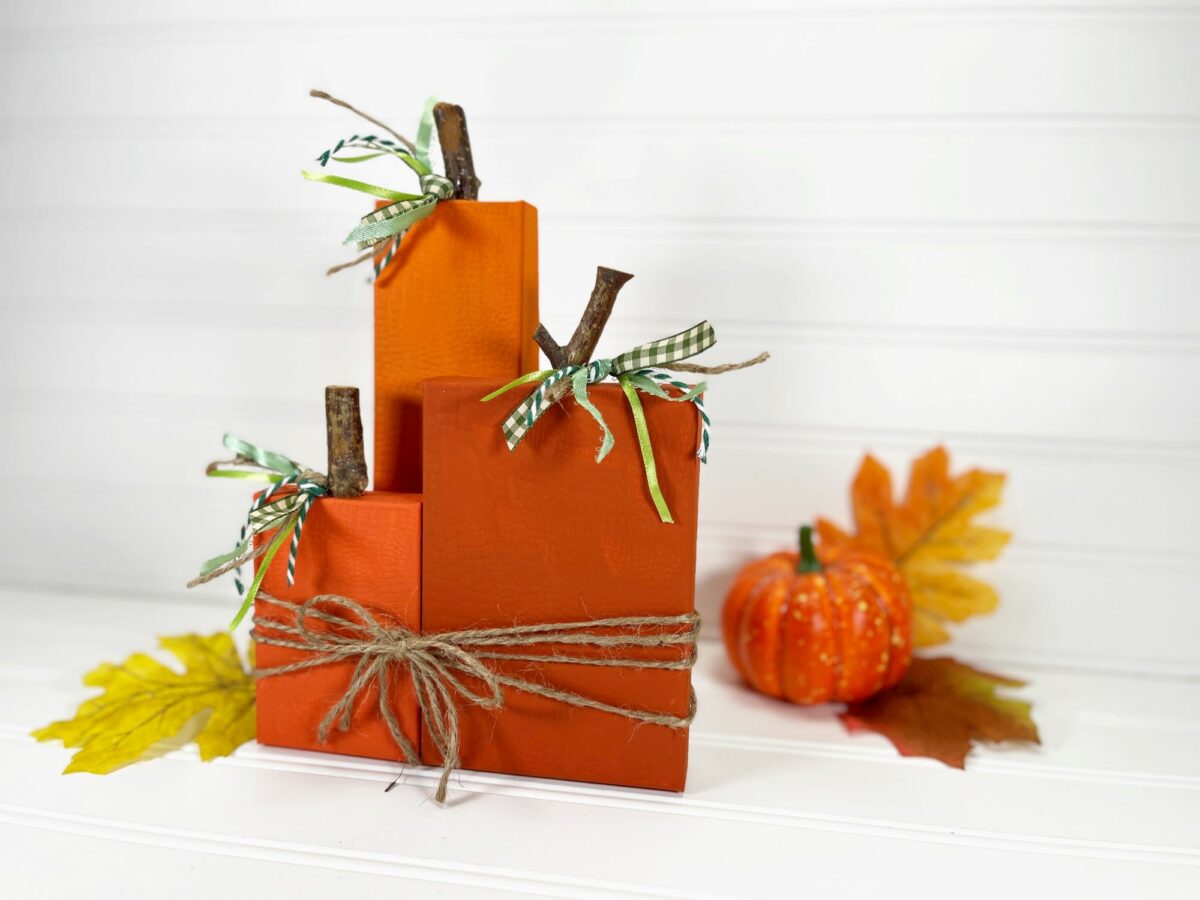
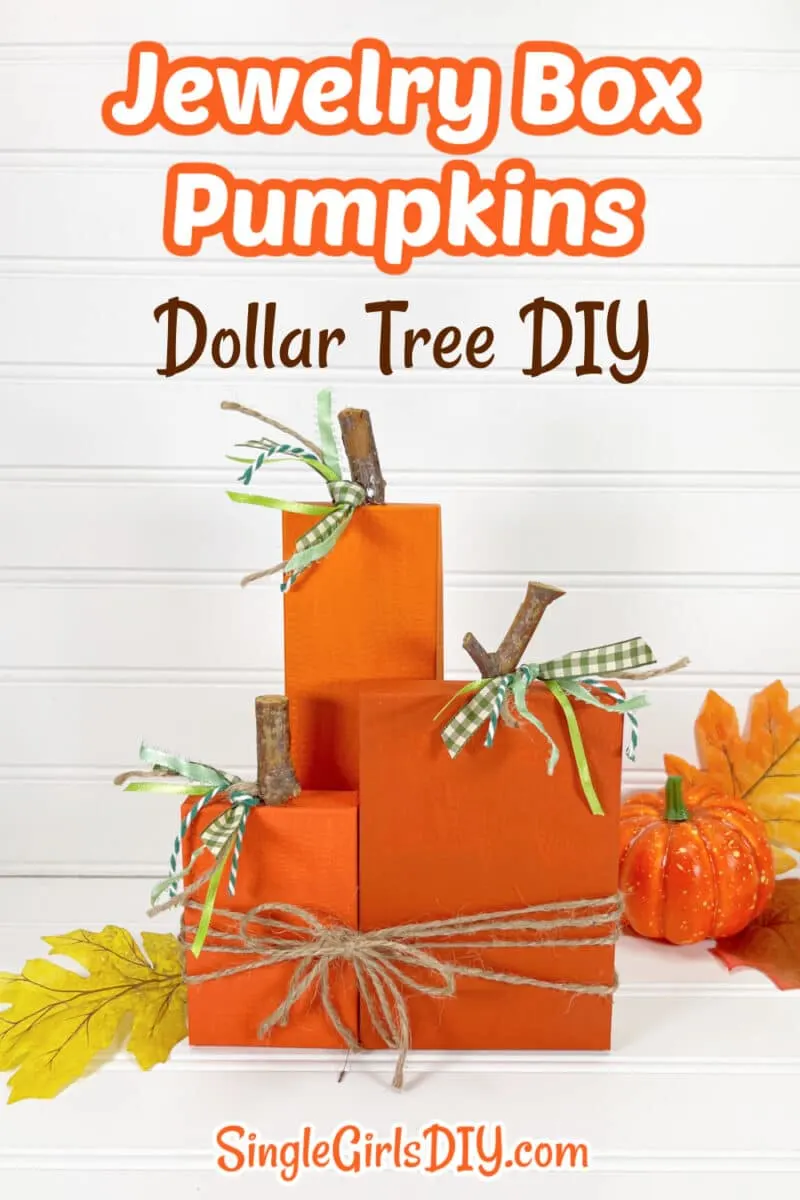
We used jewelry boxes to create a pretty trio of pumpkins that are perfect for adding to your shelves, tiered tray or mantel. No one needs to know how easy this handmade pumpkin decoration is to make!

This Dollar Tree DIY costs around $2 to make. The boxes will cost $1.25, and the small bits of craft supplies will cost a little bit more. You can easily make this craft on a budget!
We use many of these same supplies in several of our Dollar Tree crafts, so you can buy a few materials and make a variety of decorations such as:
Helpful Tips
- We used different shades of orange paint for each box. You could use the same color of orange for all three boxes. Or use a different color!
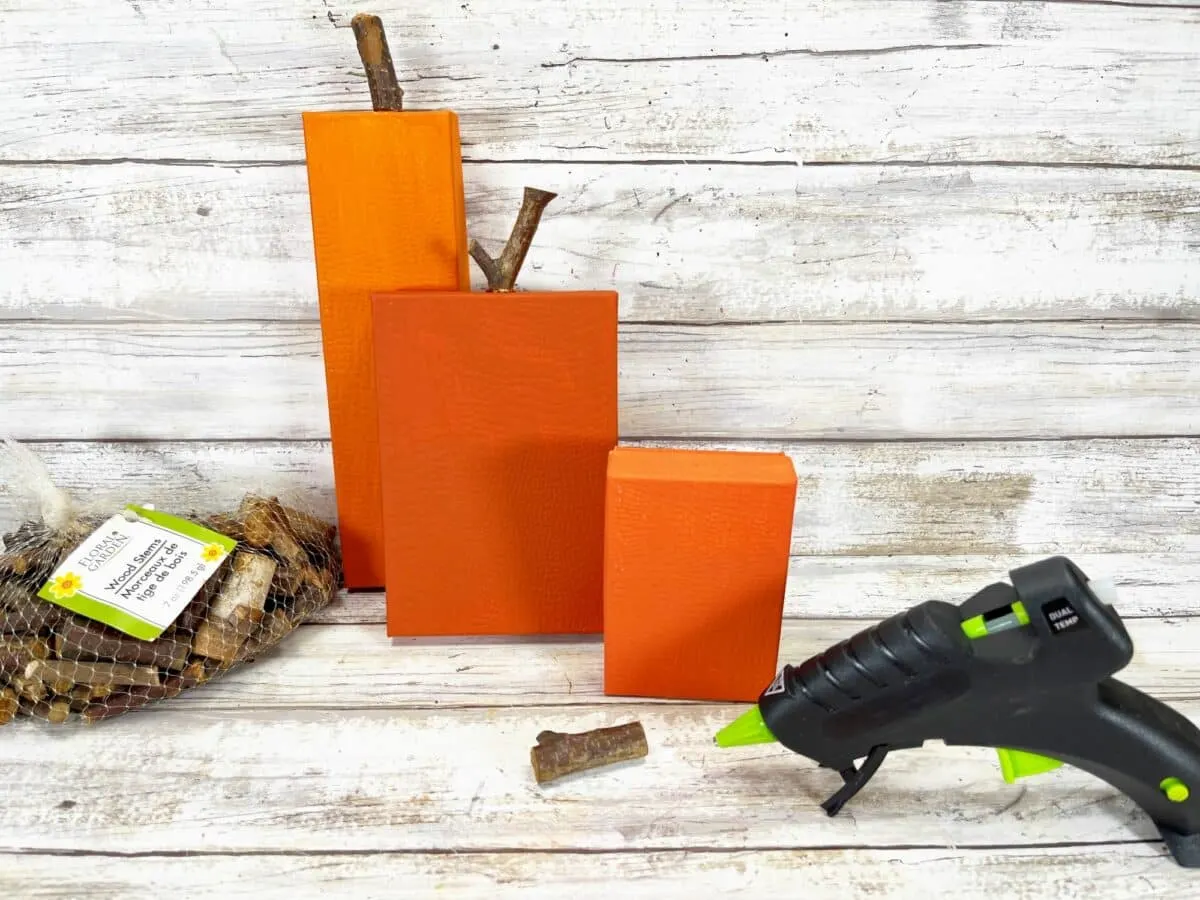
- We bought a bag of wood stems at the Dollar Tree to use in this project as well as many others, such as our tin tile pumpkin wreath. You could use stems and branches from outside, instead.
- A felt leaf could be substituted instead of the ribbon bundle leaves.

DIY Box Pumpkin Decoration
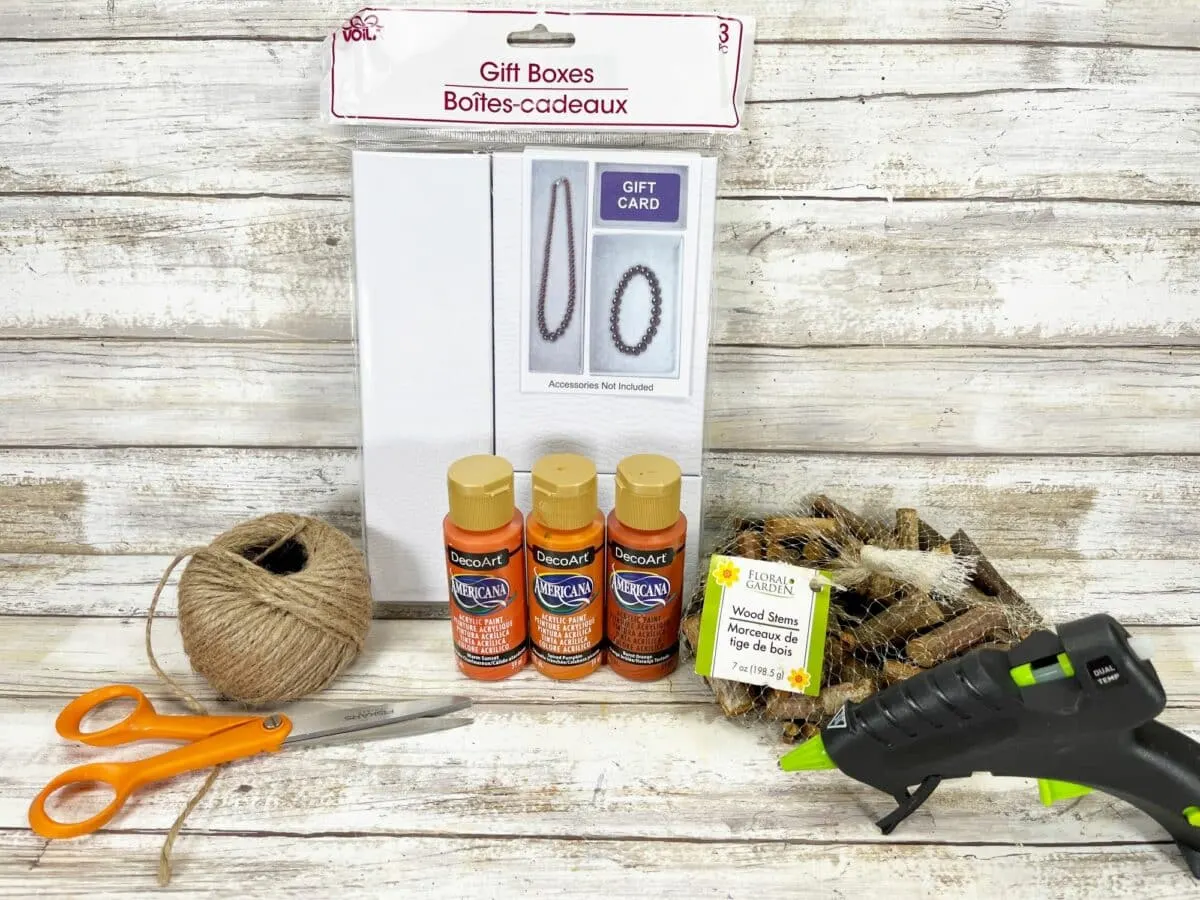
Supplies
- 3 Pack of Jewelry Boxes
- Craft Paint (Light Orange, Medium Orange, Dark Orange)
- Jute Twine
- Wood Stems
- Hot Glue Gun or Craft Glue
- Small bits of Ribbon, Twine, Lace, etc. in Assorted Shades of Green
- Paintbrush

Directions
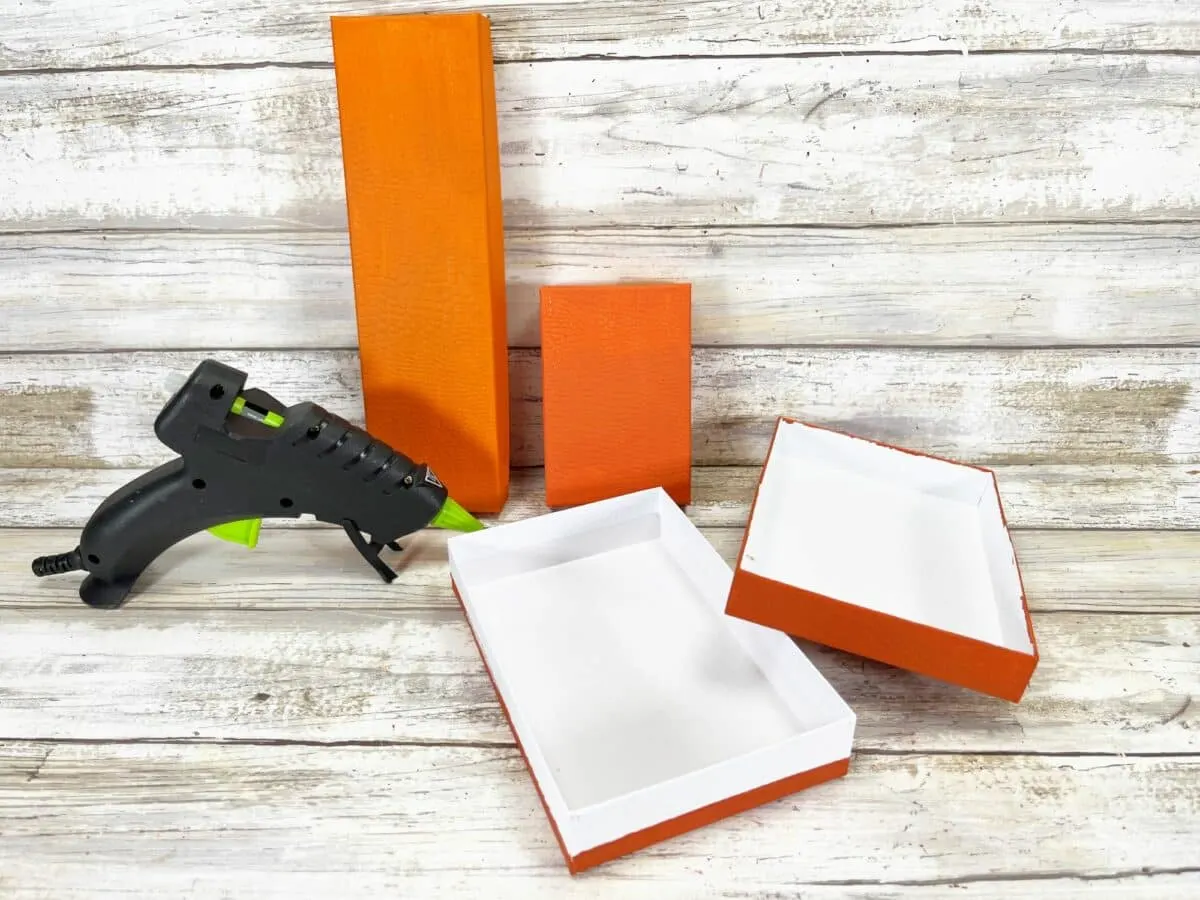
Step 1
Paint the three cardboard jewelry boxes. Each box should be a different shade of orange.
Be sure to coat the front, sides and back of the boxes. While you can remove the top of the box from the bottom to paint, keep in mind that you do not have to paint the areas that are hidden when the box top is on if you want to conserve paint and time.
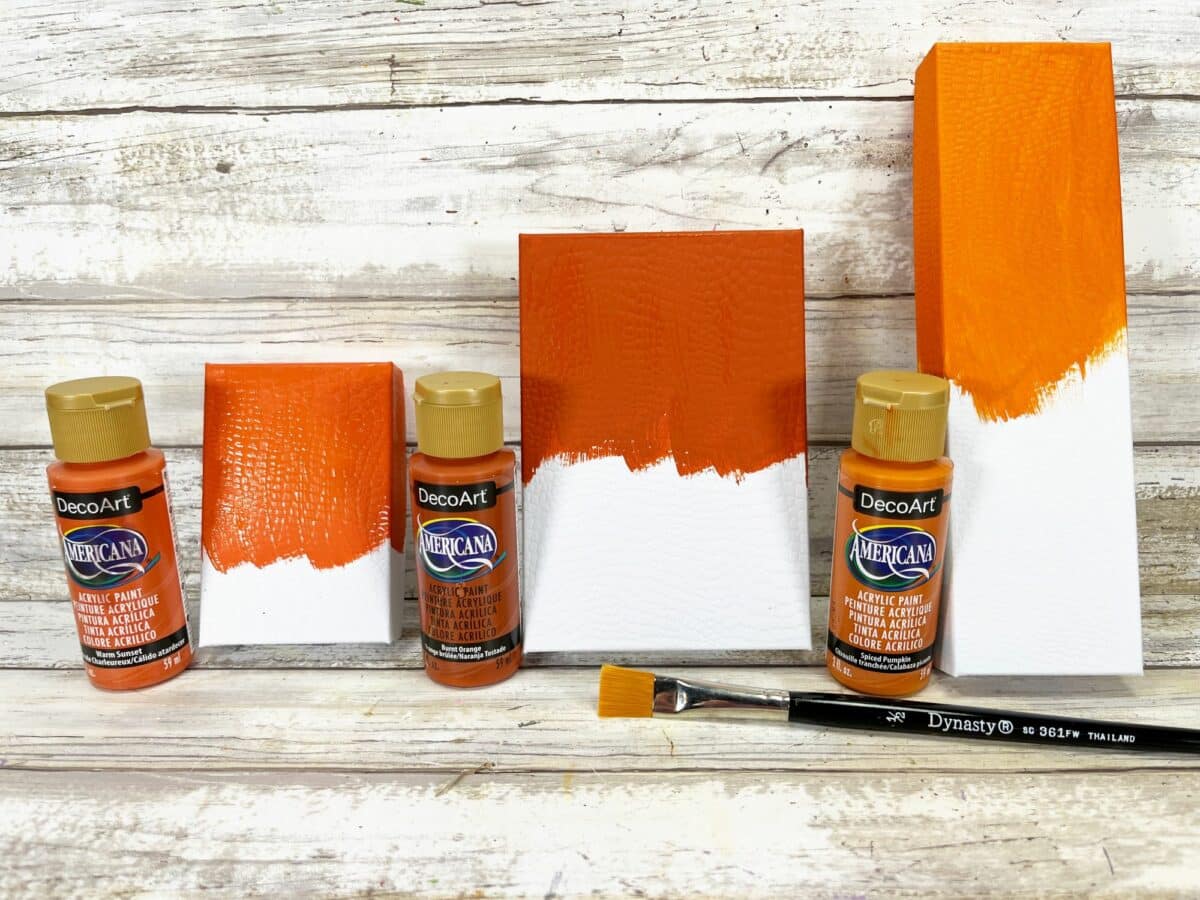

Allow to dry completely. Add a second coat of paint, if necessary.
Step 2
Once the paint is dry, glue the lid of each box to the base.

Step 3
Glue a wooden stem to the top of each box in the center.

Step 4
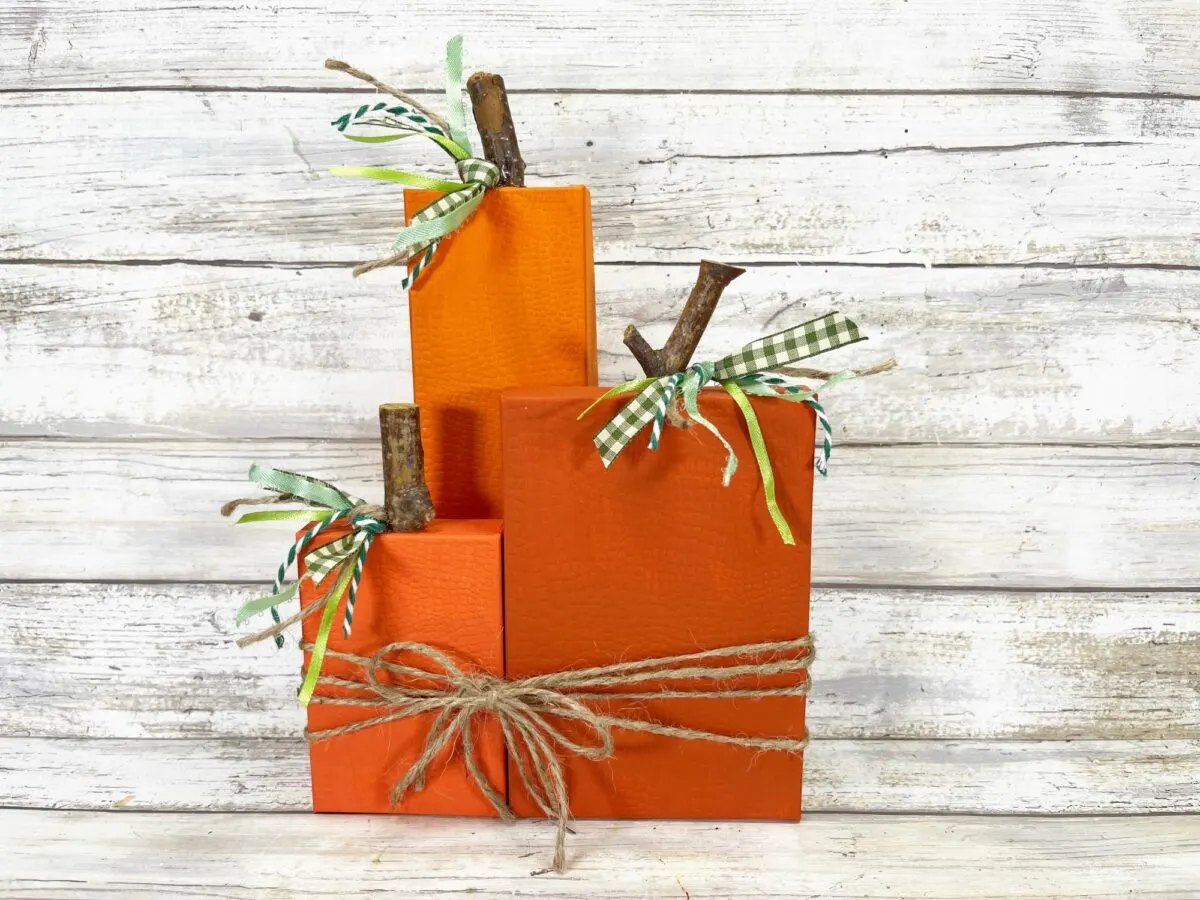
Glue the two smaller boxes together, side by side.
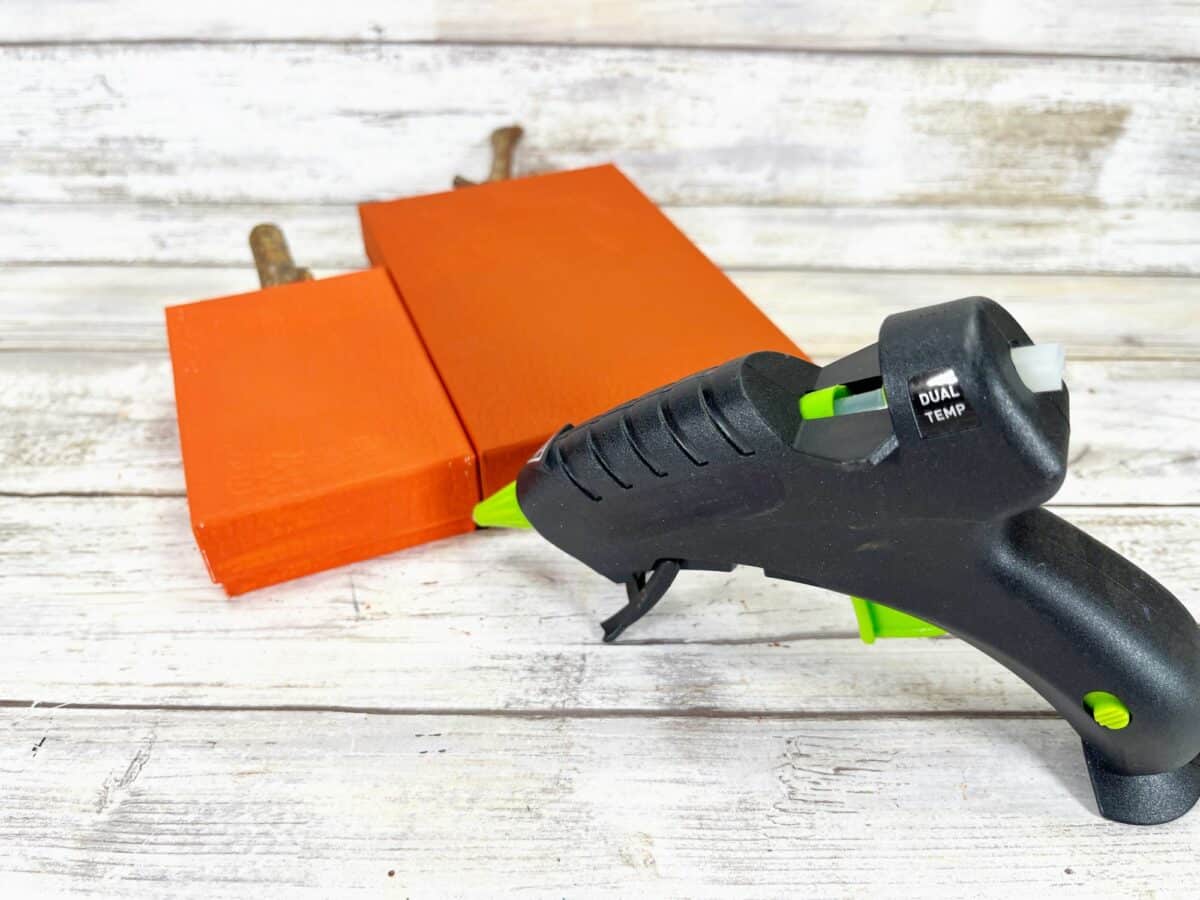

Then, glue the larger box in the back of the two smaller pumpkin boxes, centering the box behind the smaller pumpkins.
Step 5
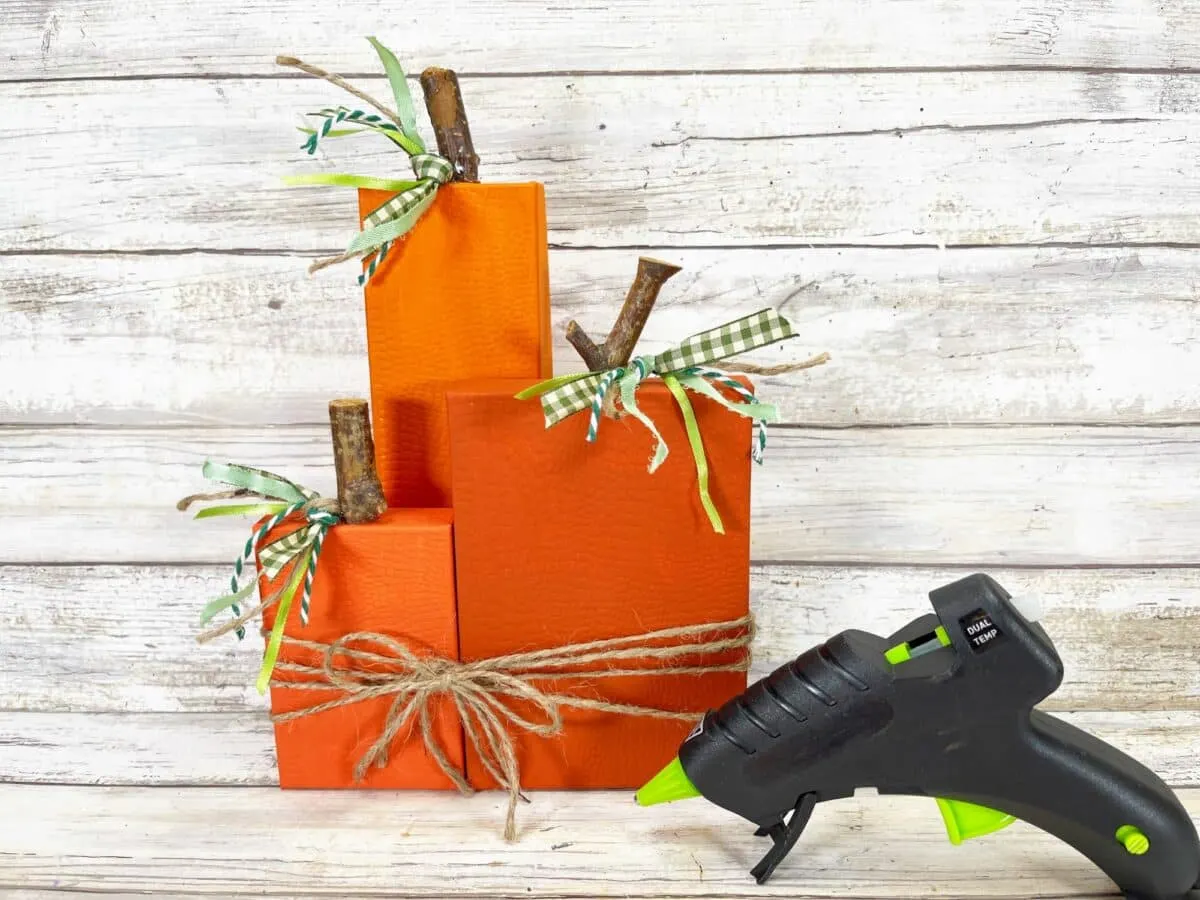
Wrap the jute twine around the pumpkins towards the base at least three or four times. Tie the jute with a knot in front.
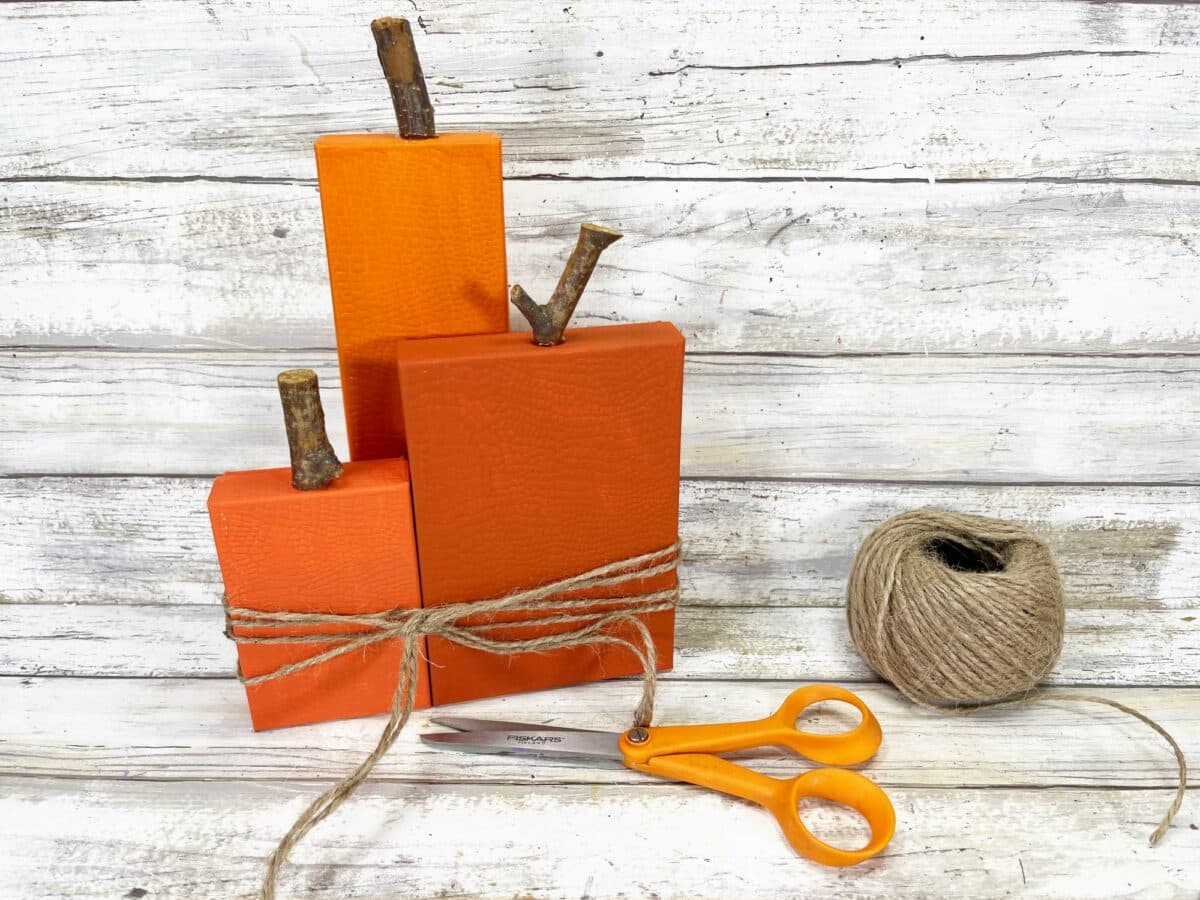

Step 6
Cut about 6” length of twine and then tie a box. Trim off long ends if needed.


Step 7
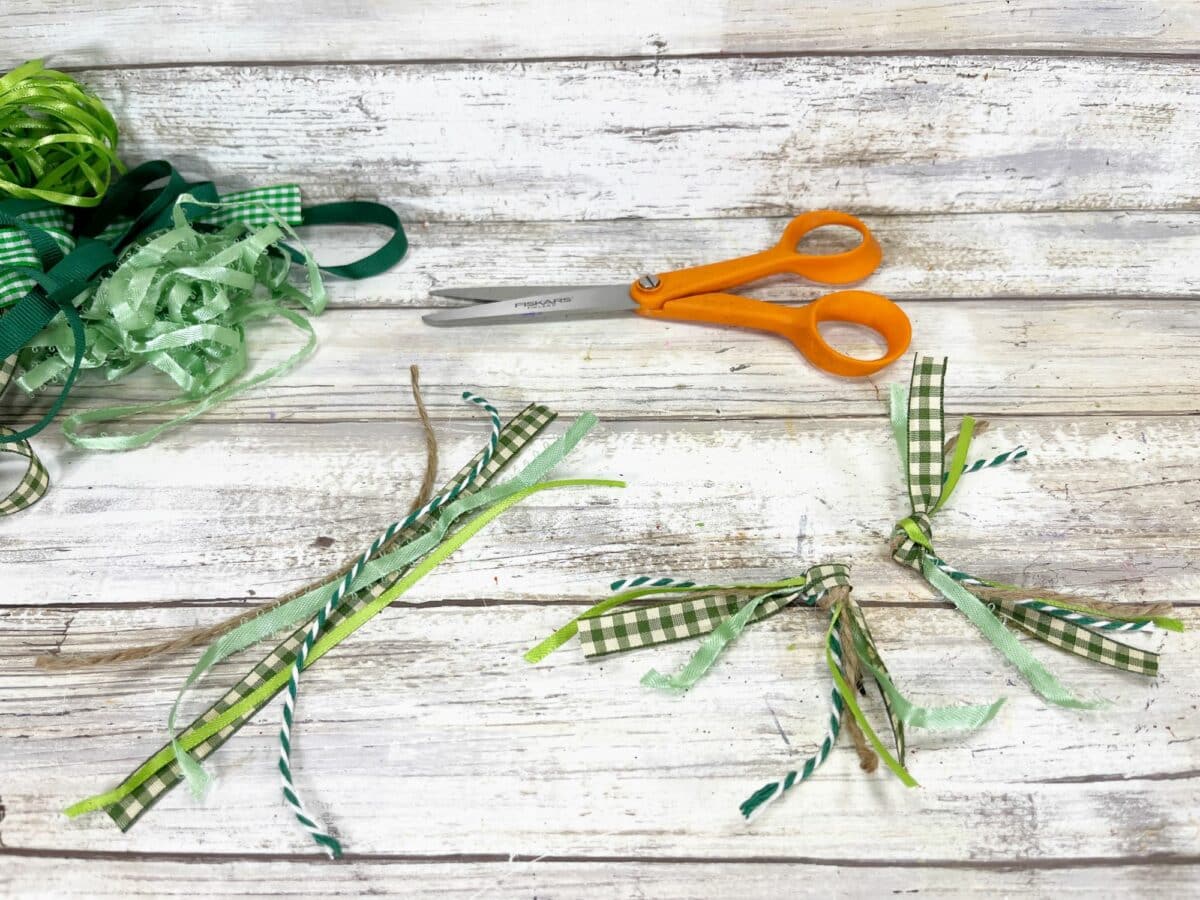
Cut a variety of green-colored trims, such as ribbon and twine, into three 6″ sections. I also added a piece of twine in each of these bundles, too.
Tie the ribbon bundles into a knot to create abstract leaves for your pumpkins.

Step 8
Glue the leaf bundles to the base of the wooden stems, adding one bundle to each box.
Then glue the twine box to the front of the pumpkins to cover the knot in the twine.


Be sure to Pin This easy Box Pumpkin Decoration to save for later!

If you love making pumpkins out of unusual items, you will want to see these fun DIY projects, too:
