
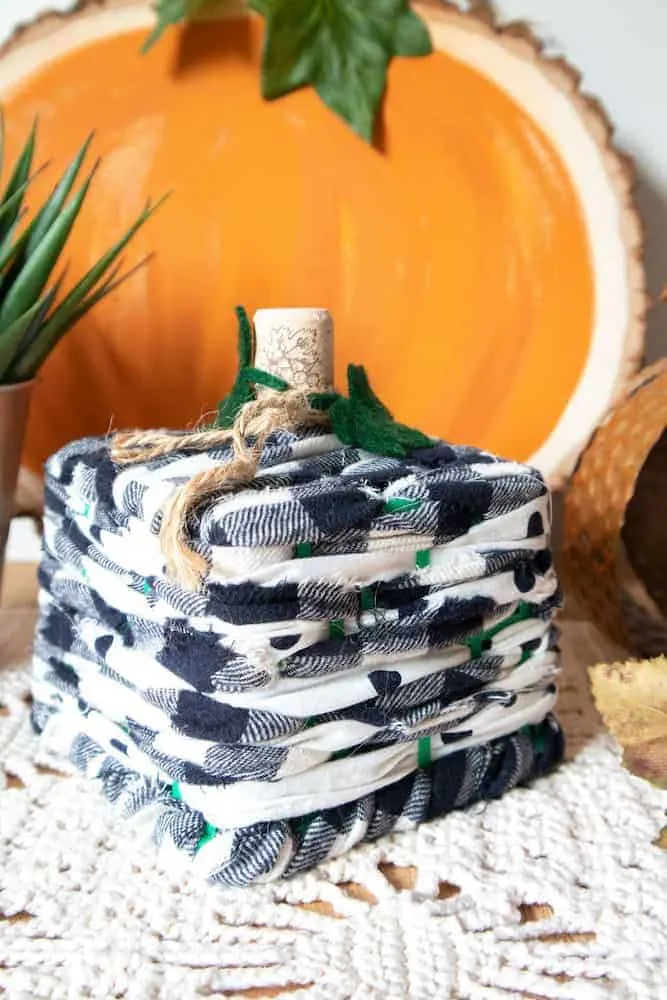
Repurpose a berry basket into a cute pumpkin with this Easy DIY project for Fall.

Dollar store DIY projects make me happy. They are cheap and easy. Plus they usually make the cutest decor, right?
Upcycling projects make me happy, too! In fact, it might be even better because you don’t have to spend any money! (Be sure to check out my repurposed tin can Jack O’Lanterns, too!)
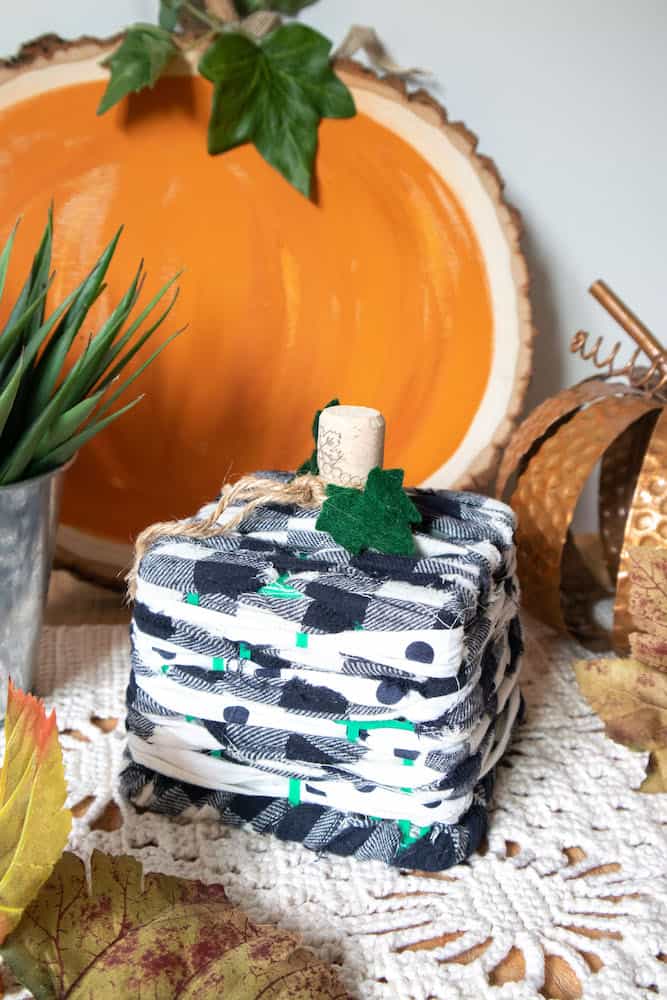
Whether you are buying one of these baskets from a dollar store or repurposing a strawberry basket that you already have, this simple DIY pumpkin is an inexpensive addition to your Fall and autumn decor. But it looks high end!

Repurpose Trash into a Pumpkin
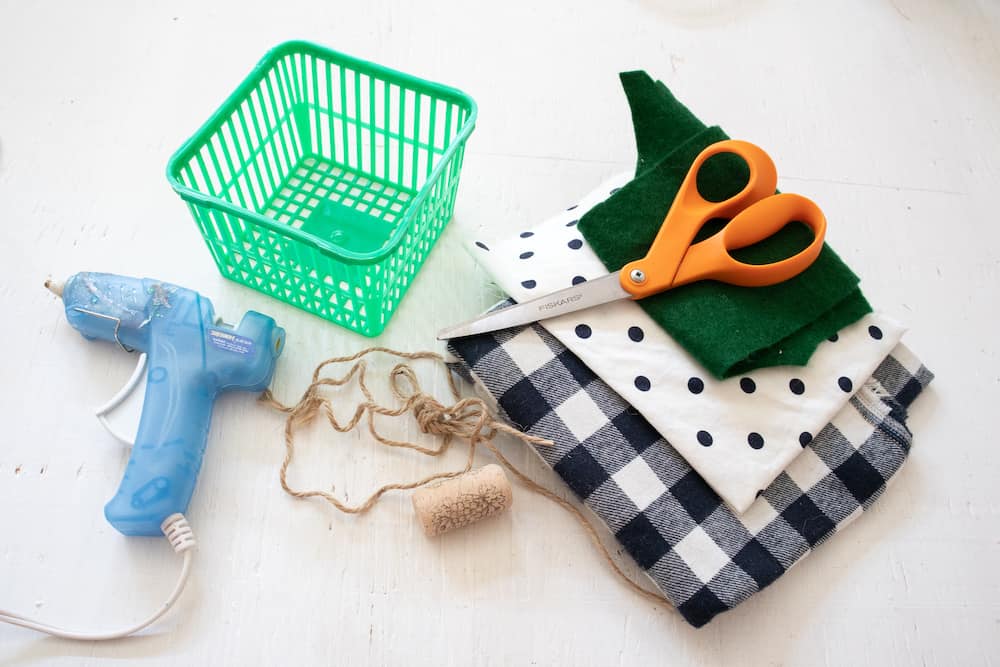
You can use all repurposed materials to make this craft and not spend a dime:
- Berry basket from the grocery store
- Fabric strips from old shirts or leftover crafts
- Wine cork
- Bits of twine or yarn
- Felt scraps
You could use a larger basket if you have one. Just keep in mind that the scale of the wine cork and felt leaves will be odd. You might want to use a piece of wood branch, instead. And resize the leaf pattern.

You might also like my DIY pumpkin vases using real pumpkins!
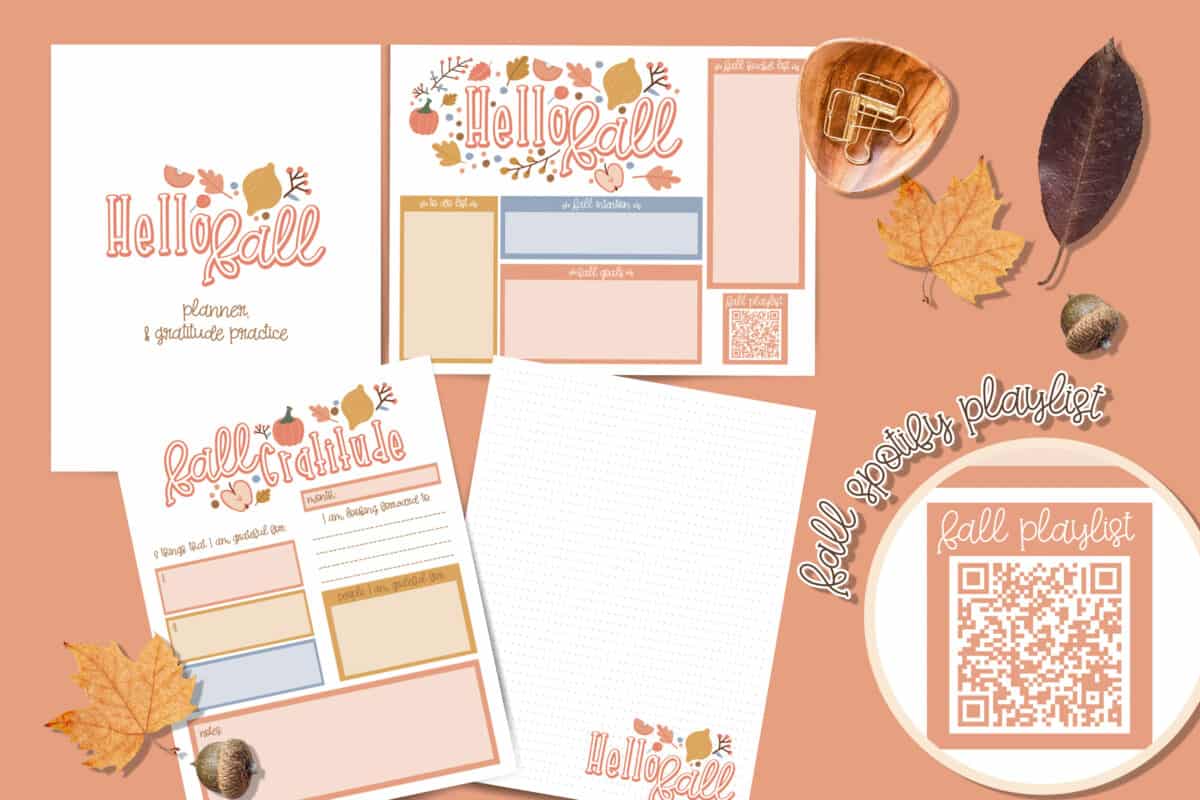
Get Your Fall Gratitude Journal Now!
Fall is a time to rest, reflect and be grateful. This printable planner and journal pack will help you capture your memories, and plan for the busy season ahead.
How to Make a Pumpkin From a Plastic Basket
Materials
- Plastic basket (like a strawberry basket), 1 quart size
- Woven scrap fabrics in coordinating colors
- Fabric scissors
- Hot glue gun with clear glue sticks
- Wine cork
- Green felt
- Printable pumpkin leaf pattern
- Twine (or ribbon or yarn), about 2 feet

Instructions
Cut fabric into 1” wide strips at least the length of the basket circumference plus 1 inch. (Measure around all sides of the basket with a measuring tape to get the length then add one extra inch to account for the weaving technique).

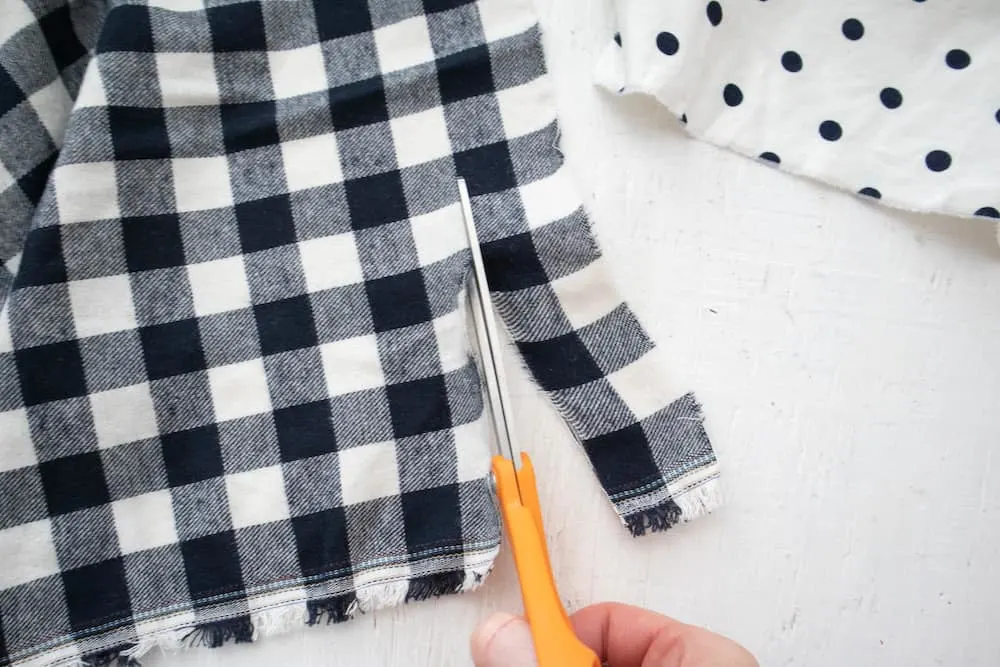
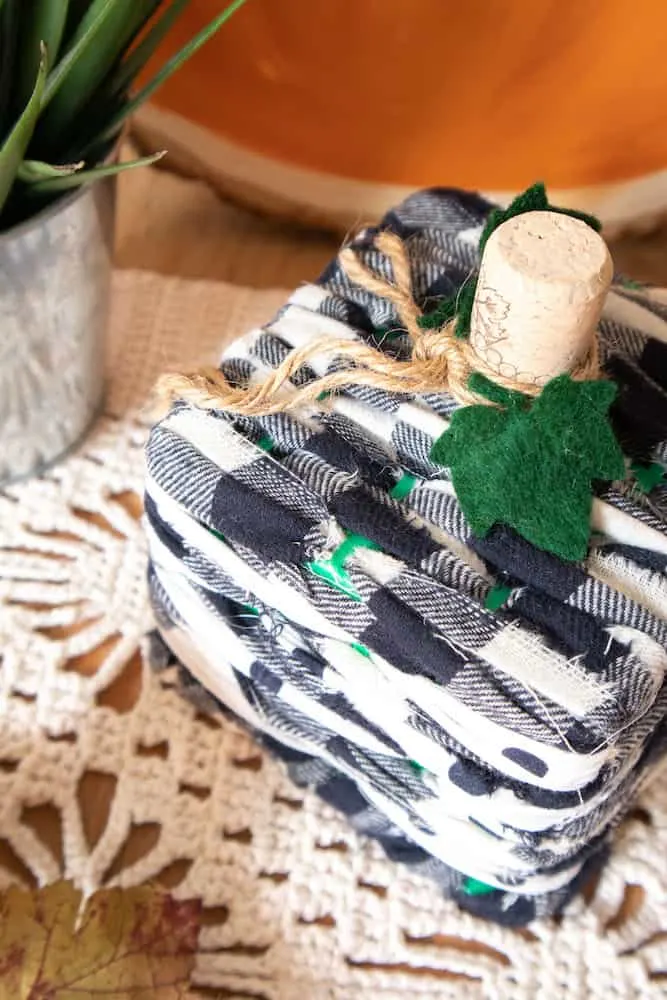
Optional: If using woven materials (such as t-shirt material or cotton), instead of cutting the fabric, you can clip the ends of the fabric at the measurement and then tear the two sides apart with your hands to create frayed edges.

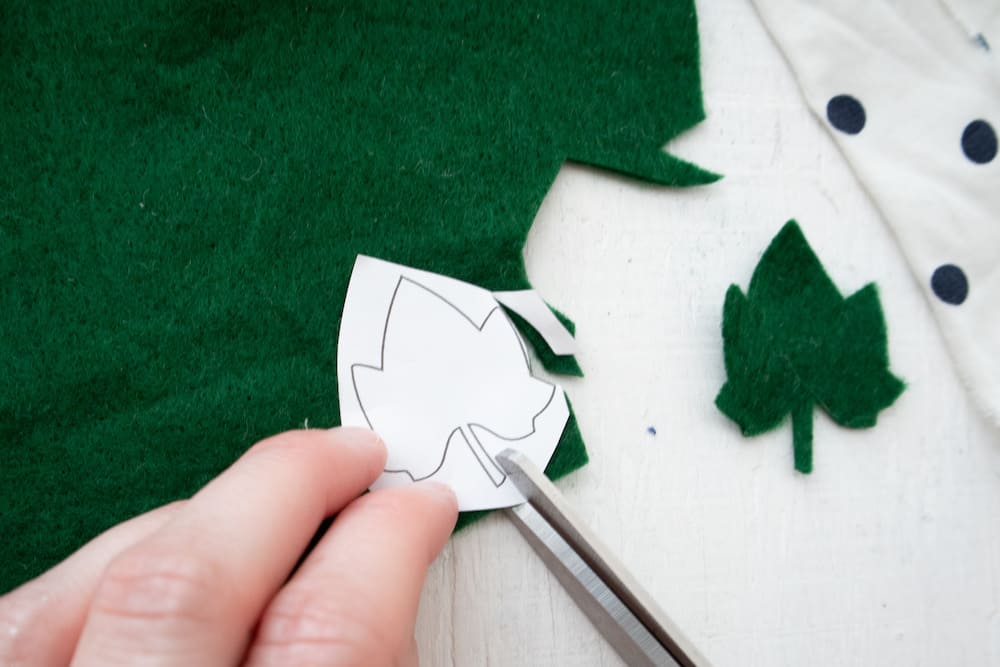
Cut out the pumpkin leaves using the printable pattern and a piece of green felt.

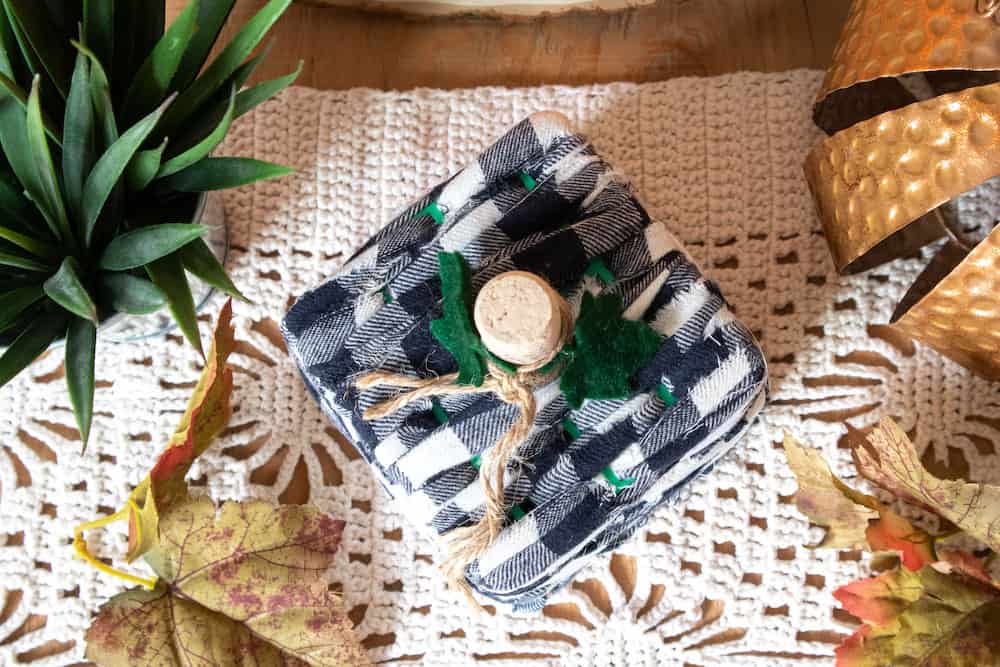
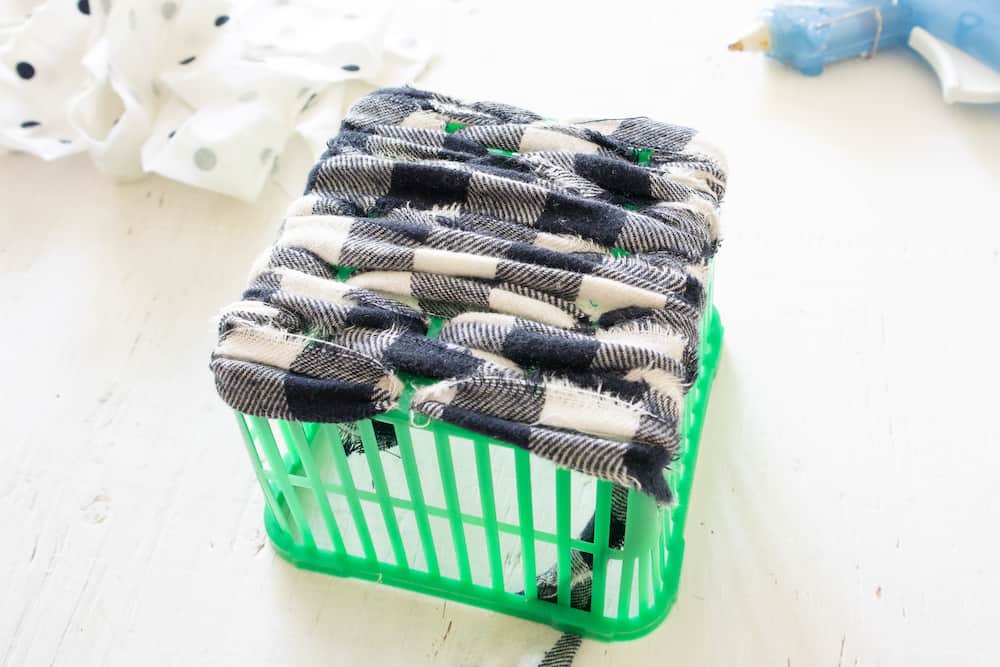
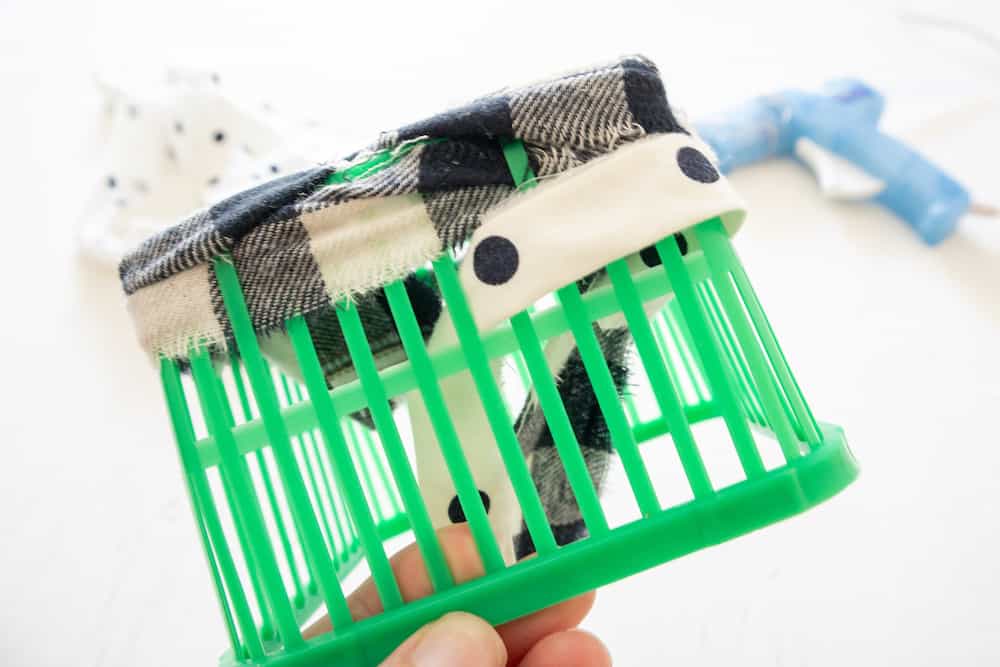
Turn the strawberry basket upside down, the bottom is now the top of the pumpkin.
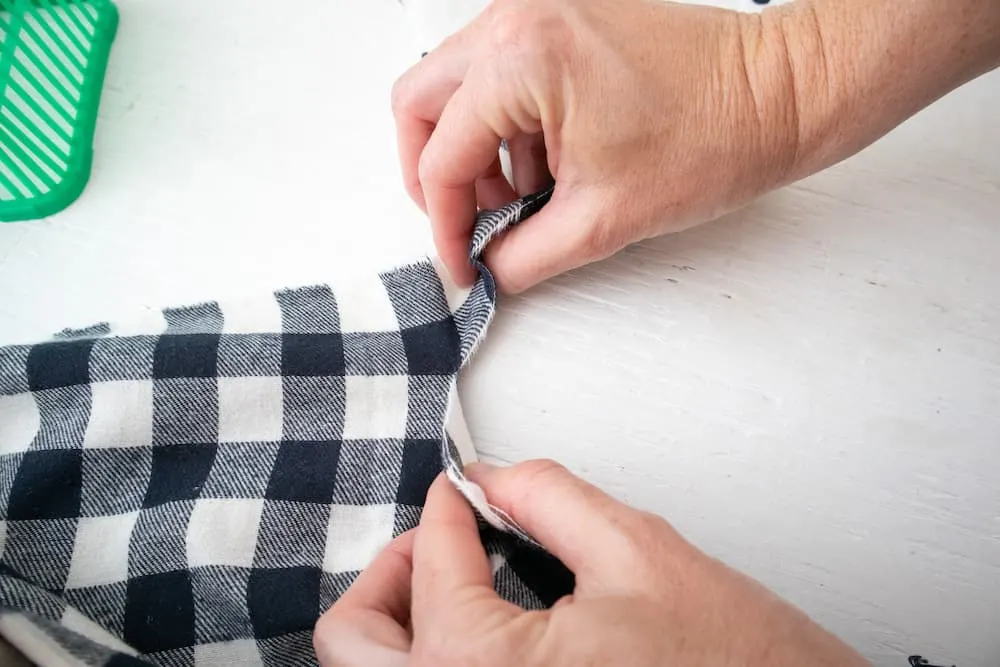
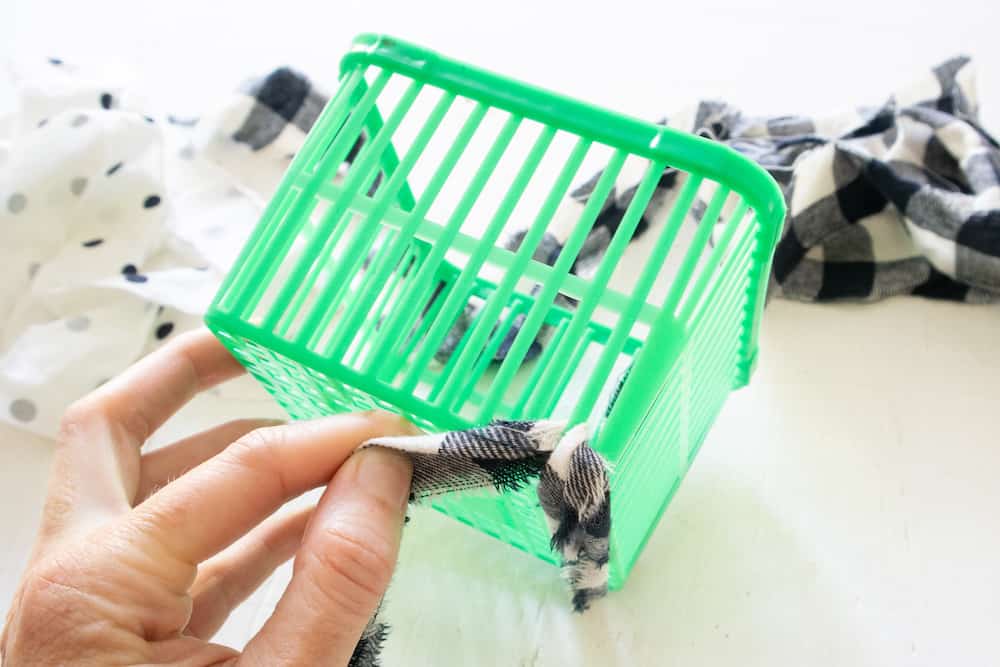
Begin weaving the fabric strips at the new “top” of the pumpkin. Starting at one end of the basket, thread the fabric strip through one slat and loop it back down another slat.
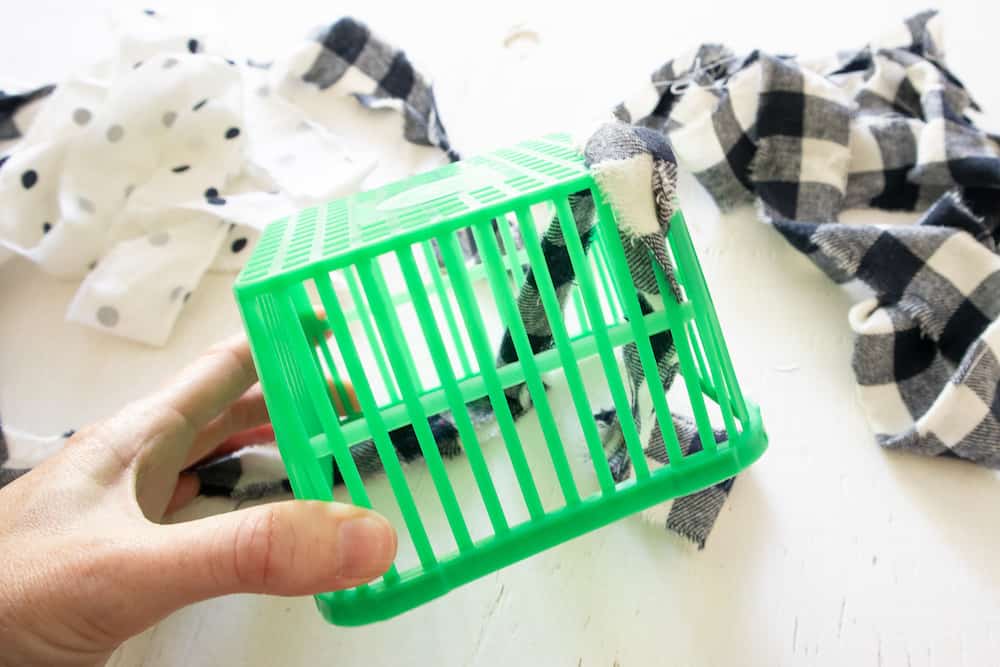
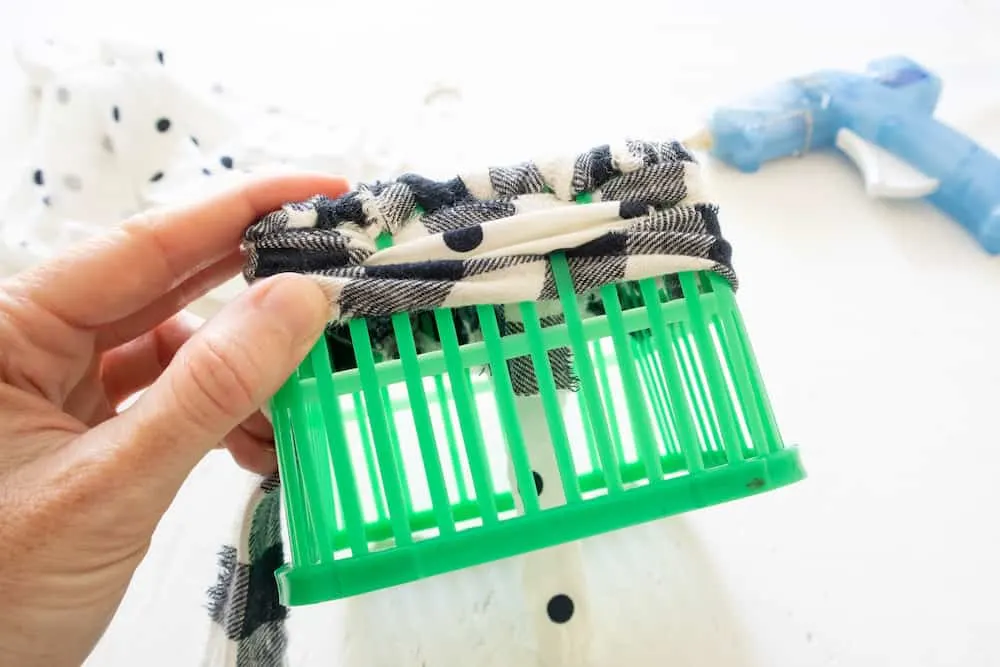
Continue threading the fabric strip through the slats in the basket.
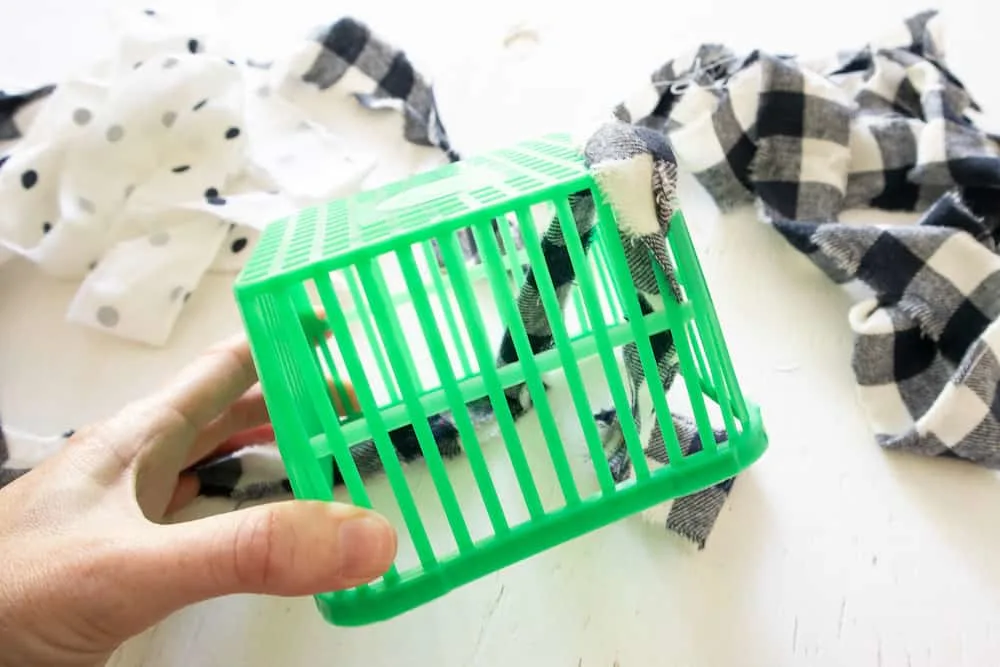
Wrap the fabric strip around and continue back in the opposite direction until the top is fully covered.
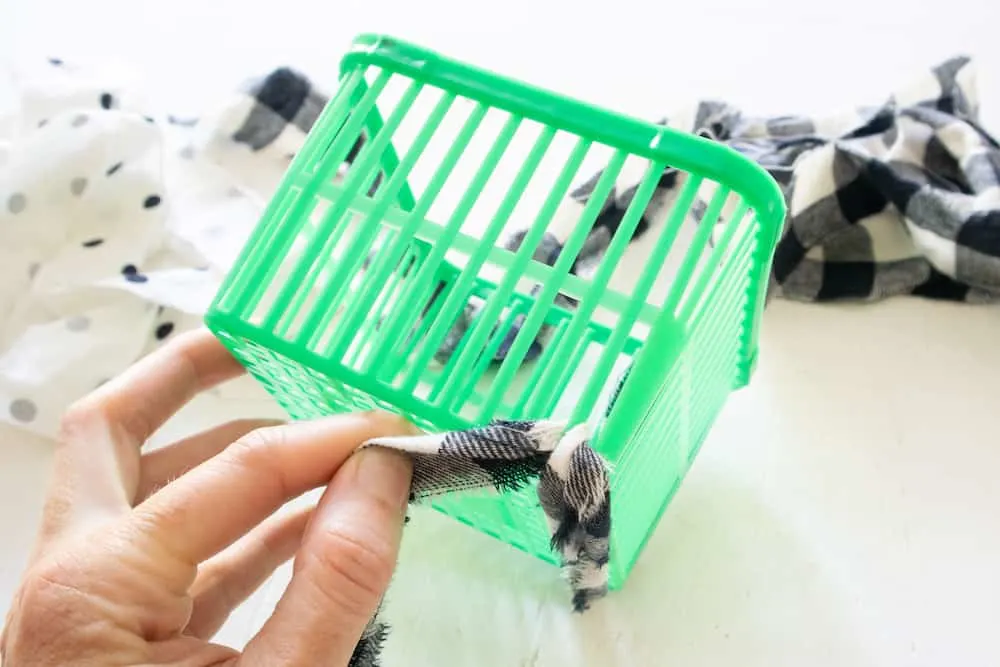

Pull the fabric strips tight and if needed glue the ends to secure.

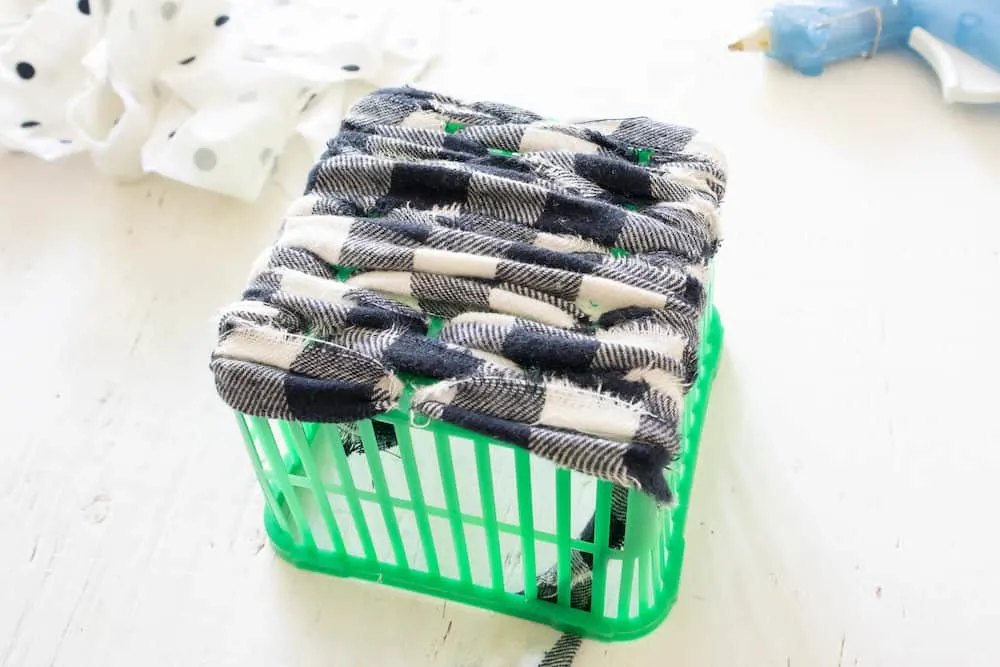
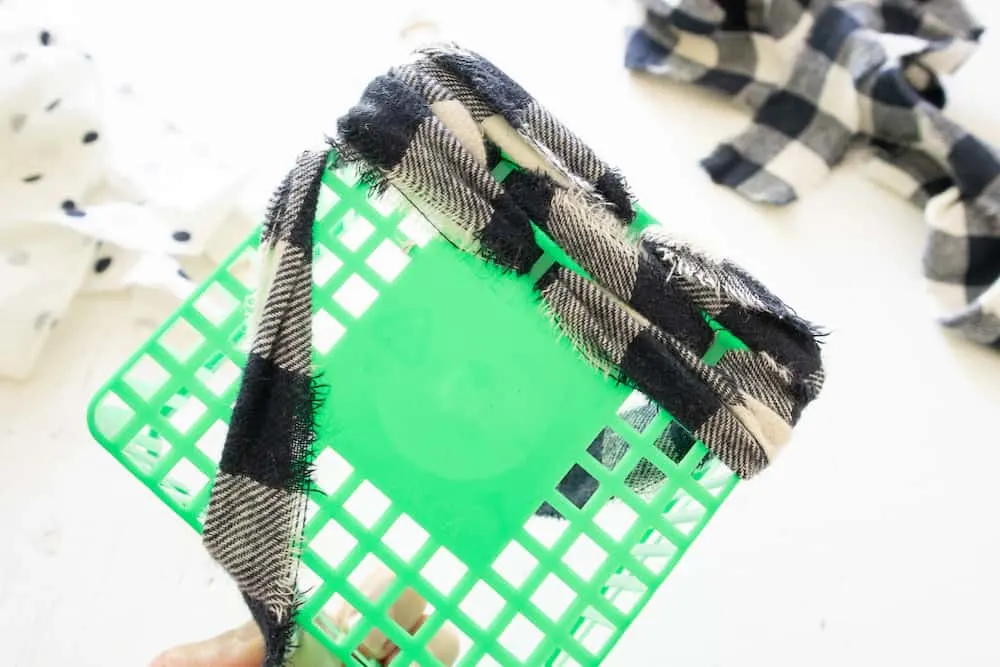
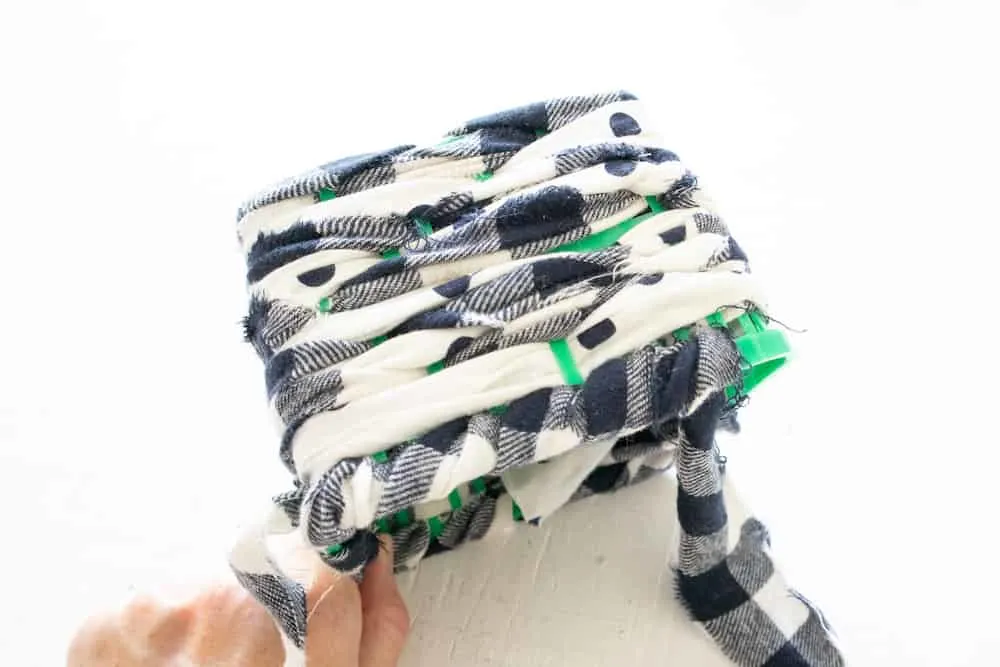
Repeat around the sides of the basket, alternating between the two different fabrics.


Push the woven fabric up the slats to the top to squeeze in as many rows of fabric as possible. Continue to add another fabric layer until there’s room for no more in the slats.

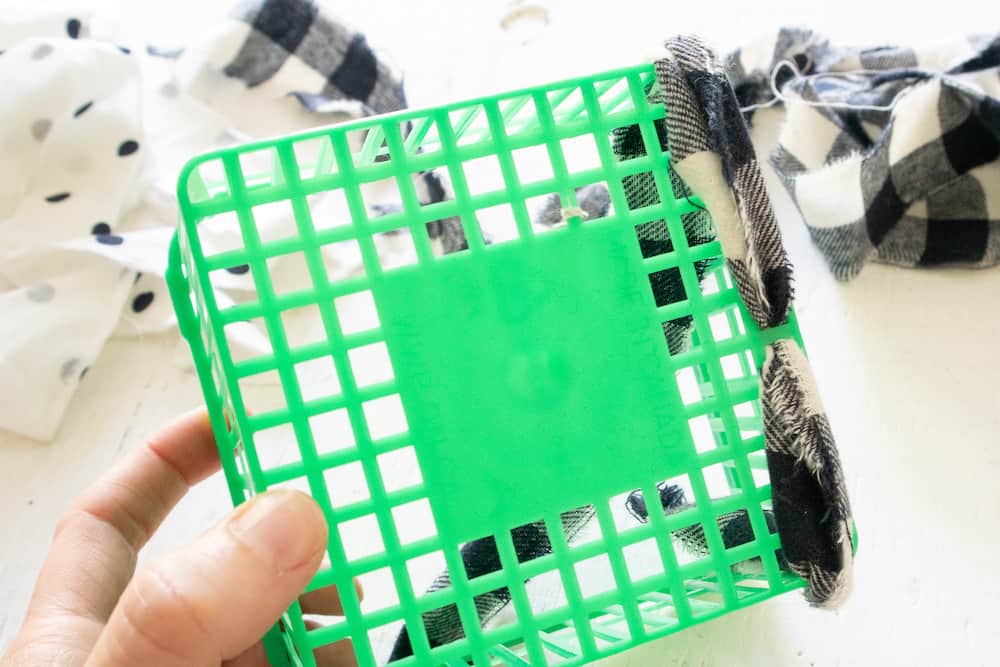
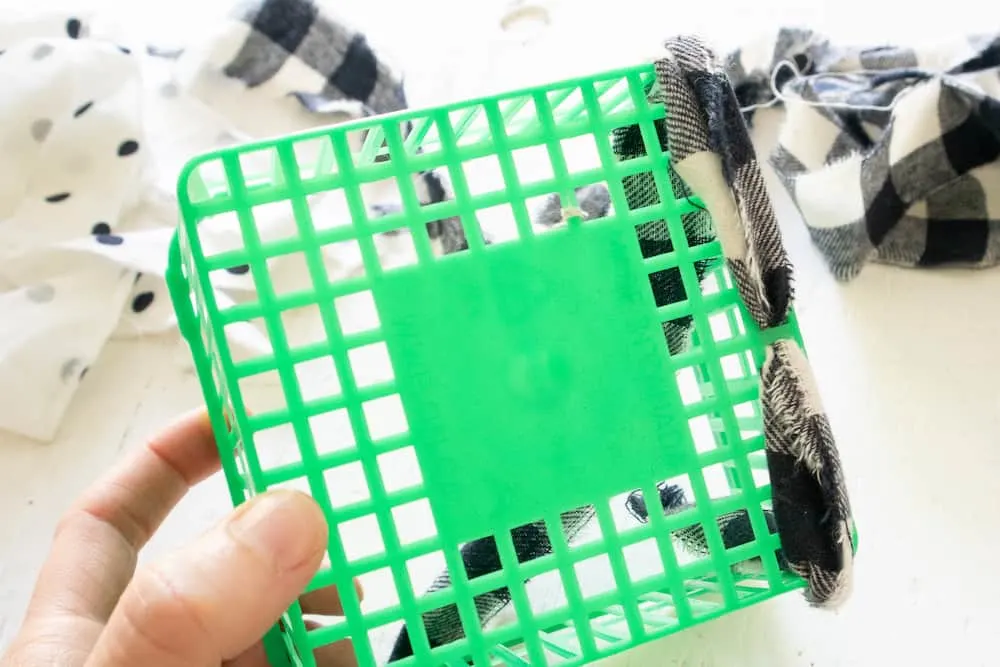
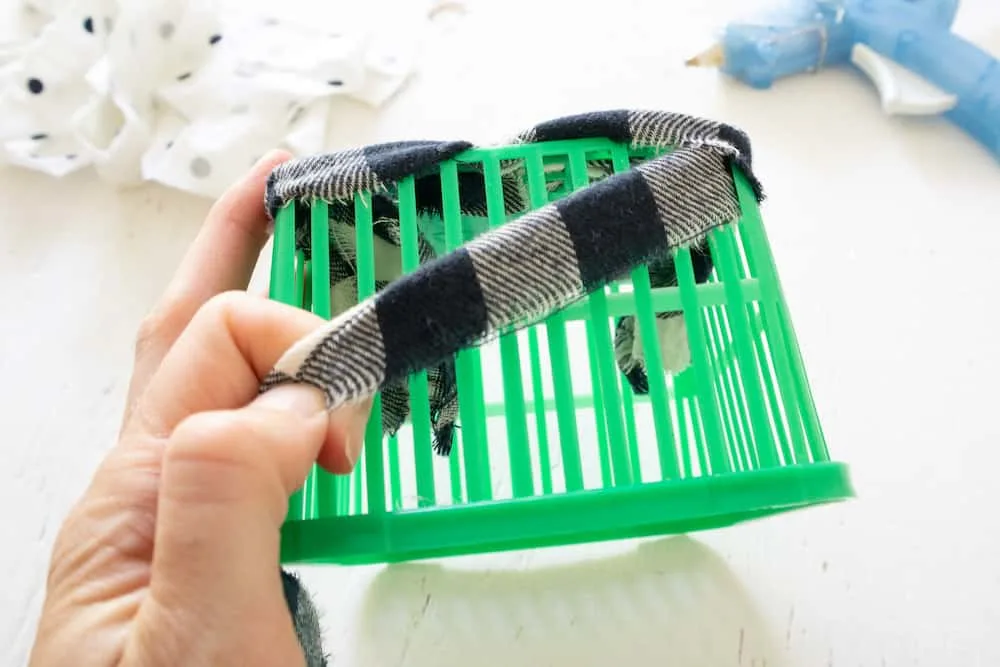
When at the bottom of the basket, wrap the fabric around the bottom edge to hide the plastic as much as possible. This will be perpendicular wrapping, rather than horizontal wrapping on the rest of the basket.

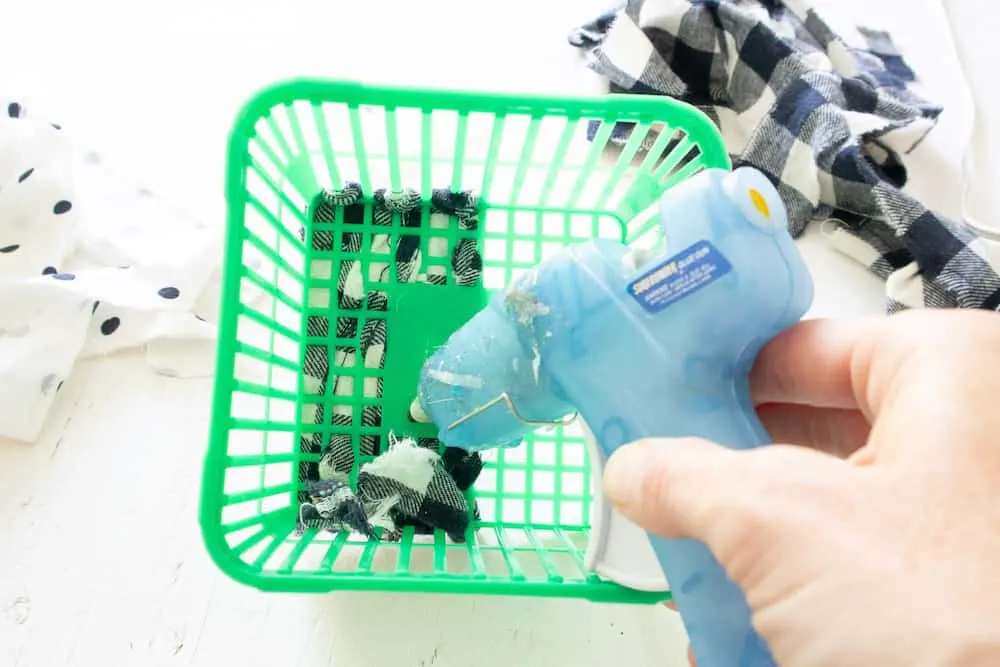
Using a hot glue gun, glue the ends of the fabrics strips to secure in place on the underside.
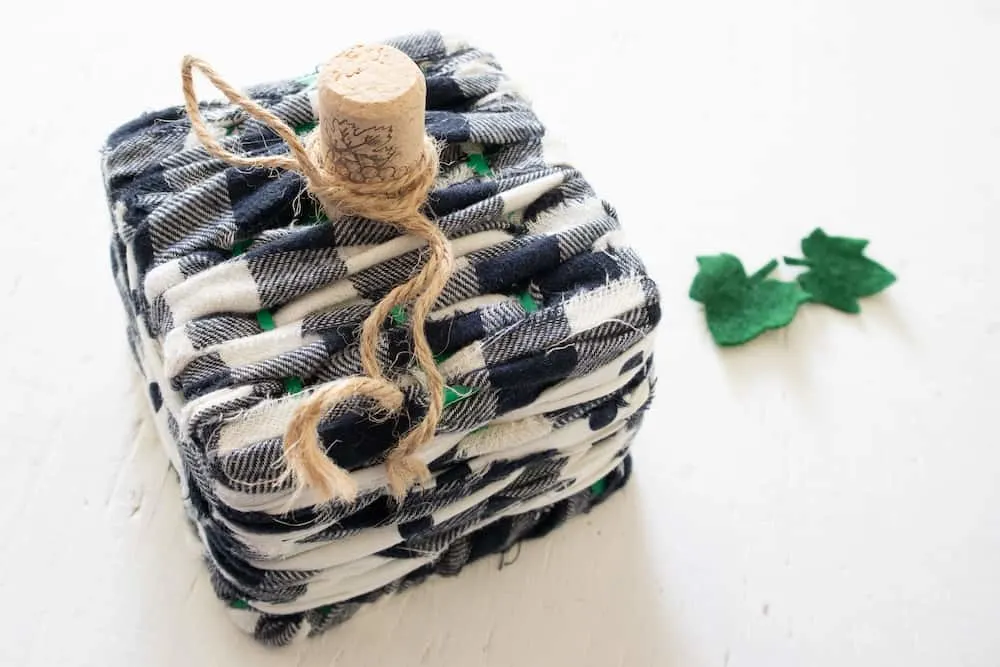
Add a bit of hot glue to the wine cork and press it in place at the center. Move fabric aside to glue the cork directly onto the strawberry basket.

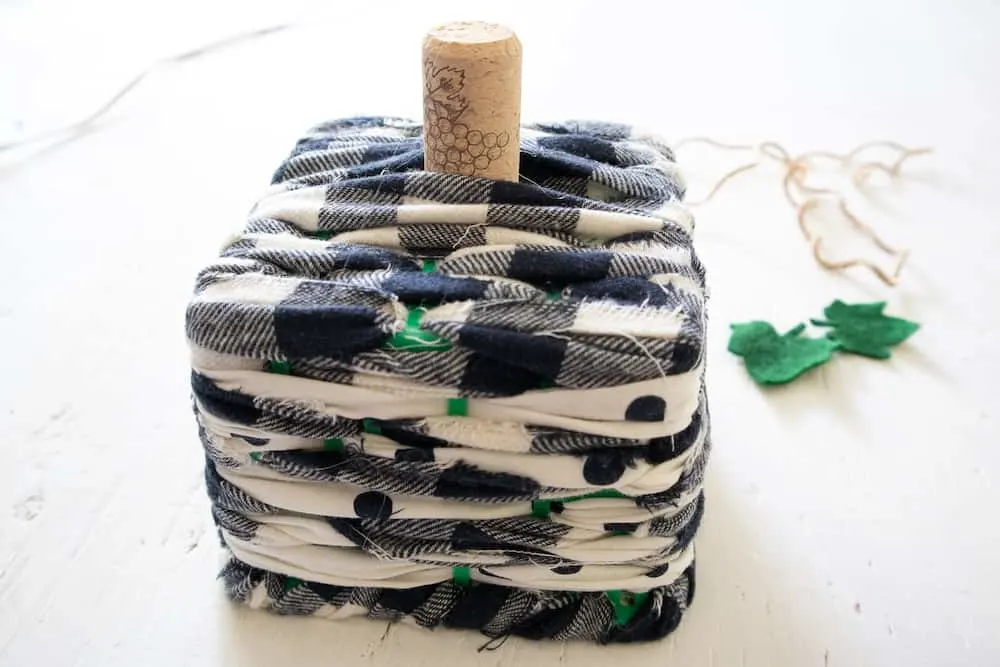
Fold the twine in half and wrap it around the cork and knot the ends.

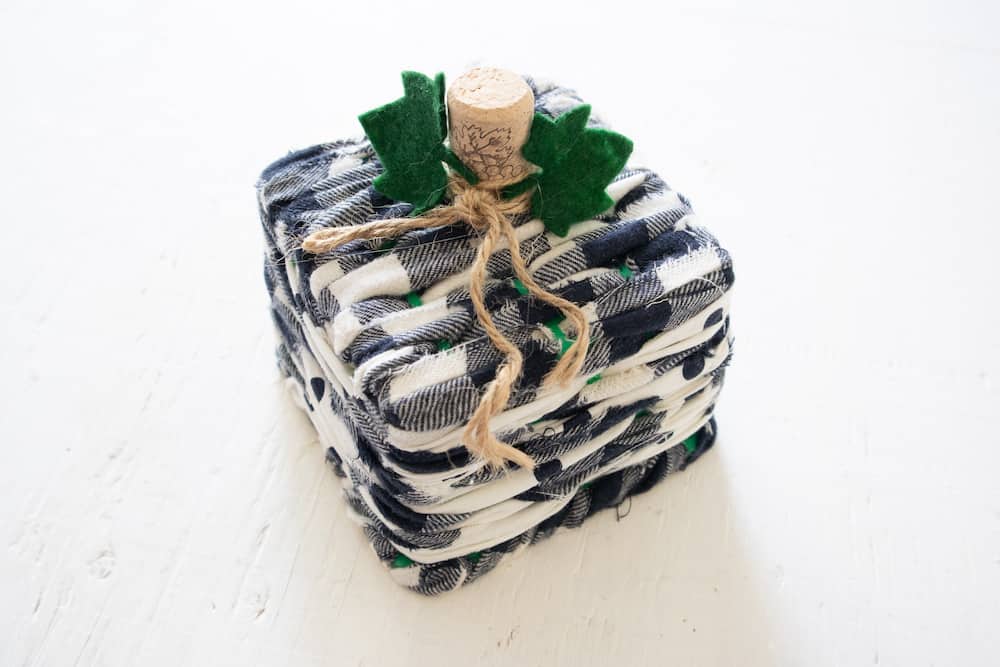
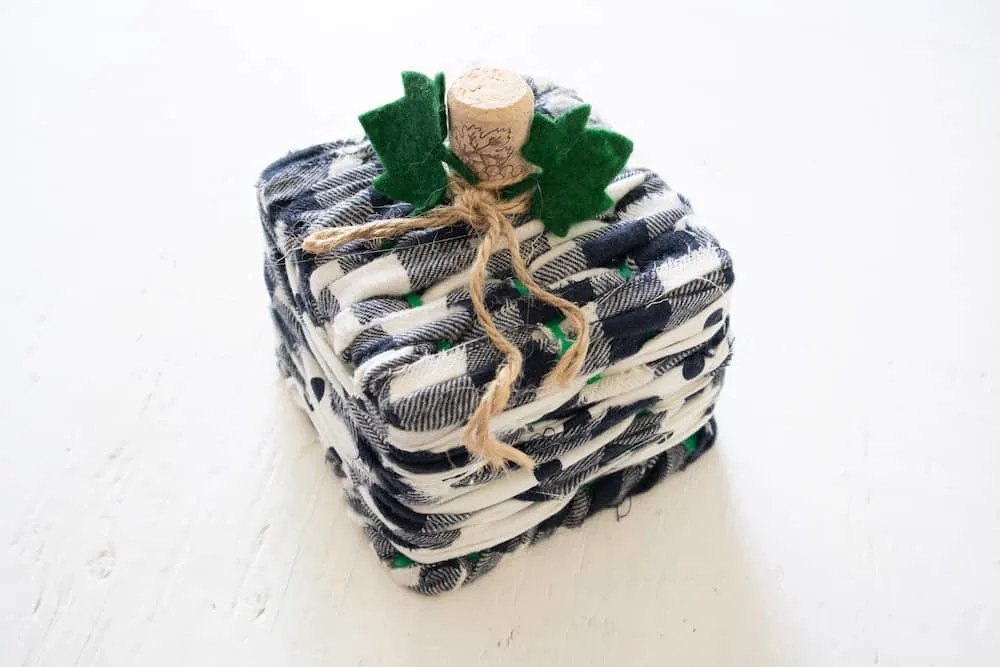
Glue the felt pumpkin leaves to the cork stem to finish.

Want more Dollar Store DIYs and upcycling projects? Check out these Rae Dunn inspired dollar store pumpkins. And I think you’ll really love this Easy DIY Hi Pumpkin Sign using craft scraps and a dollar store frame.
We turned a water bottle and brown paper into cute tropical palm tree centerpieces.
Weave old grocery store paper bags into a cute picnic basket with this paper weaving technique.
