

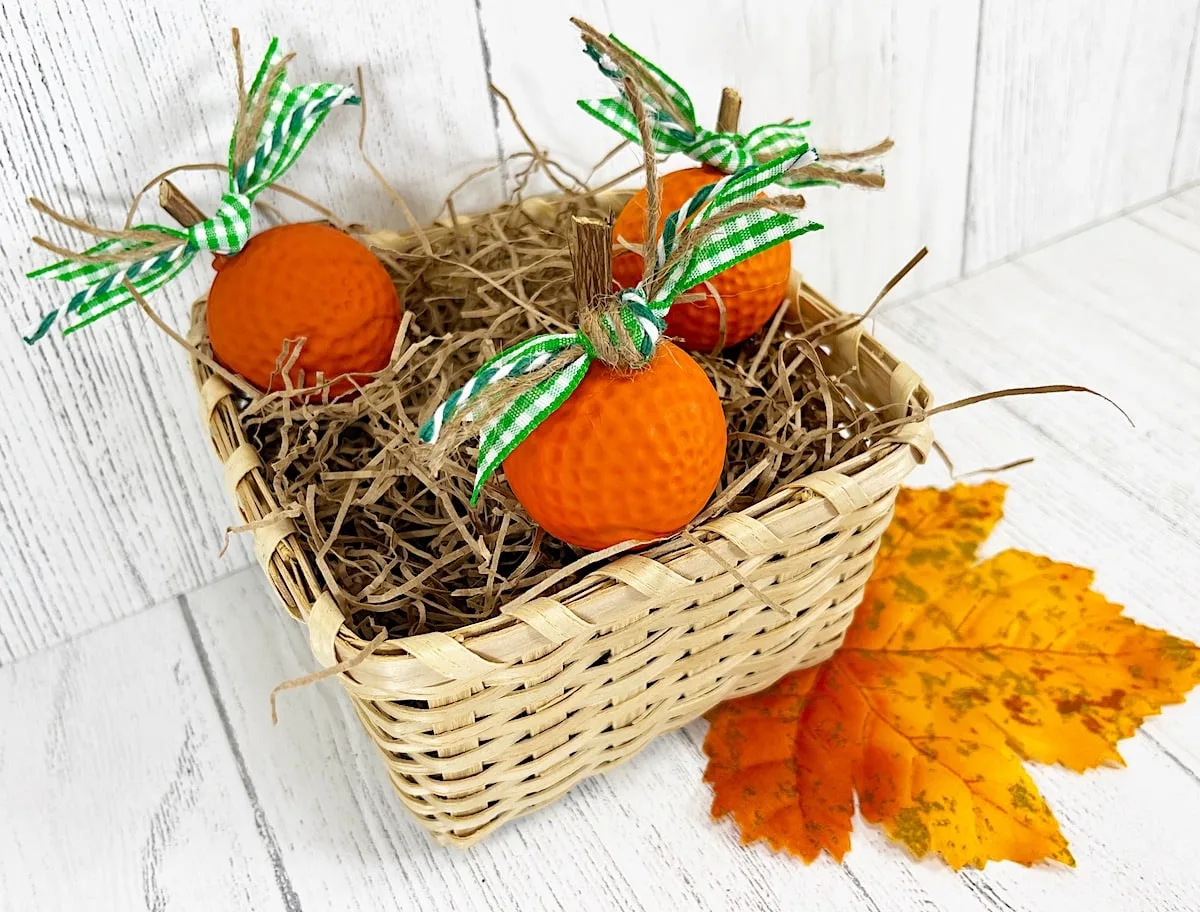
Turn a pack of plastic golf balls from the Dollar Store into the cutest trio of miniature pumpkins! This is such an easy DIY for Fall.
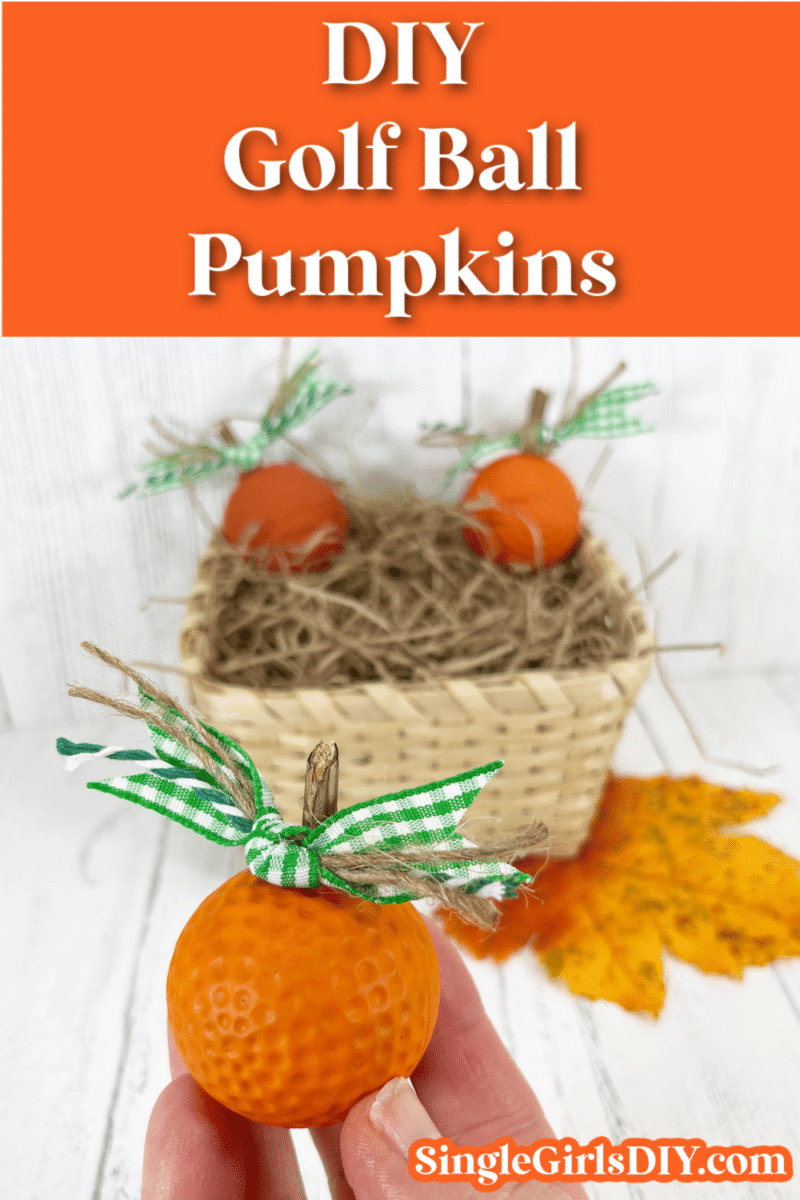
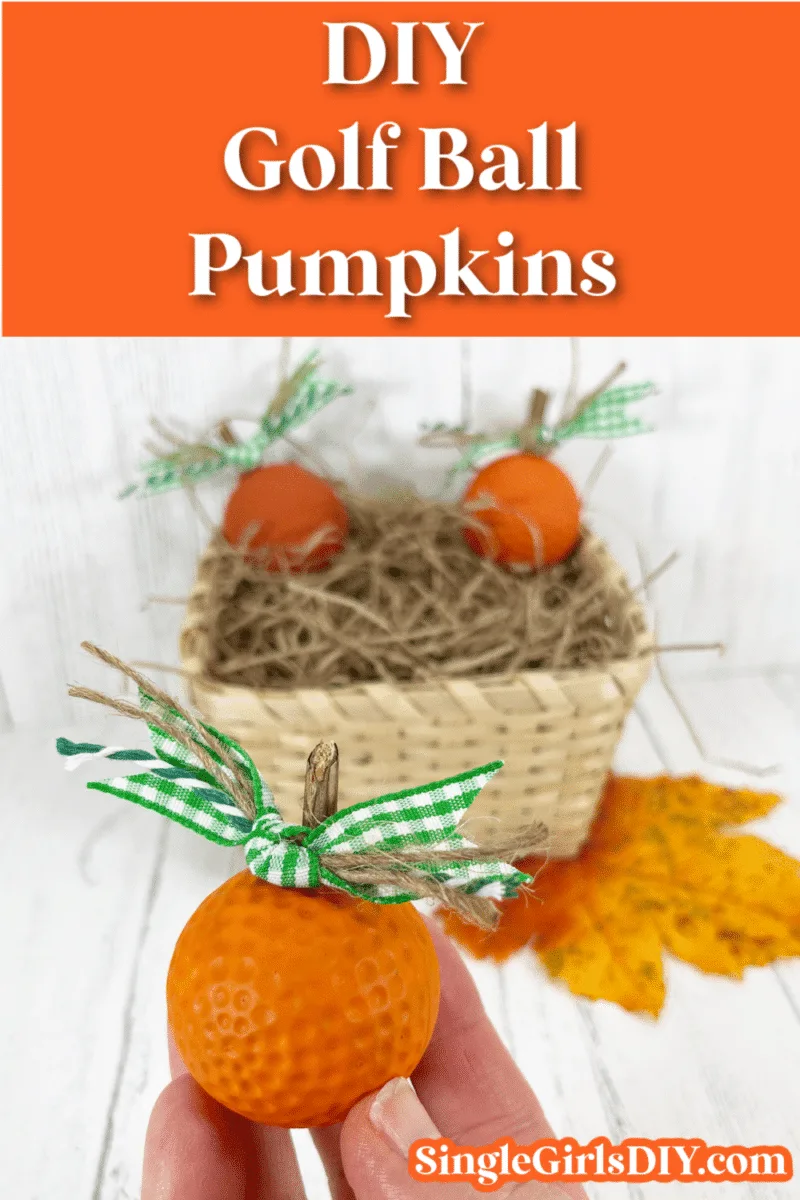
Our cute mini pumpkins are just the right size for tucking into a basket, using as a vase filler, or adding to a tiered tray.
The plastic golf balls are found in the toy section of the dollar store, so pick up a pack to make golf ball pumpkins.

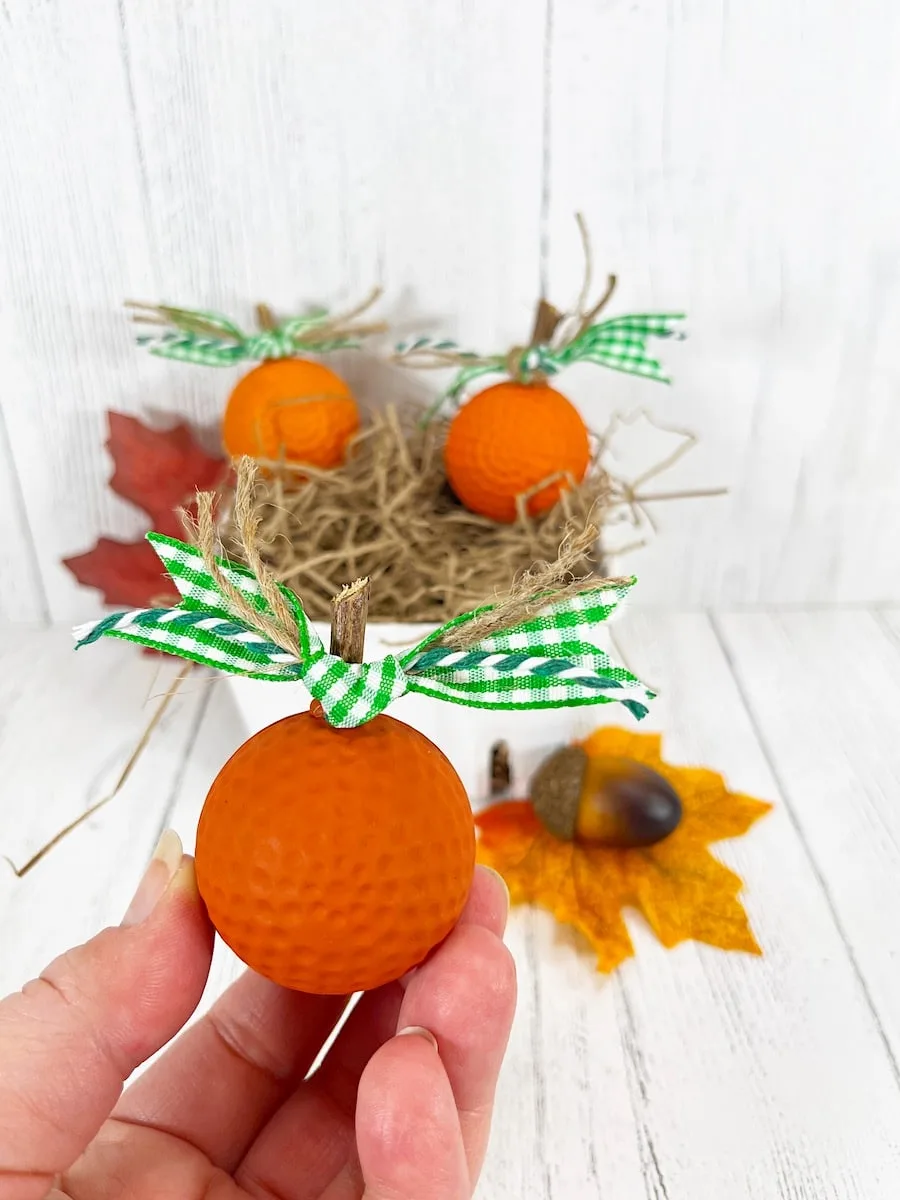
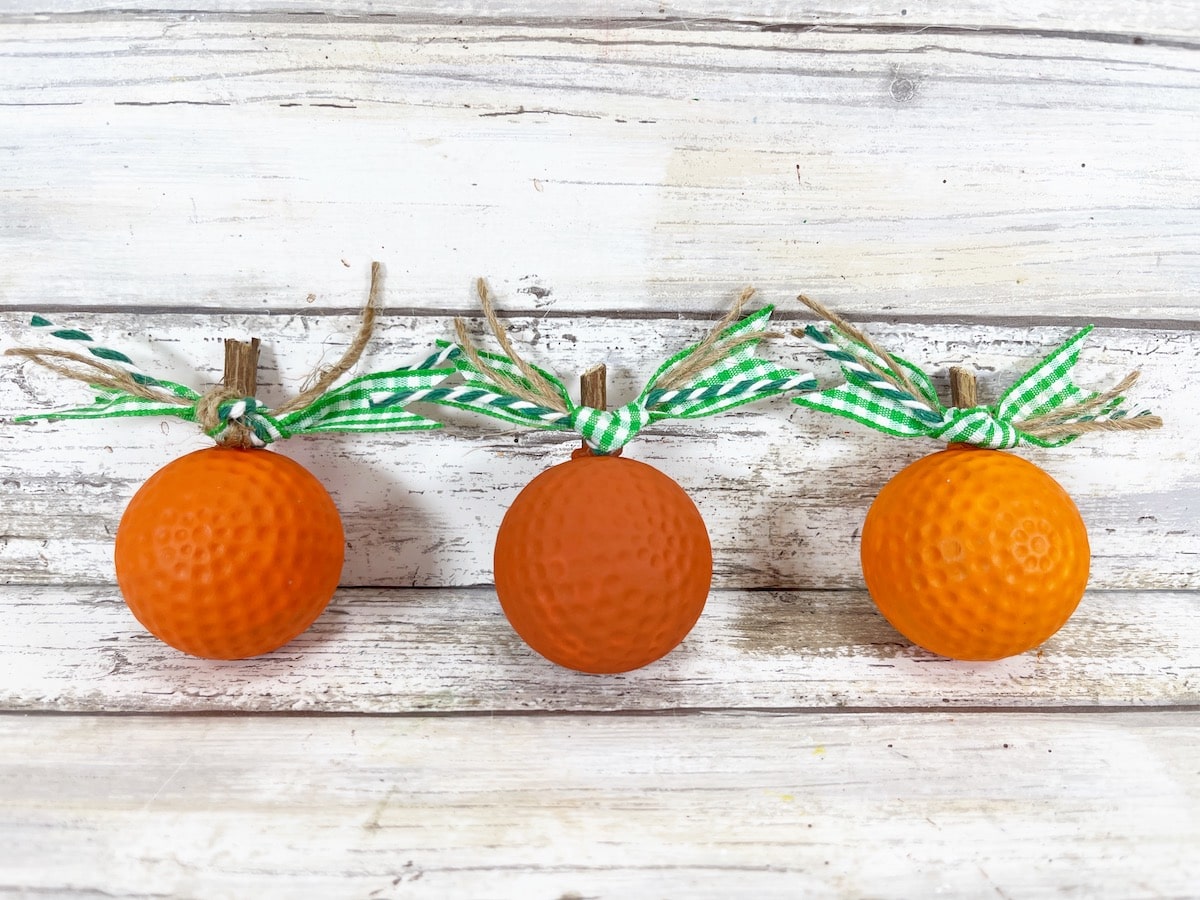
We decorated our pumpkins in a farmhouse style, with burnt orange paint and cute gingham ribbon on the stems. However, you can mix things up a bit by painting the golf ball pumpkins in unusual paint colors, such as pink or silver. Then add a funky ribbon to complete the look.
Can I Use Real Golf Balls to Make Pumpkins?
If you don’t have plastic golf ball toys, then you may want to repurpose old golf balls that you have at home.
This DIY project can be made with real golf balls, however there would need to be some modifications.
We suggest painting the golf balls first, before adding a stem. The balls will soak up the paint, so it could take several coats.
Second, add the stem with hot glue after the paint is dry. You would not want to balance a heavy golf ball on a thin stem to dry, as seen in Step 2. Then add the bow around the stem.

Be sure to see all of our easy Fall crafts for more great ideas!
DIY Golf Ball Pumpkins
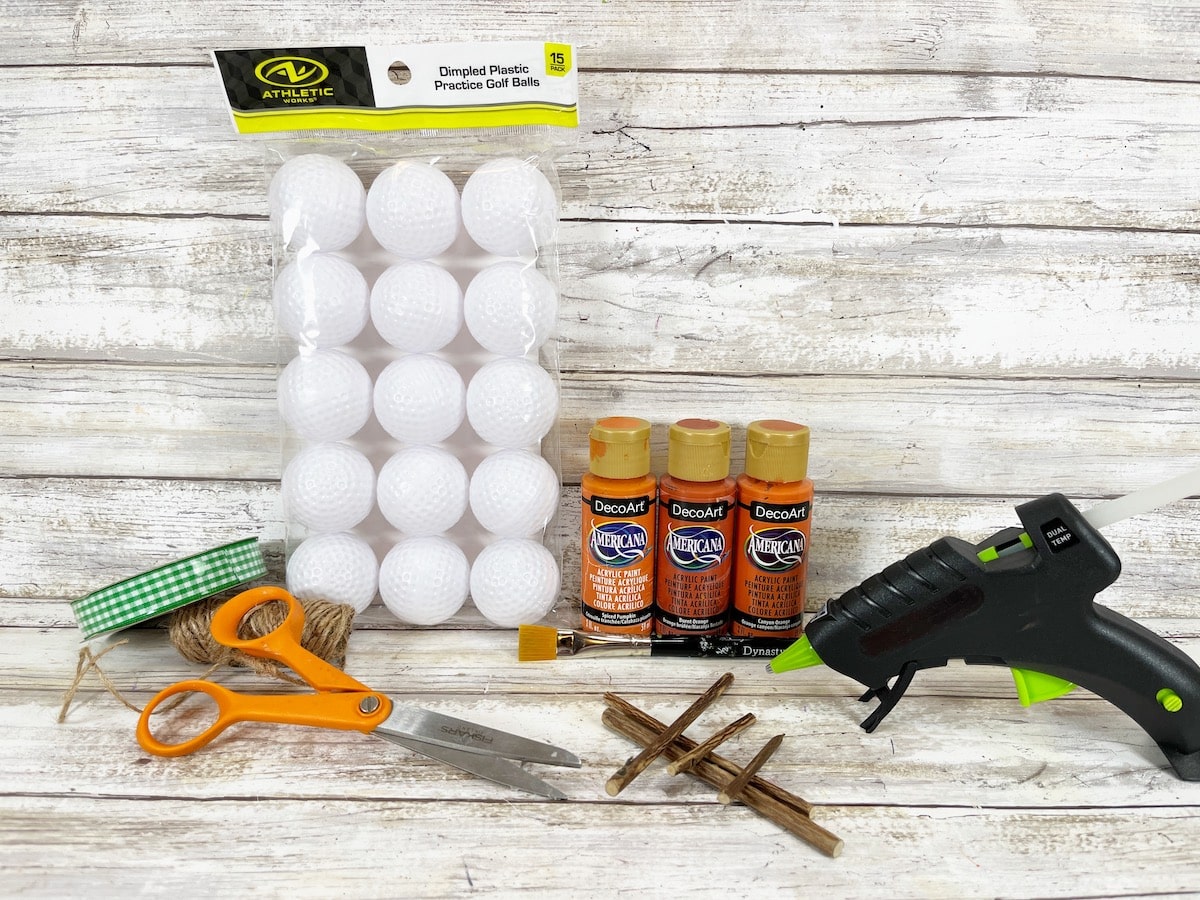
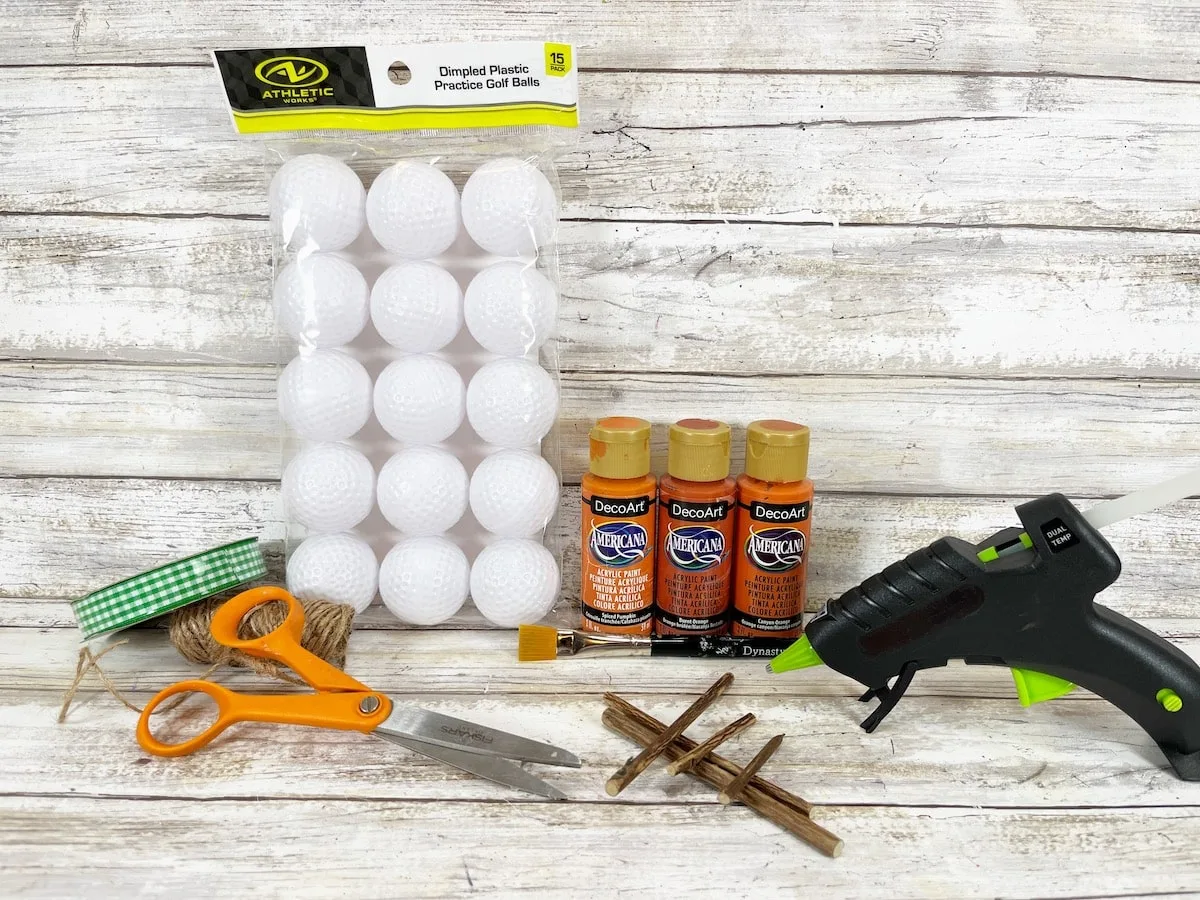
Materials
- Plastic Golf Balls
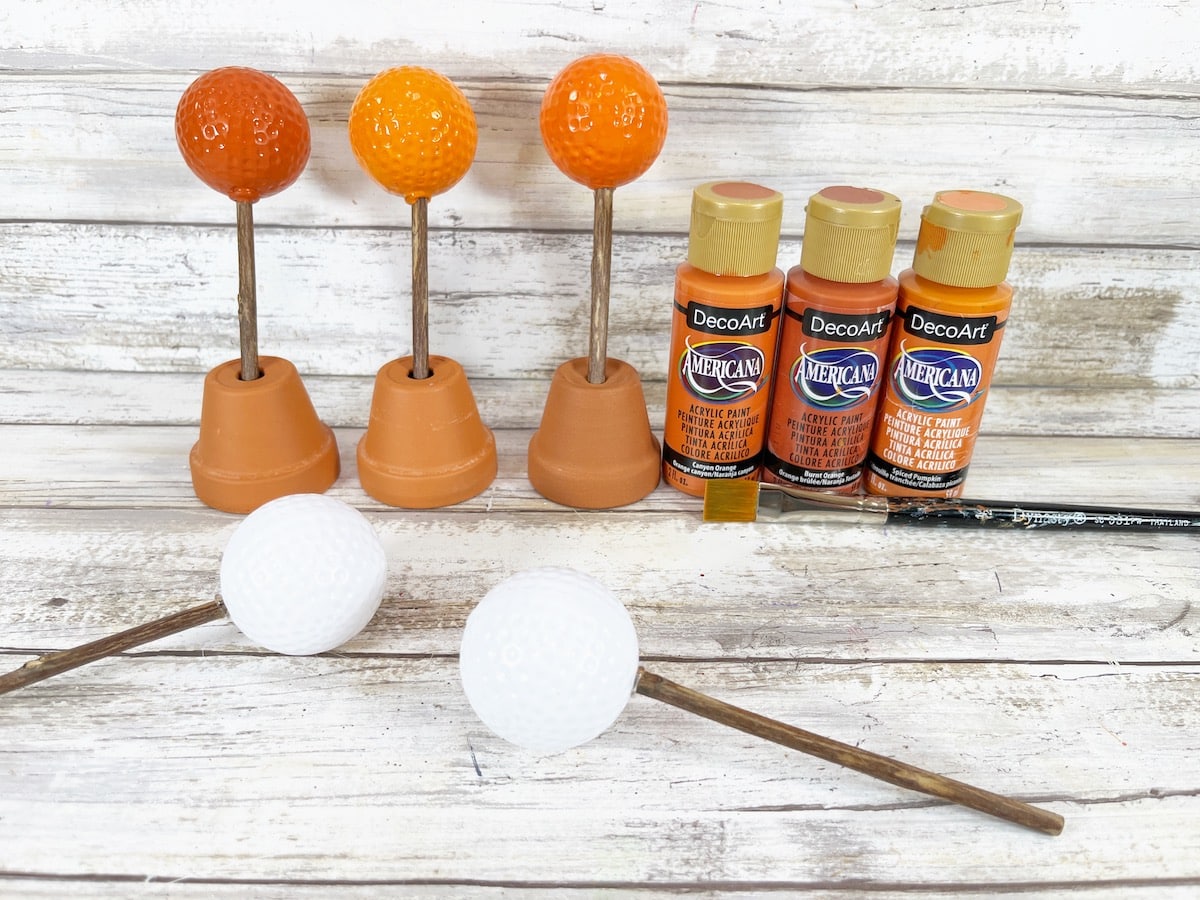
- Acrylic Craft Paint (I used DecoArt Americana in Canyon Orange, Burnt Orange, and Spiced Pumpkin)
- Ribbon, Twine or Trim Scraps
- Glue Gun and Glue Sticks
- Small Twigs or Branches
- Paintbrush
- Scissors
- Wire Cutters (optional)
Instructions
Step 1
Using small twigs or pieces of tree branches from the yard, glue a twig or branch to the top of each plastic golf ball in the center.
Hold the twig or branch in place until the glue dries completely.

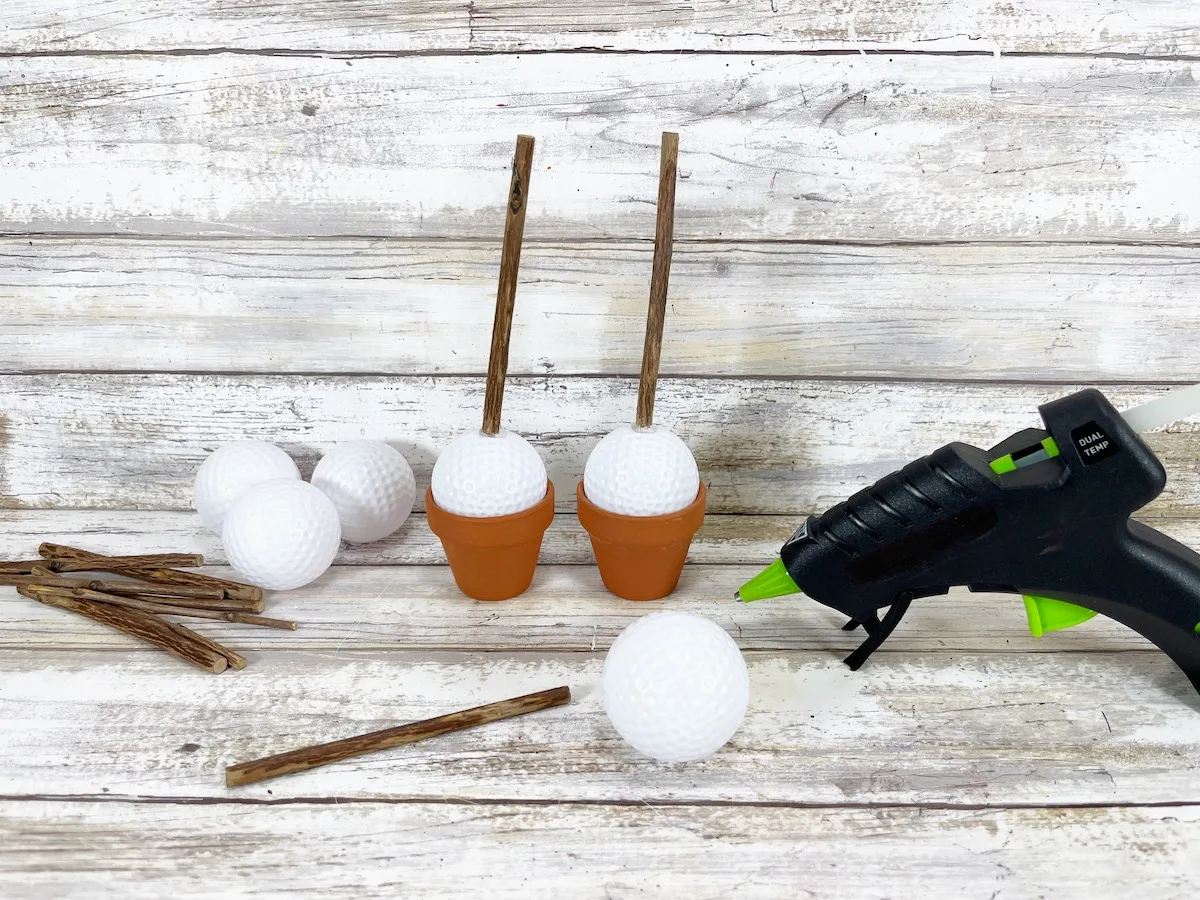
Step 2
Paint the outside of the plastic golf balls with acrylic paint. I painted each plastic golf ball in a different color of orange. Allow to dry completely.
Helpful Tip: An easy way to let all sides of the golf ball dry at once is to turn the stem upside down and put in the drainage hole of a small clay pot.

Apply a second coat of paint, if necessary.
Step 3
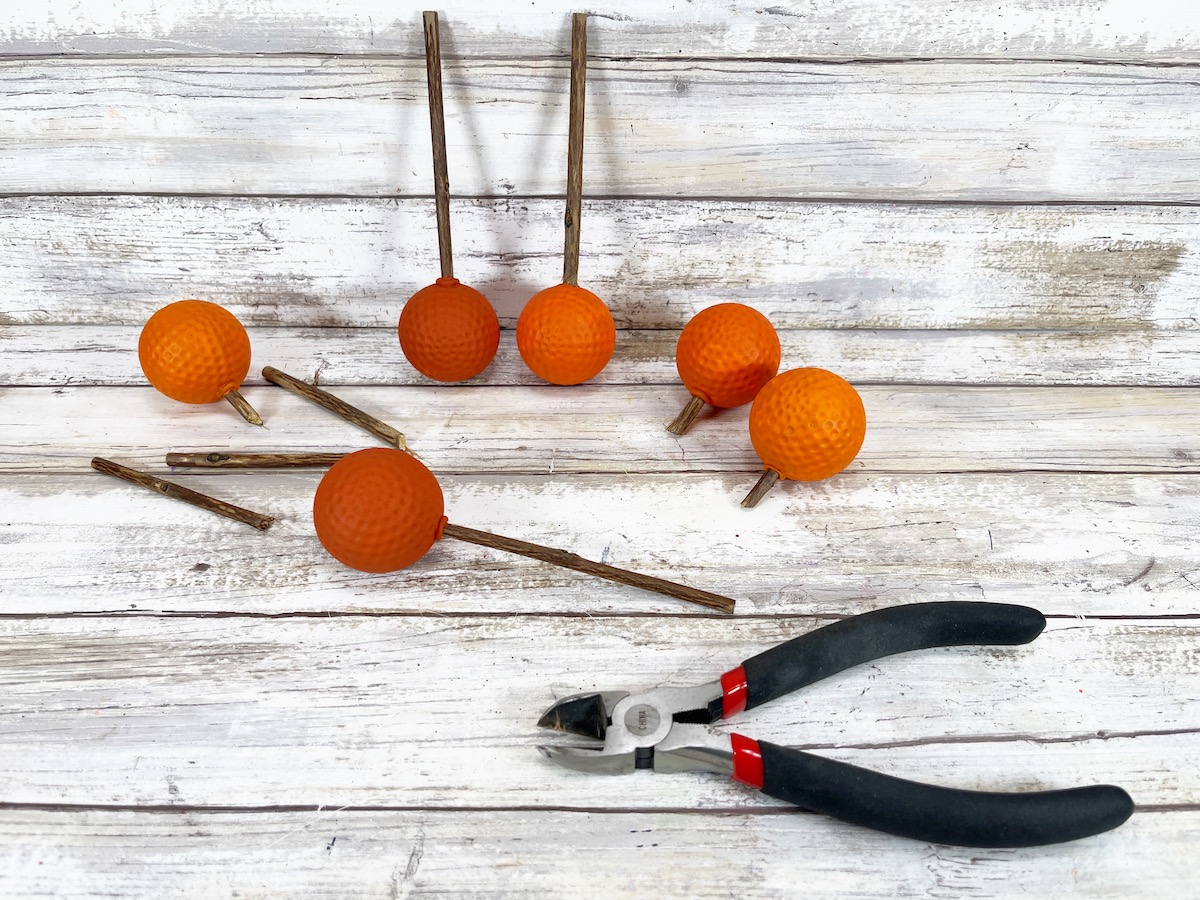
After the golf ball pumpkins are dry, trim the long stems with wire cutters (or scissors) to be about 1 inch long.

Step 4

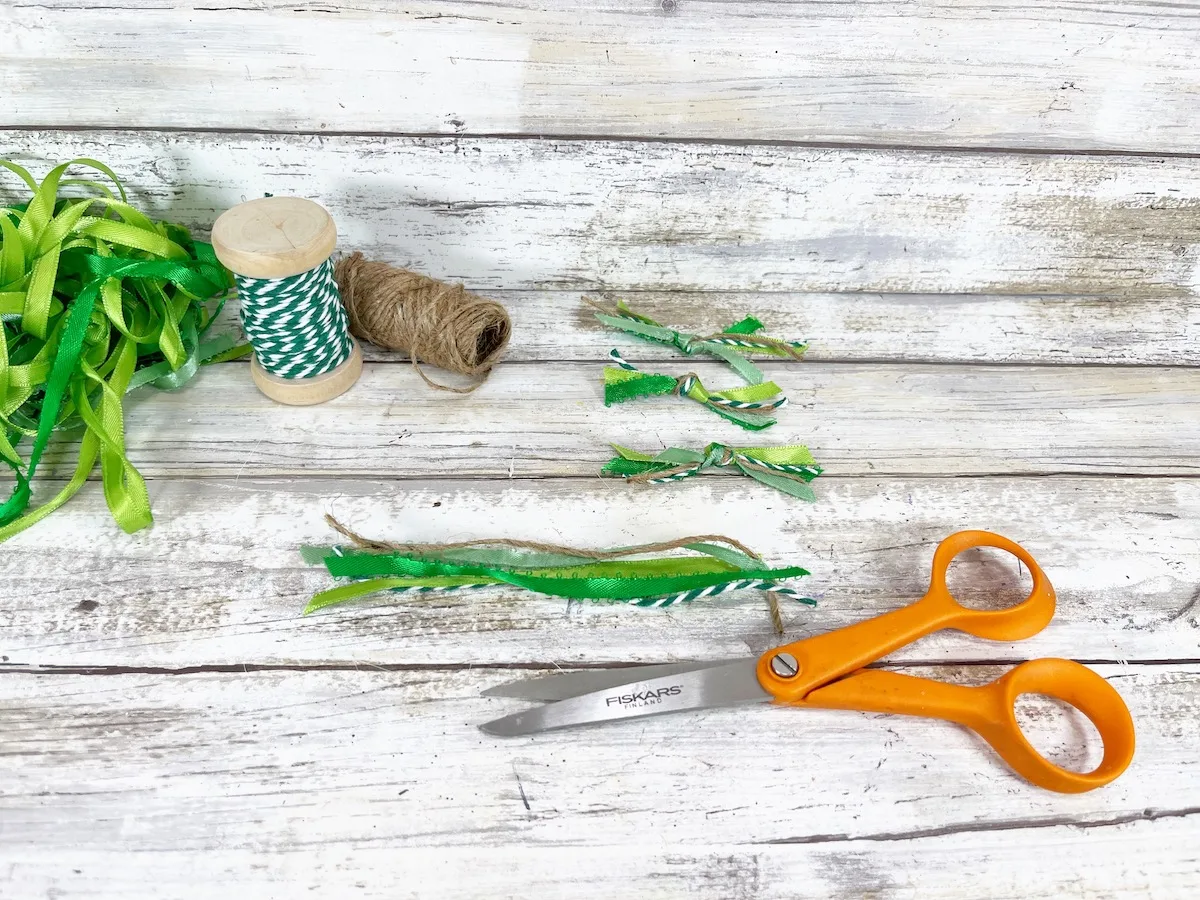
Cut assorted green ribbons, twine, and trims into eight-inch sections. Tie the bunch of trims into a knot around each golf ball pumpkin stem.
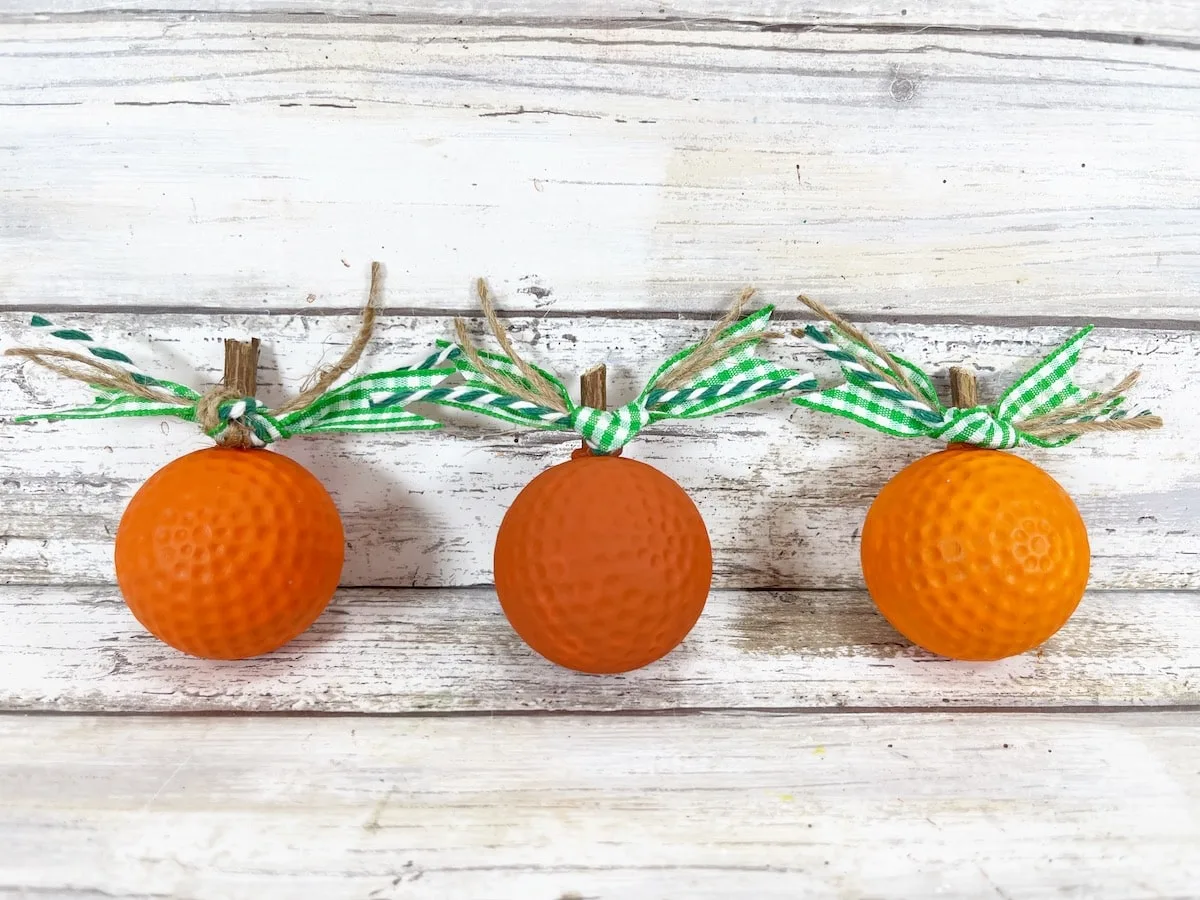
Trim any long ribbon ends with scissors.
Be sure to Pin This DIY project to save for later!
If you like these cute golf ball pumpkins, you will love these easy and unusual pumpkin ideas, too:
- Foam Dice Pumpkins
- Thread Ball Pumpkins
- Jewelry Box Pumpkins
- Jenga Block Pumpkins
- Plastic Basket Pumpkins
