


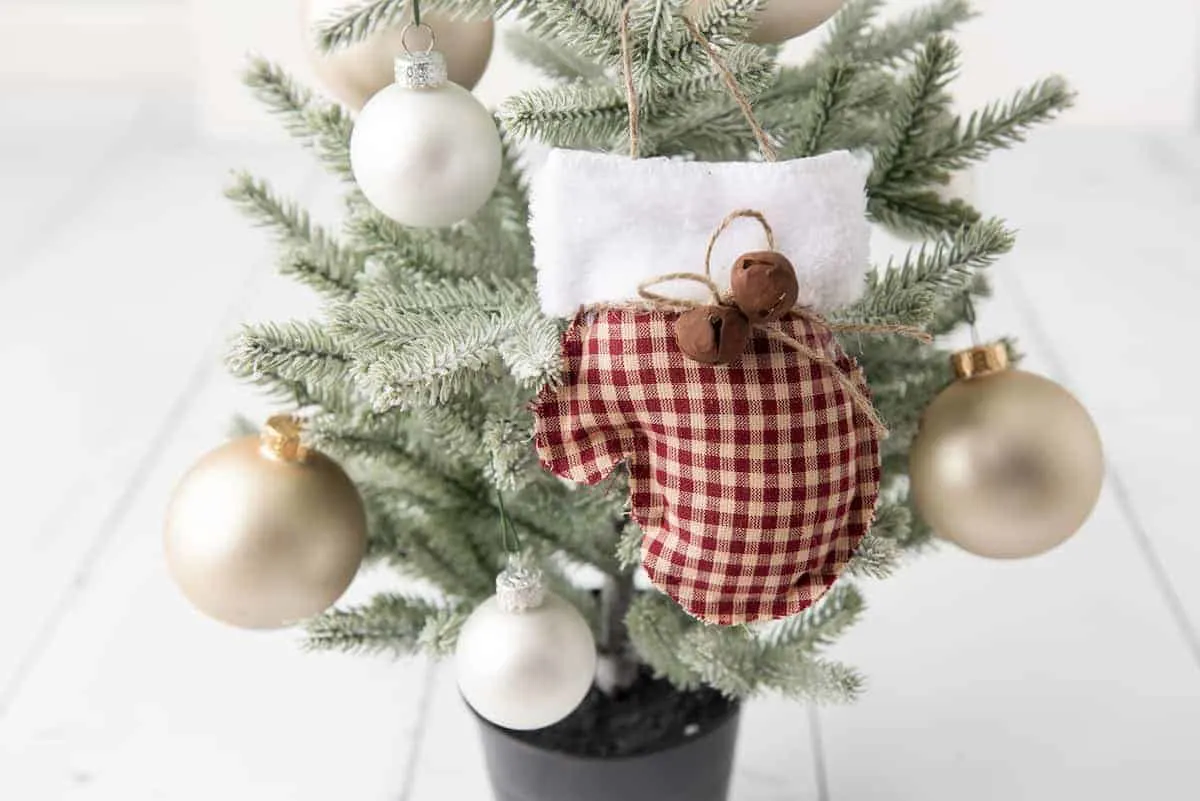
These no-sew farmhouse mittens ornaments are a perfect vintage addition to your Christmas decor this year!


Who else loves vintage Christmas decorations? I’m raising my hand over here!
These farmhouse style ornaments are so easy to make, yet they look old-fashioned and rustic. What I like is that you can use brand new craft supplies yet get a vintage look.
Plus, these ornaments only look like they’ve been sewn together. They are actually a no sew DIY craft.
I’ve got a big list of 73 no-sew ornaments that you might like, too!

Be sure to download your free mitten pattern and start making these cute mitten ornaments for a Christmas tree or to hand in a garland.
You might also like these rustic balsa wood snowflake ornaments made with Cricut.
And be sure to Pin This DIY so that you don’t forget it!
No-Sew Farmhouse Mittens Ornament


Glue together these cute farmhouse mitten ornaments that look vintage. A no-sew craft, it's easy to make brand new jingle bells look rustic with our easy craft hack!
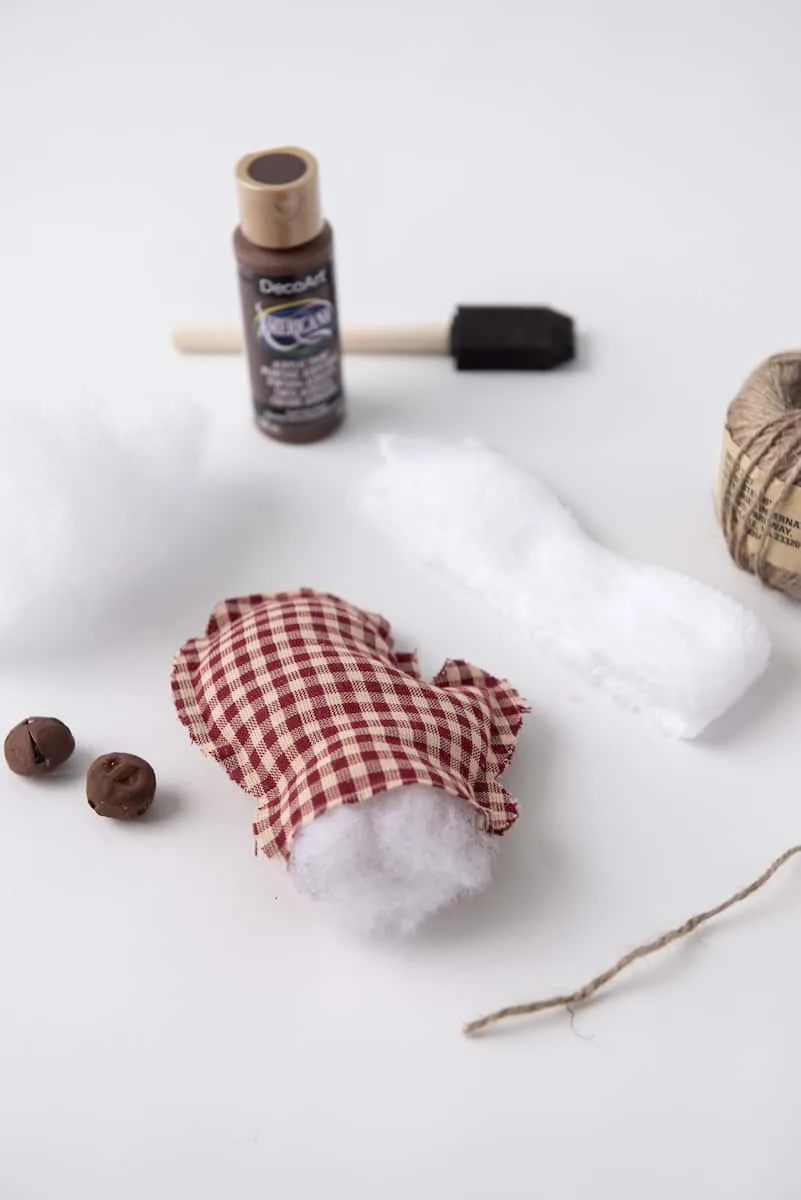
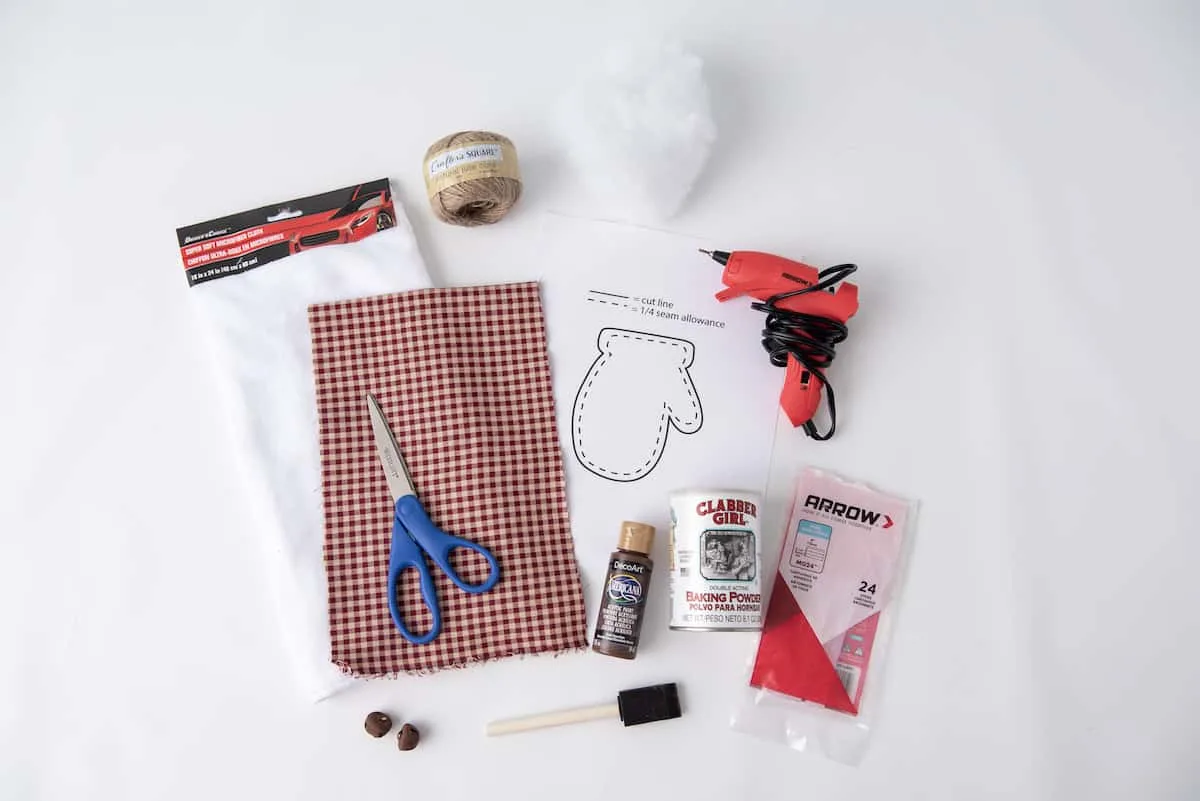
Materials
- ¼ yard fabric
- Free Mitten Pattern
- Microfiber cloth (or material similar to a fuzzy fur; I used a car cleaning cloth)
- Twine
- Small bells
- Paint brush
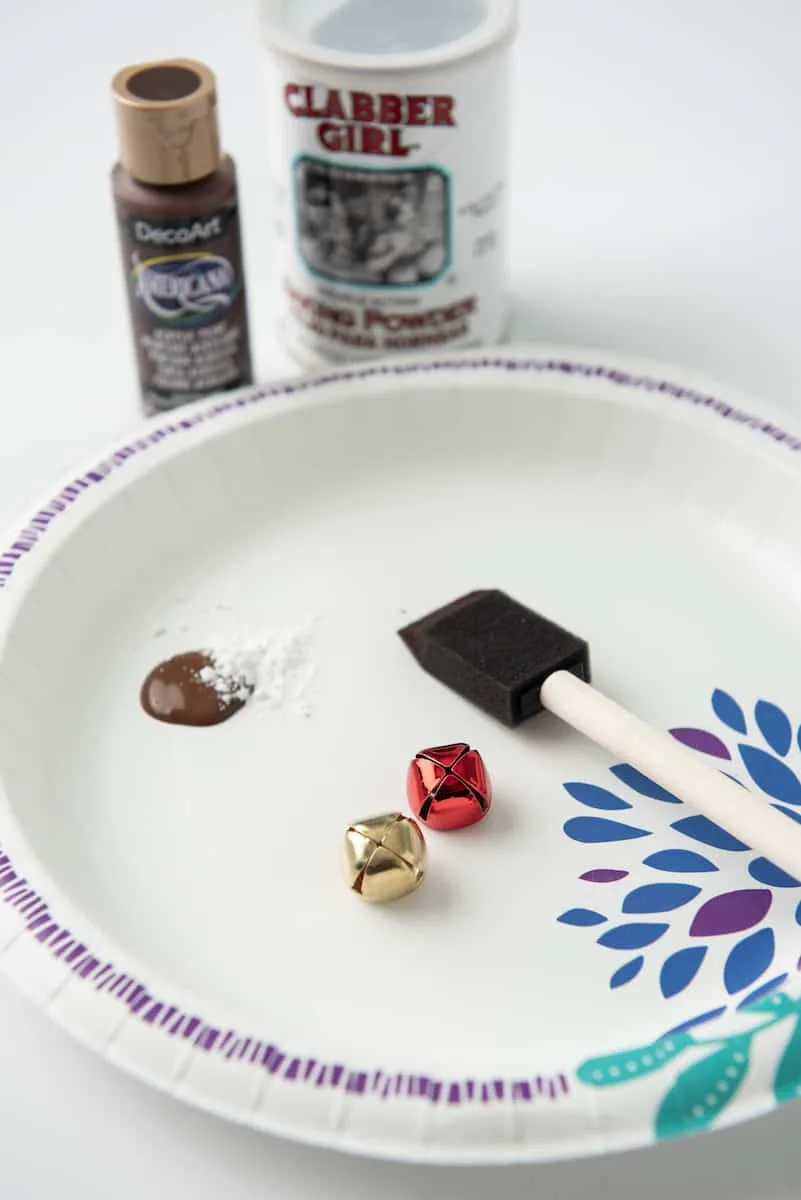
- Brown chalk paint (if no chalk paint, acrylic mixed with baking powder)
- Polyfill
- Hot glue gun and glue
- Chalk or pen
Instructions
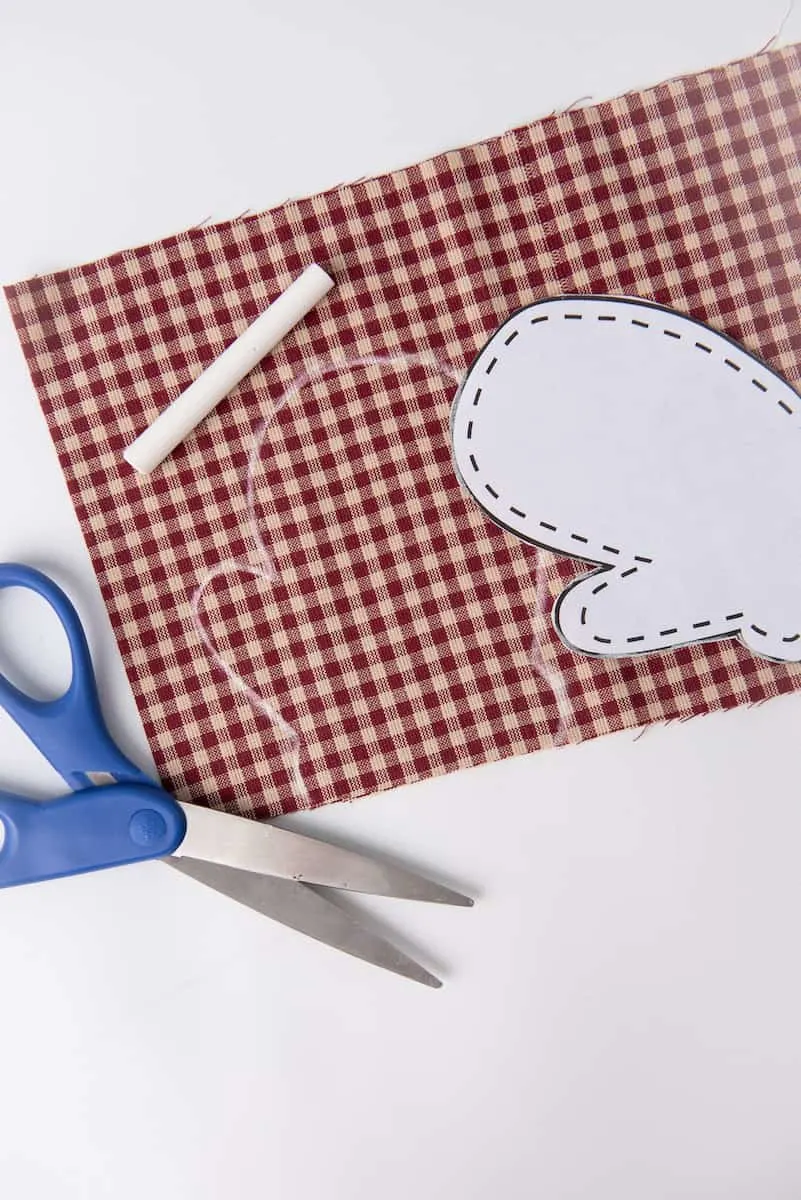
- Fold the fabric. Using chalk (or a pen), trace the mittern pattern onto the fabric. Cut out the mittens shapes. *Note, you do not need to place the pattern on the folded part. You just need two separate mitten cut outs.

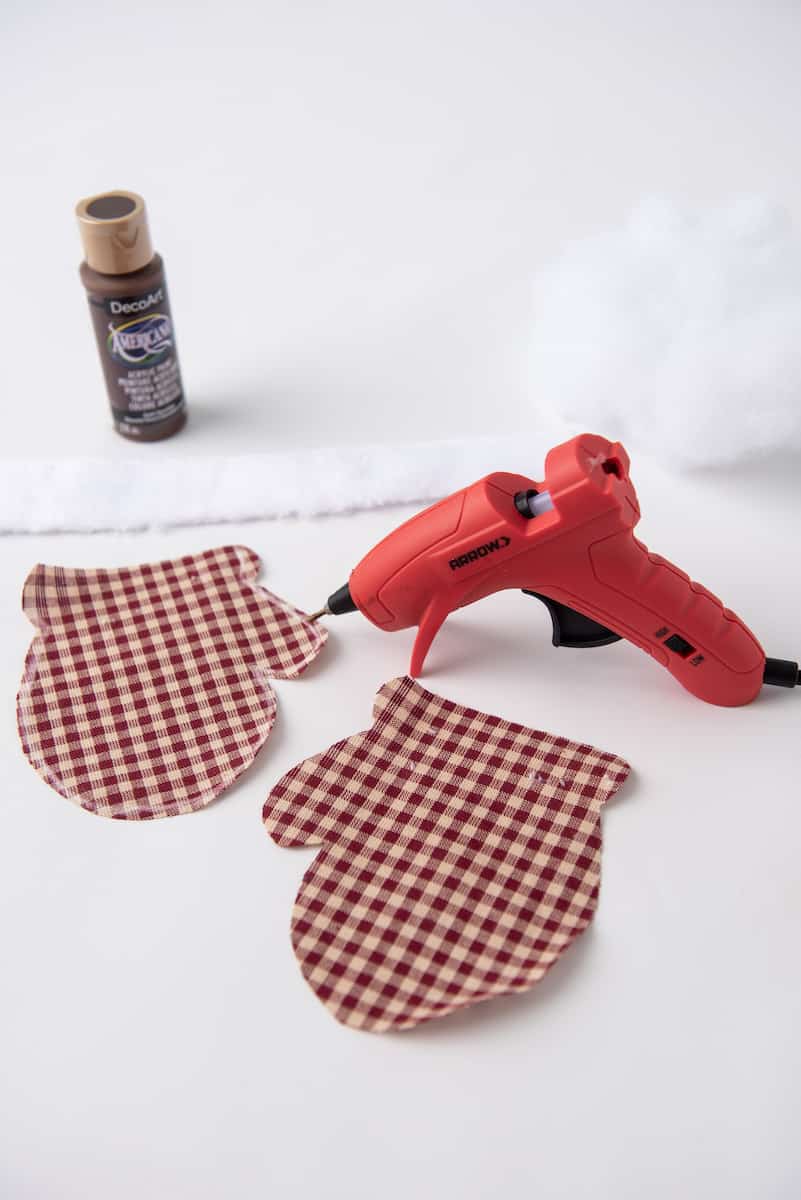
- Using a hot glue gun, glue along the edge of the mitten shape leaving the top open to stuff with polyfill (about ¼ “seam” allowance).

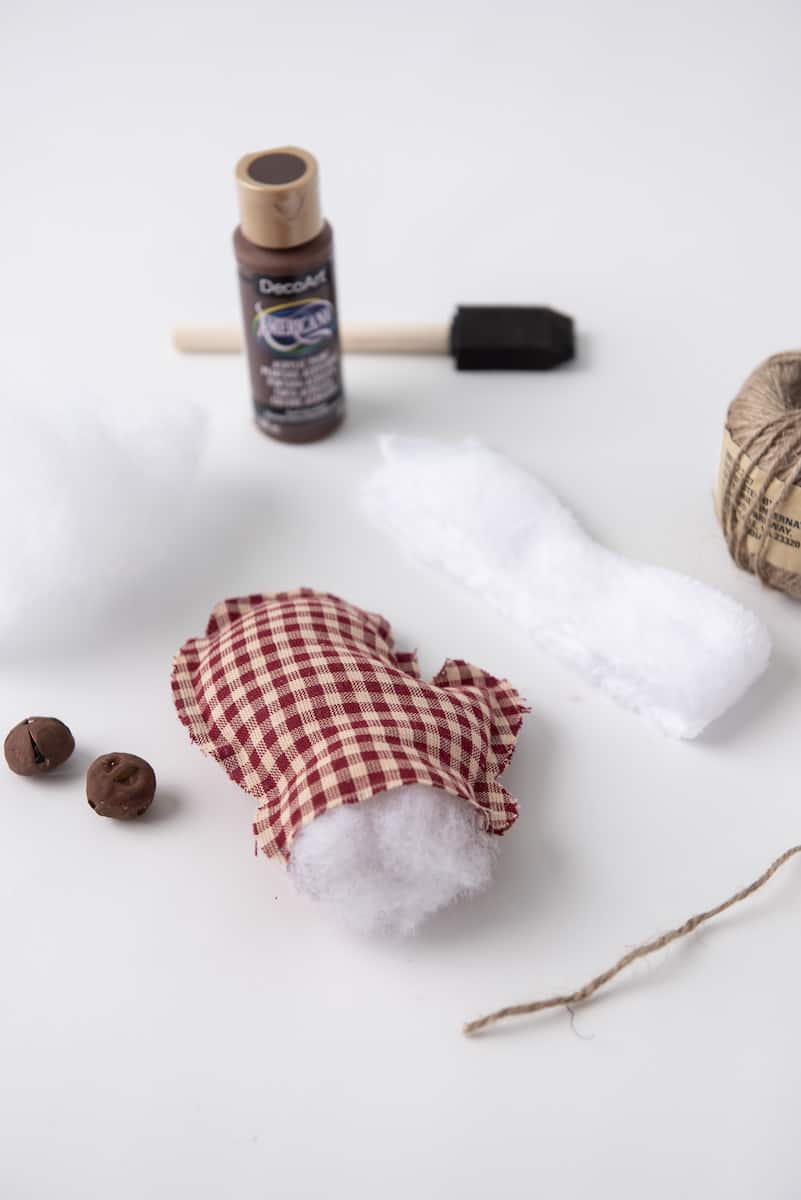
- Fill the mitten with a small amount of stuffing to help give it shape.
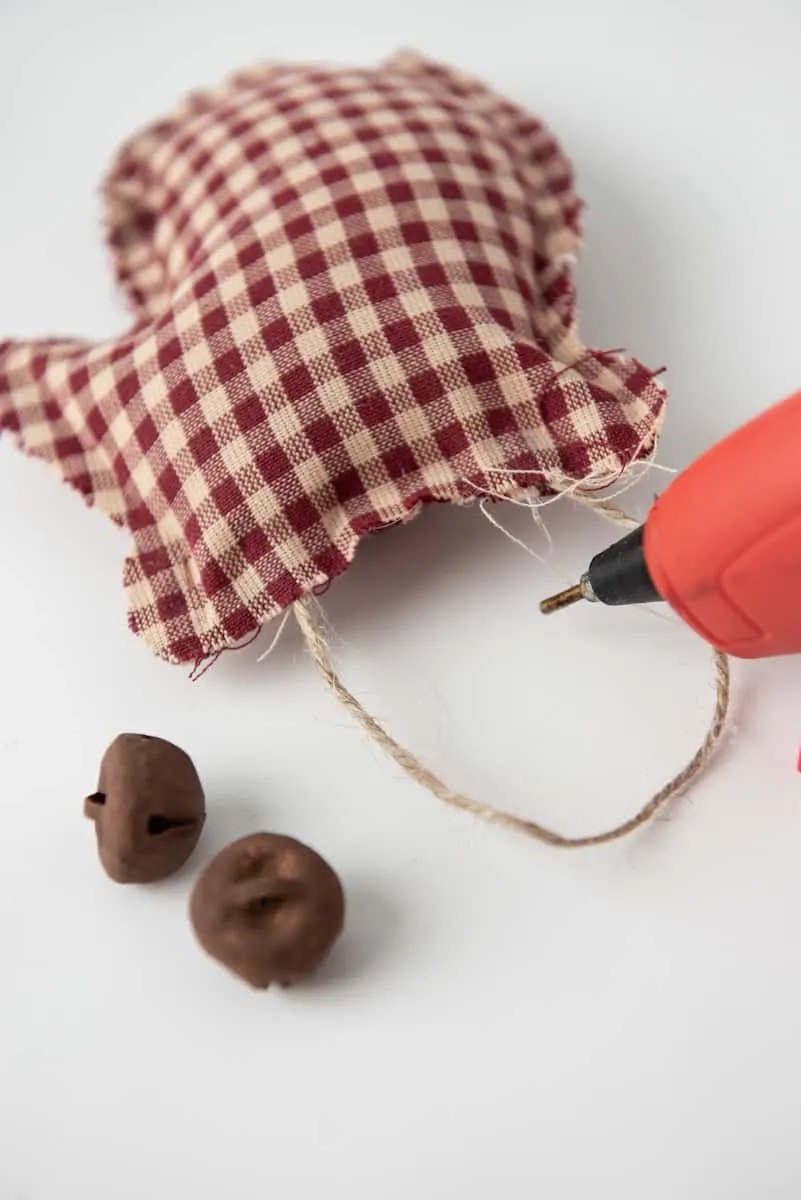
- Cut a small piece of twine for the loop of the ornament and hot glue it inside the mitten on one side. Hot glue the opening closed.

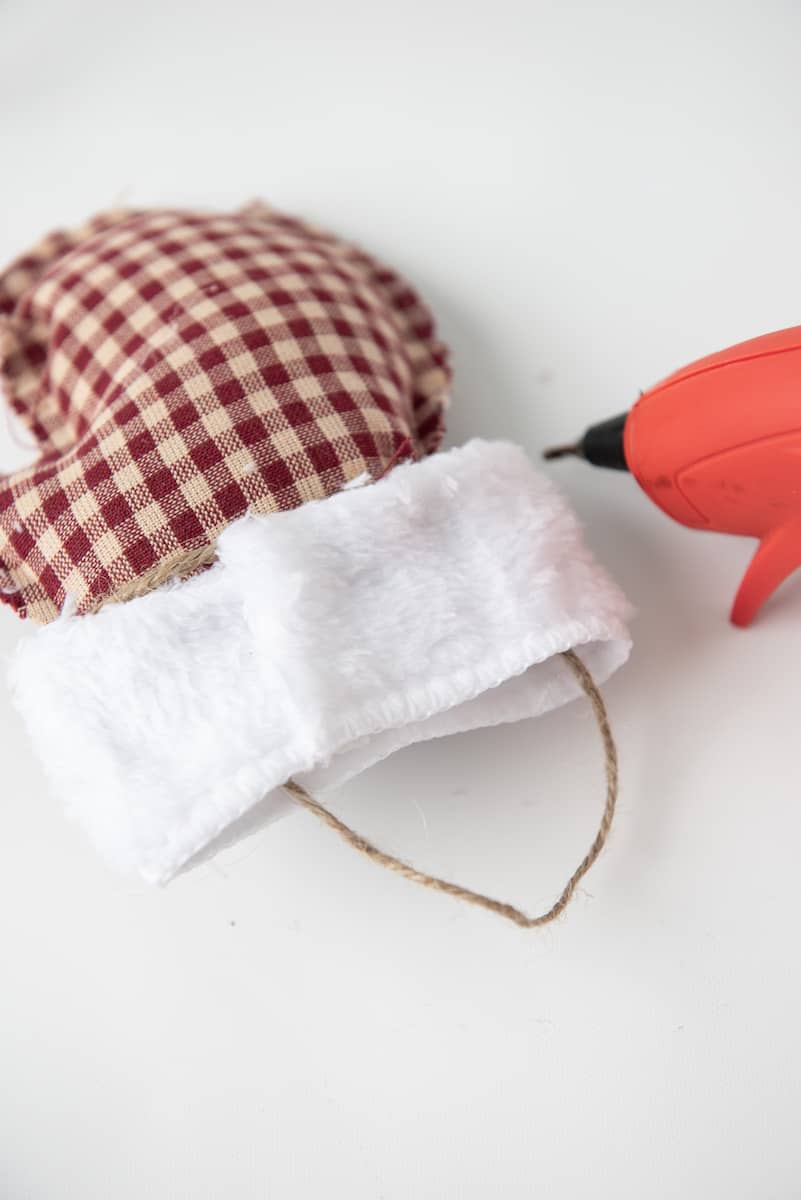
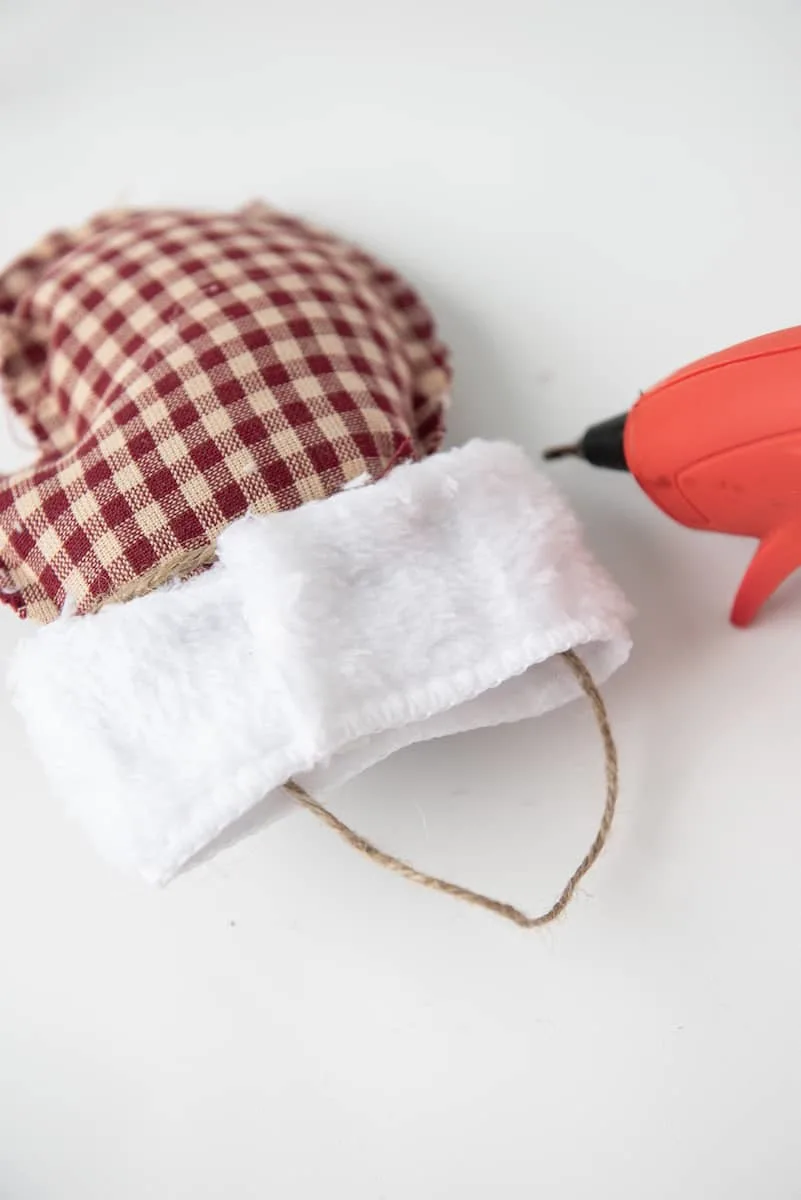
- Using the edge of the micro fiber cloth, cut off approximately 5” x 1.5” piece of cloth for the “fur” of the mitten. Starting at the back, hot glue one side down wrapping it around the front and meeting back up.
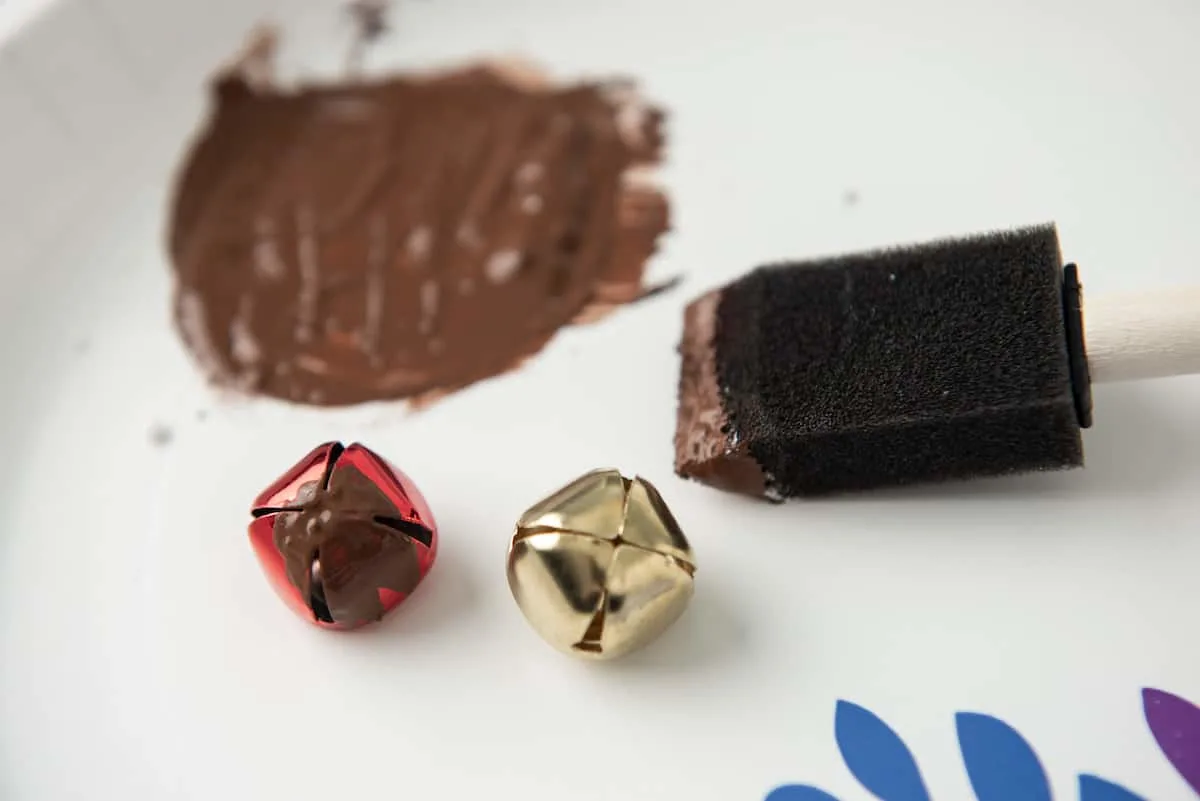
- Cut twine and string rusty bells (see tip below) through the twine and around the mitten (below the cuff) to give it a rustic farmhouse look. Complete with a bow glued on.
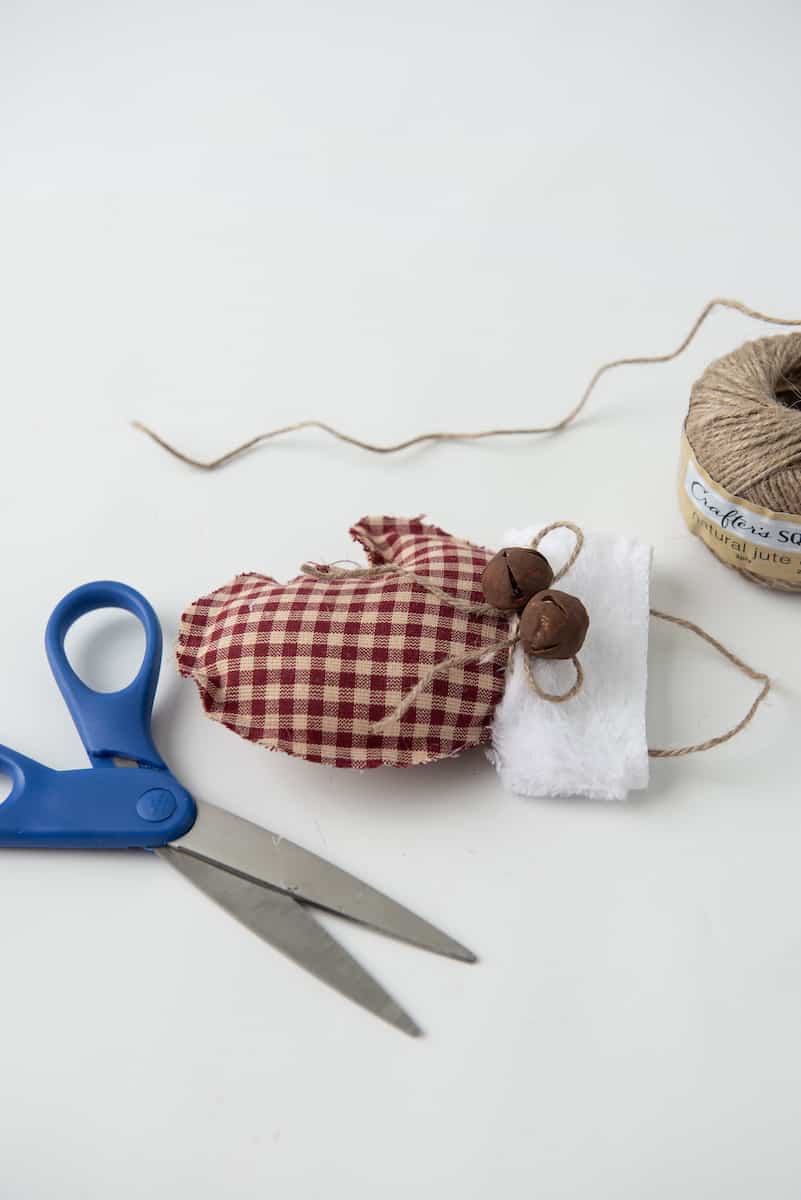
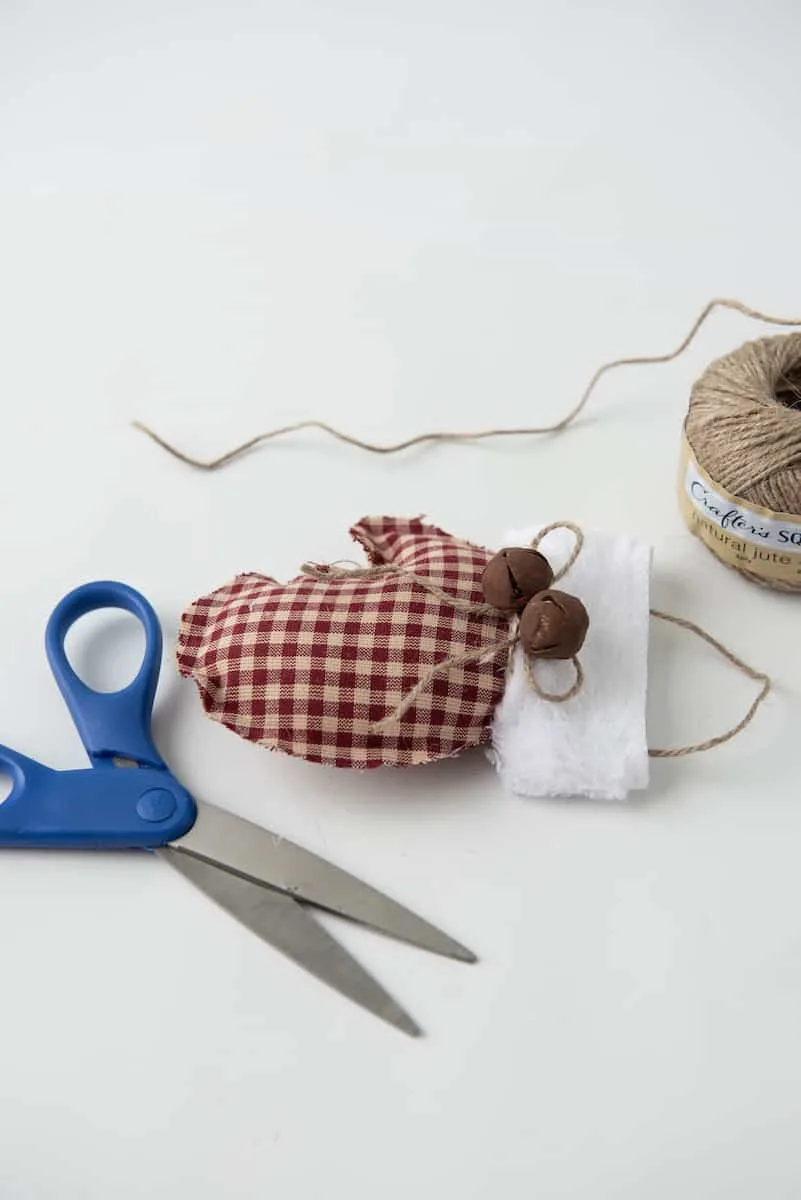
**NOTE: If you can’t find miniature rusty bells, you can use bells from the dollar tree and paint them with a chalky brown paint. If you can’t find chalk paint, you can add a bit of baking soda to some brown acrylic paint to give it a worn, matte appearance. 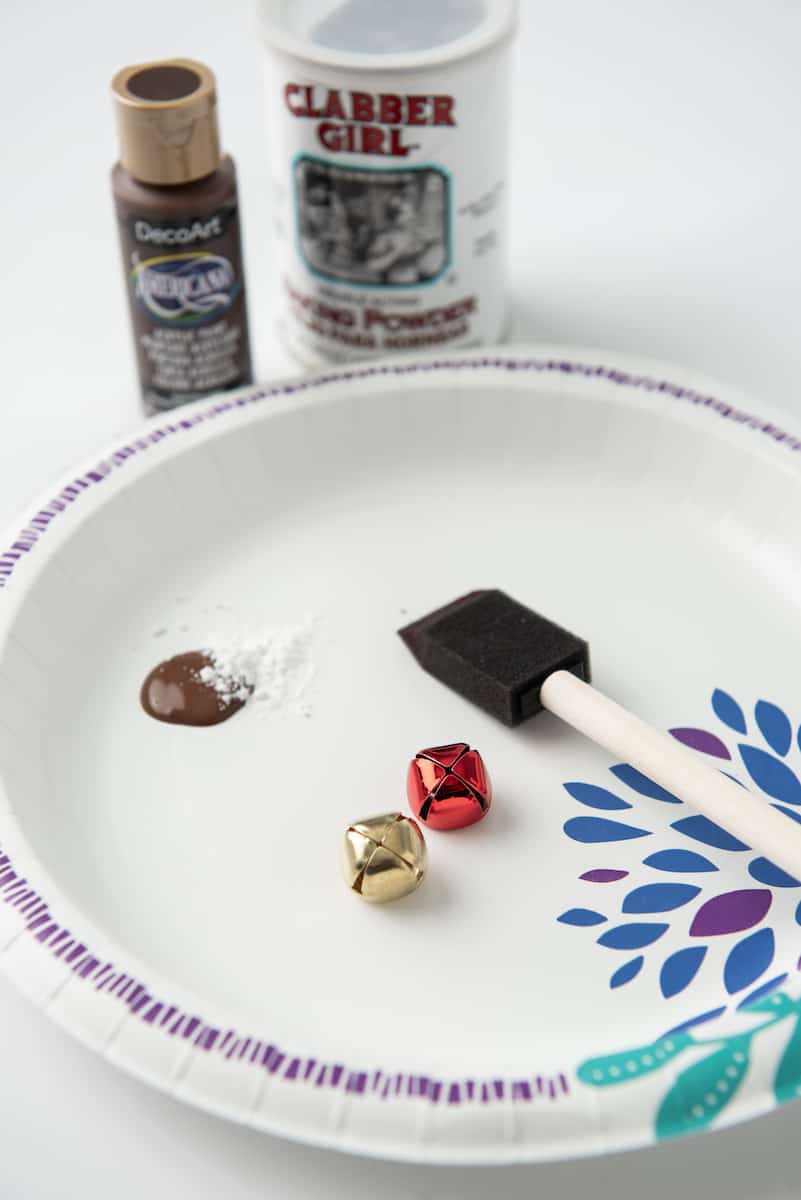
Notes
- I used a car cleaning cloth for a fuzzy mitten cuff with a hemmed edge already. I just cut the cloth and had the rough seam glued against the mitten.

- Free pattern can be found at https://singlegirlsdiy.podia.com/no-sew-mitten-ornament
Want more farmhouse Christmas DIY projects? Check out my other crafts:
- Farmhouse Stamped Wooden Book Stack
- DIY Snowman Hat Ornaments
- Vintage Christmas Tree Farm Centerpiece
- Hanging Scroll Sign
- Farmhouse Christmas Banner
- Vintage Christmas Floral Arrangement (with free printable)
- Mason Jar Christmas Centerpiece
