
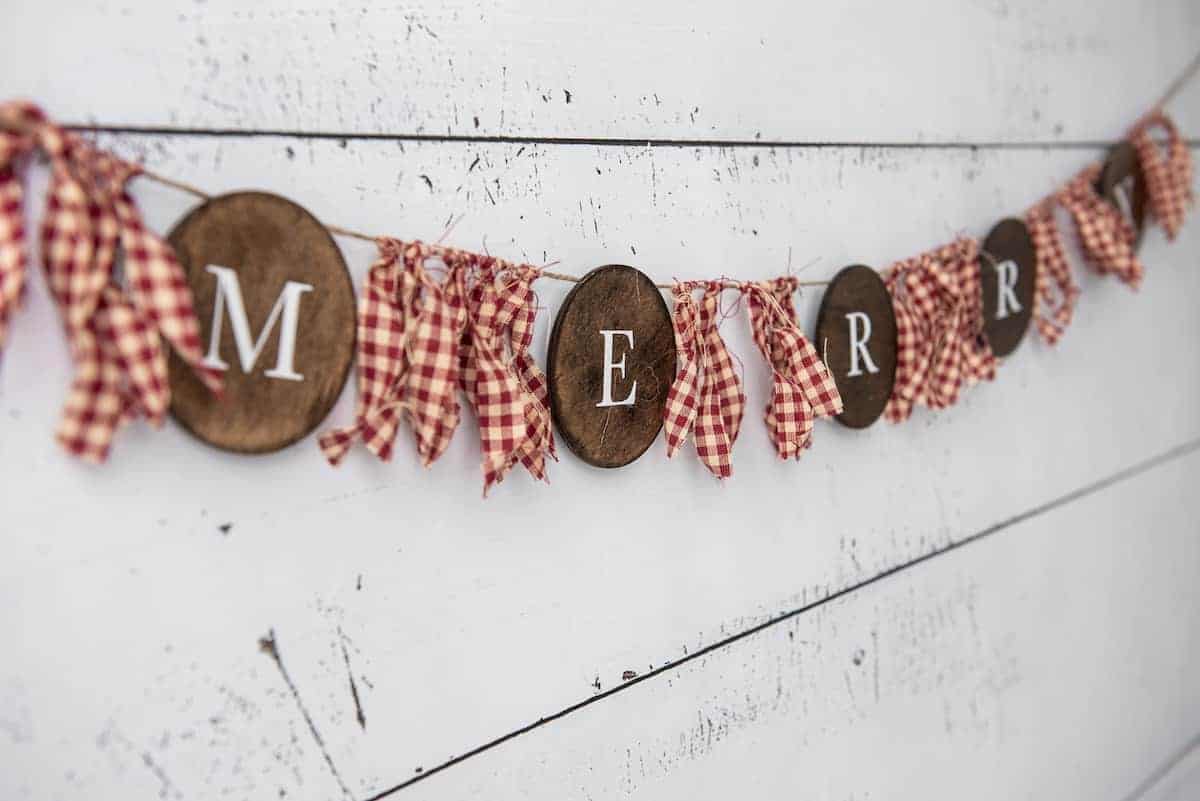
Looking for a rustic and homemade farmhouse Christmas banner for your mantle or to hang on the wall? Then you’ll love how easy this DIY project is to make with a Cricut!

This MERRY Christmas garland would look adorable throughout your home, including:
- Fireplace
- Mantel
- Shelves
- Bookshelves
- Wall decor
- Stairs
- Window
- Door
- Christmas tree
It also makes a great gift for friends and family. Or sell them as a craft at craft fairs.
If you like rustic Christmas decor, see how to make balsa wood ornaments with Cricut or my easy rustic Christmas tree sign with with free Blessed SVG file.
How to Make a Farmhouse Christmas Banner with Cricut
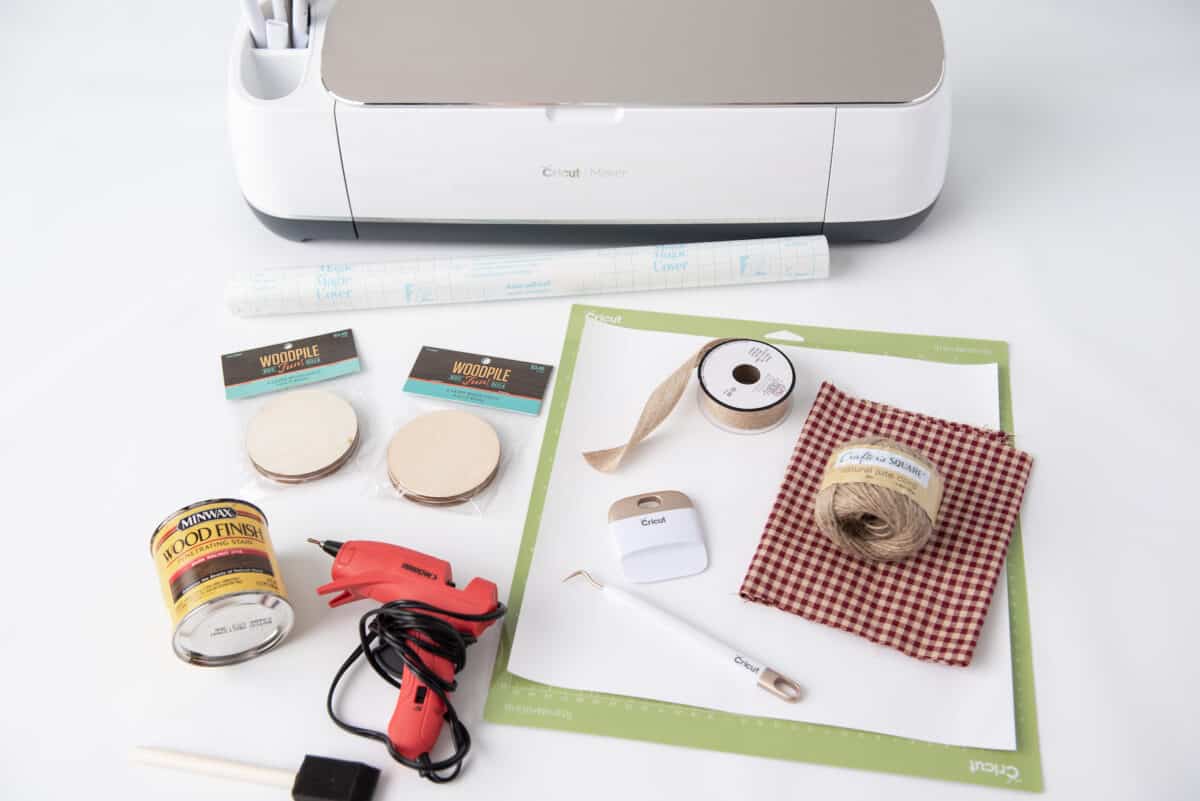
Supplies
- Cricut or cutting machine
- Permanent vinyl (white or color of your choice)
- Blue or green cutting mat
- Transfer tape
- Weeding tool
- Scrapper tool
- 2 packs of small wood rounds (3 inches) (these are similar)
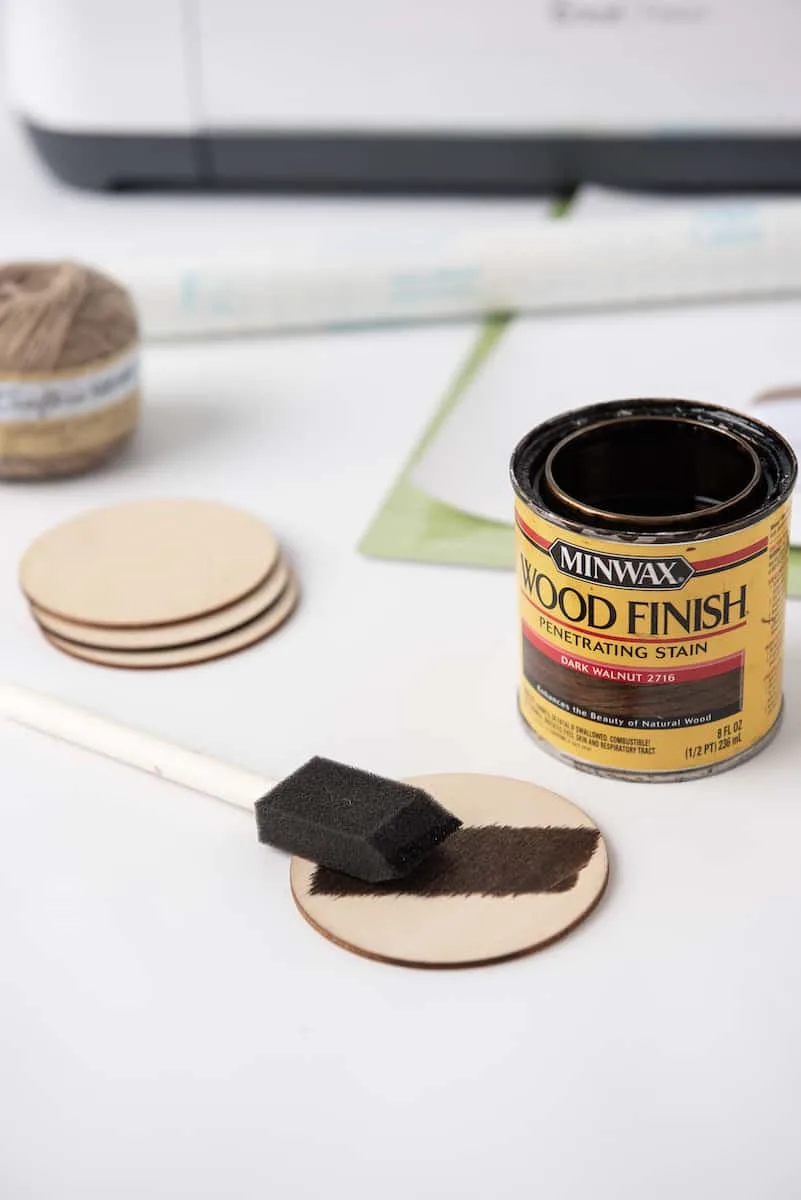
- Paint or stain
- Small paint brush or sponge brush
- Mod Podge
- Twine
- Scrap fabric (1/4 yard)

Directions
Paint or stain the wooden rounds, whichever you prefer. If staining, allow to dry for 24-48 hours before moving to next step.

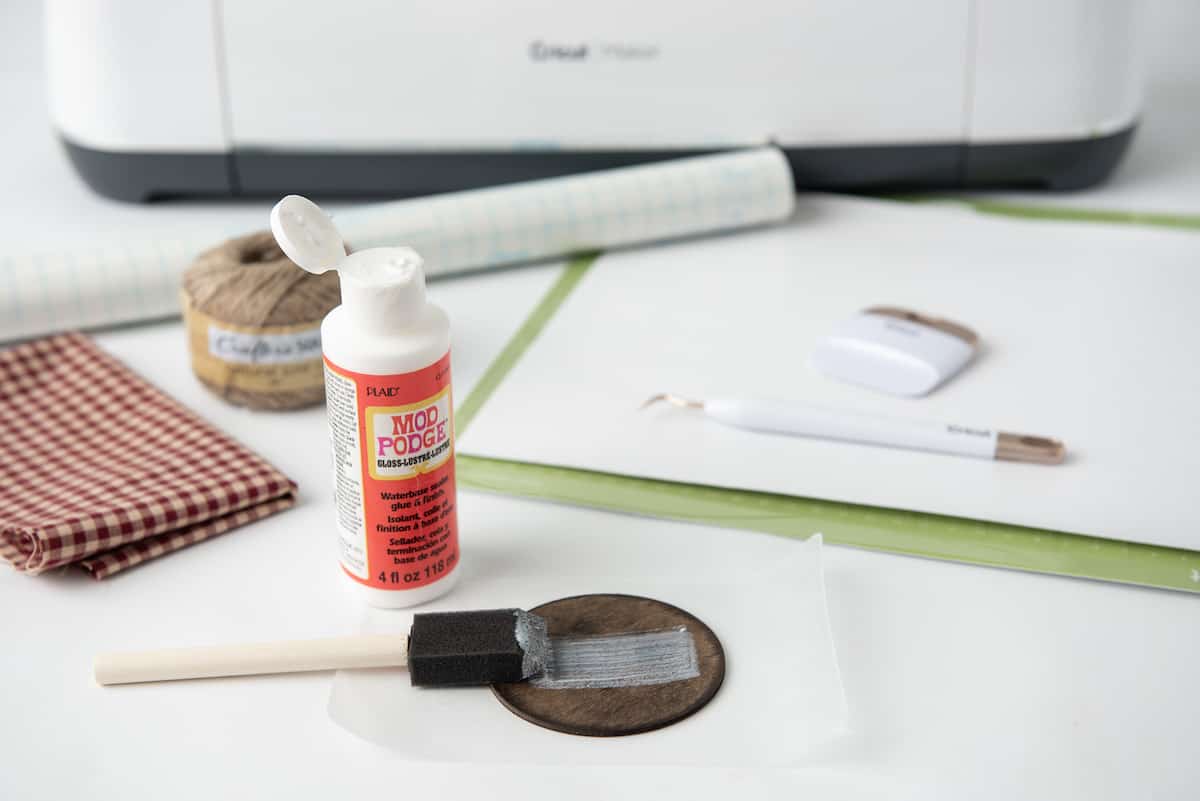
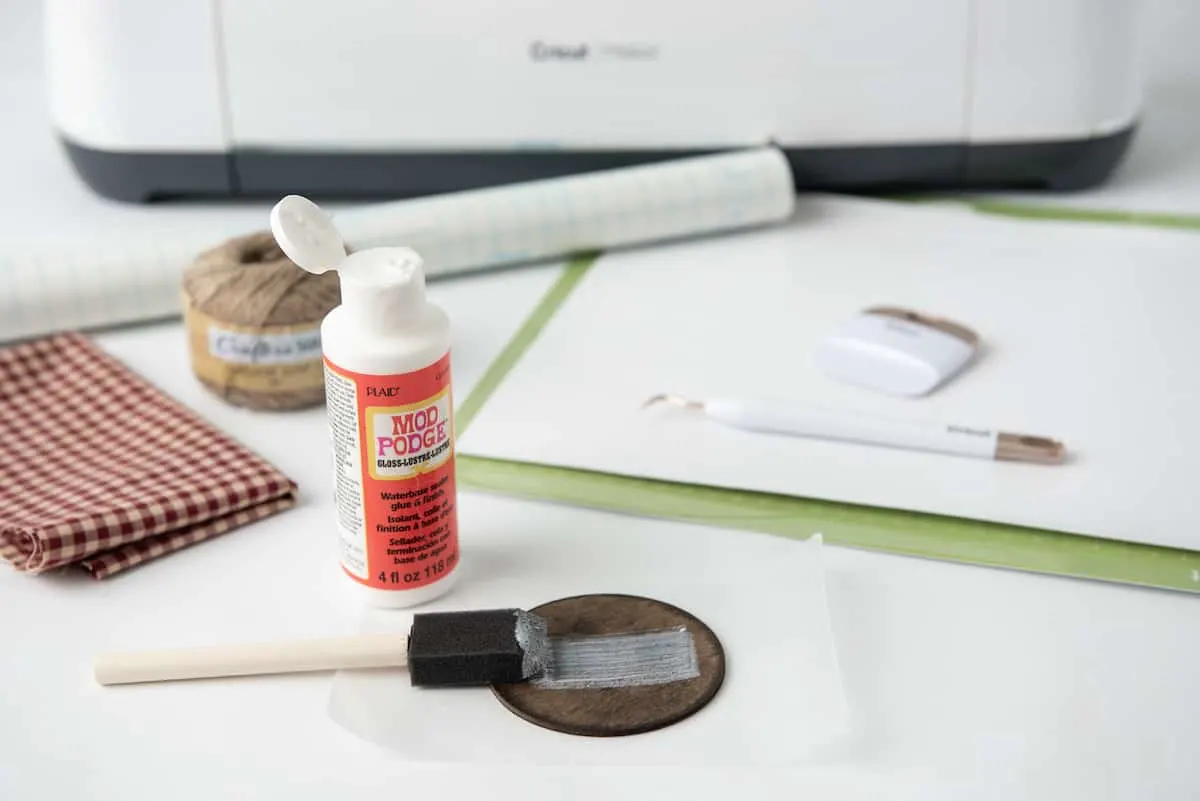
*If Staining: Once the stain is dry, add a layer of Mod Podge to the front of the wood where vinyl will be applied.
If there is no barrier between stain and vinyl, the oils in the stain will break down the adhesive on the vinyl. Mod Podge acts as a sealant to prevent this from happening.
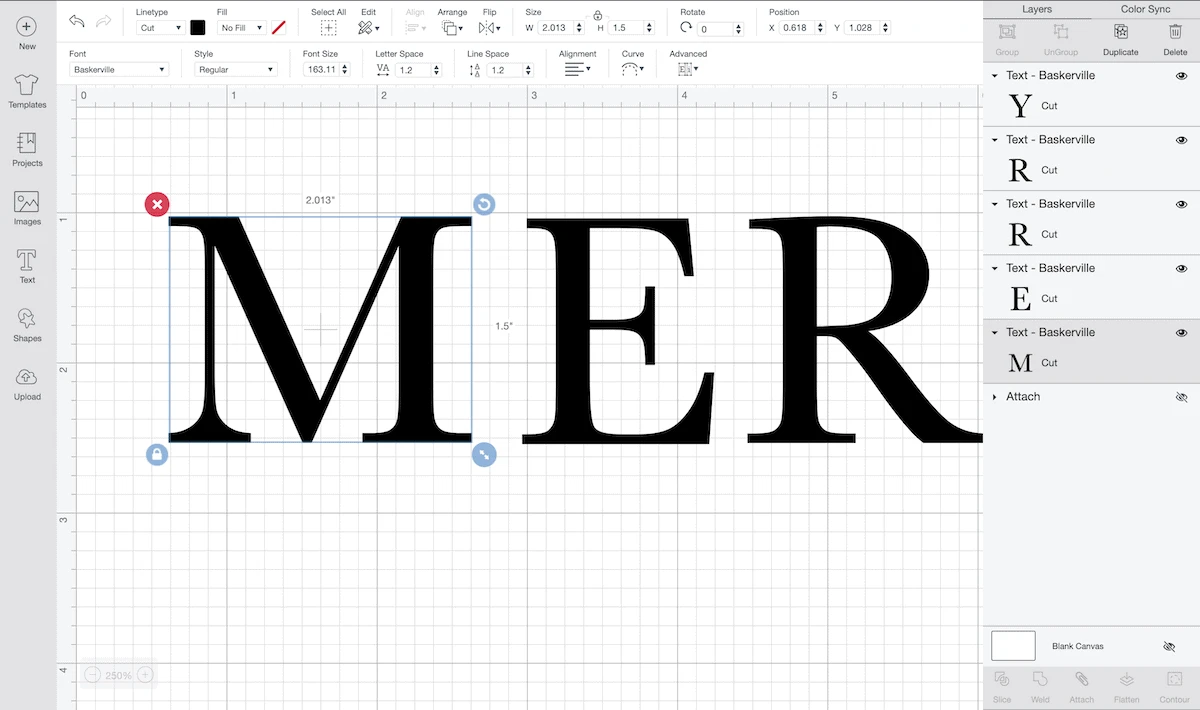
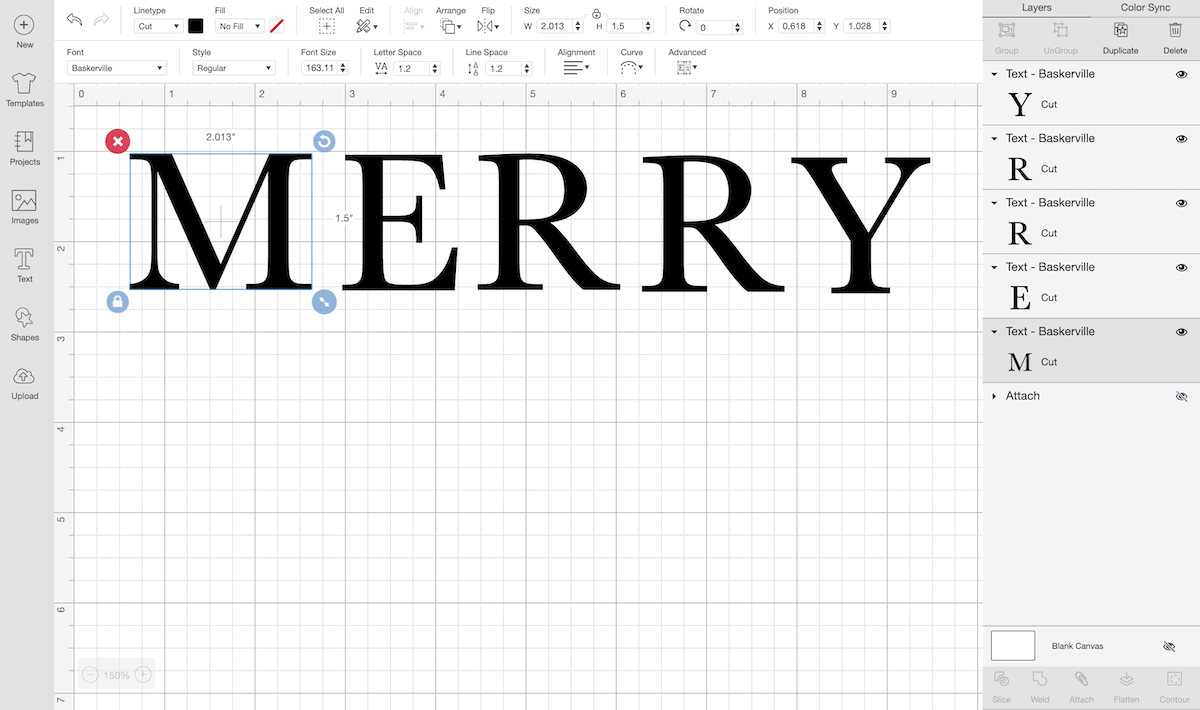
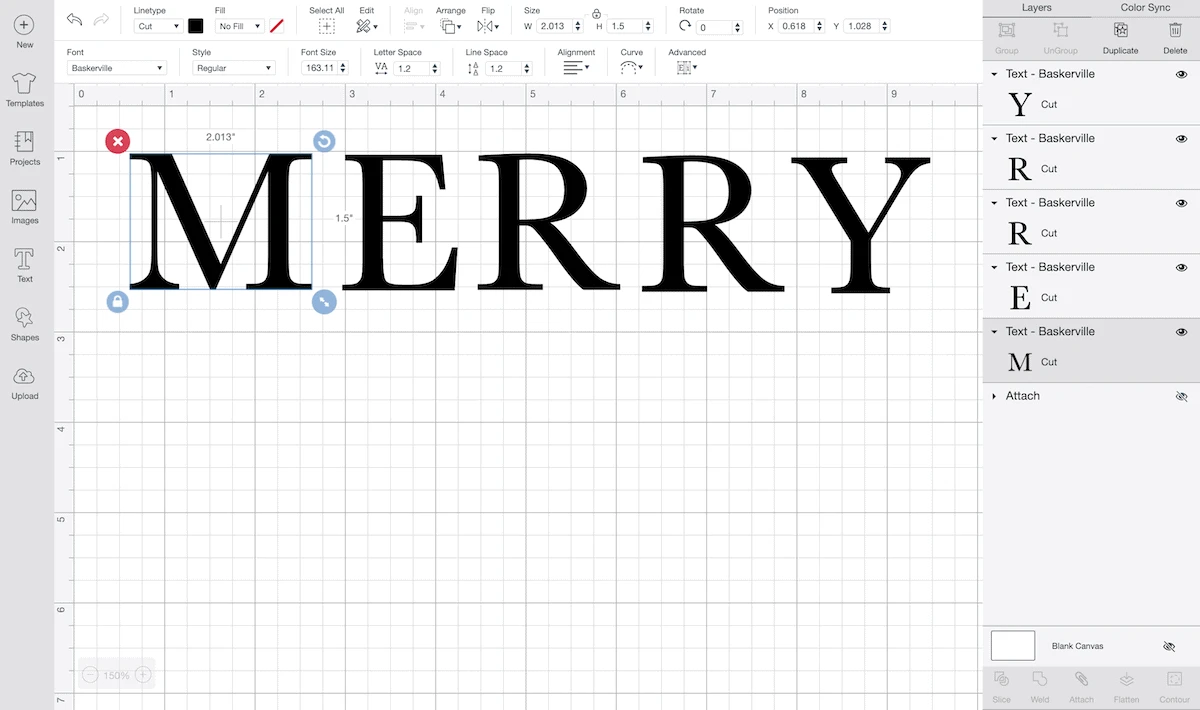
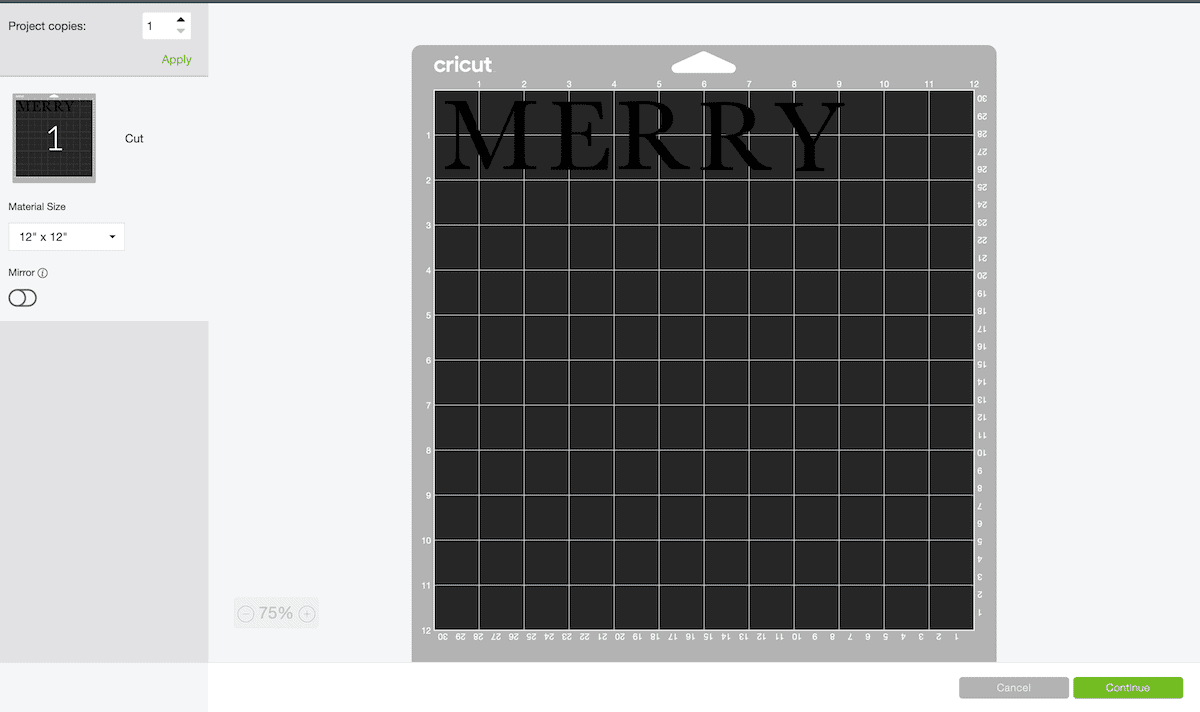
In Design Space, prepare your design by using the “text” tool.
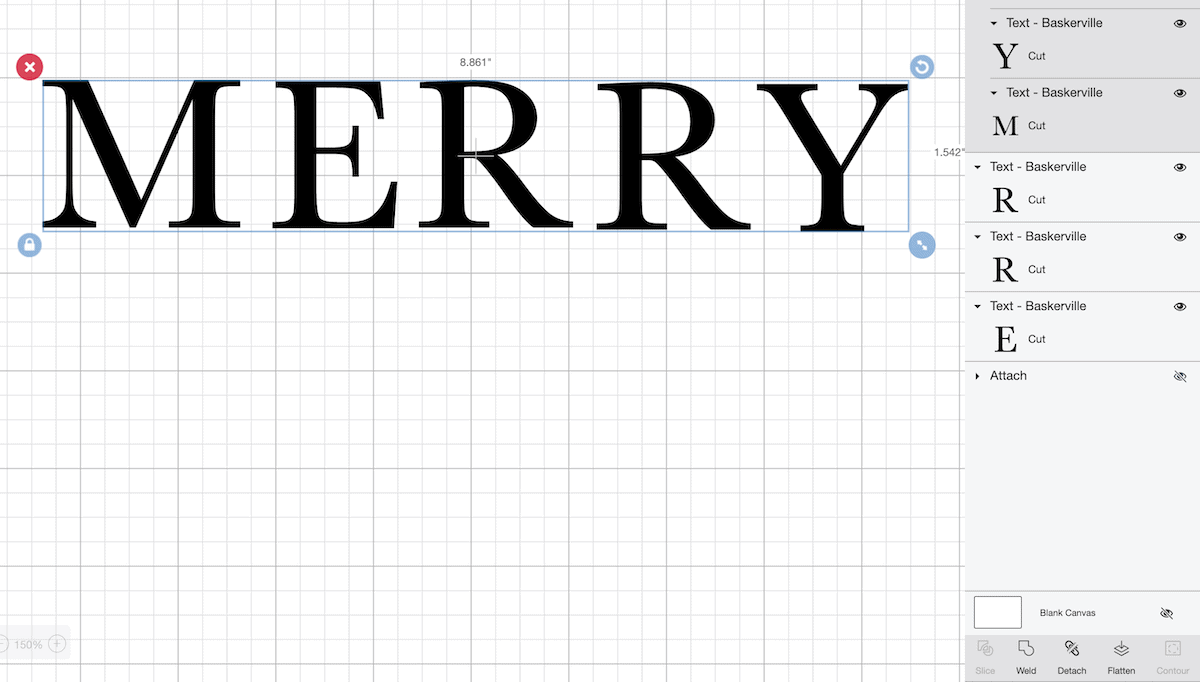
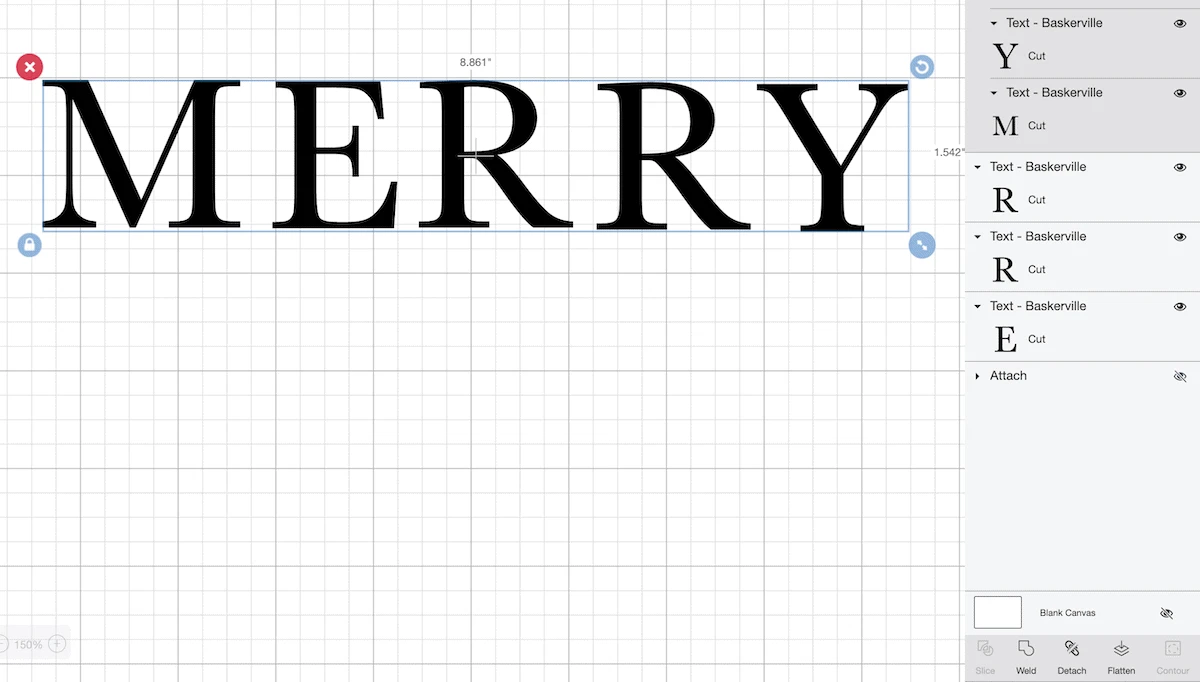
Start by creating each individual letter of the phrase that will be spelled out on the banner. I used Baskersville font, however, Times New Roman is somewhat similar.
In order for the letters to fit properly, adjust the height of each letter to 1.5” tall.

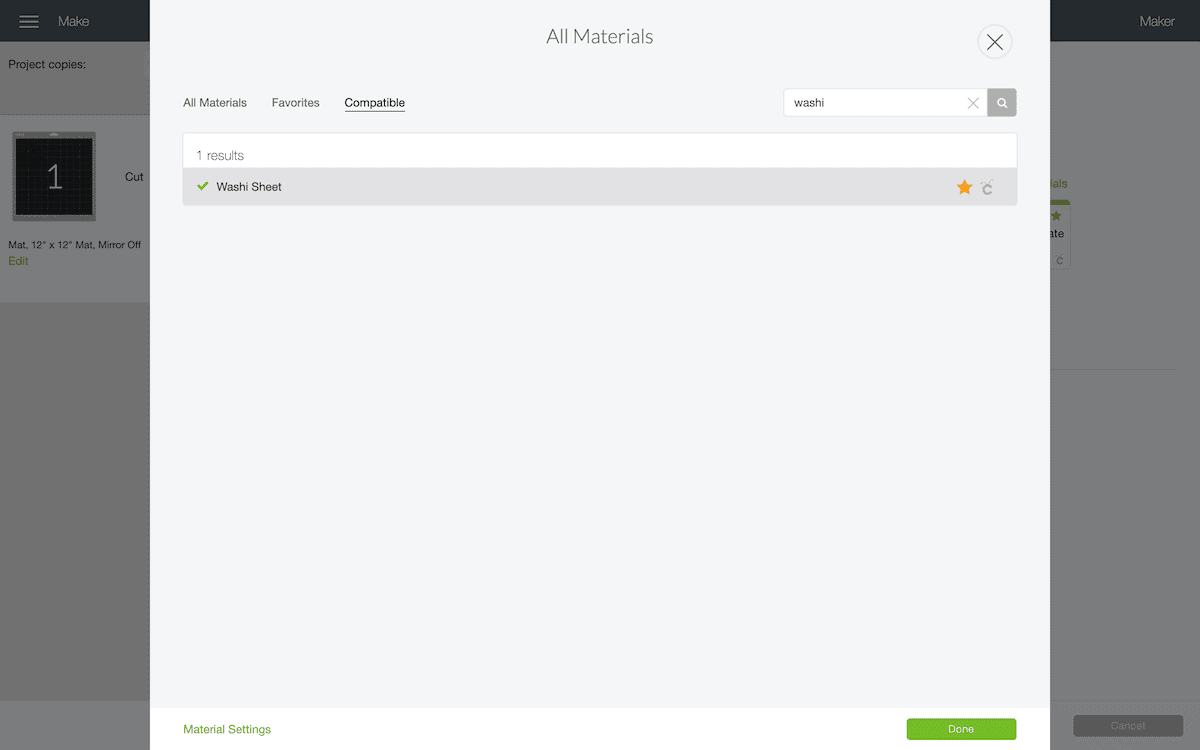
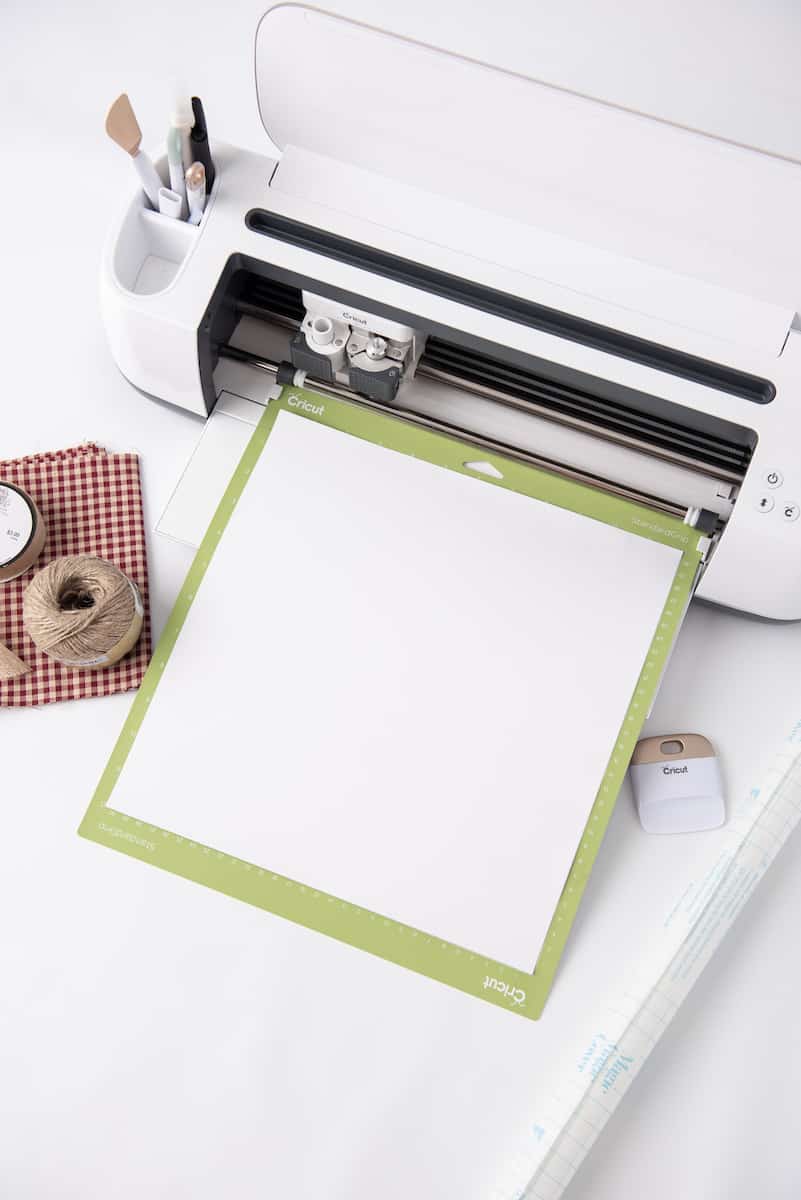
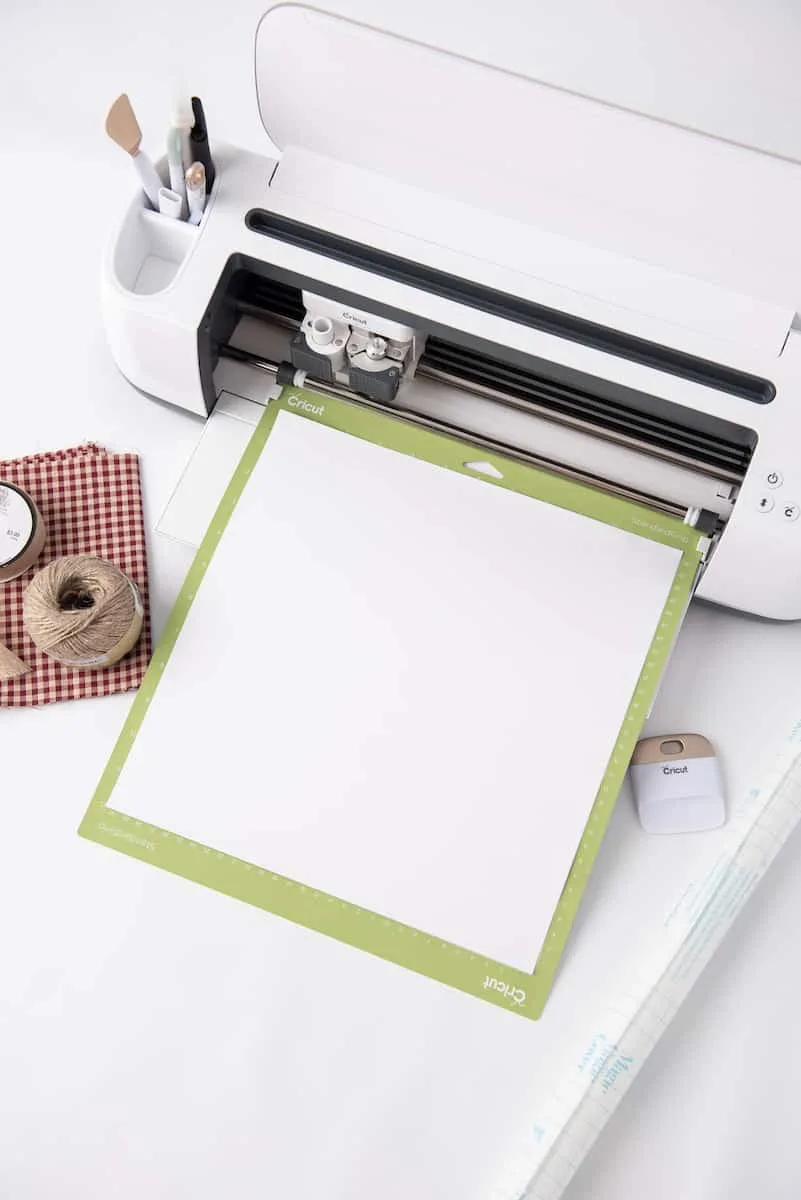
Once sized accordingly, select “make it” in Design Space. Adjust the machine setting or material dial to custom. You want to use the Washi Sheet with more pressure setting.


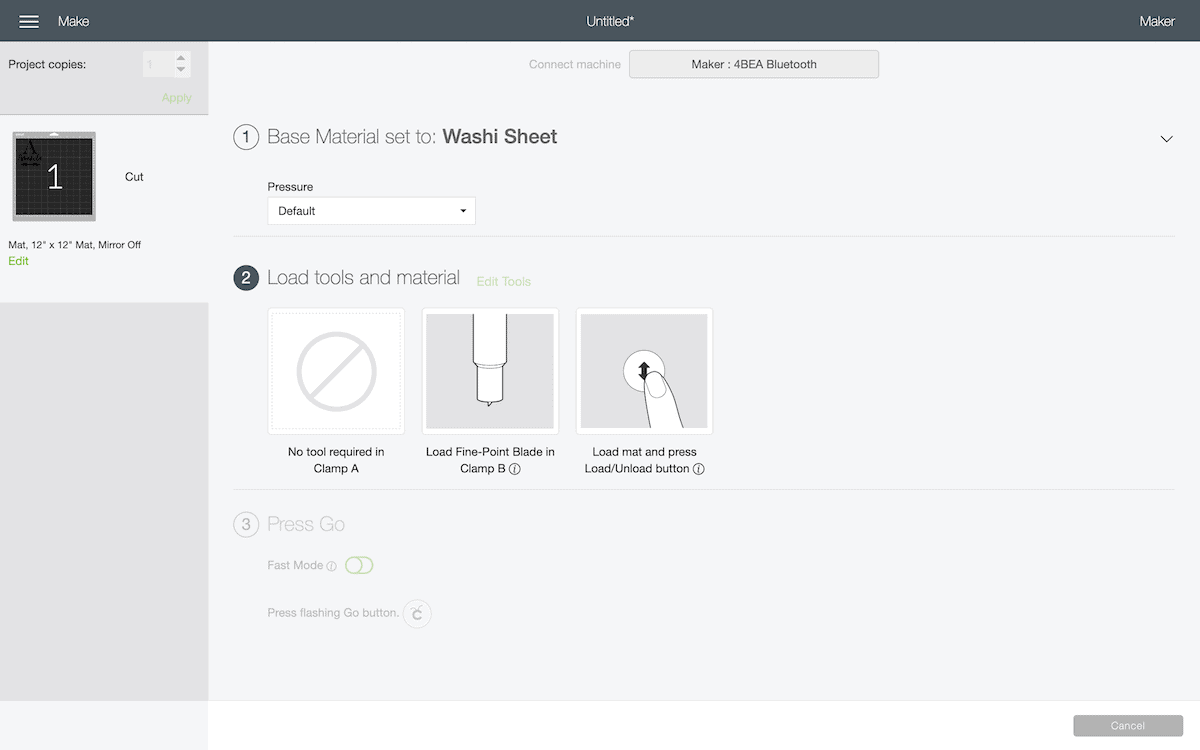
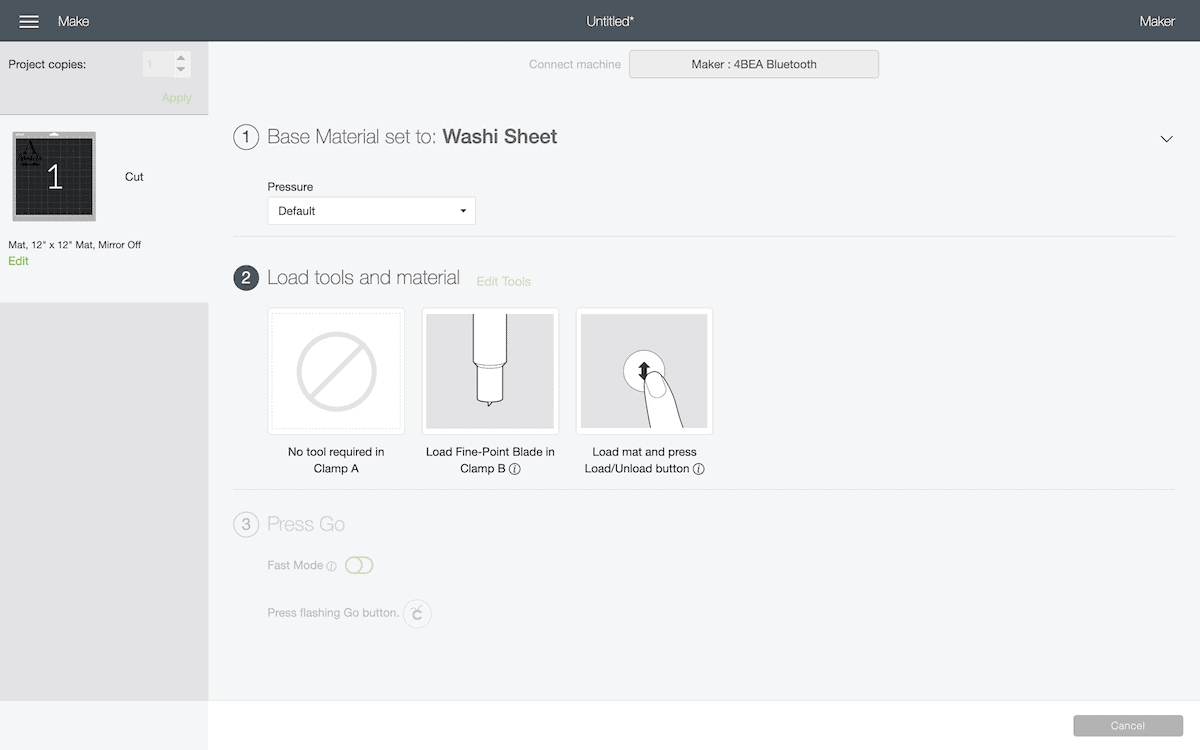
Load the permanent vinyl to your machine on the blue light grip mat or green standard grip map and hit “go”.
After cutting, weed the vinyl off and away from the design.


Cut a piece of transfer tape the size of the vinyl layers and apply the transfer tape using pressure with the scraper tool.


Turn the entire design face down and begin to gently apply pressure and pull the vinyl’s carrier sheet off and away from the transfer tape.
Place the vinyl on the transfer tape to the middle of the wood round and apply gentle pressure.


Slowly remove the transfer tape by rolling it off the wood. The vinyl will remain on your wood circle.
Repeat the steps for the rest of the letters.
After all vinyl letters have been applied, flip the wood rounds over. Decide what letter is in the middle of your saying. (For instance, if you have a six letter word, the middle would be between letter # 3 and #4. If you have a seven letter word, the middle would be letter #4.)
Fold the twine in half to get an idea of where the middle is. Then unfold, keeping in mind where the middle point is.
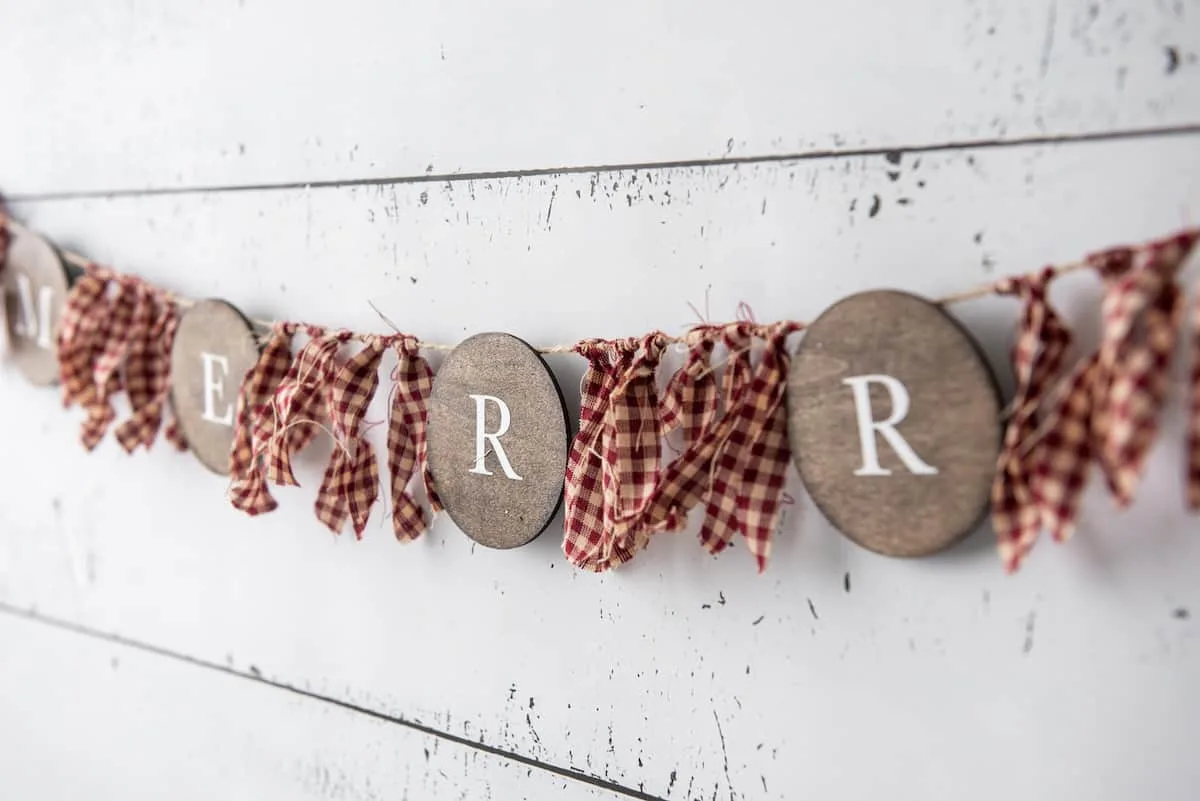
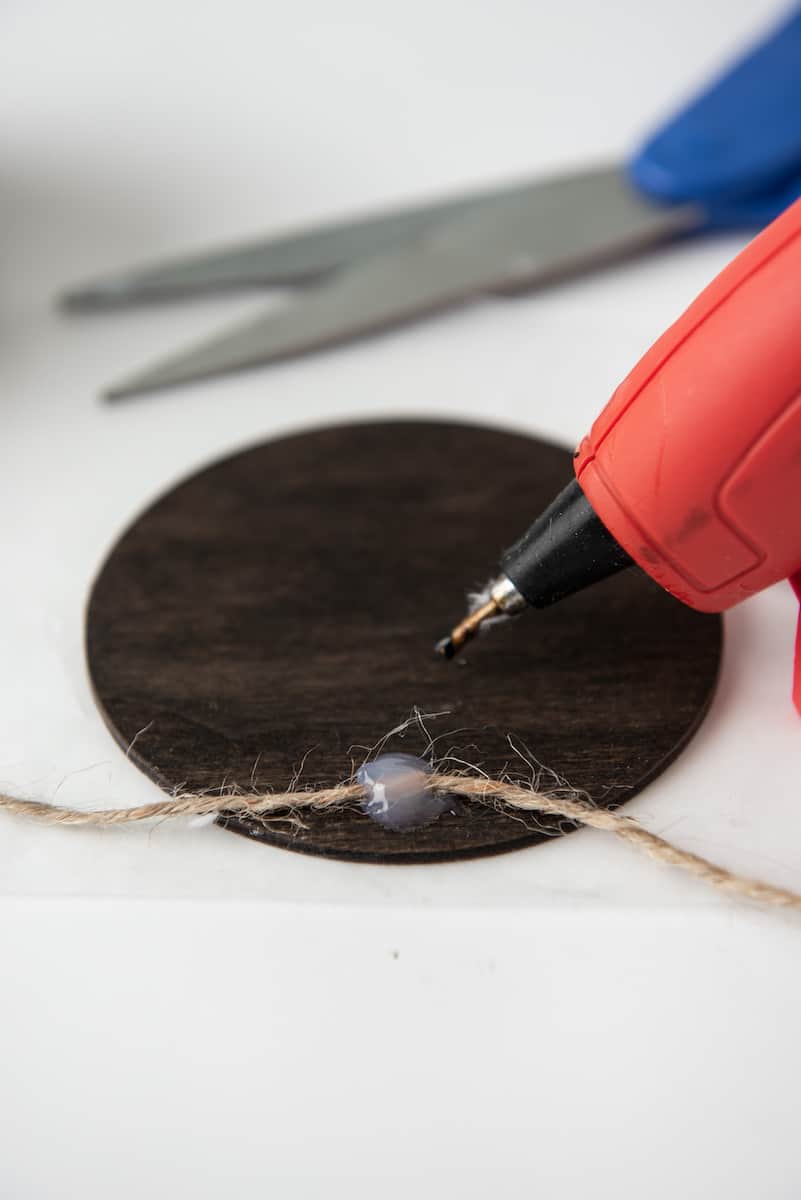
Space the wood rounds approximately 4-5” apart, or to your liking, along the twine. Using a hot glue gun, begin to glue twine to the top of each wood round. Start with the middle of the twine attaching to the middle point of the word.
If the middle point is in between two letters, then keep the space in between the letters on the middle point.
You’ll want to cut a long enough piece of twine to allow for hanging on the wall, Christmas tree, or fireplace mantle. Allow for room for the banner to sag a bit. And for enough twine to secure to each side.
Keep in mind that the wood rounds will weigh down the twine a bit so that it will sag.

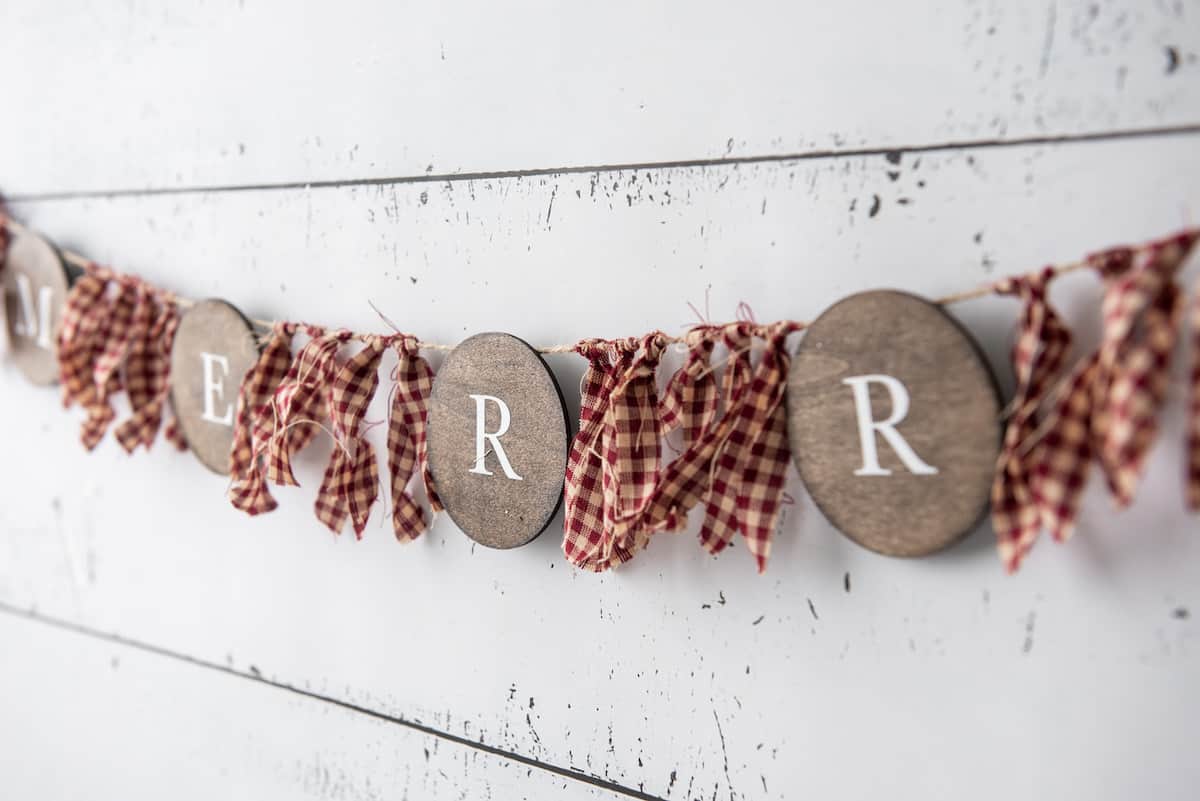
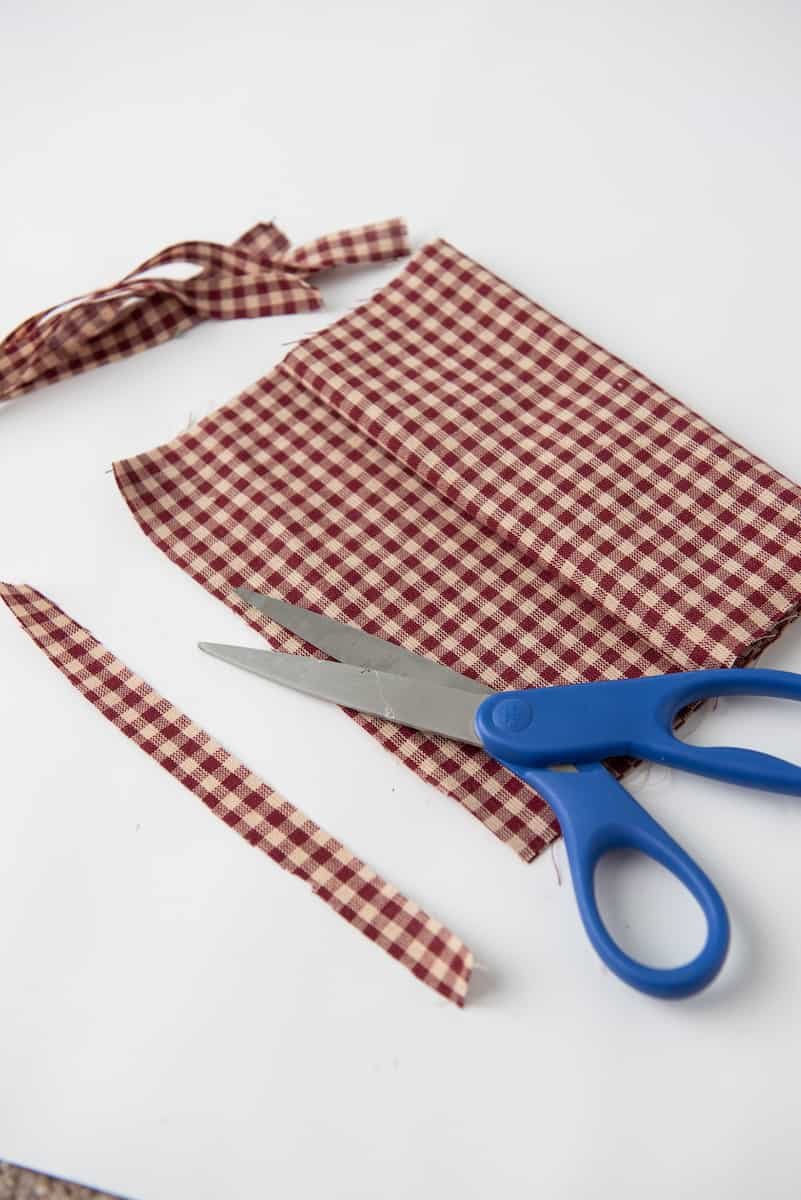
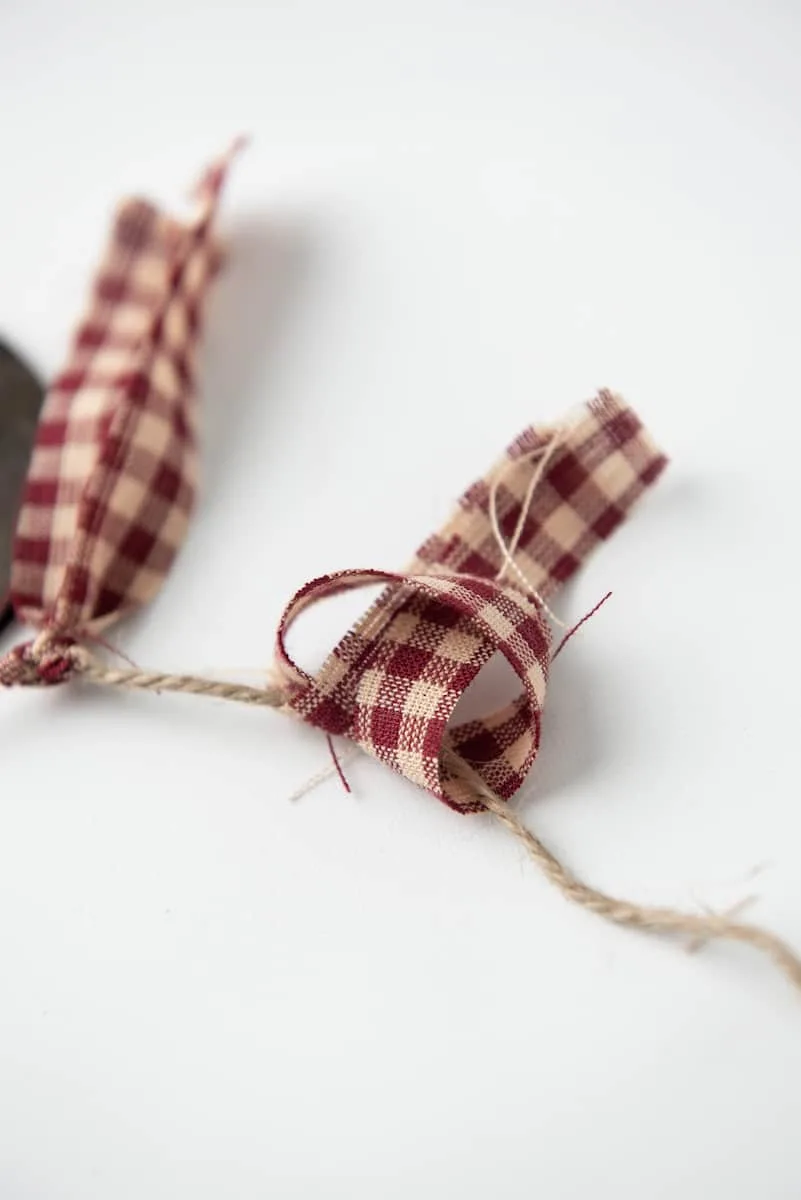
Tie ribbon or strips of fabric (about 5-6 inches long and 1/2 an inch wide) around and in-between each letter. I used 5-6 strips in between each letter.
Multiply the amount of strips you need by the number of letters.


Helpful Tip: To make the ribbon or fabric lay correctly, create a loop under the twine then grab the ends of the fabric and pull tightly through the loop to secure onto the twine.


Christmas Patterns and SVGs!
Want more fun holiday SVGs for crafting and creating this season? I’ve got a fun 4-pack of patterns perfect for DIYs!
Visit the Single Girls DIY library for more details and to get your downloads!
Want more farmhouse Christmas crafts? Check out our farmhouse Christmas book stack.
These adorable wooden house ornaments can be personalized for friends and family. And this twine tassel Christmas tree is so easy and inexpensive to make.
This old-fashioned wood scroll frame is perfect for hanging in your entryway or in the kitchen.
Make any container a vintage farmhouse floral display with our free printable label.
