


Love the vintage look of hanging scroll frames? Well, you’re going to like this DIY project which recreates an old-fashioned feel with craft plywood and paint sticks.


Yep, one of the special supplies with this craft is using paint sticks to replicate the look of a hanging frame. This scroll frame also doesn’t use any paper, unlike some vintage ones.
Though this wall hanging looks expensive, it uses surprisingly affordable materials. The paint sticks cost about $2 in total.
The craft plywood is about $5, but if you have some leftover from a project you can use that.


If you love making Christmas signs for your home or to give as gifts, check out my Home for the Holidays sign, easy rustic Blessed Christmas tree sign and this easy Christmas shutters with Plaid mittens decoration.
You might also like making this huge oversized wooden Christmas gift tag sign with a free SVG file.
This Tassel Christmas Tree Reverse Canvas sign is as easy as tying twine together!
How to Make a Christmas Hanging Scroll Frame
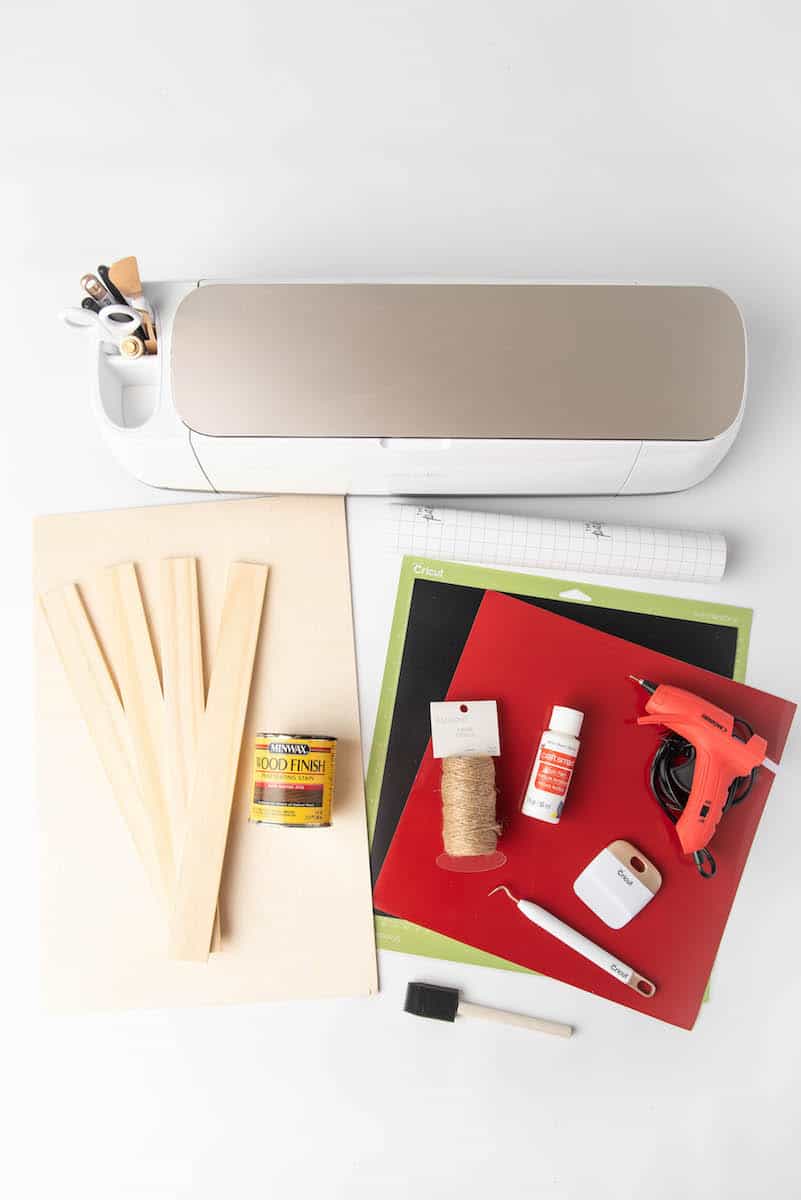
Supplies
- Free Have Yourself a Merry Little Christmas SVG file
- Craft plywood (24”x12” cut to 15.5”x12”)
- Paint sticks (2 packs cut to 14”)
- Paint (acrylic paint is fine; matte finish is best)
- Wood stain
- Paint brush or Foam brush
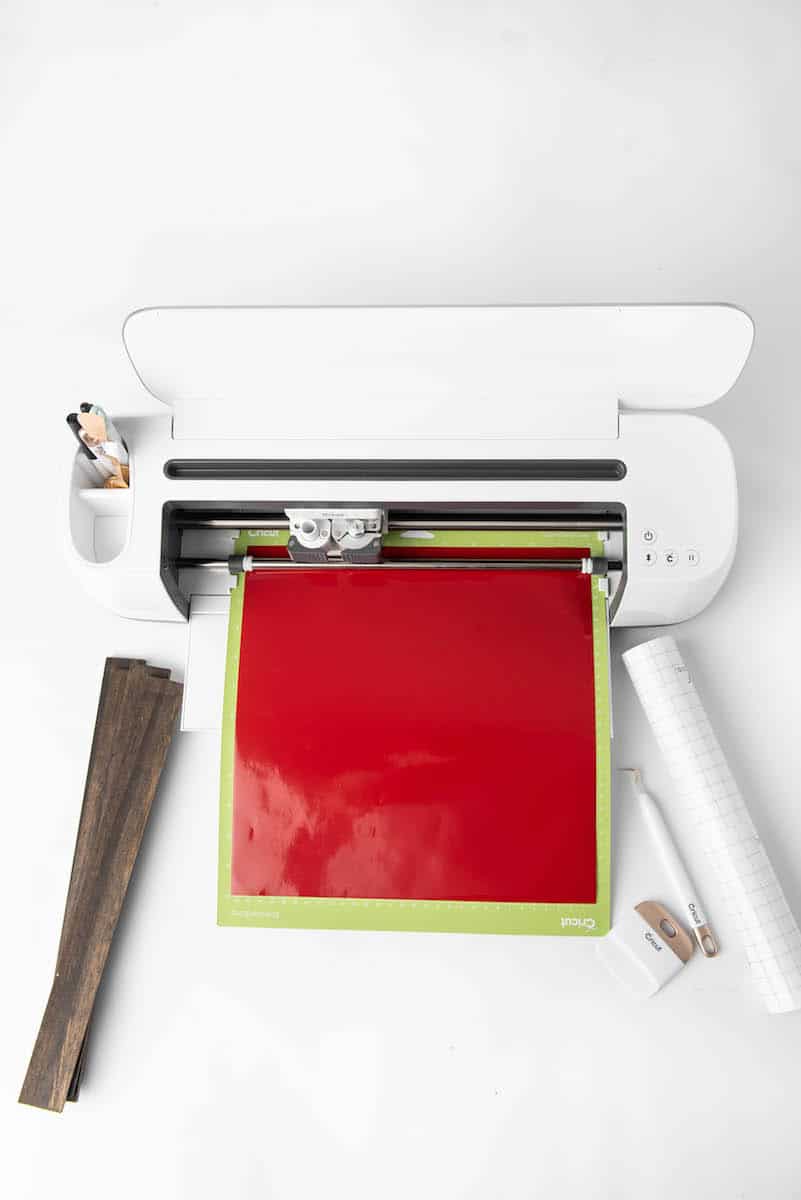
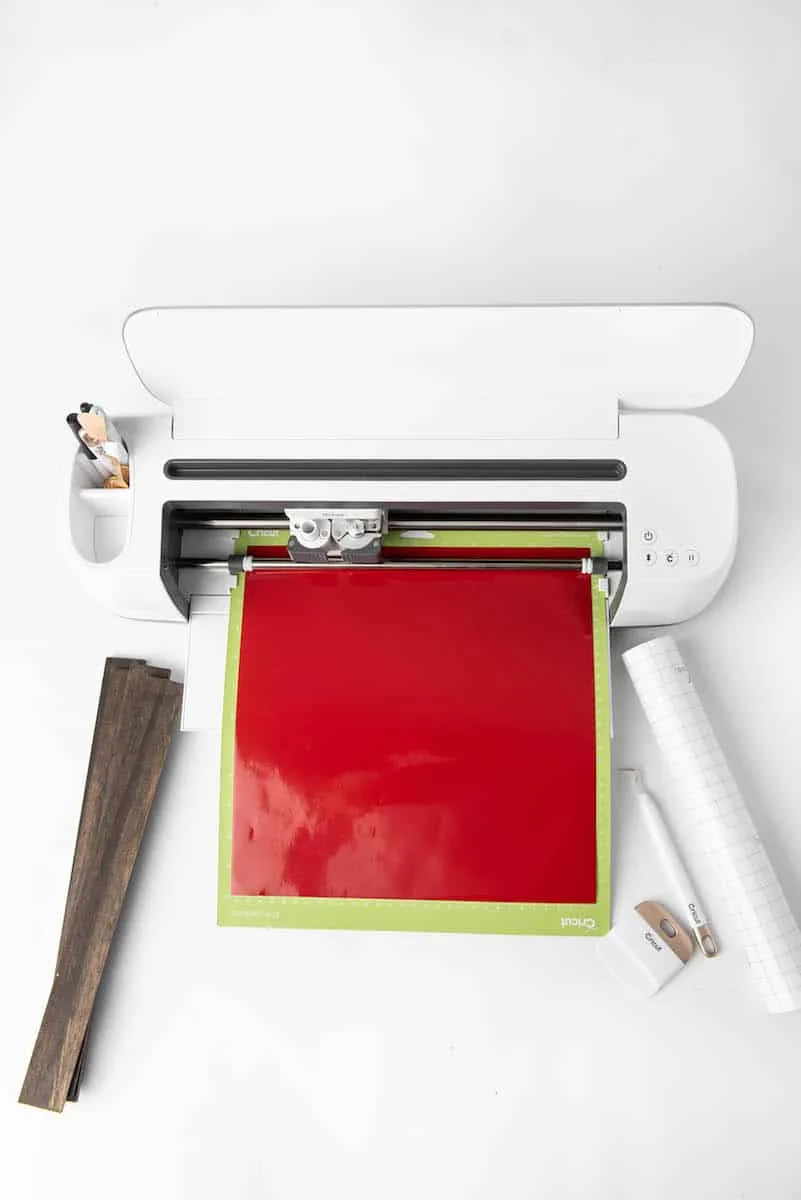
- Cricut
- Cricut blue light or green standard grip mat
- ORACAL 651 vinyl or permanent vinyl of your choice
- Transfer tape
- Weeding tool
- Cricut scraper tool
- Hot glue gun (or E6000 or wood glue)
- Twine

Directions
Cut the paint sticks to size (depending on the size of the craft plywood) either with a hand saw or automatic saw. You will need 4 paint sticks total for the top and bottom frame.
Cut the 24”x12” craft plywood to 15.5”x12” for the main scroll sign.
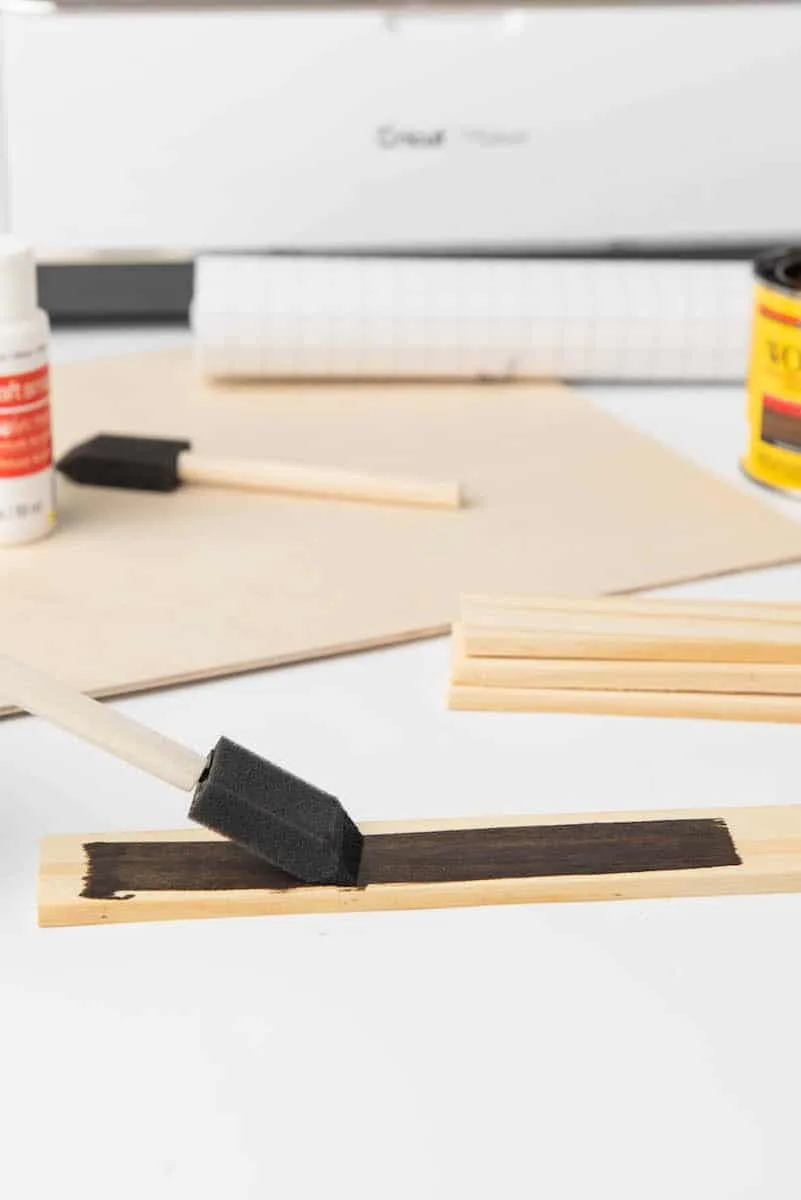
Stain the paint sticks with the color you choose. Allow to dry completely (could take 24-48 hours).
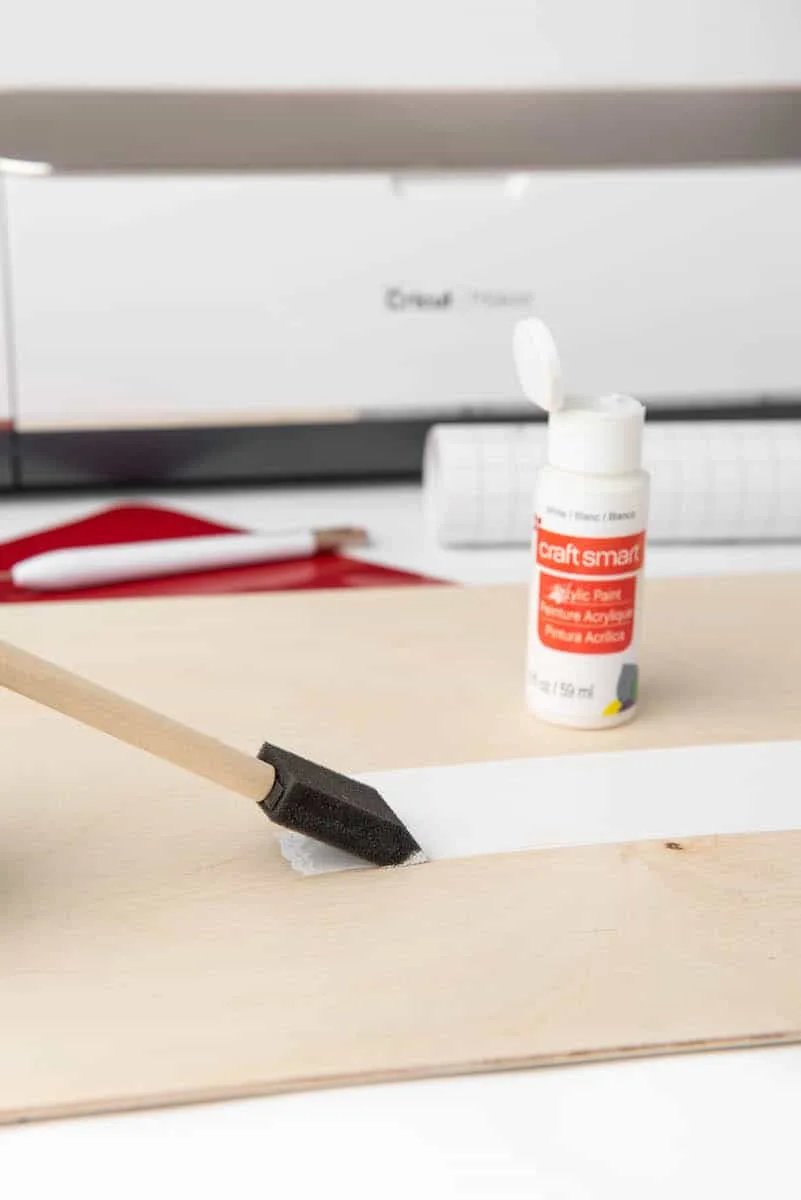
Paint the craft plywood and allow to dry.


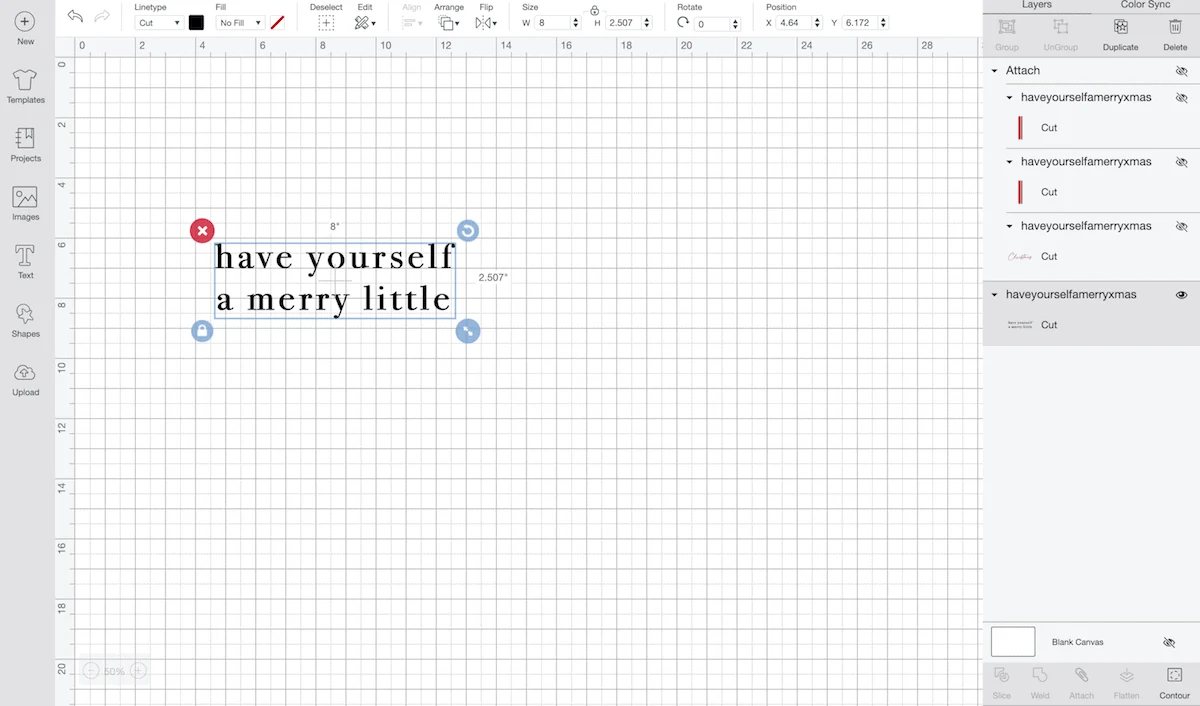
Once the paint is dry, begin to make the SVGs in Design Space. The SVGs are already sized correctly if you follow the same measurements as above. If you change measurements, you will need to resize the SVG.
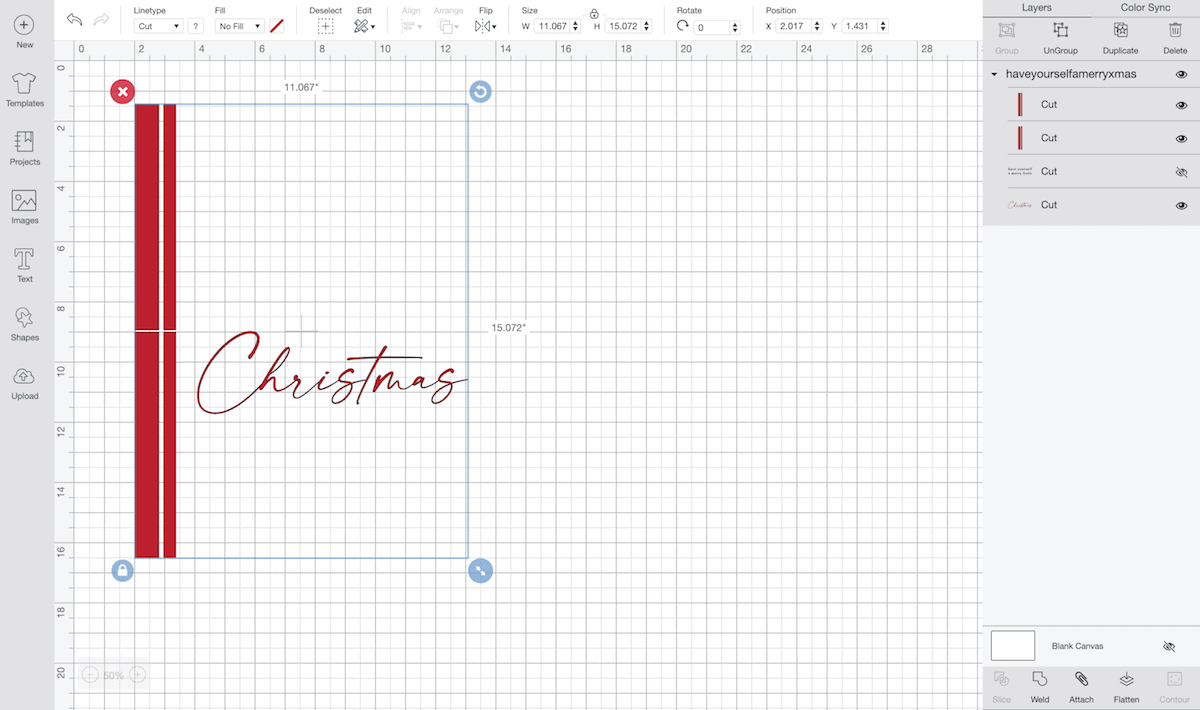
*Helpful Tip: The red stripes are split and will be cut split in order to fit on 12×12 mat and then on the full length of the craft wood. The phrases and words are also split to make cutting different colors easier.

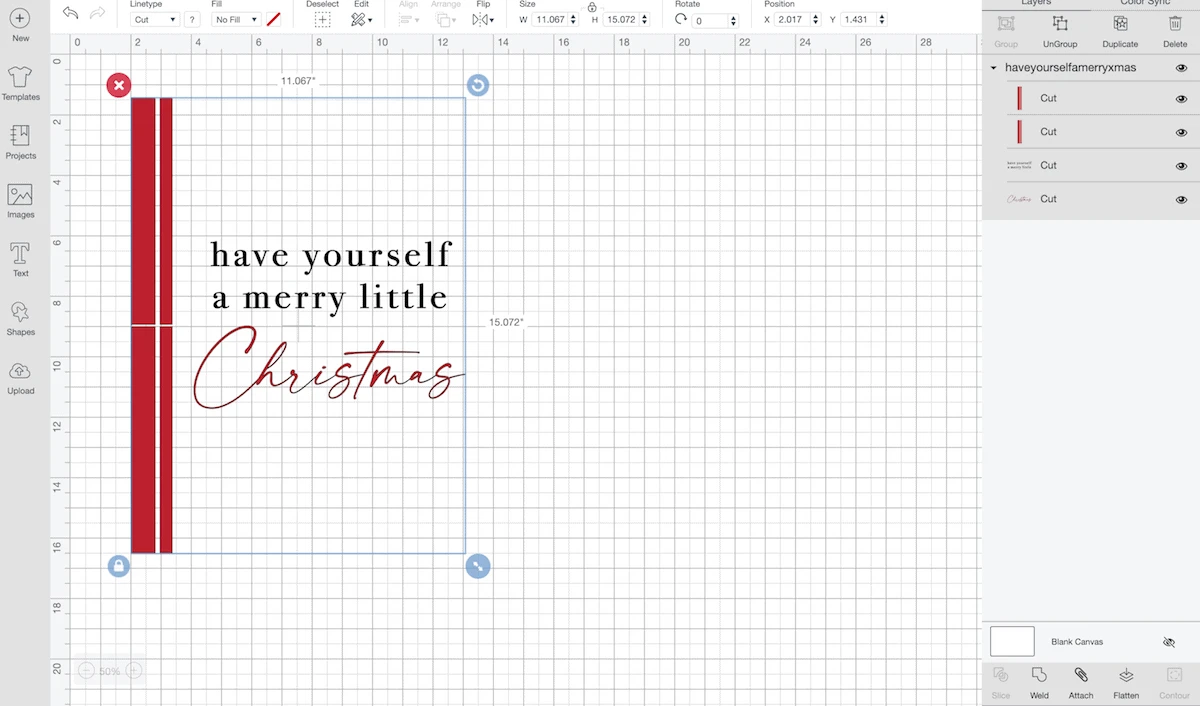
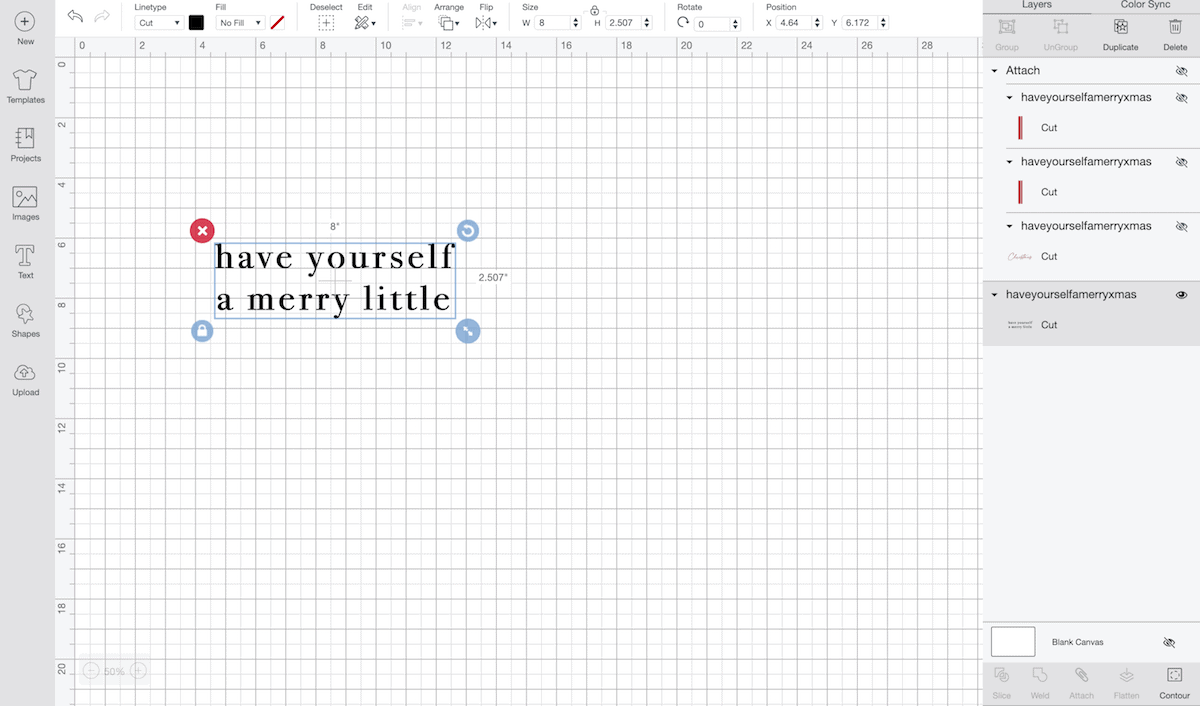
In the layers panel, hit ungroup. Move the two sections of red stripes side by side and “Christmas” phrase. This will help keep them together and allow them to cut on one mat.
Select “all” and hit attach. Use the eye icon in the layers panel to temporarily turn off the black “have yourself a merry little” phrase until red stripes and Christmas has been cut. Afterward, proceed cutting as normal.
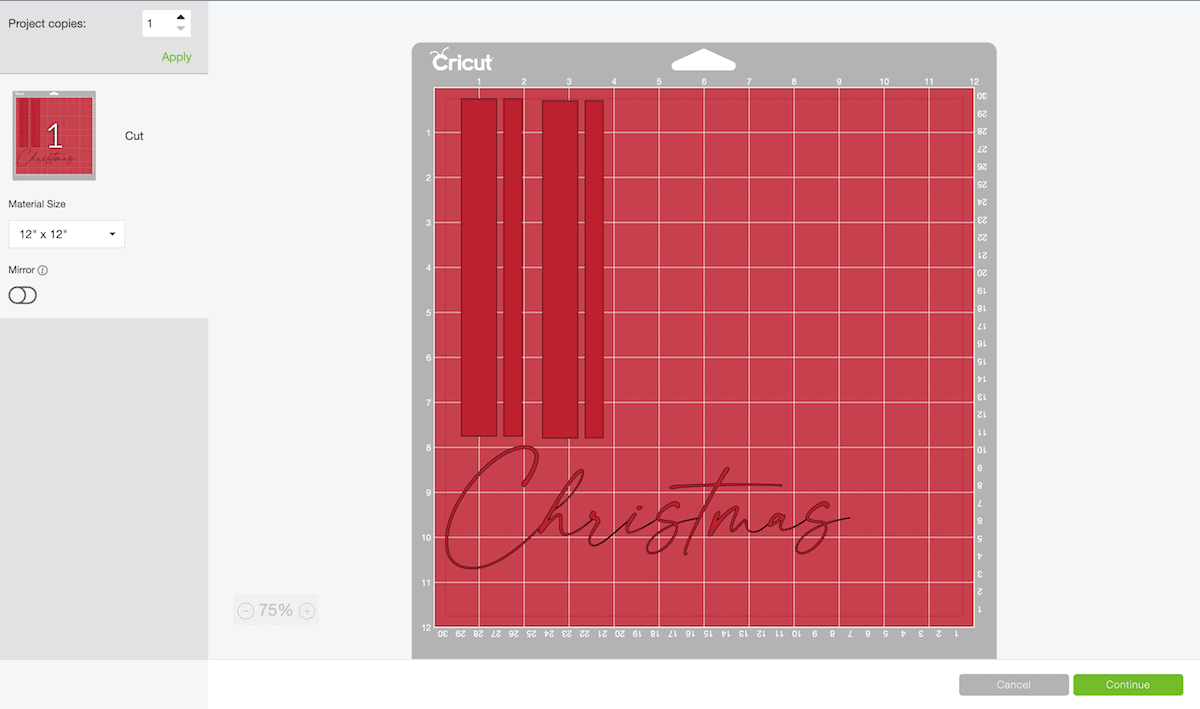

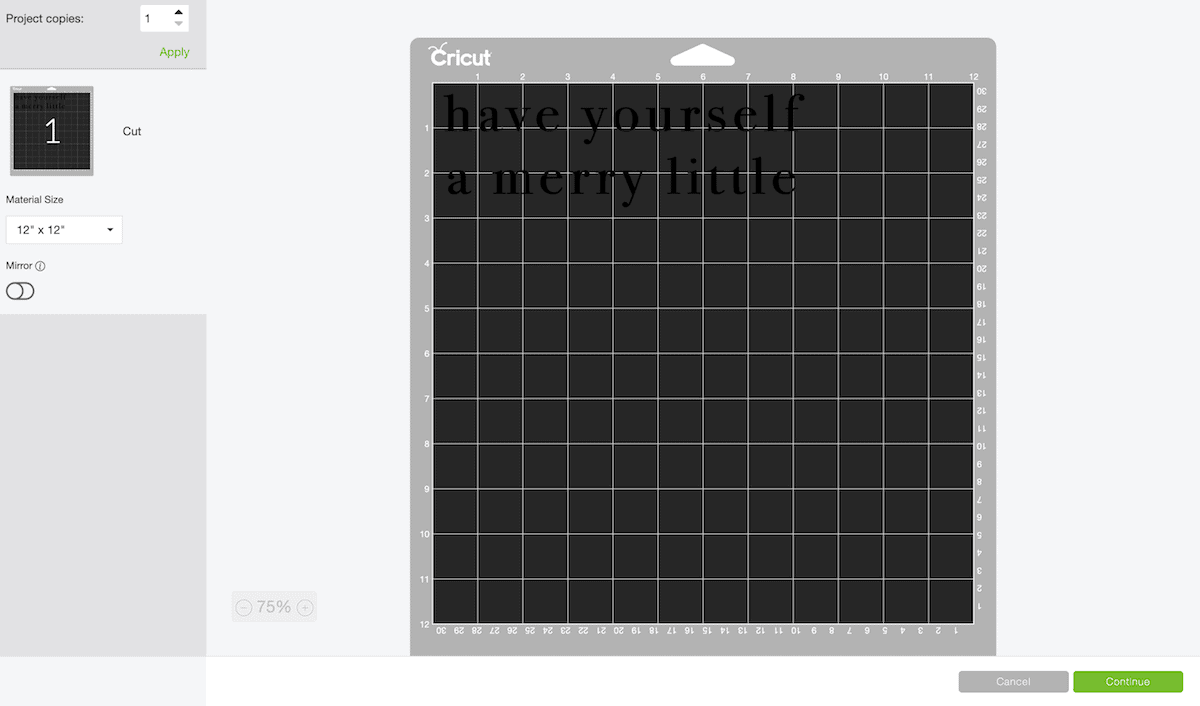

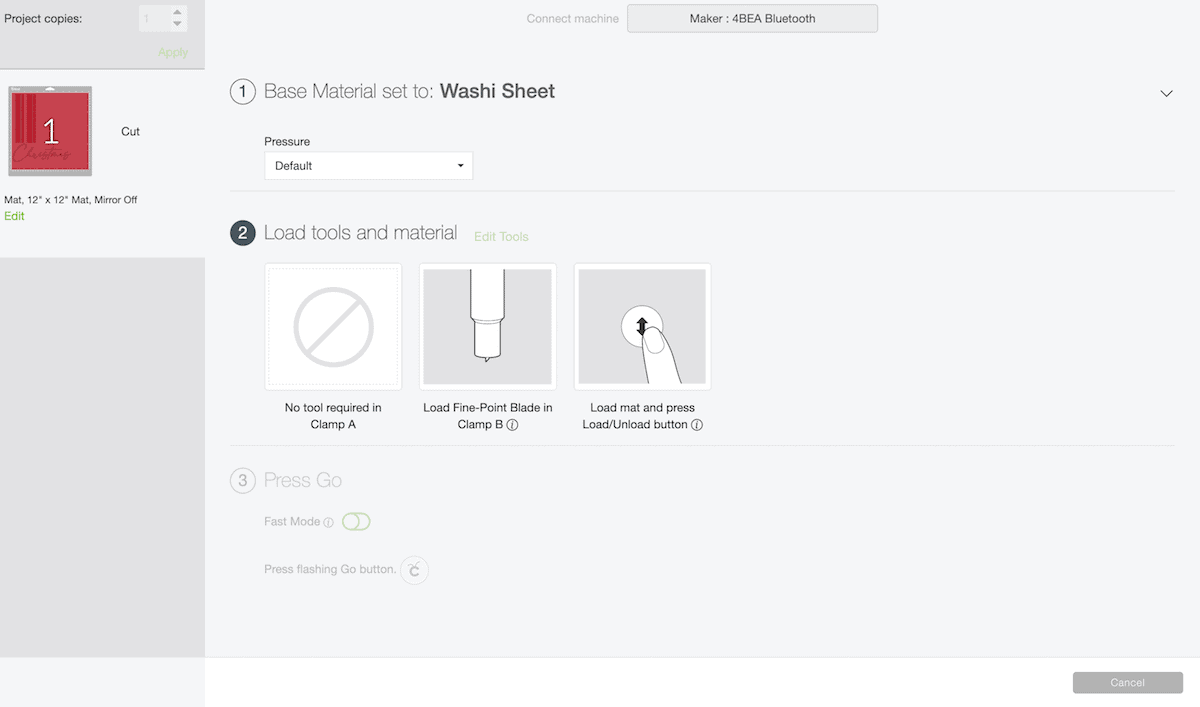
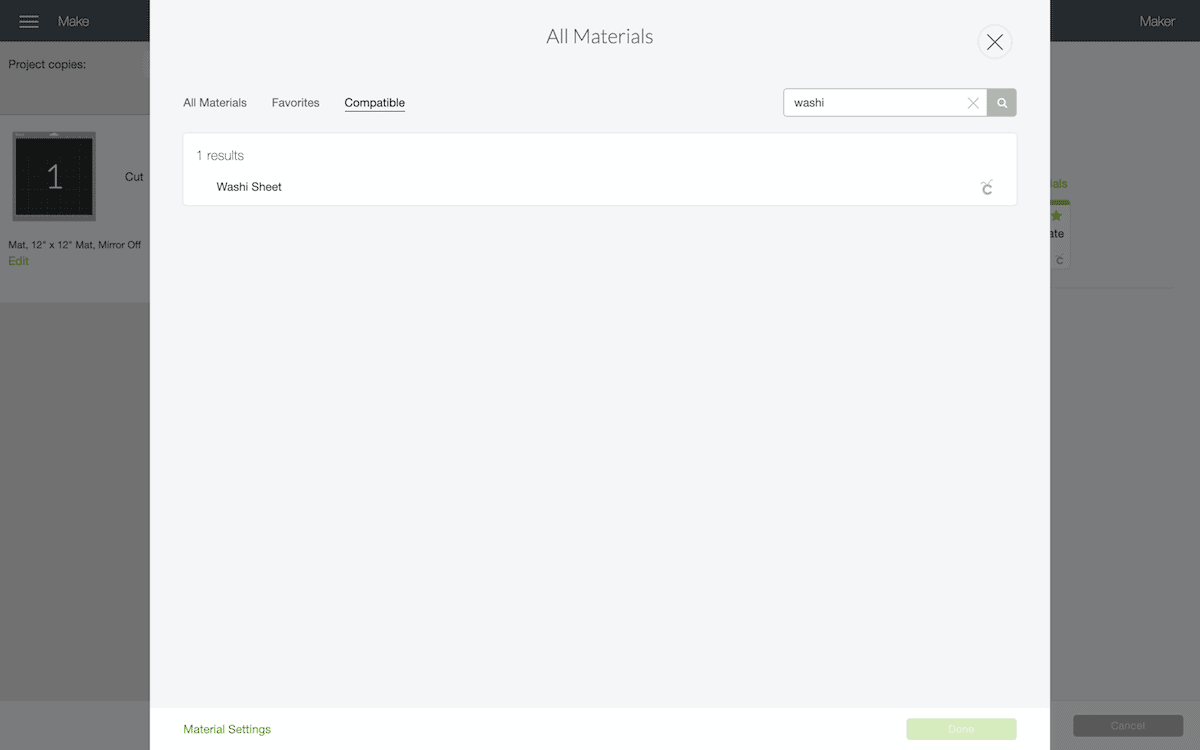
Hit “make it.” Adjust the machines setting or material dial to washi sheet or vinyl.
Load the permanent vinyl into the machine on the green or blue light grip mat and hit “go”.
*NOTE: Washi sheet setting is best for intricate and thin designs.


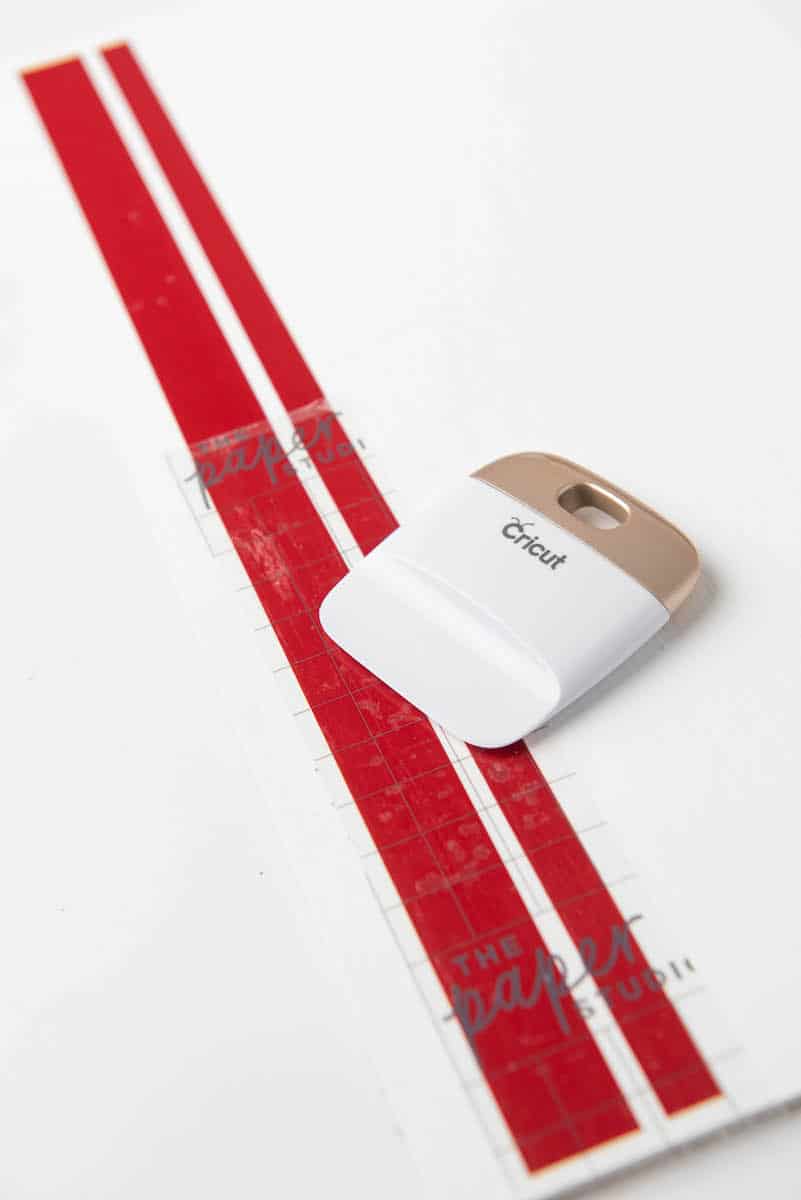
After cutting, weed the vinyl off the design using a weeding tool.


After the design is completely weeded, cut a piece of transfer tape to fit the size of the vinyl. Apply the transfer tape.


Place the vinyl stripes on the transfer tape to the edge of the plywood, about a 1/2 inch inwards from the left edge. Then, apply the word phrases to the right of the stripes and in the middle of the wood. Smooth over the design using the scraper tool.
Remove the transfer tape.
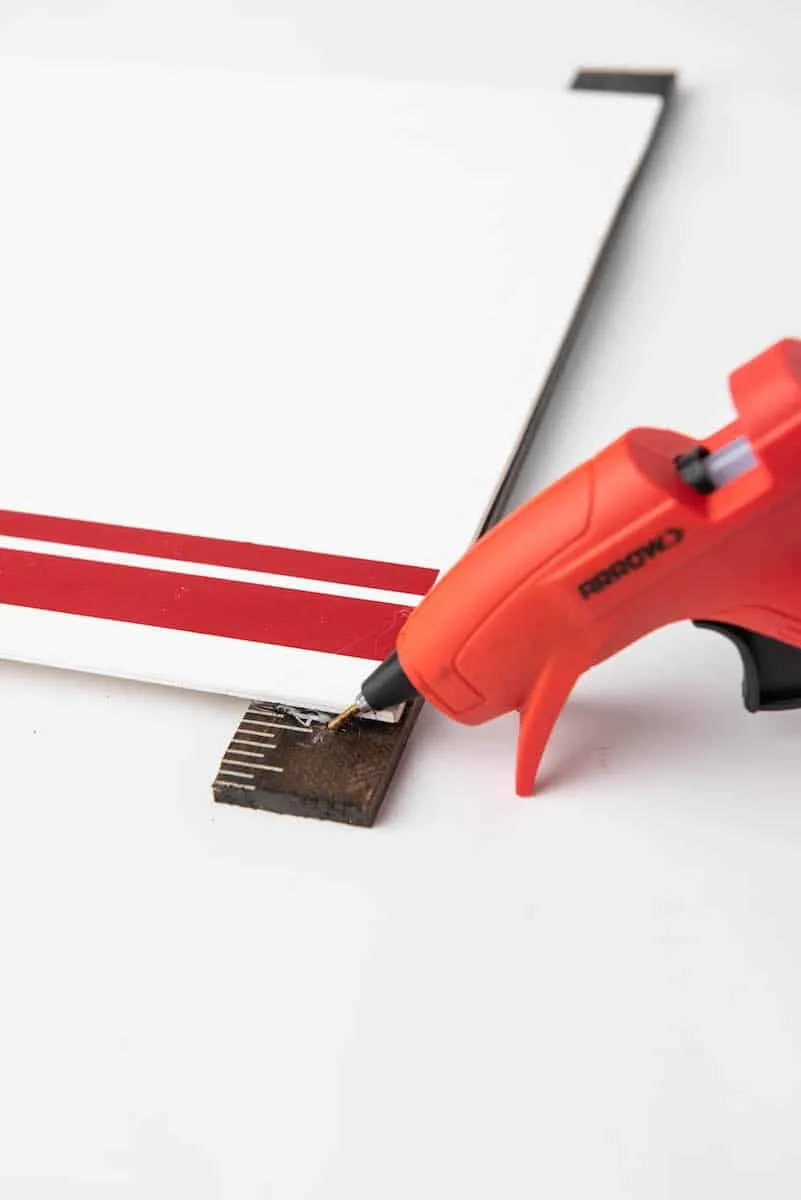
Using a hot glue gun (or E6000 or wood glue), attach 1 paint stick each to the top and the bottom of the wood. Start with gluing it to the back of the wood design first.
Make sure they are centered and that the numbers on the paint sticks are facing towards the wood so that they won’t be seen in the finished product.

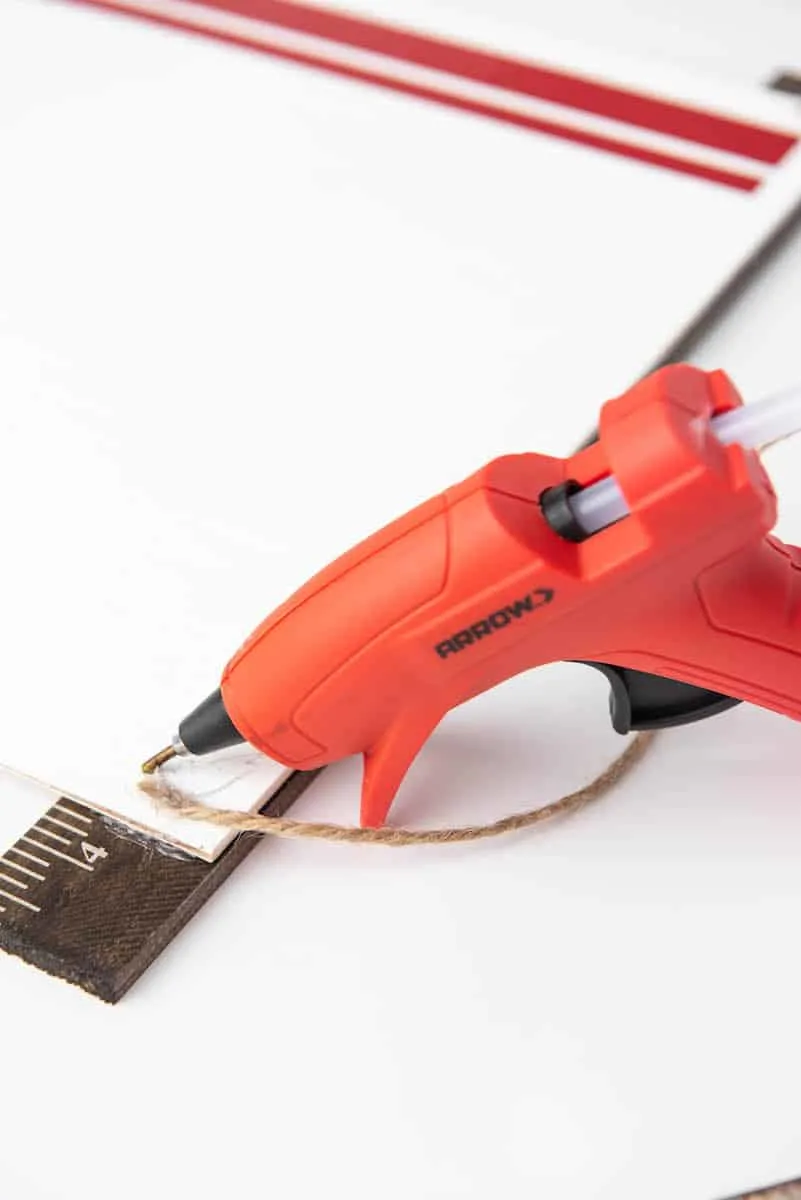
Cut a small piece of twine to use as a hanger. Hot glue the twine on either side of the plywood. Do this before attaching the next two paint sticks.

Attach the remaining two paint sticks to the front. Overlap the sticks on the front to match up with the sticks in the back. Hot glue to the board to finish.


Christmas Patterns and SVGs!
Want more fun holiday SVGs for crafting and creating this season? I’ve got a fun 4-pack of patterns perfect for DIYs!
Visit the Single Girls DIY library for more details and to get your downloads!
Want more farmhouse Christmas DIY ideas? Check out these:
- Christmas tree farm table top centerpiece
- Vintage floral arrangement with free printable label
- Personalized wooden house ornaments
- Wooden stamped books stack
