
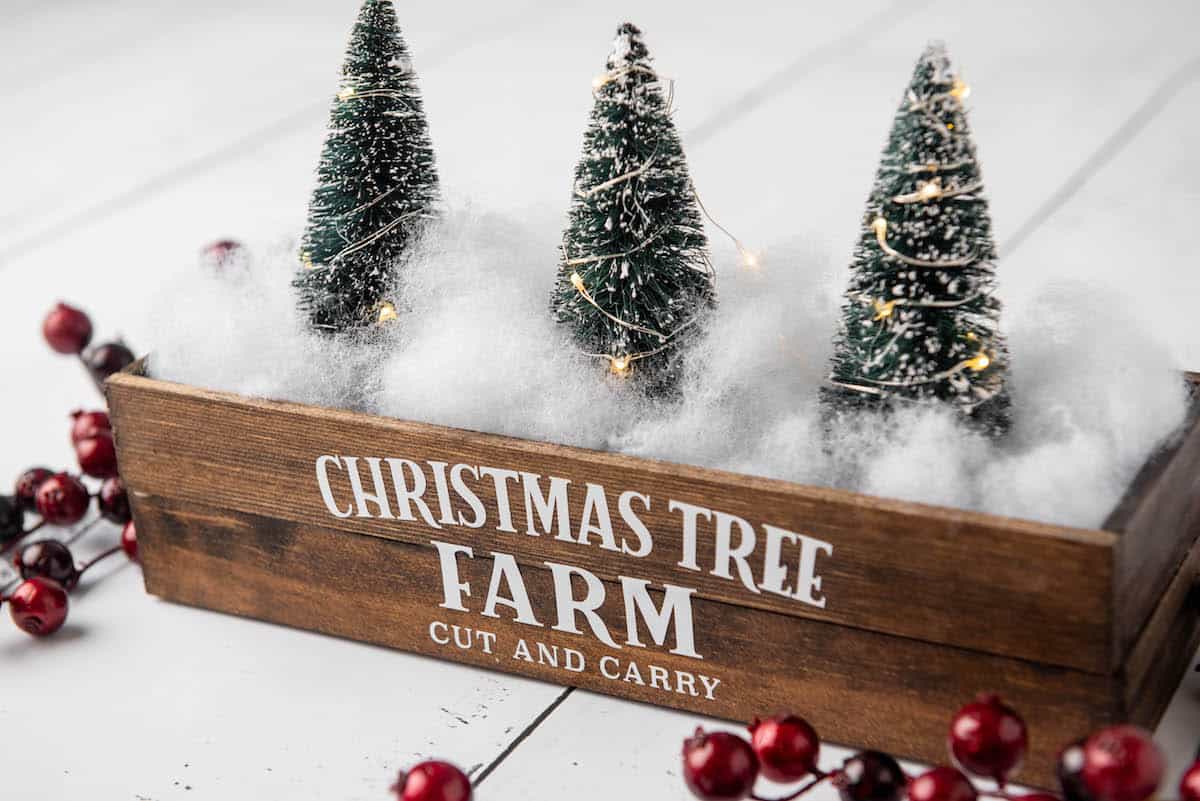
Are you searching for a cute holiday table decoration that isn’t fresh flowers? It can be hard to find appropriate table top decor that isn’t too high, so that you can see other guests while eating. Which is why I love this Christmas tree farm table centerpiece.

Not only is this craft adorable, but it is also made with unusual supplies – wood rulers! Yep, you can use wooden rulers (or paint stirrers) to create this farmhouse Christmas tree farm.
Your guests will never believe that you made this craft from scratch! It’s so impressive, you might want to make them for gifts, too!
Want to bookmark this project? Make sure to Pin it to your Christmas or DIY crafts board!

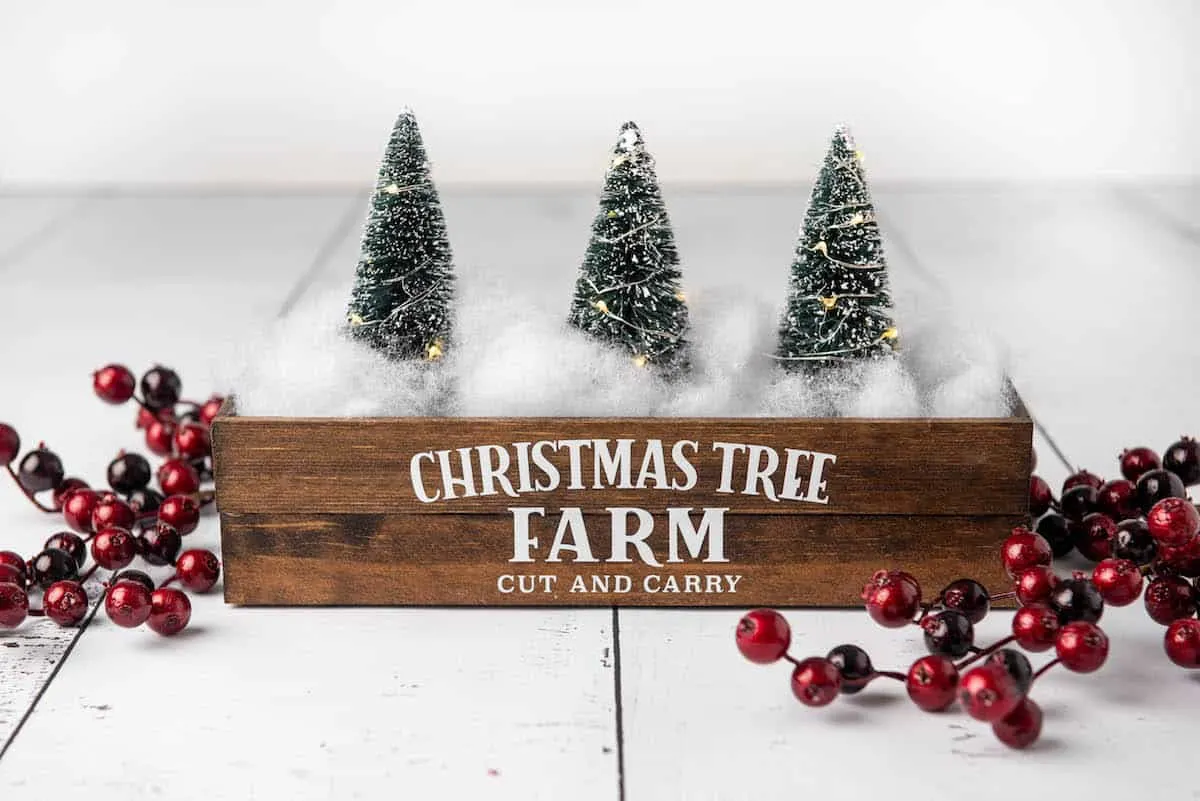
DIY Christmas Tree Farm Table Centerpiece
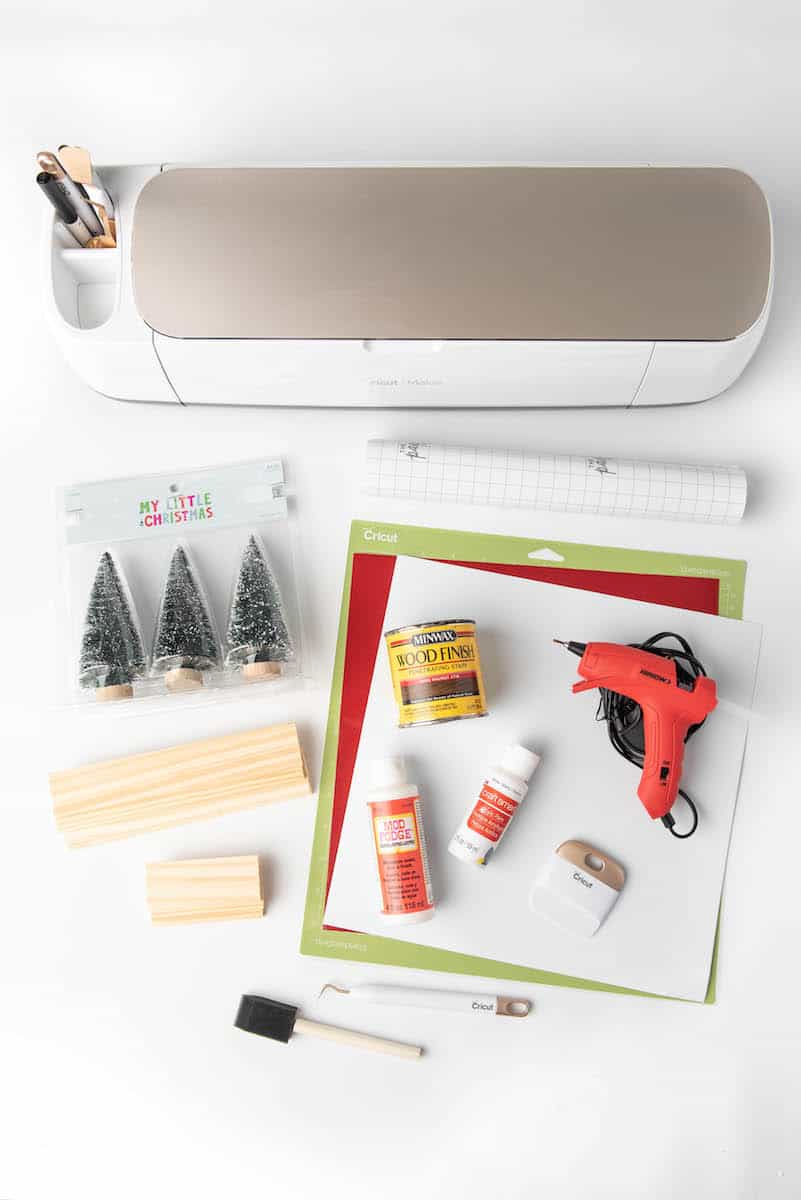
Supplies
- 7-8 Wood rulers (or paint sticks)
- Free Christmas Tree Farm SVG File
- Paint or wood stain
- Matte Mod Podge – if staining
- Paint brush or sponge brush
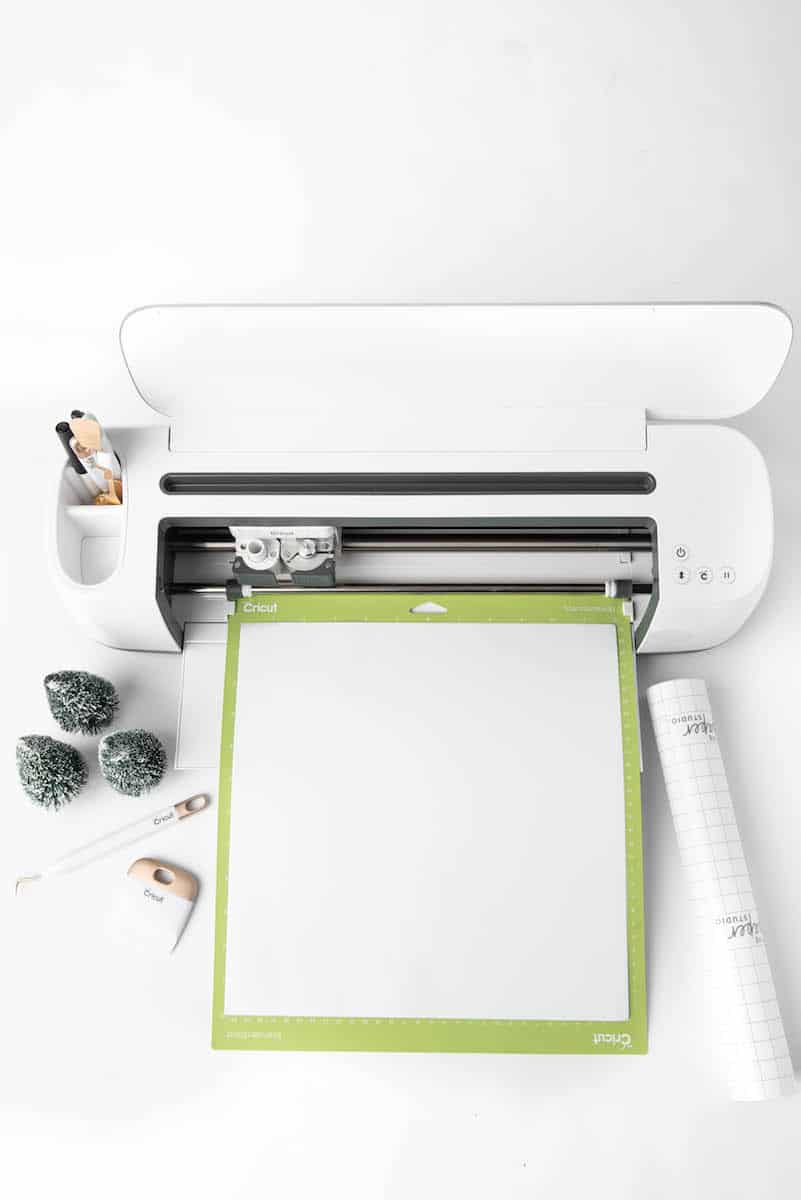
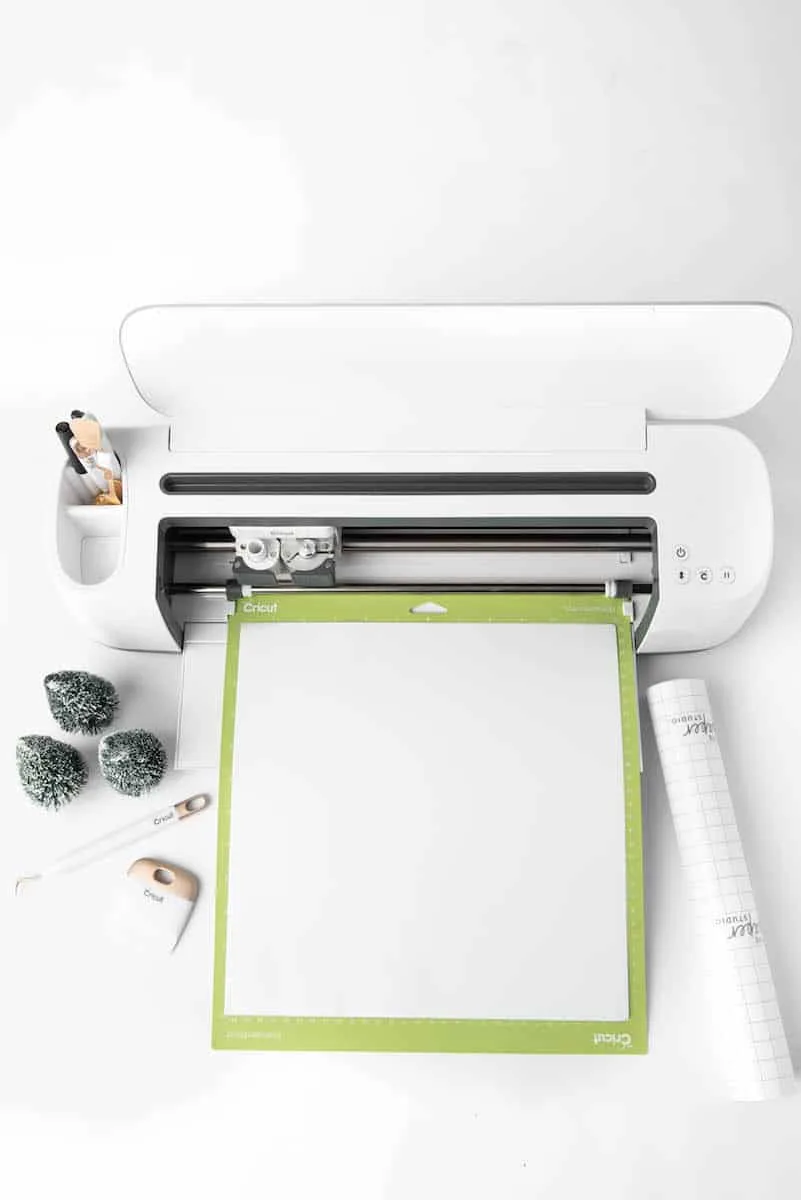
- Cricut
- Cricut blue light or green standard grip mat
- ORACAL 651 vinyl or permanent vinyl of your choice
- Transfer tape
- Weeding tool
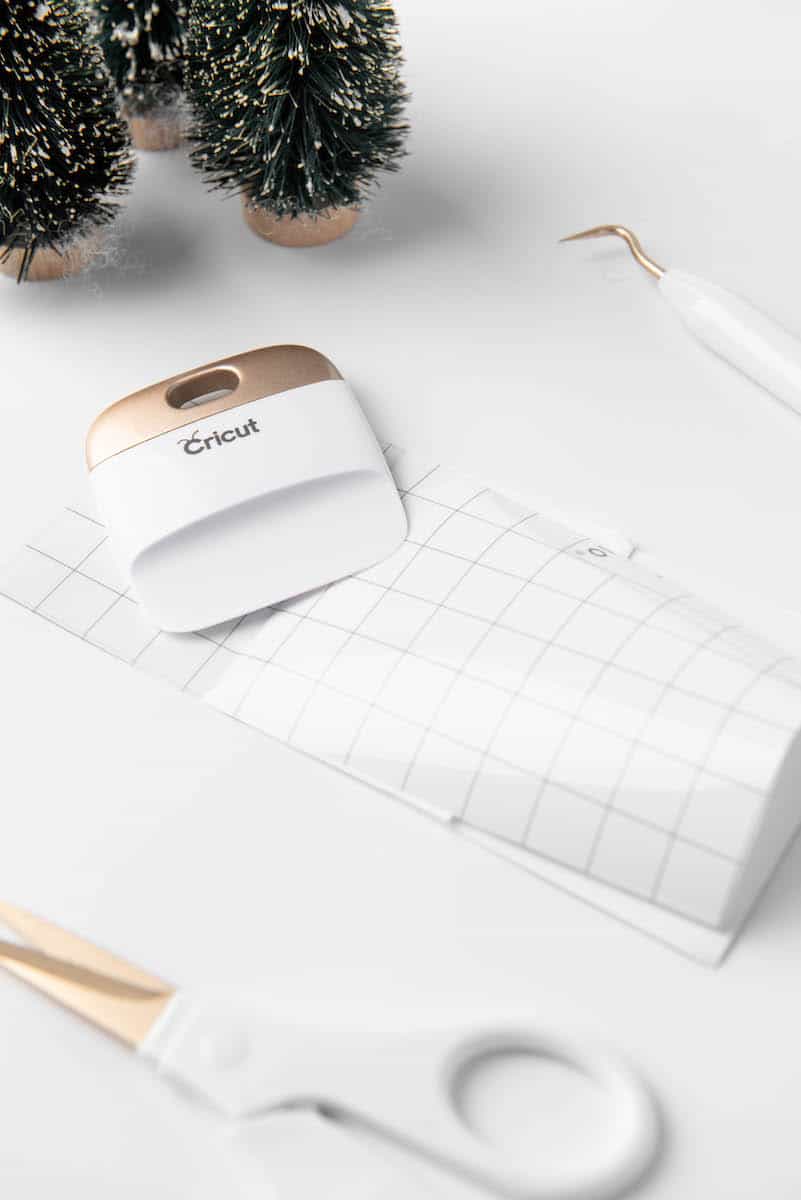
- Cricut scraper tool
- Hot glue gun and industrial grade glue sticks
- Bottle brush trees
- Faux snow or polyester filling
- (Optional) Battery operated fairy lights

Directions
Cut down rulers to size (this will depend on how big or small your box will be). Do it either with a hand saw or automatic saw. Our sizes are:
- Front & back of box (longest) – 12” x 4″
- Sides of box (shortest) – 3.5” x 4″
- Bottom of box – 11.5” x 2″
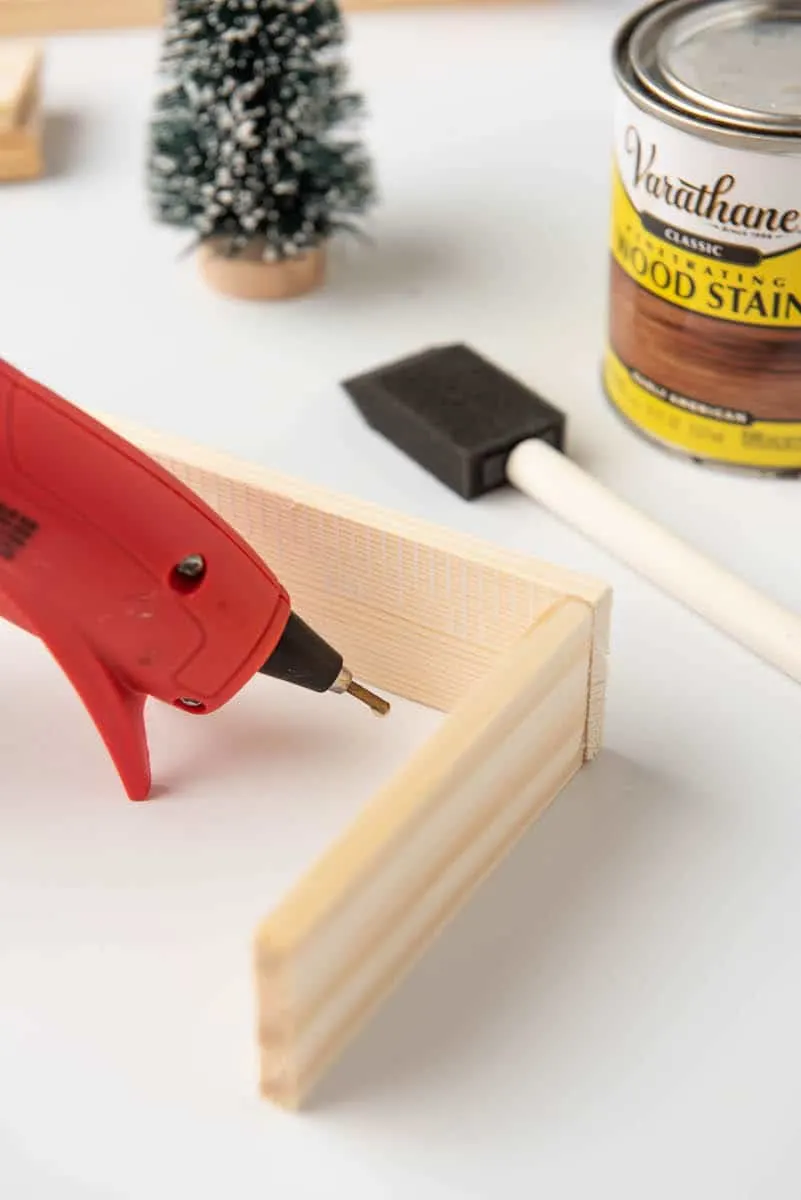
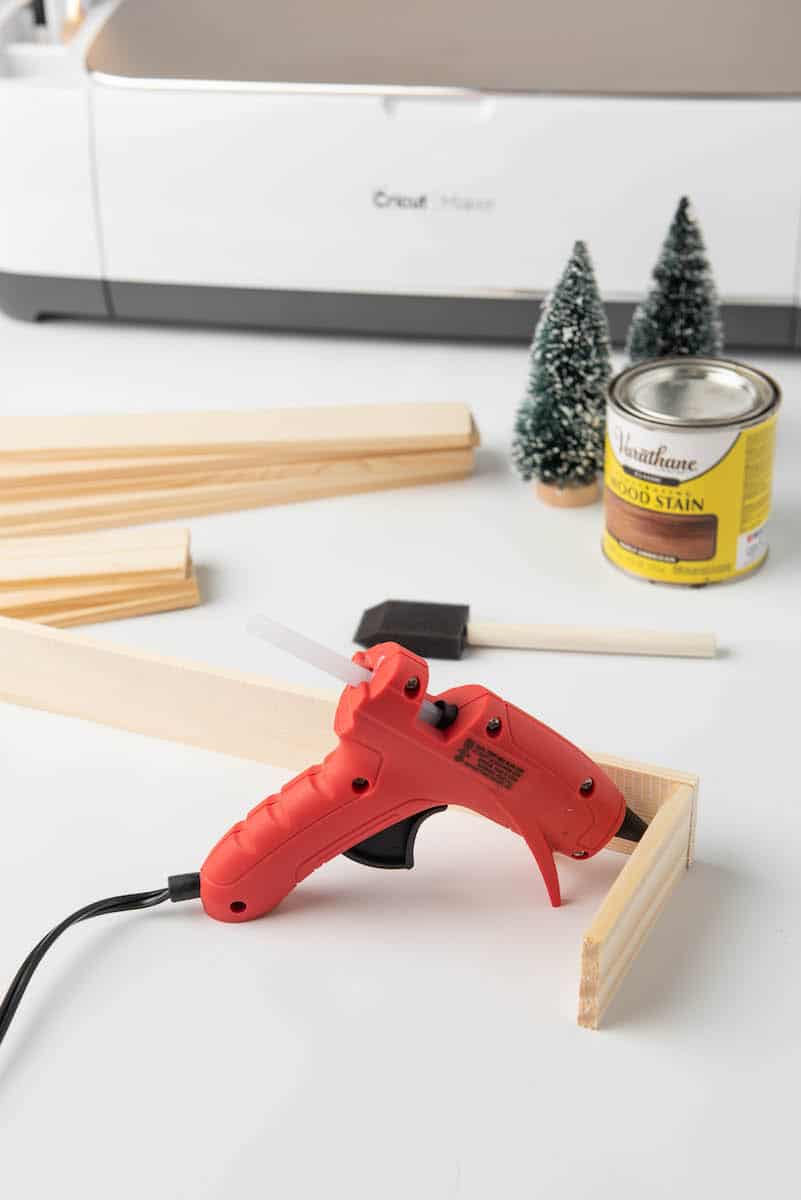
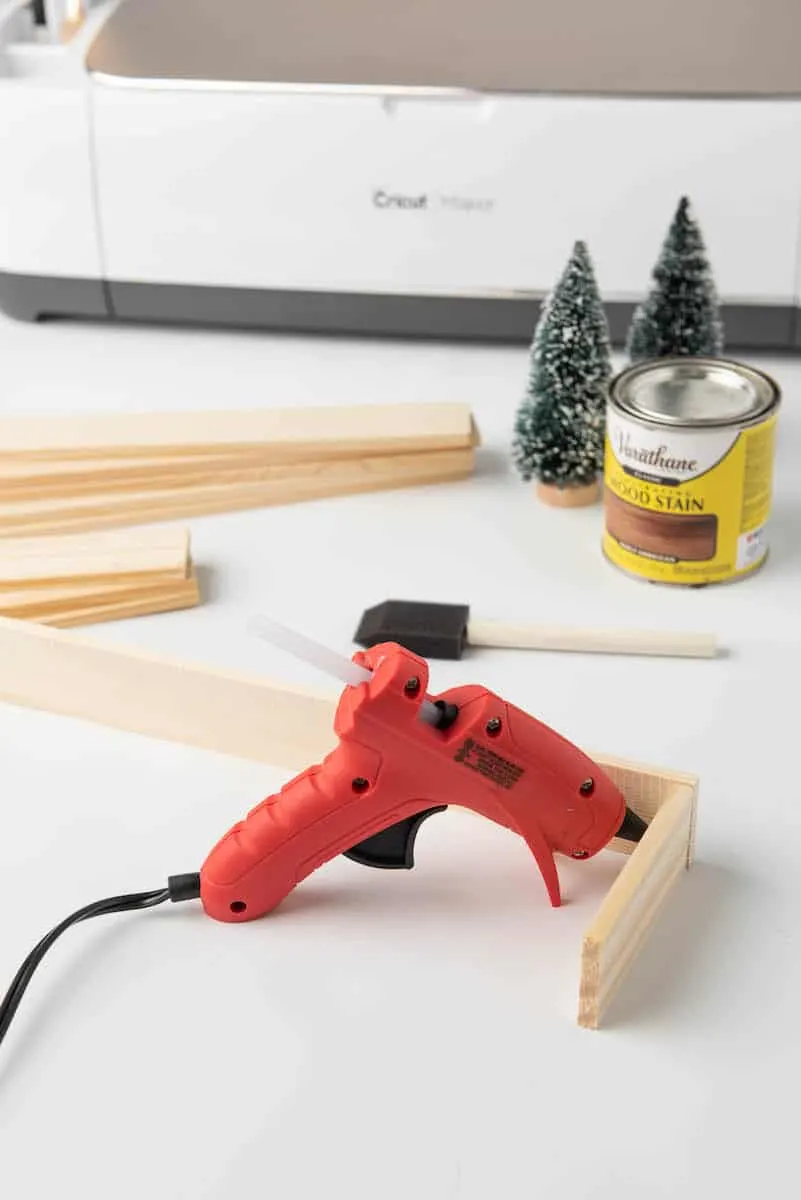
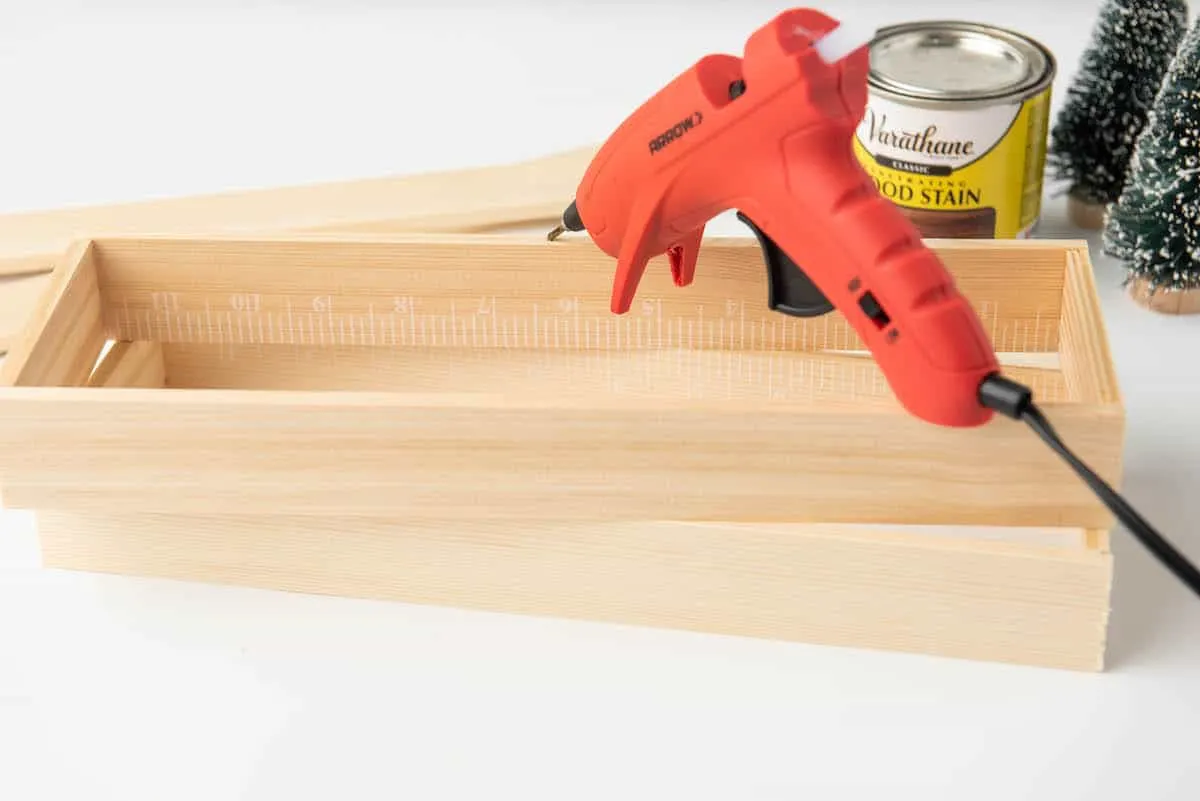
Next, with a hot glue gun and glue sticks made for wood, attach one of the side sticks (3.5”) to the inside edge of one of the front sticks (12”). This will create an “L” shape wall.
Be sure the measurements on the rulers are inside the box (not seen outside) before gluing.
Repeat the above steps to create a second “L” shape wall.

Combine the two “L” shaped walls to create a box. Glue the edges together. Ours became a 12” x 3.5” rectangle.
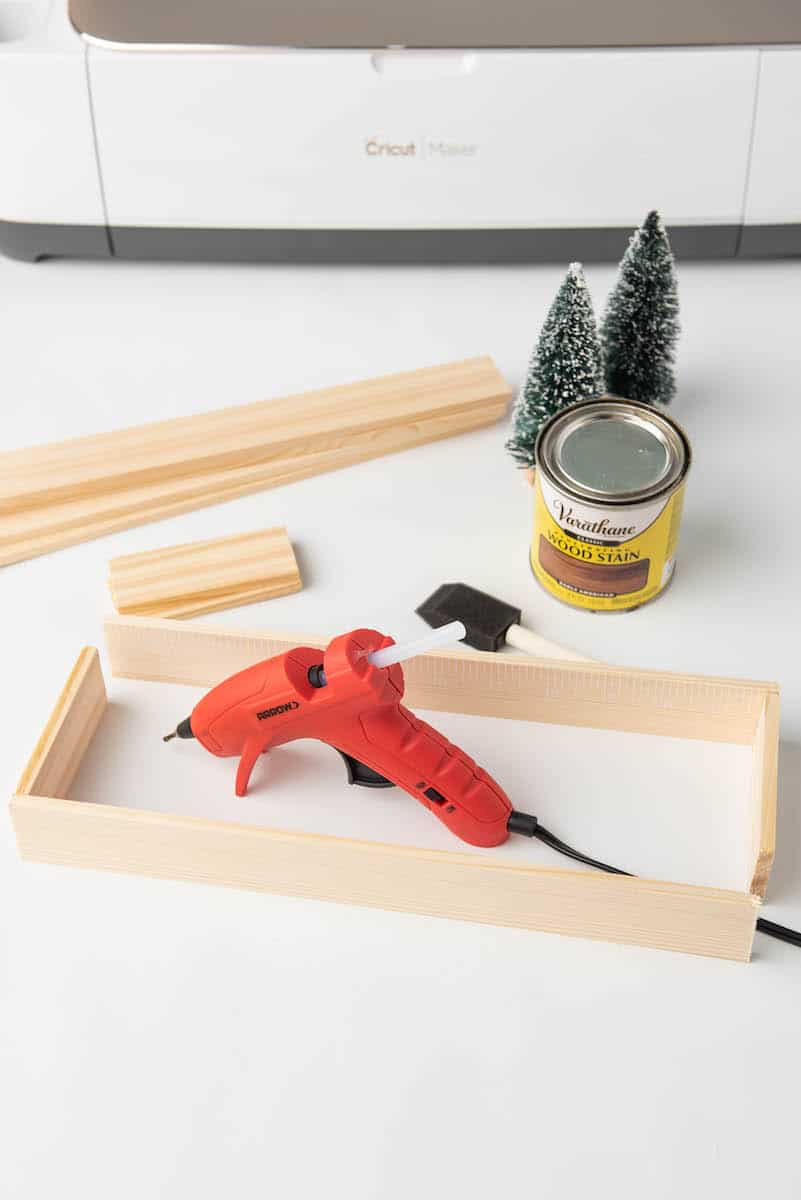
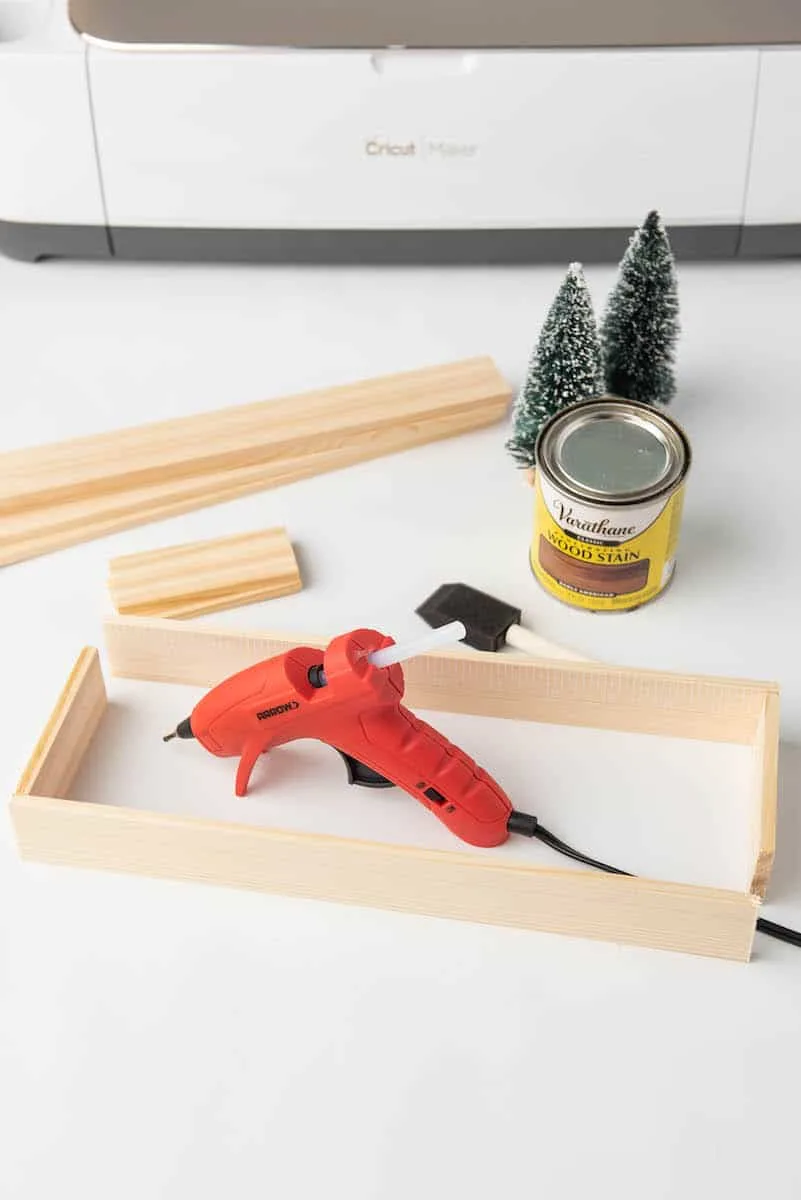
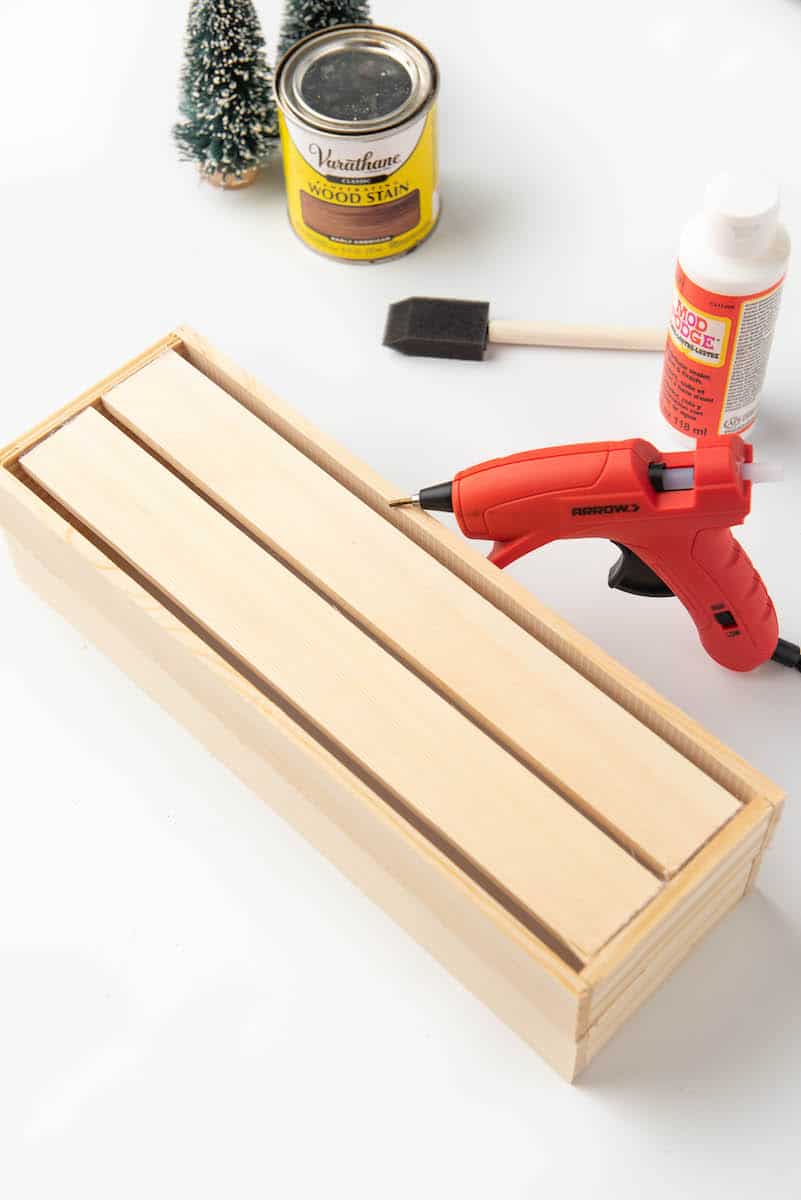
Make another box repeating the steps above. Once finished, glue it to the top of the first box. Be sure to add enough glue all around the top of the box and apply direct pressure to make sure it stays in place.

To complete the crate effect, glue the last two wood pieces (two 11.5” pieces) to the inside walls to create a crate floor (see below).

Now it’s time to paint or stain the box. If staining, allow 24-48 hours for stain to completely dry and soak into the wood before applying any decals.
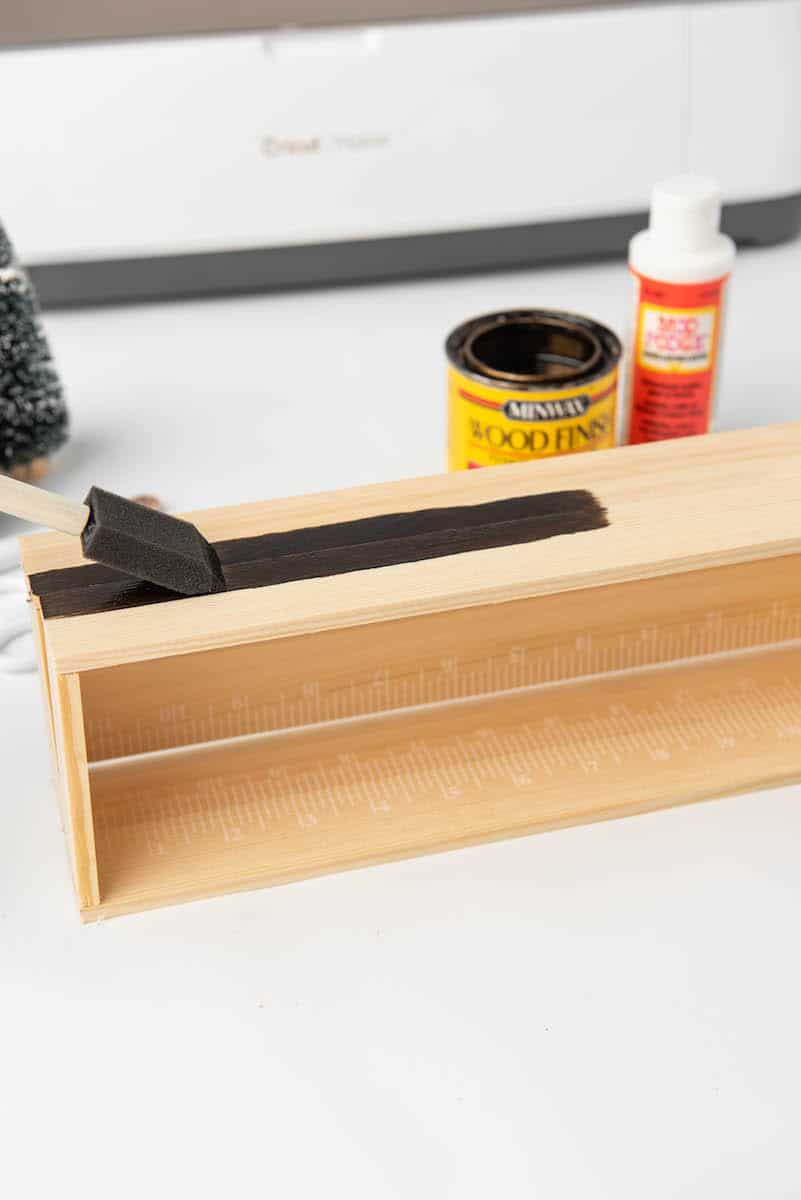

*** If staining: Once stain is dry, add a layer of Mod Podge as a sealant to the front of the box where the vinyl will later be applied. If there is no barrier between stain and vinyl, the oils in the stain will break down the adhesive on the vinyl.

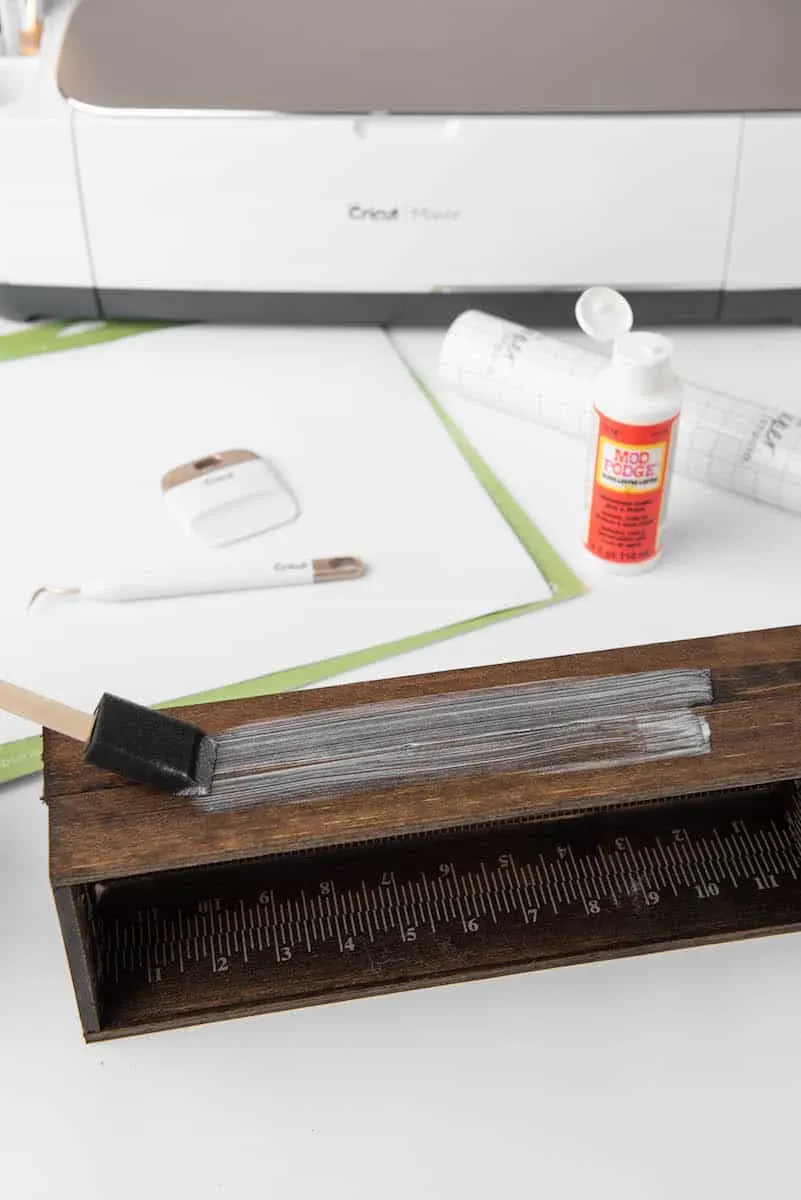
When the paint or sealant over stain is dry, it’s time to make your vinyl decal in Design Space.
The free SVG file is sized according to the measurements above. Adjust the SVG size if you are making a box smaller or larger.


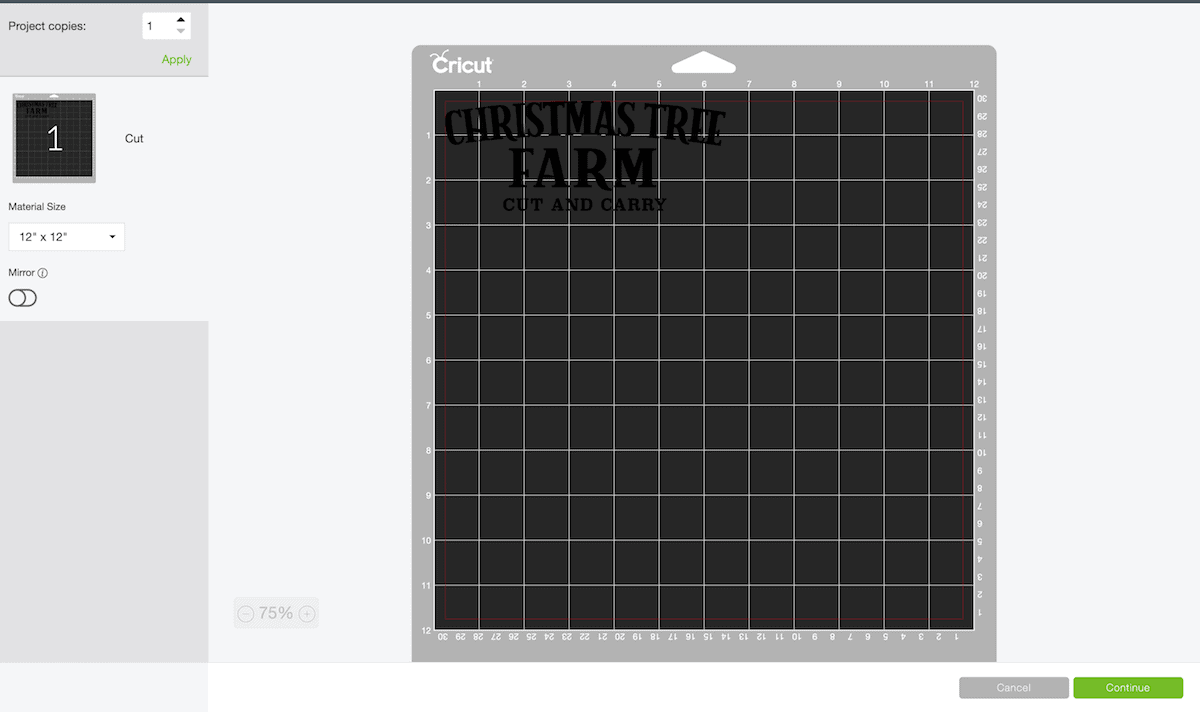

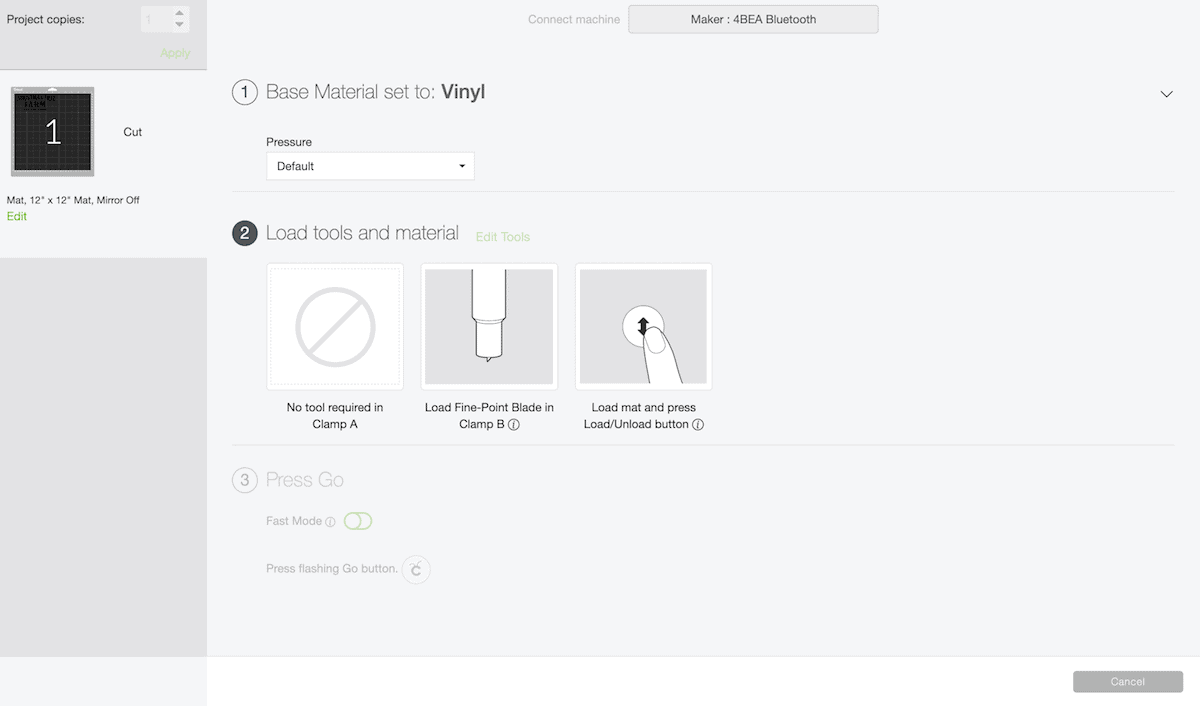
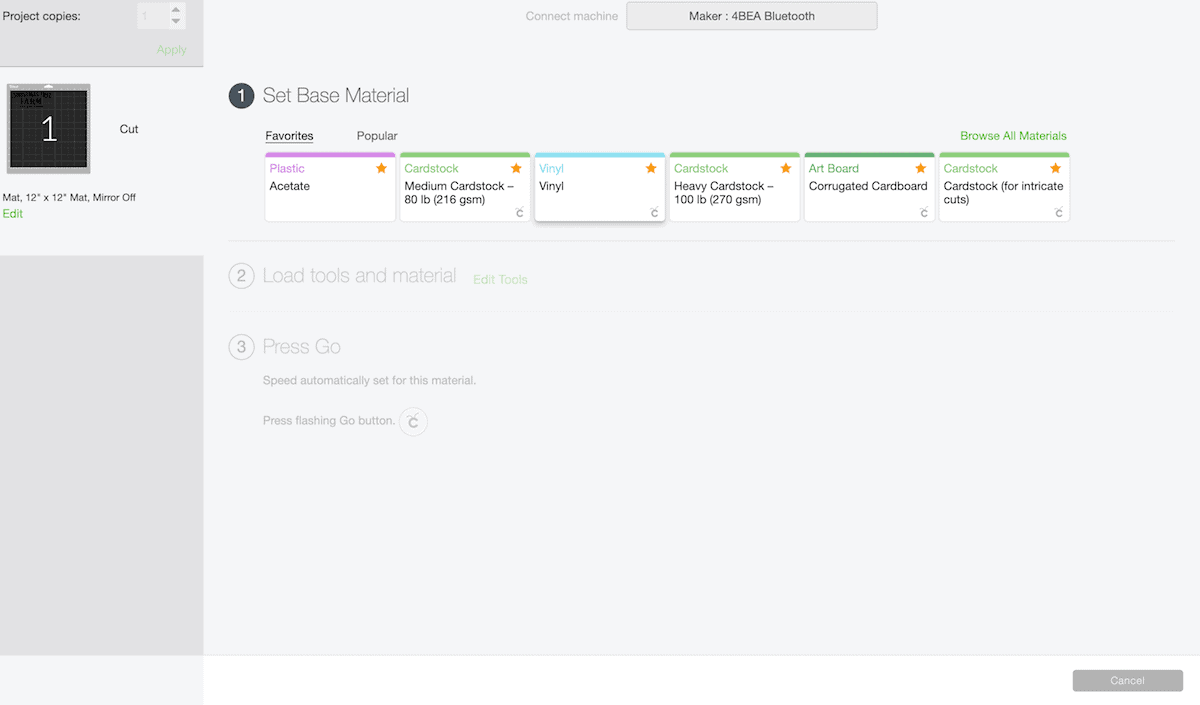
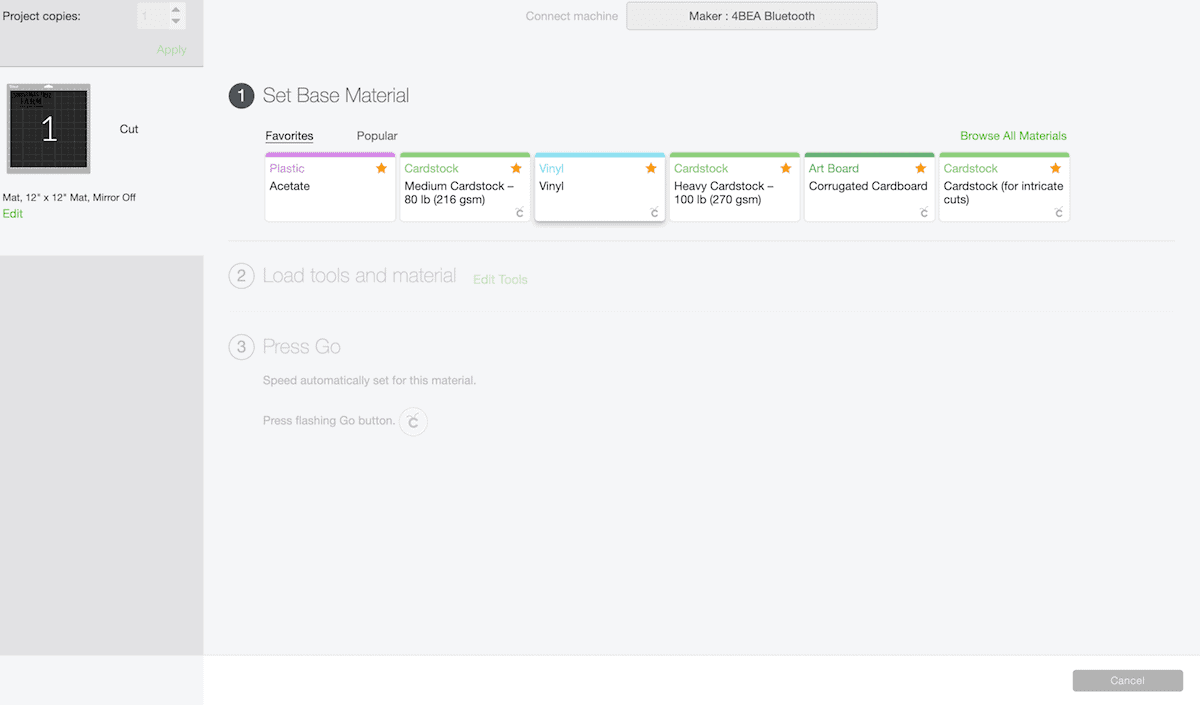
Hit “make it.” Adjust the machines setting or material dial to vinyl. Load the permanent vinyl into the machine on the green or blue light grip mat and hit “go”.

Once the design is cut, weed the vinyl away using a weeding tool.

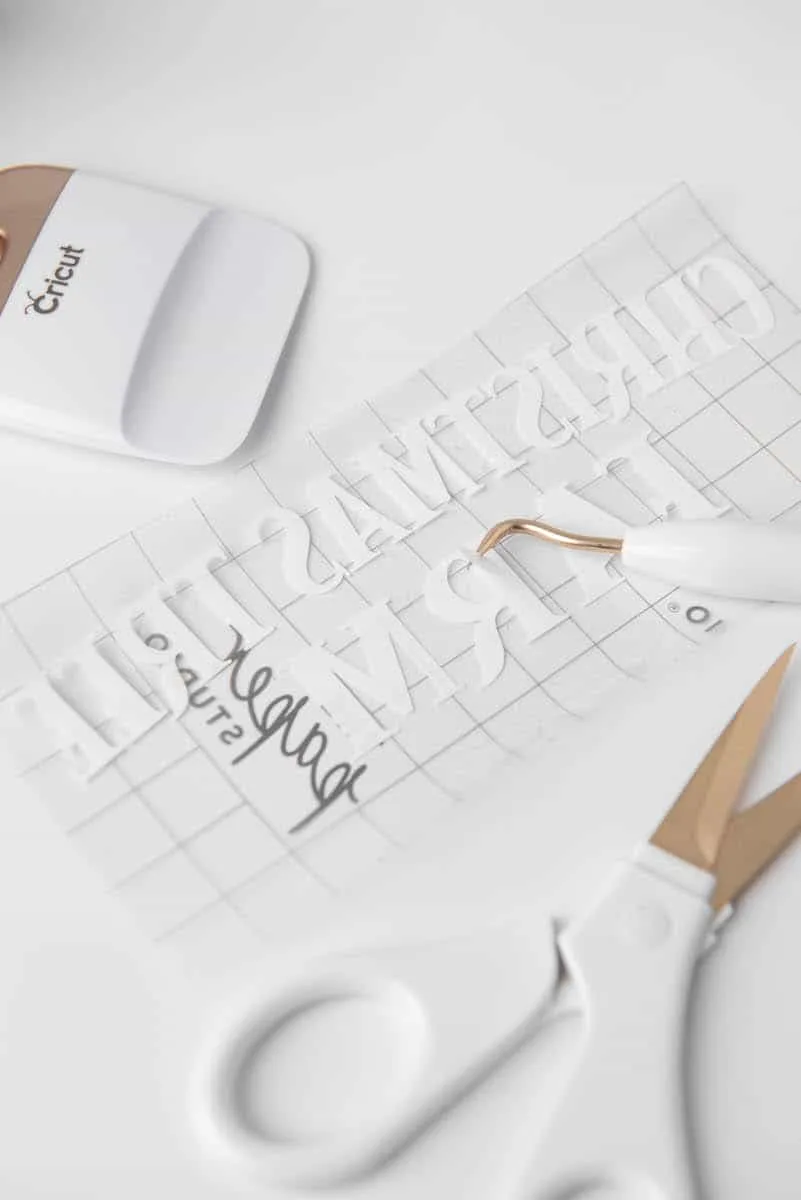
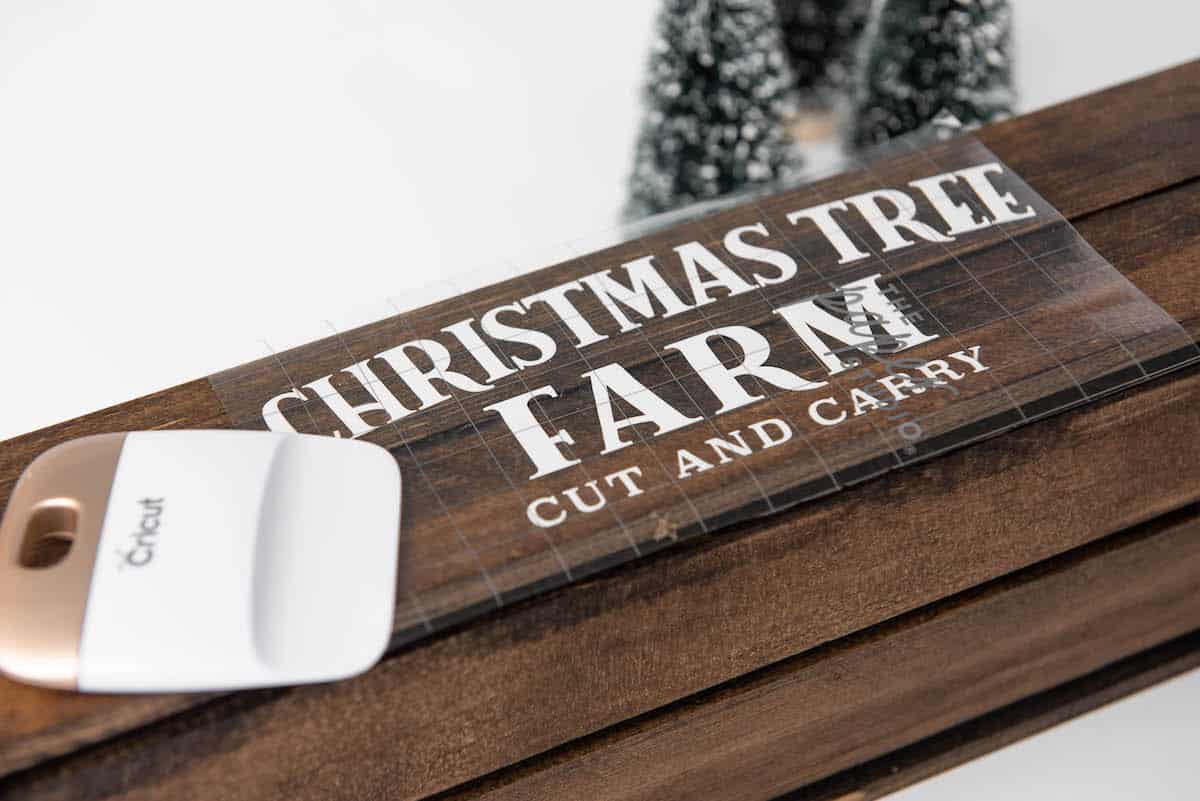
Once the vinyl is weeded, cut a piece of transfer tape to fit over the design. Apply the transfer tape using pressure with the scraper tool.

Turn the entire design face down and begin to gently apply pressure and pull the vinyl’s carrier sheet off and away from the transfer tape. The vinyl will remain on the transfer tape. Put the vinyl in the middle of the front of the box. Apply pressure and smooth over the design using the scraper tool.
Slowly and carefully remove the transfer tape.

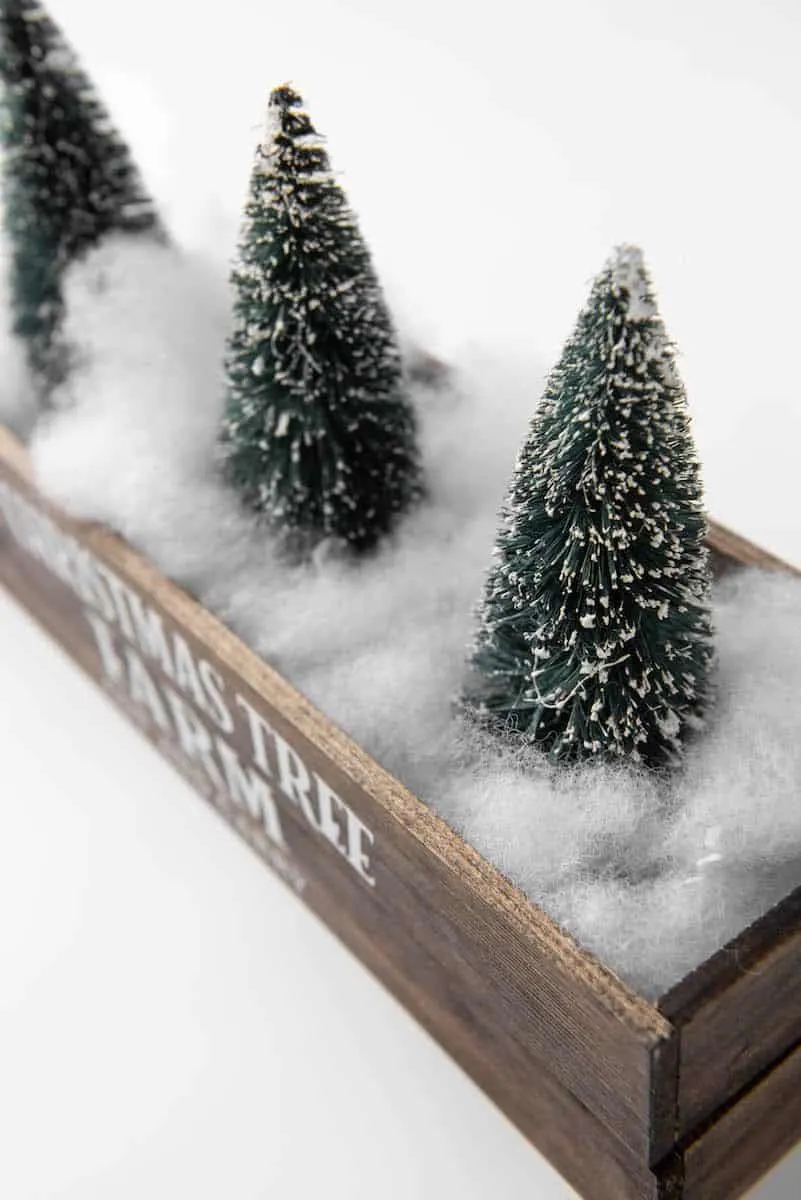
Stuff faux snow or polyester batting in the box. Then add trees.

Helpful Tips and Tricks
- You can use E6000 or wood glue instead of hot glue.
- Don’t forget to weed around the outside of the letters and small parts inside any letter that are enclosed (ex. a,e,o ).
- Add battery operated lights in the centerpiece if you’d like it to light up at night. There are even lights with a timer so that you don’t have to worry about turning them off.


Christmas Patterns and SVGs!
Want more fun holiday SVGs for crafting and creating this season? I’ve got a fun 4-pack of patterns perfect for DIYs!
Visit the Single Girls DIY library for more details and to get your downloads!
Want more holiday time crafts? Check out these farmhouse Christmas DIY projects:
- Wooden Stamped Books
- Farmhouse Christmas Wood Scroll Sign
- Personalized Wooden House Ornaments
- Vintage Floral Arrangement with Free Printable

Deirdre Henry
Saturday 5th of March 2022
The centerpiece is very pretty and most unusual.
Thank you for sharing.
Kimberly
Saturday 19th of March 2022
Thank you!!!