

Did you know that you can cut your own balsa wood ornaments with your Cricut Maker? Yes, you can cut wood with your Cricut machine!
If you know how to use a Cricut already, then you can definitely make your own balsa wood ornaments with Cricut.
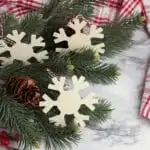
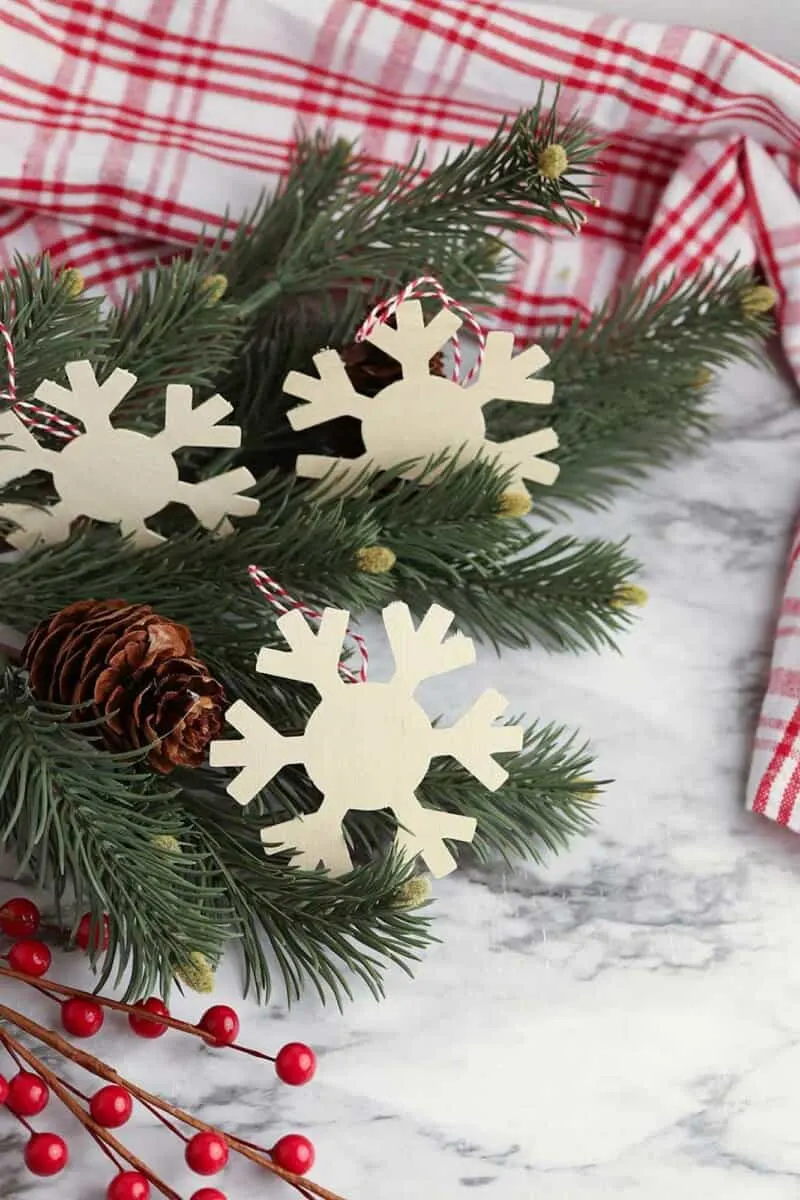
These lightweight ornaments can be painted, stained or personalized with stickers and glitter using any SVG file. If you prefer a more natural look, leave the balsa wood natural as I did with this project.
They would also make great gift toppers or place settings, too!
In my how to cut wood with Cricut tutorial, I made a wooden sign using a script font.
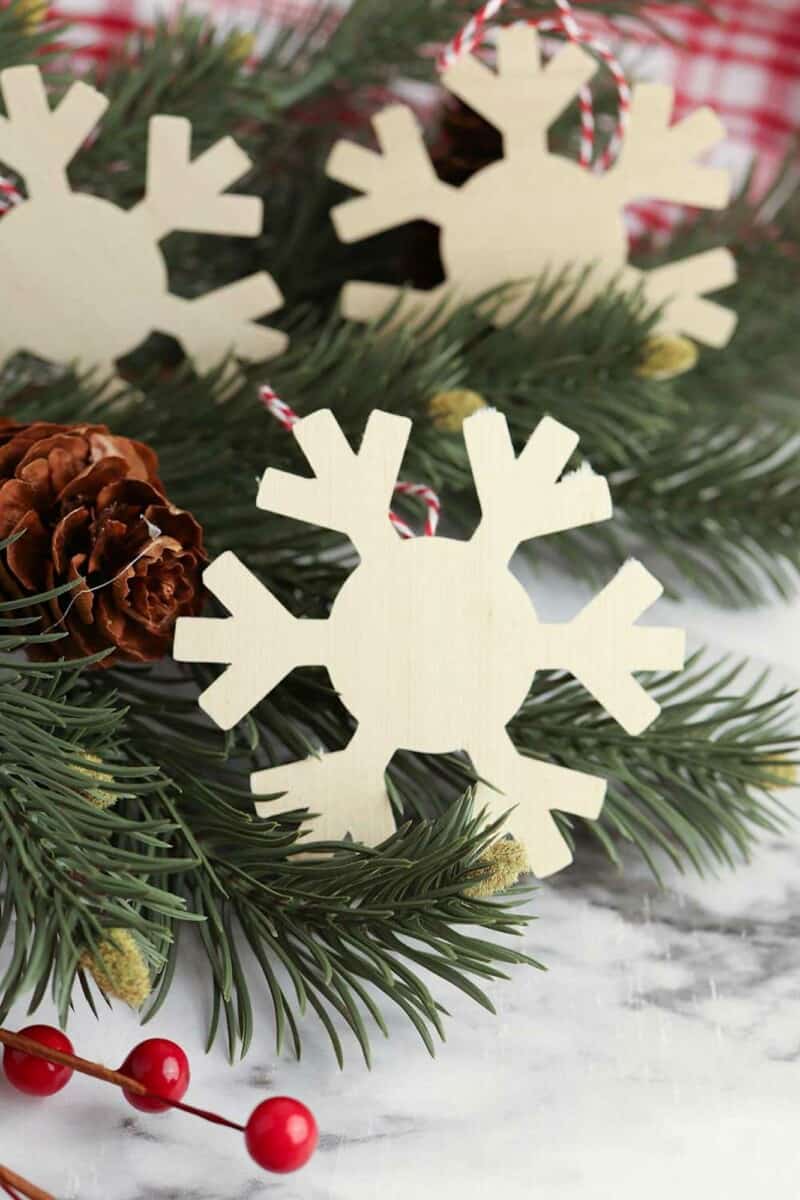
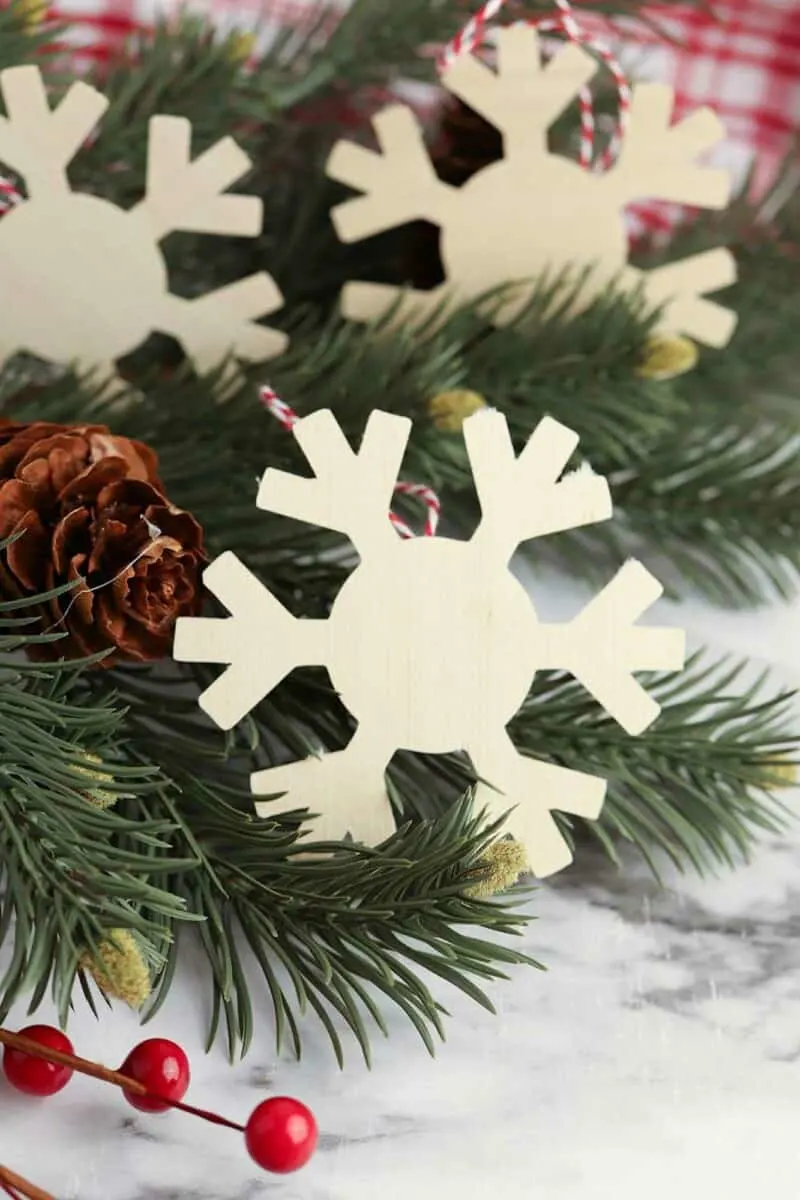
For these ornaments, I used a thick and sturdy snowflake SVG without a lot of fancy curves or thin lines. You can try whatever SVG file you would like, just keep in mind that the smaller the detail, the more difficult it might be to release the wood from the cuts.
You will need a strong grip mat, painters tape and a knife blade.
When choosing your craft materials to use, be sure you pick the right type of wood.
Balsa wood is different than Basswood. Balsa is thinner and less dense than Basswood.
There are a variety of materials that you can use a Cricut to cut. Here are a few unusual ways to use a Cricut machine:
- Engraving Dog Tags (using metal sheets)
- How to Make a Cake Topper (using glitter cardstock)
- DIY Cord Keeper (using faux leather)
- Hawaiian Lei Paper Flower Necklace (using cardstock)
- DIY Star Gift Box (using foil kraft board)
- Metal Wall Hanging (using aluminum cookie sheet pans)
- DIY Scandinavian Felt Christmas Trees (using felt)
How to Make Balsa Wood Ornaments
Supplies
- Free Snowflake Ornament SVG file
- 1/32″ thick balsa wood
- Deep cut blade for Cricut
- Strong grip mat
- Painters tape
- Weeding tool
- Baker’s twine
- Glue

Directions
Step 1
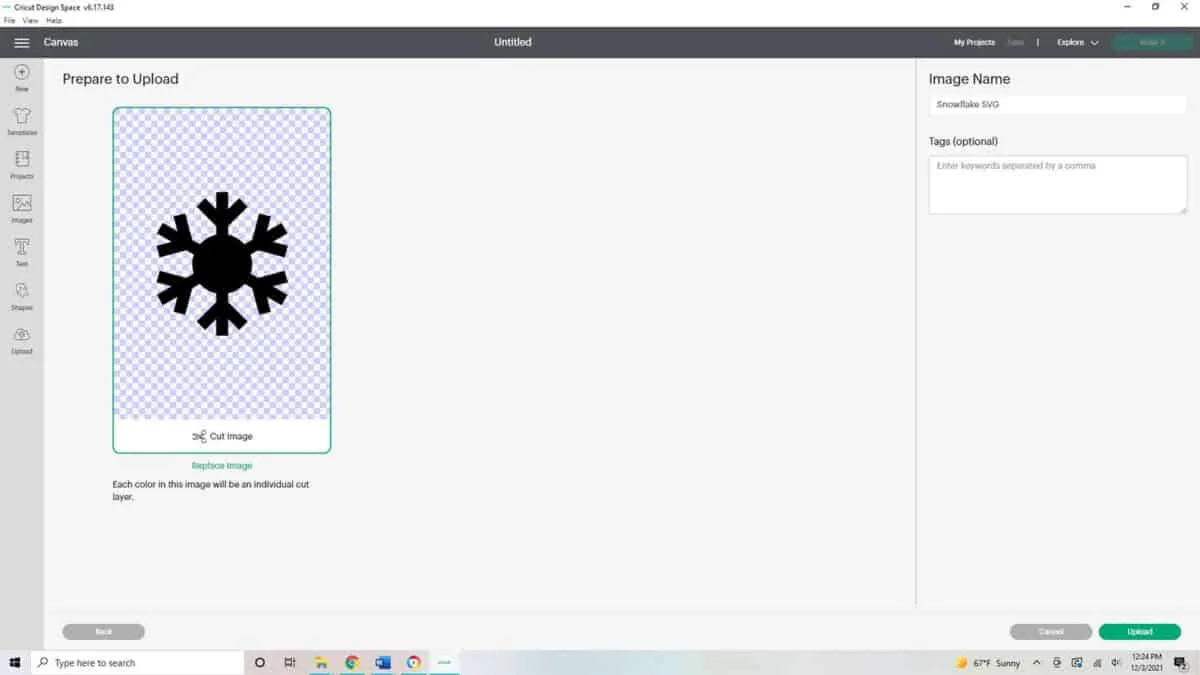
Upload the ornament SVG file into Cricut Design Space. Resize the design, if needed.

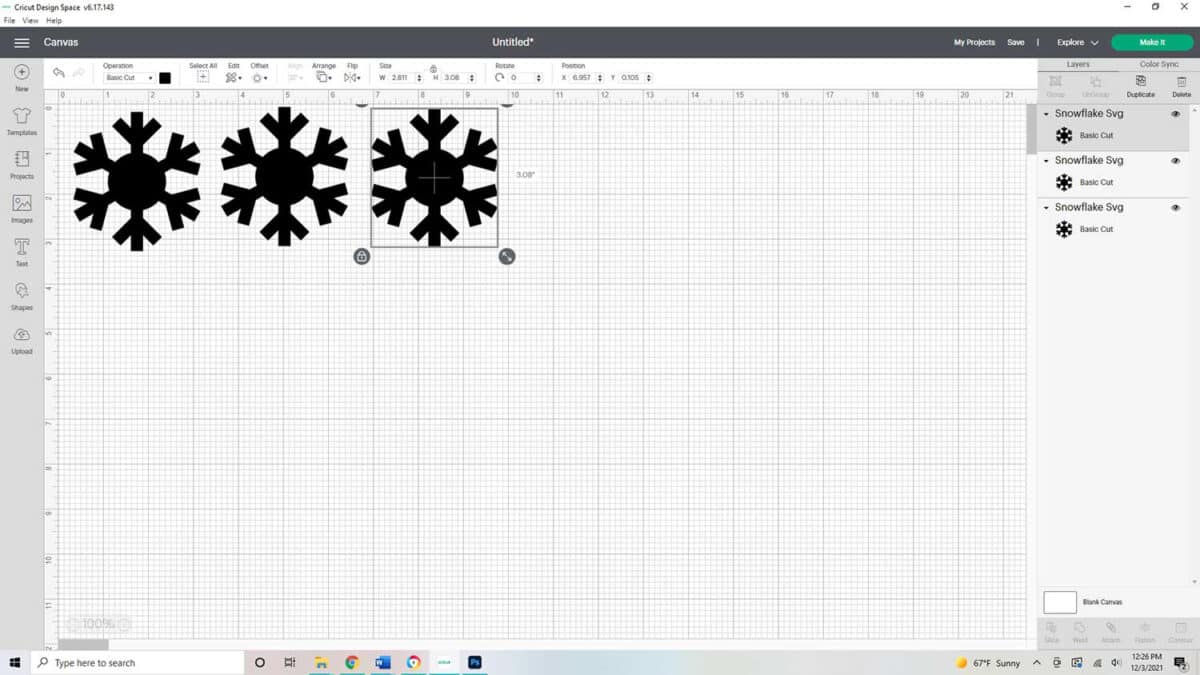

Copy the design if you want to make more than one ornament to be cut at a time.
Step 2
Set the Cricut dial to Custom.
Hit the ‘Make it Button’ and select ‘browse all materials.’
Step 3
Select ‘material setting’ at the bottom of the menu.
Scroll down to the bottom of the menu and select ‘add new material’.
Create a new material called balsa wood.
Step 4
Set the cut pressure to 350 and select 8x from the multi-cut drop-down menu.
Change the blade type to deep-point blade from the blade type drop-down menu.
Step 5
Place the deep-cut blade in the right side of the blade holder in the Cricut.
Place the balsa wood on the cutting mat and tape down the edges to hold it in place.

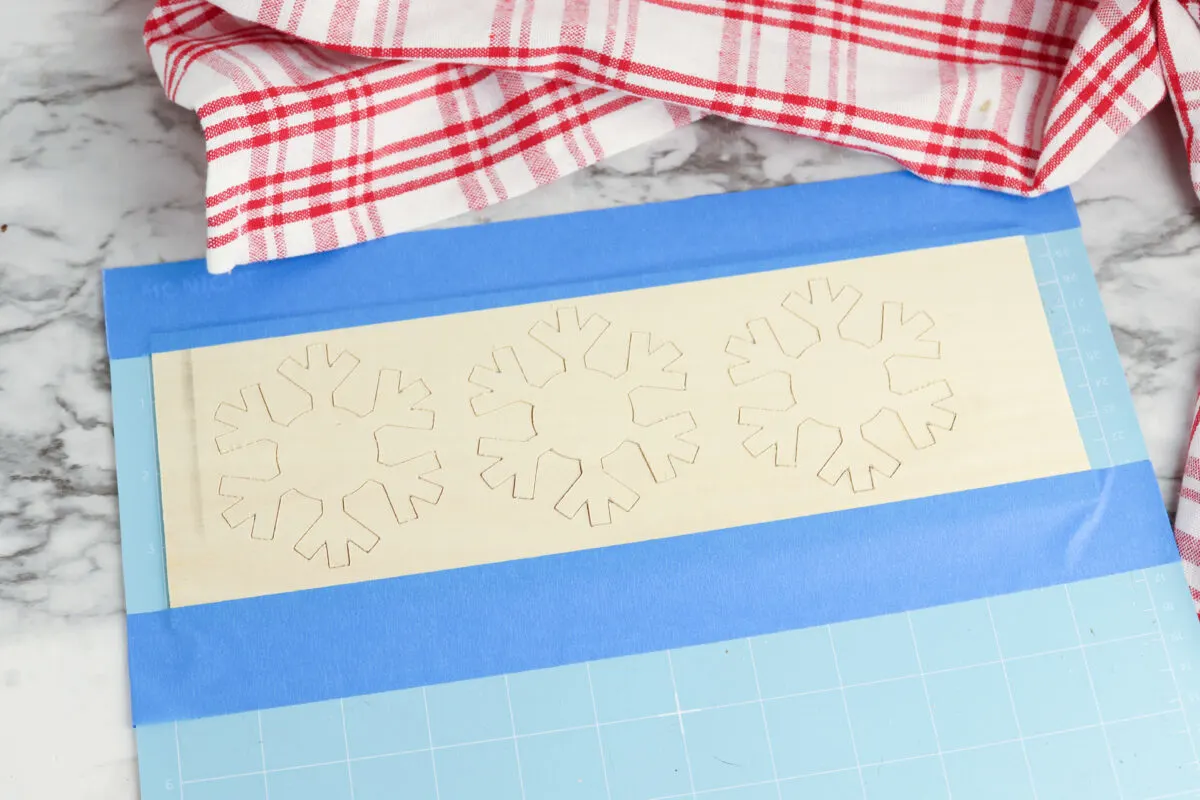
Step 6
Cut the design and check to see if the wood is fully cut without removing it from the cutting mat.
If it isn’t cut through, hit the flashing Cricut logo button on the machine to cut the design again.
Make sure not to remove the cutting mat from the machine in between cuts or the placement of the design could be different the next time you load the wood into the machine.
Helpful Tip: If your strong grip mat isn’t as sticky as it used to be, here is how to clean a Cricut mat and make it sticky again.
Step 7
Continue recutting the design until it is fully cut.
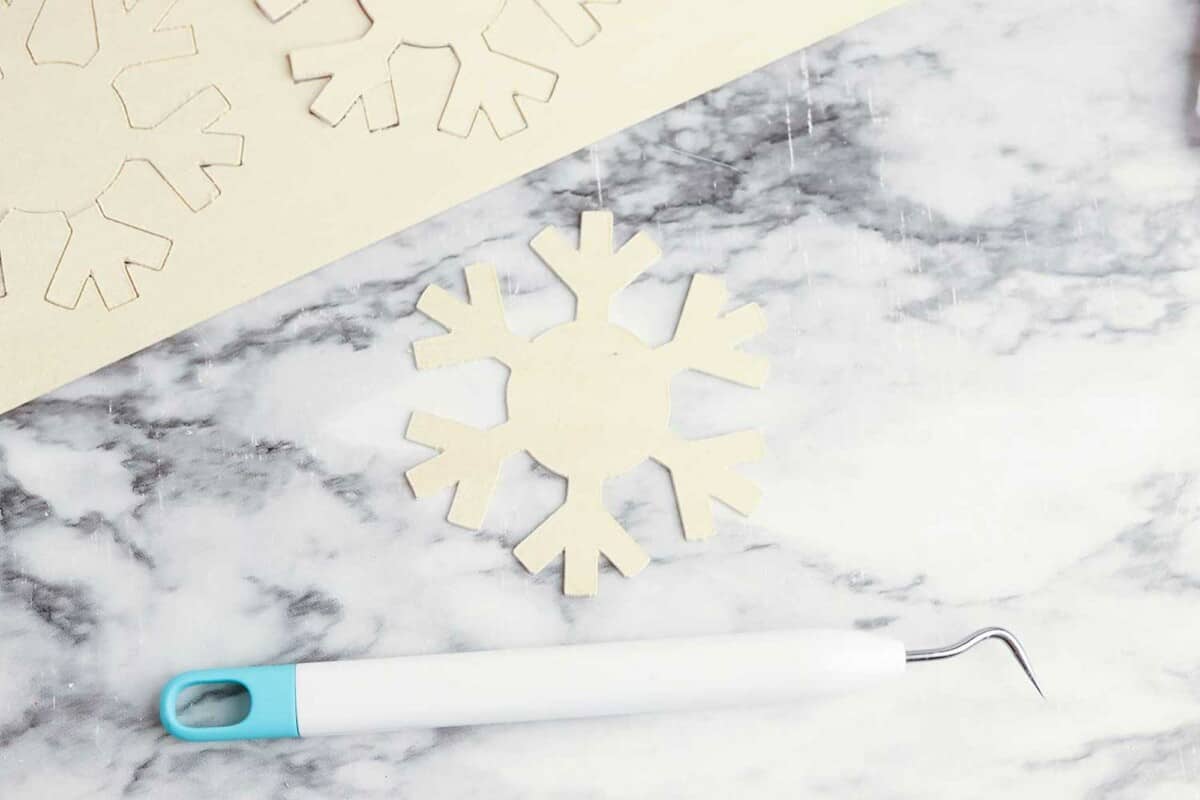
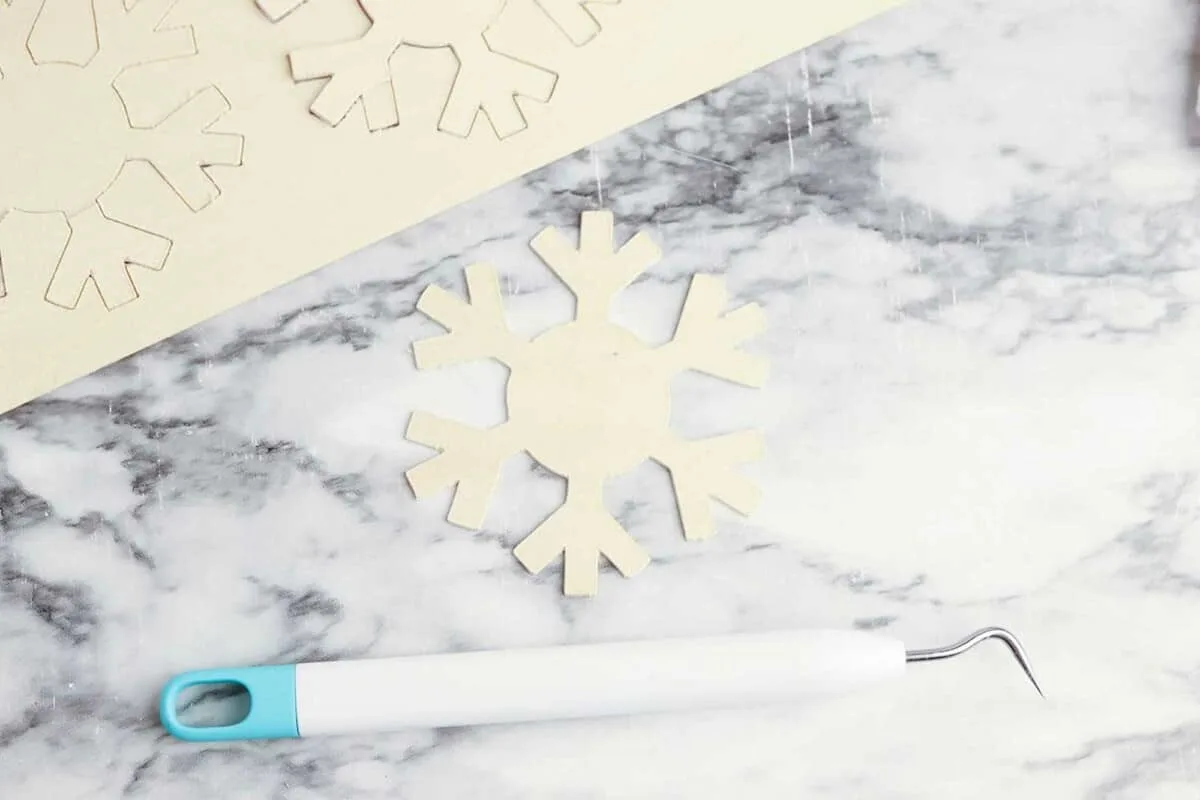
Remove the cutting mat from the machine and carefully remove the mat from the wood.
If there are spots that aren’t fully cut through, use the point of your weeding tool to break the design from the wood. Work carefully to avoid breaking the ornament itself.
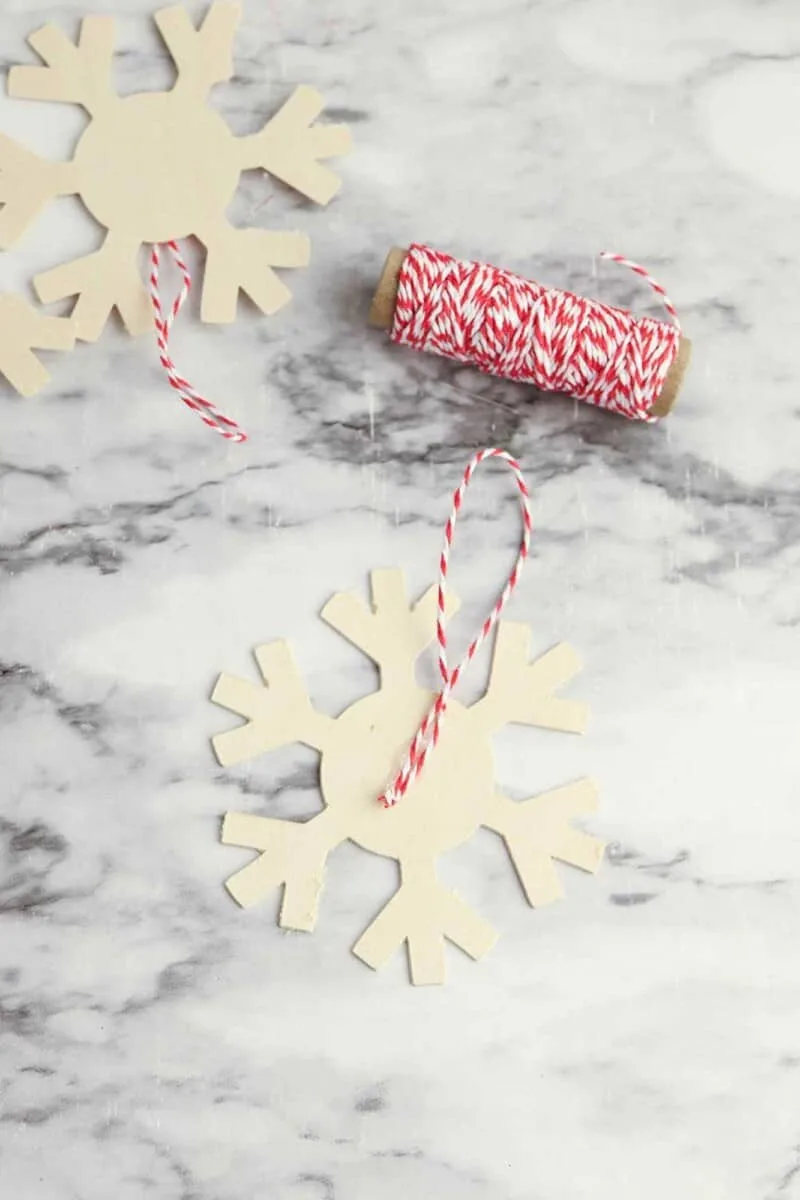
Step 8
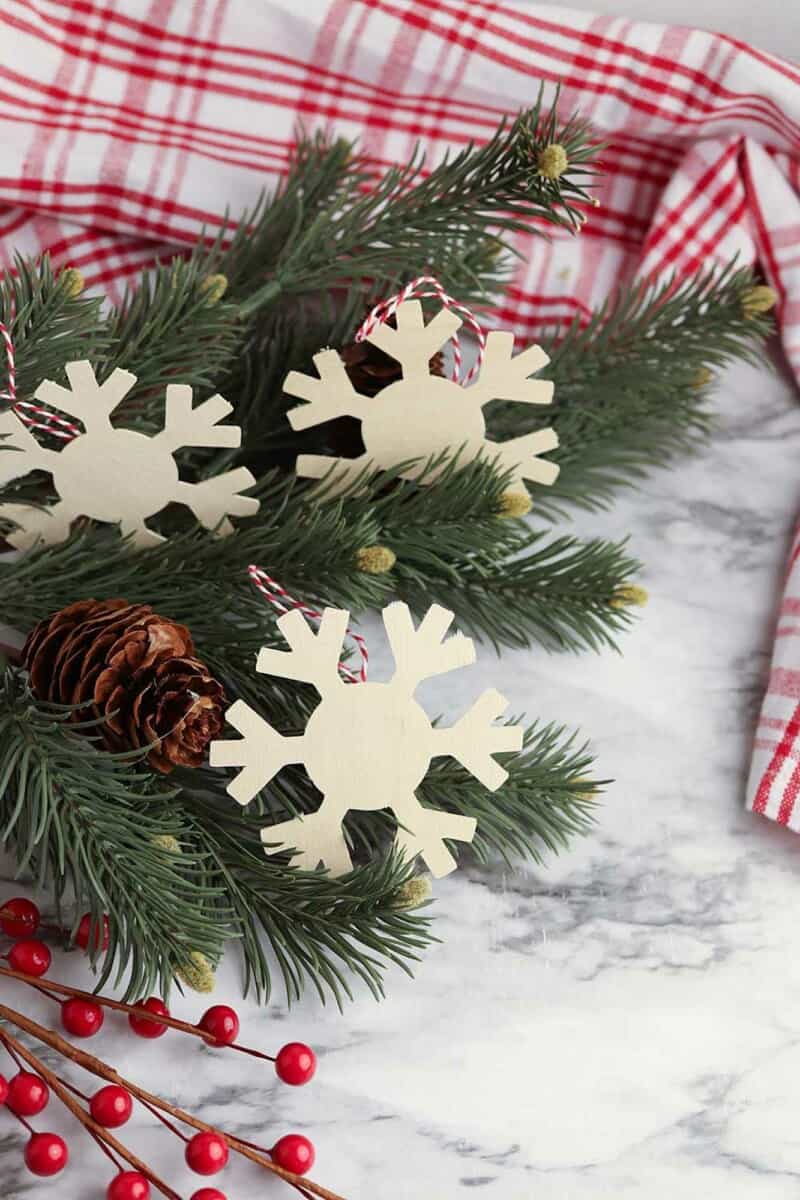
Glue a loop of bakers twine to the back of the ornament to use as a hanger.


Christmas Patterns and SVGs!
Want more fun holiday SVGs for crafting and creating this season? I’ve got a fun 4-pack of patterns perfect for DIYs!
Visit the Single Girls DIY library for more details and to get your downloads!
If you like how easy it is to make balsa wood ornaments, you will want to see more of my Cricut crafts.
