
Stamped wooden books stacks are the hot new trend right now. Maybe it’s because they are so simple to make! Or maybe it makes us think of simpler times. Whatever the reason, these simple farmhouse decor accessories are great for adding to your home.


I’ve shown you how to hand stamp books into a Fall farmhouse stack. This DIY tutorial shows how to use a Cricut maker and faux wooden books to make a similar project for Christmas.
These book stacks make great decorations to tuck on end tables, on the mantle, or display on built-in bookcases. They are also perfect for giving as gifts. If you make crafts to sell, these handmade books are selling like crazy to those who don’t want to DIY.
For more farmhouse ideas, check out our vintage Christmas floral arrangement.


How to Make a Farmhouse Stamped Wooden Books Stack
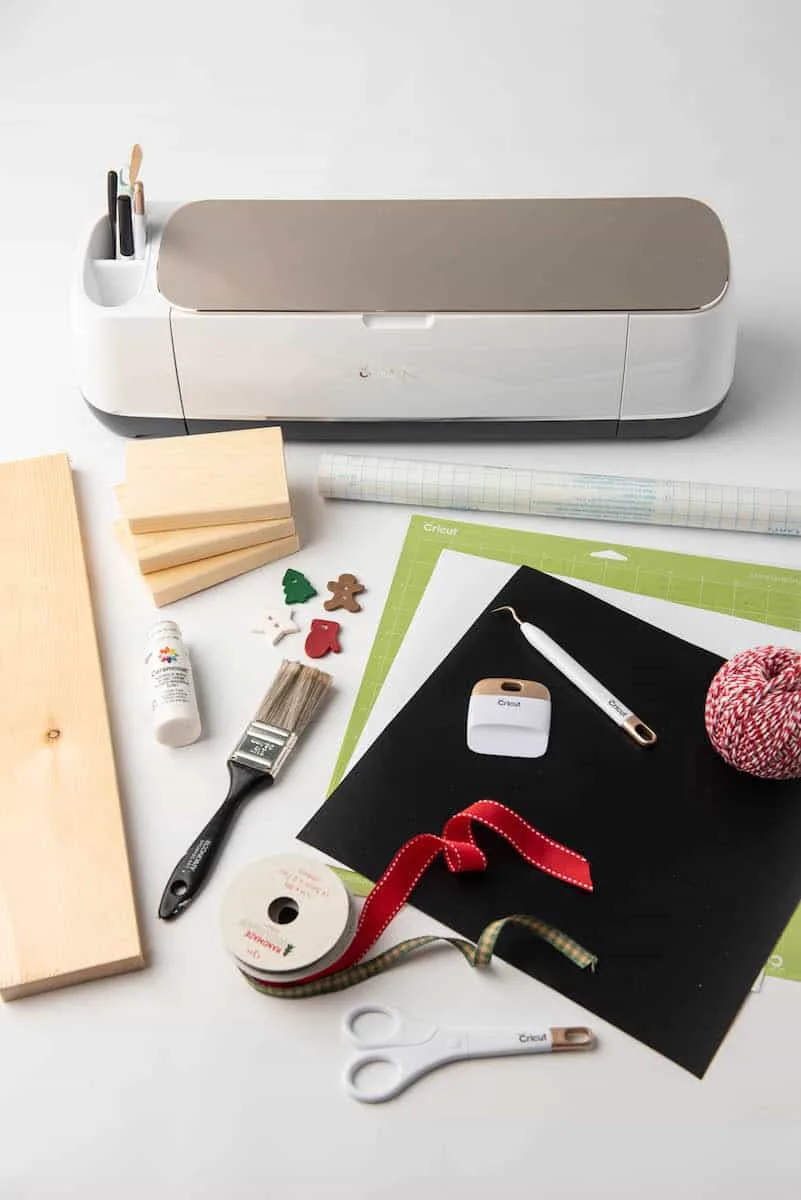
Supplies
- 1X3 wood board (cut into three, 5-inch pieces)
- Paint or wood stain
- Matte Mod Podge – if staining
- Paint brush or sponge brush
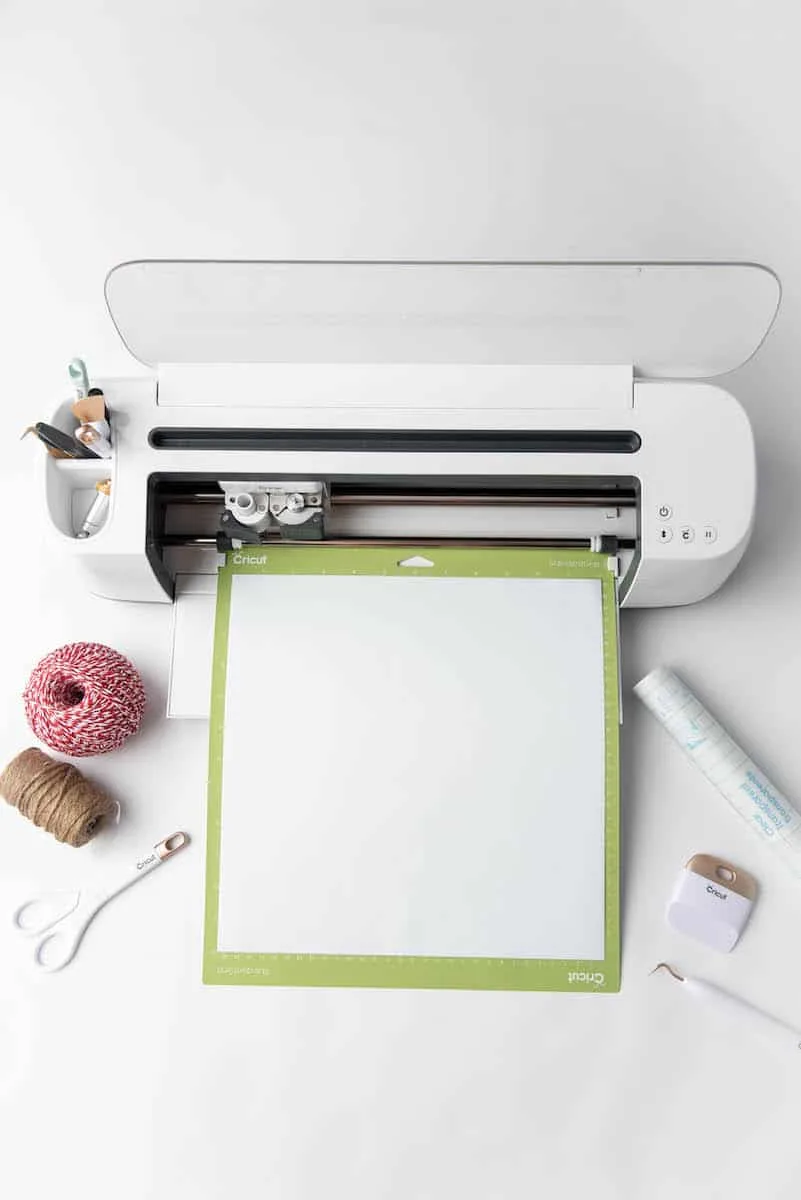
- Cricut
- Cricut blue light or green standard grip mat
- ORACAL 651 vinyl or permanent vinyl of your choice
- Transfer tape
- Weeding tool
- Cricut scraper tool
- Scissors
- Ribbon or Twine and embellishments

Directions
Use a hand saw or automatic saw to cut the 1×3 wood board into approximately 5-inch pieces. Lightly sand the edges. If you slightly curve the edges on one side, it will look more like a book spine.
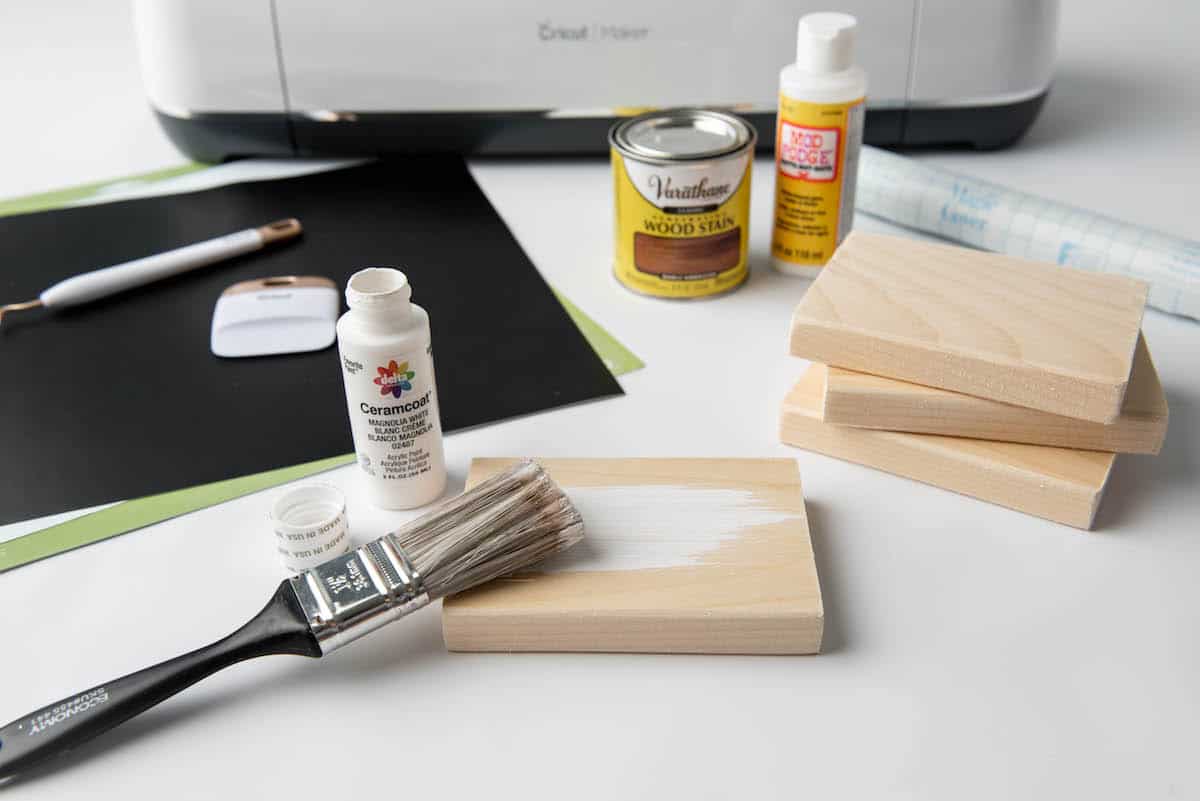
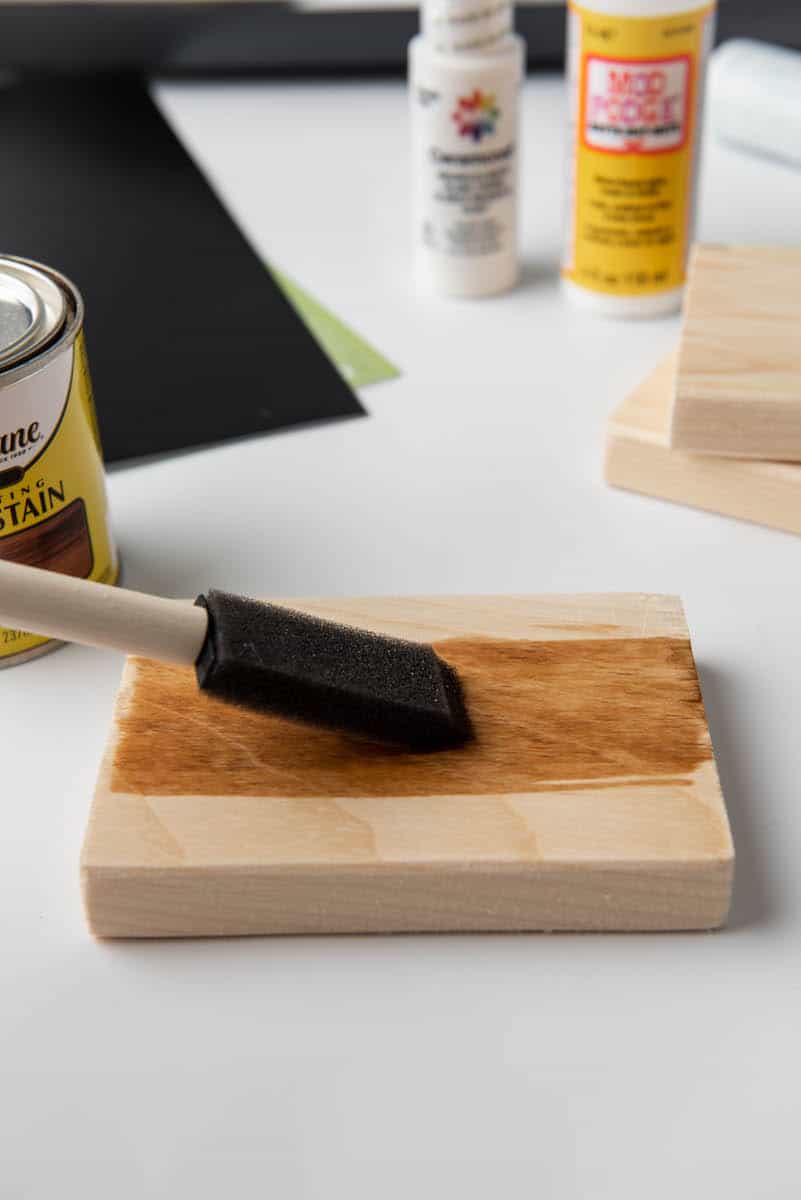
Apply paint or stain to the wood “books”.
If painting, use a matte paint. If staining, do so in a well ventilated
area. Allow at least 24 hours for stain to completely dry.


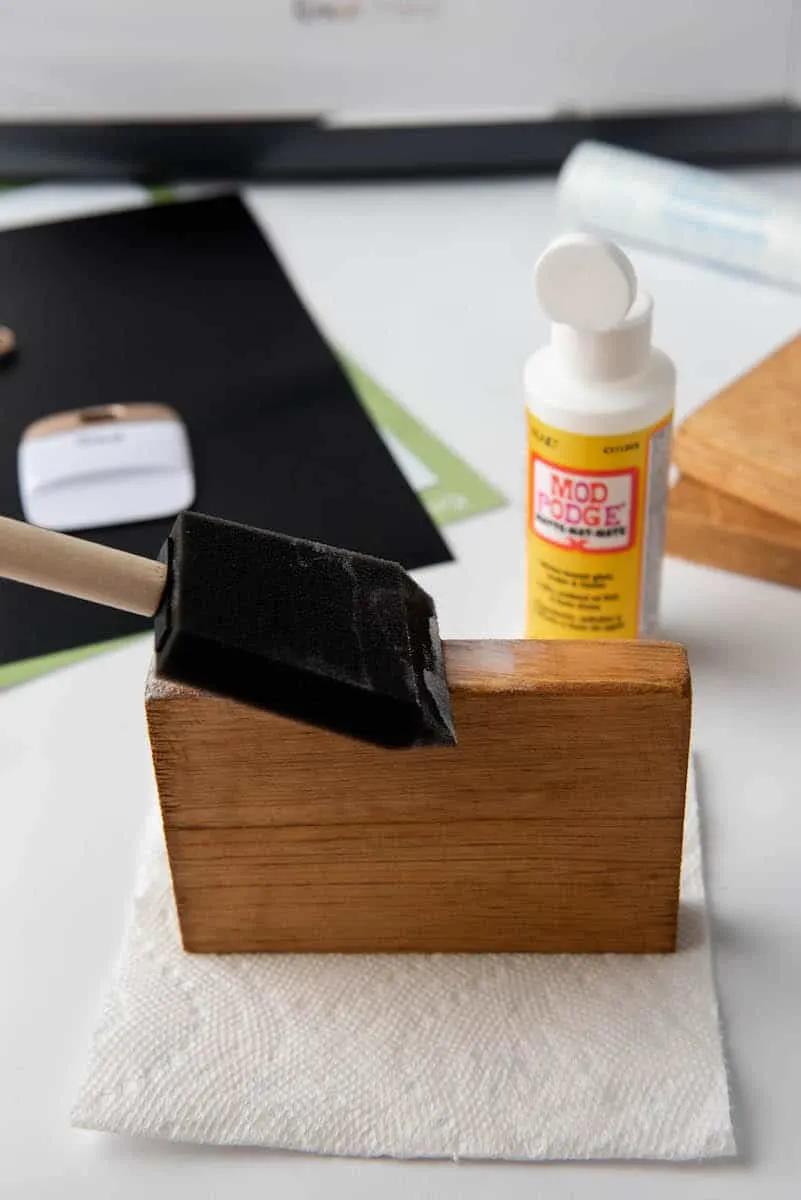
*IF YOU ARE STAINING: Once the stain is dry, add a layer of Matte Mod Podge as a sealant to the edge of the book where you will put the vinyl words. The oils in the stain will break down the adhesive on the vinyl if you don’t put this coating on.

Once paint or sealant is dry, prepare your words in design space. Using the text layer, add any phrase you would like for the book spine titles. Then adjust the sizing.
Resize the spacing of the letters to your liking using the letter spacing option. Adjust the sizing of the word to approximately half an inch tall (width will adjust accordingly depending on length of design).
Hit make it. Adjust the machine’s setting or material dial to vinyl. Load the vinyl into the machine on the green or blue light grip mat and hit “go”.

After cutting, begin to weed the vinyl off and away from the design using the weeding tool.


Cut a piece of transfer tape to cover the vinyl design. Apply the transfer tape using gentle pressure with the scraper tool.


Turn the design face down. Gently apply pressure and pull the vinyl’s carrier sheet off and away from the transfer tape. The vinyl will be left on the transfer tape.
Place the vinyl on the spine of the wood block, adjusting to where you want the words to be. Apply pressure and smooth over the design using the scraper tool.

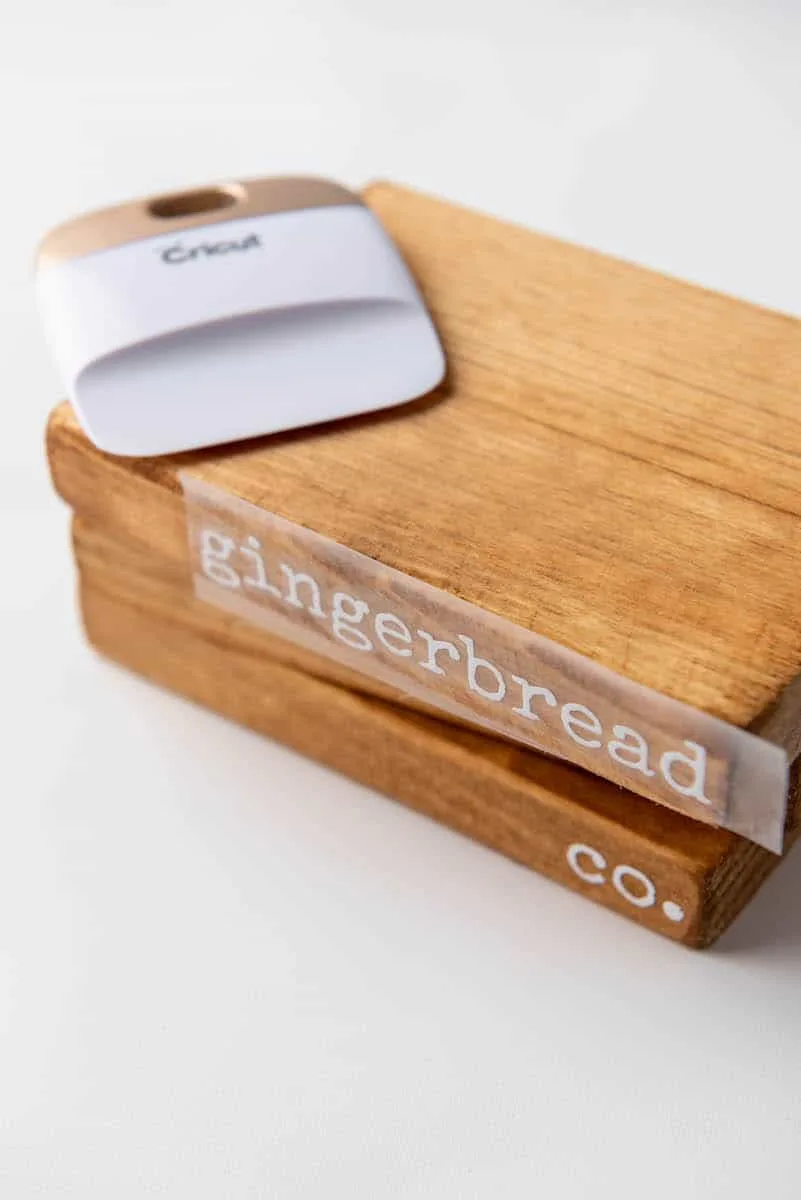
Slowly remove the transfer tape, rolling it away and off the edge.
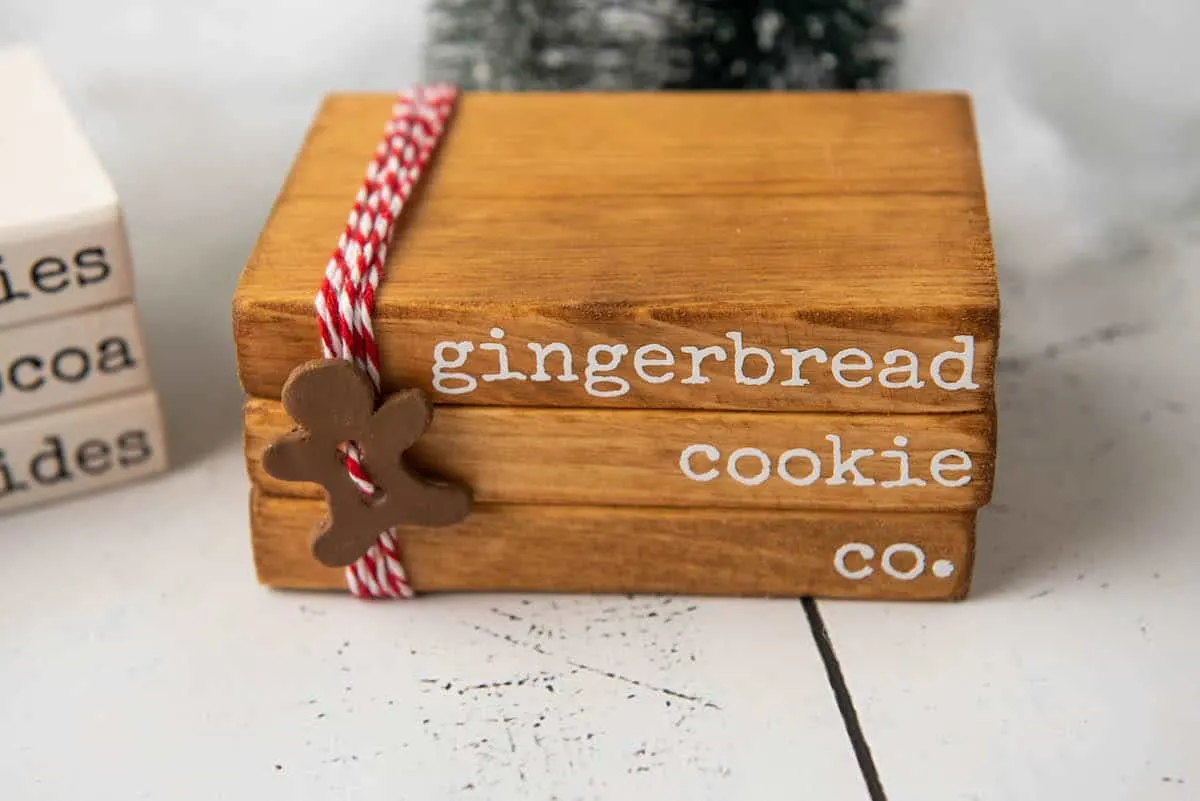
Repeat the steps for all of the book spine edges.
Stack the finished books together, making sure the words line up correctly from top to bottom. Use twine or ribbon to wrap the wood tightly together to hold all in place. For an extra touch, add embellishments before tying the twine or ribbon.

Helpful Tips
- To get a faux farmhouse stamped look, use a font such as Courier or Special Elite.
- Don’t forget to weed around the outside of the letters and small parts inside any letter that are enclosed (ex. a,e,o ).
- Words on the book spines can be sayings, people’s names, a music verse, a Bible verse, song titles, etc.
Want more Christmas Cricut crafts? Check these out:
- Poinsettia Mason Jar Toppers
- Personalized Wooden House Ornaments
- Wooden Blocks Snowman
- Wood Slice Ornaments
- DIY Star Gift Box
