


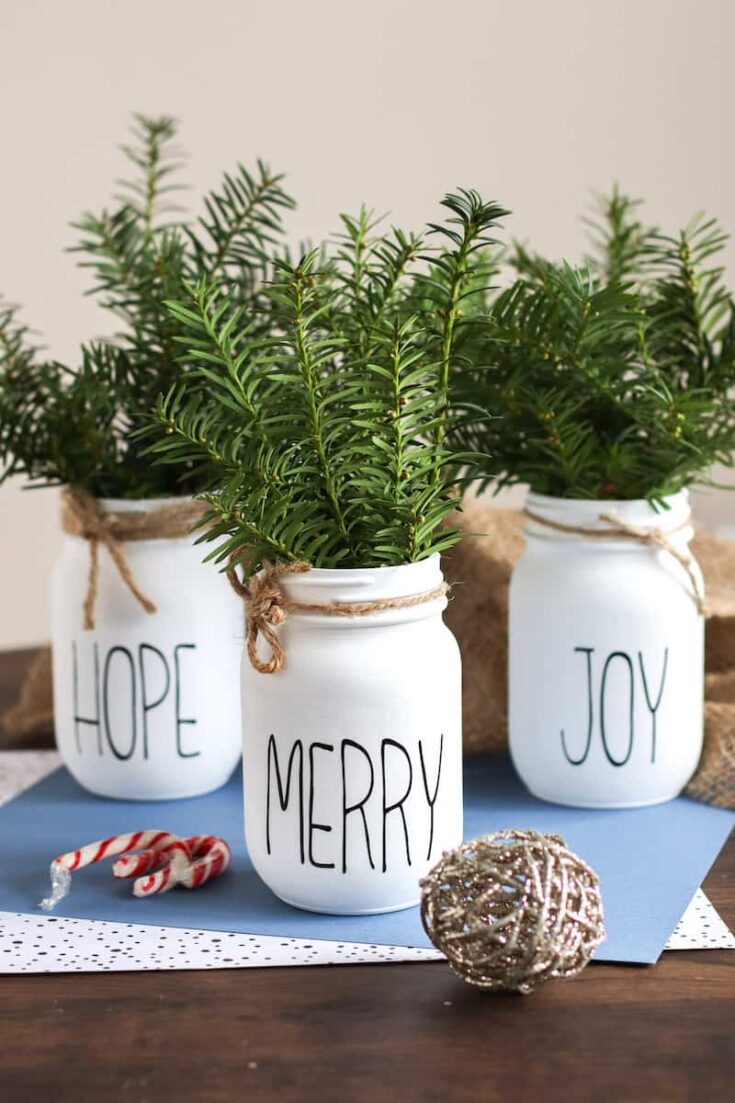
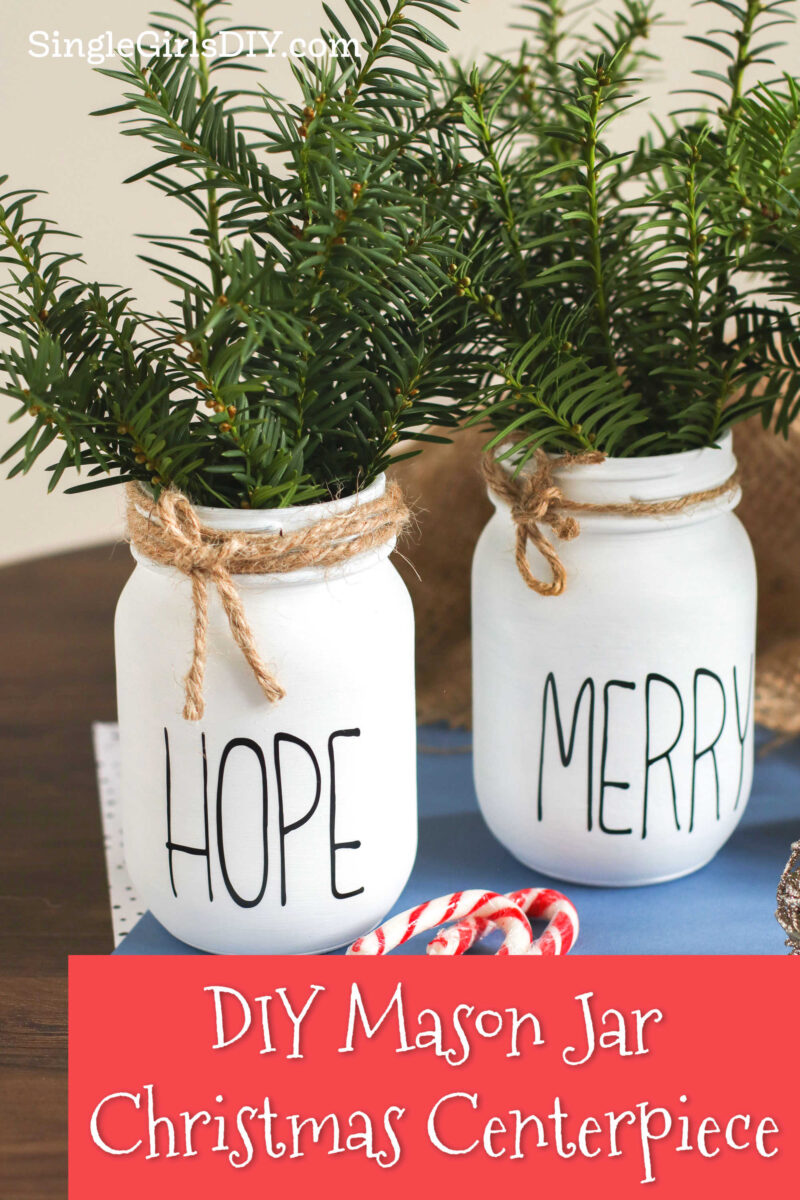
These easy mason jar Christmas centerpieces are simple yet festive. The jars are low enough for guests to see over at the dining room table, but add quite a big impact of holiday joy.
Are you struggling to find a beautiful Christmas centerpiece for the table? Something other than an expensive floral arrangement that won’t last too long?
You want a centerpiece that is low enough for your guests to be able to see each other across the dining room table while eating. Surprisingly, there aren’t a lot of great options out there when it comes to decorating the table for your Christmas dinner!


I think these decorated mason jars are the perfect answer. The painted jars are simple. Yet they make a big statement with their words of cheer made with a Cricut machine. (Or you could paint them.)
Fill them with flowers, greenery or a candle for a perfect Christmas table centerpiece.
If you’d like, make the decorated mason jars to give as gifts. Fill them with a bouquet of fresh flowers, or add candy or treats inside.
You might also like our easy Christmas mason jar lantern craft or these mason jar toppers made with Cricut.
My mason jar gnome is a favorite, too!
This waterless snow globe could also easily be made with a mason jar.
Looking for more Christmas centerpieces? See my fairy lights snowglobe centerpiece for the holidays, as well as this cute farmhouse Christmas tree stand table centerpiece.
Print out the How-To card to save this Christmas DIY! However, photos won’t print on the card to save you ink on your home printer. So be sure to Pin This idea to your Christmas or DIY boards if you want to remember it and get the photo tutorial.
Mason Jar Christmas Centerpiece
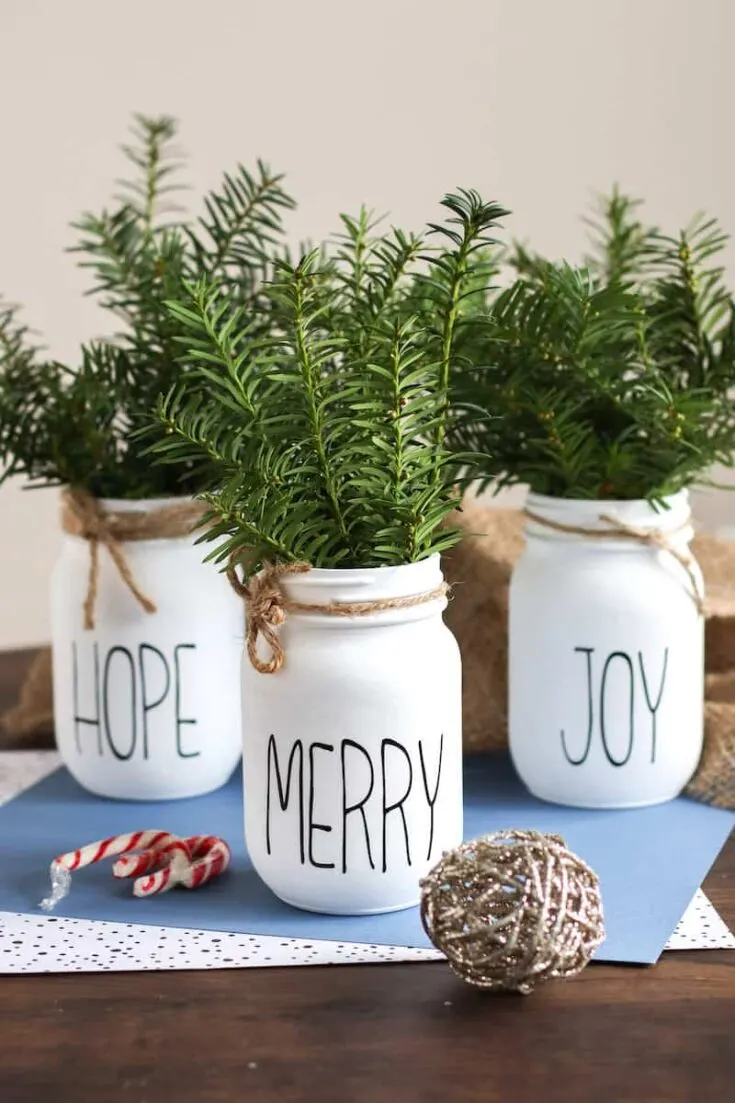
These painted Christmas mason jars make a beautiful table centerpiece. Fill them with fresh greenery or a candle for your dining room table. Or make a few to give as gifts when filled with flowers or candies.
Materials
- 3 Mason jars with lids removed, 16 oz
- Rubbing Alcohol
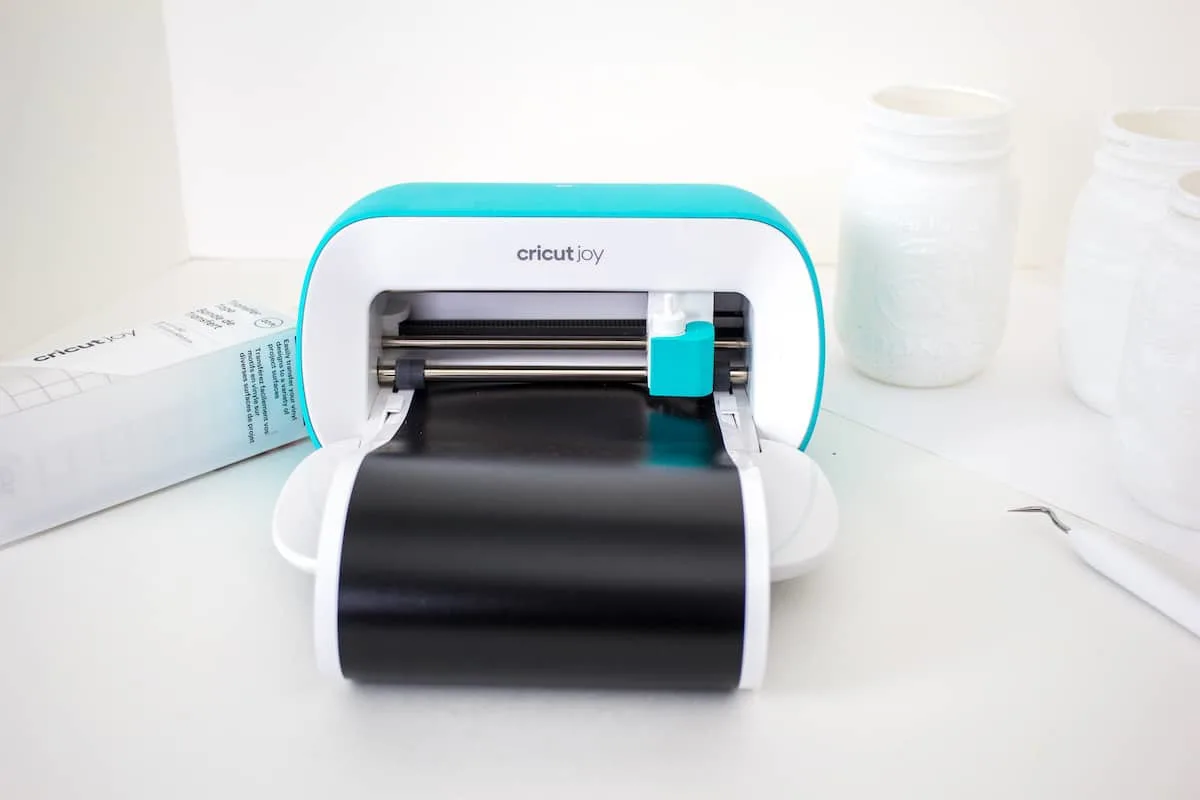
- Cricut Joy (or Cricut Maker) with Fine Point Blade
- Smart Vinyl, Removable (or Permanent) in black
- Scissors
- Weeder Tool
- Americana Chalky Finish (for glass) in Everlasting
- Paintbrush
Instructions
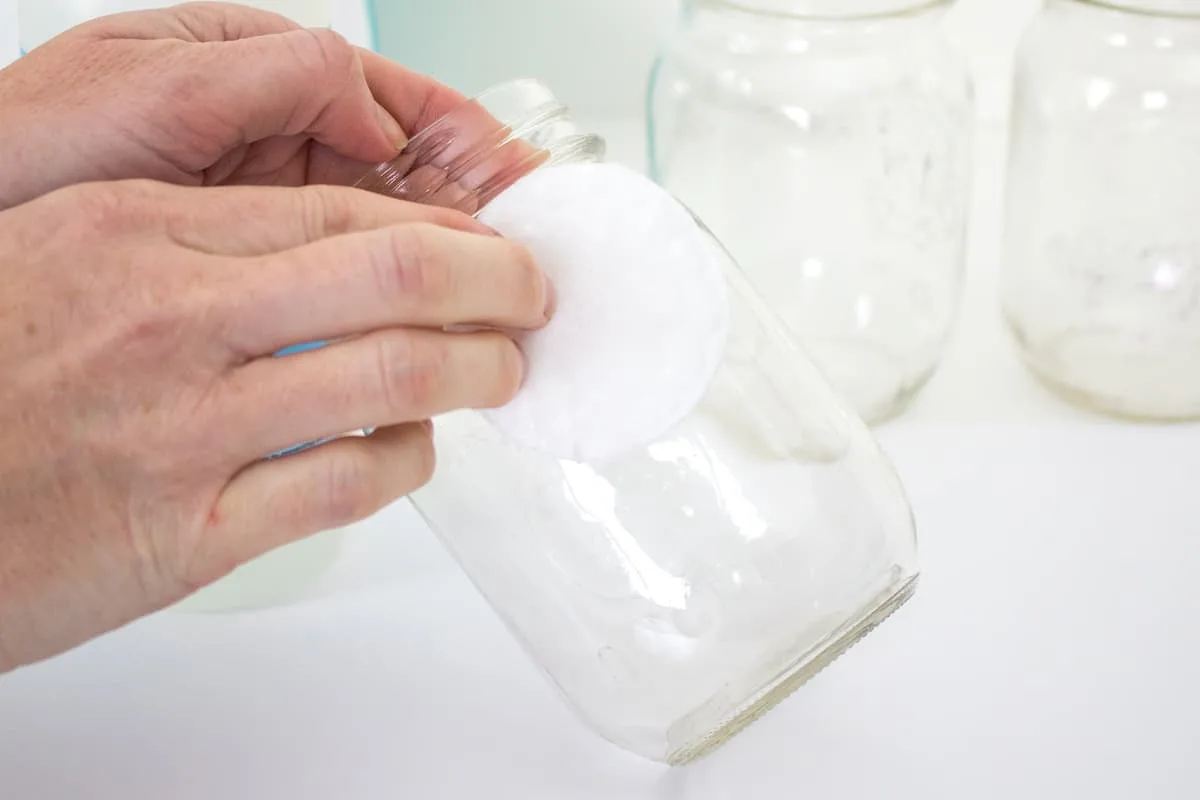
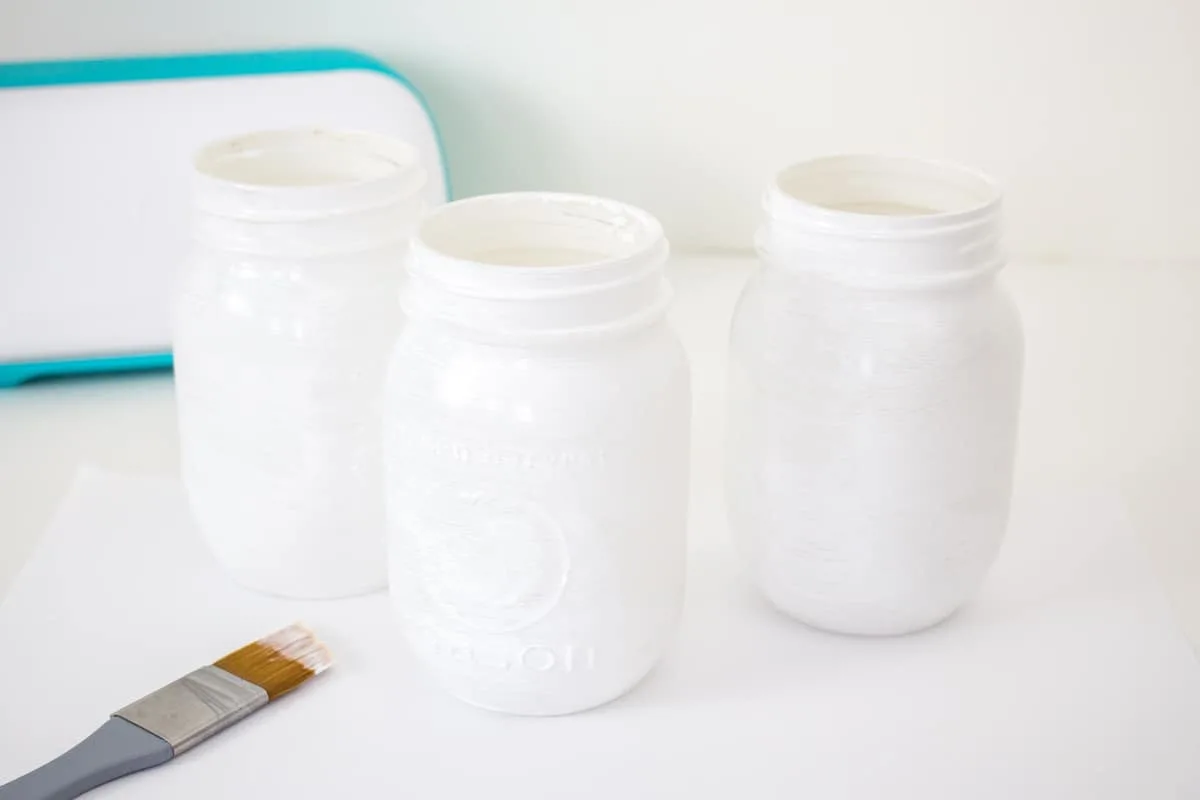
- Thoroughly wash jars with soap and hot water and let them dry completely before using. Wipe the surface of the jars with rubbing alcohol before painting.

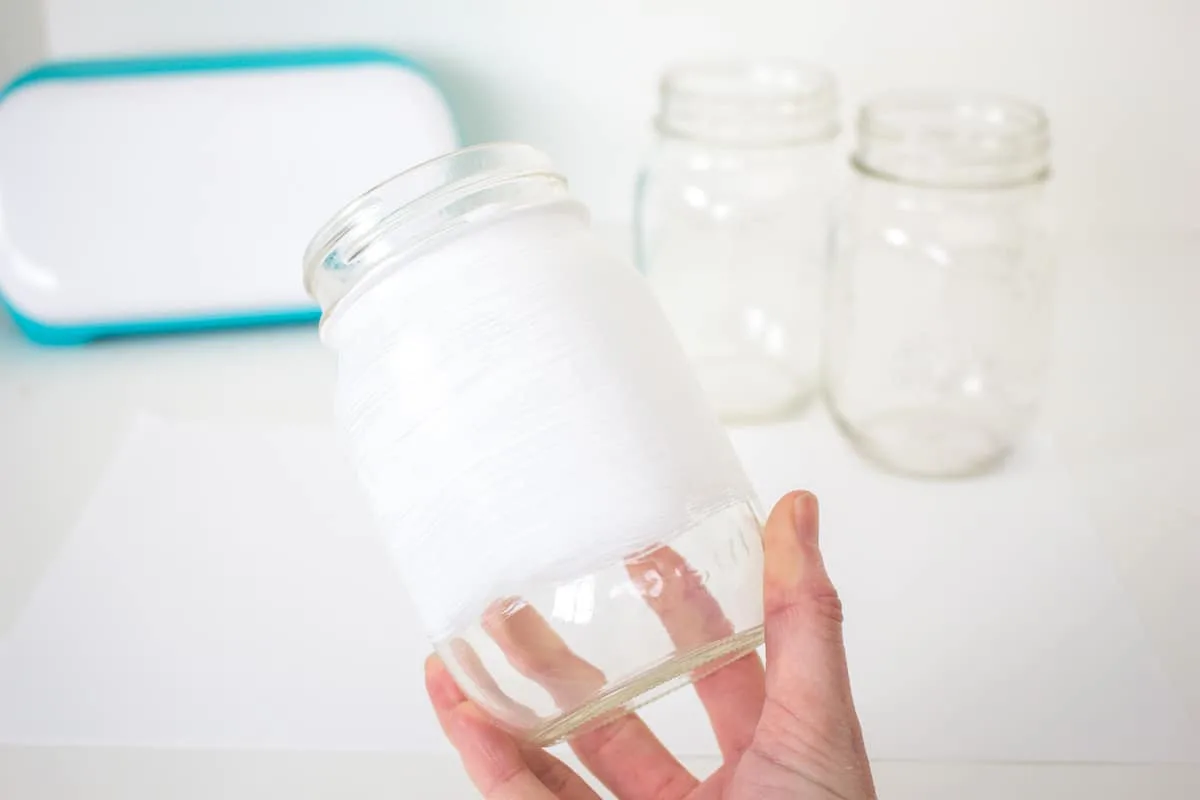
- Apply a thick coat of chalky finish paint to each of the mason jars. Put aside to dry fully and repeat with additional coverage as needed. Leave enough time to dry fully between coats of paint, approx. 4-6 hours.


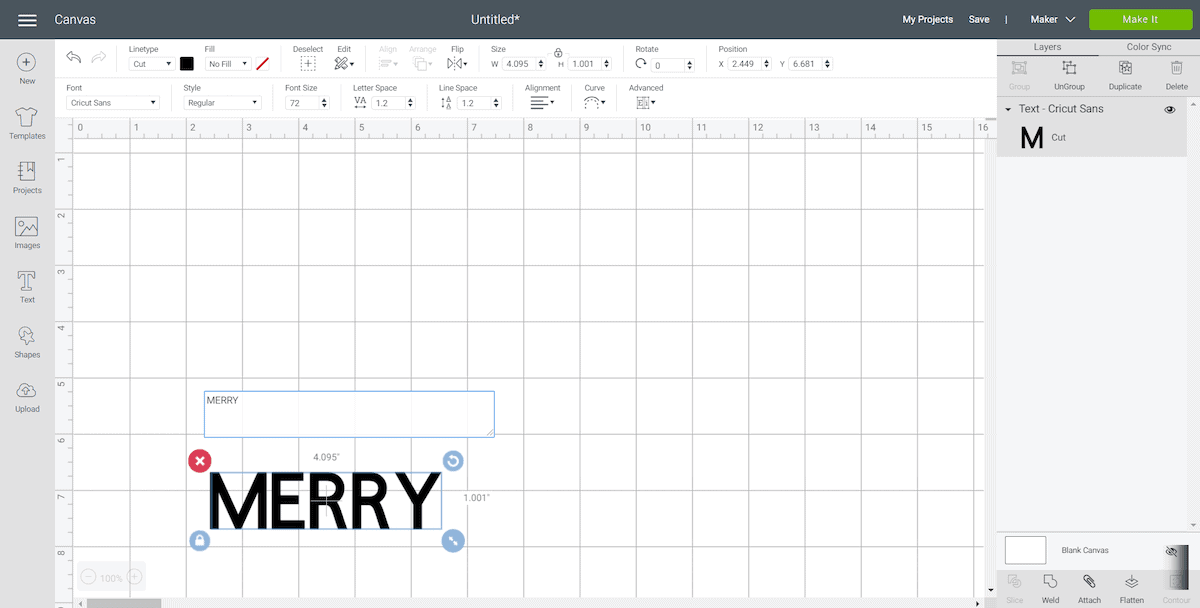
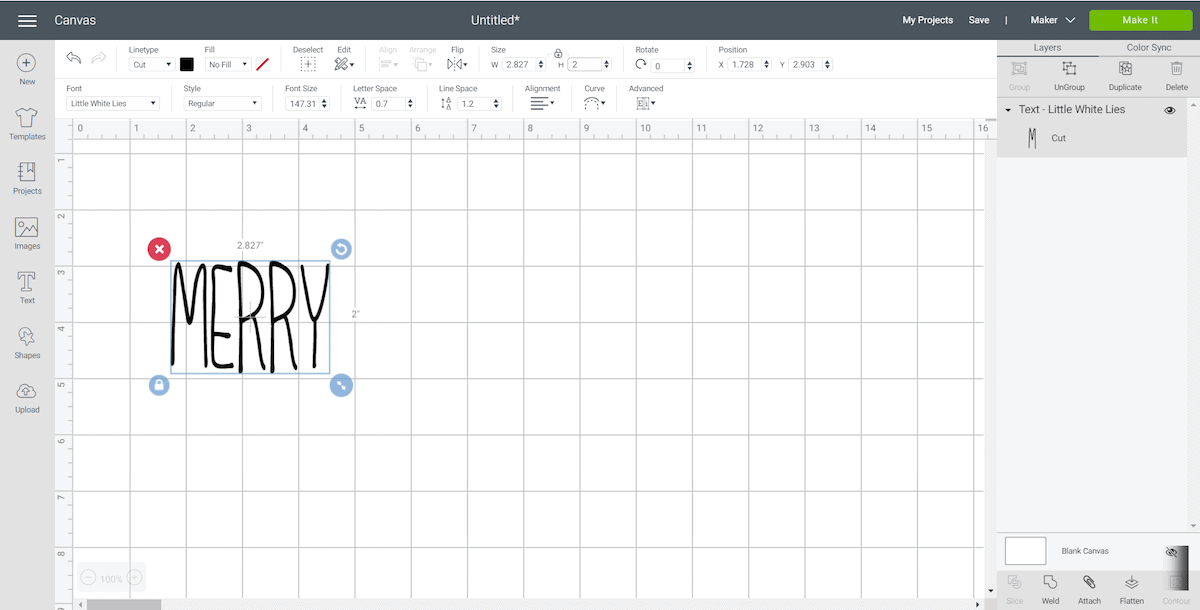
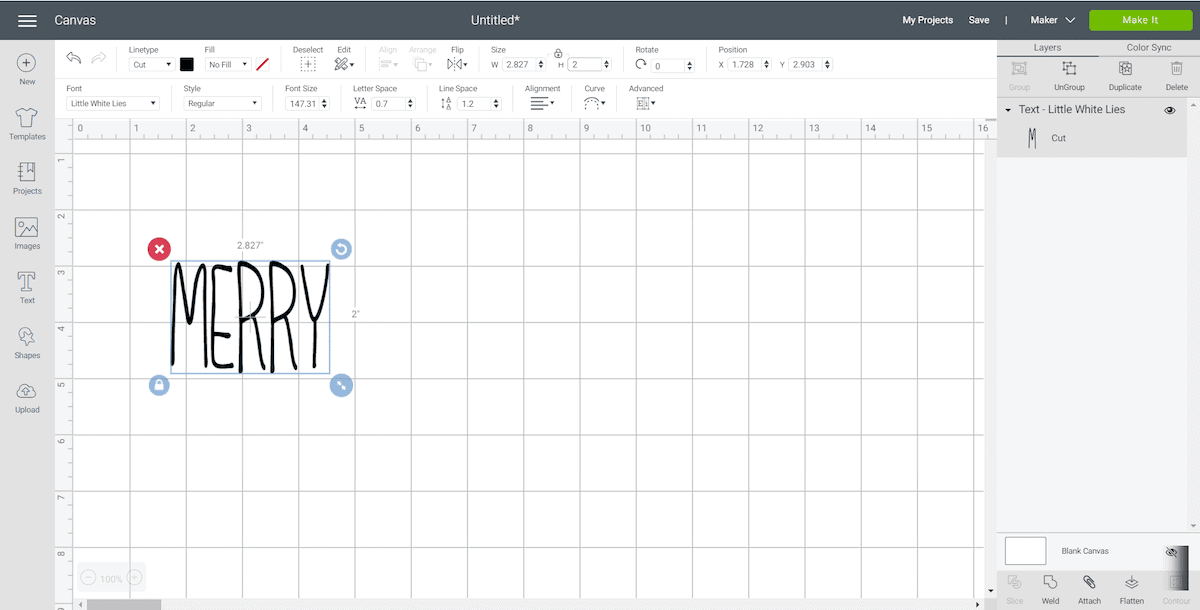
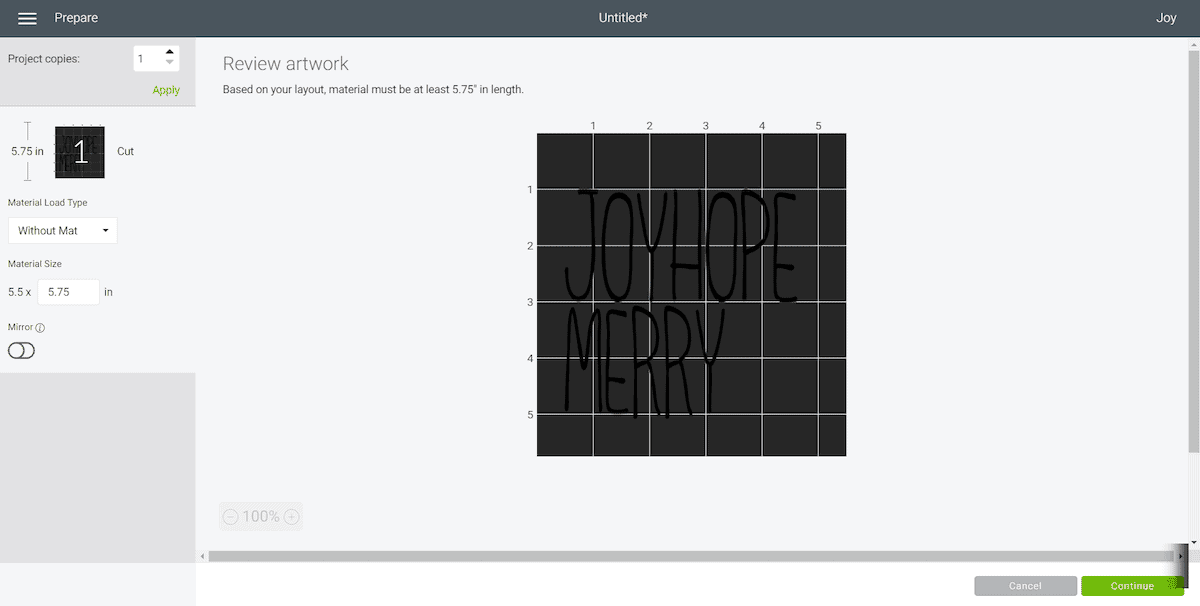
- Open a blank canvas in Design Space and select the text icon from the toolbar.
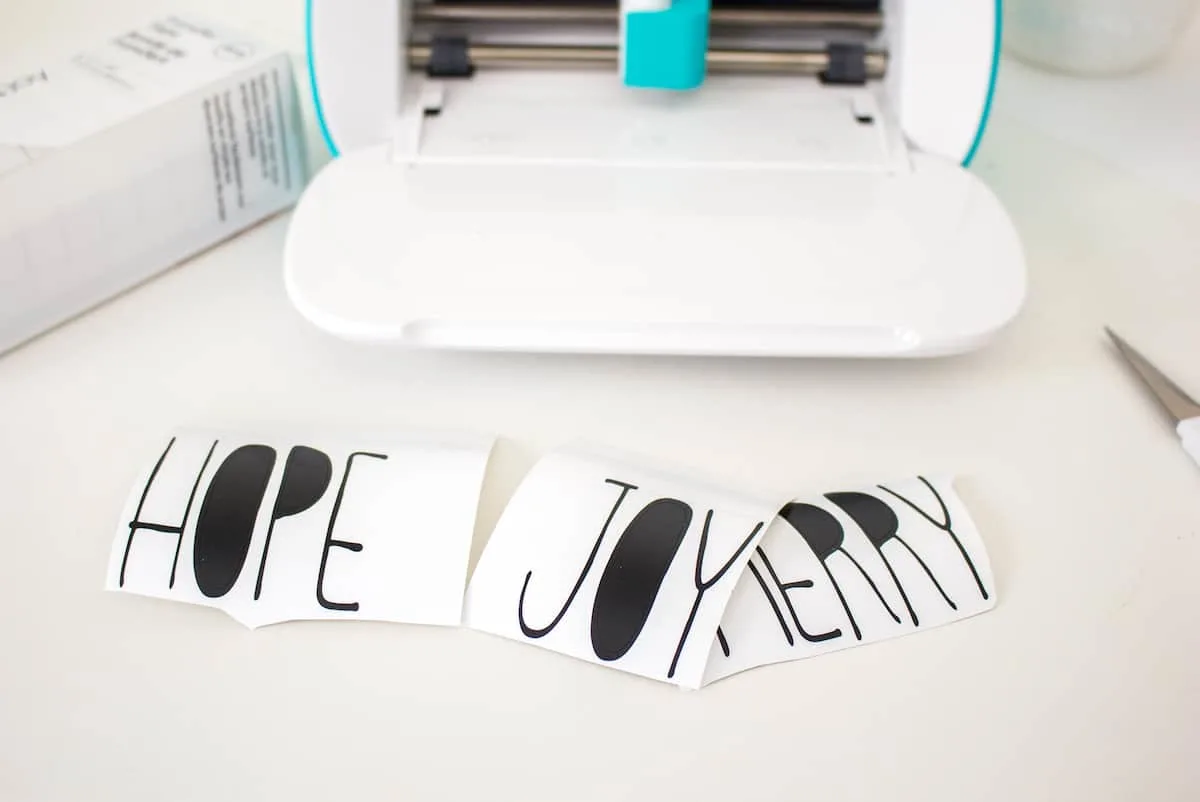
- Type MERRY.

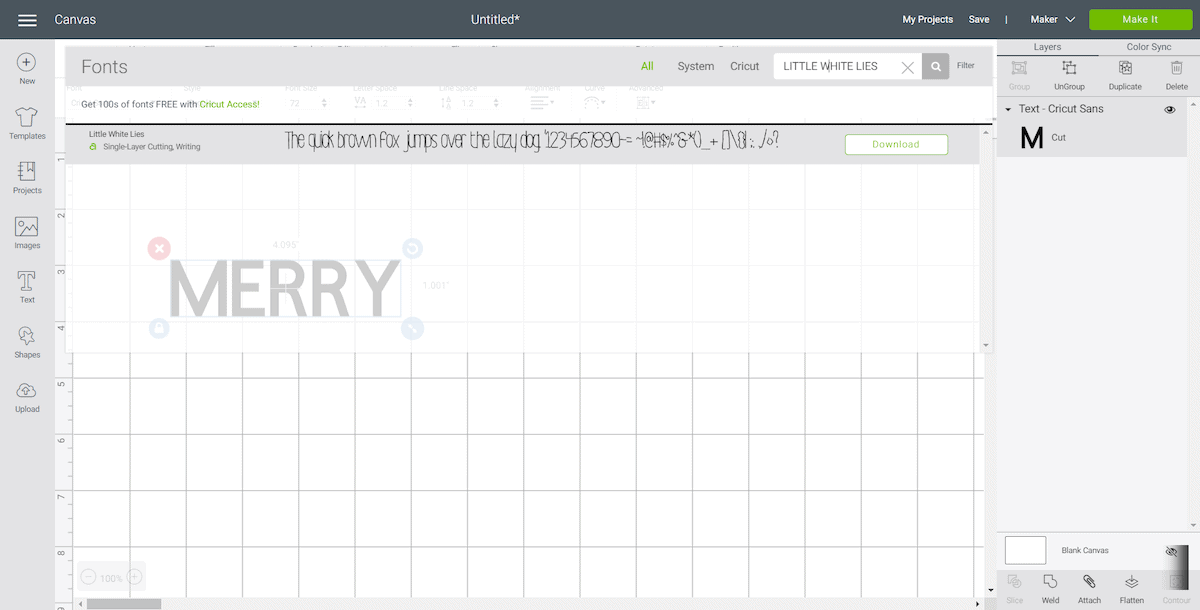
- Change the font to “Little White Lies”.

- With the word highlighted, adjust the letter spacing to 0.7.
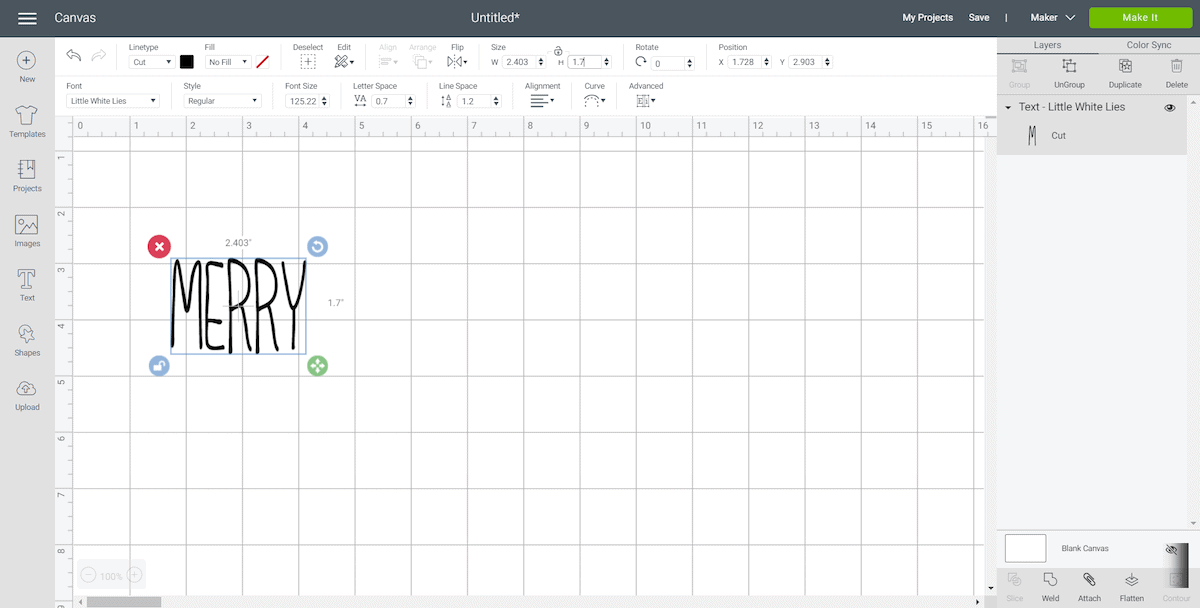

- Stretch the lettering by clicking on the lock symbol above the size section and adjusting the height to 1.7” while keeping the width the same.
- Next, click on the unlock symbol and adjust the word height to 2”.
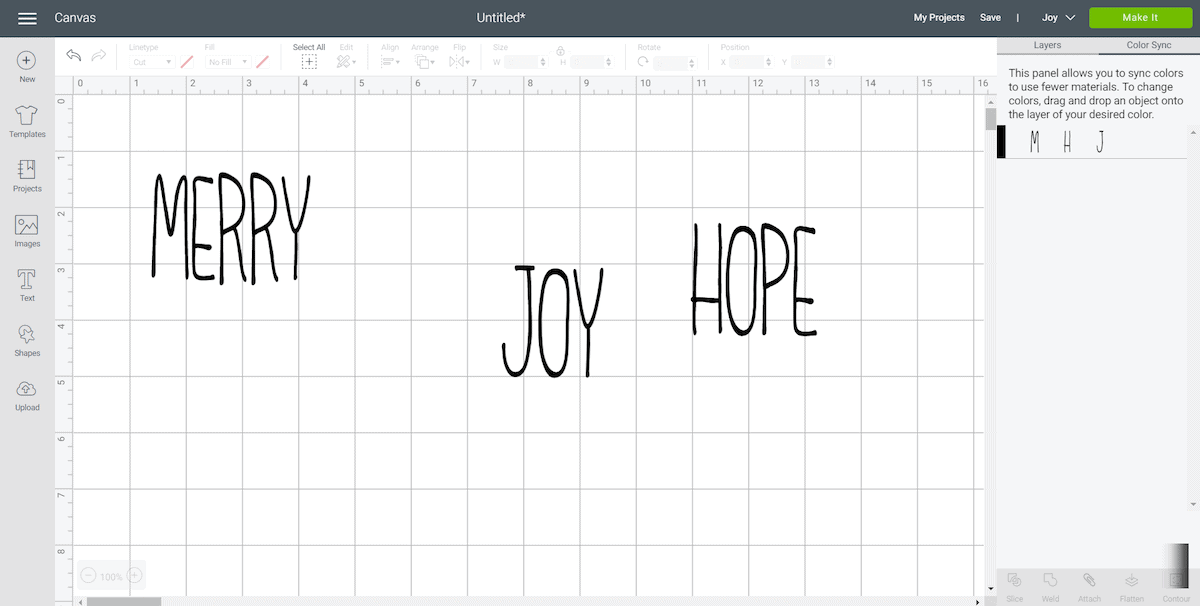
- With the word highlighted, click on the “Weld” button.
- Steps 5-11 for the other words: JOY and HOPE.

- Select “Make It” in Design Space.
- For cutting the words, set the material type to Premium Vinyl.
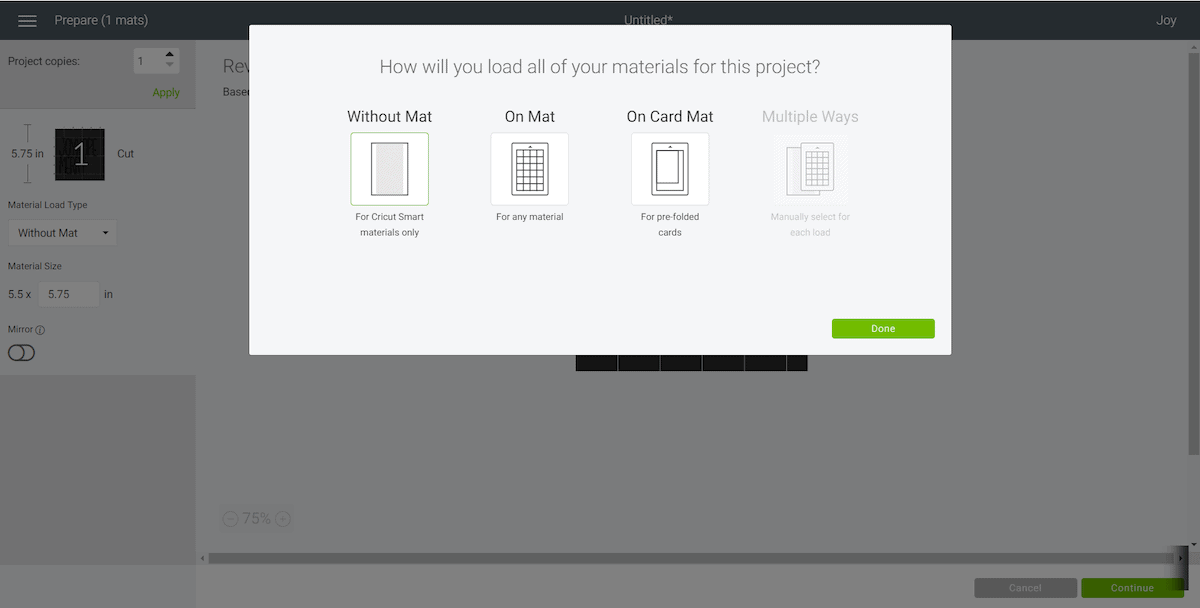
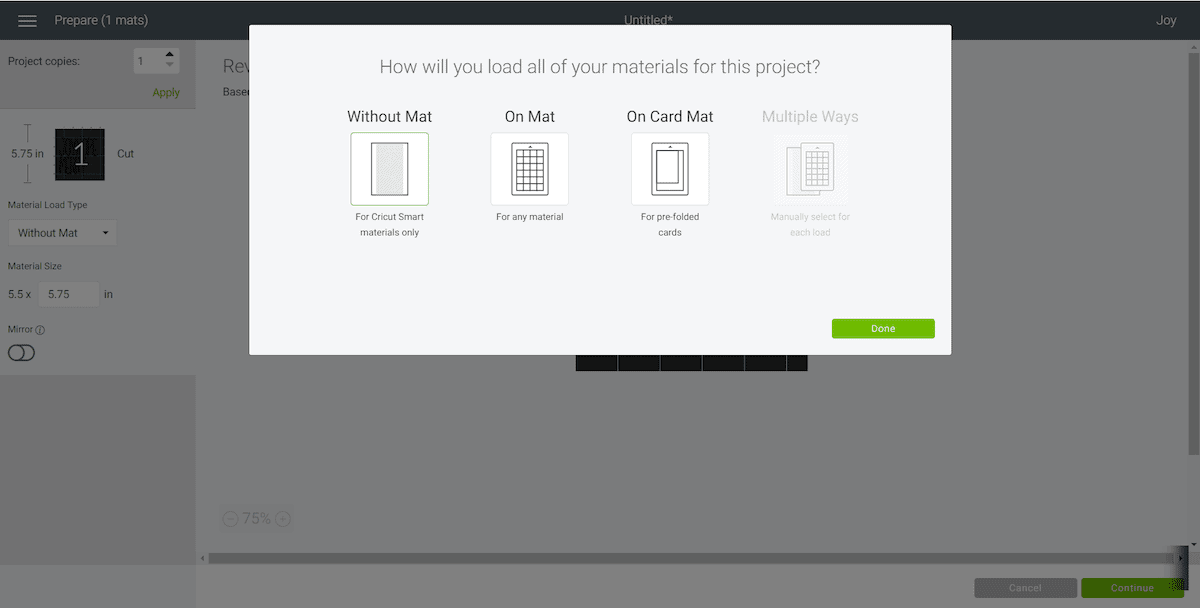
- Follow prompts for loading into the Cricut Maker or Cricut Joy and cutting the Premium Vinyl. When prompted, unload from the cutting machine.

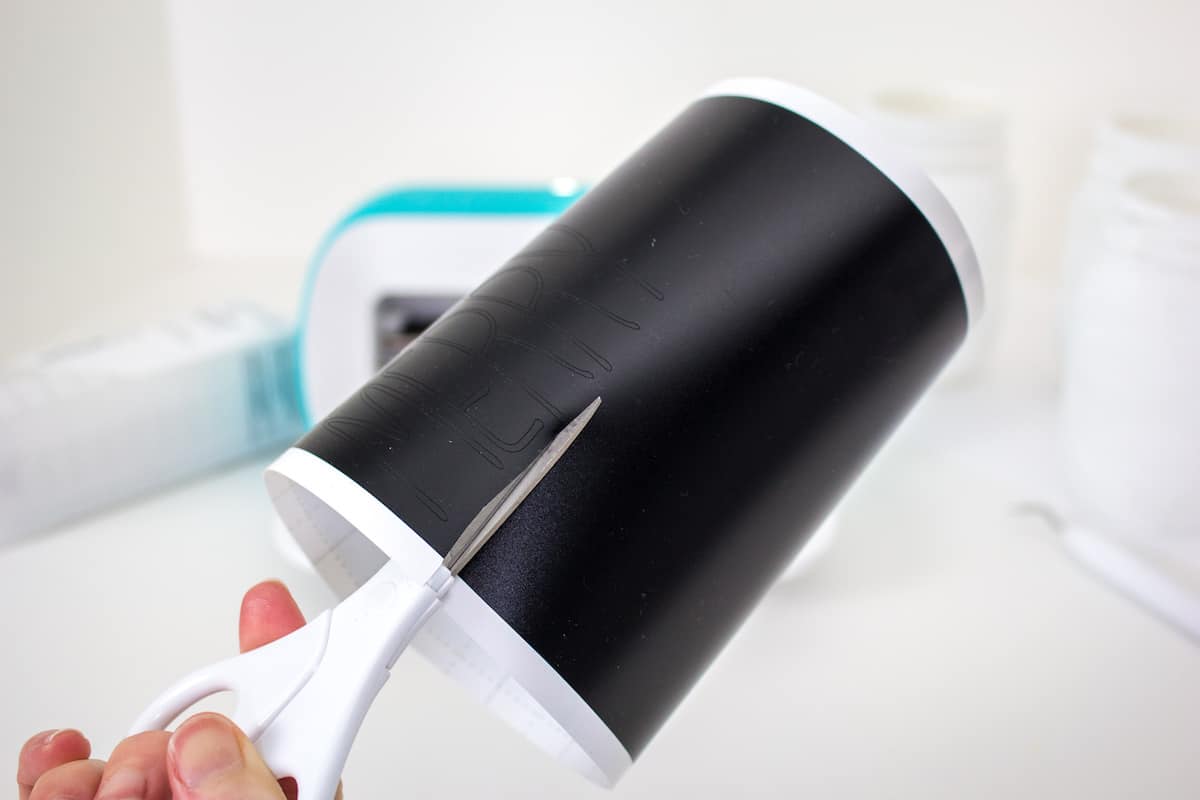
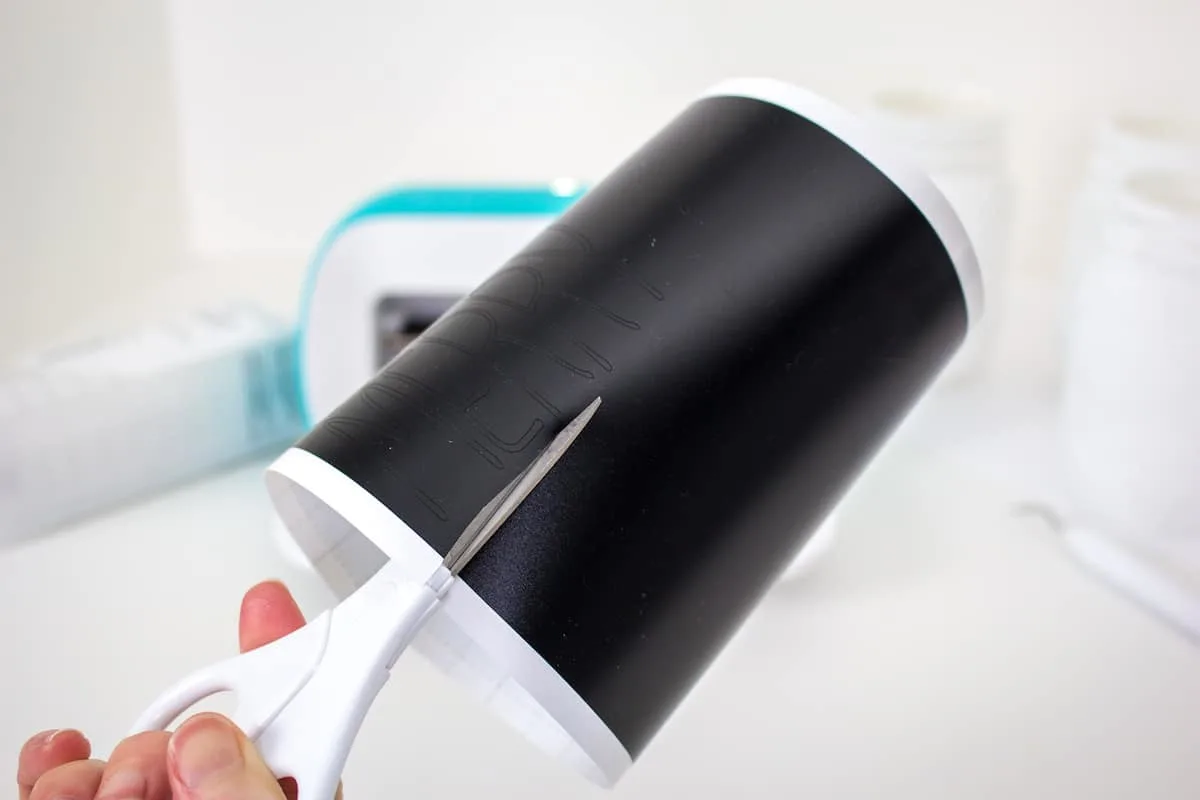
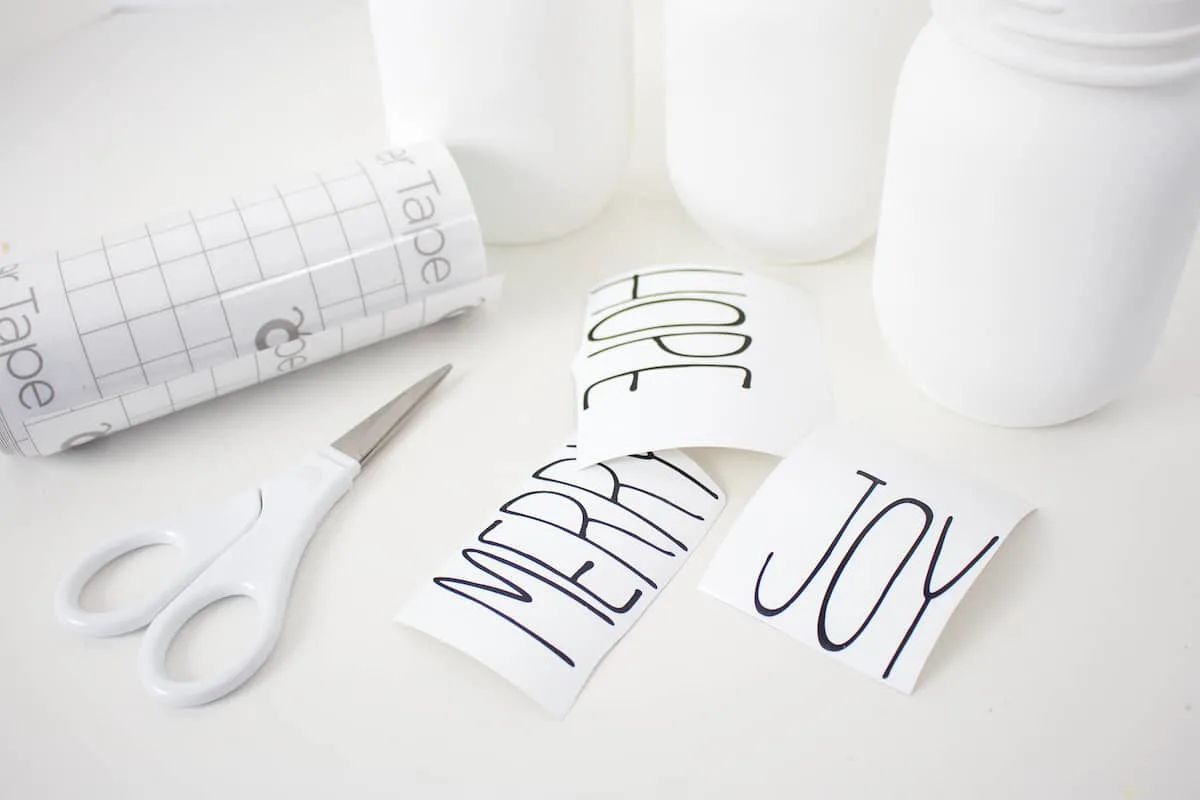
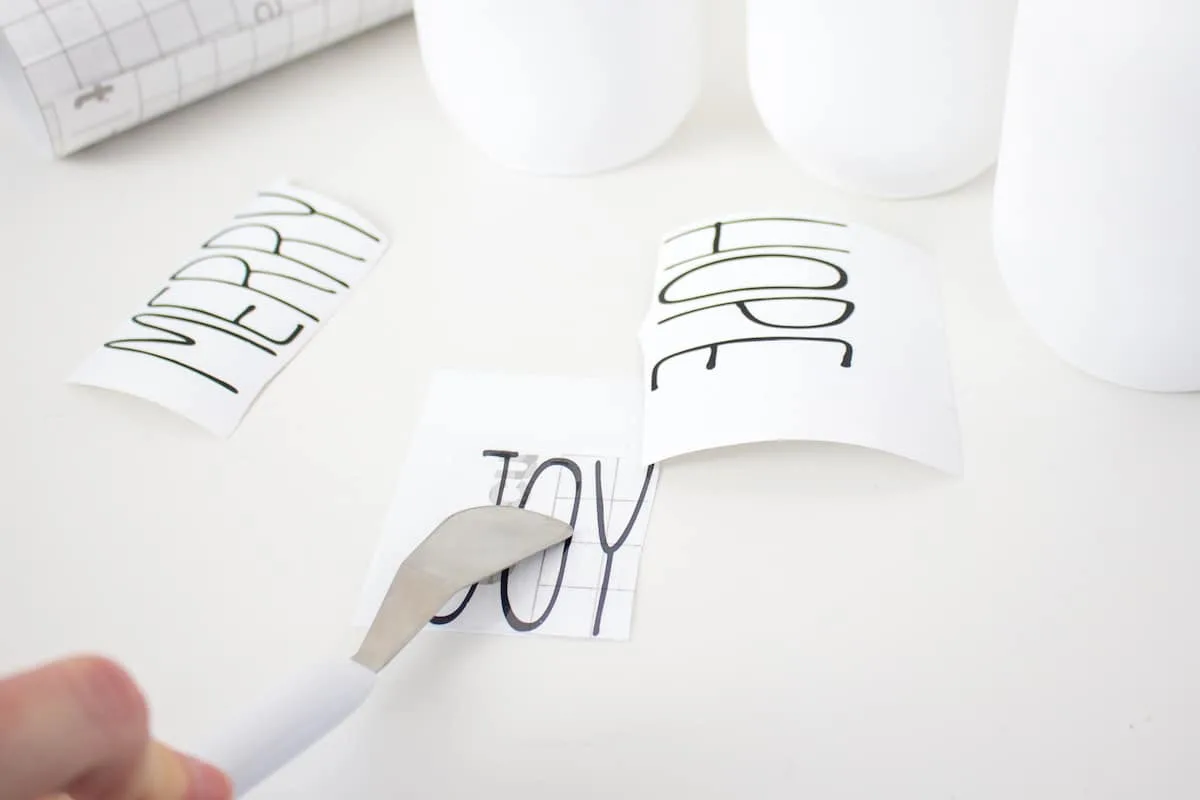
- Remove the vinyl from the mat and cut around each word with a pair of scissors.
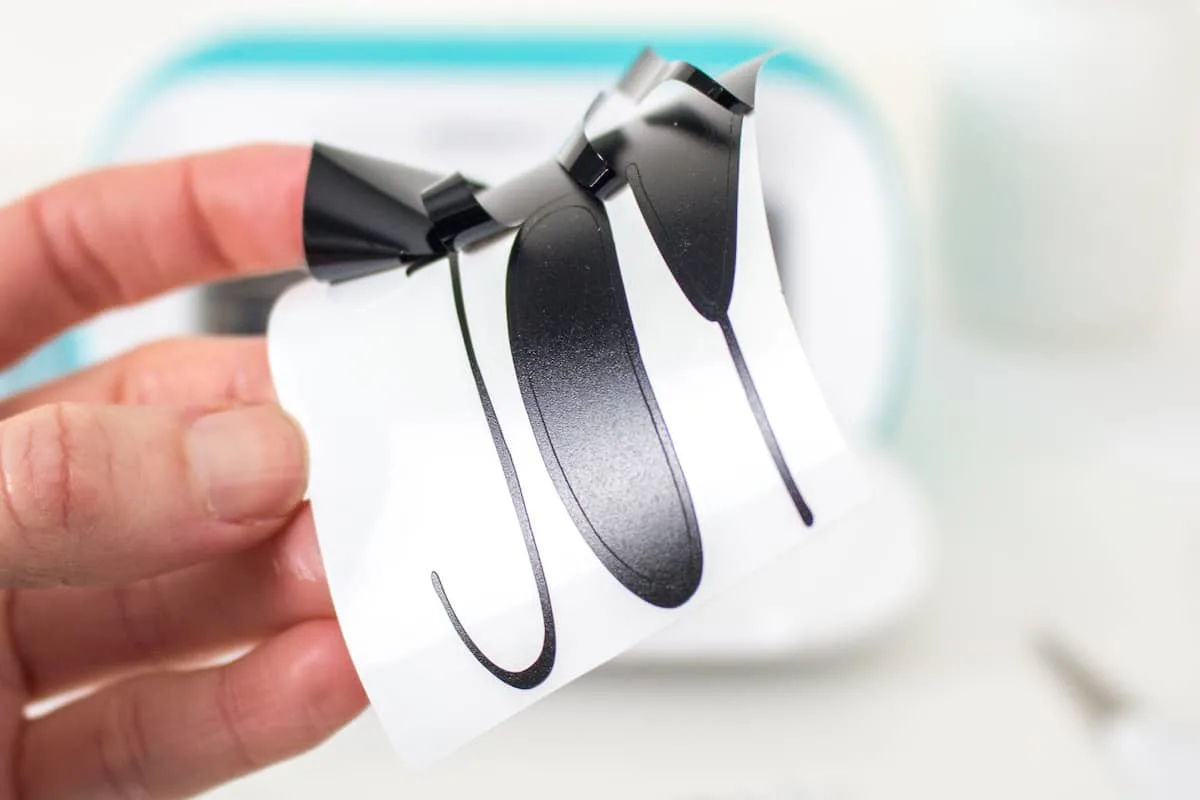
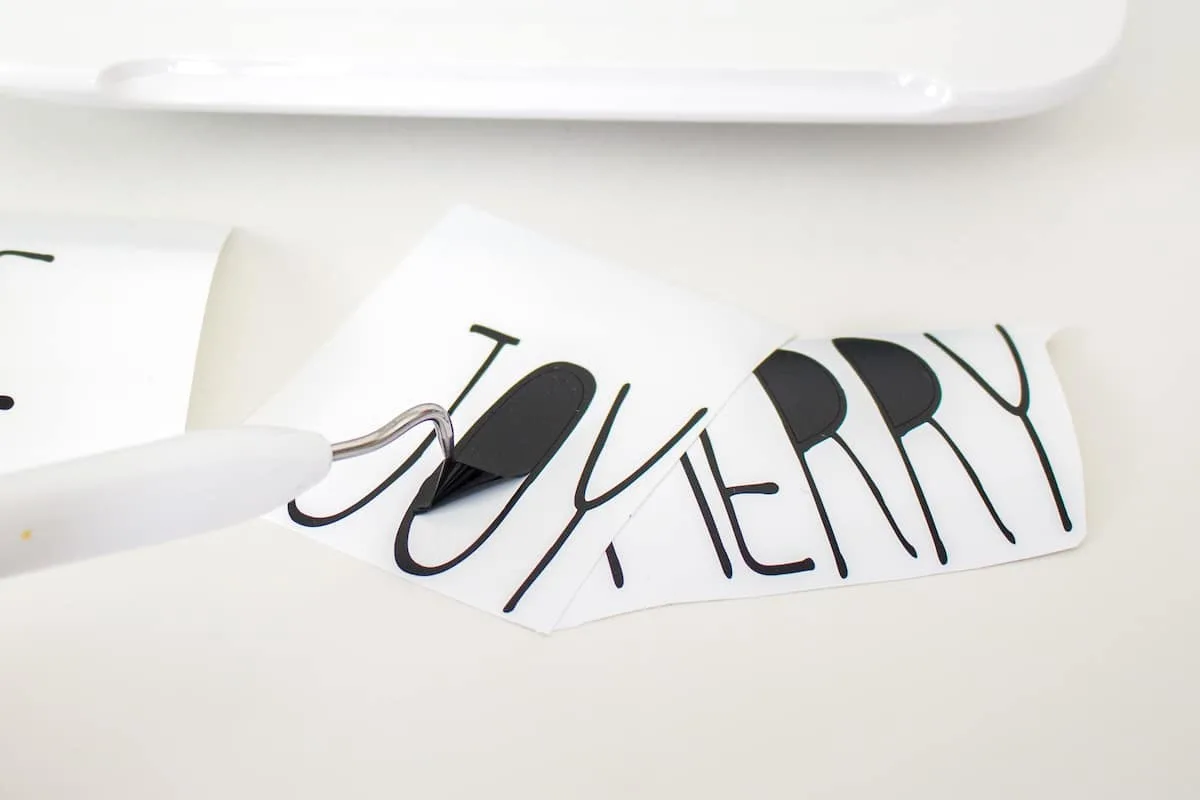
- Using the weeding tool, peel away the excess vinyl around the cut images and discard.

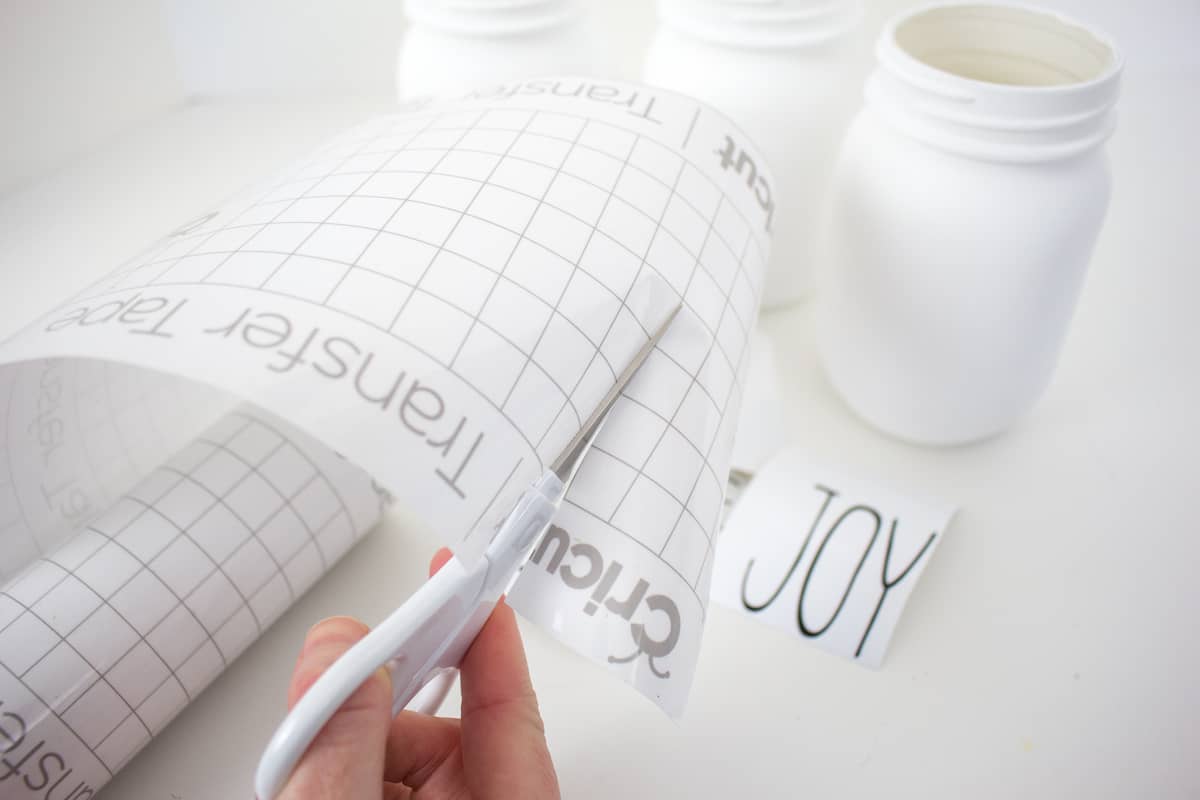
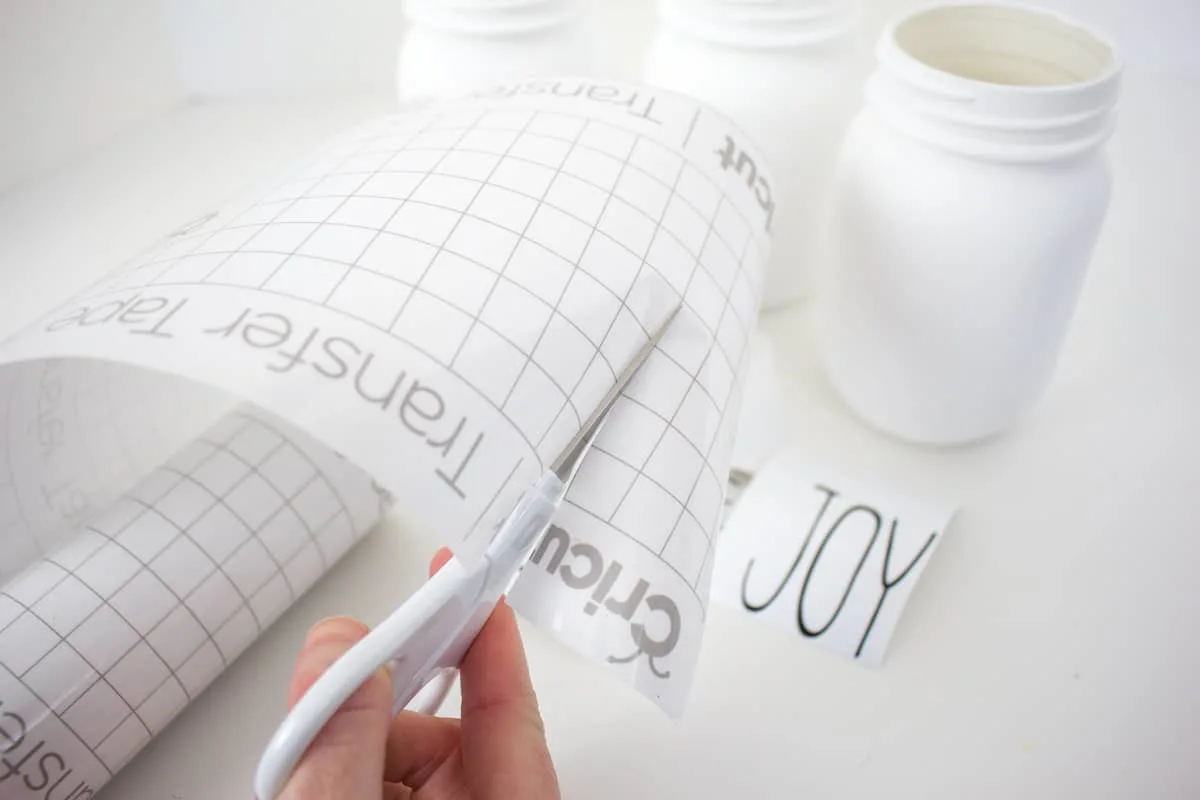
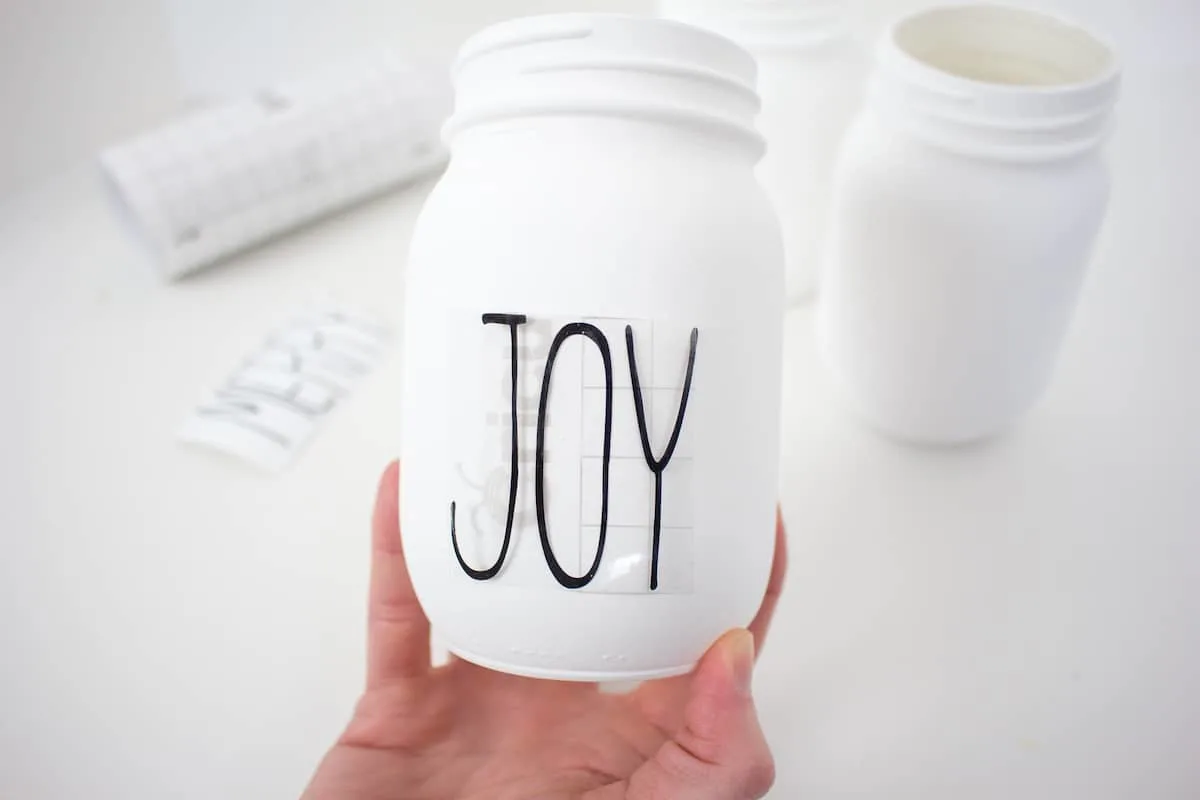
- Cut a piece of transfer tape a bit larger than the size of the text.
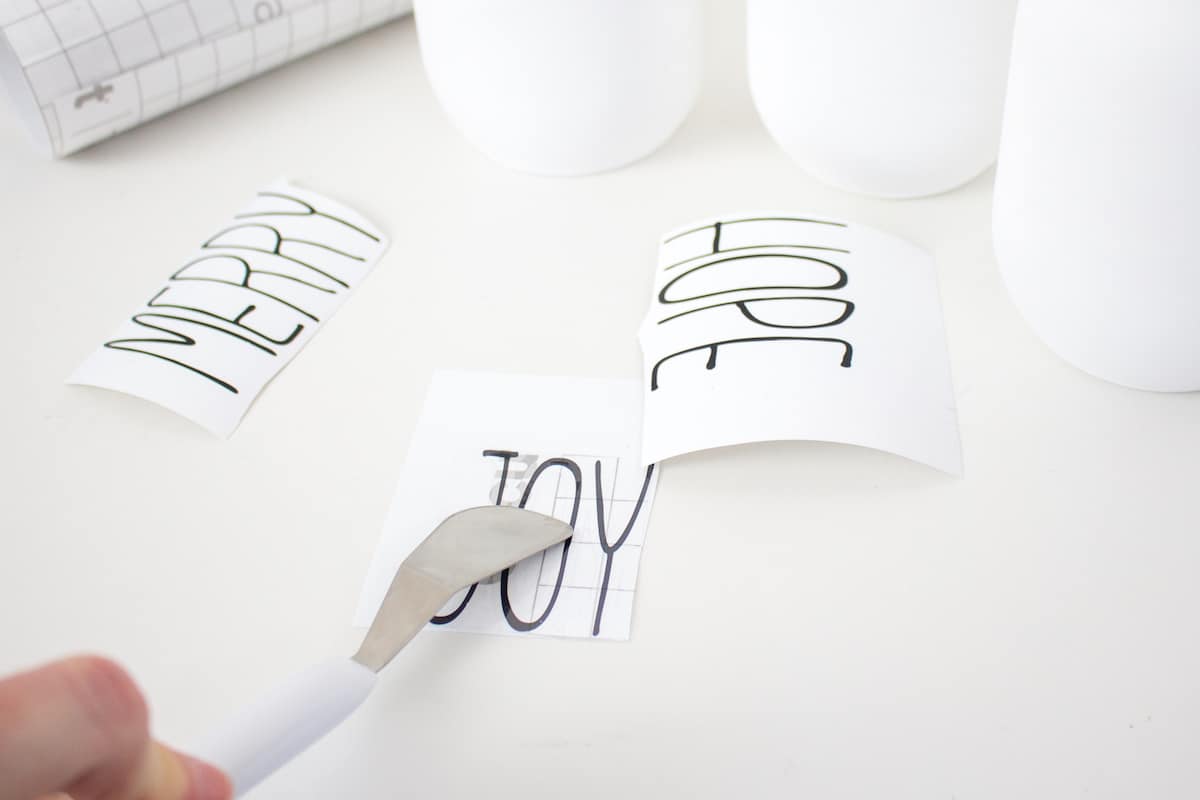
- Peel away the transfer tape backing but ensure the transfer tape is not overly sticky. Dab the sticky side of the transfer tape with your hand to weaken the adhesive.
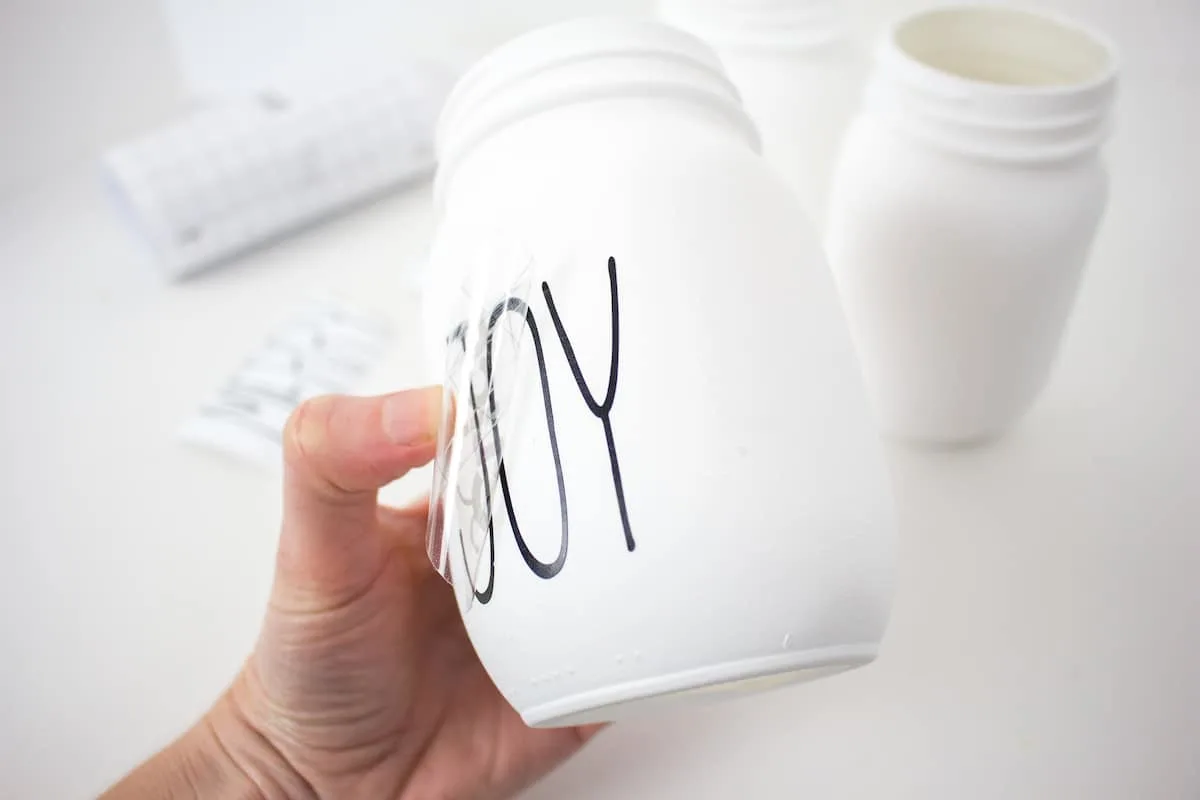
- Place the transfer tape overtop of the cut word. Gently rub the vinyl to help it stick to the transfer tape. Peel away the vinyl backing, leaving just the image adhered to the transfer tape. Position the phrase with the transfer tape on to the smooth side of a jar and press in place. Press the vinyl phrase down with your fingers to help it to stick to the painted glass jar. Slowly and carefully remove the transfer tape leaving the vinyl image on the jar.
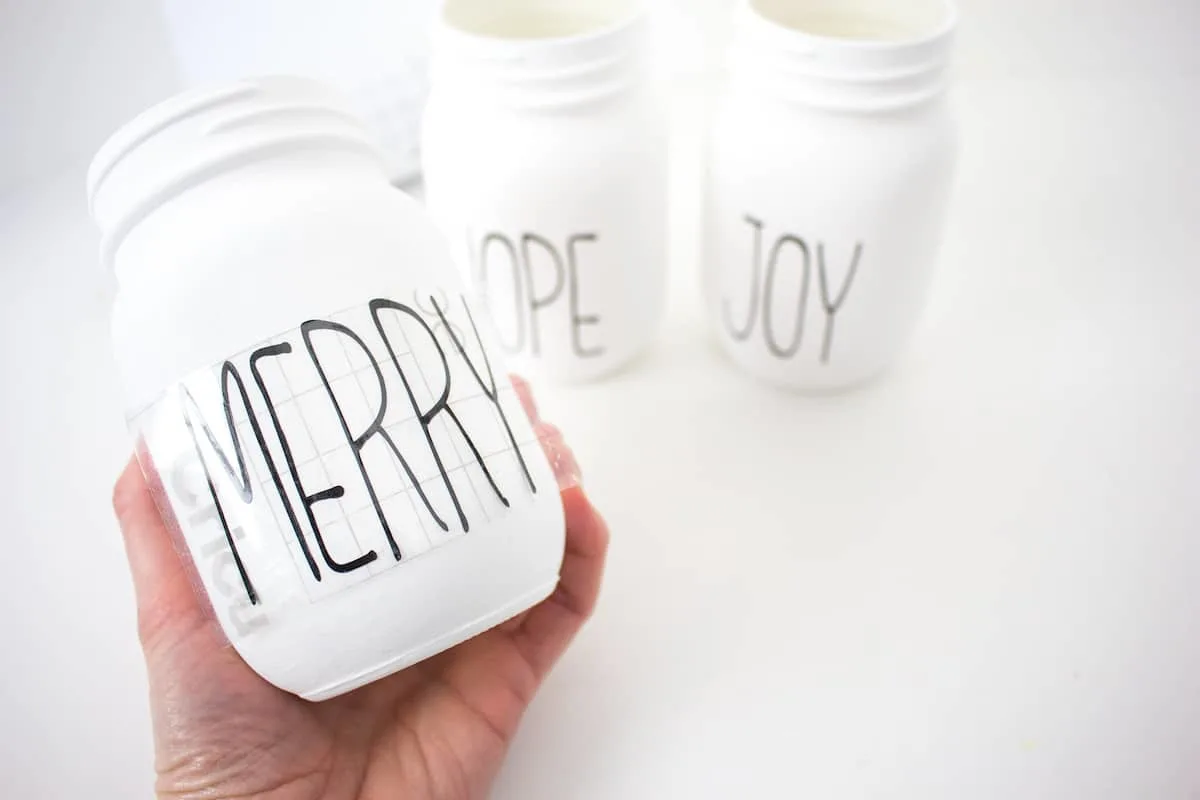
- Repeat for the other mason jars.

Notes
To finish, fill the containers with greenery, candies or a candle.


Christmas Patterns and SVGs!
Want more fun holiday SVGs for crafting and creating this season? I’ve got a fun 4-pack of patterns perfect for DIYs!
Visit the Single Girls DIY library for more details and to get your downloads!


Nicole L
Friday 15th of December 2023
I love Rae Dunn inspired things and I have a cricut, so this would be perfect to make for the holidays for either my own decor or as a gift.
Kimberly
Friday 15th of December 2023
Sounds awesome, Nicole!!! This would be a great gift!!!