These cosmic Galaxy Easter eggs are one of the most unique ways to color eggs. The dark and moody eggs are a departure from more traditional Easter egg colors. However, they are perfect for tweens, teens, adults and anyone who loves a sci-fi or celestial aesthetic.
We’re sharing two different methods to make Galaxy eggs:
- Food Dye Method
- Paint Method

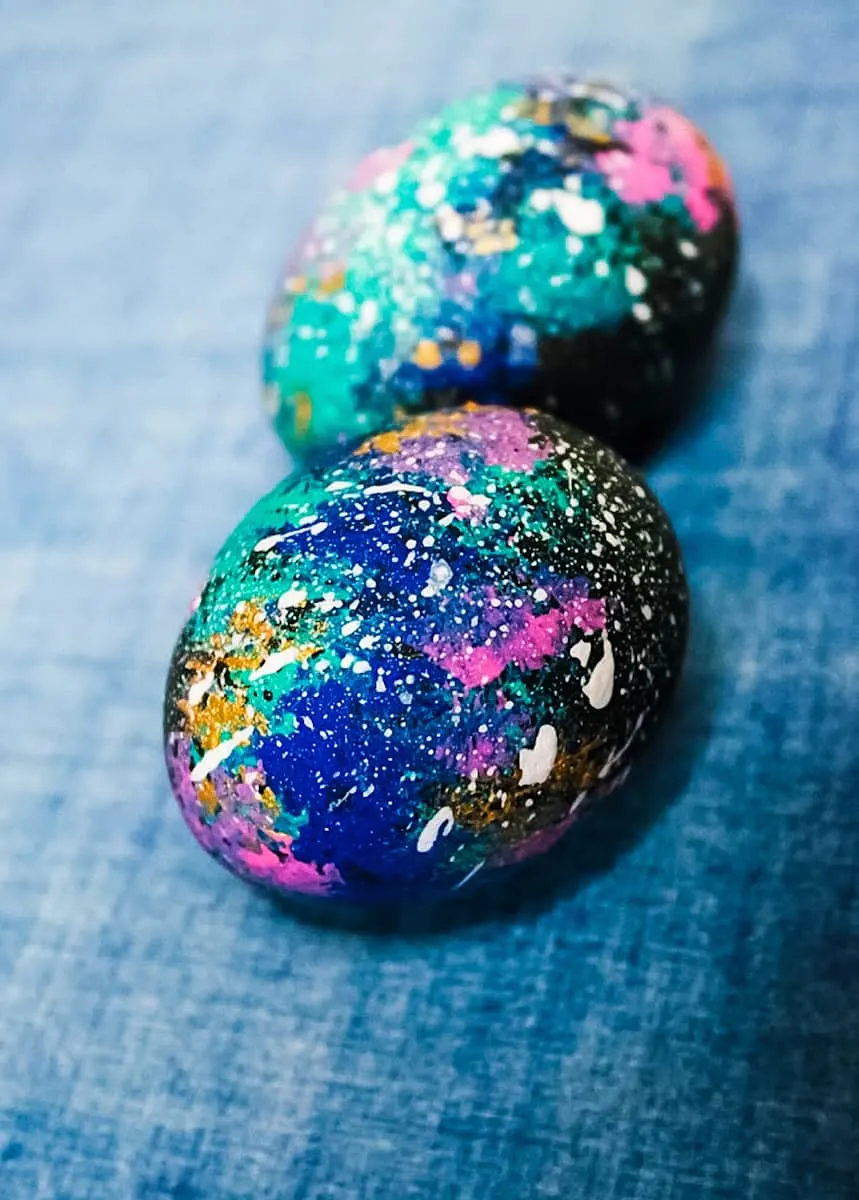
Both are easy to do and are similar in their methods. We recommend the paint method for making reusable Easter egg decorations with plastic, styrofoam or wooden eggs.
These are just a few of our 20 Fun Ways to Decorate Easter Eggs. You may also like our mermaid eggs or Kool-Aid eggs, too.
How to Make Galaxy Eggs with Food Dye
When using this method to make galaxy eggs, it is important to only use liquid food dye, not gel food coloring.
If you refrigerate these eggs before using, be sure to allow them to come back to room temperature for about 20-30 minutes. Otherwise, the dye will easily rub off on your hands if it is wet.
Supplies
- Hard Boiled Eggs
- Blue, Purple, and Pink Liquid Food Dye (this is the brand I used)
- Coffee Filters
- White Craft Paint (this is the brand I used)
- Small Rubber Bands
- Small Spray Bottle
- ¼ Cup White Vinegar
- Old Toothbrush (use a hard toothbrush, not a soft one)
- Rubber Gloves (optional)
Directions
Step 1
Pour the vinegar into a small spray bottle.
Step 2
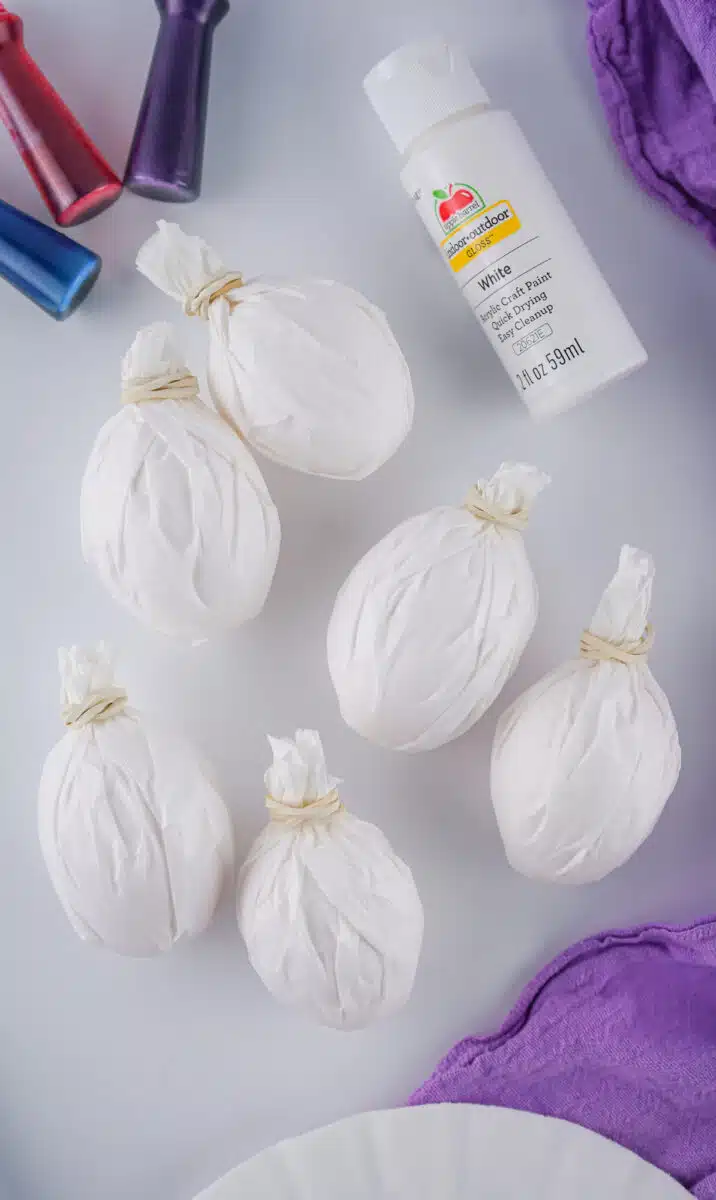
Wrap each egg in a coffee filter. Use a rubber band to secure it at the top.
Step 3
Using rubber gloves (if you would like), put about three drops of each food dye color on each coffee filter-wrapped egg. The dye will spread across the filter.

Spritz the eggs with the vinegar and then leave them to sit for 5 minutes.

Step 4
Unwrap the eggs from the coffee filters.
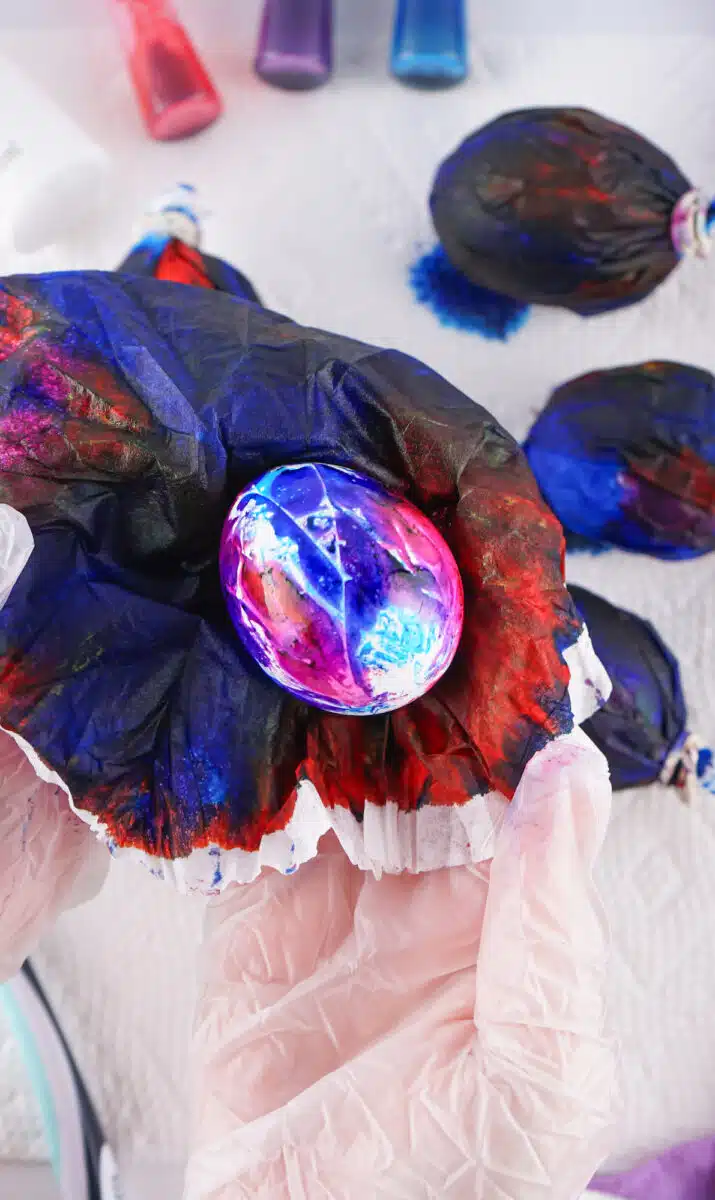
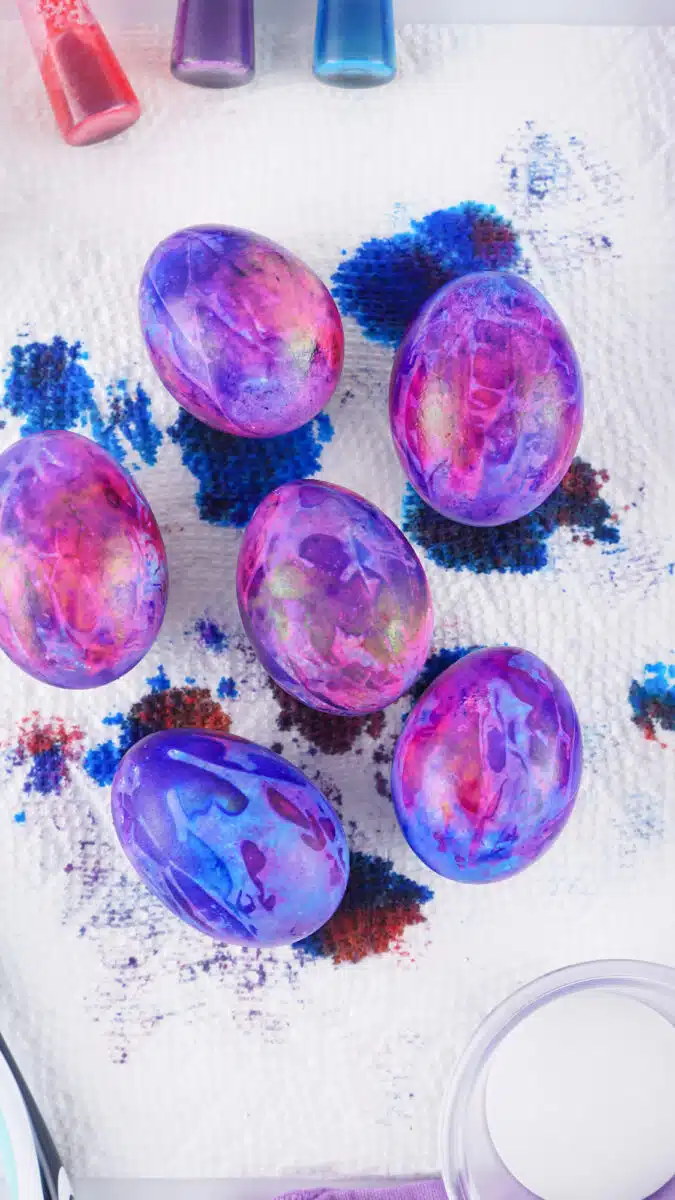
Then use the colored filters to pat any white spots that may remain on the eggs. Allow to dry for another 5 minutes.
Step 5
Dab the bristles of the toothbrush in the paint. You can add the paint to a small bowl or just dip the toothbrush into the paint bottle, either way.
Use your thumb or finger to flick the toothbrush bristles so that they splatter the eggs. The closer you get to the egg, the larger the spots will be. Go around the egg twice using this painting method.
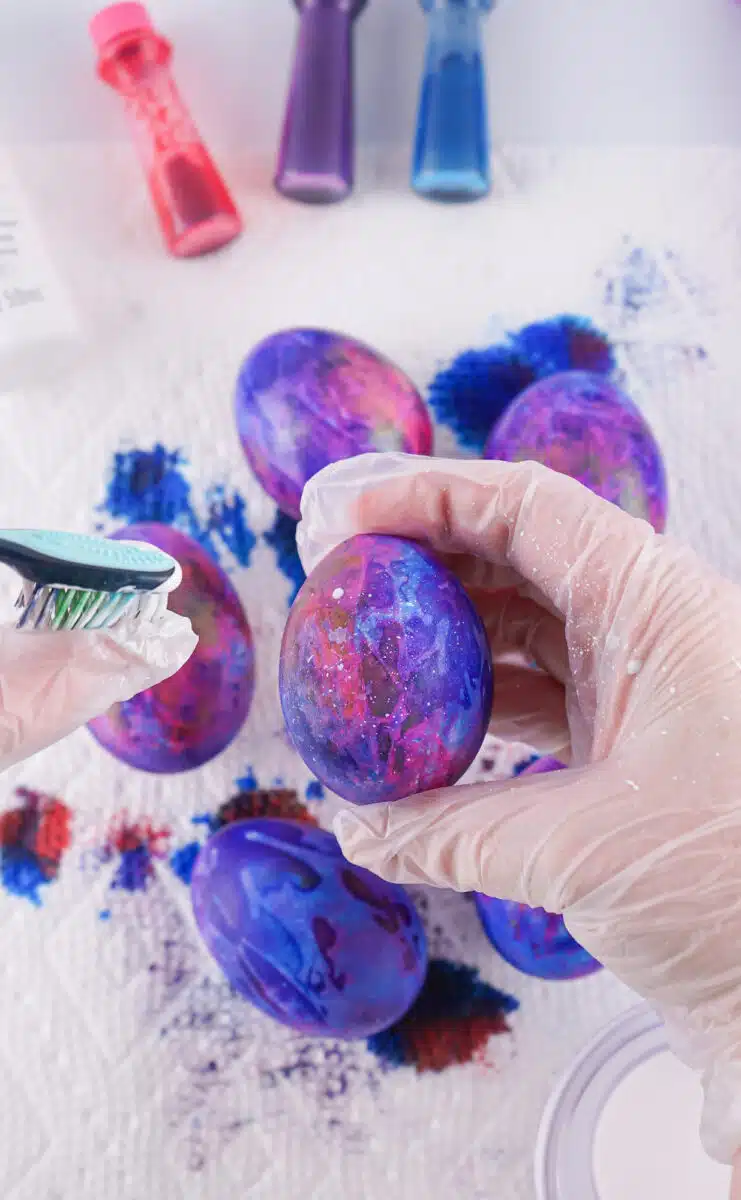
Allow to dry for about 15 minutes or overnight.
DIY Galaxy Easter Eggs (with Paint)
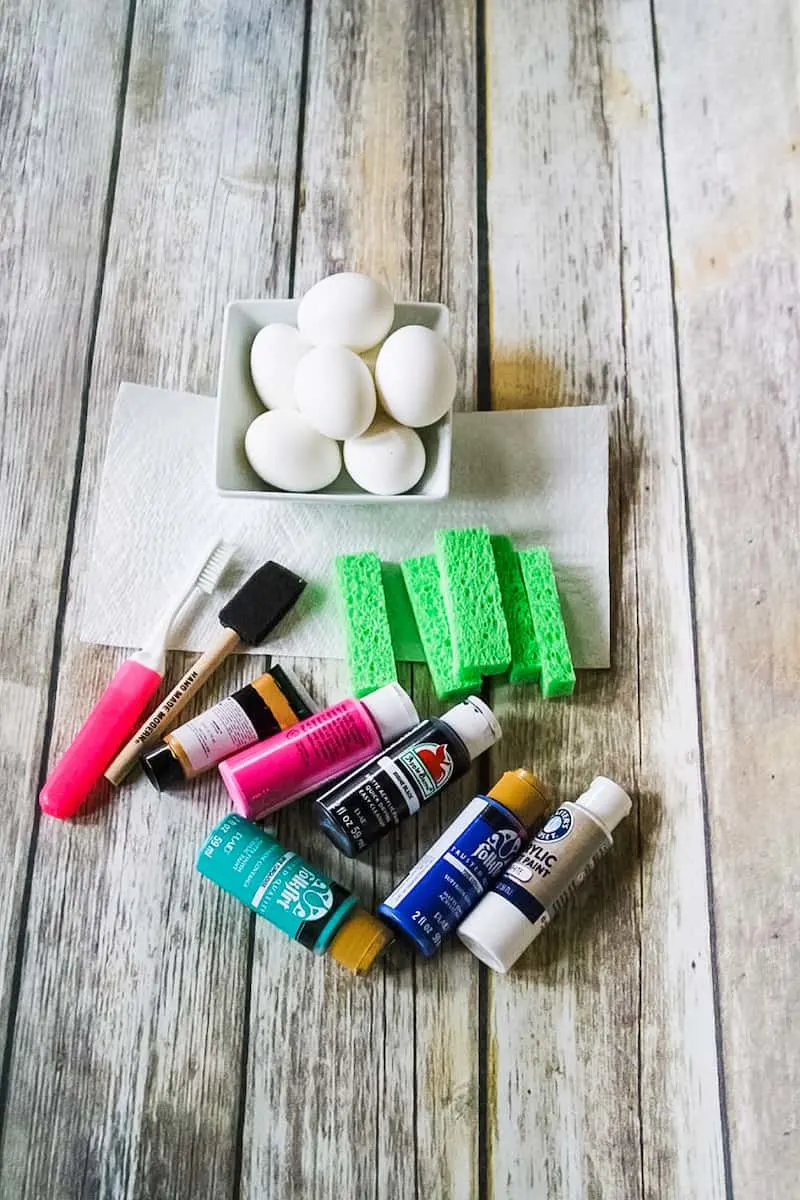
Supplies
- White wooden eggs or White hard-boiled eggs
- Acrylic paint in black, royal blue, teal, pink, gold and white (like this 18-piece set of acrylic paints)
- A sponge cut into pieces
- Foam Brush
- Tooth Brush
Instructions
Step 1
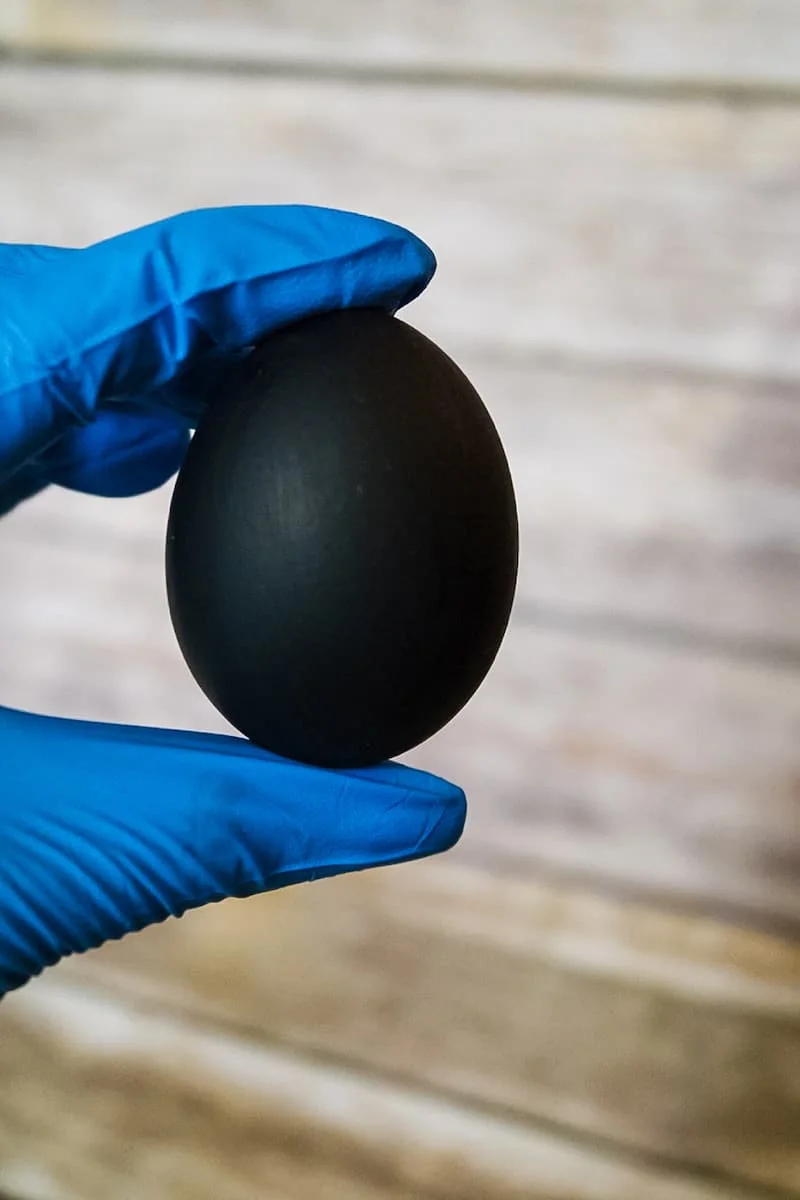
Paint the egg black with the acrylic paint. This might take up to 3 coats. Let dry completely.
Step 2
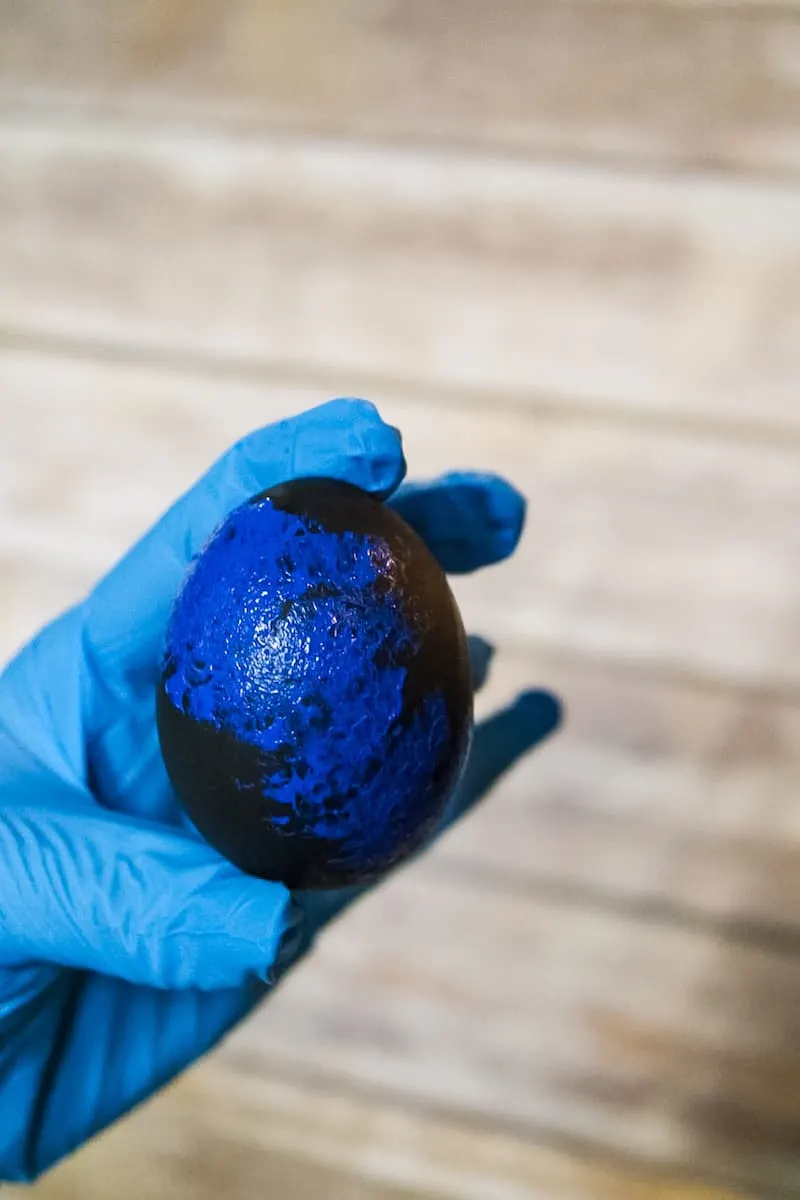
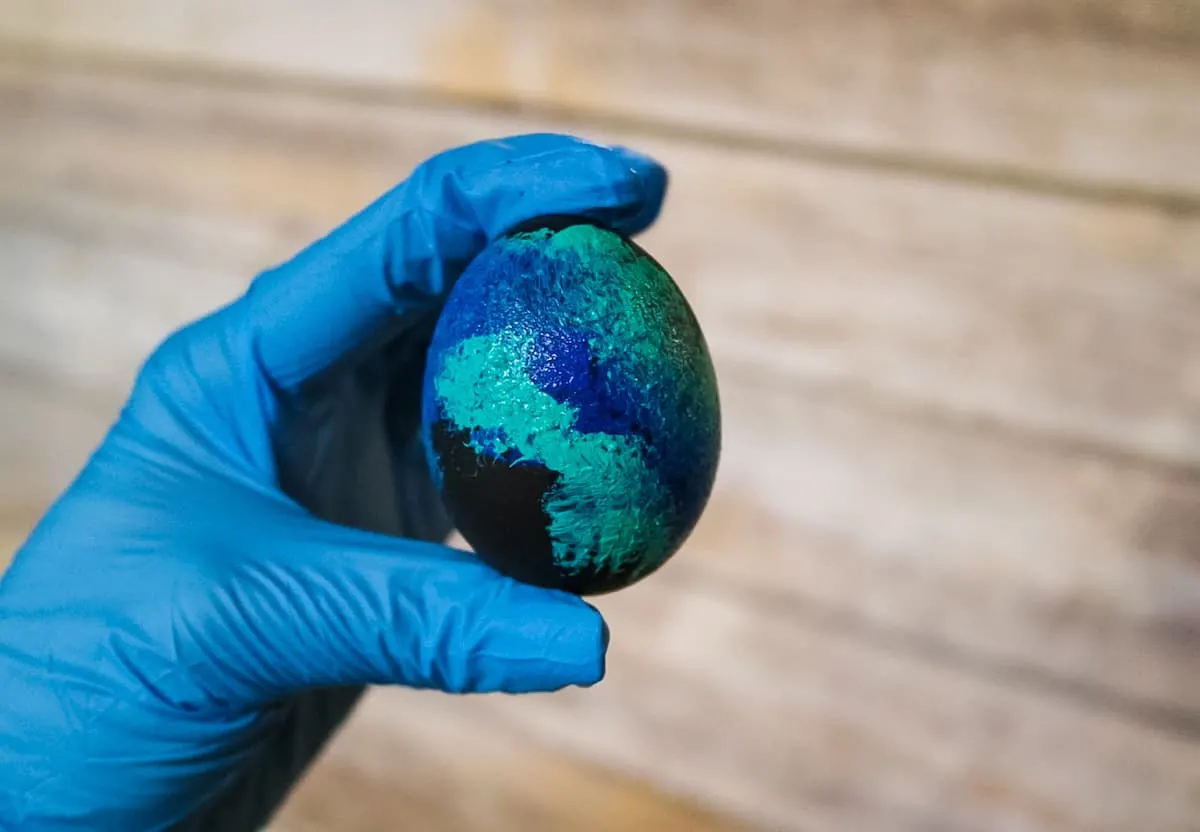
Using one of the sponges, dab a little bit of royal blue paint around the egg.
Step 3
Next, dab teal paint over the egg while the blue paint is still wet! You want the colors to blend just a little bit, and dabbing paint onto wet paint will achieve that effect.
Step 4
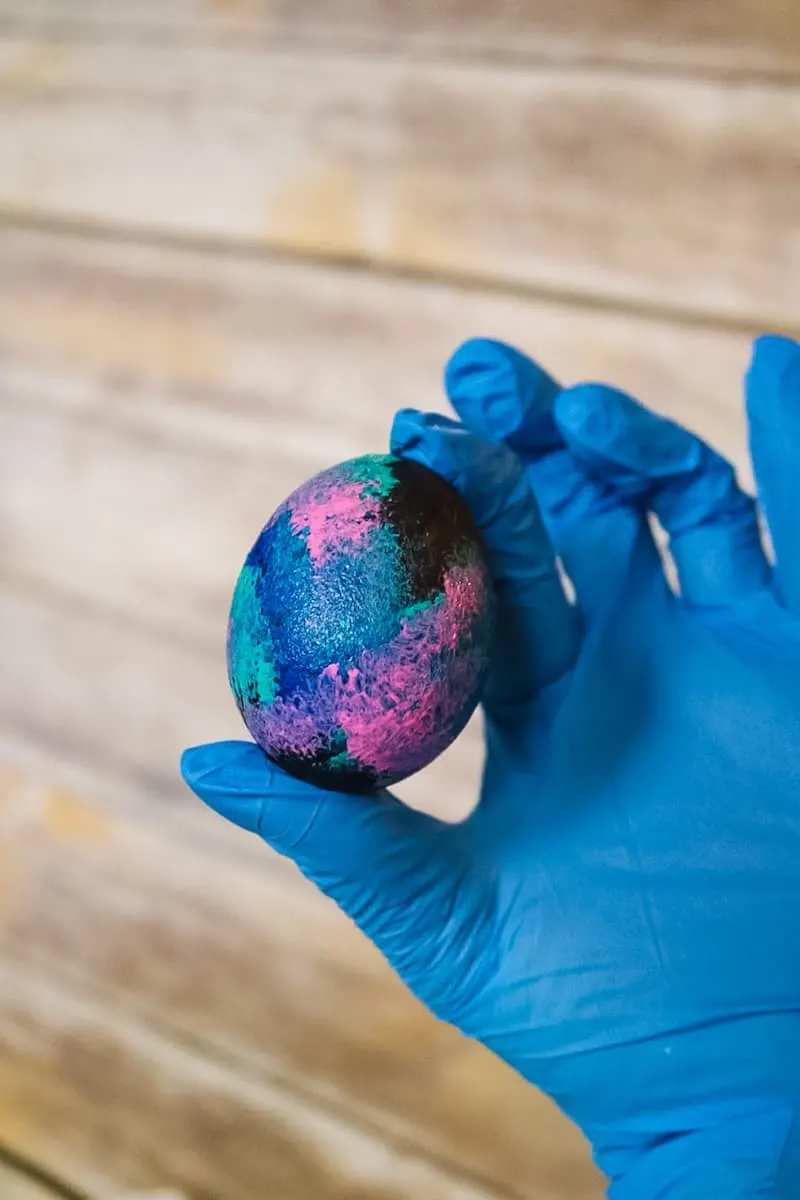
Now, using the same process of adding paint to wet paint, apply the pink with a sponge.
Step 5
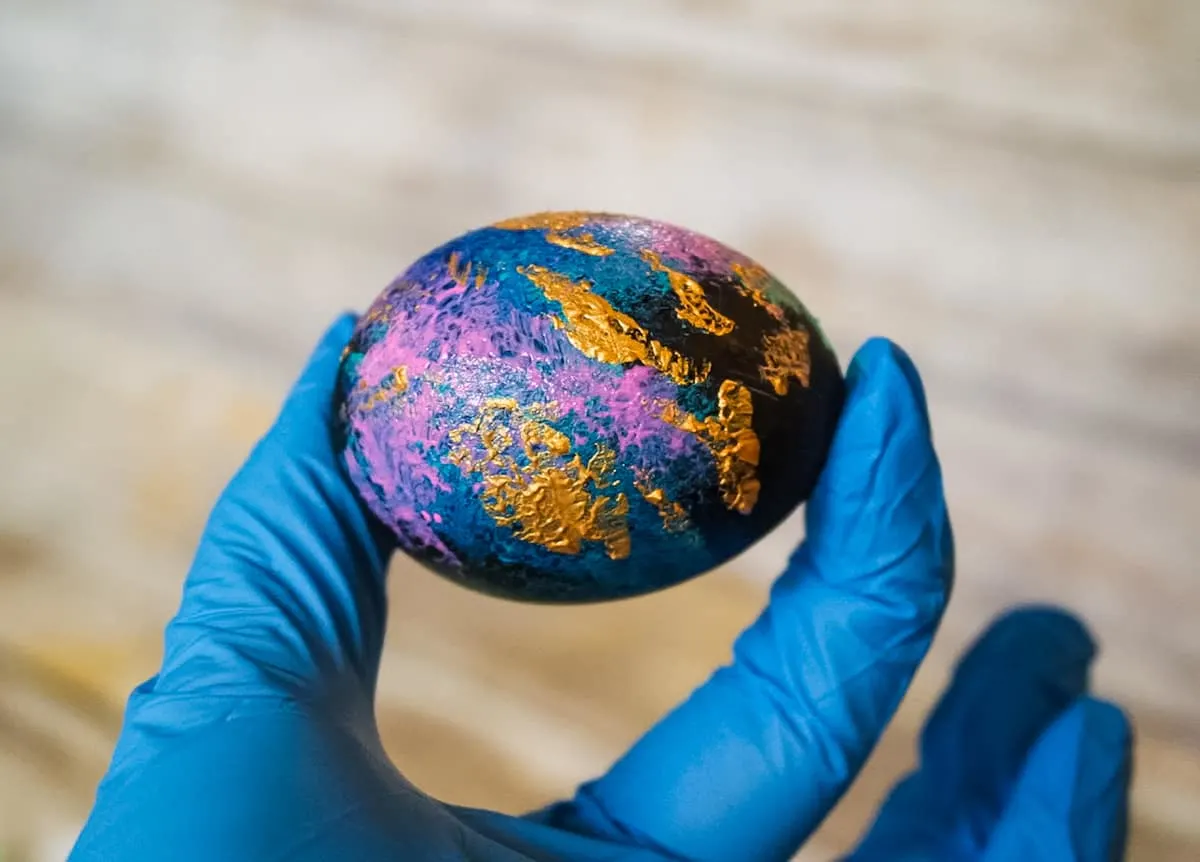
Finally, add gold for sparkle. Let dry completely.
Step 6
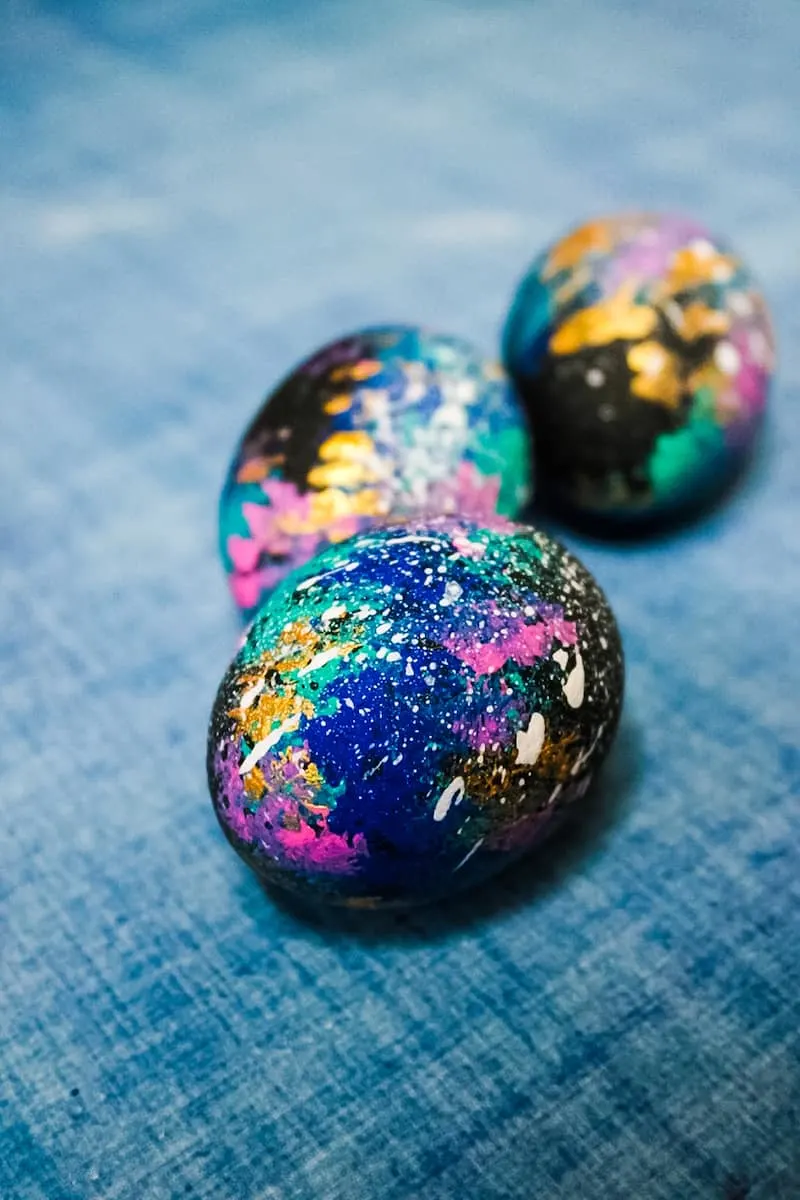
Now it’s time to add the white cosmic bursts. Mix a little bit of the white paint with a drop or two of water in a small bowl.
Dip the toothbrush into the paint. Then flick the toothbrush bristles with your finger so that the white paint splatters onto the eggs.
Helpful Hint: I did mine inside a cardboard box because this process is quite messy!
Let dry completely.
Be sure to Pin this Guide to Making Galaxy Eggs to save for later!
Want more fun Easter egg decorating ideas? See these next:
- Farmhouse Twine Wrapped Easter Eggs
- DIY Gilded Easter Eggs
- Glitter Easter Eggs
- Nail Polish Easter Eggs
- Decoupaged Eggs
- How to Tie Dye Easter eggs



Barbara Mergendahl
Monday 8th of March 2021
I love crafting thank you for sharing