
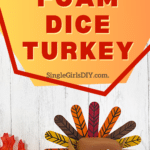
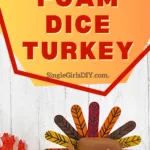

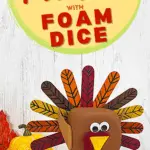

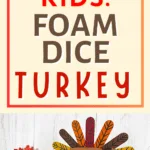

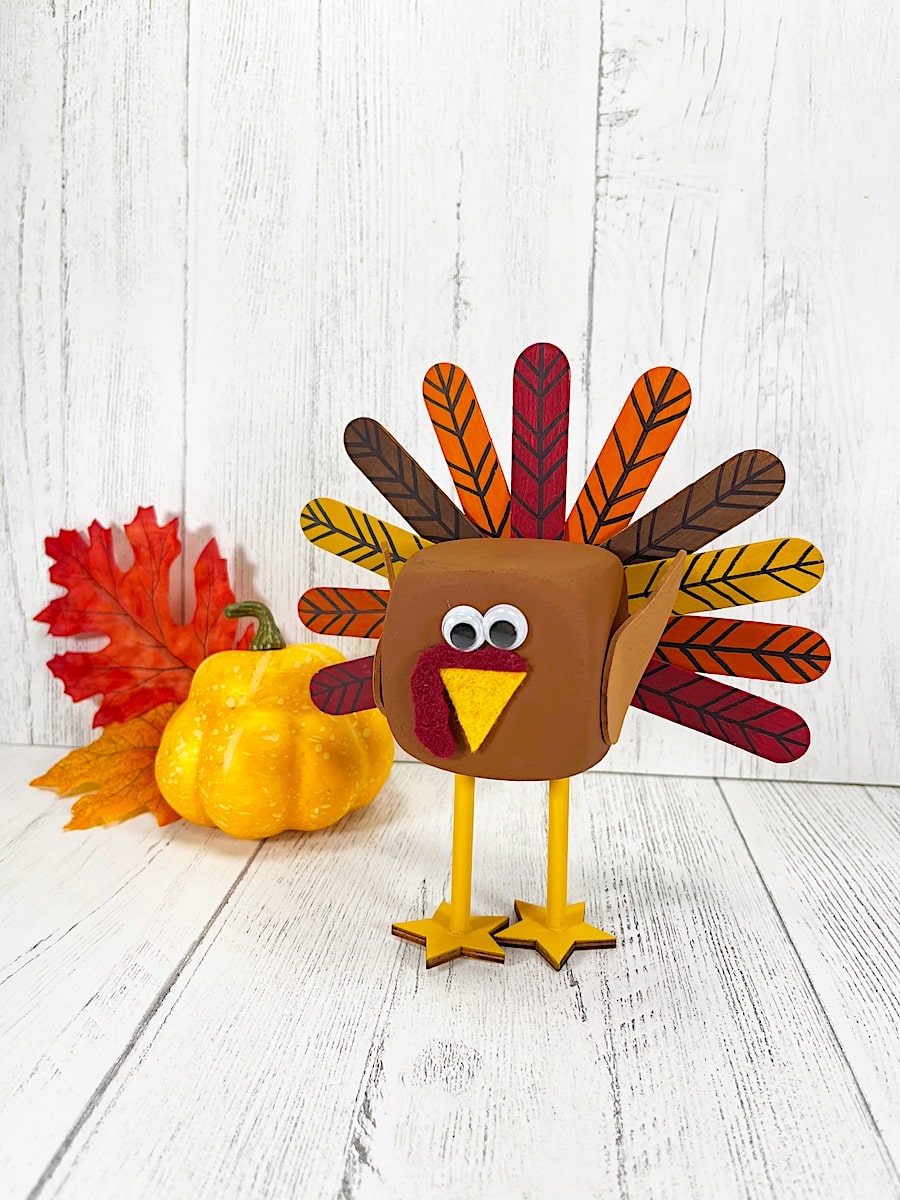
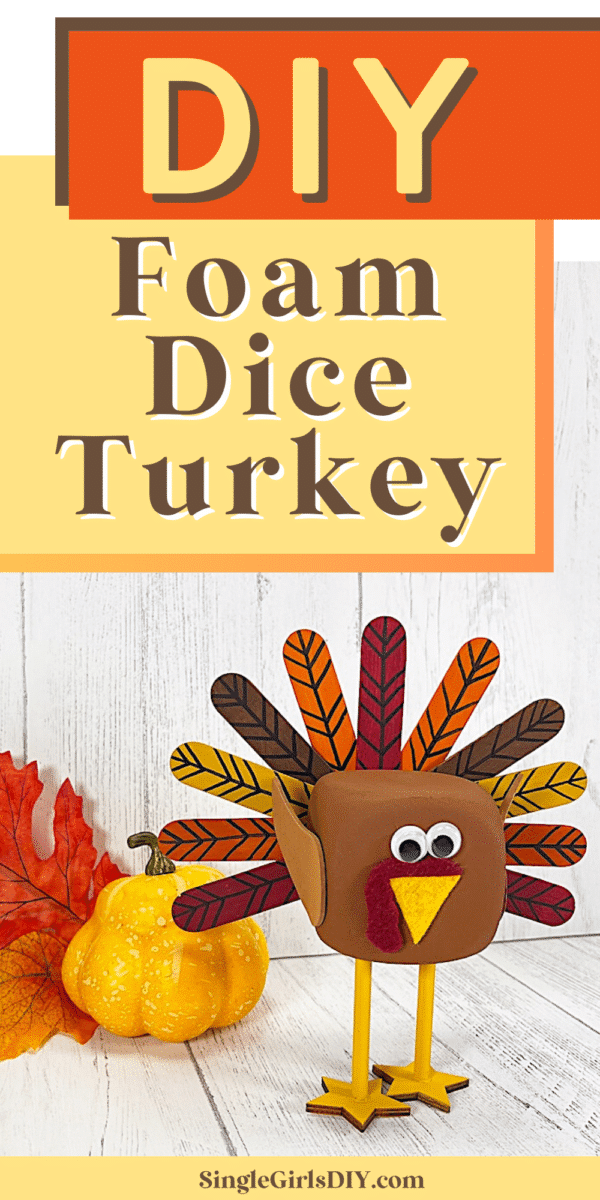
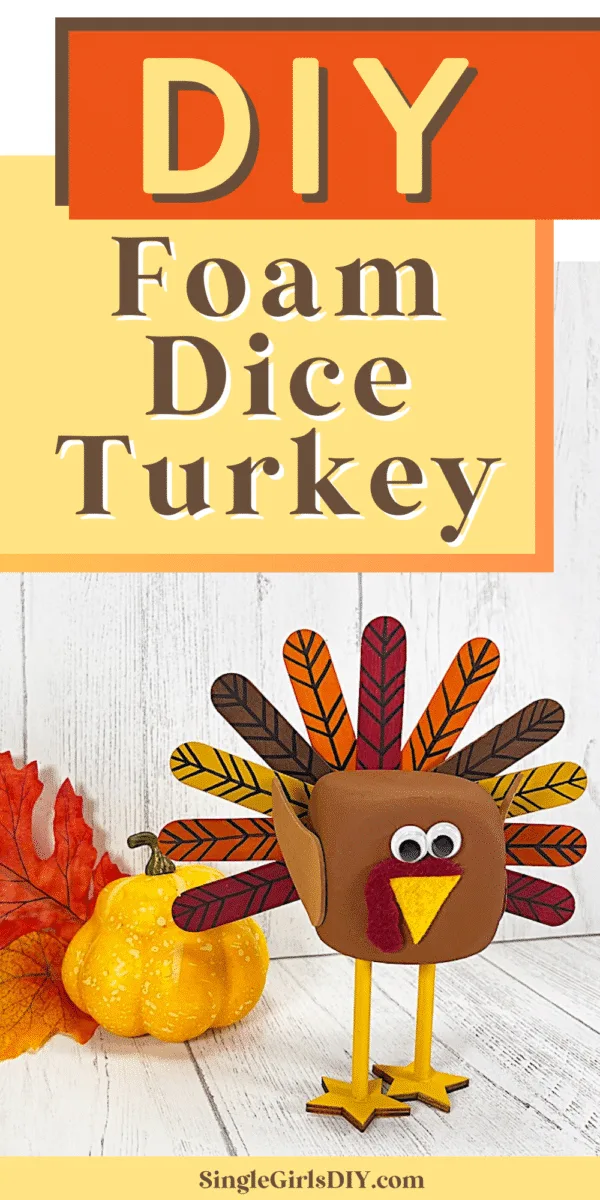
This cute foam dice turkey is the perfect Thanksgiving craft for kids and adults! This easy DIY project uses Dollar Tree supplies to make a fun turkey that is perfect on your Thanksgiving table, used as a place card or as a decoration at home.

We love using Dollar Tree foam dice for crafts! Check out these fun ideas, too:
Helpful Tips
- Instead of felt, you could use craft foam instead.
- We highly suggest using hot glue rather than craft glue for this project since the turkey body can get a bit heavy with all of the materials.
- You don’t have to use the same paint colors we did. If you want bright red and orange and yellow, go for it!
- Want to make this a place card? Write each person’s name on a turkey on the top, flat side using a permanent black marker.
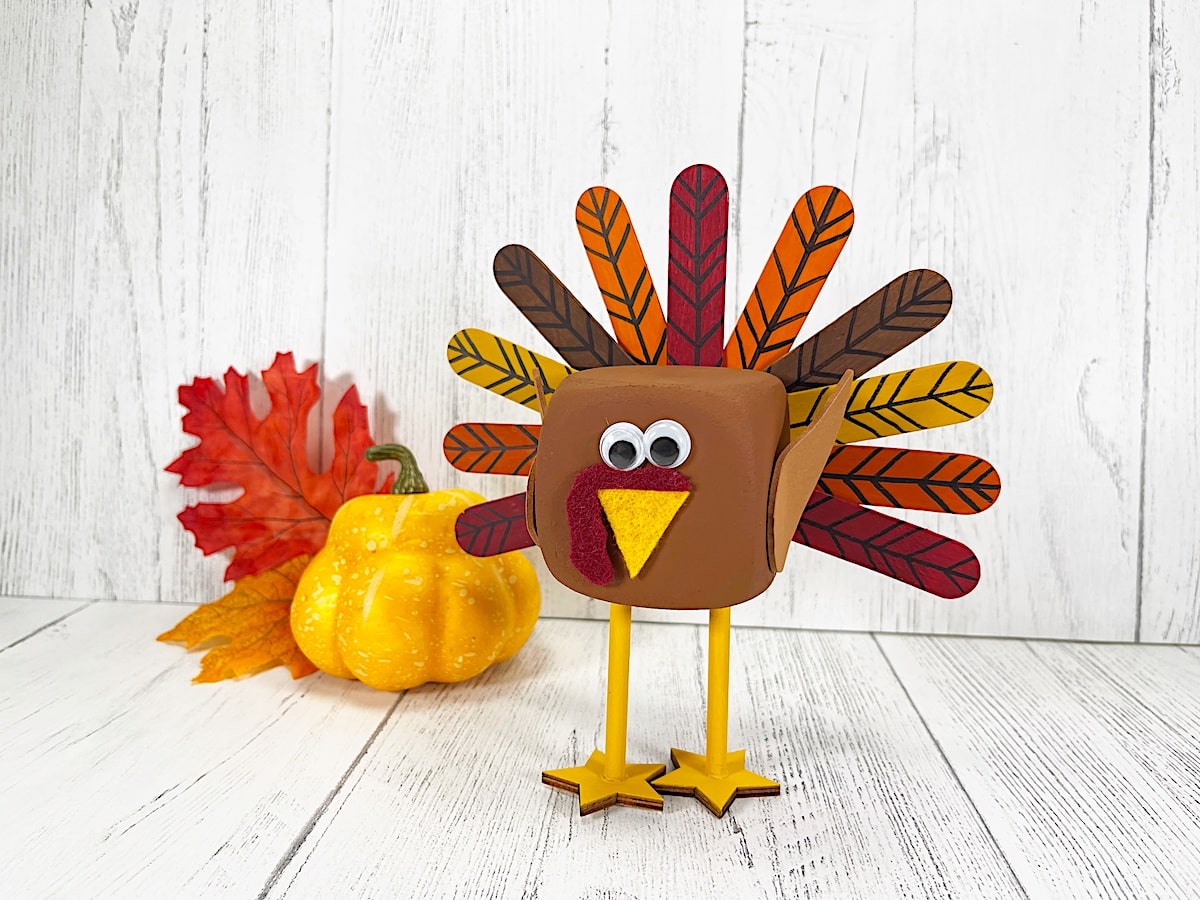

DIY Foam Dice Turkey
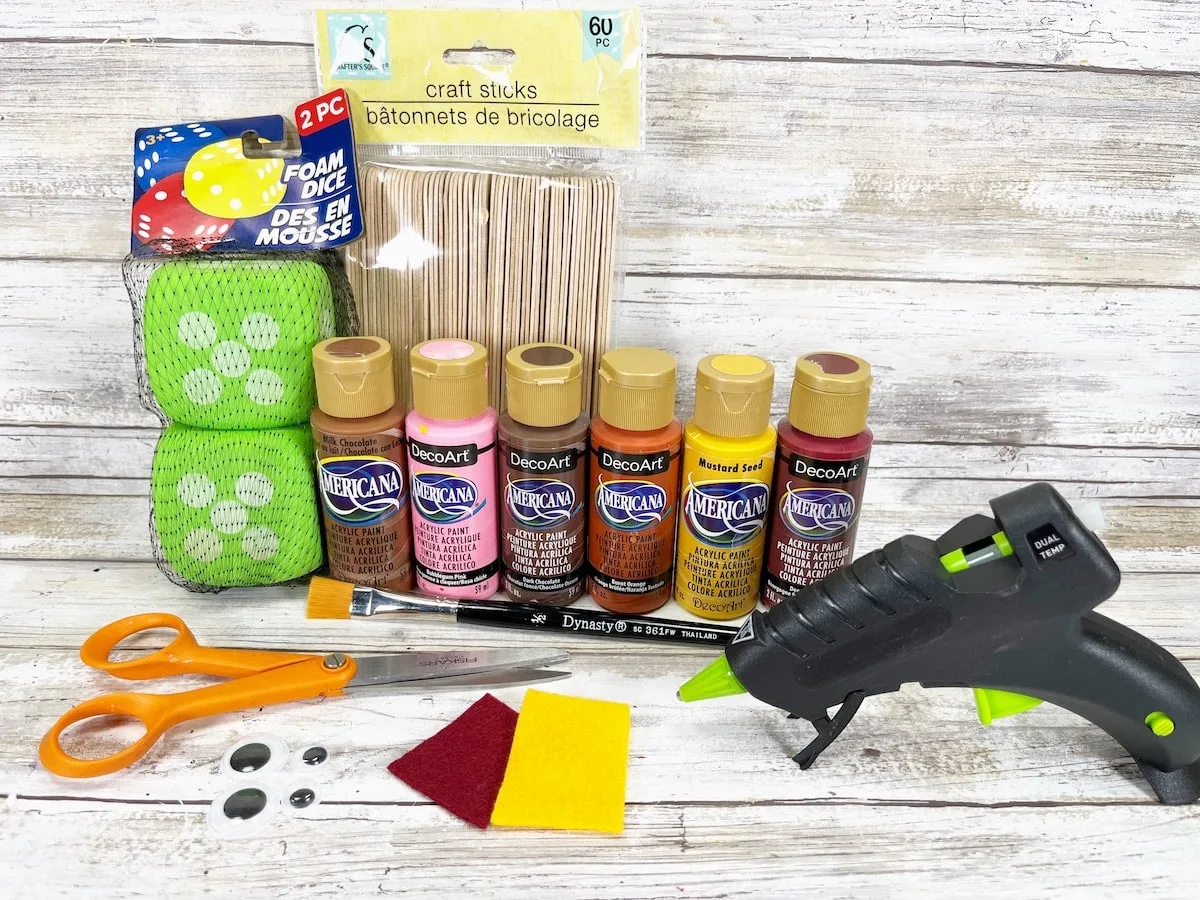
The supplies below are for one turkey. Most items were purchased at the Dollar Tree.
Materials
- Free Foam Dice Turkey Pattern
- 1 Foam Dice
- 7 Jumbo Craft Sticks
- 2 Wiggle Eyes
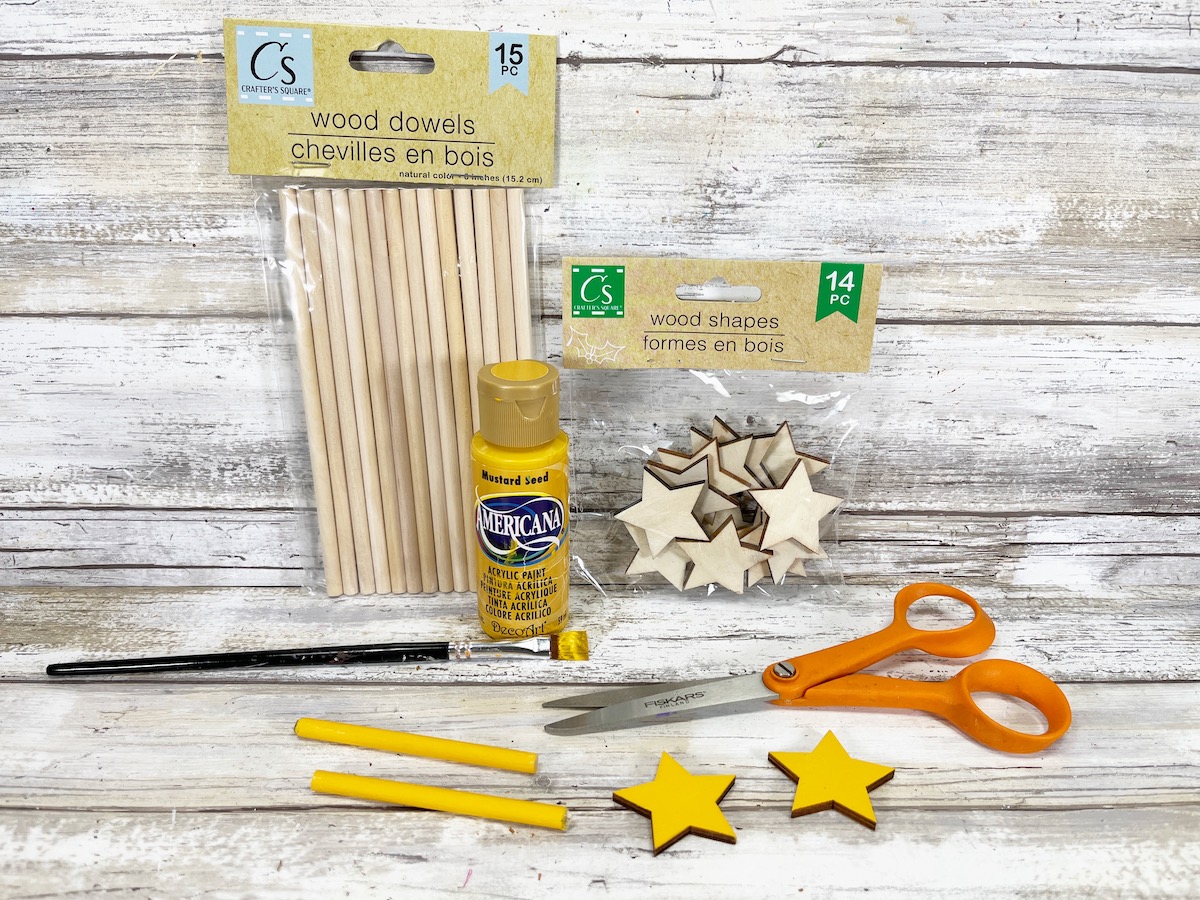
- 1 Wooden Dowel, 6”
- 2 Wooden Stars
- Craft Felt or Craft Foam (Brown, Burgundy, and Gold)
- Acrylic Craft Paint (Medium Brown, Dark Brown, Burgundy, Yellow, Gold, Bright Orange, Dark Orange)
- Hot Glue Gun
- E6000 (or another strong adhesive other than hot glue)
- Paintbrush
- Ruler
- Pencil with a sharpened point
- Black Permanent Marker

Instructions
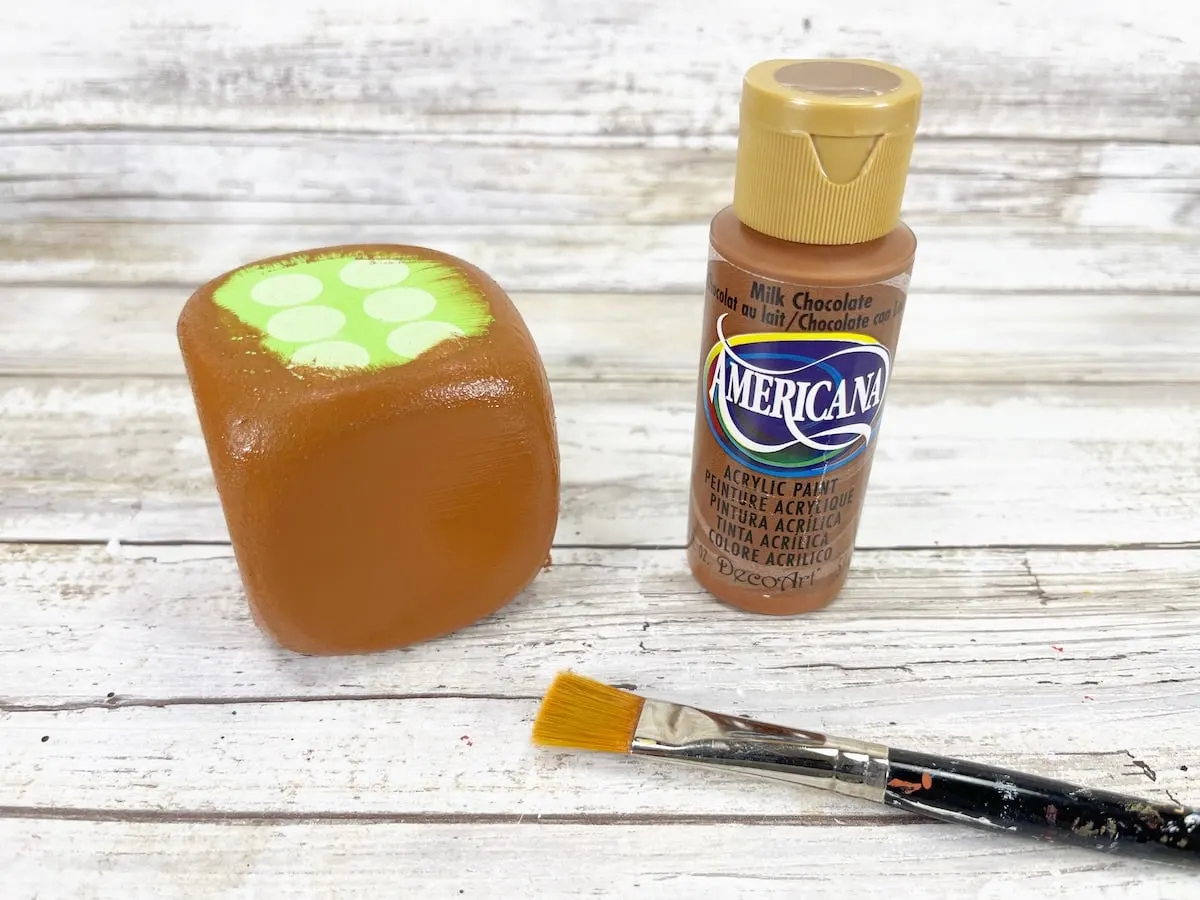
Step 1
Remove the foam dice from the packaging.
Paint the dice with medium brown acrylic craft paint. Let paint dry and apply a second coat, if needed.

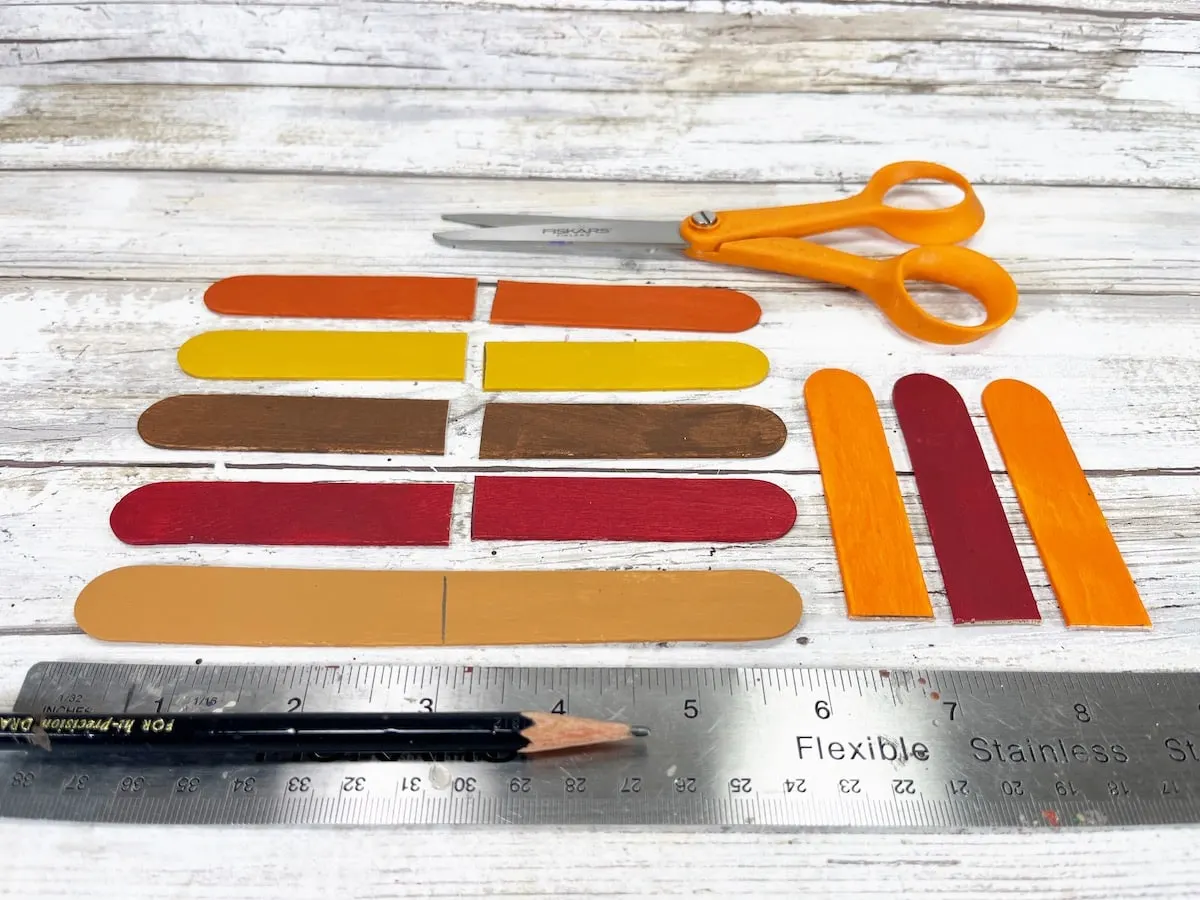
Step 2
Paint the front, back and sides of 7 jumbo craft sticks with acrylic craft paint. Most of the sticks will be different colors. Follow this guide for painting:
- Burgundy (2)
- Yellow (1)
- Gold (1)
- Bright orange (1)
- Dark orange (1)
- Dark brown (1)


Allow to dry. Add a second coat, if needed.
Step 3
Measure each craft stick and place a mark at the halfway point. Cut each stick in half with scissors. A craft knife would also work to cut the craft sticks in half.

Step 4
Add lines to make each stick look like a feather. Using a black permanent marker, draw a line down the center of each craft stick. Then draw diagonal lines from the center line to the edge, drawing upward.
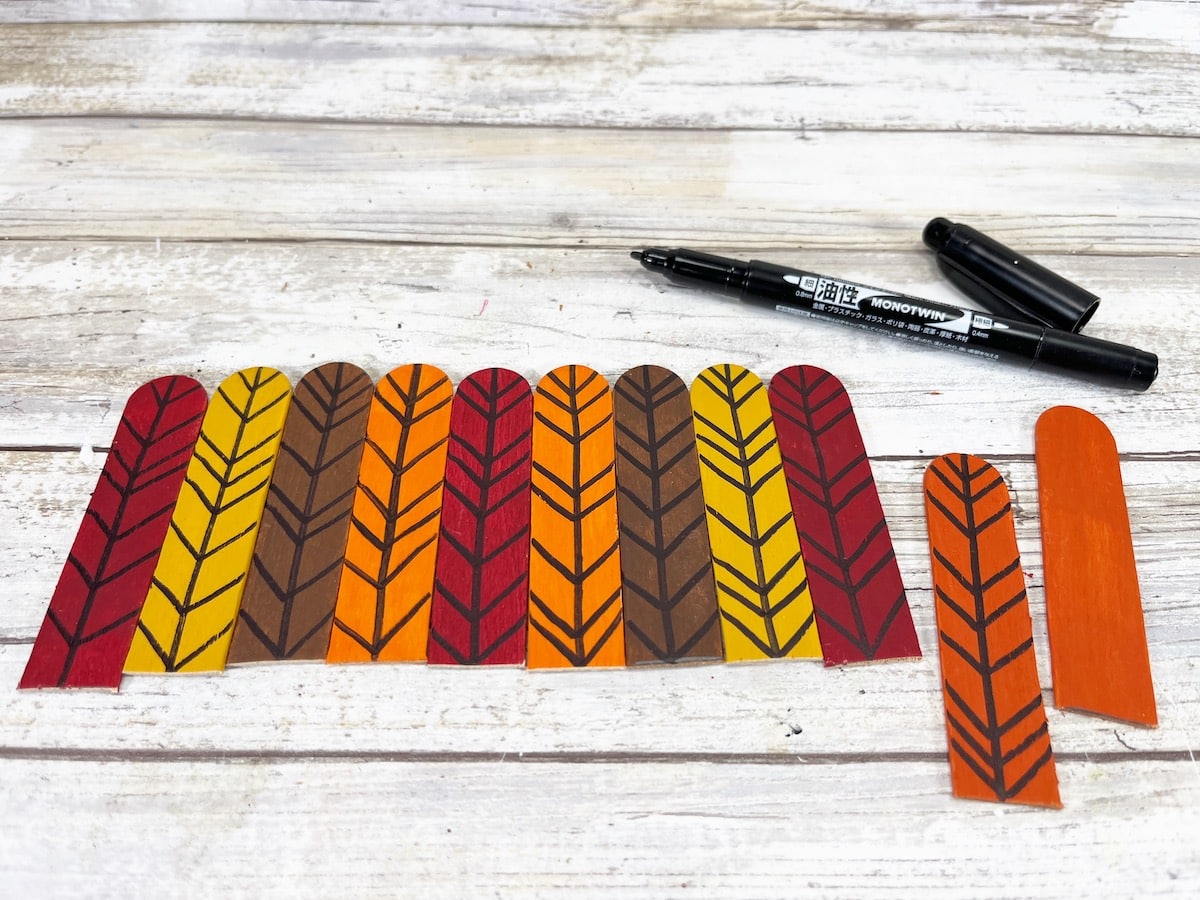

These lines don’t all have to match and they don’t have to be perfect!
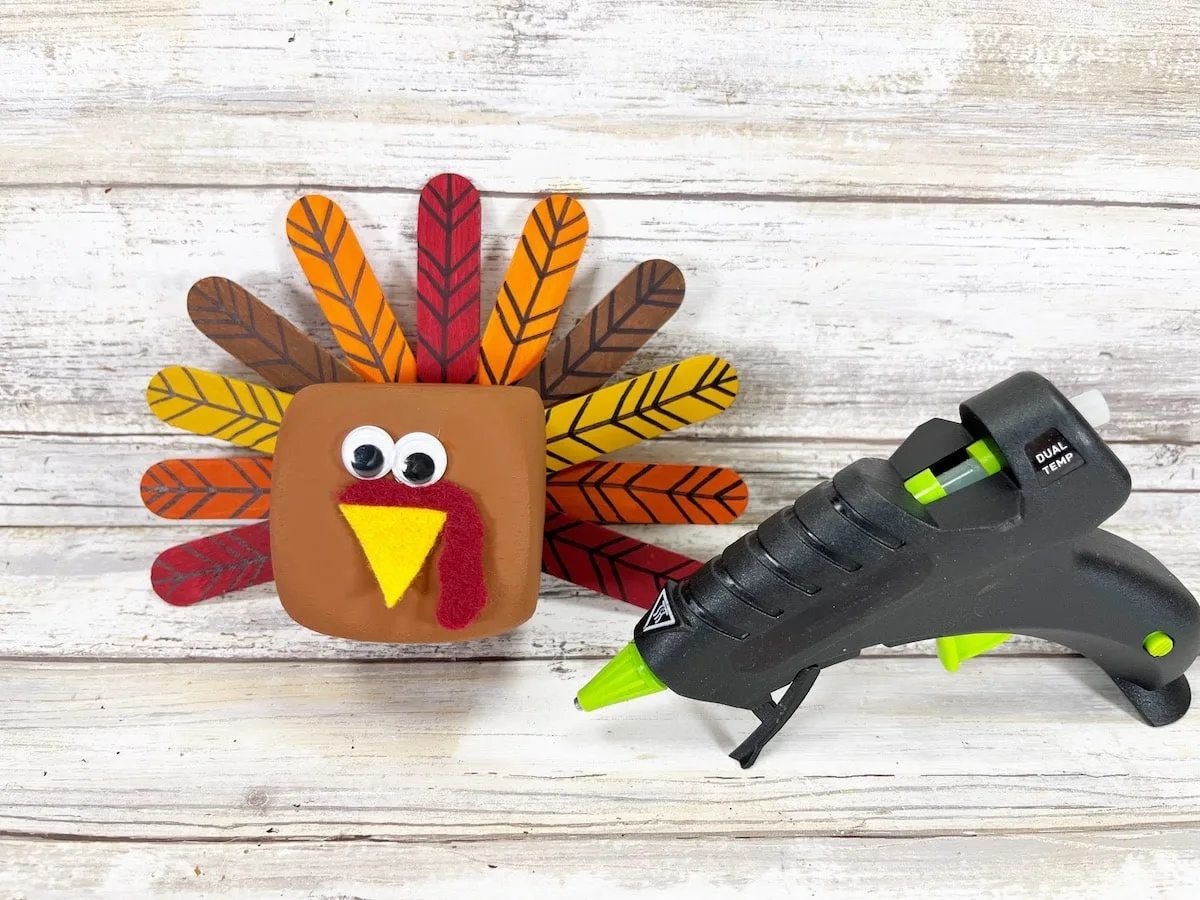
Step 5
Now it’s time to glue on the turkey feathers. Place one of the 4 burgundy halves in the center of the dice towards the top and glue.
Next, use two more burgundy halves and glue to either side of the dice on the ends, close to the base.

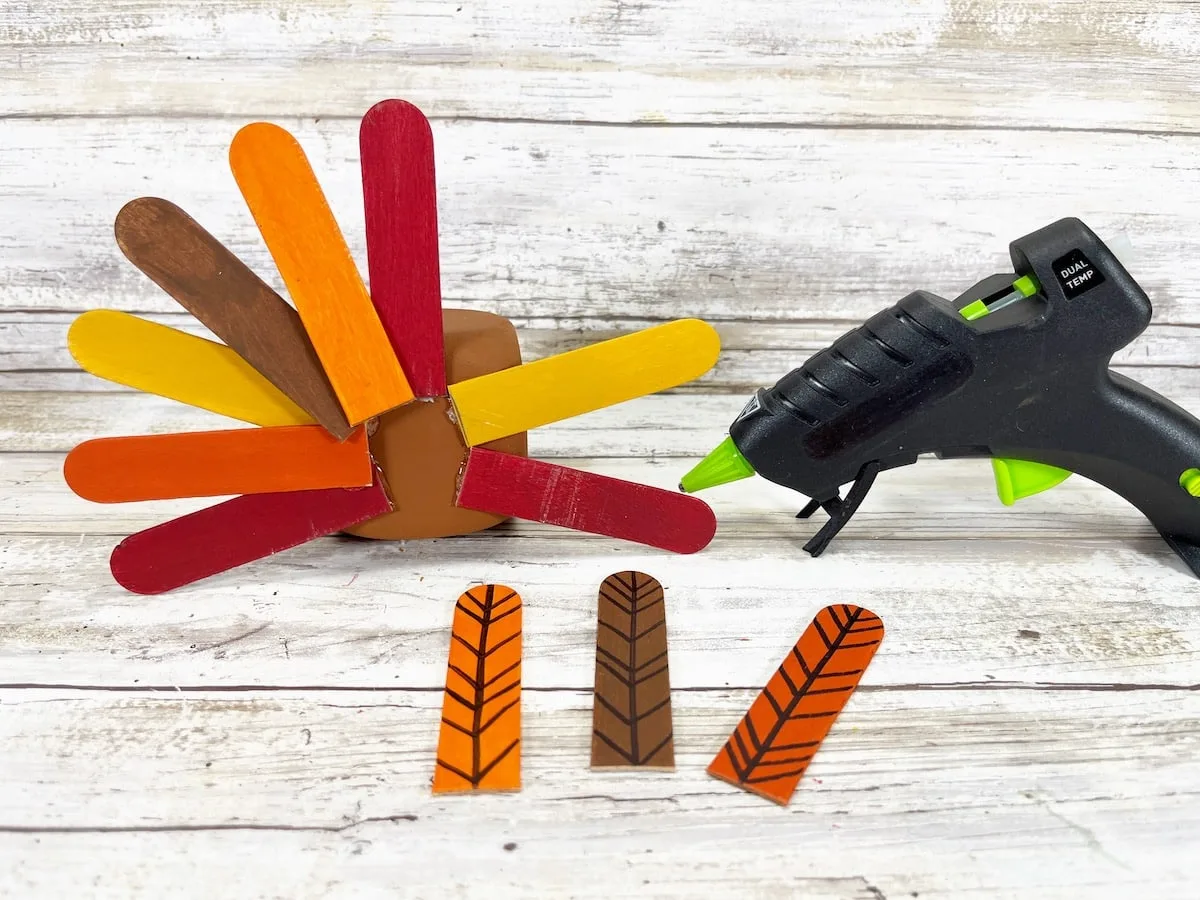
Then decide how you will add the rest of the “feathers” by placing them and arranging them in the best way without gluing yet.
Once you have the placement, glue the half sticks to the back of the dice, overlapping the craft sticks. You will want to make a half circle shape with all of the sticks, so try to keep the ends even.
We did not use the fourth burgundy craft stick half, but if you want to add it, that’s great!
Step 6
Print out our free turkey pattern. Cut out the template pieces and trace them on felt.
We used gold felt for the turkey beak, and burgundy felt for the turkey waddle.
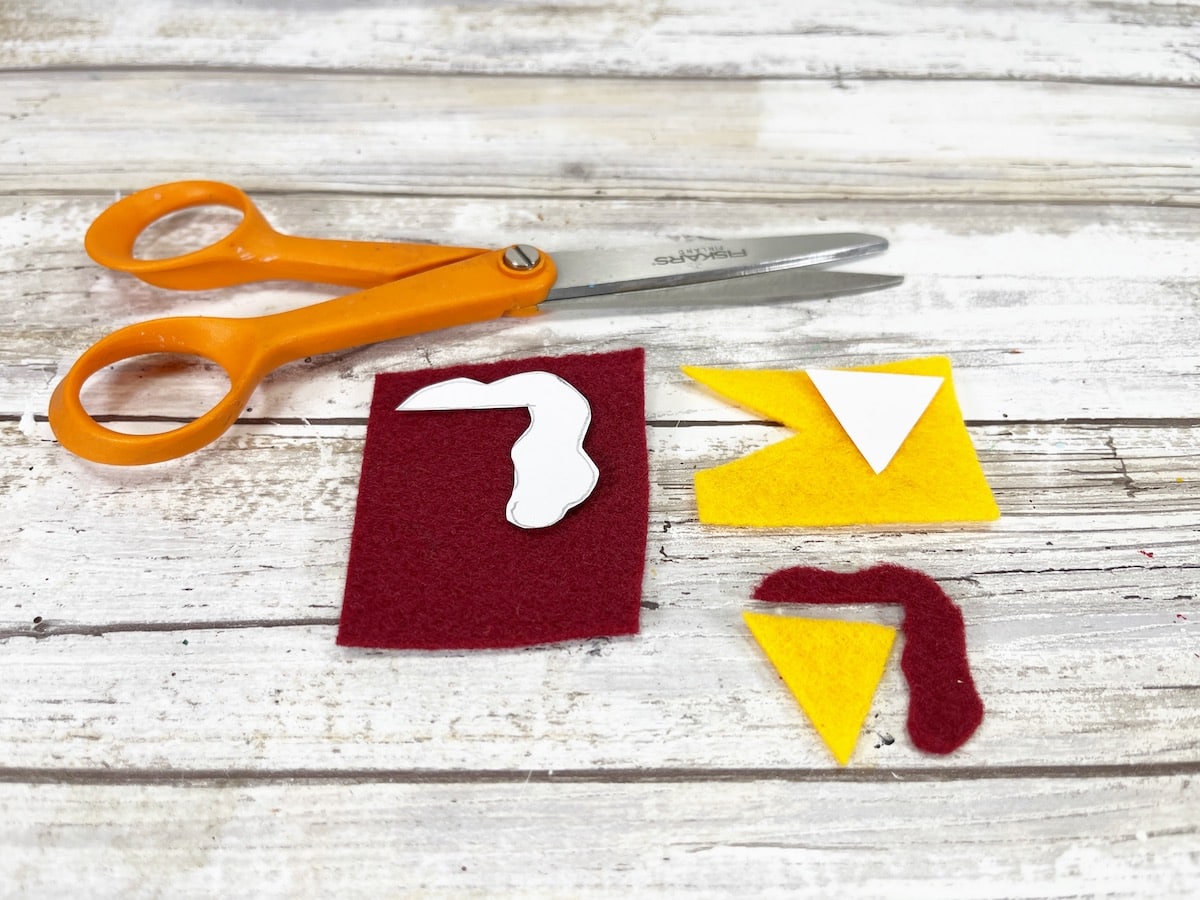

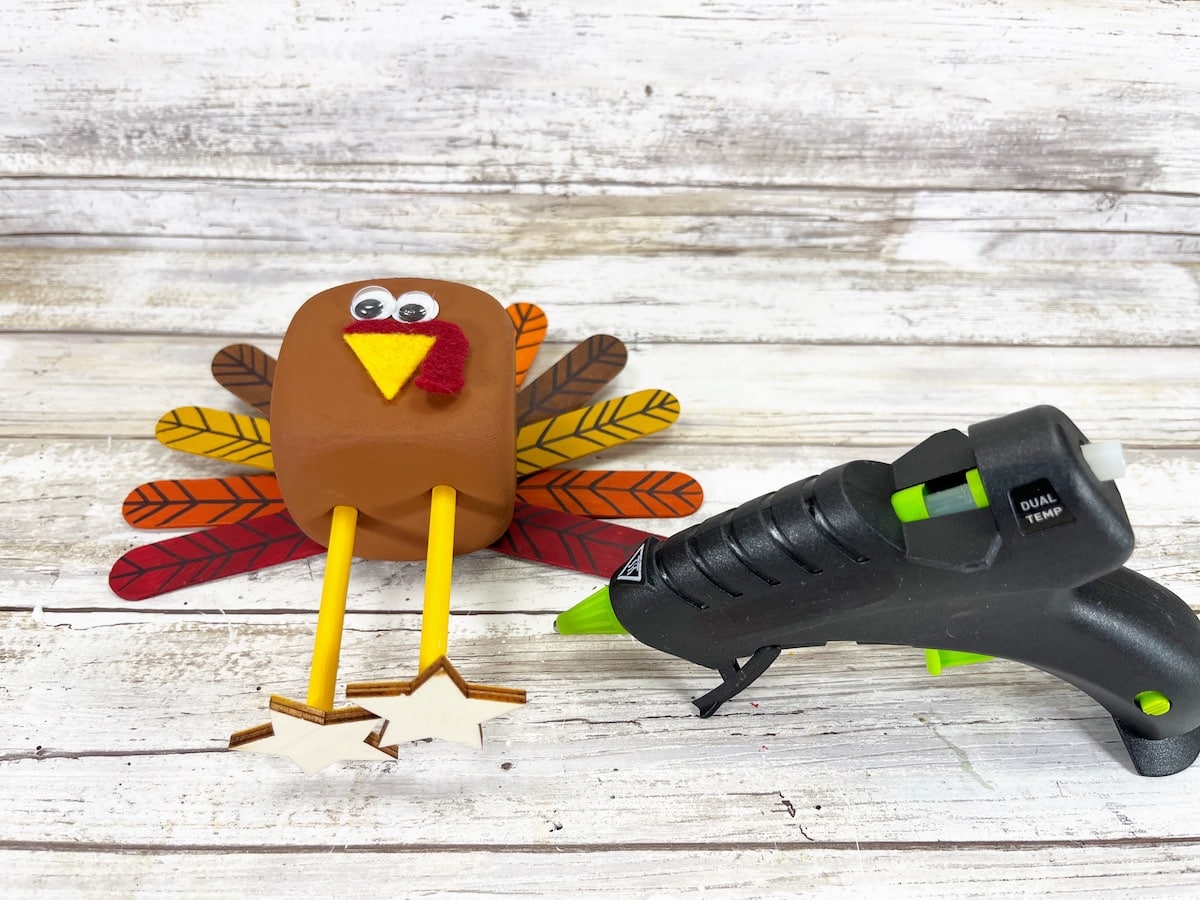
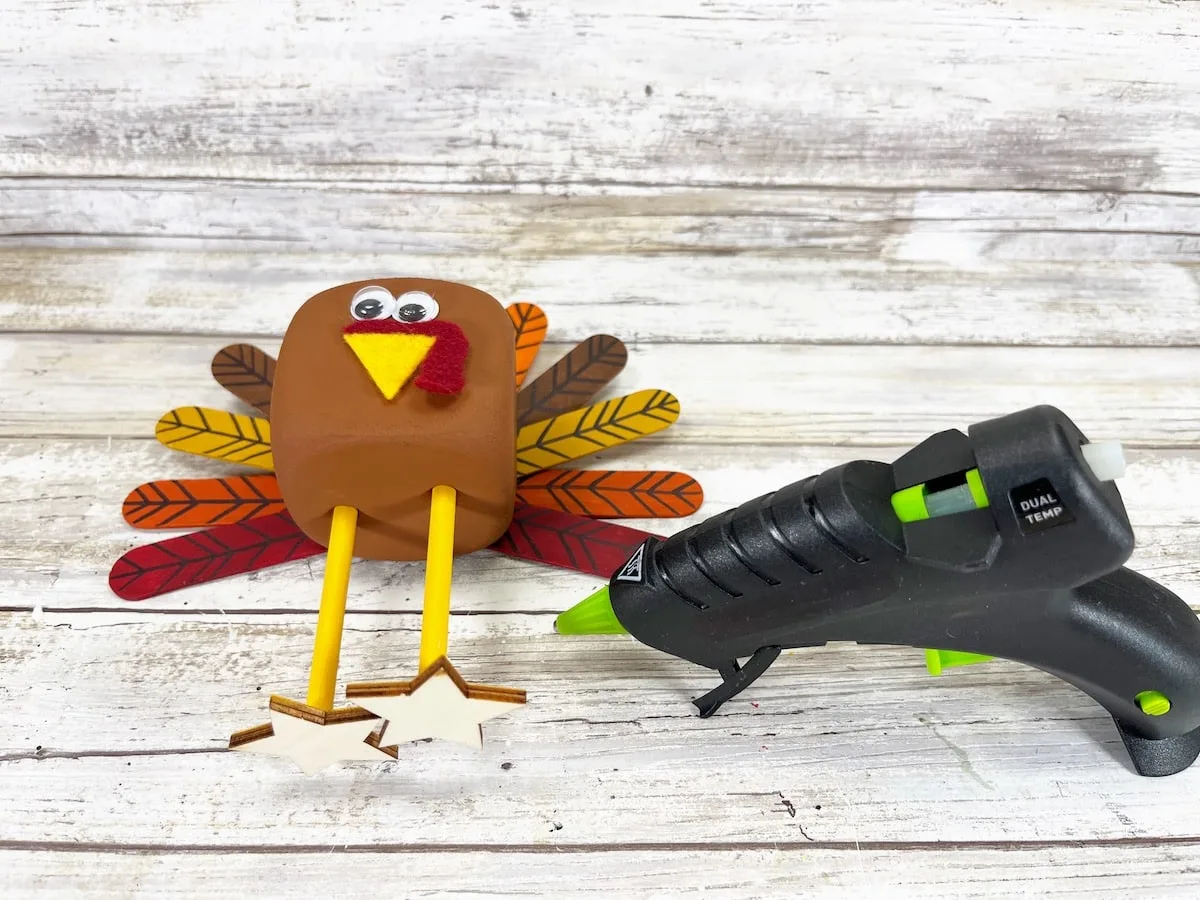
Glue the turkey nose in the middle of the foam dice on the front. Then glue the waddle over the nose, with the waddle hanging to the side of the beak.
Next, glue two wiggle eyes above the waddle.

Step 7
Paint one 6” wooden dowel and two wooden star shapes with gold acrylic craft paint.
Allow to dry and apply a second coat, if needed.

Cut the wooden dowel in half with scissors or a craft knife.
Attach the finished, flat end of each half dowel to the center of each star using a strong adhesive like E6000.
Let the glue set according to the package directions.


Note: You could use hot glue, but we found that the hot glue doesn’t hold as well and doesn’t support the weight of the turkey body.
Step 8
Push a sharpened pencil point into the bottom of the foam dice twice where you want the legs to be. Remove the pencil.
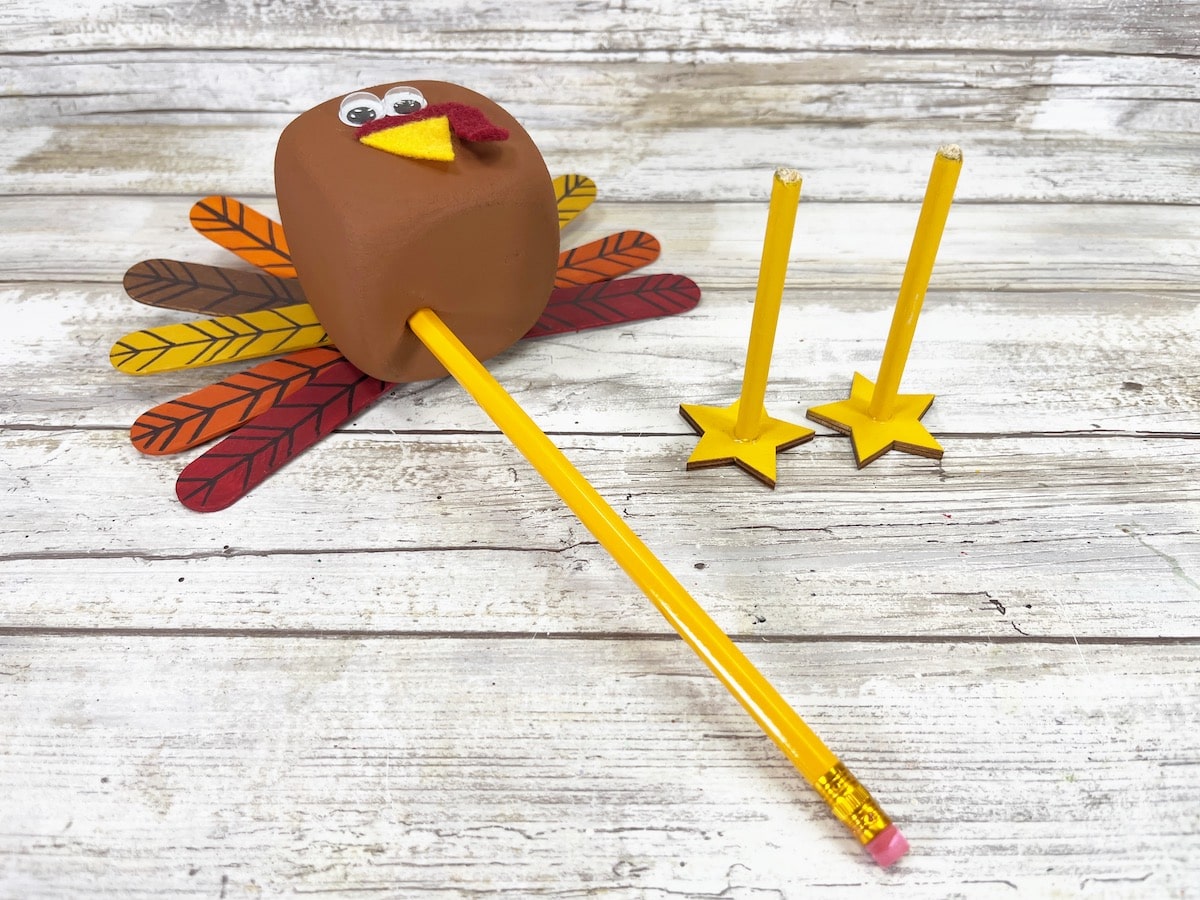

Add a small amount of glue to the end of the wooden dowel and insert into one of the holes. Repeat for the second leg.
Stand the turkey up and adjust the legs to be even and sturdy before the glue dries!
Step 9

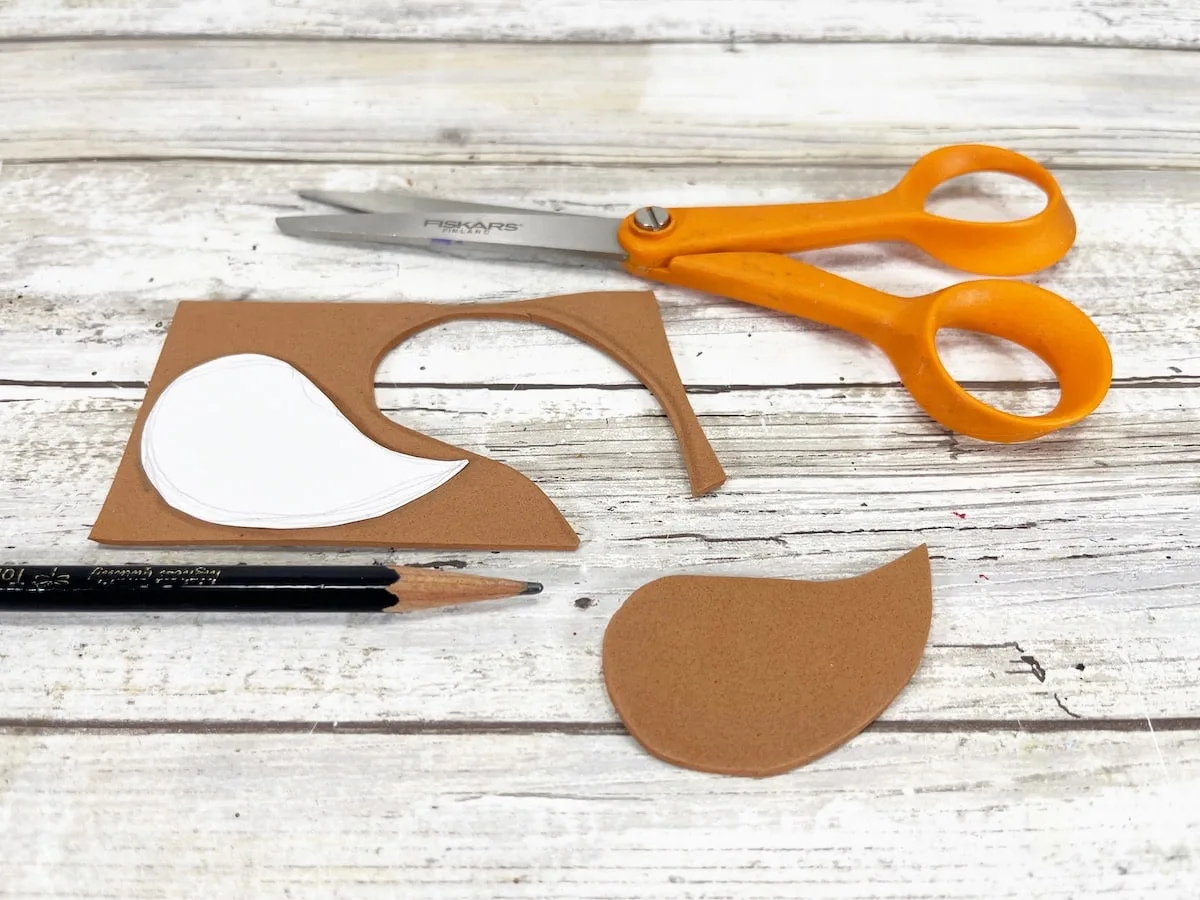
Trace the turkey wing pattern onto brown craft felt twice. Cut out the turkey wings from the brown felt.
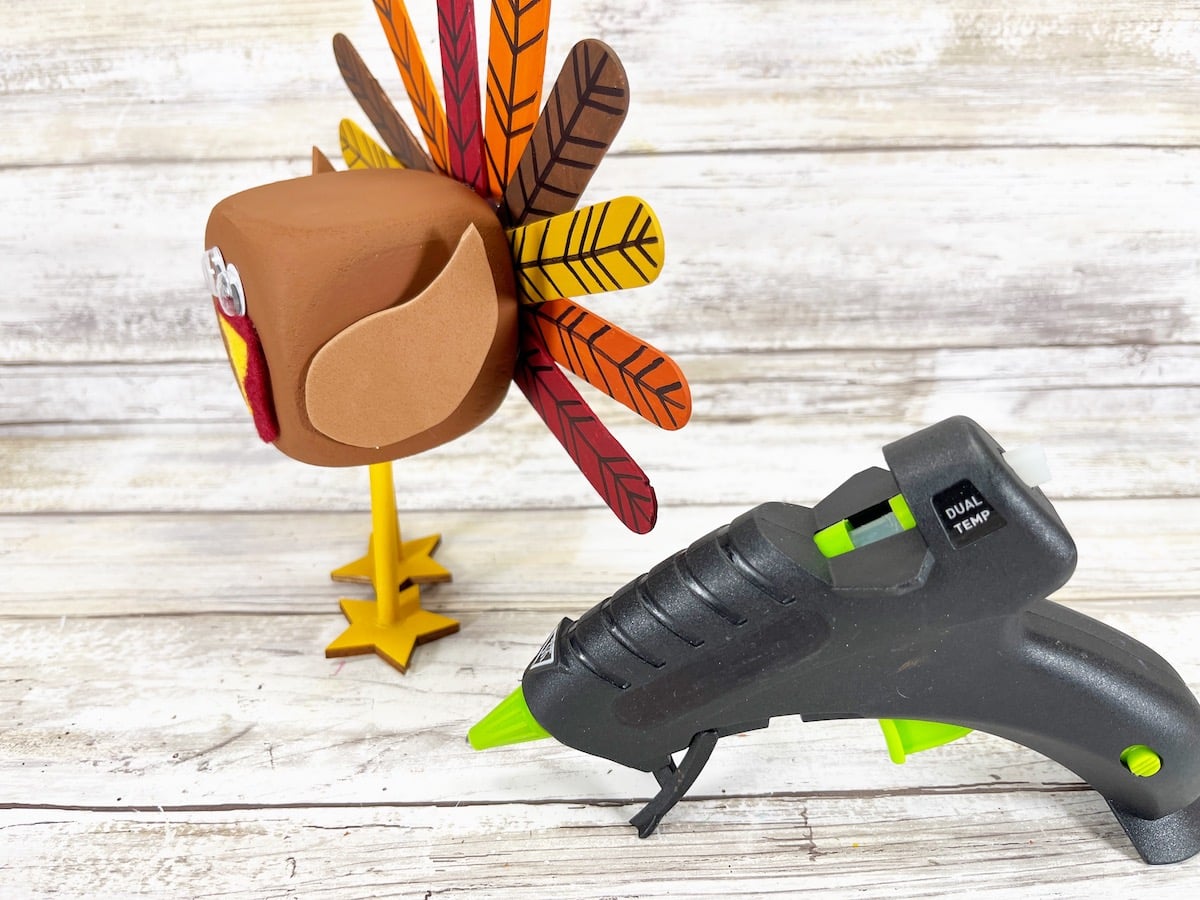
Step 10
Glue a wing to each side of the turkey with the wings pointing upward and toward the back. Allow to dry.

Be sure to Pin This craft to your Thanksgiving board on Pinterest to save for later!
Want more ideas? Check out more of our Thanksgiving crafts:
- Canning Lid Turkey
- Pumpkin Place Card Holders
- DIY Thanksgiving Napkin Ring Holders
- DIY Turkey Pop Up Card
- Free Gratitude Dice Printable for Thanksgiving
- You’ve Been Gobbled Thanksgiving Gift Exchange Game
- Thanksgiving Party Decorations
- Vintage Thanksgiving Gratitude Cards Printables
- Printable Thanksgiving Bingo Cards
