If you love making handmade gifts, then you might want to try this DIY star gift box, too!
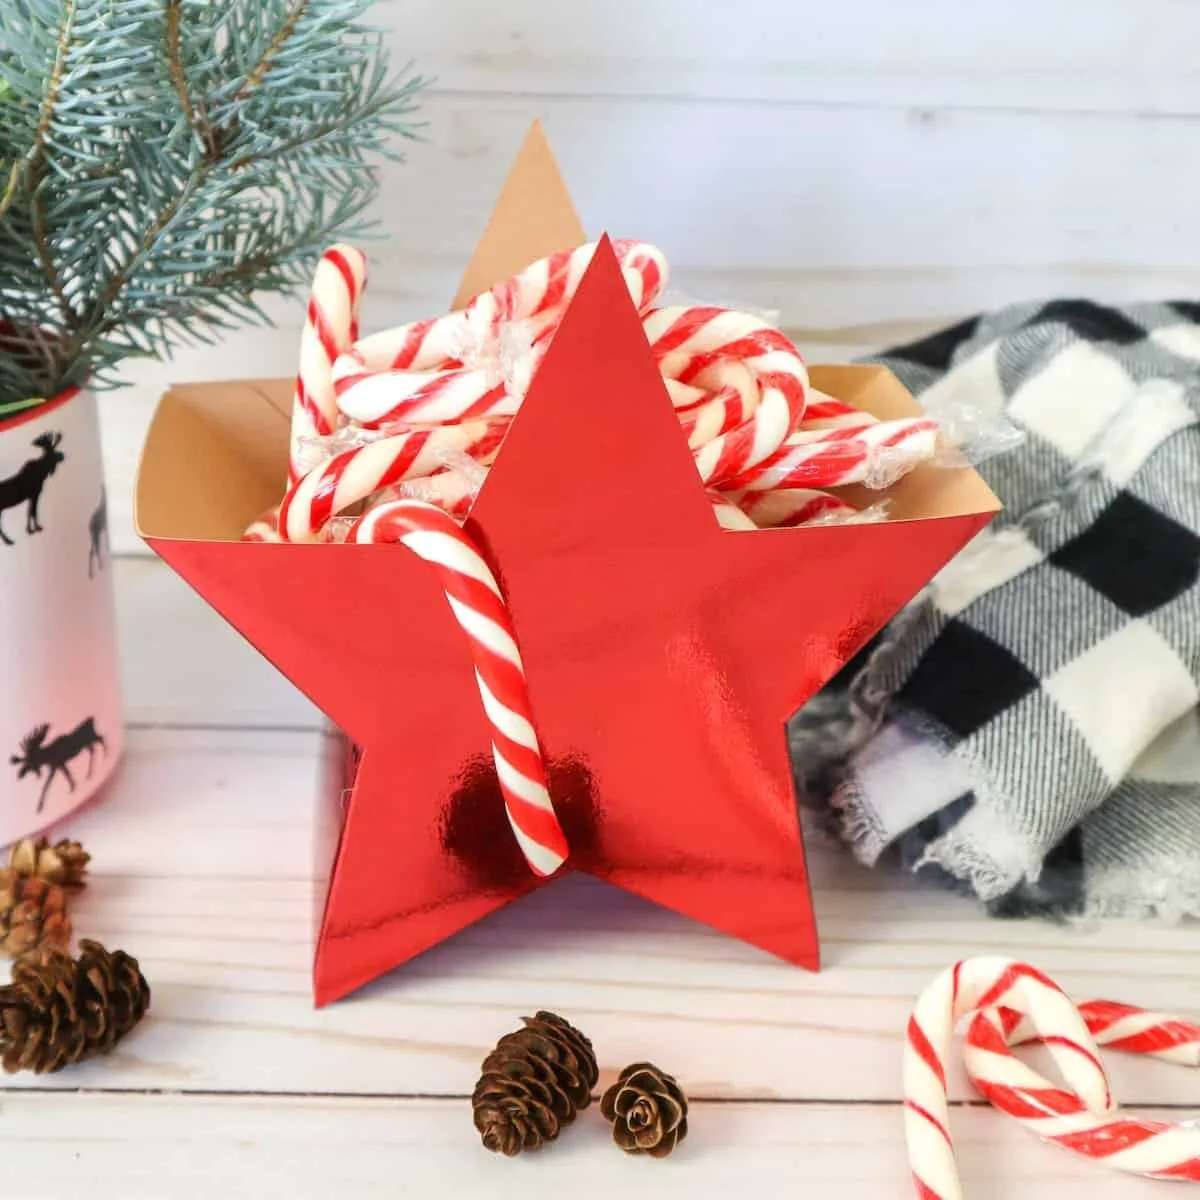
This DIY gift box can actually work like a gift bag, as well. In fact, if you punched holes in the tips of the stars, you could add your own ribbon or twine handle.

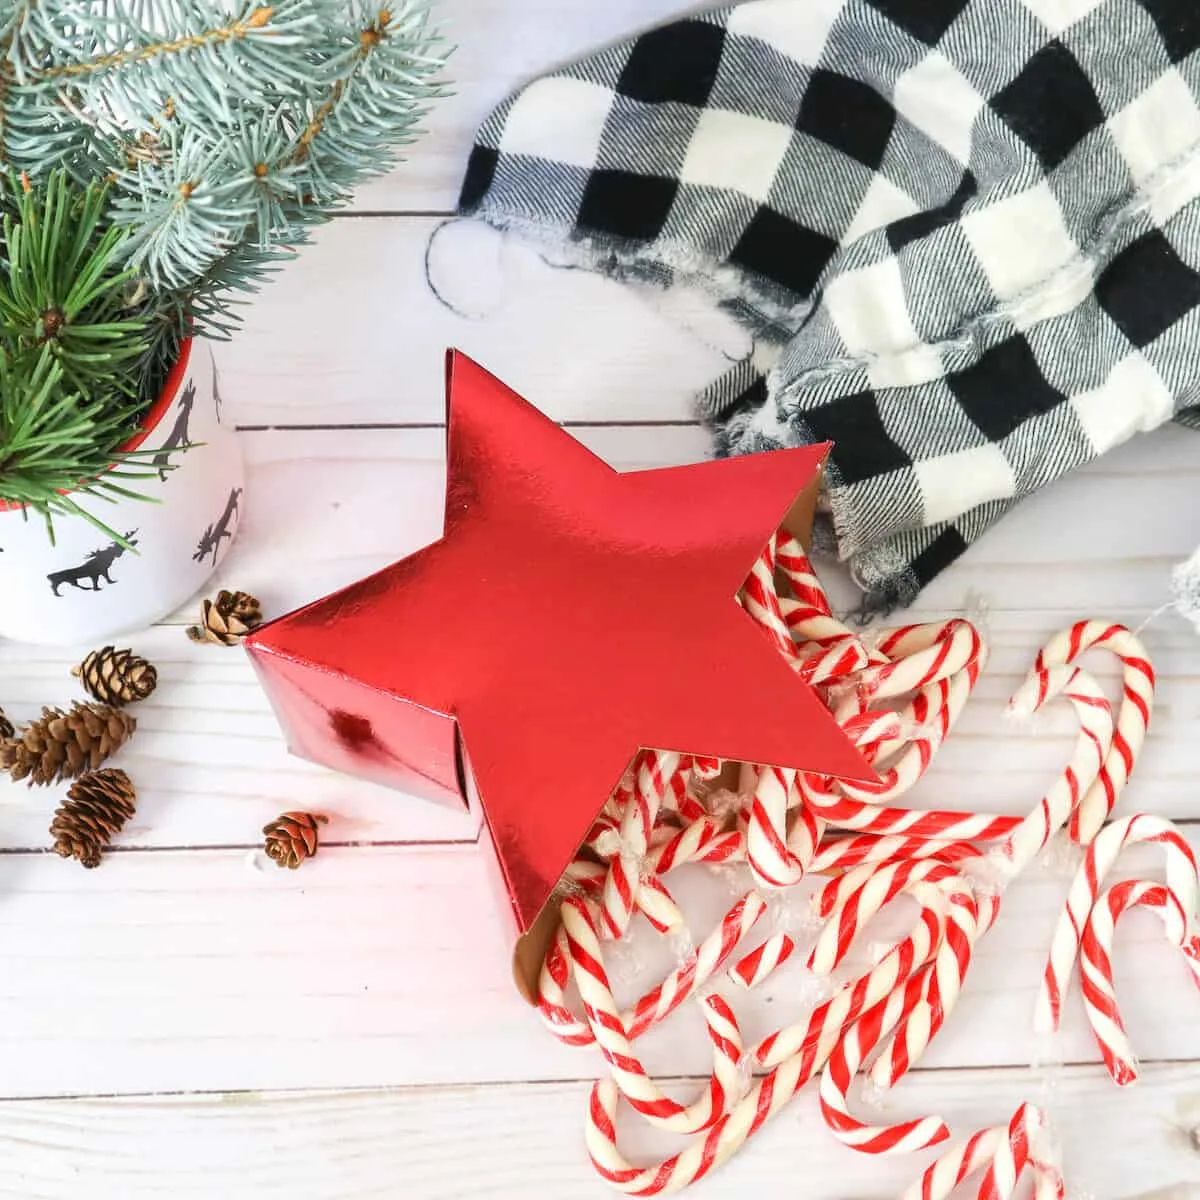
Fill the star gift box with treats (like candy canes, cookies, a small present, etc.) to make it the gift itself. Or just stuff with tissue paper and insert your present inside.
If you like star-shaped crafts, be sure to check out these DIYs:
How to Make a Star Gift Box
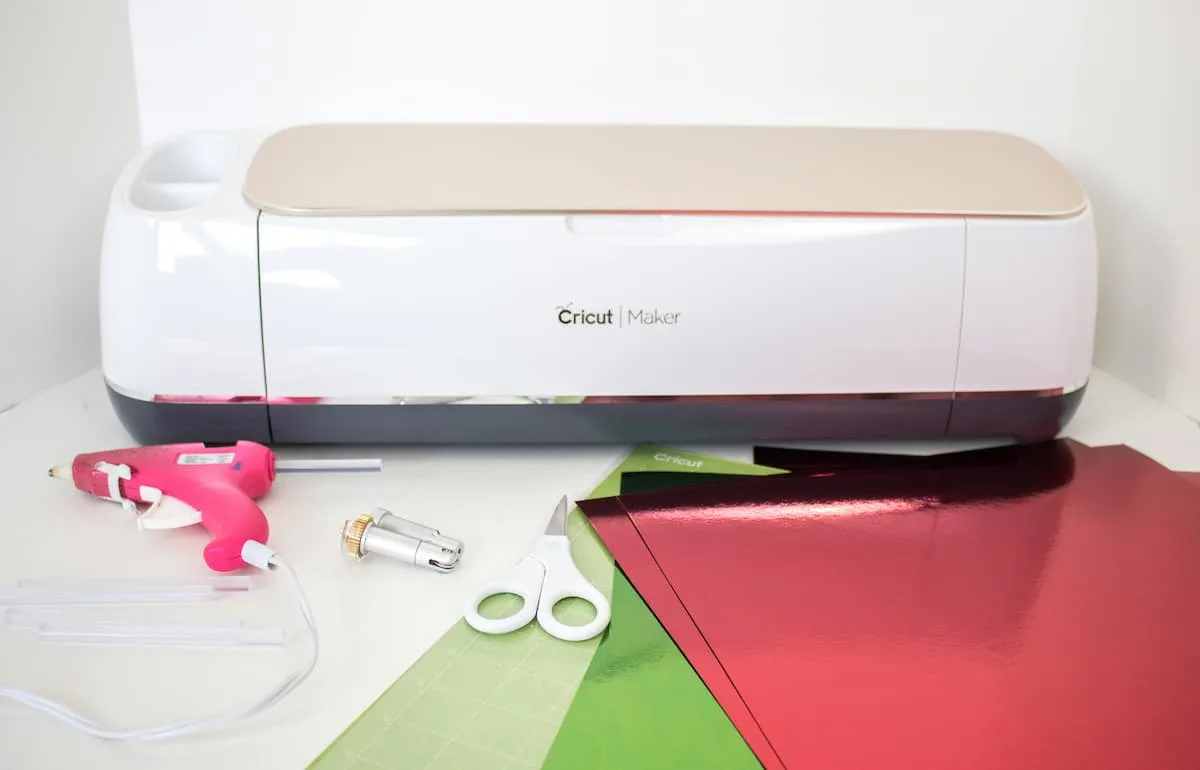
Supplies
- Star Box Template in Design Space #MFA9E217
- Cricut Maker (or other Cricut cutting machine) with Fine Point Blade and Scoring tool
- Cricut Standard Grip Mat
- Kraft Board Foil Sampler, Jewel, 12” x 12” (two sheets per star gift box)
- Hot glue gun and clear glue sticks
Directions
Uploading the Star Box Template
Open Cricut Design Space.
Click on the “+” sign to start a new project, opening up a blank canvas.
Click on the Images button from the toolbar.
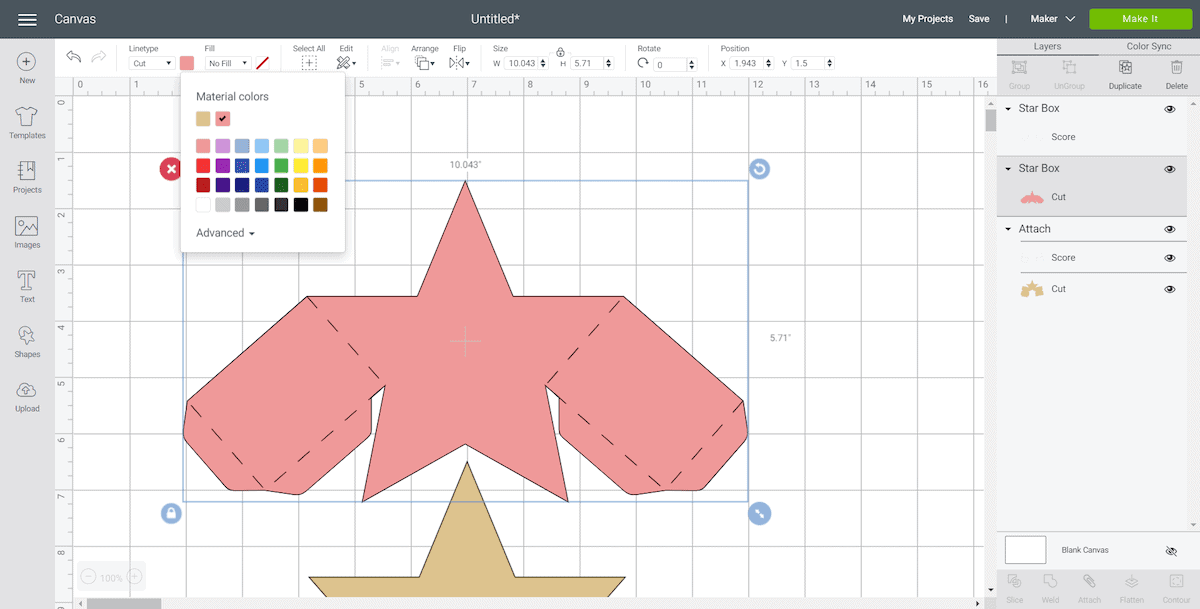
Search #MFA9E217 and then click on the image to insert the pattern on the canvas.
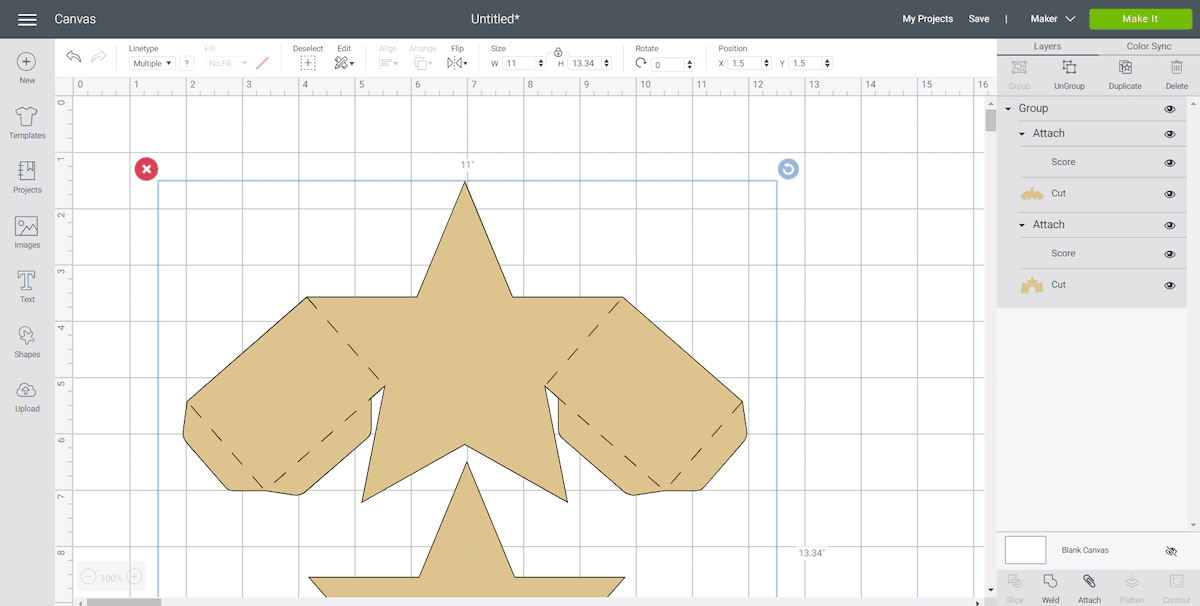
Maintain the size.
Change the color of the star shapes to match the material color you will be using.
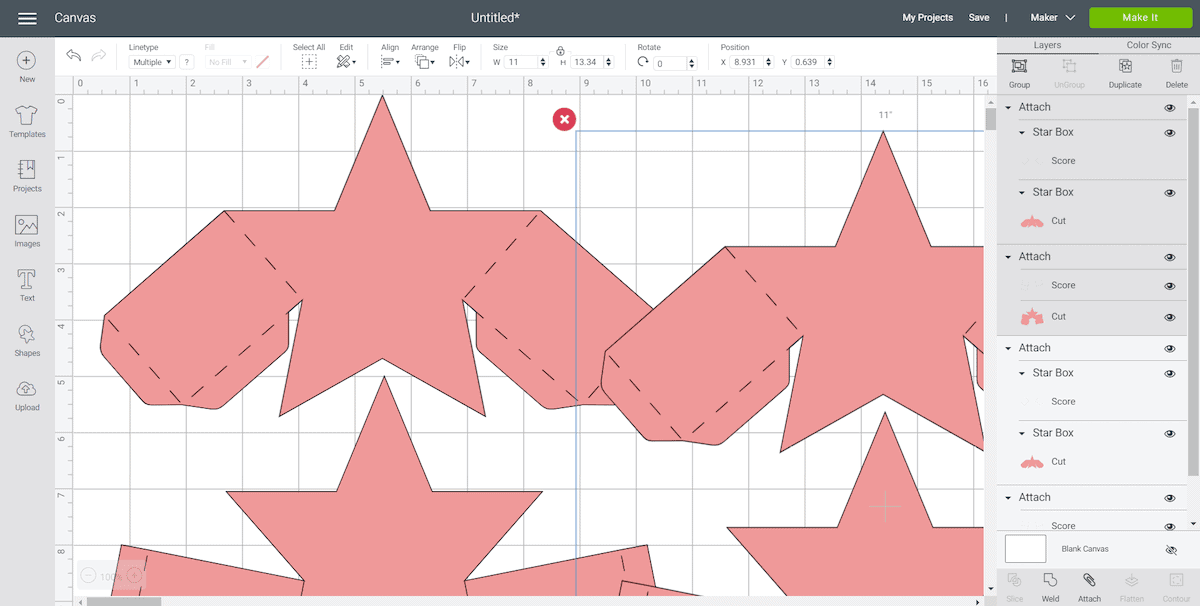
Duplicate the image to make as many star gift boxes as you want.
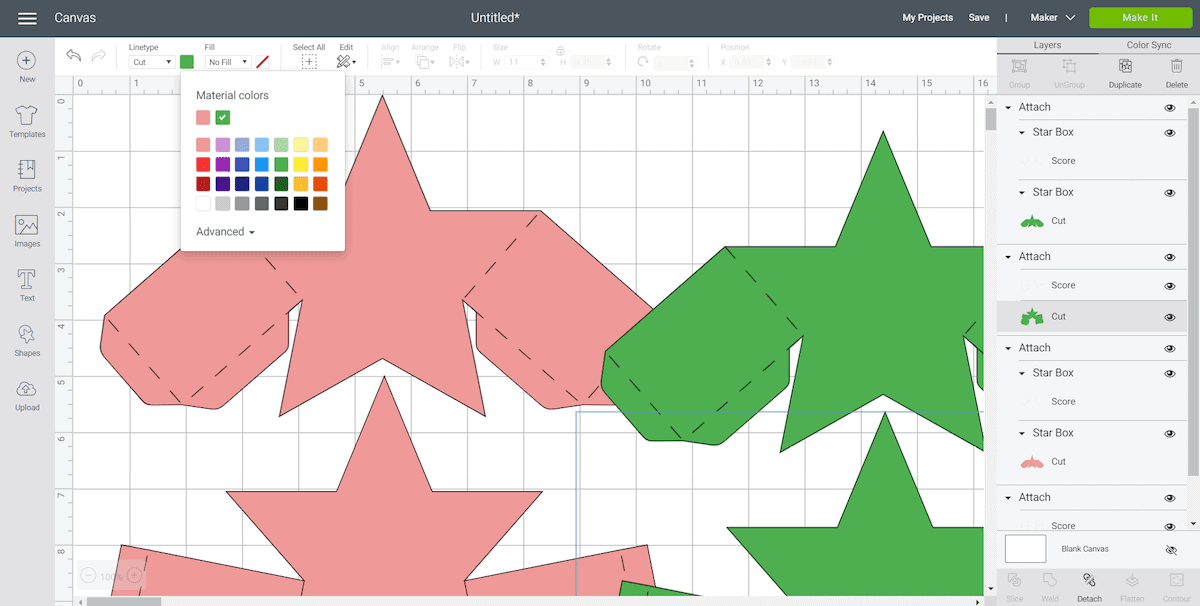
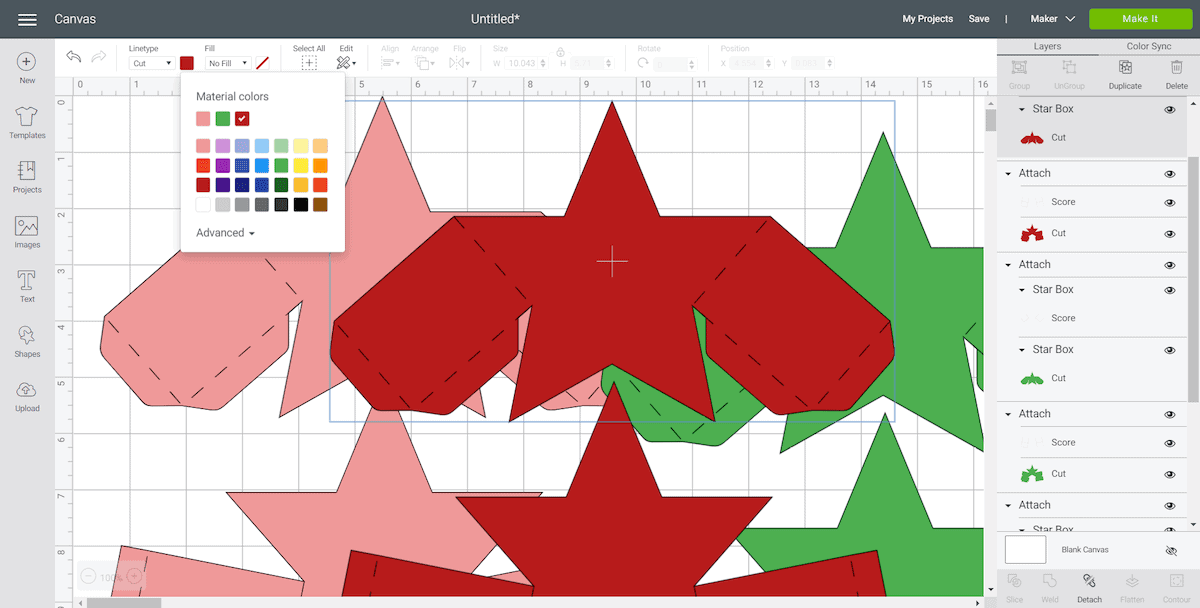
Change the color of the additional star shapes to match the material colors you will be using.
Cutting
With the machine set to Cricut Maker, select “Make It” in Design Space.
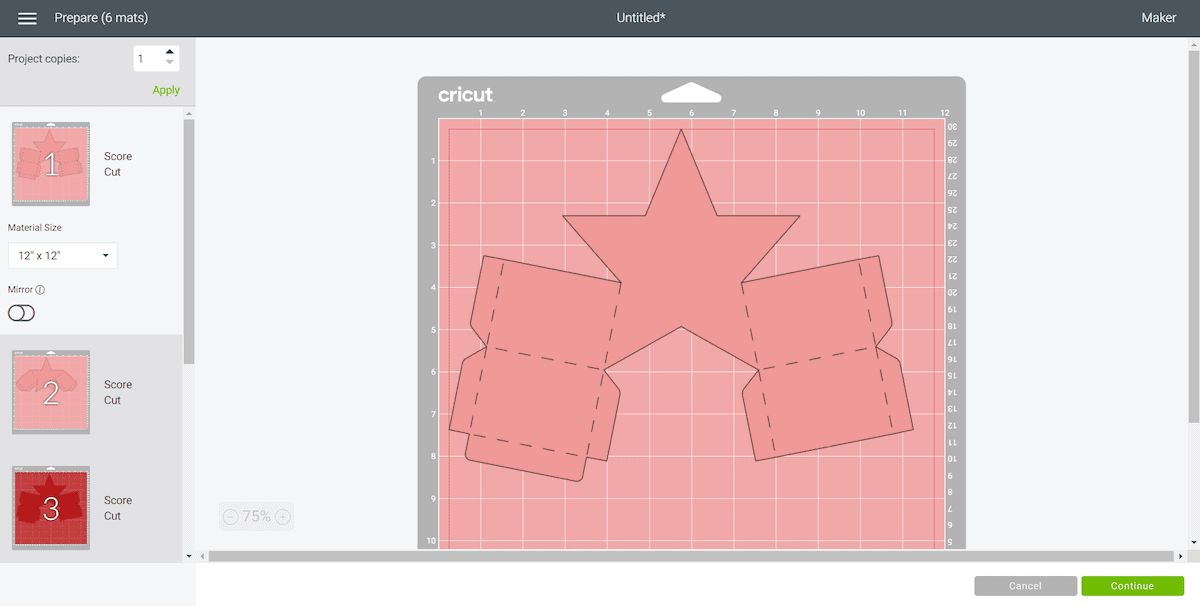
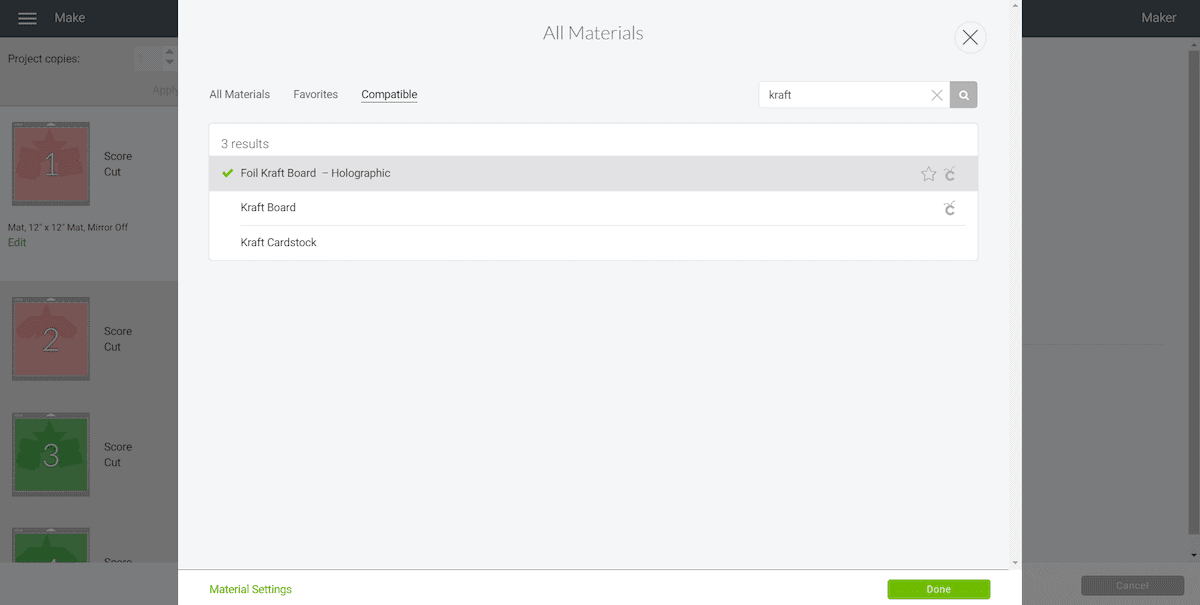
Set material type to Foil Kraft Board, Holographic.
Place the first sheet of kraft board onto the mat. Each star gift box uses two sheets of 12”x12” kraft board.
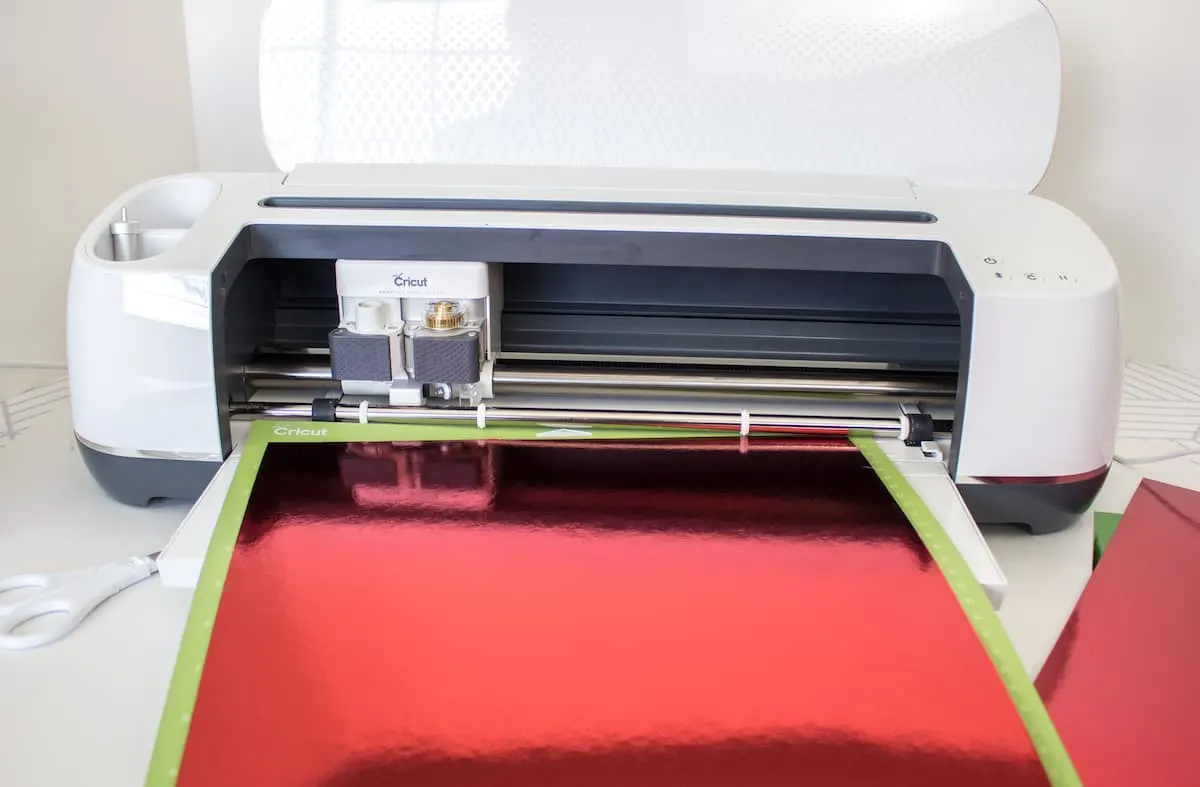
Follow prompts for loading kraft board into Cricut Maker. Insert the scoring tool as instruction and proceed.
Switch to a fine point blade to complete the cut. When the cut is complete, unload the mat from the machine.
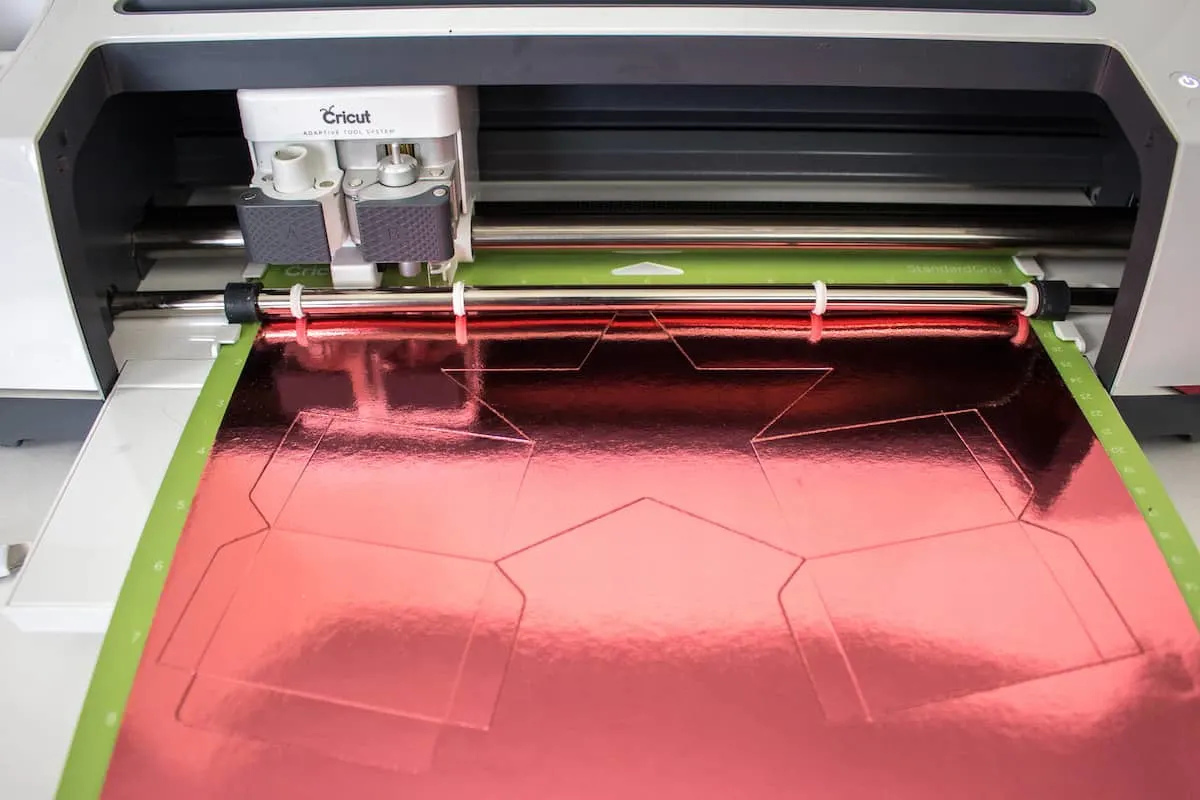
Remove the cut pieces from the cutting mat and put aside.
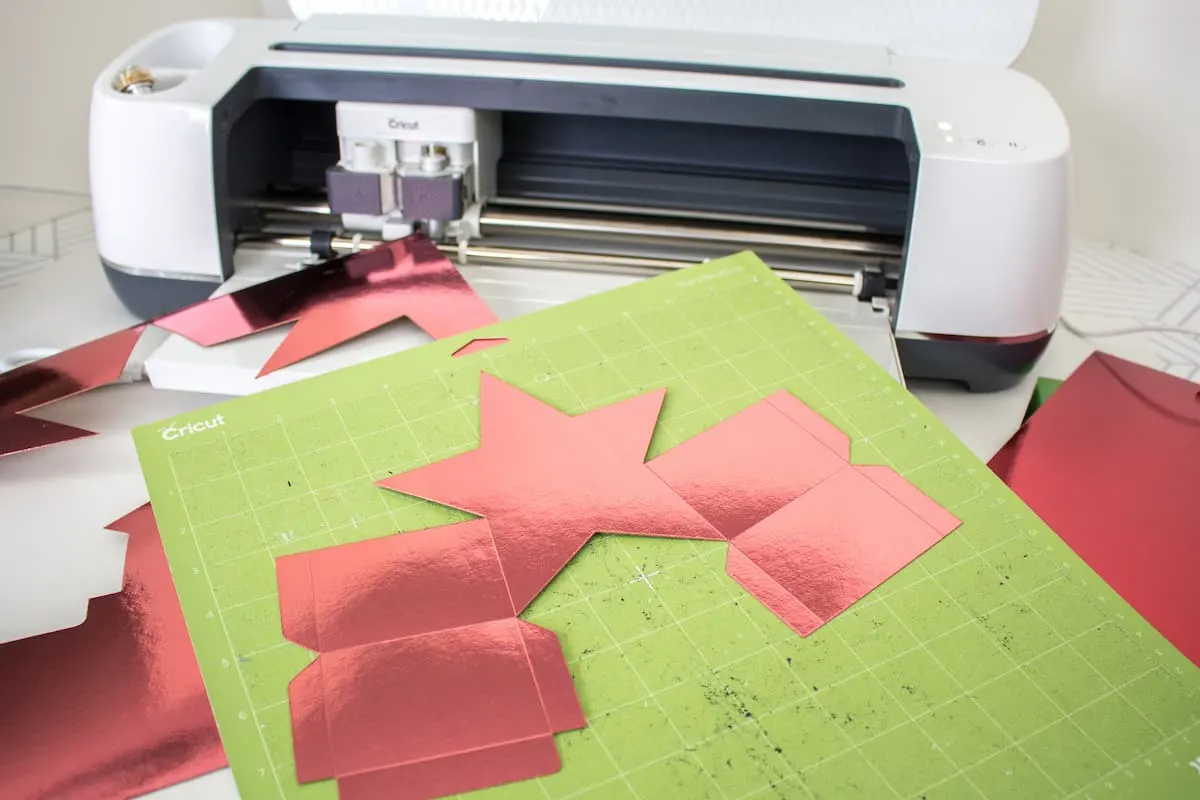
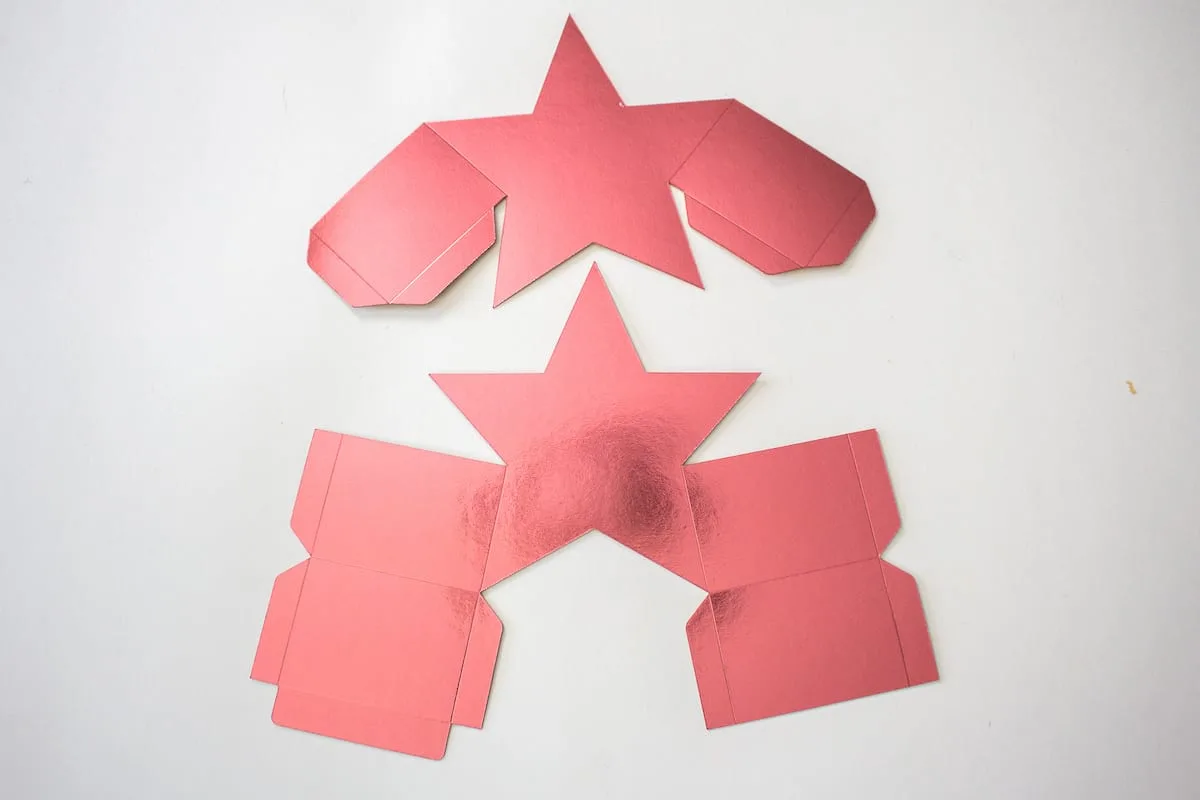
Repeat for the remaining patterns and sheets of kraft board.
Assembling the Star Gift Box
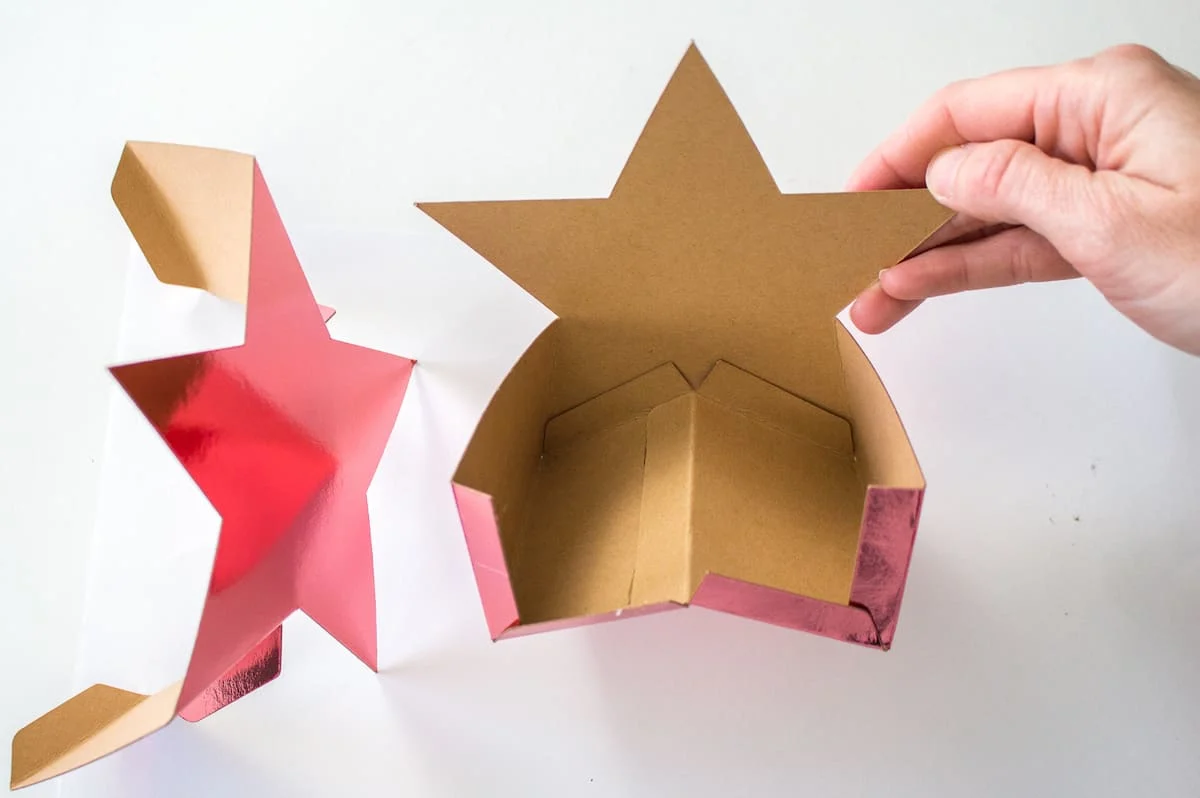
Fold the pieces along the score lines of the rectangular shape next to the star cutouts towards the back (with wrong sides together).
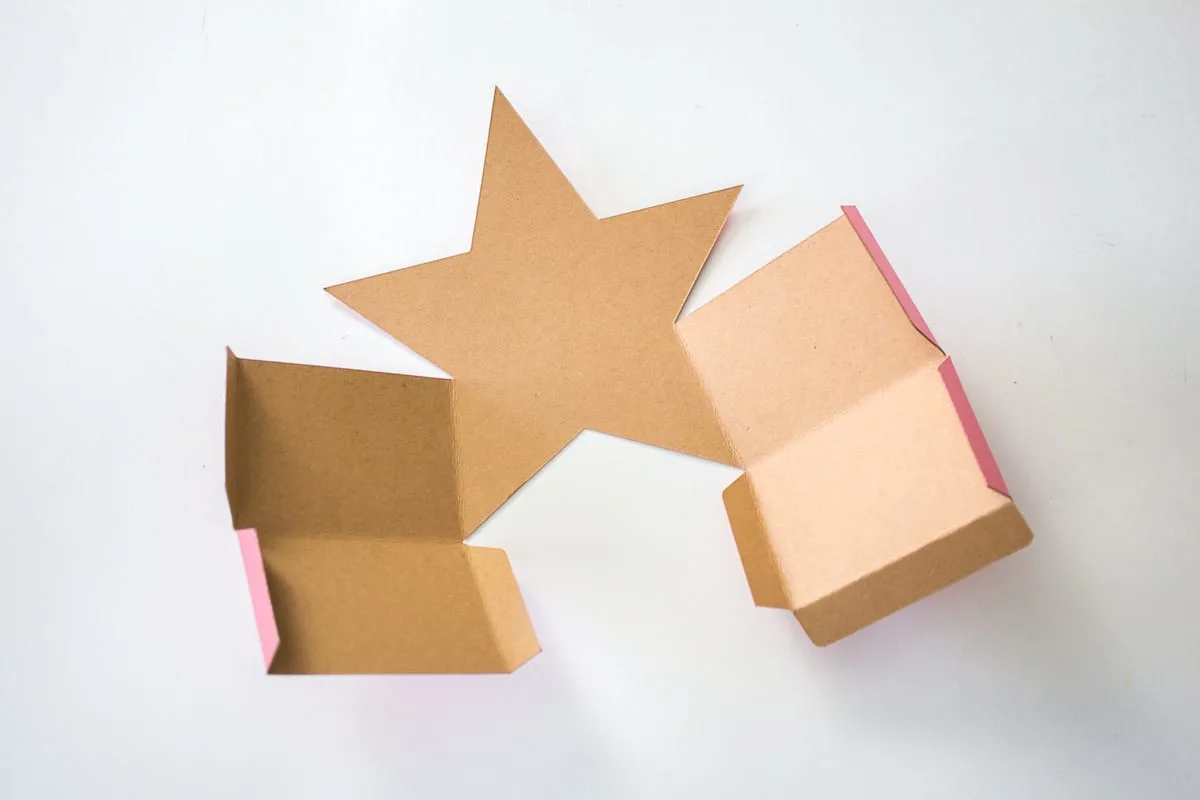
Fold the score lines along the smaller tabs inwards (with wrong sides together) for all remaining score lines except for one.
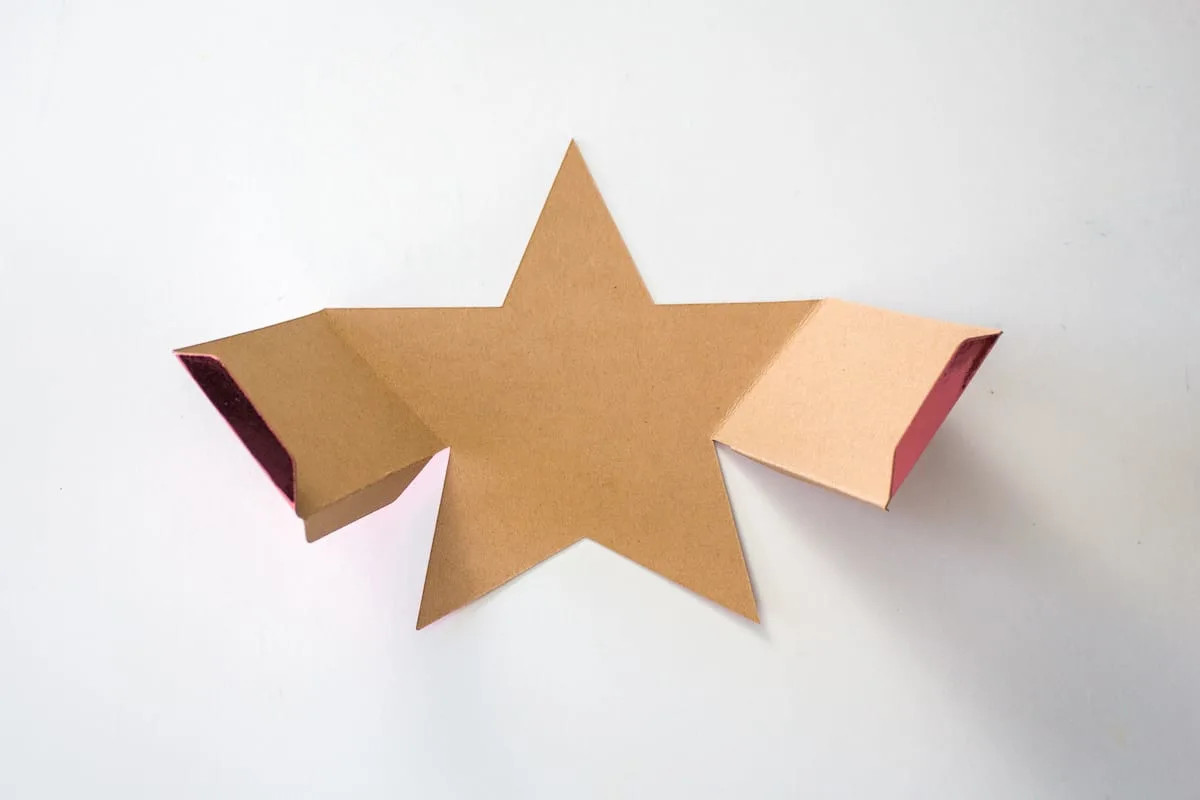
Next, fold the one smaller tab (along the bottom of the larger gift box piece) outwards (with right sides together).
Working one tab at a time and quickly since hot glue dries fast, apply a bead of hot glue along the tab adjacent to the star and press it in place tucking it behind the star.
Repeat with the other tab forming the box behind the star.
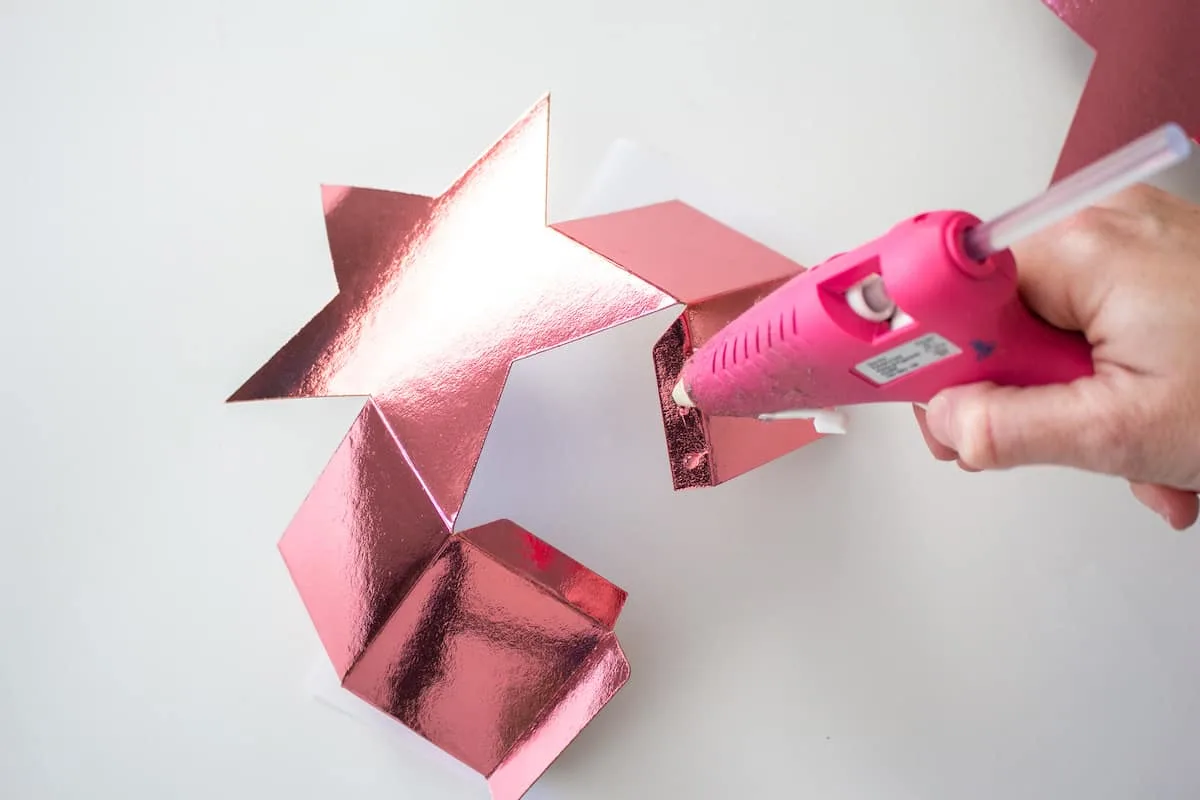
Glue the bottom tab in place securing the box shape in place.
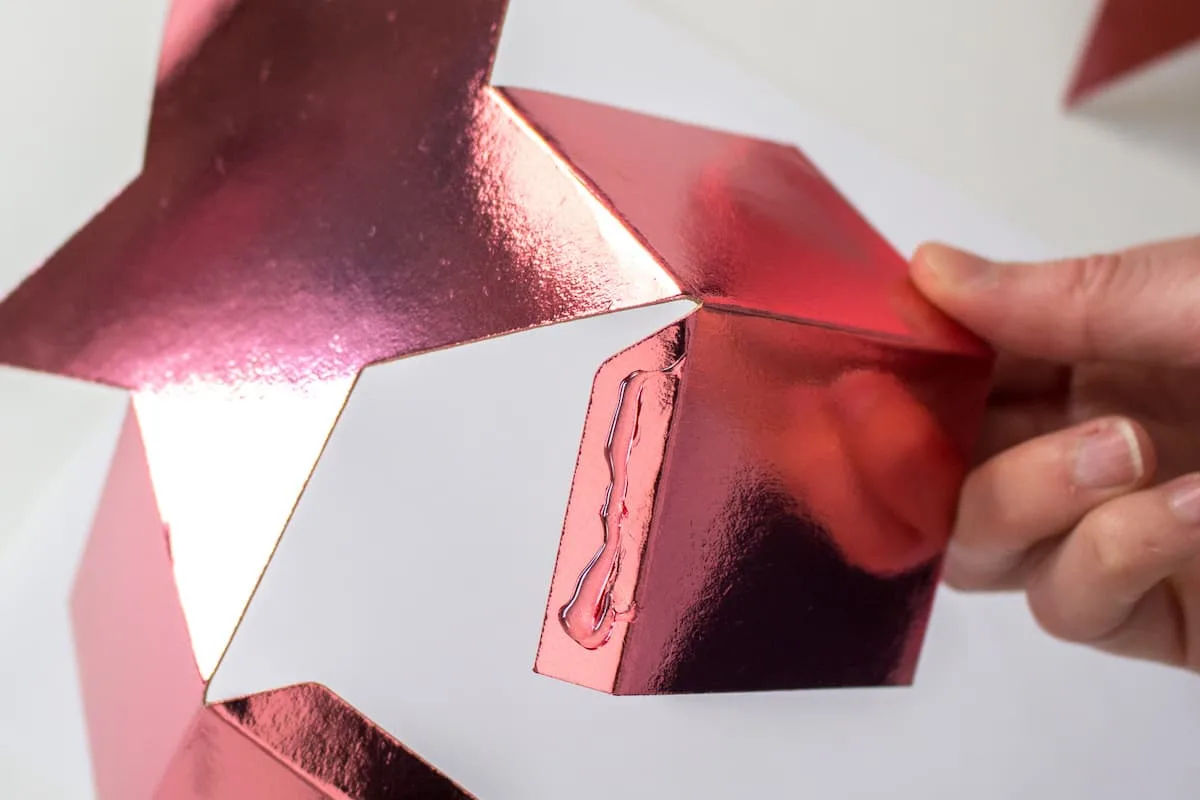
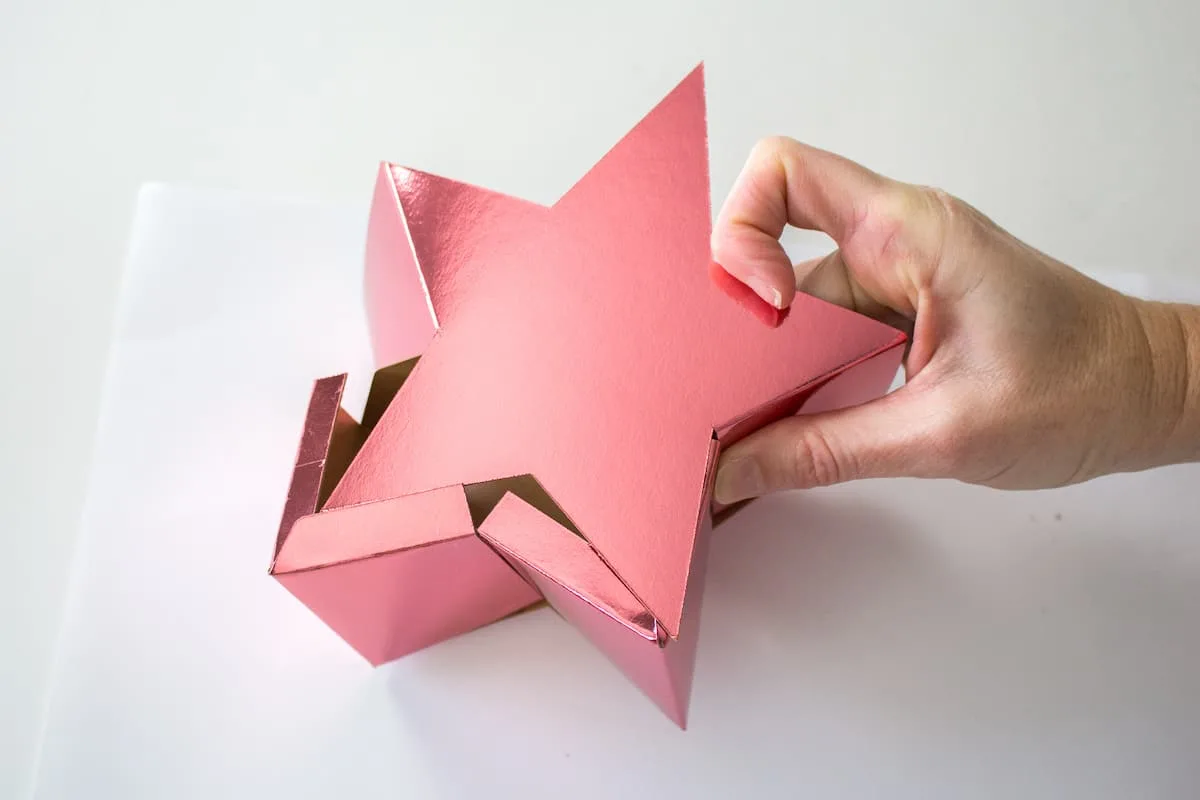
Join the two pieces together by gluing the tabs from the larger piece to the smaller piece behind the star cutout.
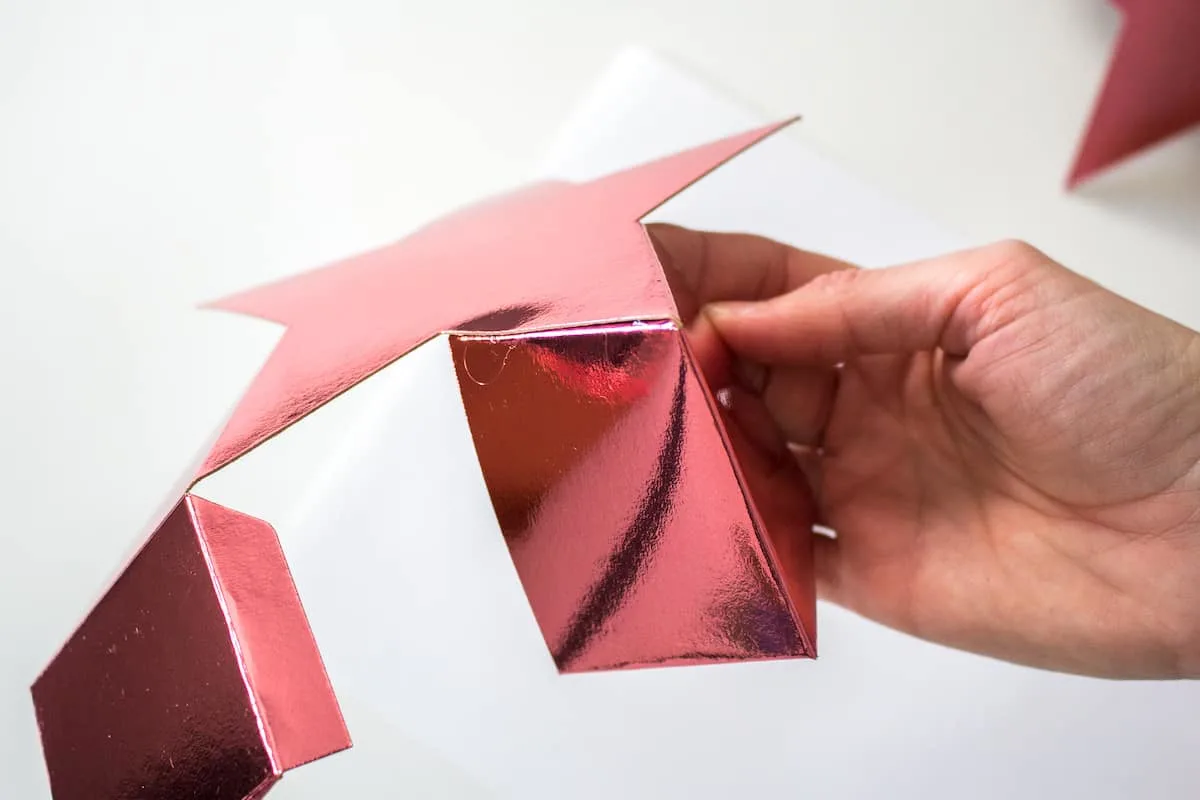
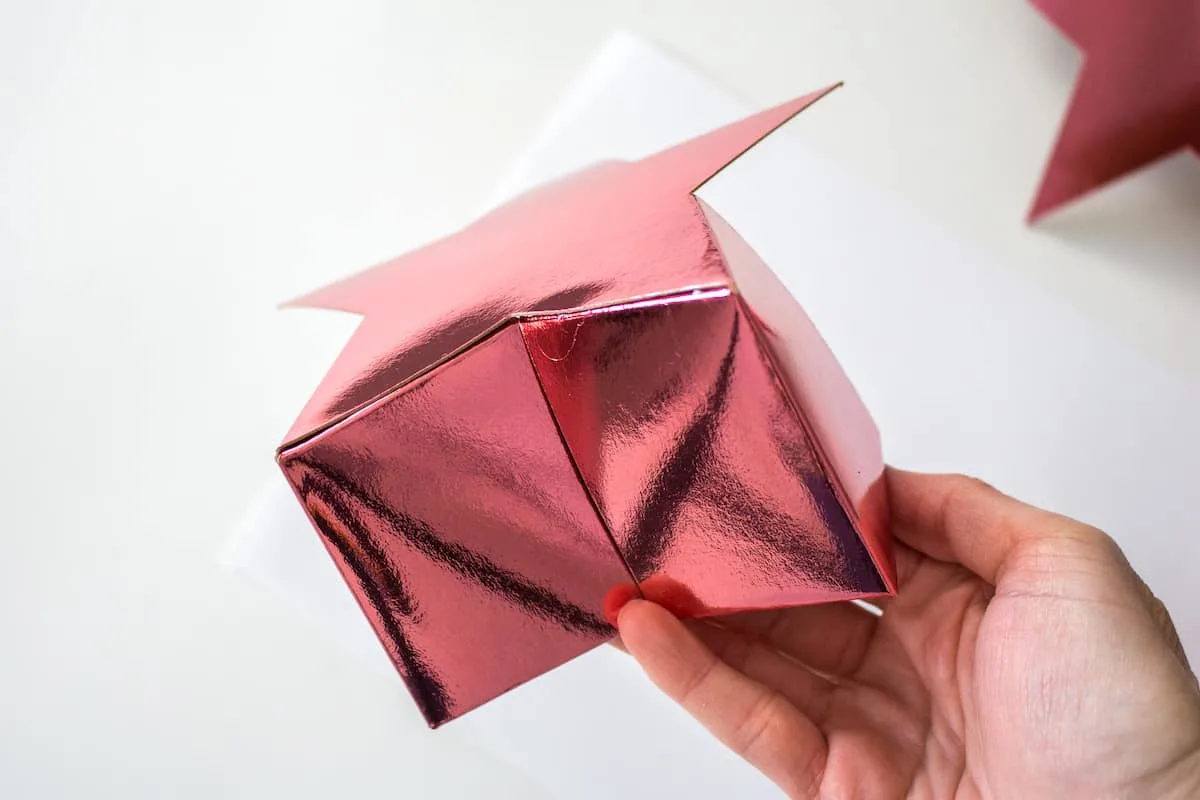
Glue the tabs along on the side rectangular shapes together to complete the gift box.
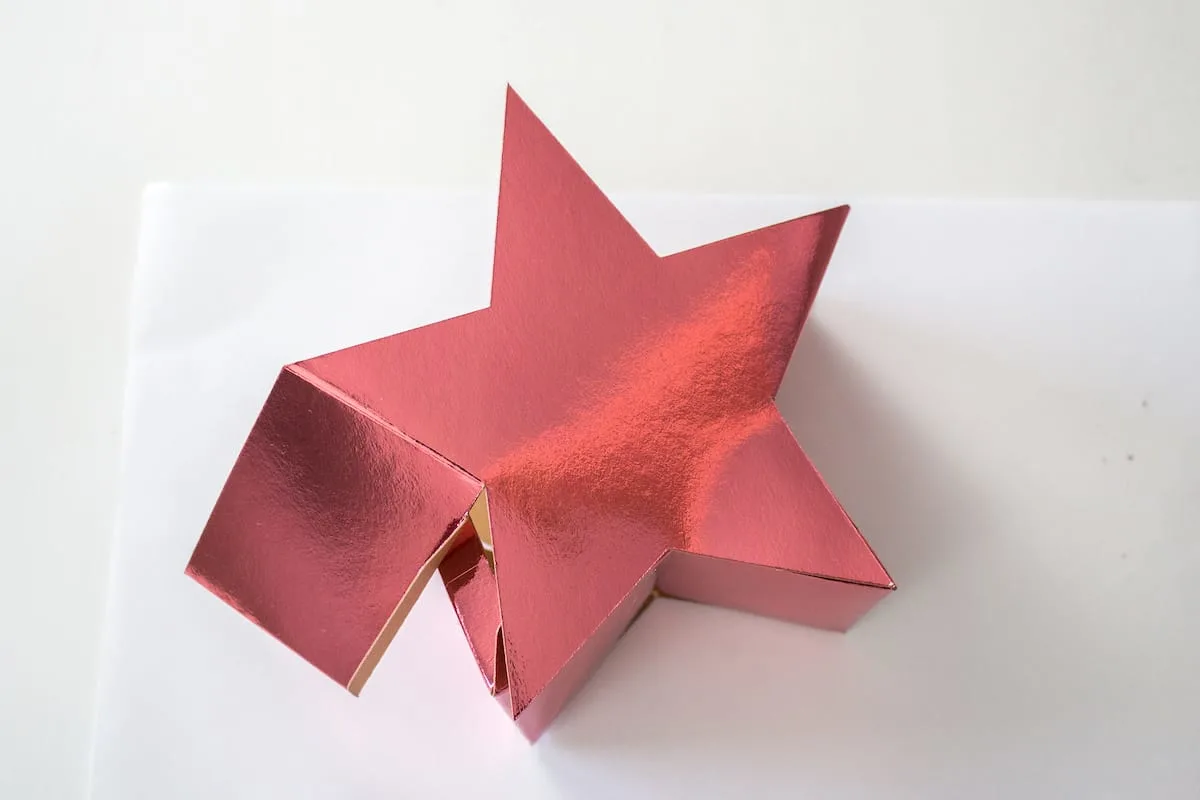
Repeat these steps for making as many star gift boxes as needed.

Christmas Patterns and SVGs!
Want more fun holiday SVGs for crafting and creating this season? I’ve got a fun 4-pack of patterns perfect for DIYs!
Visit the Single Girls DIY library for more details and to get your downloads!
Want more Cricut Christmas crafts? Check these out:
- Home for the Holidays Sign
- DIY Christmas Scroll Frame
- Personalized Wood House Ornaments
- Wood Slice Ornaments with Vinyl
- Christmas Tree Farm Table Centerpiece
- Wood Block Snowman
- Stamped wooden books


