

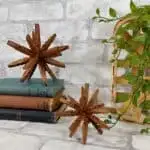
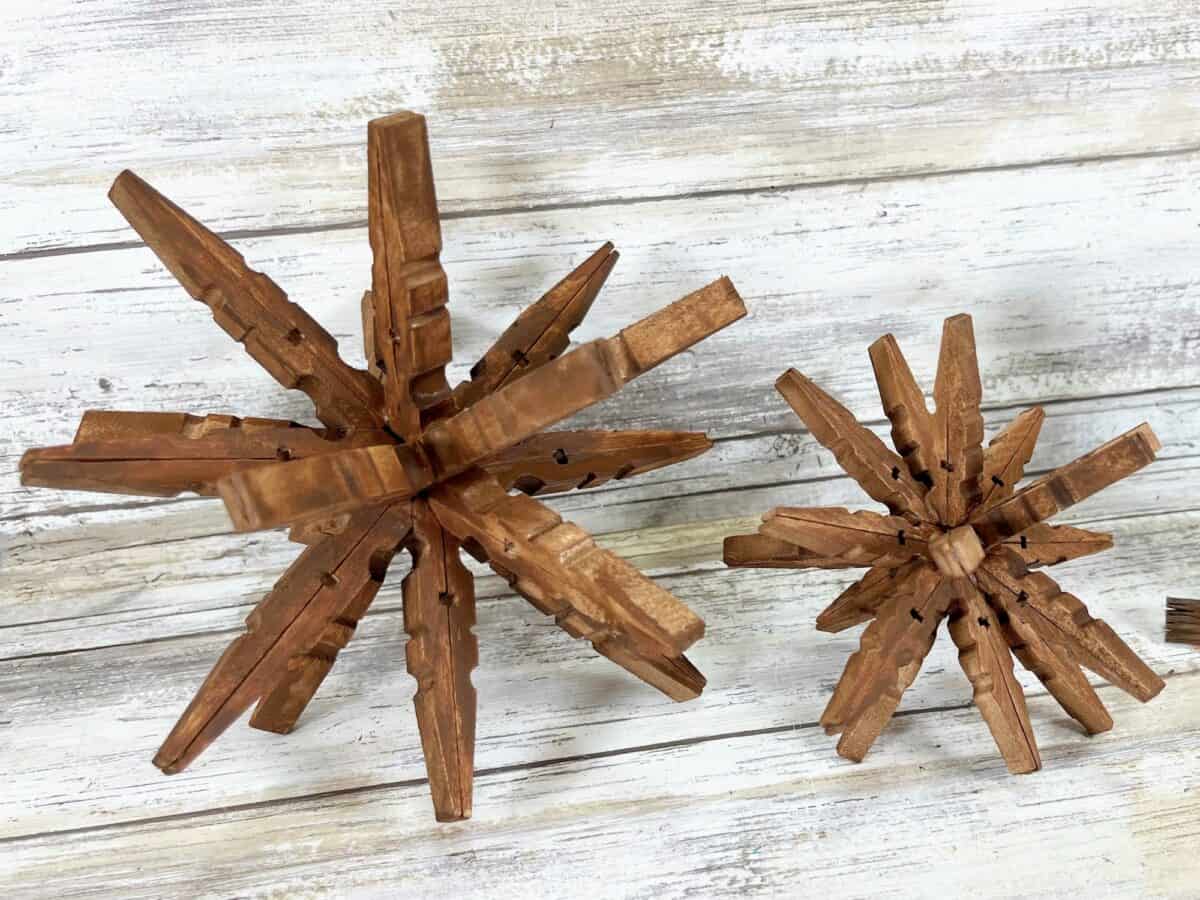
These 3D clothespin stars are so easy to make with Dollar Tree supplies! All you need to do is glue clothespins together and paint, if desired, for a rustic star that works with any farmhouse or vintage decor.
Clothespin stars only look complicated to make. If you follow the step by step photos below, I promise you these are really easy!
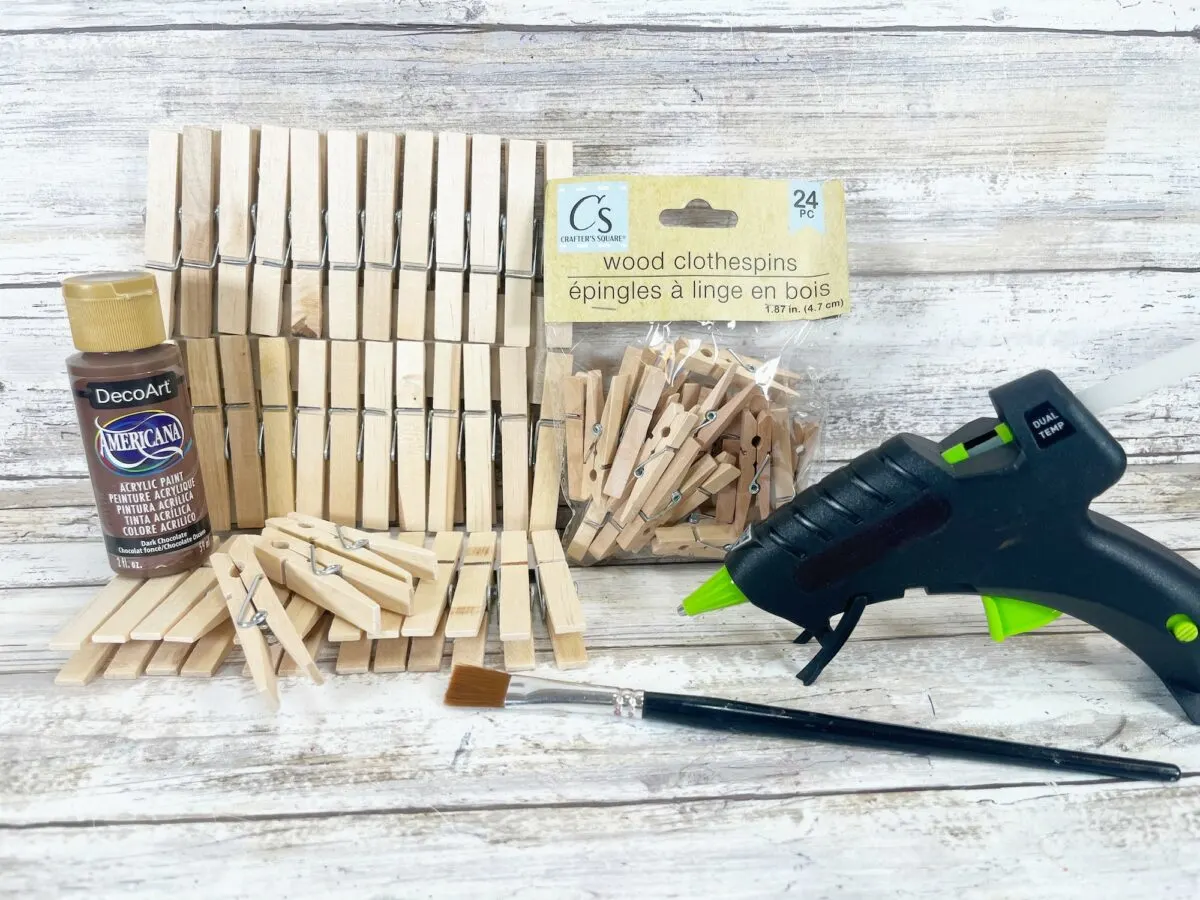
All materials were purchased at the Dollar Tree! Which makes this craft really inexpensive to make!
With the cost of materials, I paid less than $3 to make each star.

At the Dollar Tree, there are two different sizes of clothespins. I used both types to make these stars.
Full-size wooden clothespins can be found in the laundry section of the Dollar Tree.
Medium-size wooden clothespins can be found in the craft section of the Dollar Tree.

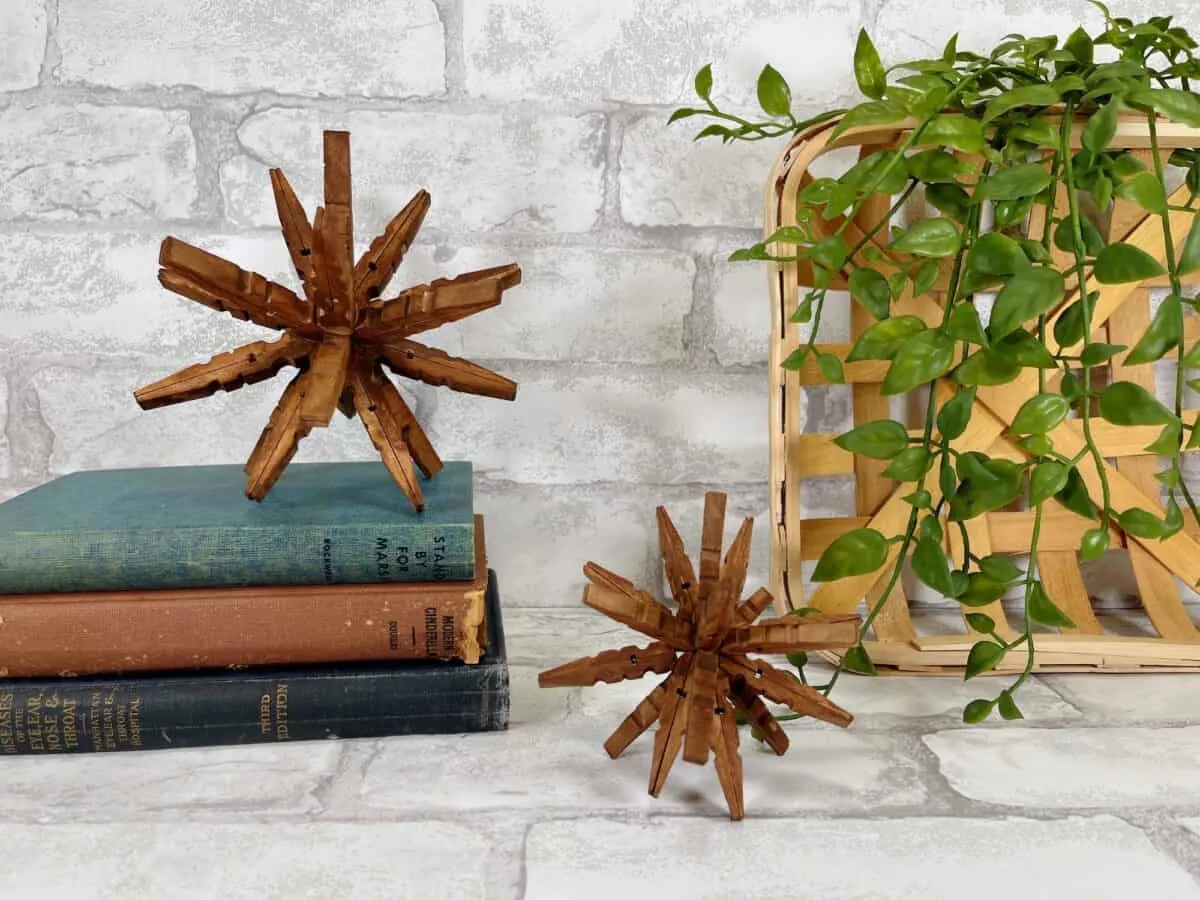
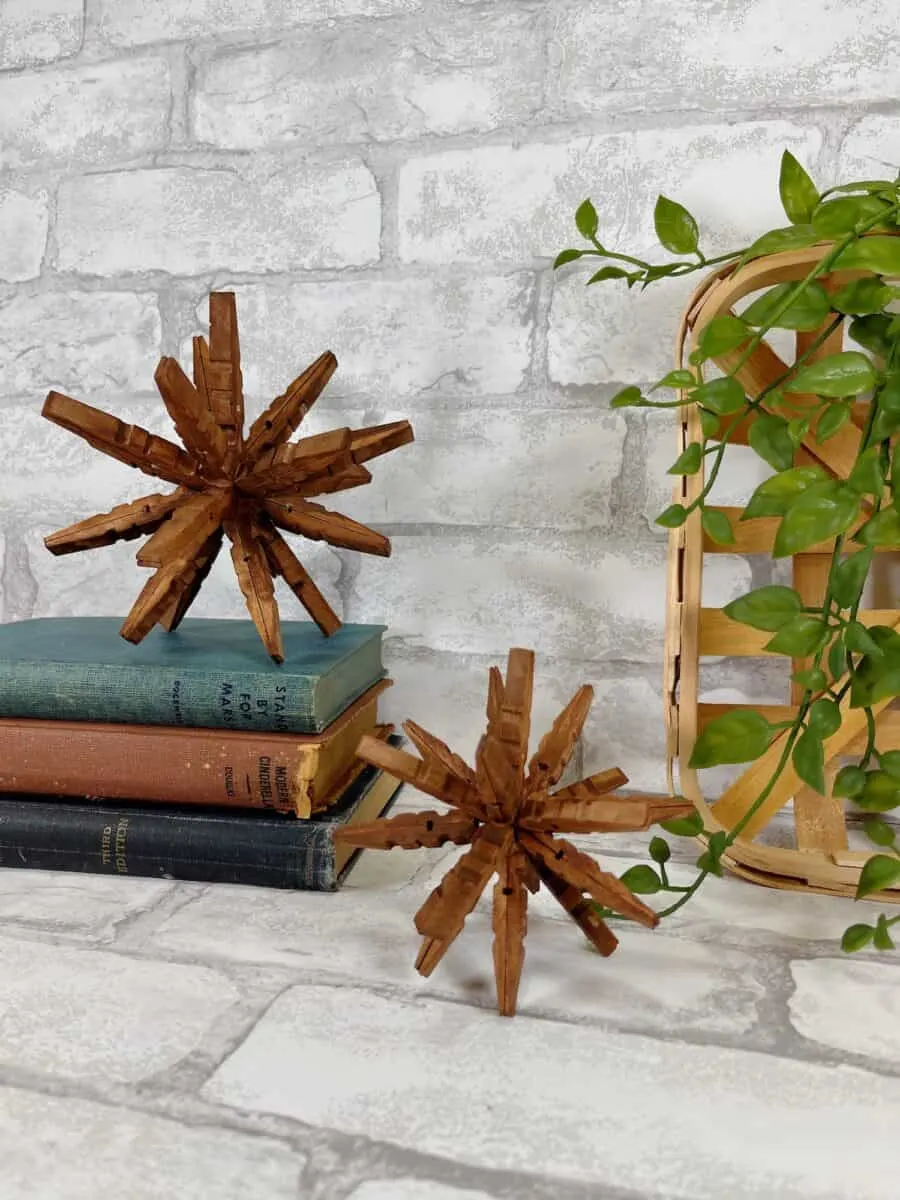
These 3D stars are perfect for adding to styled shelves or in a tiered tray. They would also look great laying on a coffee table or bedside nightstand.
At Christmas, these clothespin stars would be so pretty on the mantle or tucked among your holiday decorations.
If you made the smaller star, you could easily tie a piece of pretty ribbon around one of the points and make a clothespin star ornament.
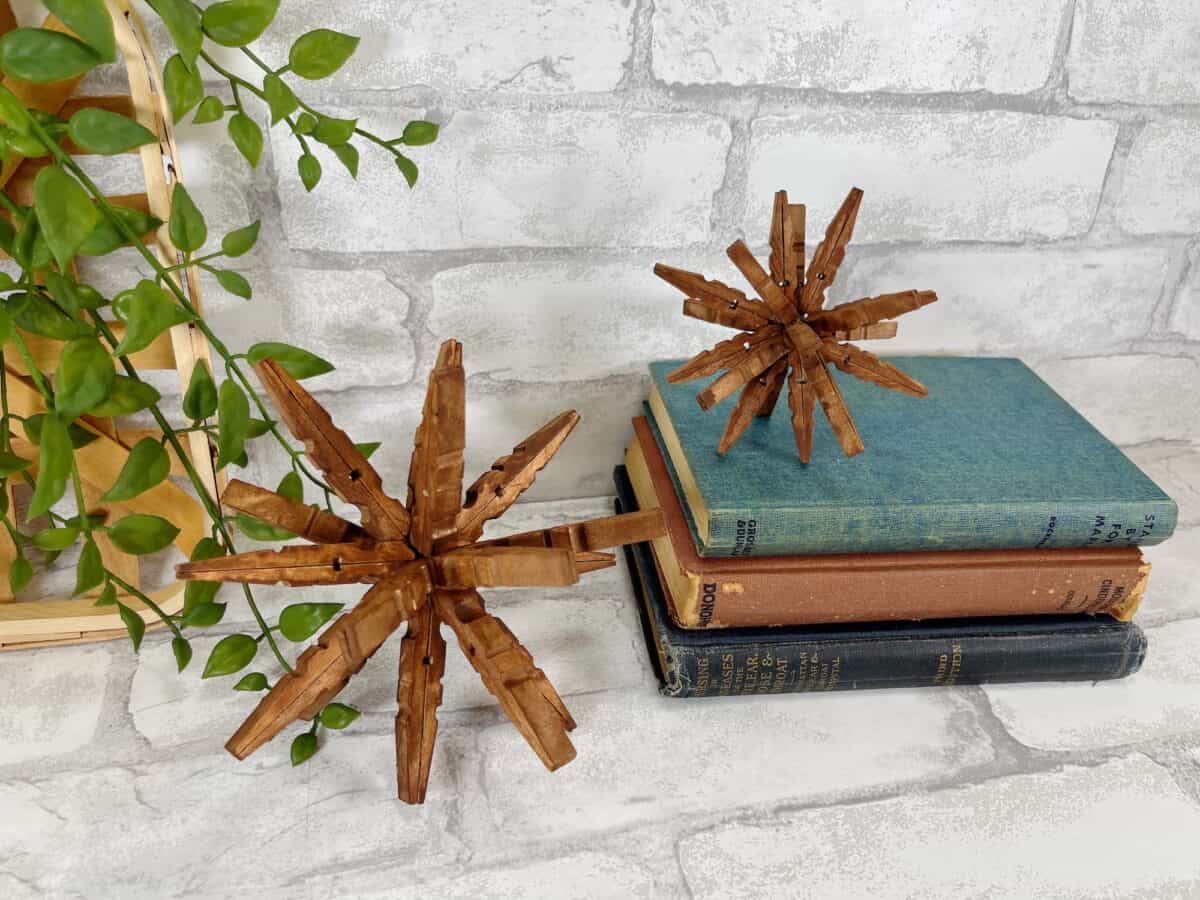
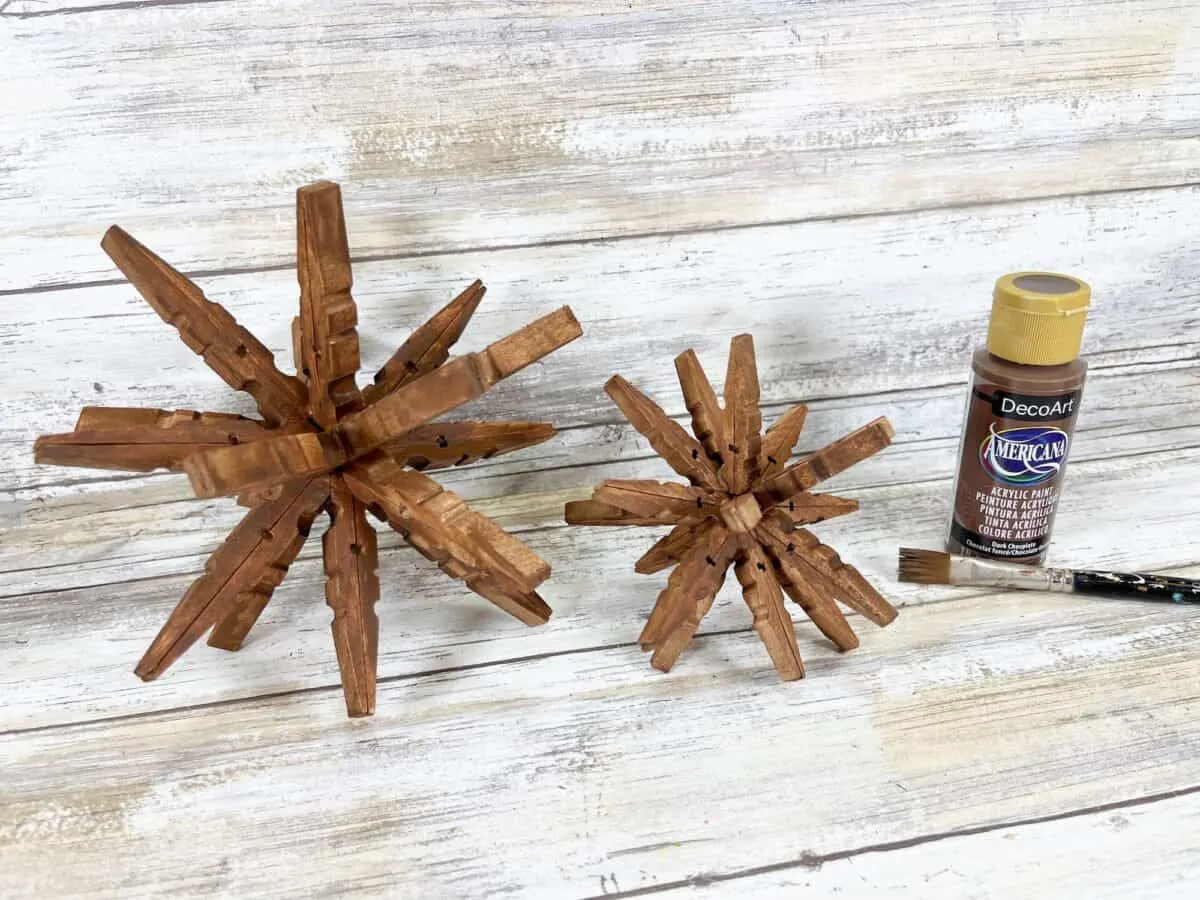
I chose to paint these stars a light shade of brown to look like they had been stained. However, you don’t have to paint them. You could leave them unfinished and natural for a lovely look.
Or, paint these stars with a metallic paint to really make them sparkle and shine!
Checkout my easy twig stars for more farmhouse-style star decorations.

How to Make Clothespin Stars
Supplies
- Full-size clothespins with a wooden spring
- Medium-size clothespins with a wooden spring
- Hot glue gun and glue sticks
- Acrylic Craft paint- Dark Brown
- Paintbrush

Directions
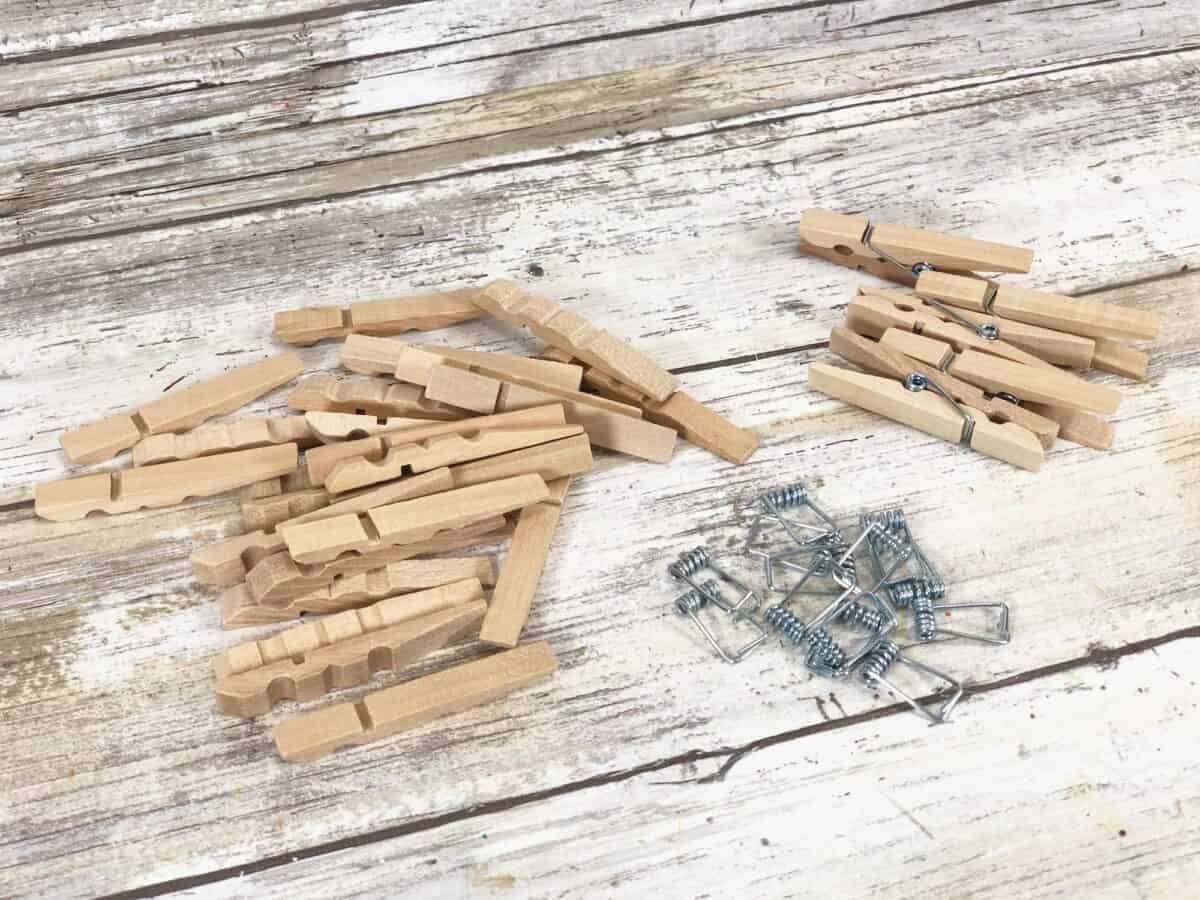
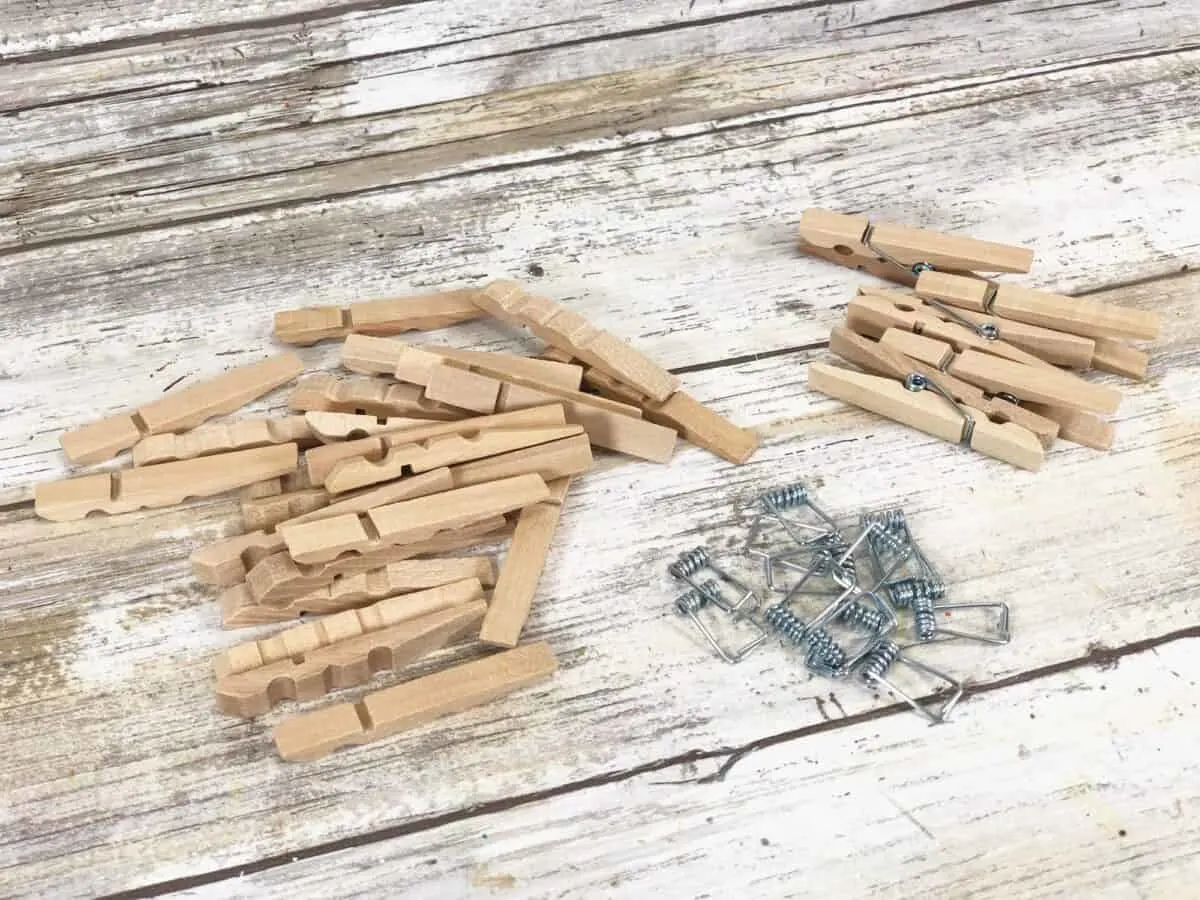
Step 1
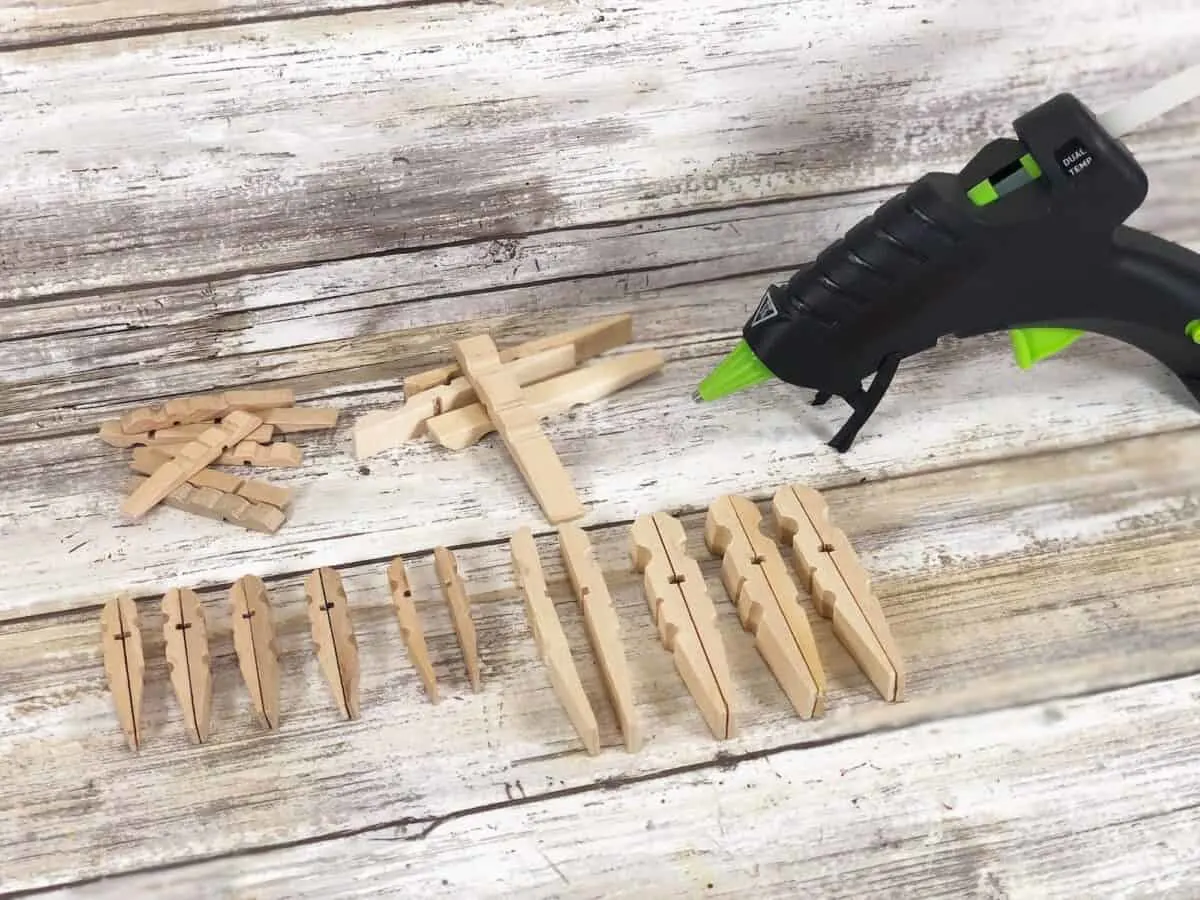
Carefully remove the metal spring from 36 full-size and 36 medium wooden clothespins for each star you want to make.
In this tutorial, I am making a large 3D clothespin star and a smaller size star.
I painted my clothespin stars brown after I assembled them. However, I suggest you paint at this point before gluing! The directions in Step 6 show how to paint, but to save time and stress I suggest painting now.
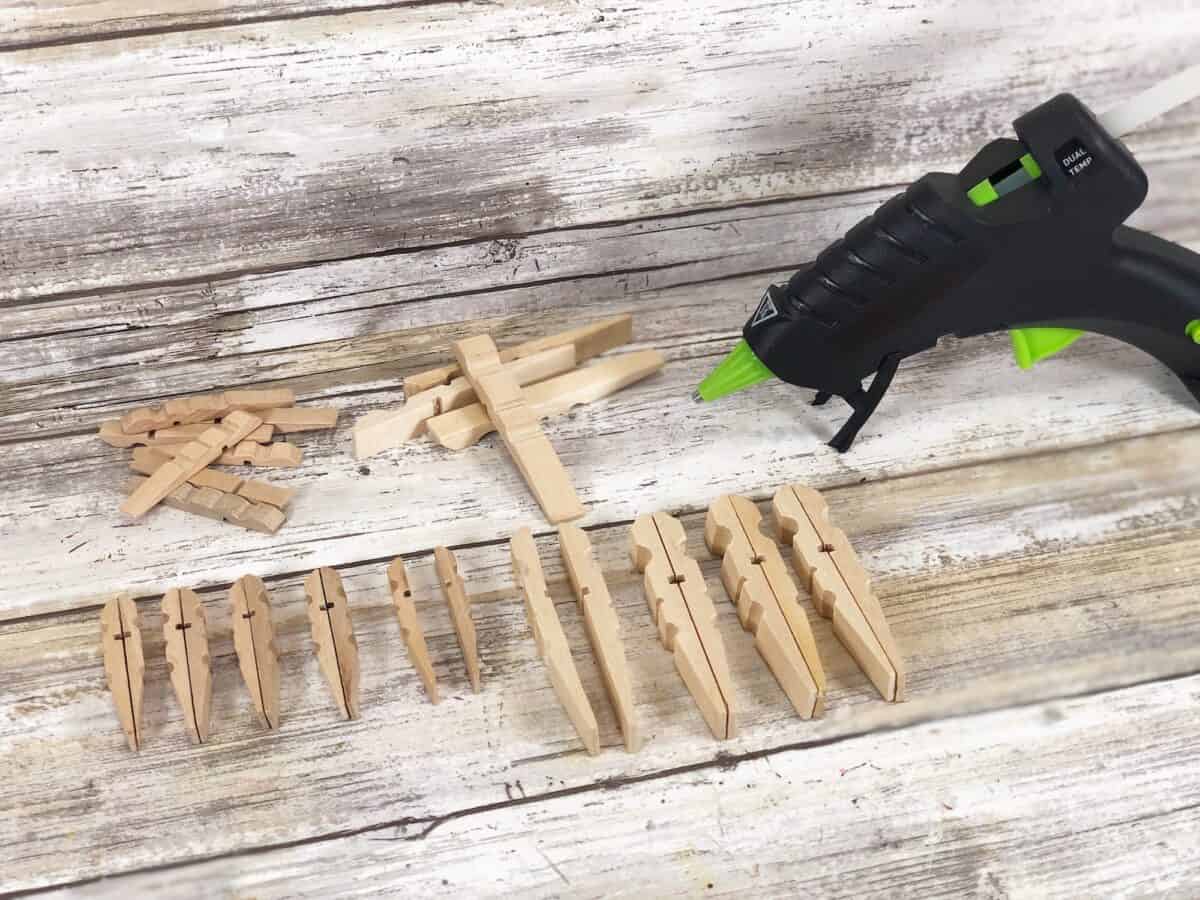
Step 2
Glue the clothespins together from flat side to flat side with a glue gun and glue sticks. Glue the large ones together, and then glue the small ones together. You will have 18 pairs of each size.
If you don’t want to use a hot glue gun, you will need to wait for these to dry completely if using craft glue.
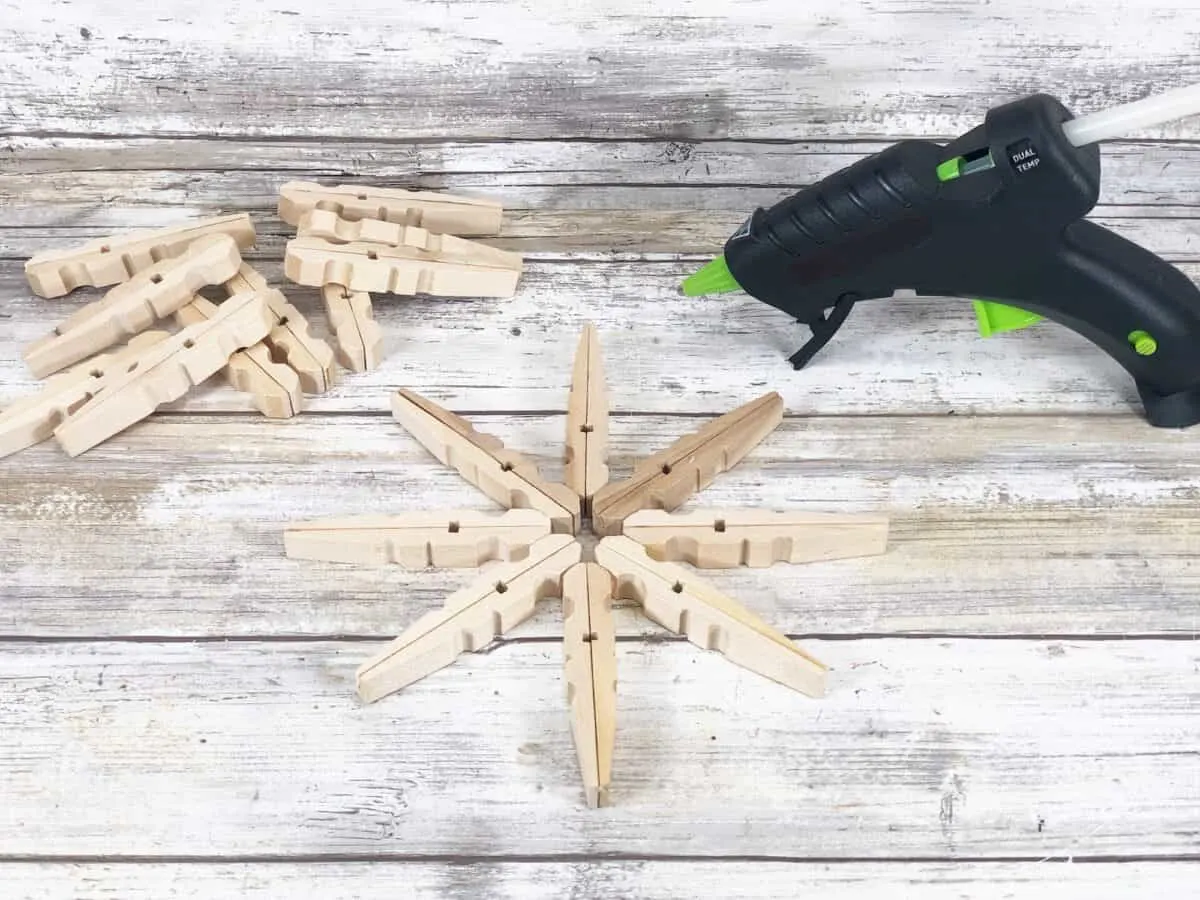
Step 3
You will now use 8 of the full-size clothespins pairs.
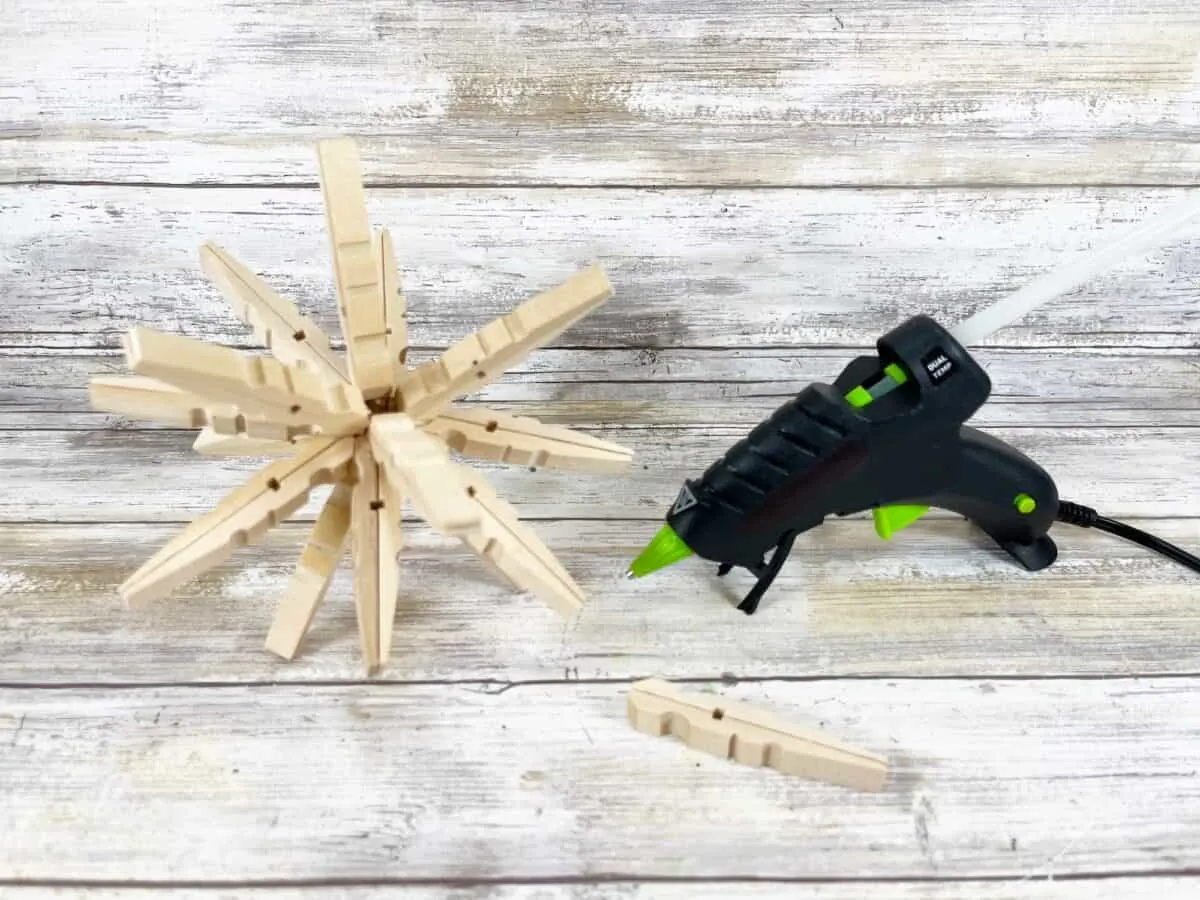
Lay them flat in a star pattern (it also looks like a snowflake, too). Glue the clothespins together at the “heads” in the middle of the star, as seen in the photo below.

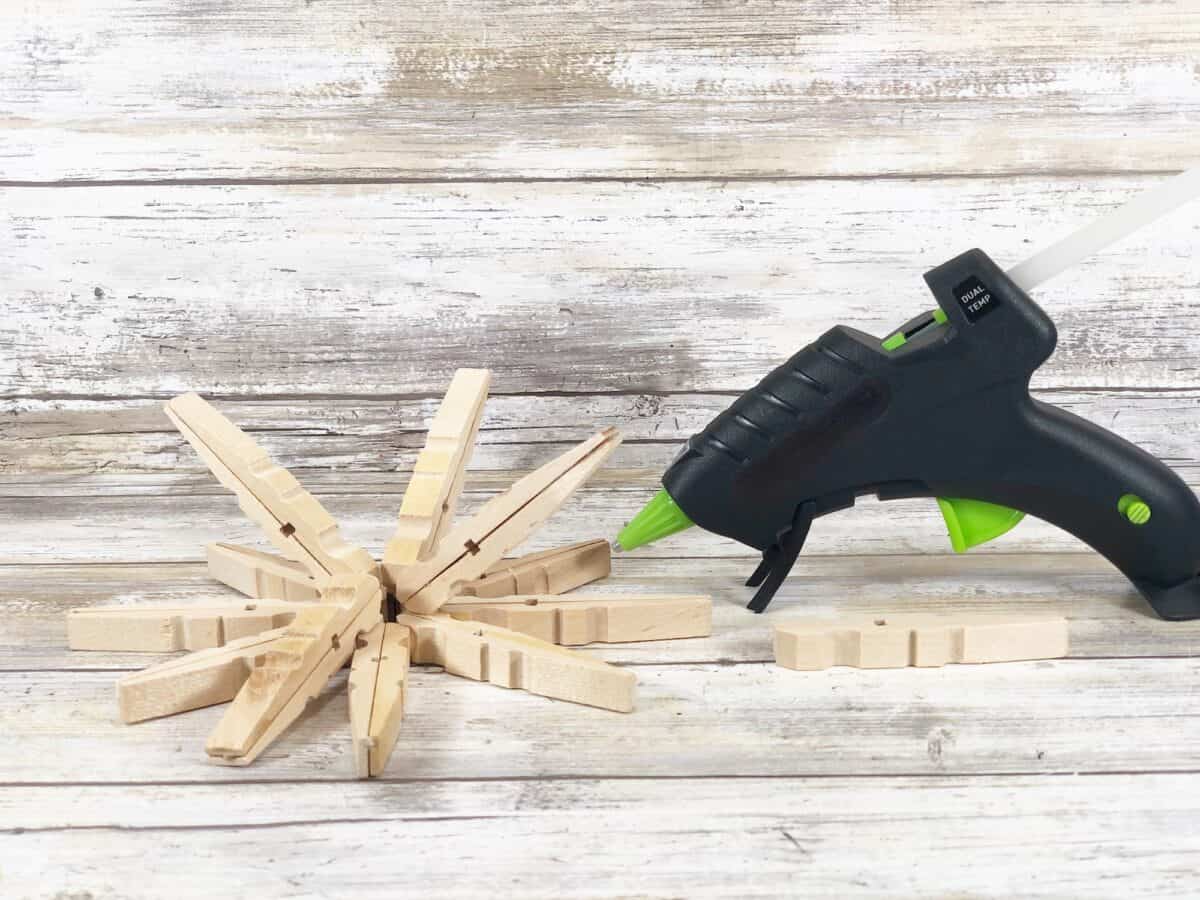
Step 4
Glue 4 full-size clothespins pairs at the “head” in every other blank space between the star points. Use a generous amount of hot glue and hold each clothespin in place until the glue sets.
Then attach the 5th clothespin in the center, perpendicular to the work surface.
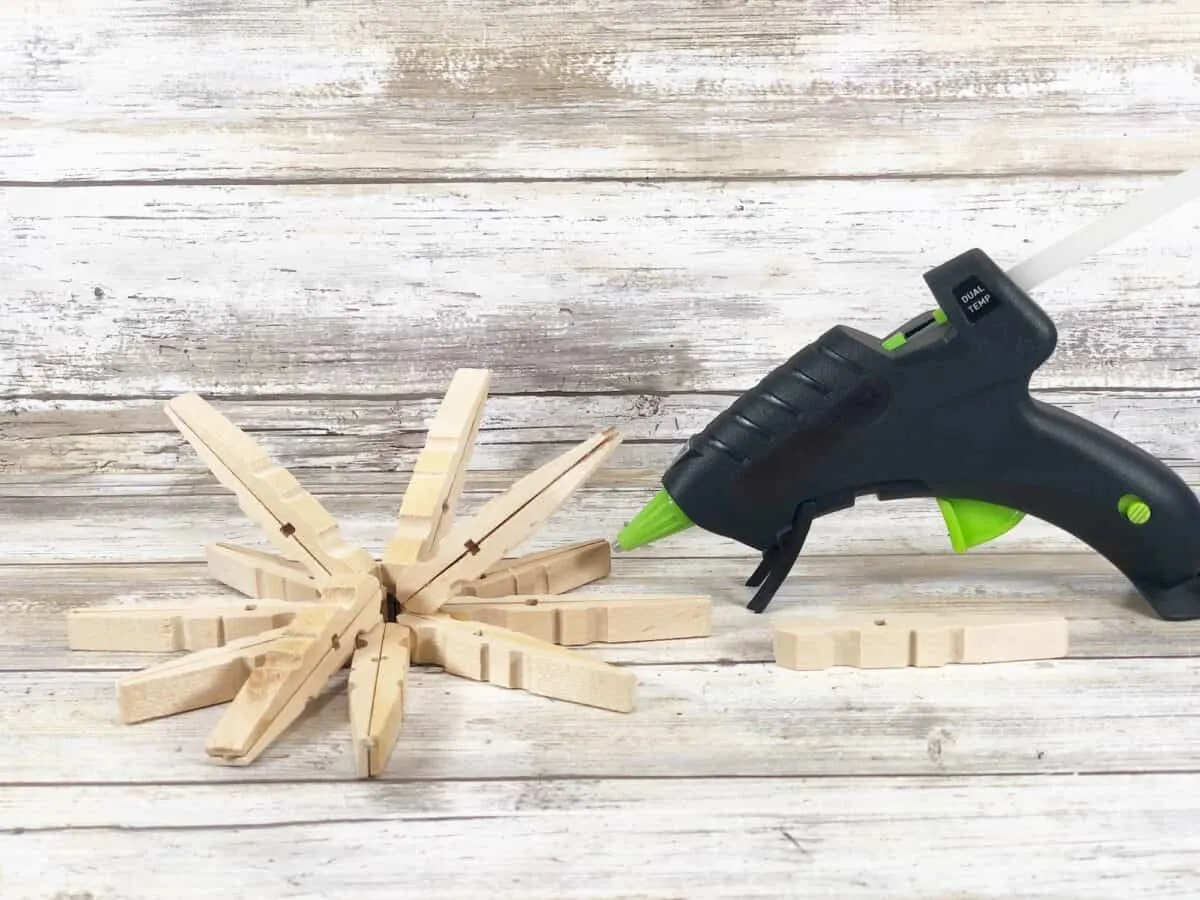
Step 5
Flip the clothespin star over on your work surface and repeat the above steps again. Attach four full-size clothespins in every other blank space, and the 5th one in the center.
The 3D star might be a bit wobbly for this step and hard to place on a table, so you can place it in a wide-mouth jar for stability while gluing.

If making a small star, too, repeat the steps with the medium size wooden clothespins.
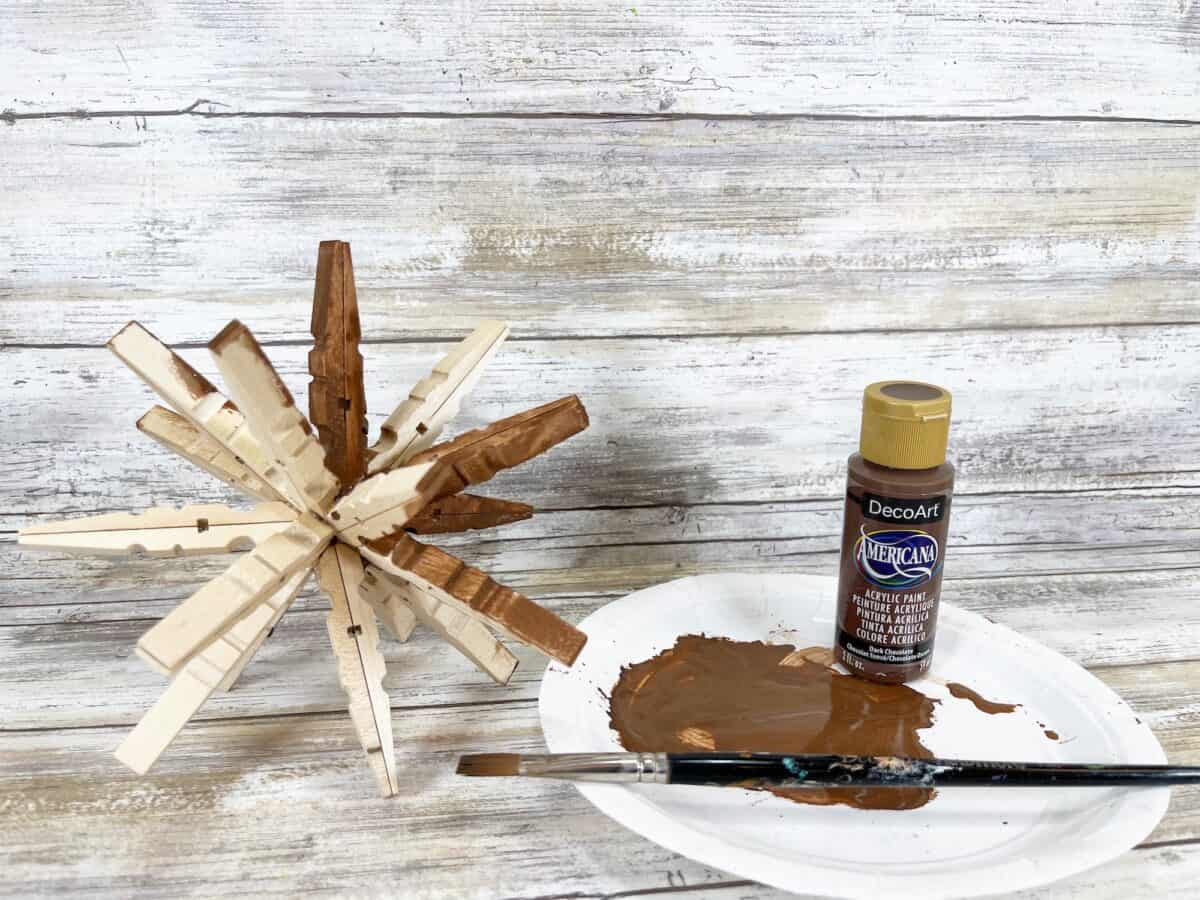
Step 6
Mix the dark brown acrylic craft paint with some water on a paper plate.
Using the watered-down paint mixture, brush the paint quickly over the clothespins, making sure to get into all the nooks and crannies. This will give the unfinished wooden clothespins a stained effect without using messy stains, so you don’t have to apply a perfect layer of paint.
If you want a lighter look, you can wipe off some of the excess paint with a wet paper towel before it dries completely.

I wasn’t happy with having to paint the clothespins like this. It was harder than expected! I suggest you paint them before gluing, or use a spray paint for a solid coat of color at this step.

Set aside to allow the paint to dry completely.

For more star crafts, be sure to see these fun projects:
If you like these easy 3D clothespin stars, be sure to see all of my Dollar Tree craft ideas!
