

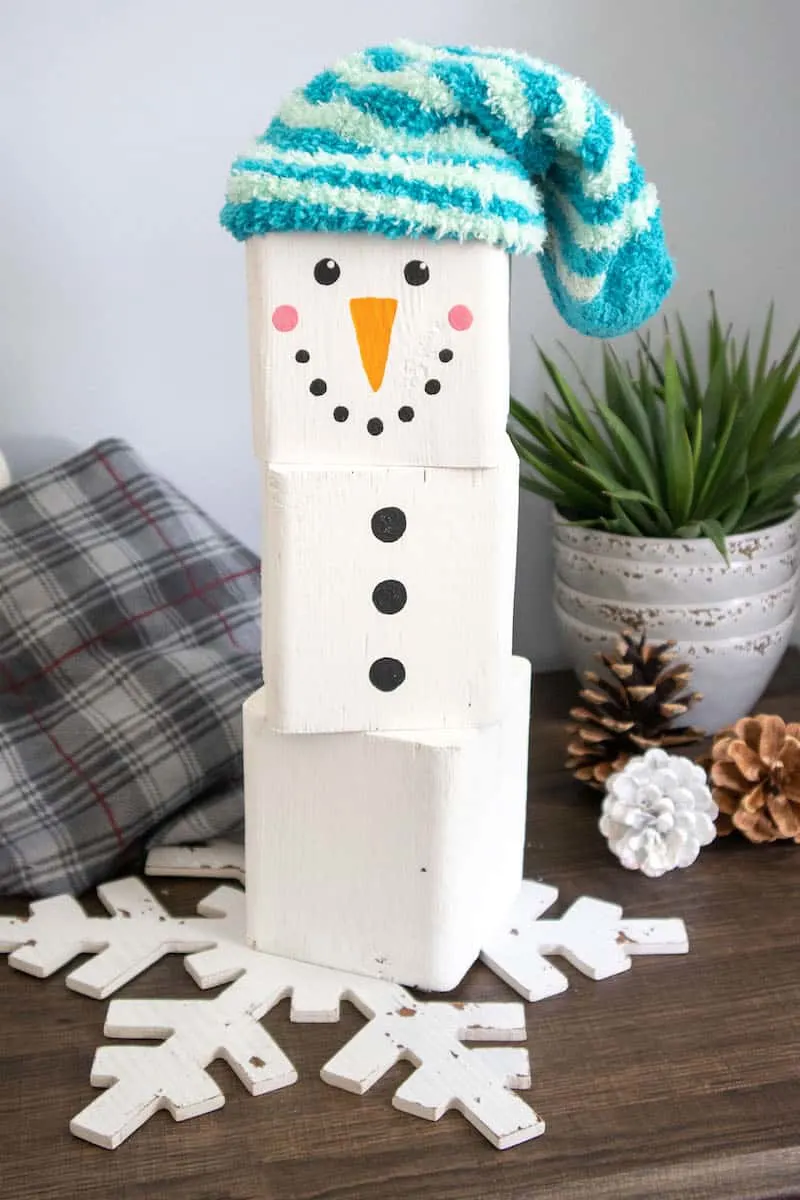
An Easy DIY Wood Block Snowman craft perfect for winter. Use a Cricut to make this a reversible Christmas decoration out of 4X4 blocks.

When I was growing up, a lot of our holiday decorations were made out of wood. Because it’s inexpensive and easy to find. And you can keep them for generations.

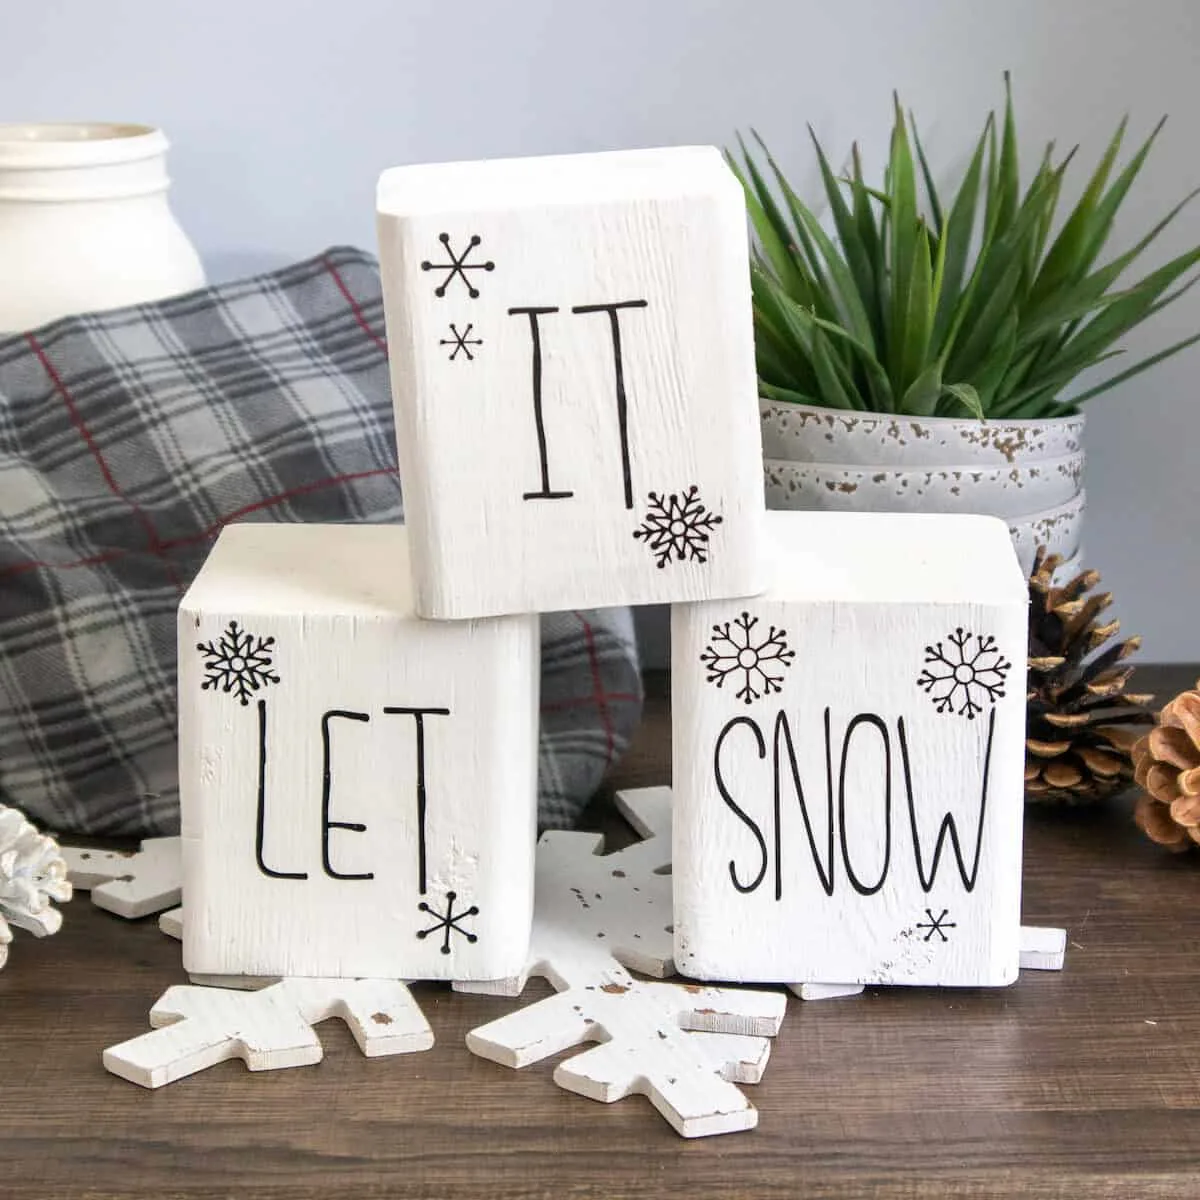
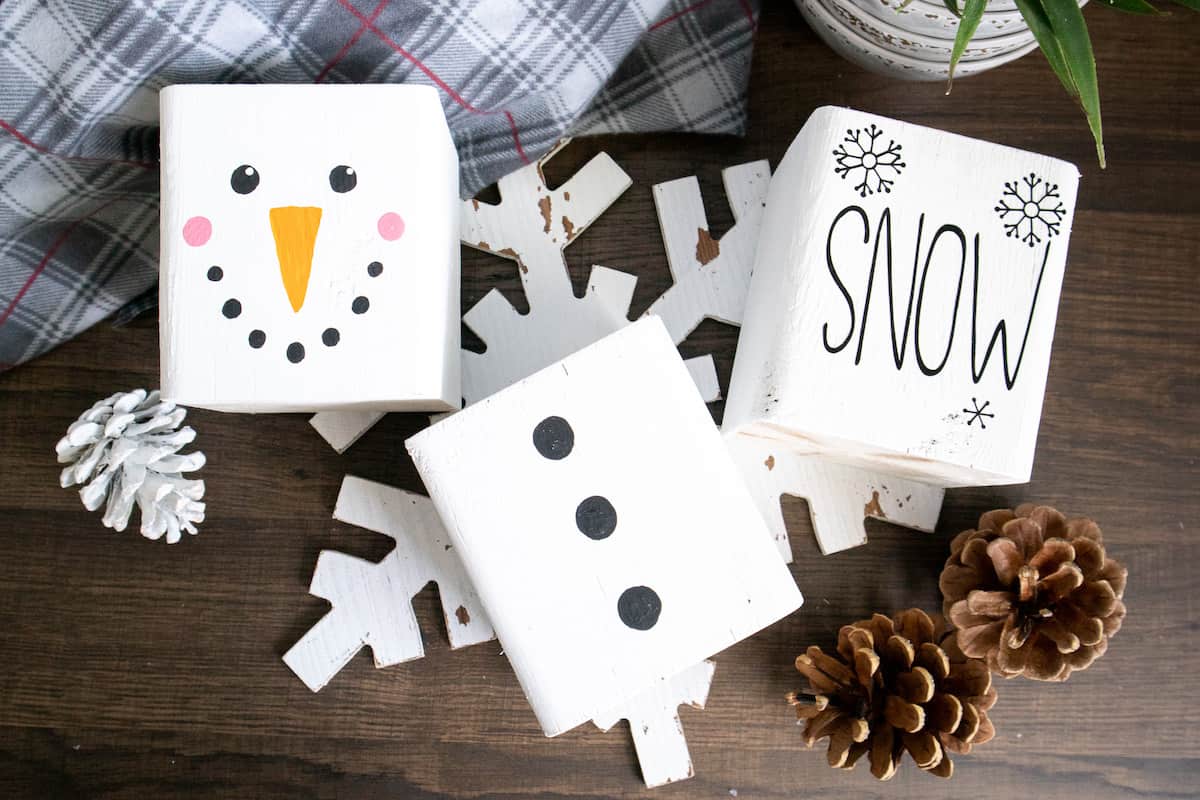
I also love holiday decorations that can stay out for more than just a few weeks. Which is why I love that this wood block snowman craft can be reversed for a holiday saying that is appropriate throughout the winter.

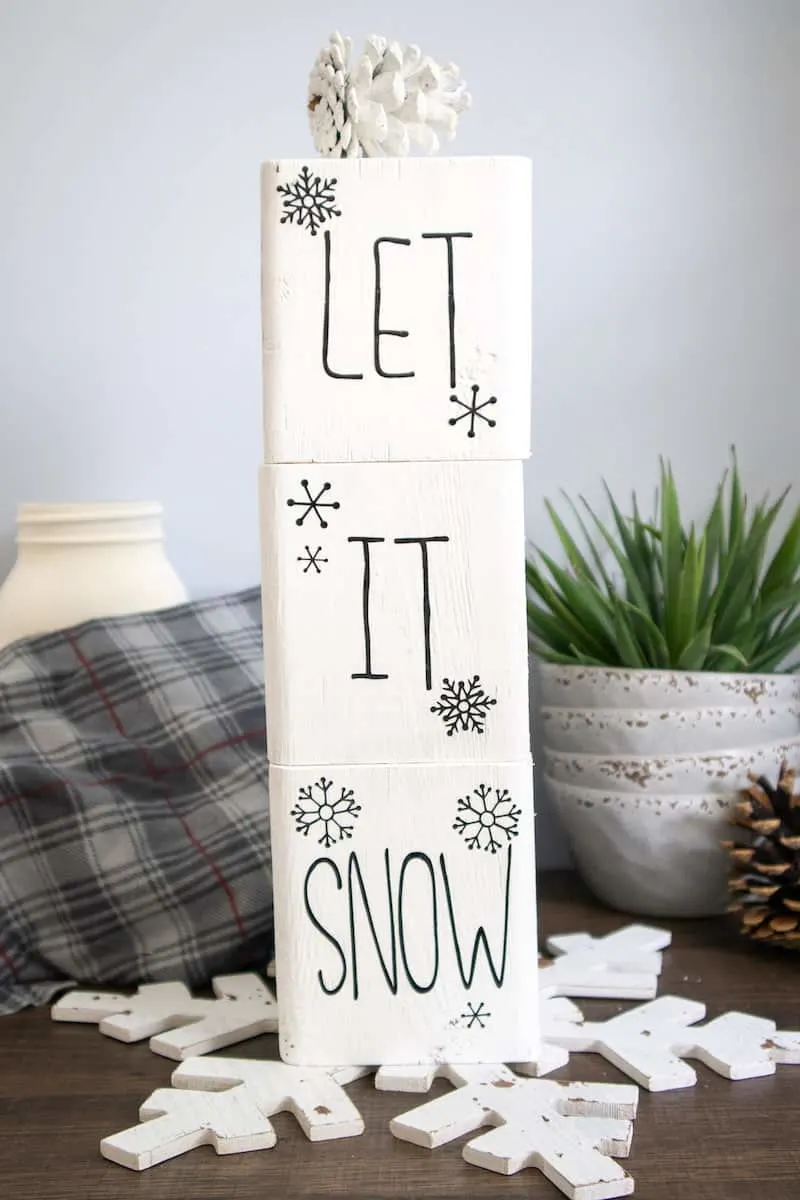
This DIY wood snowman is reversible with a winter saying made with Cricut. However, if you do not have a Cricut machine, you can still make this craft!
Just make the wood block snowman with paint. If you want it to be reversible, you can hand write the letters on the opposite side with a permanent marker or paint.
My snowman bookmarks can be used all winter long, too! They’re perfect for cozy reading by the fire!
Be sure to see my other snowman crafts, too:
- Snowman Christmas Crackers
- DIY Snowman Bracelet
- Foam Dice Snowman
- Snowman Front Door Wreath
- Easy Snowman Hat Ornaments
- Snowman Vase

How to Make a Wood Block Snowman
Materials
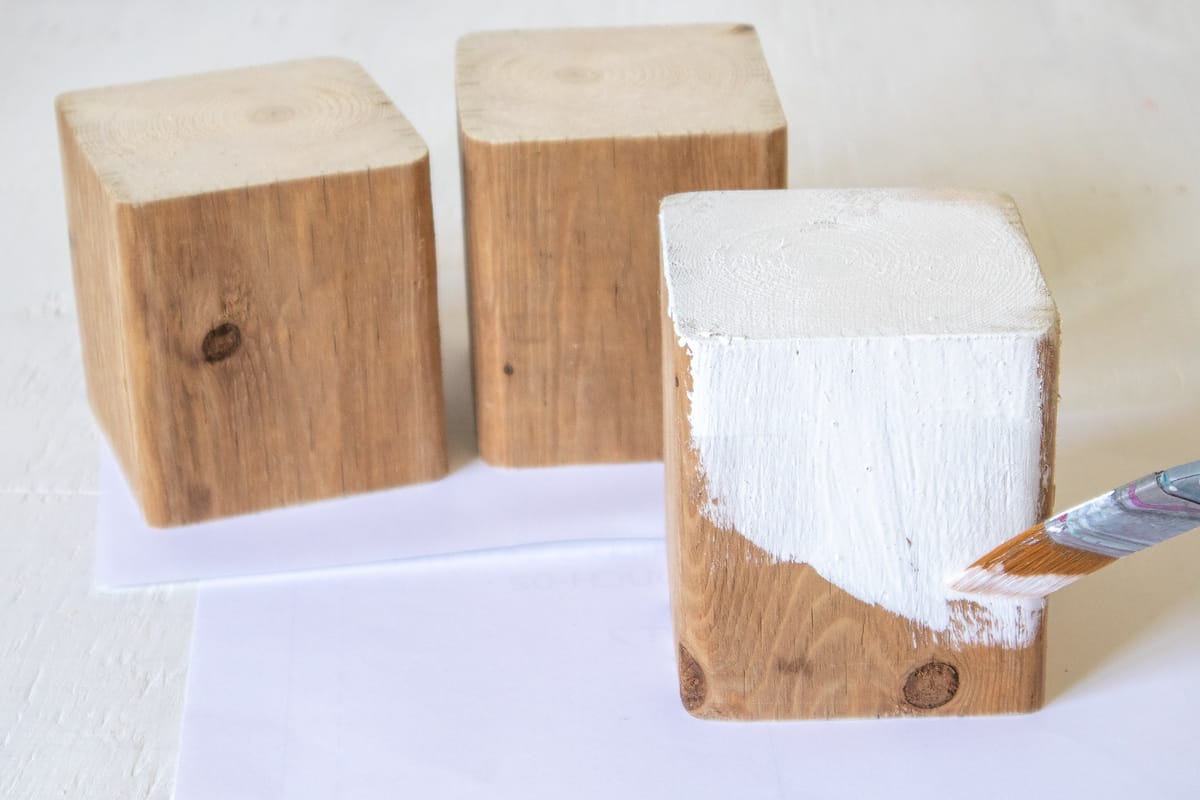
- 4×4 wood post cut into 3 blocks, each 4 ½” high
- Crafter’s Acrylics in White / Bright Orange / Black / Wild Rose Pink
- Paint brushes, fine tip and medium flat brush
- Chenille sock
- Cricut Design Space Snowflake Images #M8070D4
- Cricut Joy
- Smart Vinyl Permanent in black
- Weeder (This generic one is cheaper than the Cricut brand one.)
- Scissors
- Cricut Transfer Tape
Instructions
Painting the Wooden Blocks
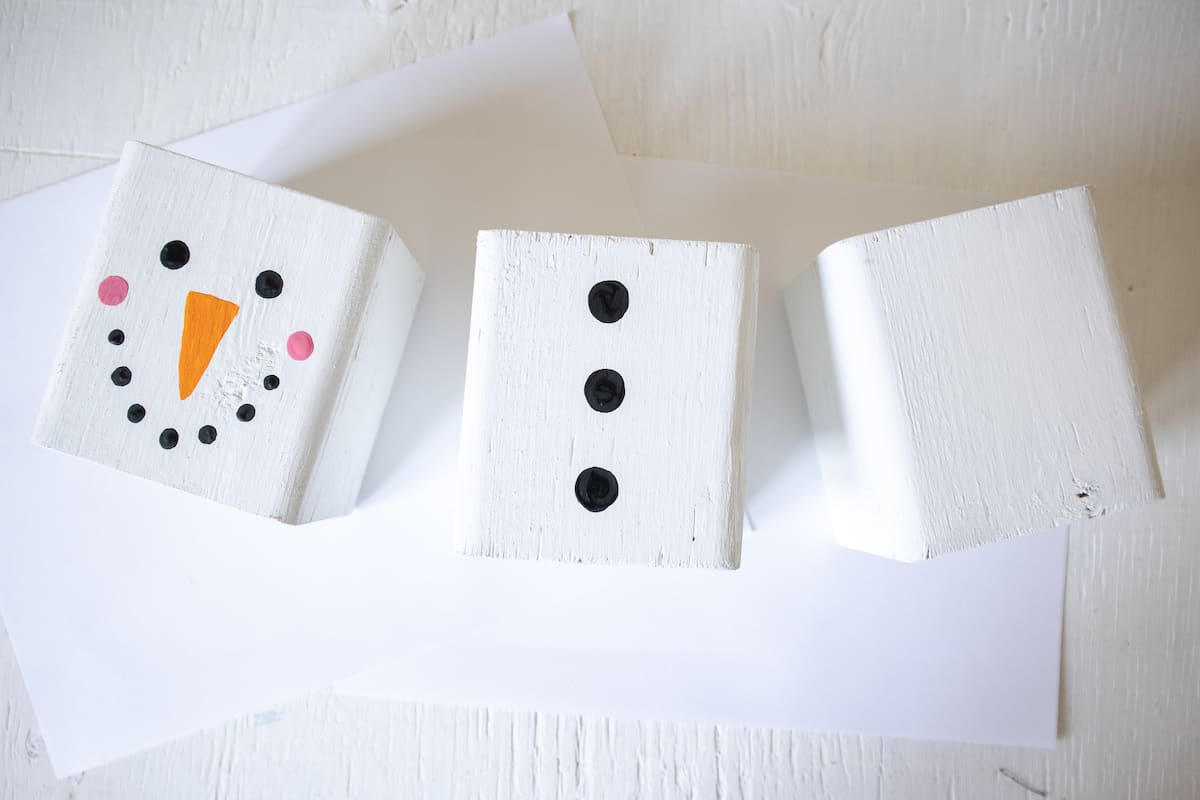
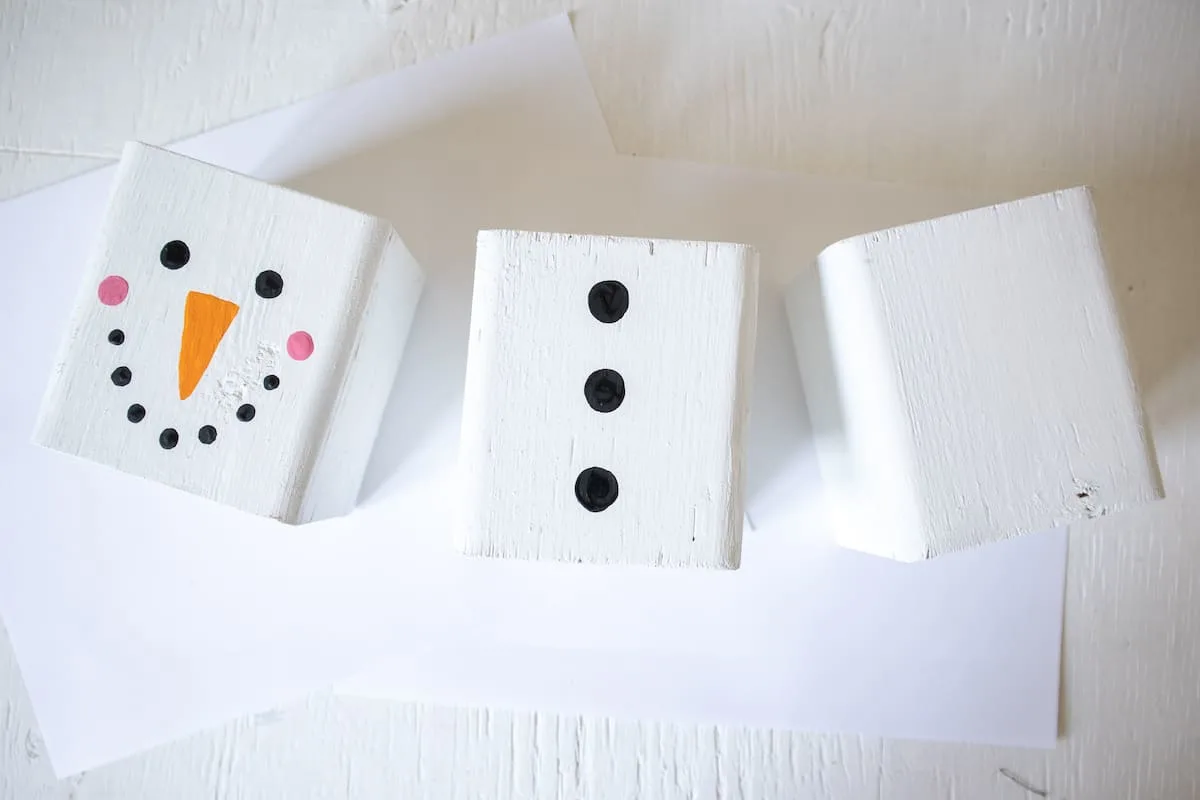
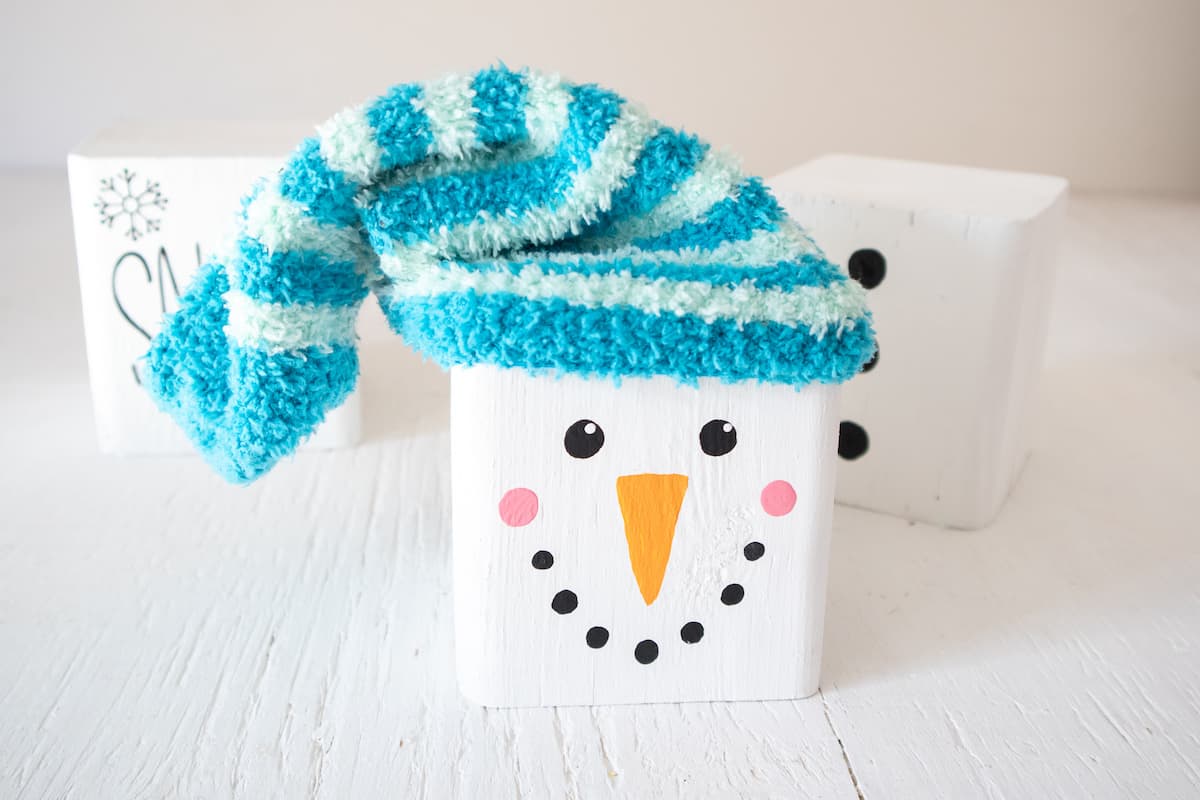
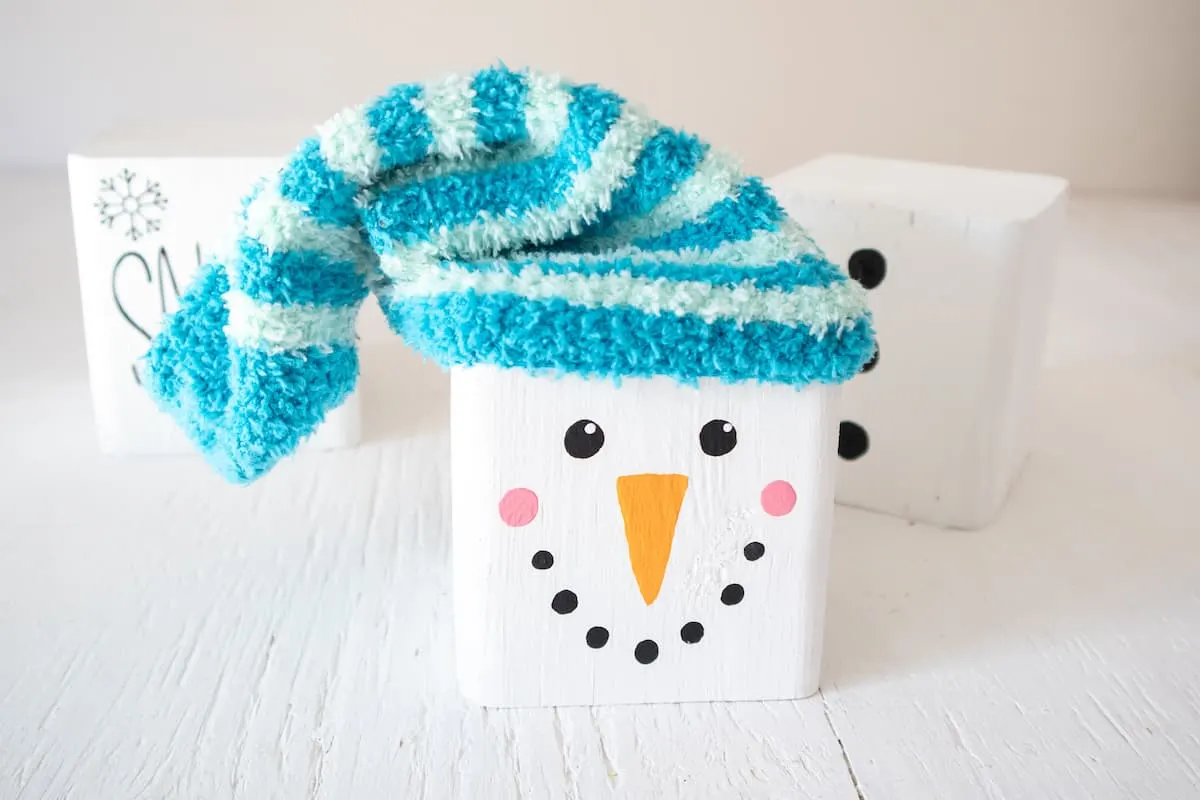
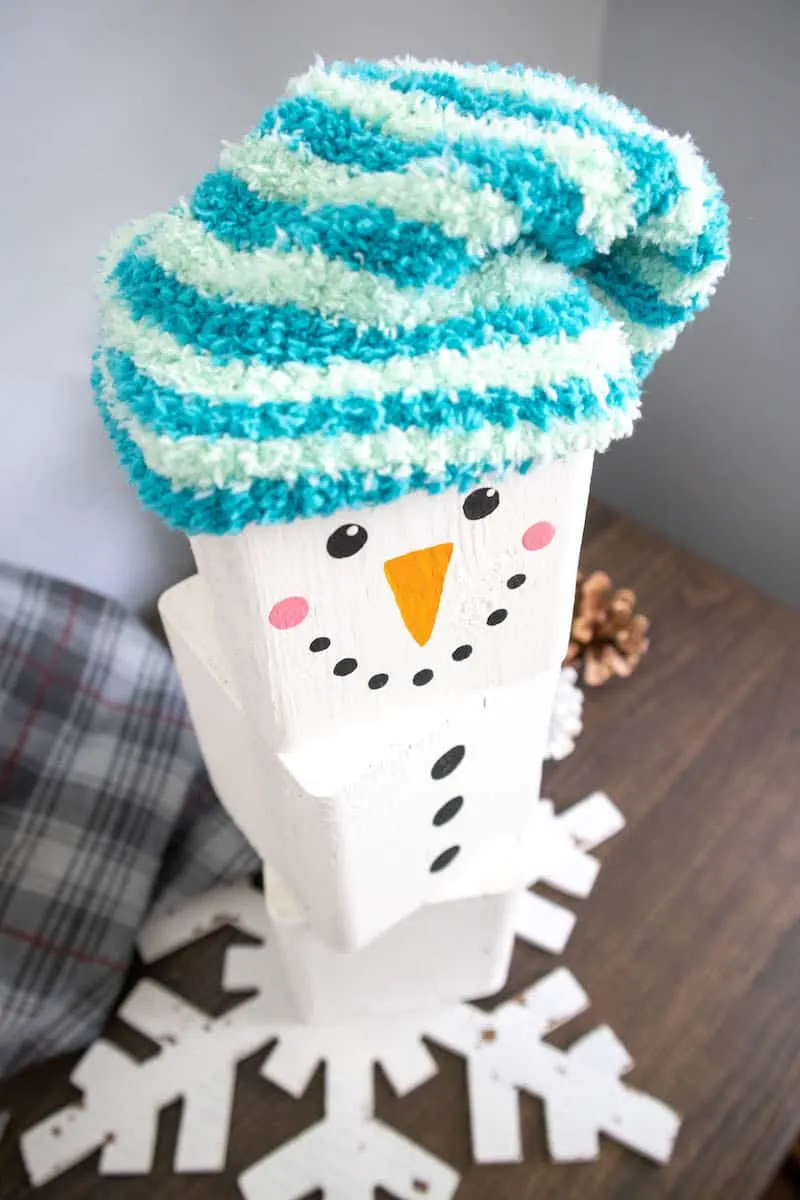
Paint the wood blocks in white. Let dry and paint again if needed.

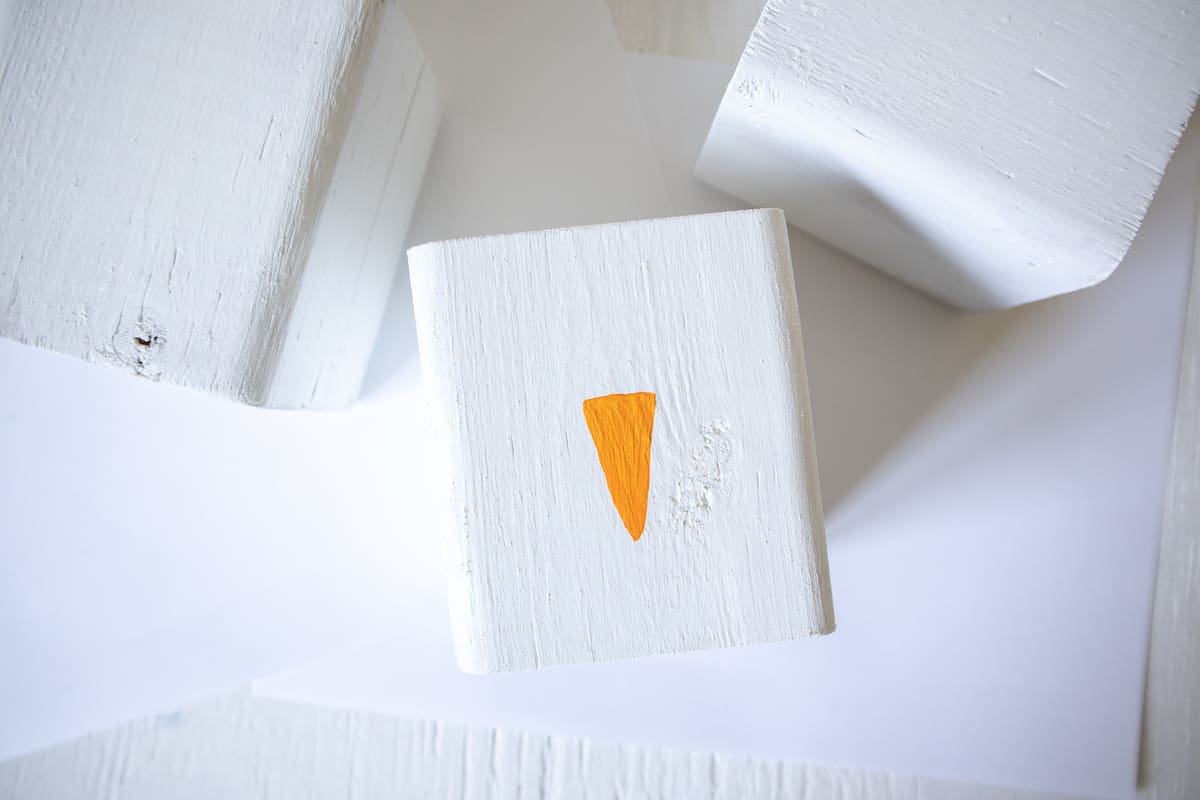
Using a fine tip paint paint brush, add an upside down triangle using orange paint in the middle of one block.
Again using a fine tip paintbrush, paint two circles in black for the eyes; and seven smaller circles curved up for the mouth.
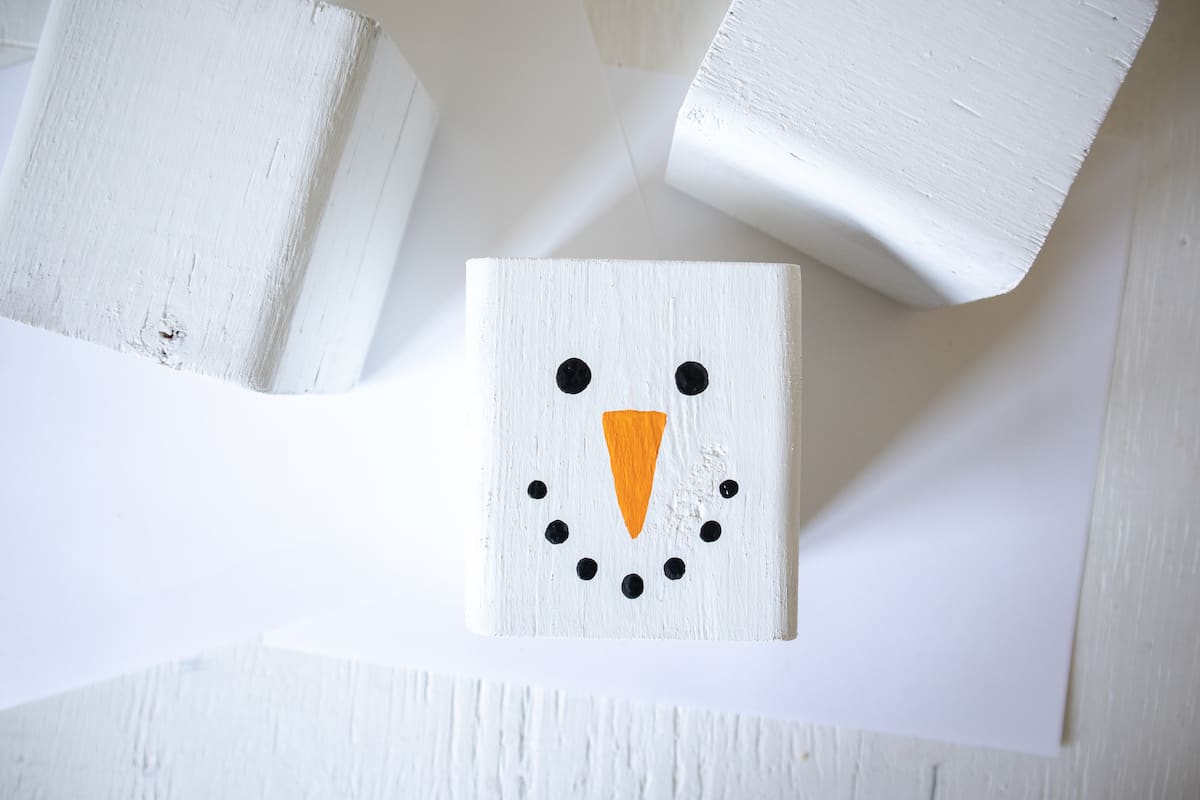
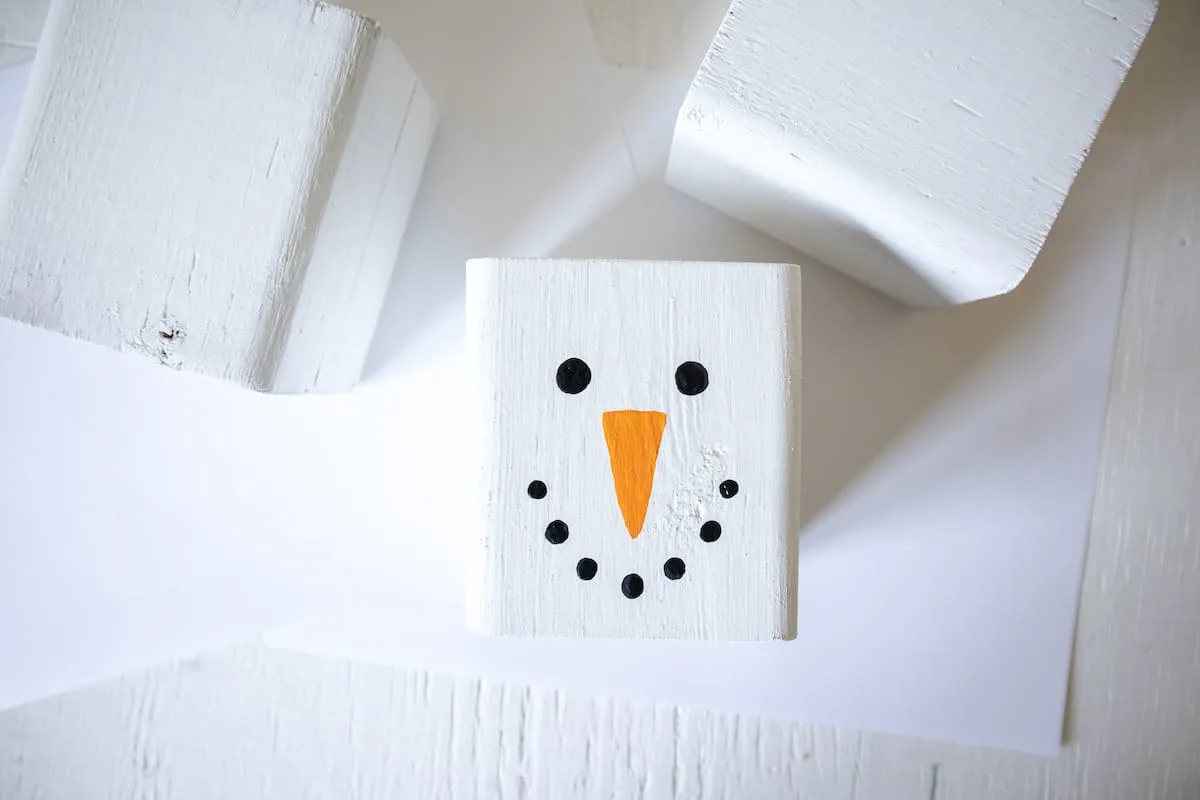
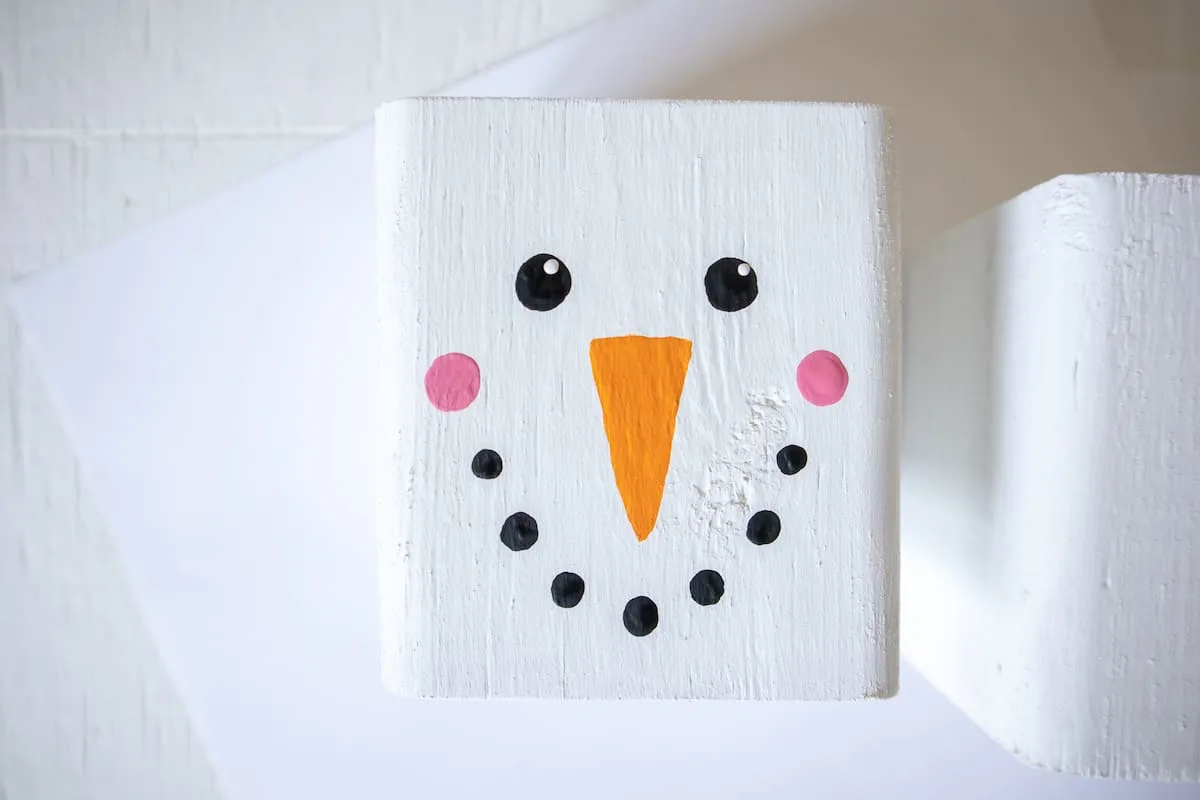
Paint two larger circles for the rosy cheeks above the mouth in pink.

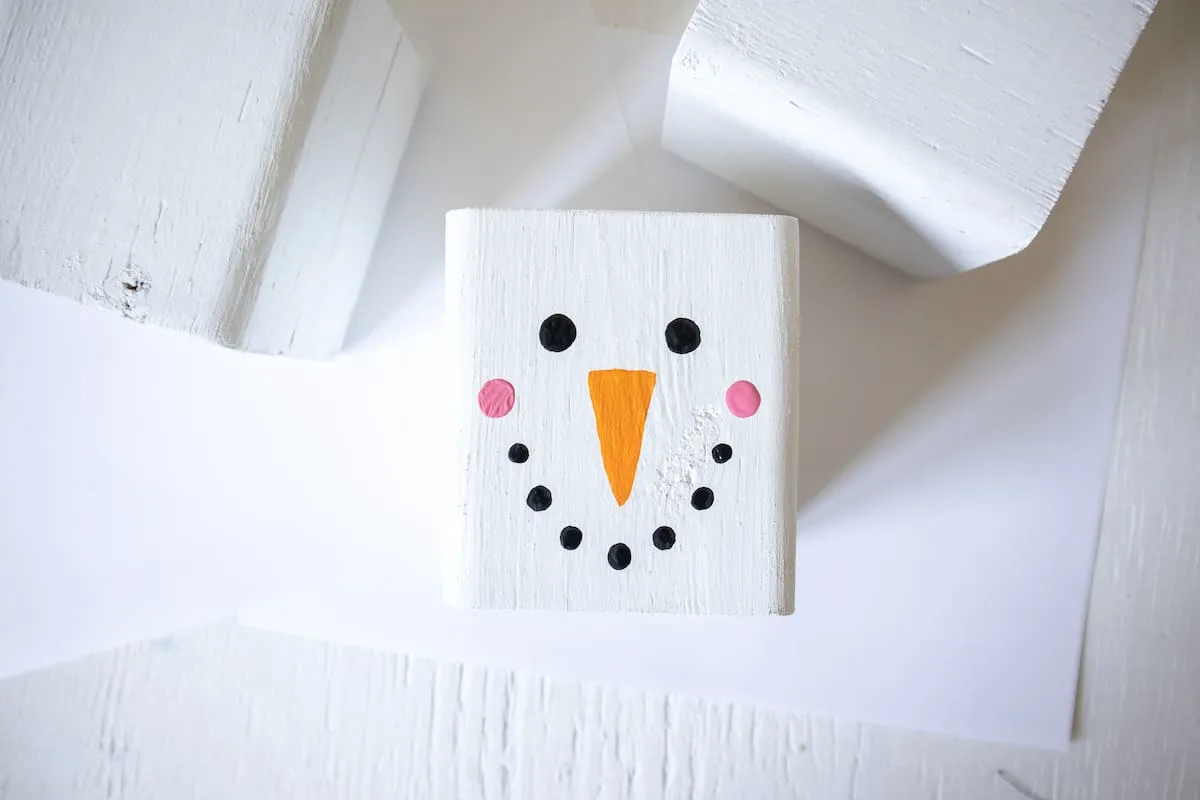
Using the end of the handle of the fine tip paint brush (or even use a toothpick end), dab two small circles inside the eyes towards the top in white.

Paint three large circles for the buttons in the middle of another block.
If you are not using a Cricut machine to make this a reversible wooden block craft, then skip the instructions below and go straight to the end!
Preparing Cricut Images
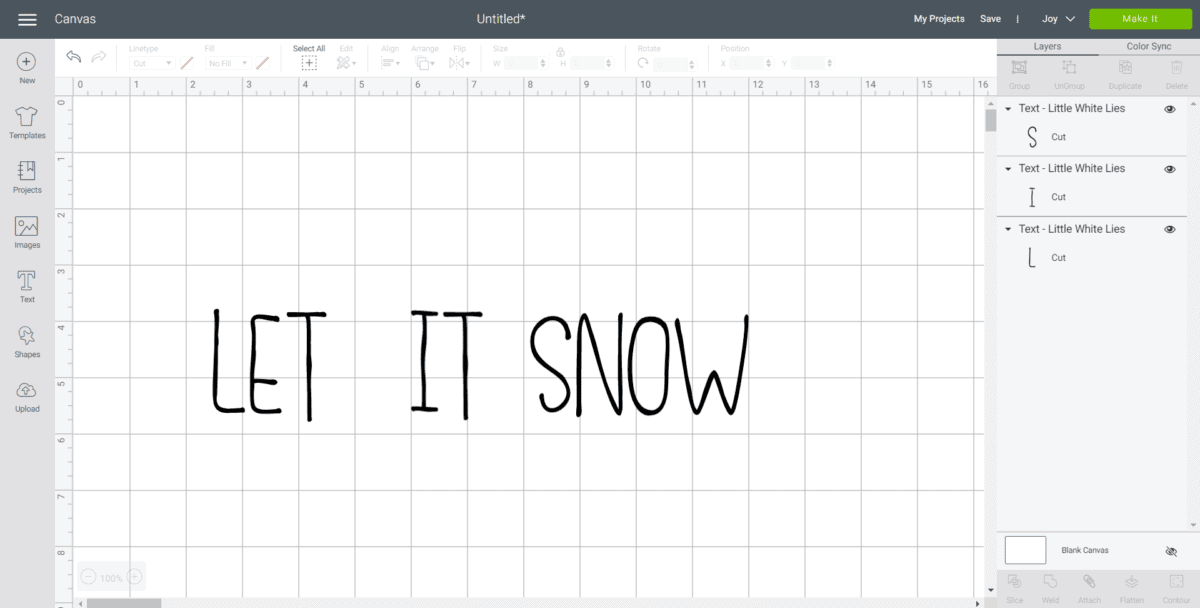
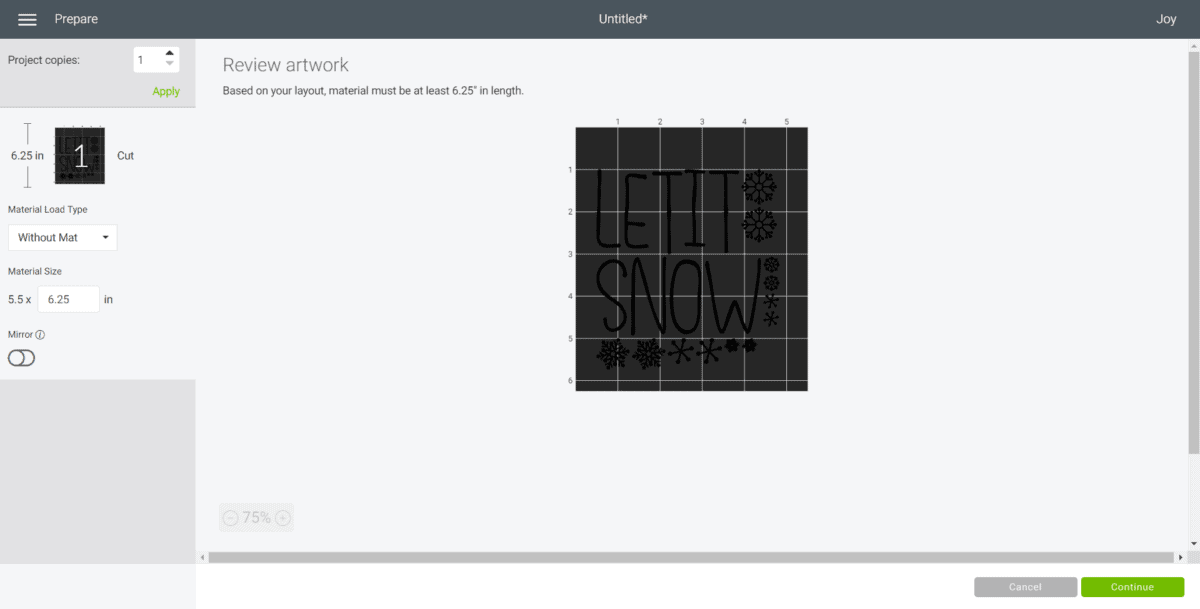
Open a blank canvas in Design Space. Select the text icon from the toolbar.
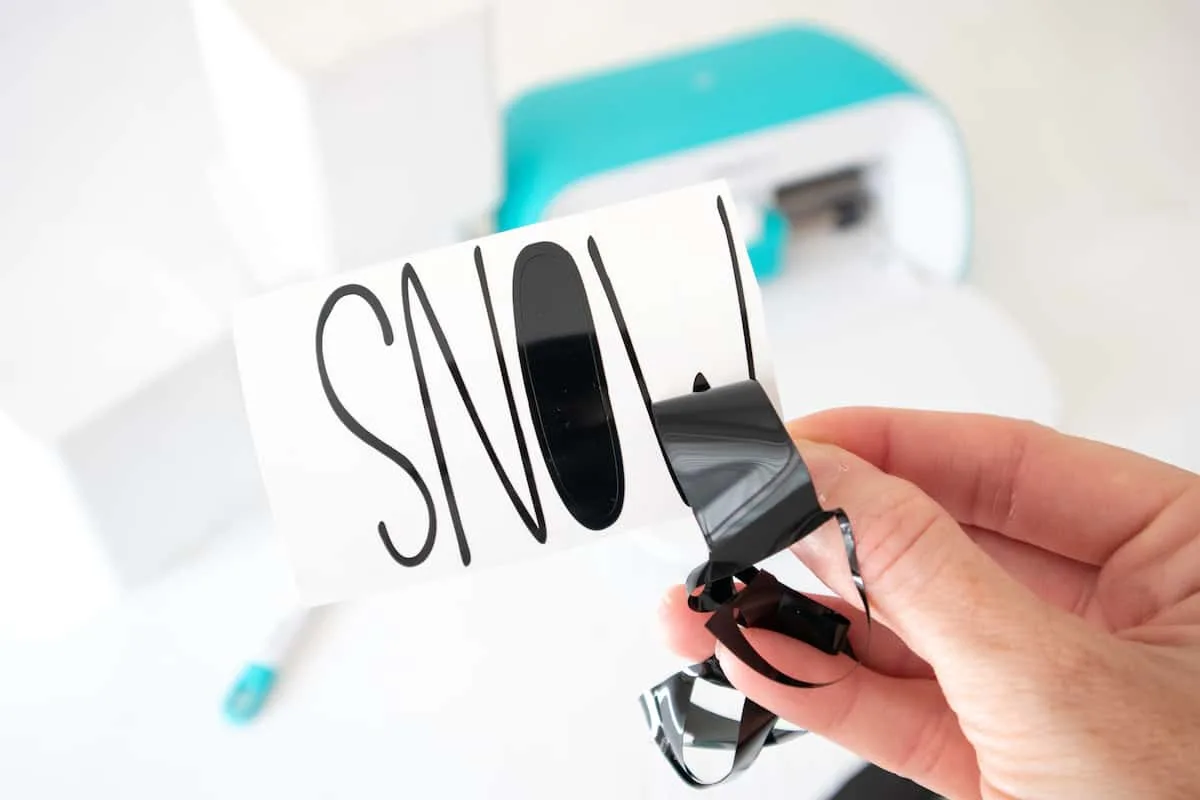
Type LET.
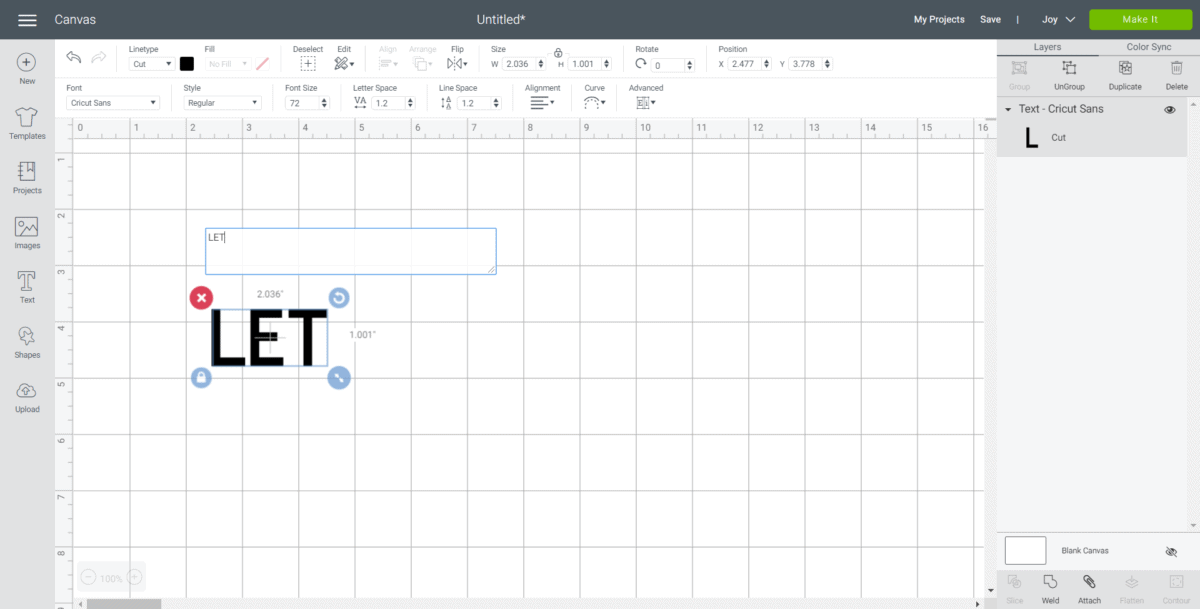
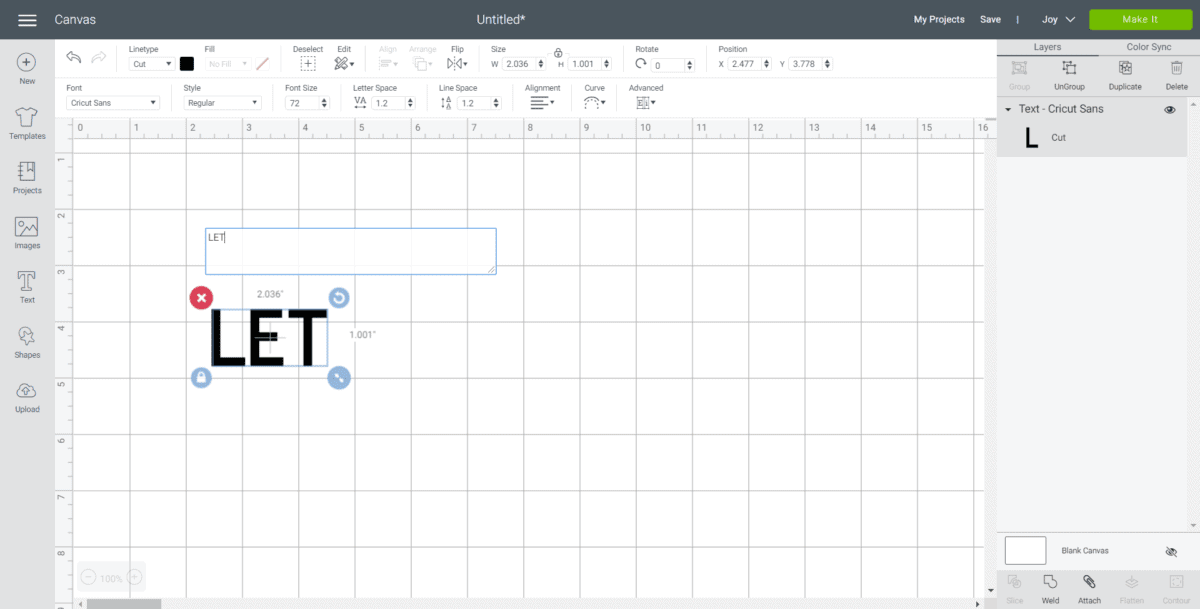
Change the font to “Little White Lies”.

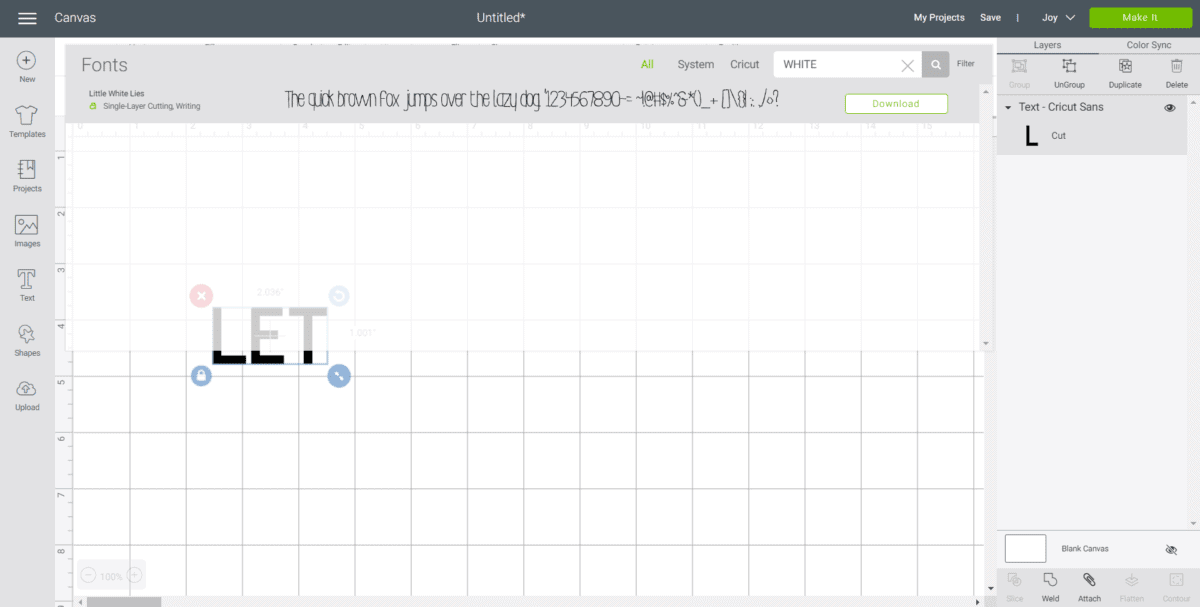
With the word highlighted, adjust the letter spacing to 0.7.
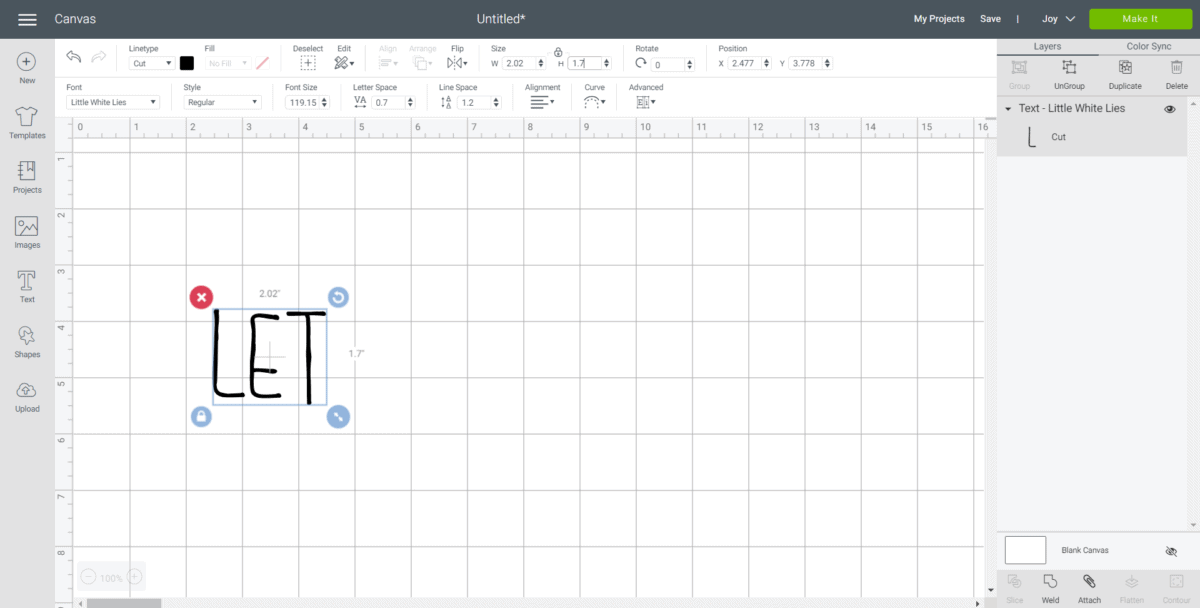
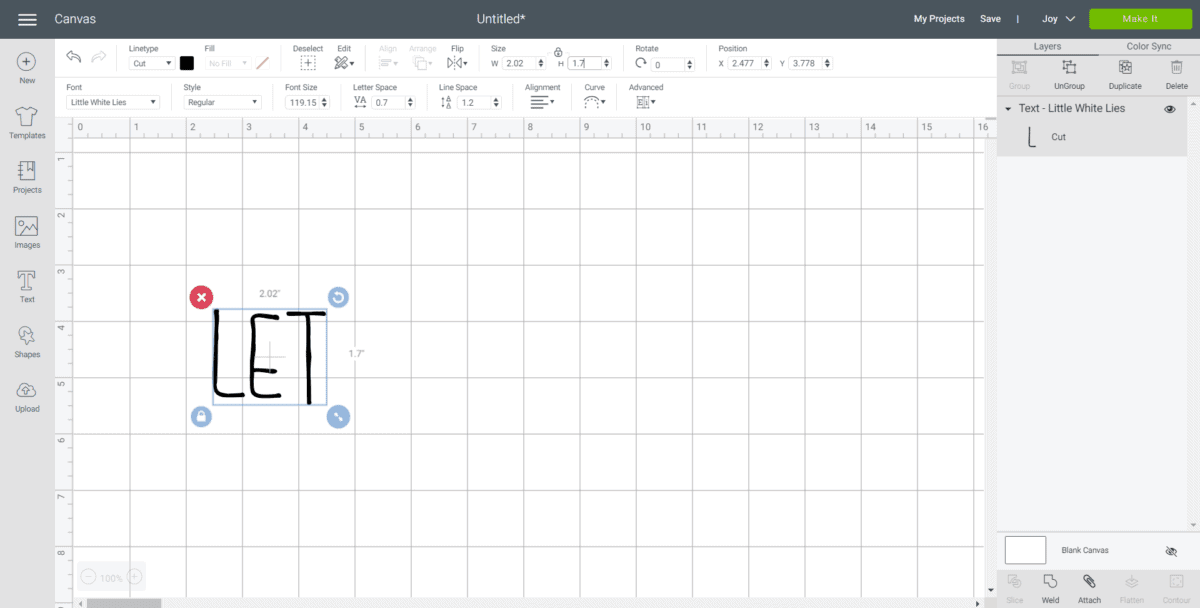
Stretch the lettering by clicking on the lock symbol above the size section and adjusting the height to 1.7” while keeping the width the same.
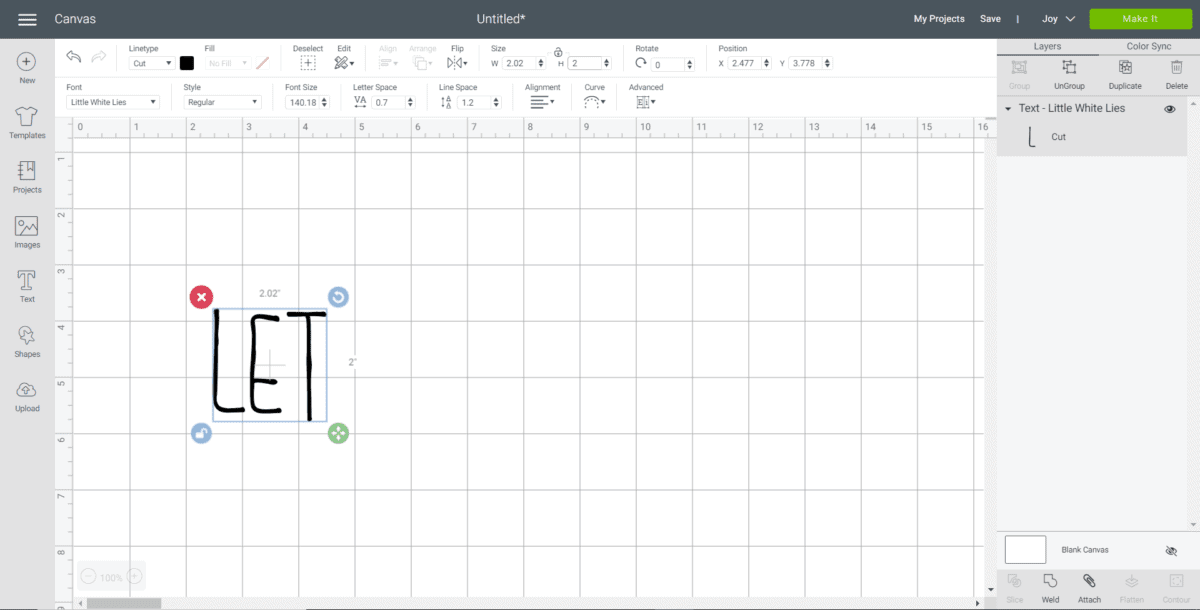
Next, click on the unlock symbol and adjust the word height to 2”.

Repeat the same steps for the words IT and SNOW.

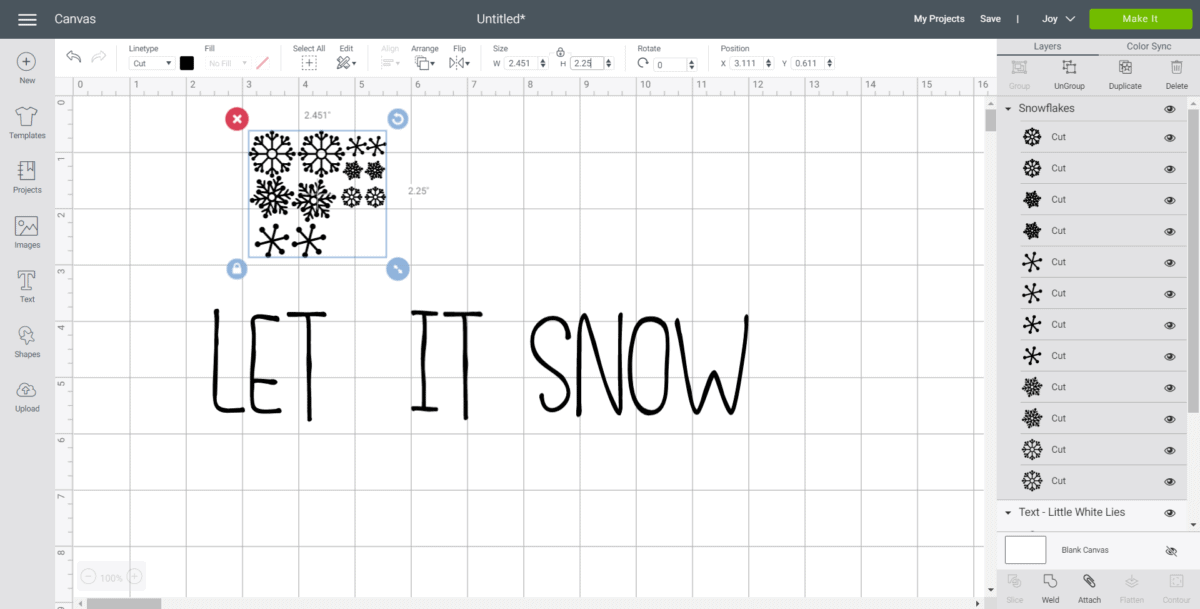
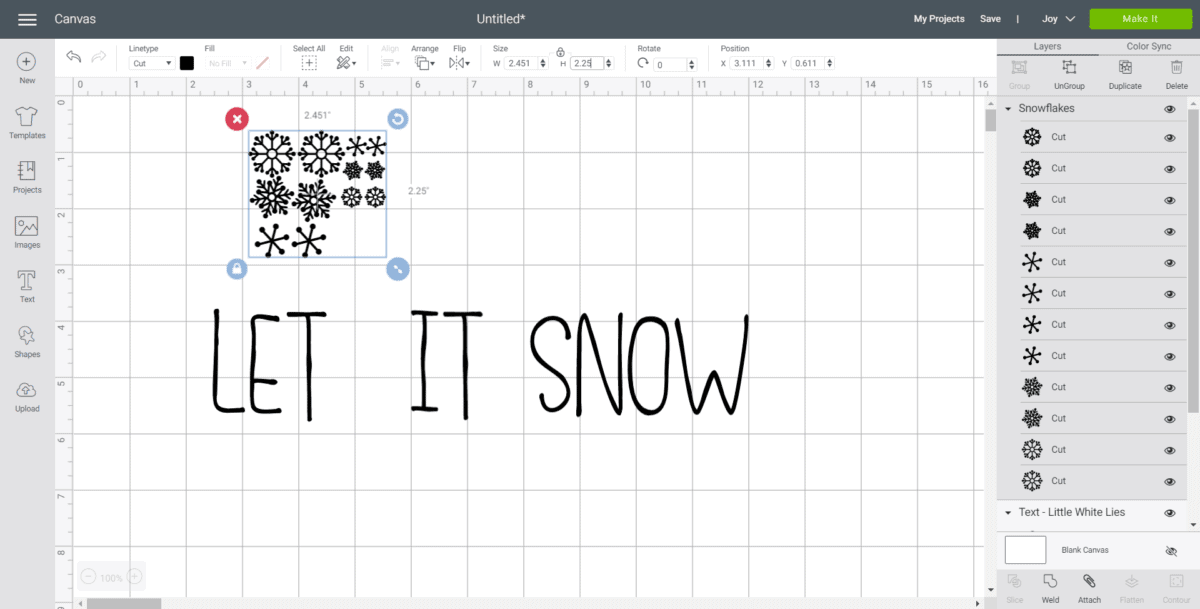
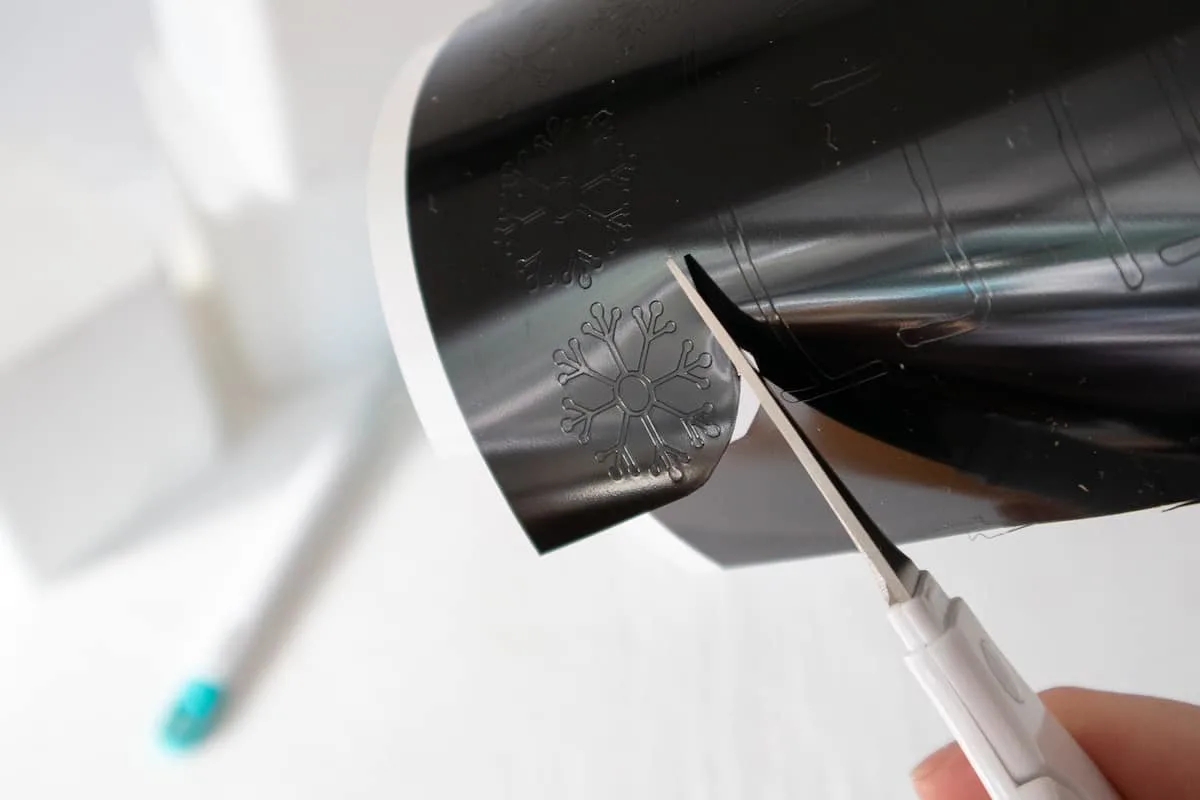
Click on the images icon in the toolbar and search snowflakes #M8070D4.

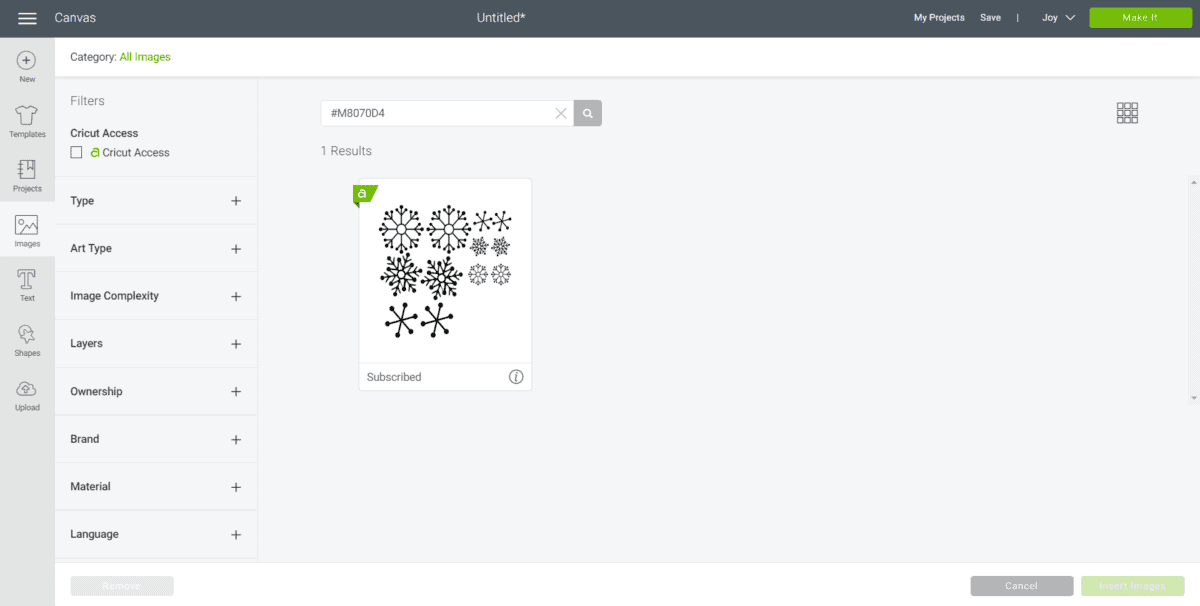
Adjust the size to 2.25”.
Cutting the Vinyl
Select “Make It” in Design Space. Choose “Without Mat.”


For cutting the words, set the material type to Smart Vinyl.

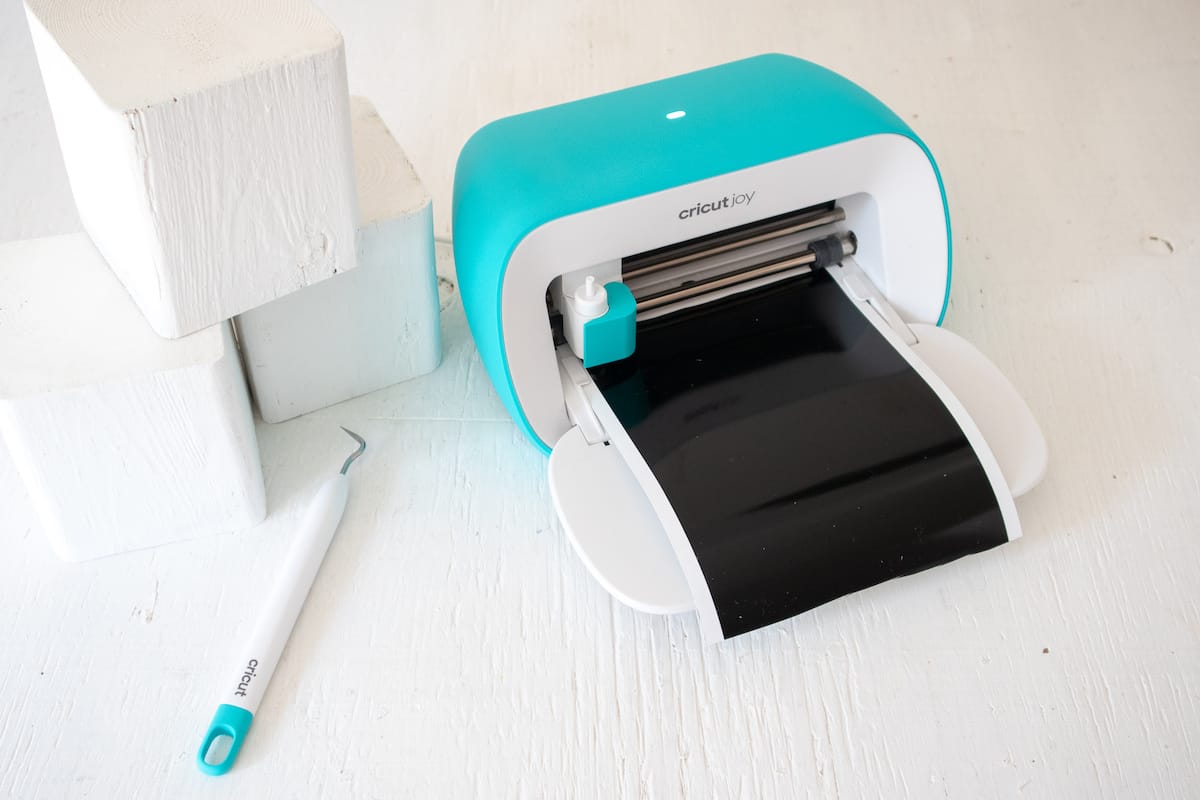
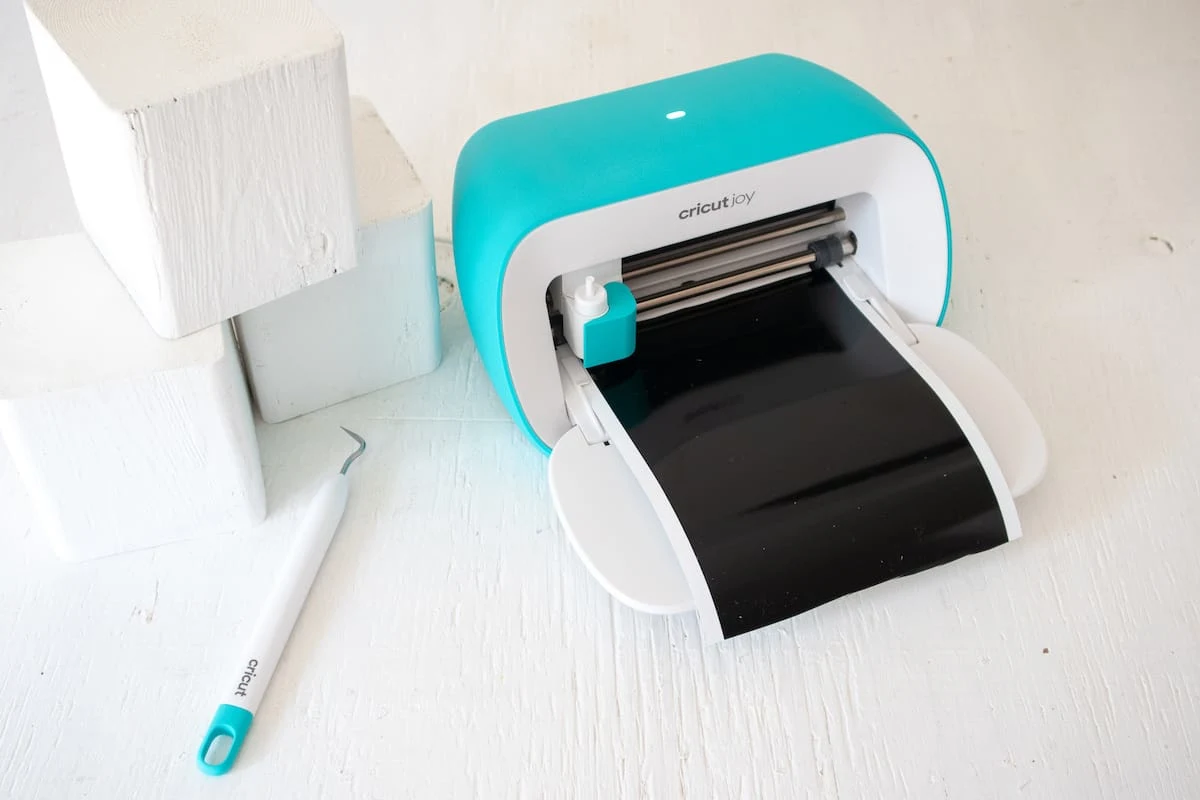
Follow prompts for loading the Smart Vinyl into the Cricut Joy and cutting. When prompted, unload the from the cutting machine.
Applying Vinyl to the Wood Snowman Blocks
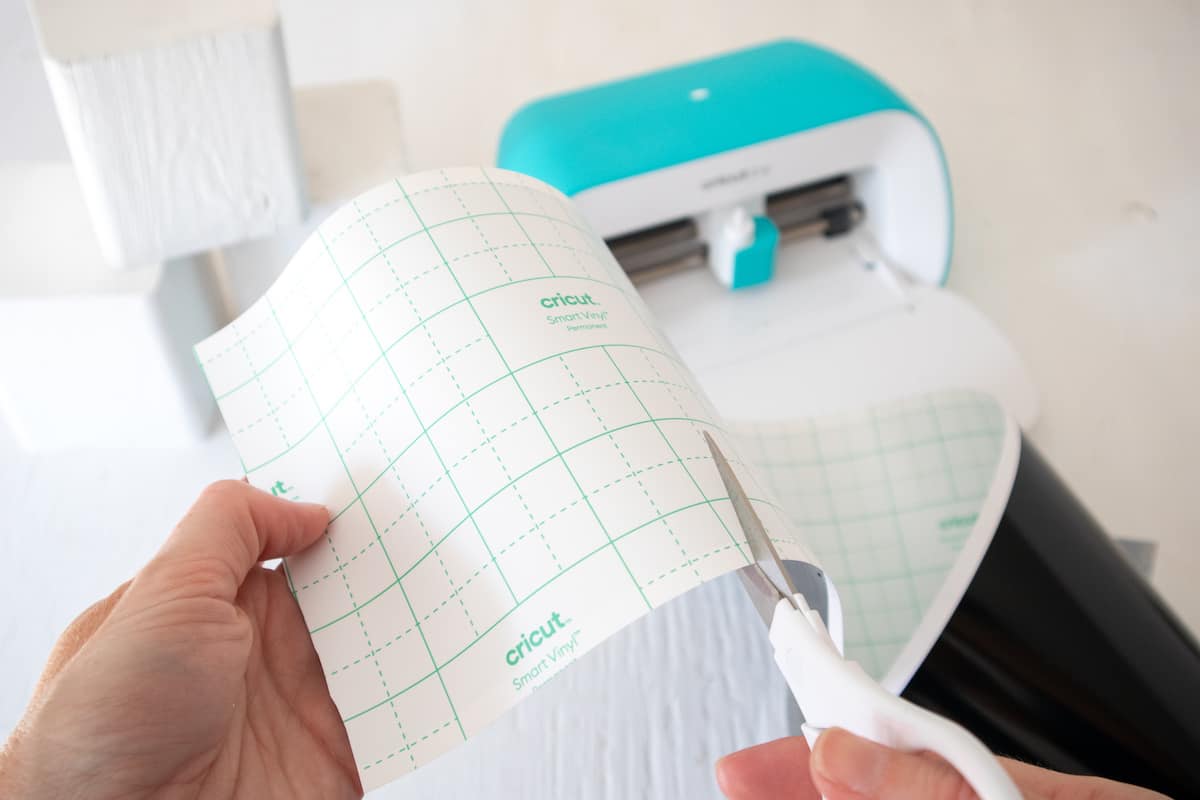
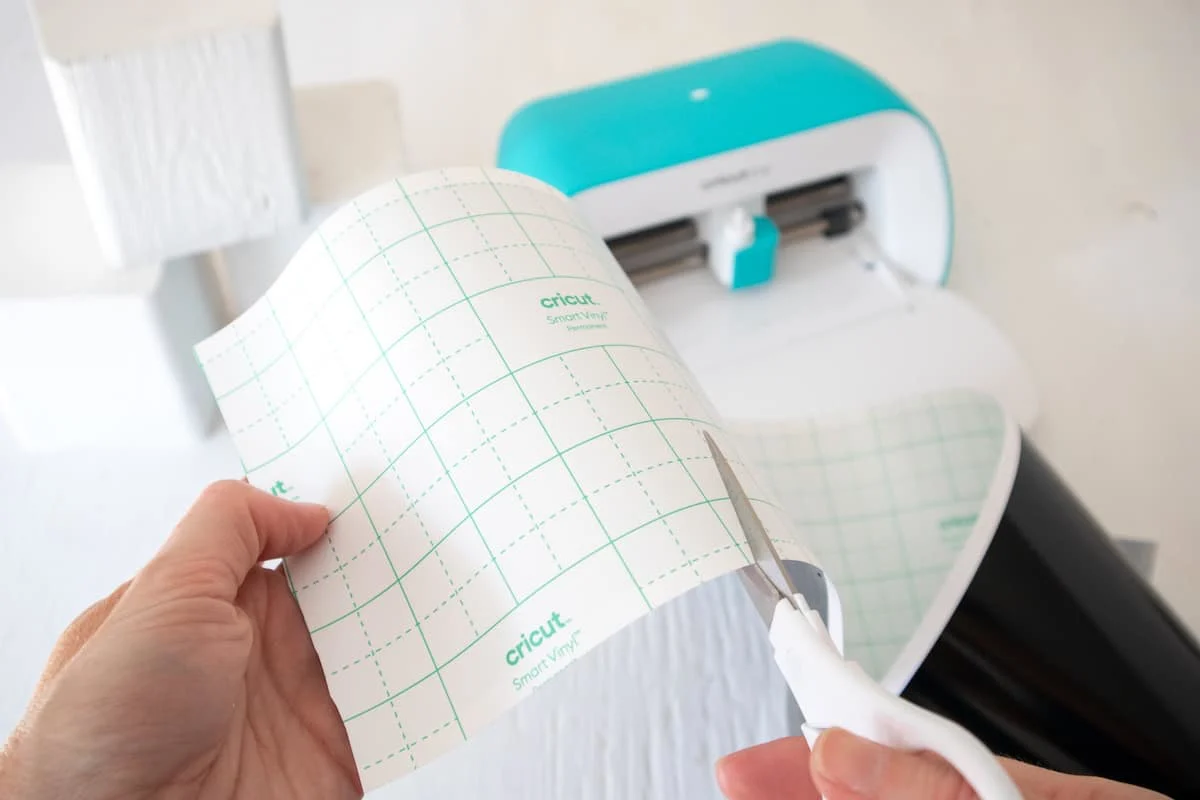
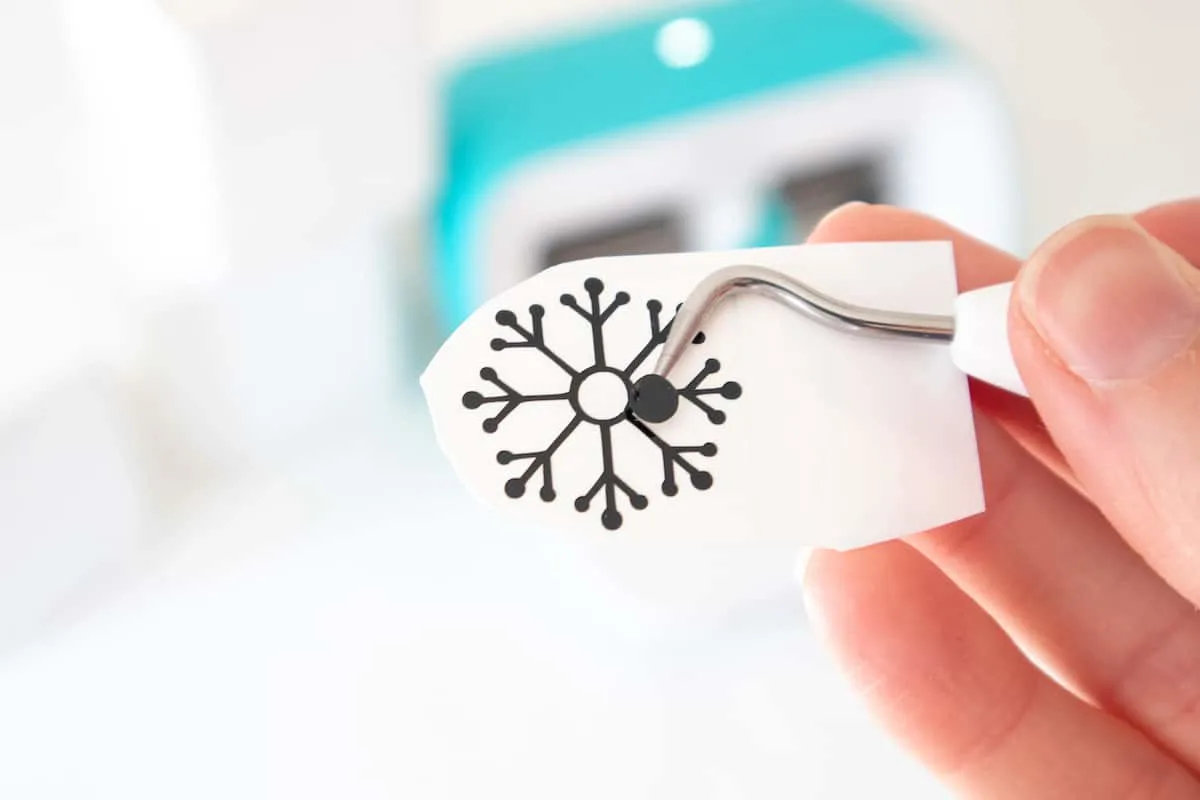
Cut around each word and snowflake with a pair of scissors.

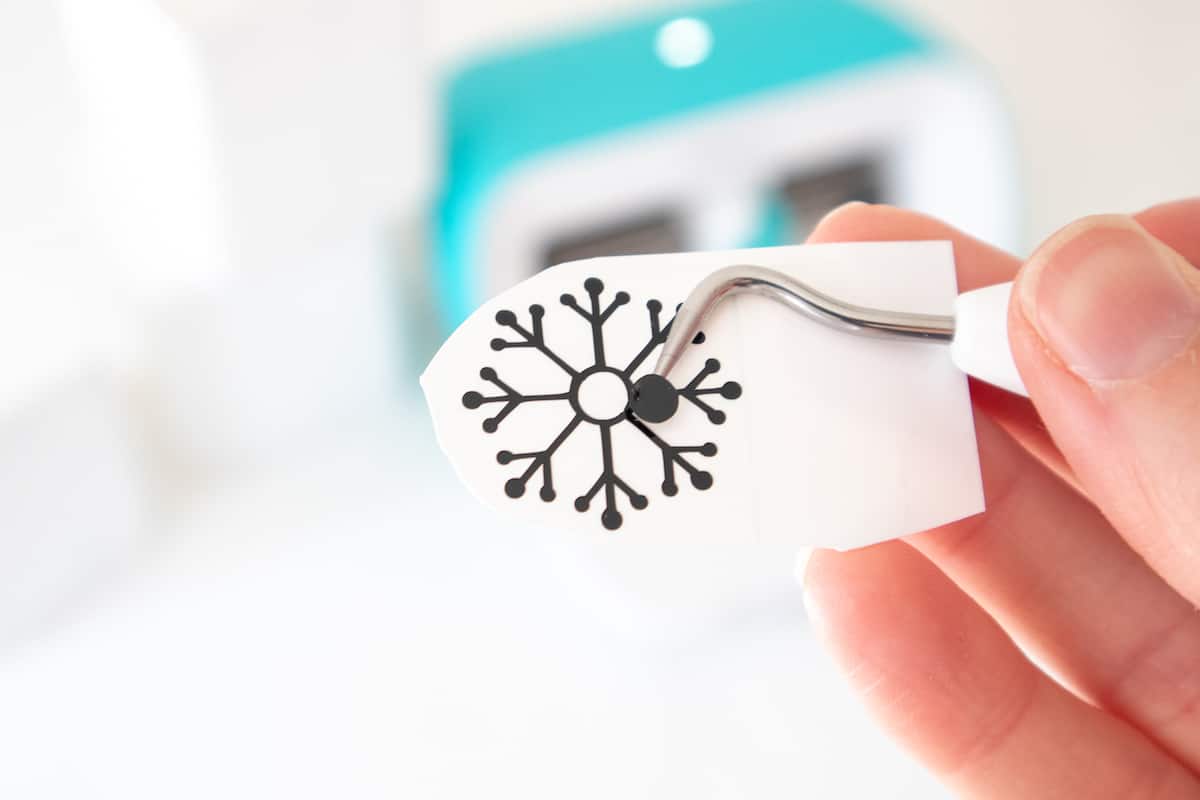
Using the Cricut weeder tool, peel away the excess vinyl around the images.

Cut a piece of transfer tape slightly larger than the size of the word “LET.”
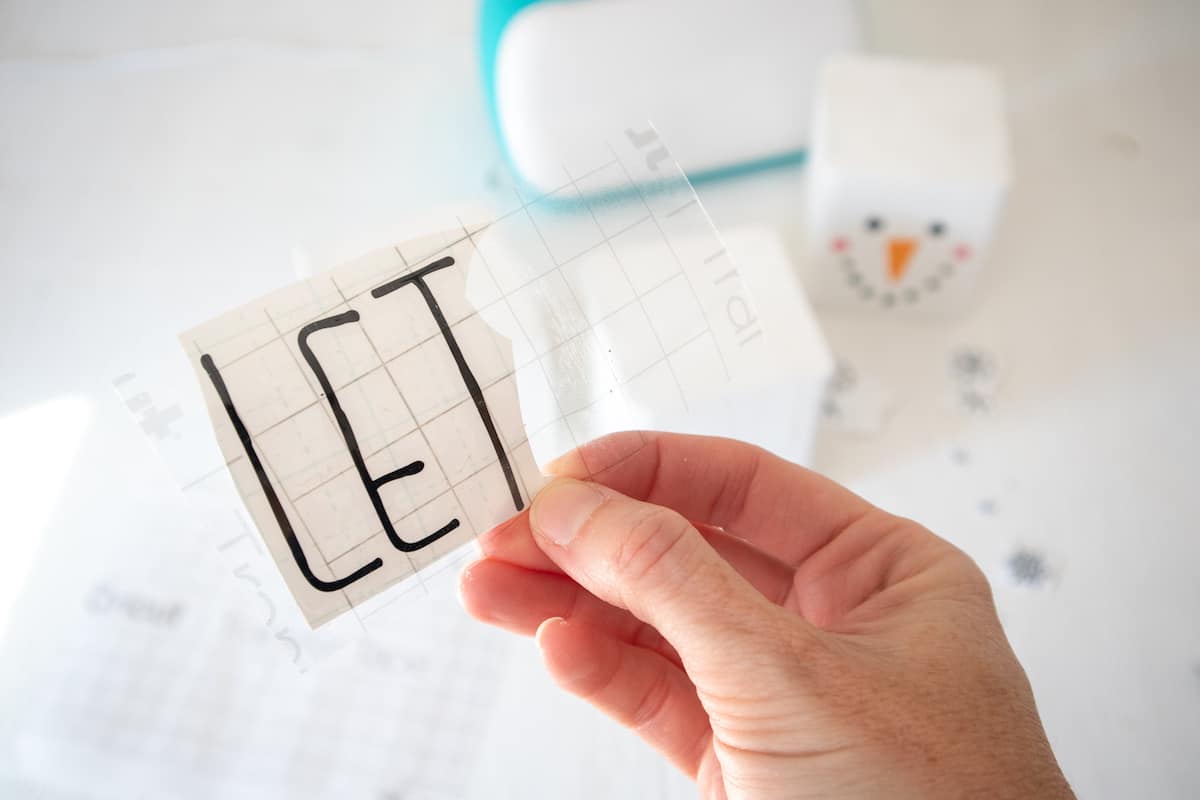

Peel away the tape backing. Just make sure that the transfer tape is not too sticky.
Place the transfer tape on top of the word. Gently rub the vinyl to help it stick to the transfer tape. Peel away the vinyl backing, leaving just the image adhered to the transfer tape.
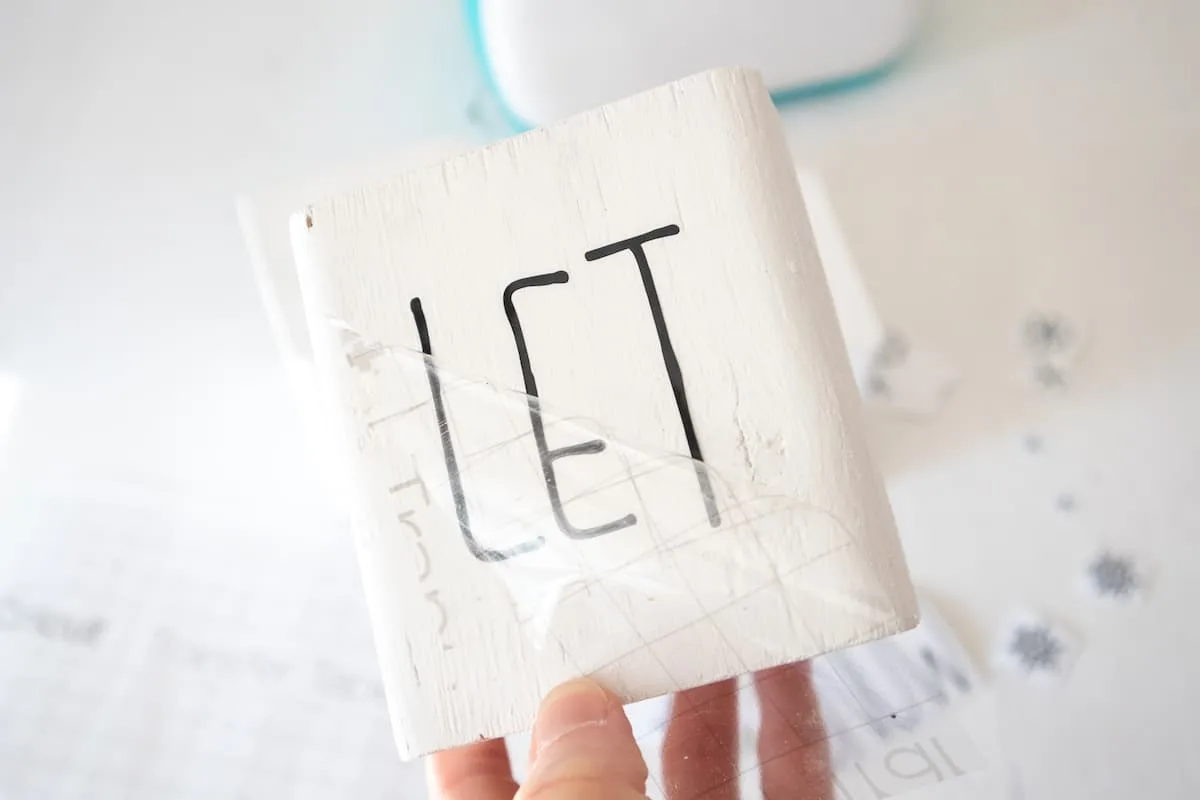
Position the word with the transfer tape on to the opposite side of the wooden block (opposite of the painted snowman face). Press the vinyl word down with your fingers to help it to stick to the block. Slowly and carefully remove the transfer tape leaving the vinyl image on the block.
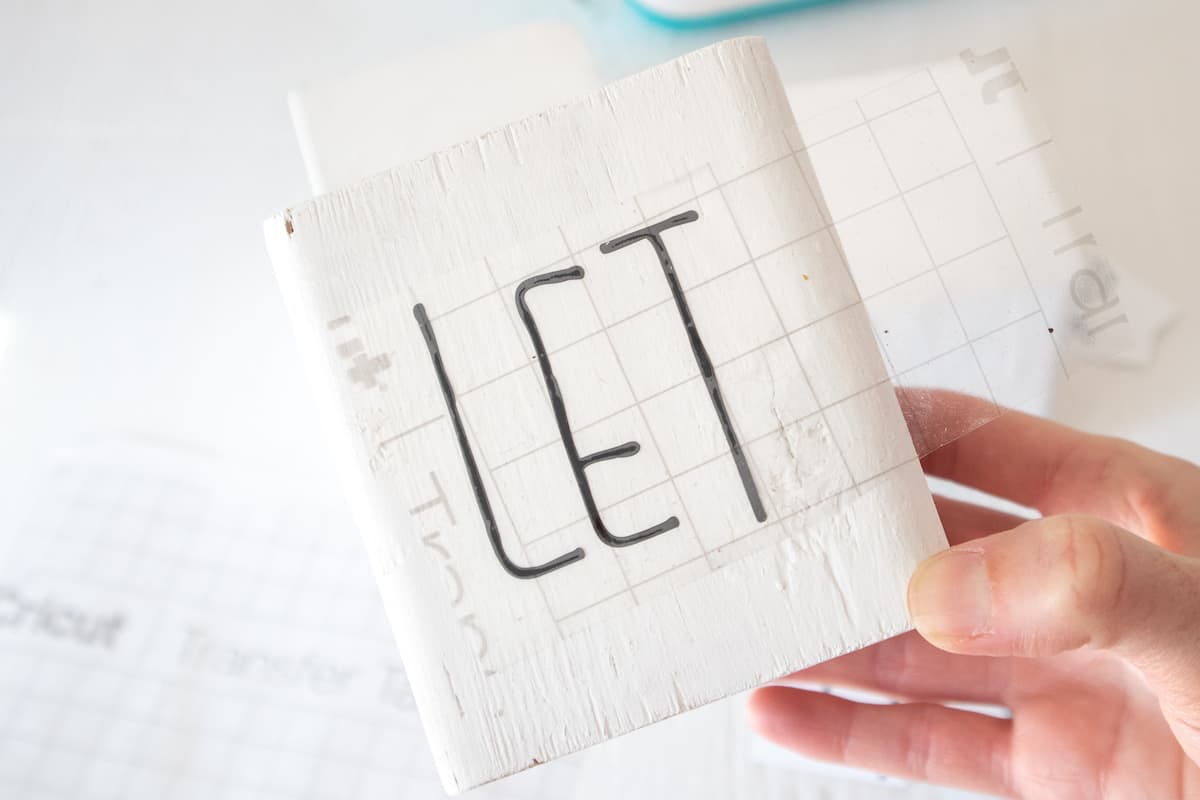


Add snowflakes to the “LET” block.
Repeat for the other words and snowflakes on the remaining wooden blocks. Make sure you use the word “IT” opposite of the snowman buttons wood block.
Add a Snowman Hat
Add a sock to the top of the snowman head. It should fit snuggly around the block. If it doesn’t, use some glue to keep it attached.
Stack the blocks. You can stack the wood blocks in a straight line up, or you can twist them in different directions to make your homemade holiday snowman.


Christmas Patterns and SVGs!
Want more fun holiday SVGs for crafting and creating this season? I’ve got a fun 4-pack of patterns perfect for DIYs!
Visit the Single Girls DIY library for more details and to get your downloads!
In the crafting mood? Love using Cricut? I think you’ll love some of my other crafts, too! Check these out:
- Personalized Wood House Christmas Ornaments
- Poinsettia and Holly Mason Jar Toppers
- Scandinavian Felt Christmas Trees
- Minimalist Christmas Wreath
- Quick and Easy Christmas Crafts

Pat
Wednesday 13th of March 2024
What size snowflake did you use?
Kimberly
Thursday 21st of March 2024
Pat, it has been a while since I made the project and don't remember.