
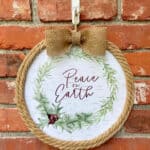

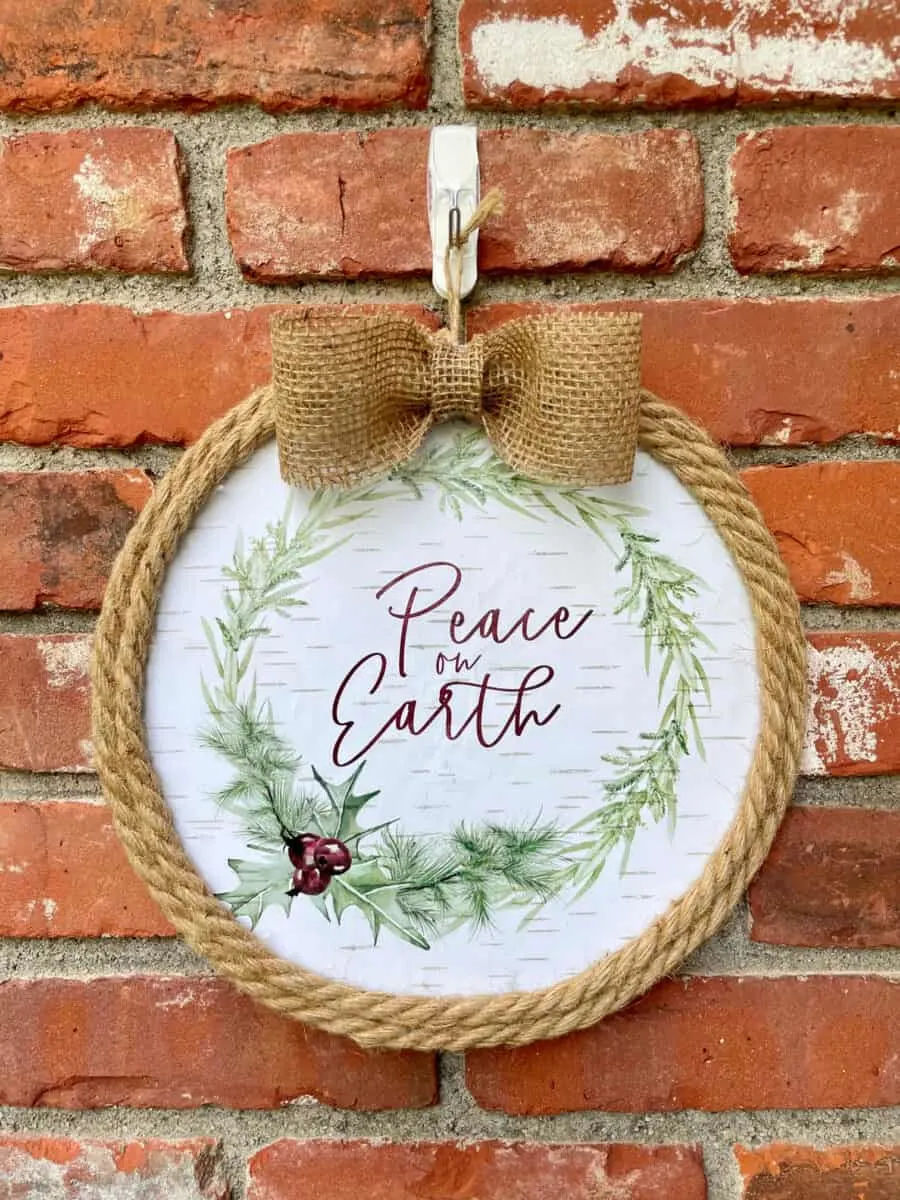
This simple DIY peace wreath shows a message that is perfect for Christmas and all year long!
It was so easy to make using all Dollar Tree supplies.
While you might not be able to find the same calendar that I have, you will be able to repeat this process using any calendar page image.
Which means you can copy this wreath idea for a pretty front door decoration any time of the year!

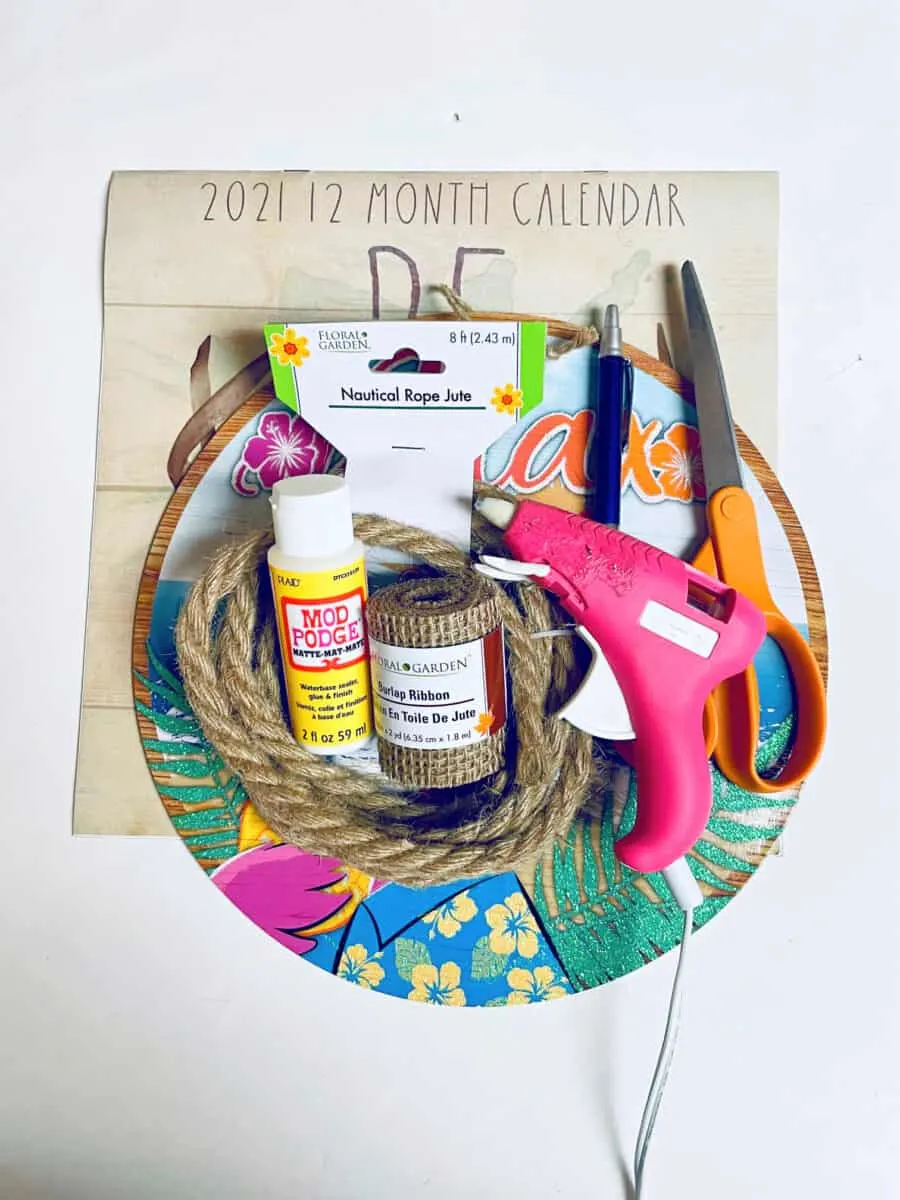
I found all of these supplies at the Dollar Tree. Even the small Mod Podge bottle.
The cost of this wreath was $5. That includes buying the following supplies:
- Round sign
- Calendar
- Rope
- Burlap Ribbon
Your cost could be much less if you are reusing an old sign. As you can see, I used a summer sign for this project. If you have an old calendar, rope or ribbon already, this wreath will cost much less to make.
If you like making wreaths, be sure to see all of my DIY wreaths for every season. You might especially like our JOY sign using an aluminum pan.
How to Make a Peace Wreath (Dollar Tree DIY)
Supplies
- Any Dollar Tree round sign (you will be using the backside)
- Calendar with a pretty Christmas image
- Hot Glue gun
- 8 ft Dollar Tree nautical rope
- Pencil or pen
- Modge Podge
- Paint brush
- Dollar Tree burlap ribbon
- Scissors

Directions
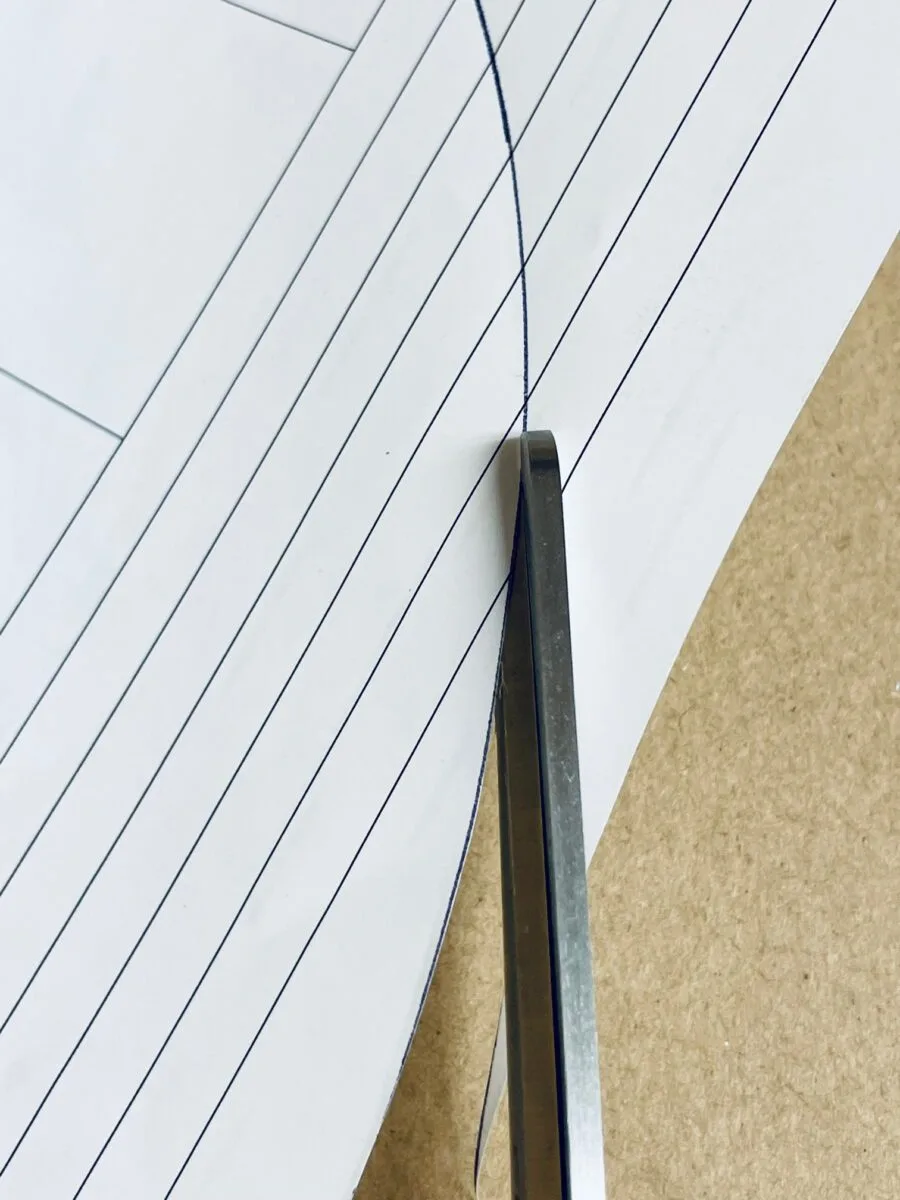
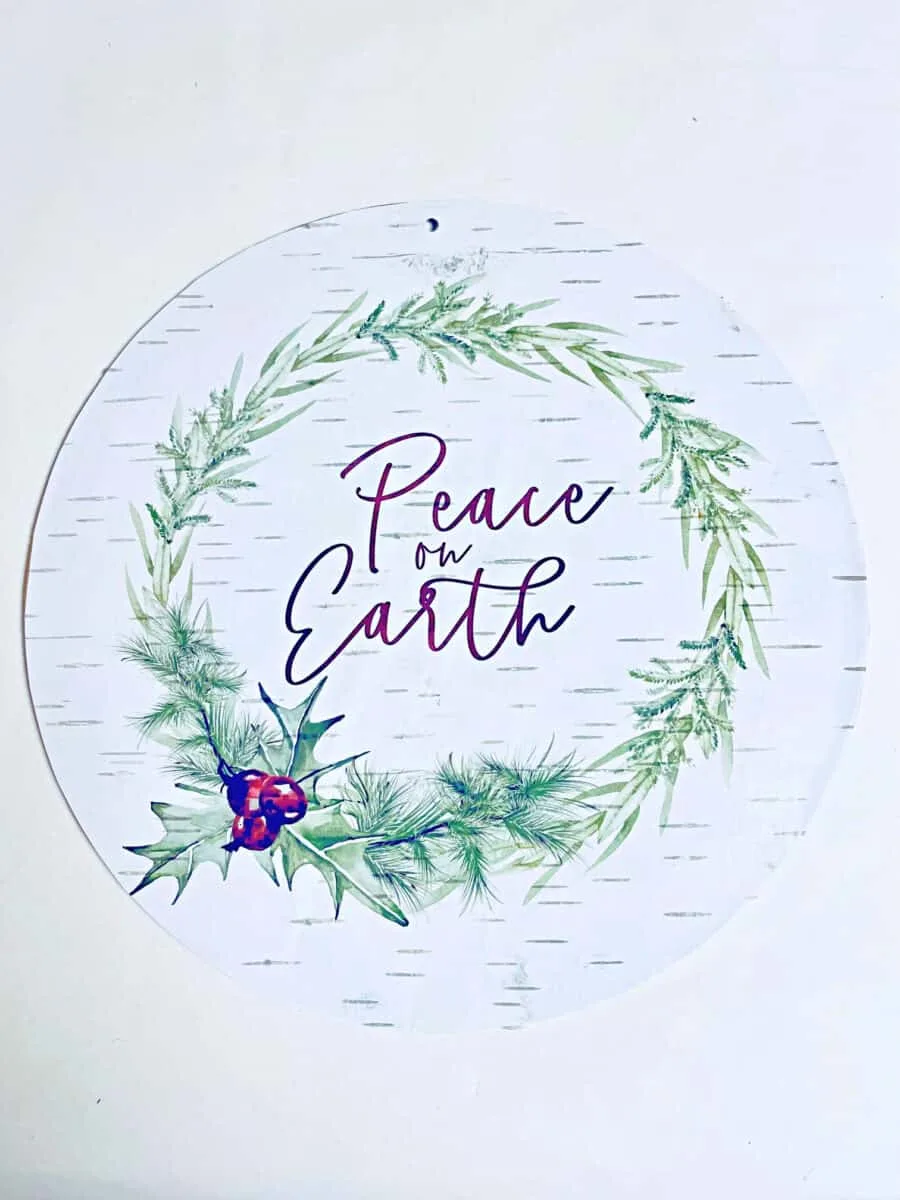
Lay the circle sign on top of a page from a calendar. You will want to make sure that the artwork that you want to use is centered in the middle of the sign before tracing around the sign.

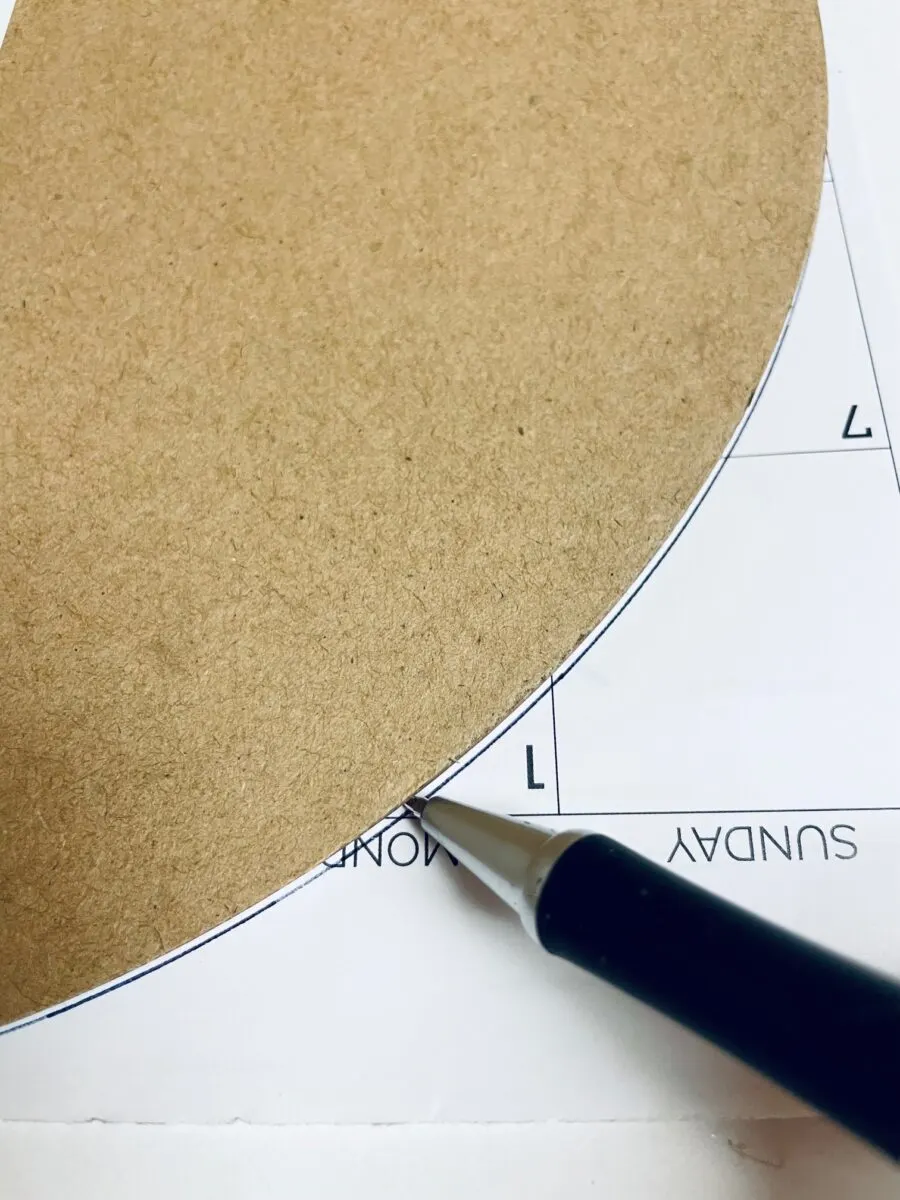
Cut out the circle from the calendar page.

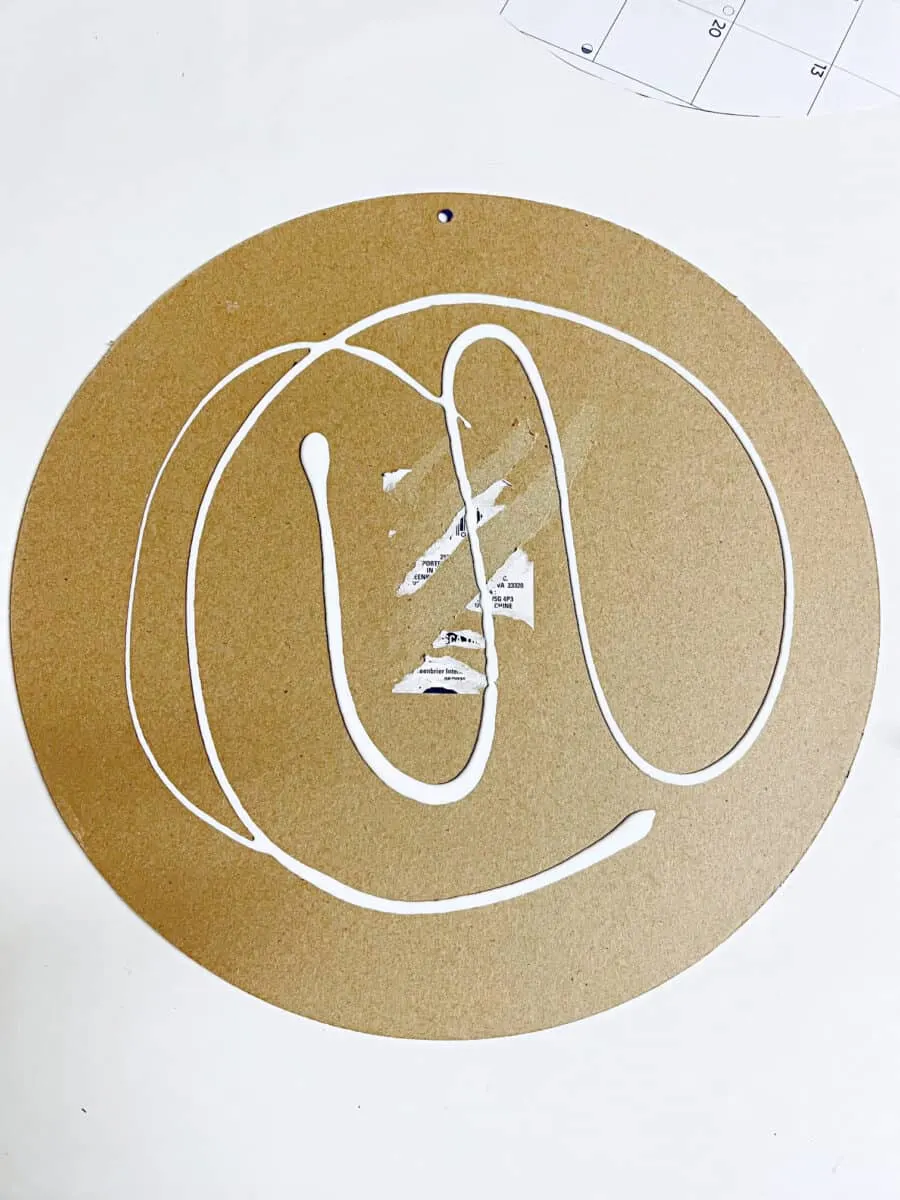
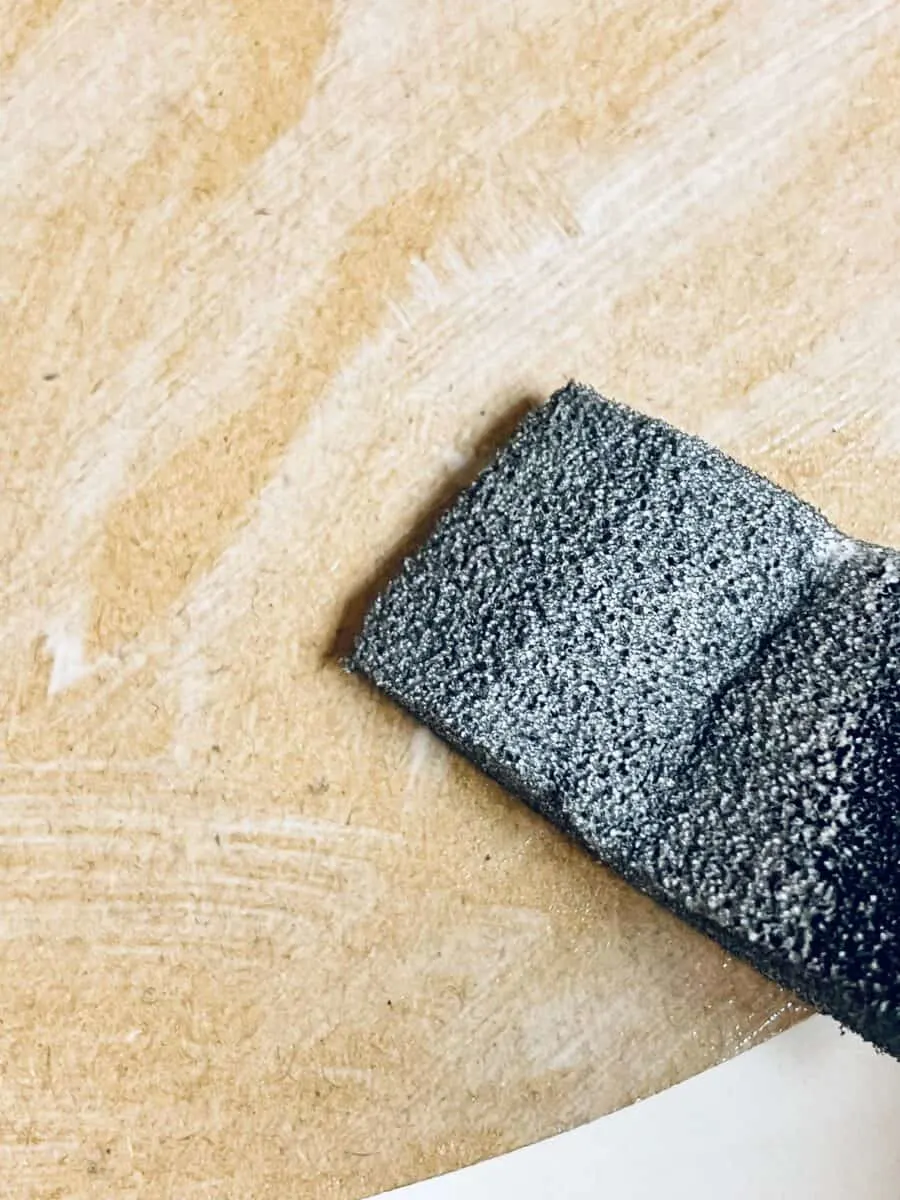
Add Mod Podge to the backside of the sign. Spread it into a thin layer with a paint brush or foam brush.


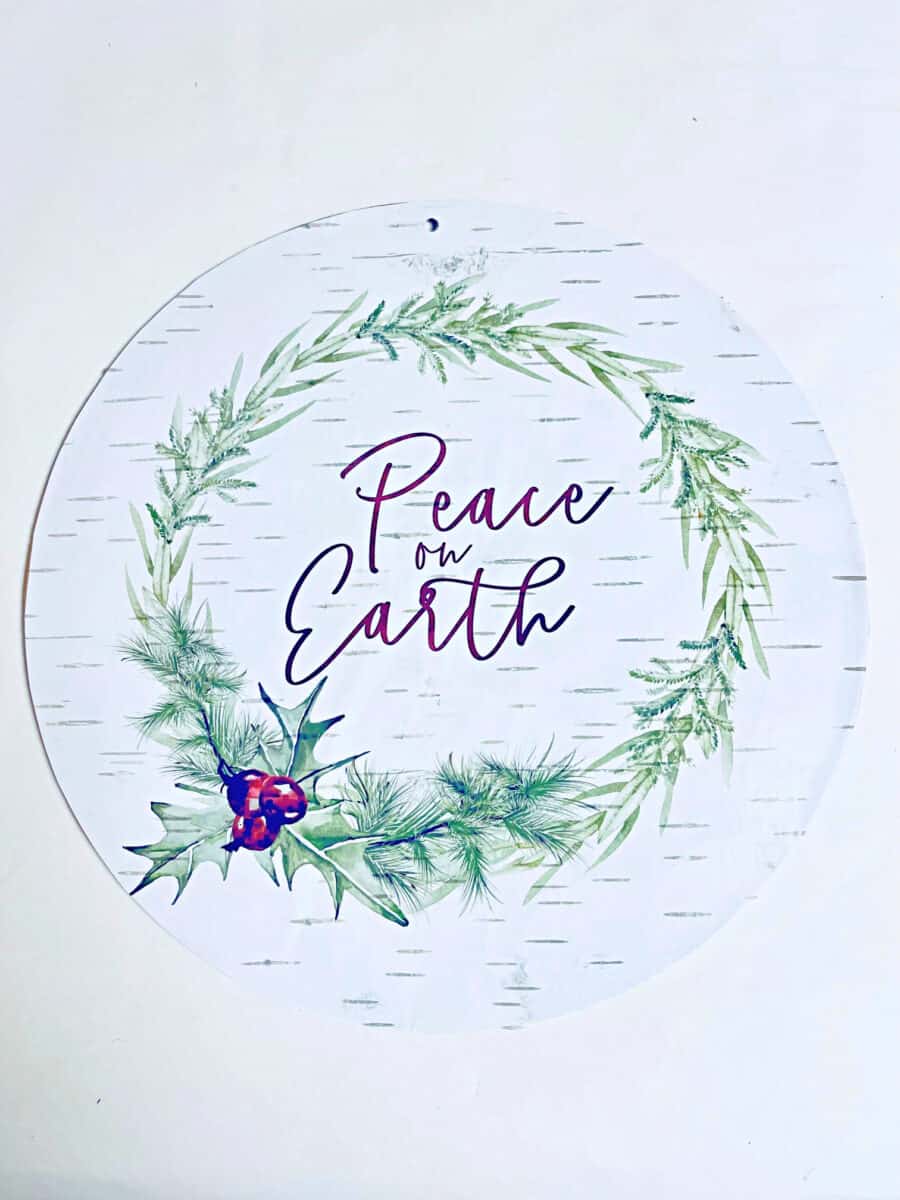
Lay the artwork on top of the Mod Podge on the back of the sign. Smooth the calendar page gently to remove any air bubbles or wrinkles. Let dry completely.
Using a hot glue gun, apply a line of hot glue around the outside of the circle sign, on top of the artwork. Start at the top, so that the cut ends will be hidden underneath the bow that you add later.
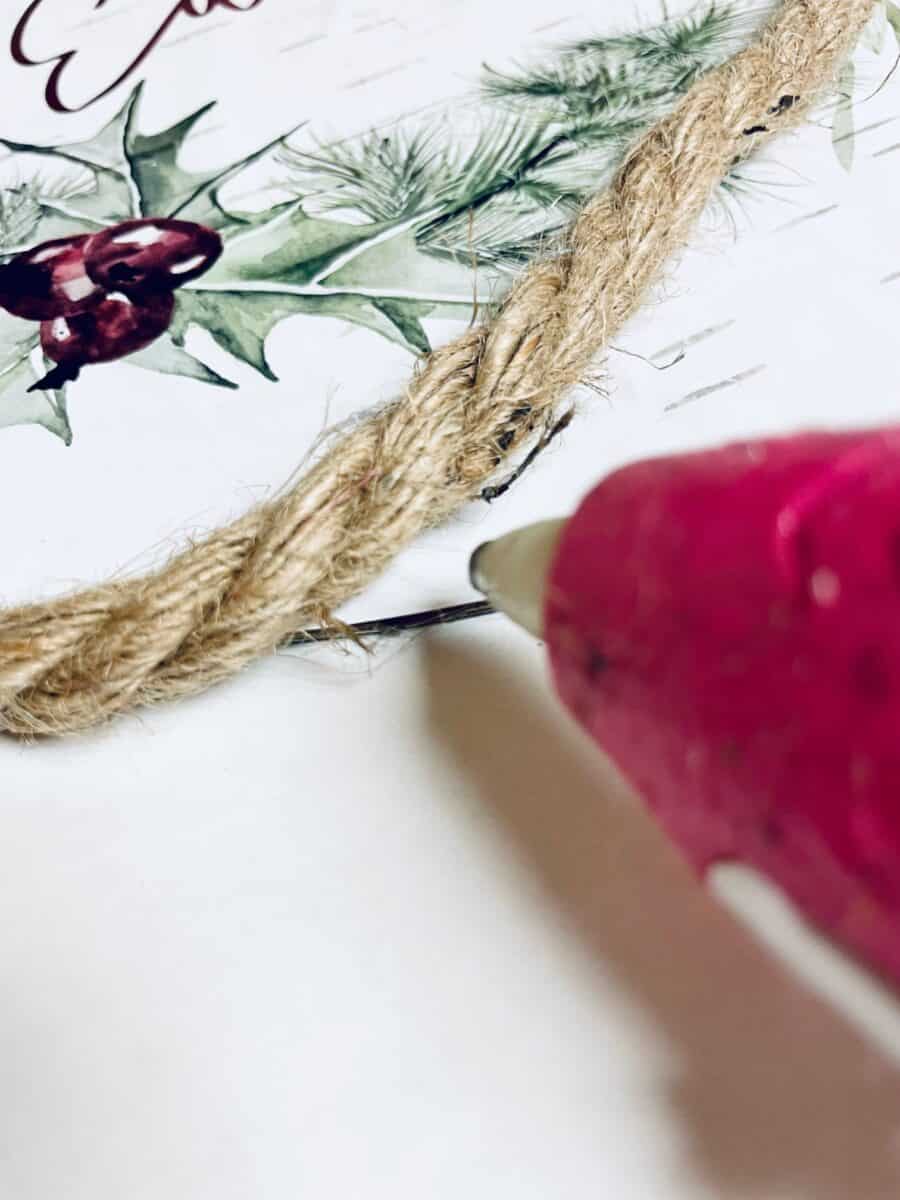

Start to press down the nautical rope in the hot glue, continuing around the sign.
Go around the sign two times with the rope. Trim at the end and secure the cut end down with hot glue.
Cut a 12 inch section of the burlap rope and a 4 inch section. Fold both sides into the middle allowing for a little overlap. Pinch the middle section together and add some hot glue to create the fold in the middle.


Take the 4 inch section, fold both sides into each other and wrap it over the middle section and secure with hot glue.
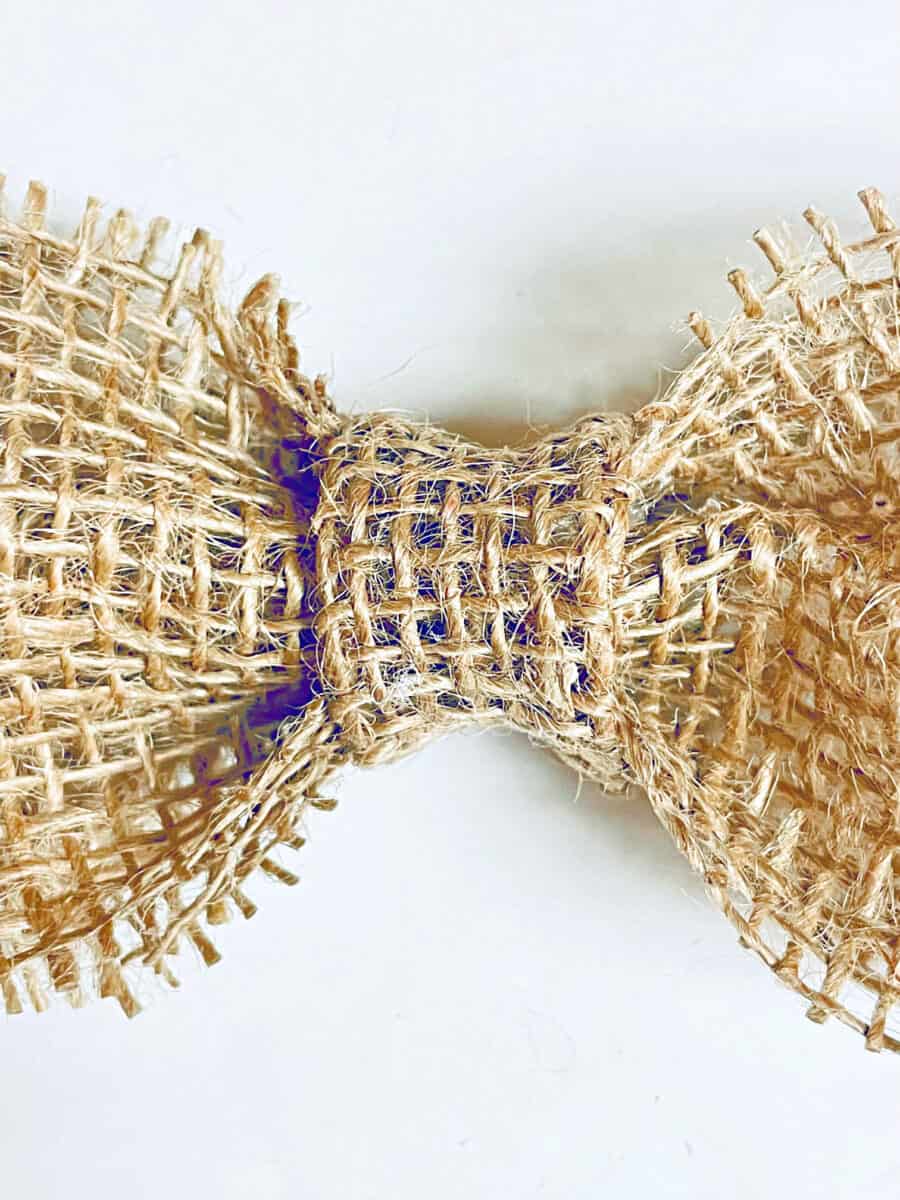

This burlap bow is smaller than my other method of making DIY burlap bows, so choose whichever one you like best.
I do have other tutorials on bow making if you’d like a different look. Check out how to make a bow for a wreath and how to make a bow using wired ribbon.
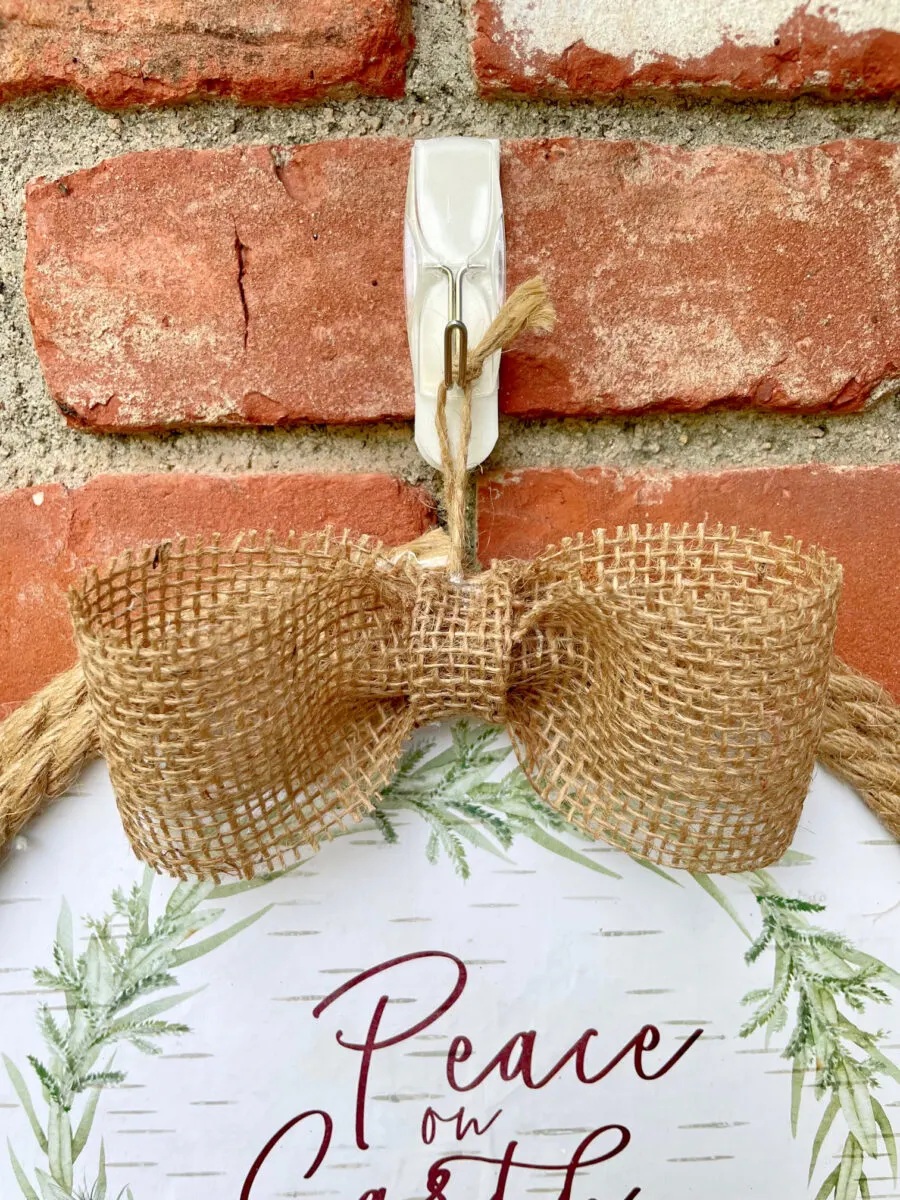
Add hot glue to the backside of the bow. Then glue the bow to the top of the sign.

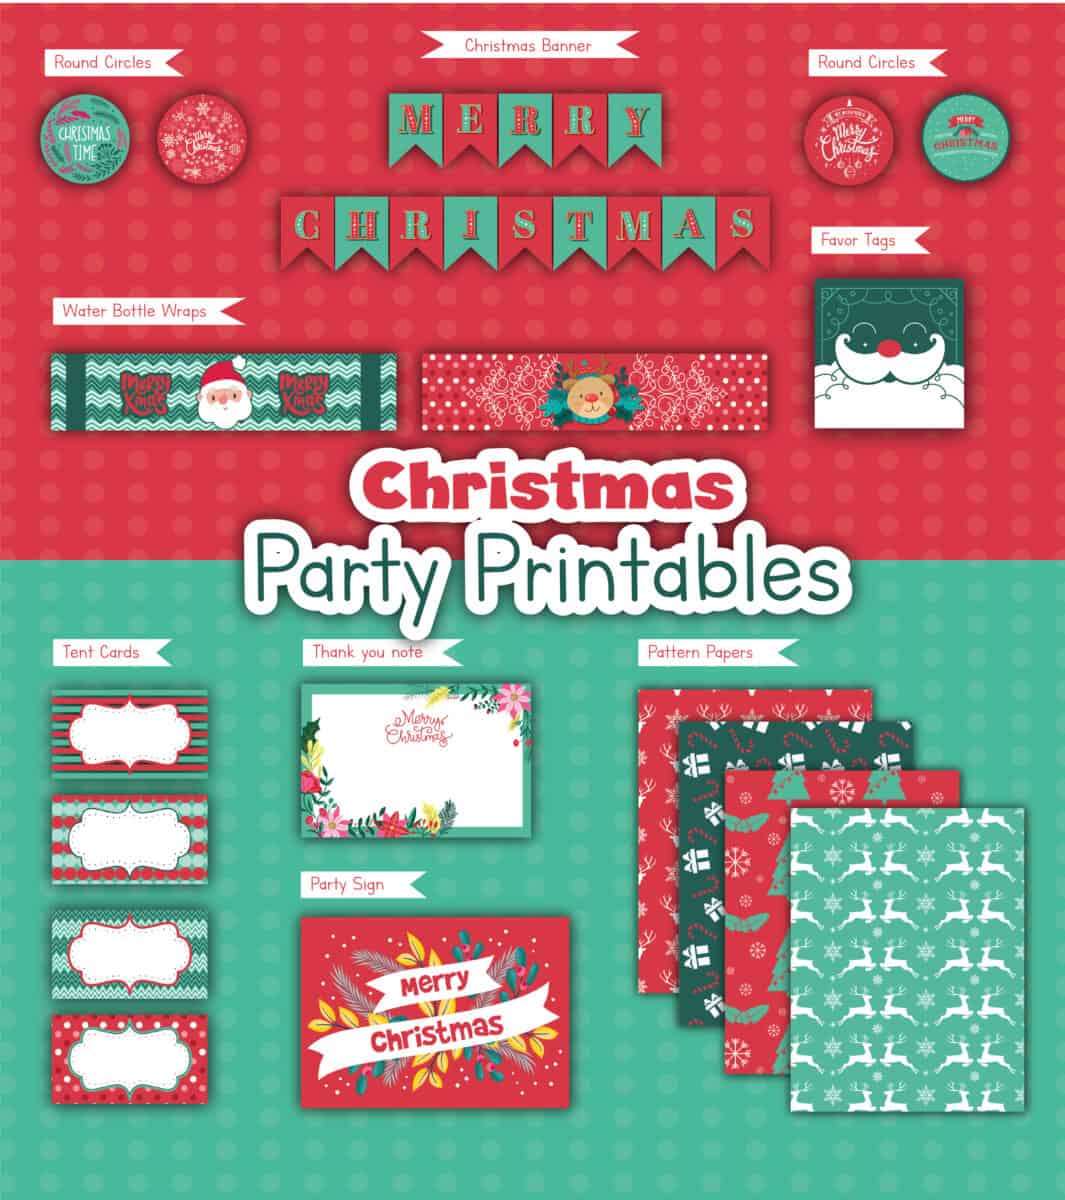
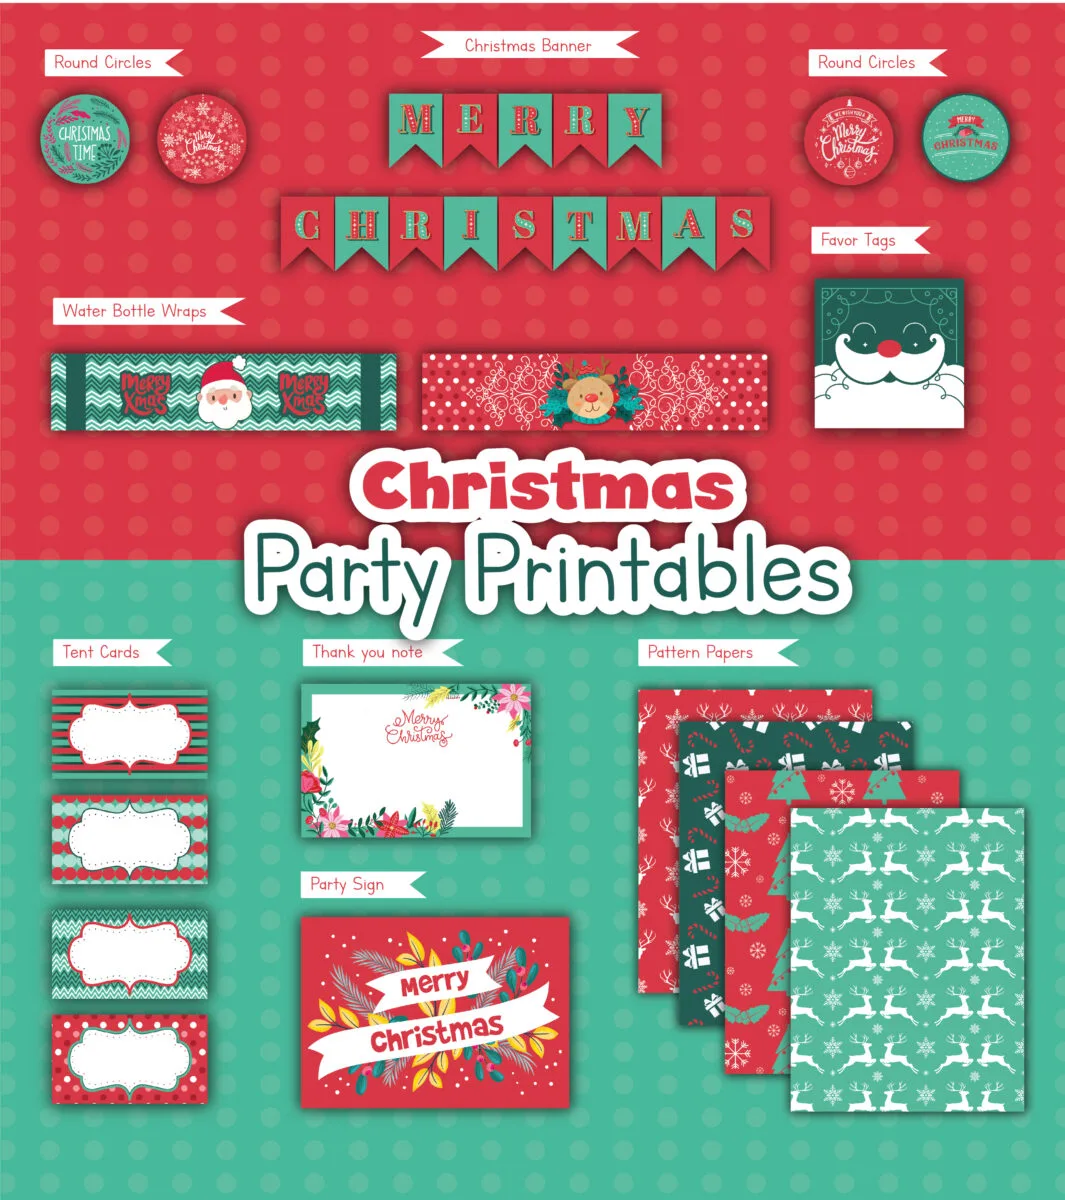
Christmas Party Printables!
Love Christmas printables? Me, too!
Be sure to see this huge pack of Christmas party decorations, banners, gift tags, and more!
Visit the Single Girls DIY library for more details!
If you like how easy it is to make this DIY Peace wreath, be sure to see these other Christmas wreaths:
- Christmas Cardinal Wreath
- Easy Wood Slice Wreath
- Winter Snow Ball Wreath
- Christmas Church Wreath
- Elegant Dollar Tree DIY Christmas Wreath
- Minimalist Wire Holiday Wreath

Sidney
Tuesday 15th of August 2023
I'm missing what the calendar in the back is for.
Kimberly
Tuesday 15th of August 2023
The Peace artwork on the wreath was cut out from the calendar.