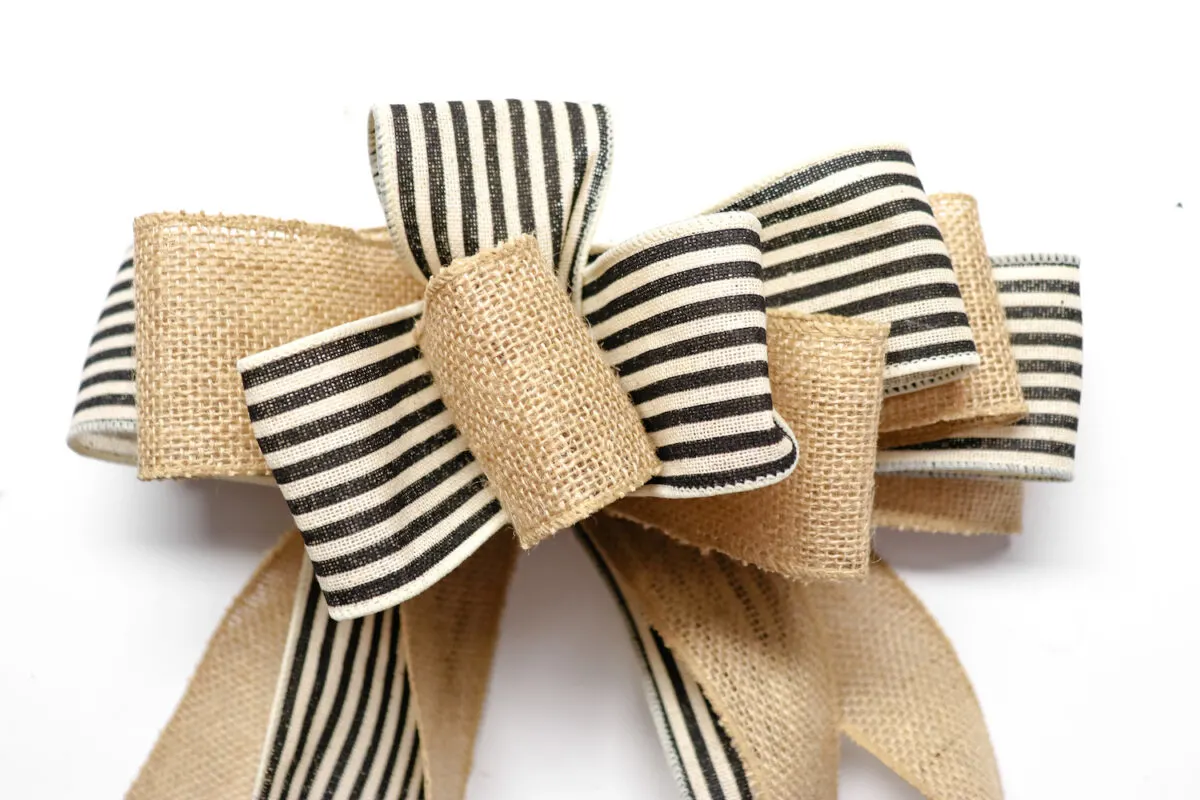
It is easy to make a big, loopy bow for a wreath! There is no need to spend money on the overpriced premade bows you’ll find in craft stores.
What I love is that you can customize the colors and patterns that you like when you make your own layered bow. All you need is wired ribbon! No sewing!
This tutorial is for a large bow with double loops and hanging ribbons that is perfect for adding to a wreath. These directions are for a 12-inch bow, though you can modify the size to be bigger or smaller as you need.
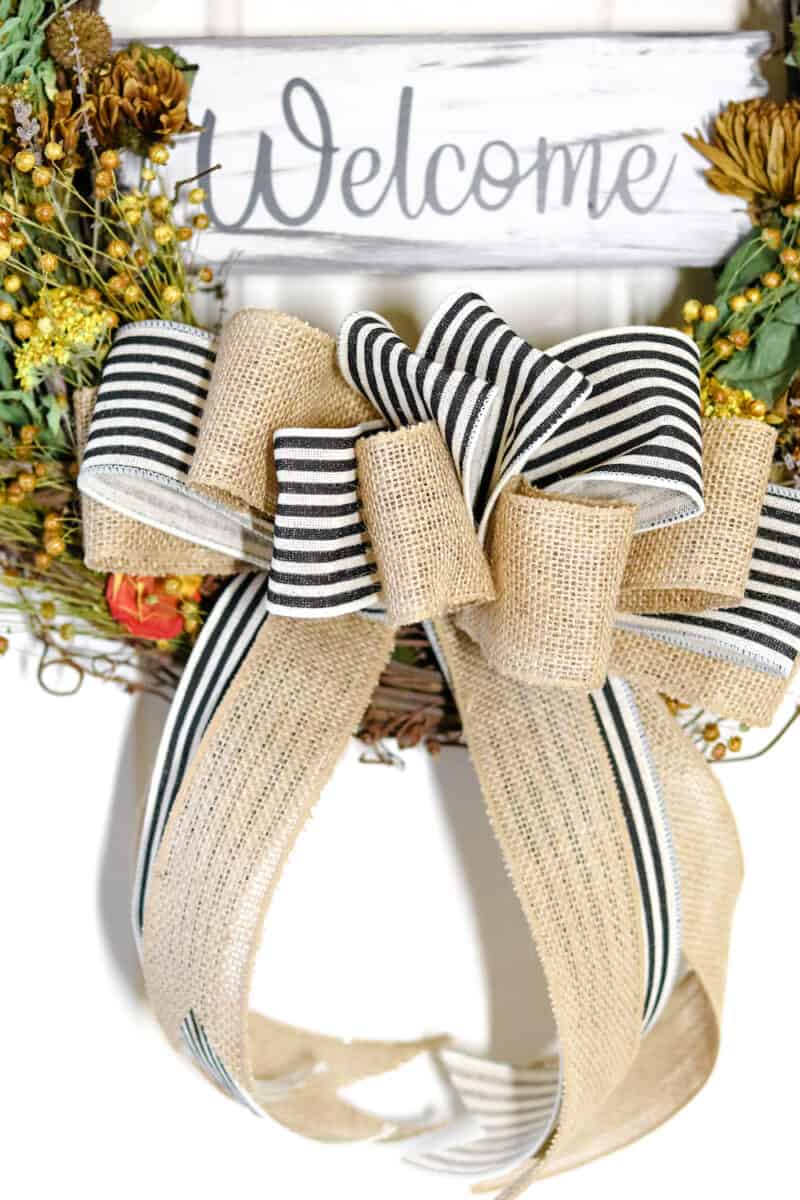
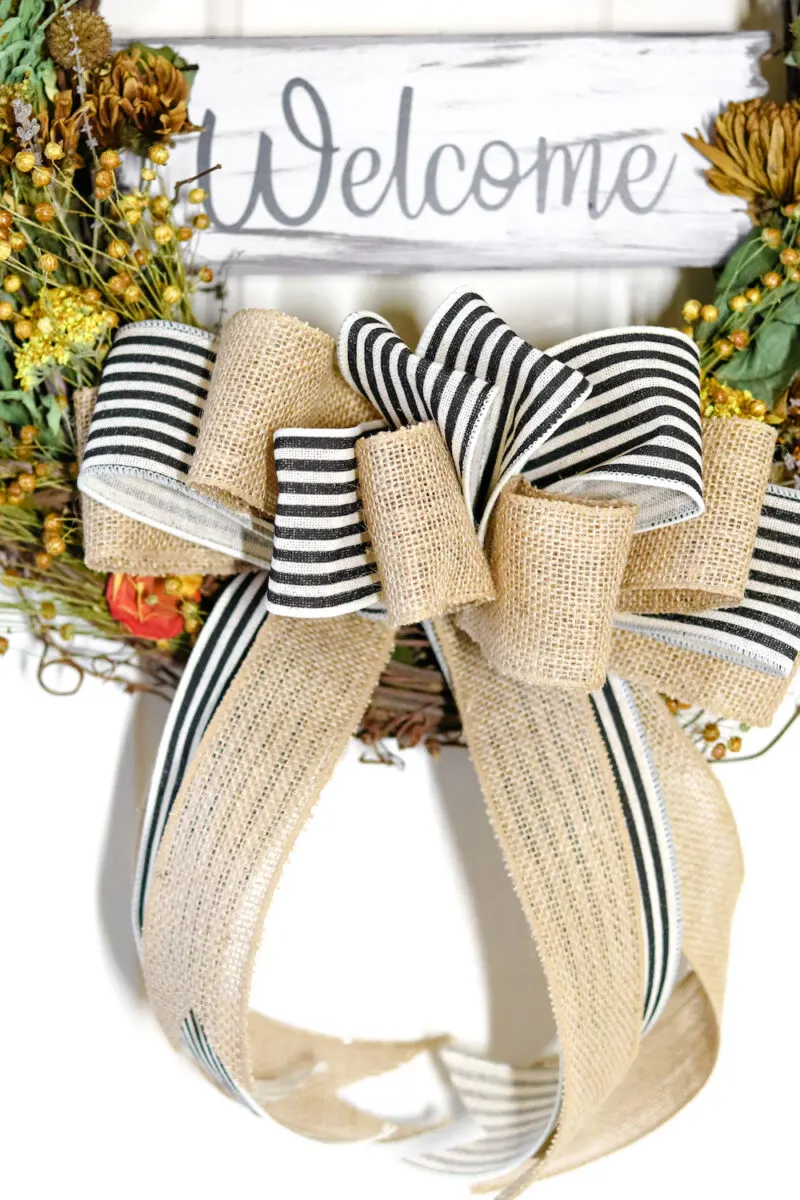
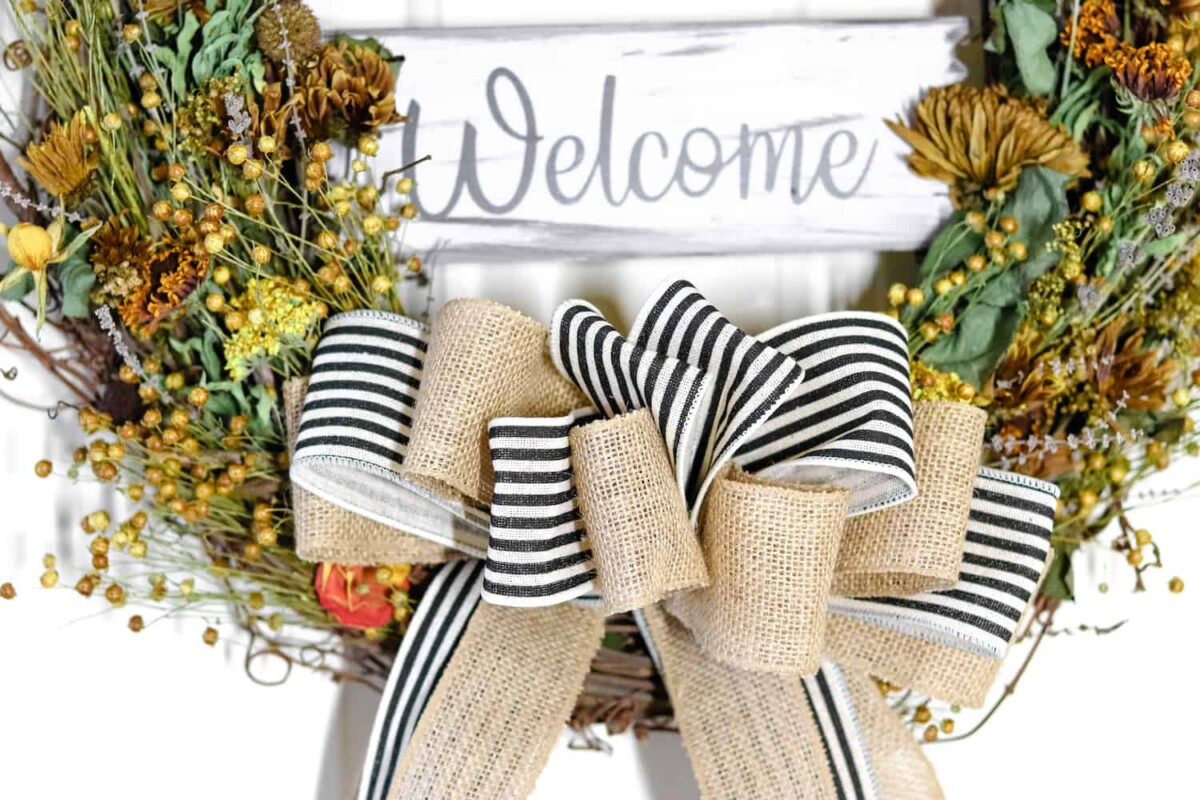
This bow is shown on my easy DIY dried flower wreath.
You can also use these bows in other ways, too, such as adding to a Christmas tree.
I also have a different method for making a bow with wired ribbon and making an easy DIY burlap ribbon bow.
These bows are perfect to add to any type of wreath, such as my fall bundt pan wreath, this farmhouse square autumn wreath, easy dollar store Christmas wreath, this cute faux Christmas window with wreath, or my farmhouse pool noodle wreath.
How to Make a Bow for a Wreath
For this tutorial, I mention burlap ribbon and black and white ribbon. You can choose whichever color or type of ribbon you’d like. To follow the directions more easily, pick one of your ribbons to be like the “burlap” one and the other to be like the “black and white striped” one. That makes it easier to follow along.
Supplies
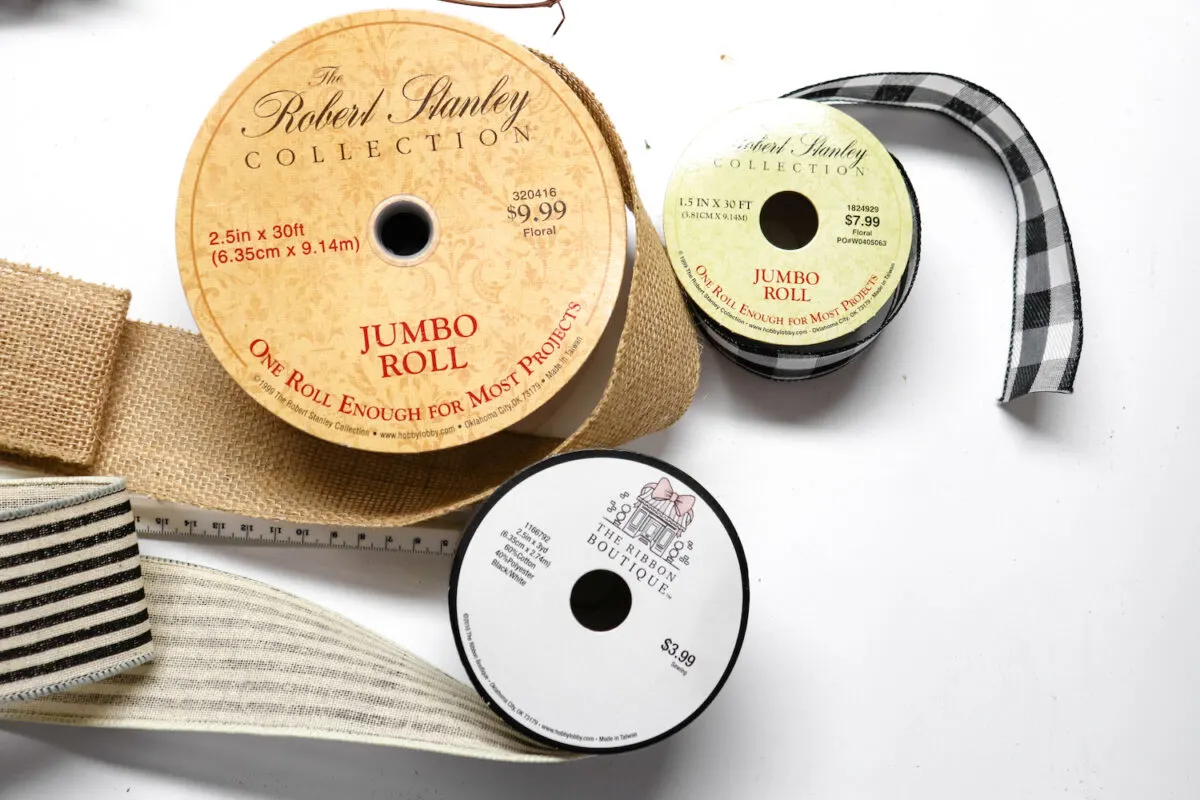
- Wide, wired ribbon in two different styles (2.5 inches wide is what I used)
- Pipe cleaner
- Hot glue
- Ruler
- Scissors

Instructions
Step 1
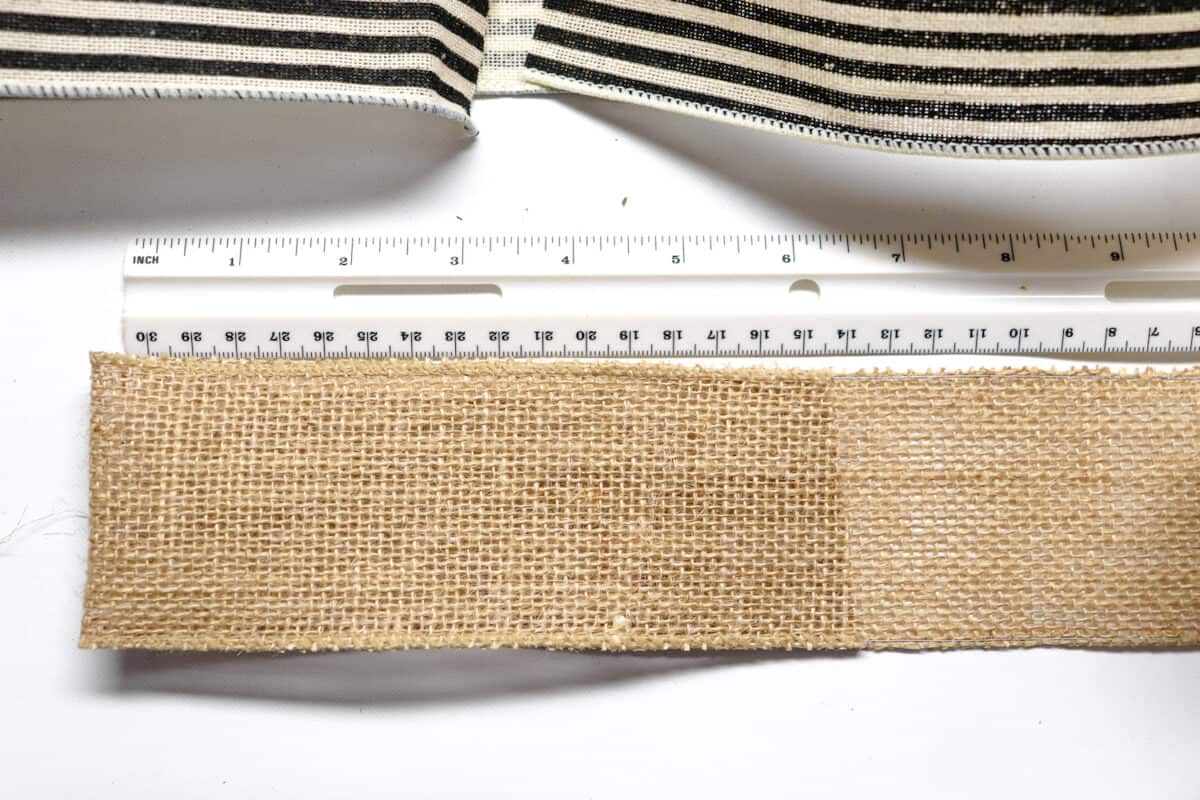
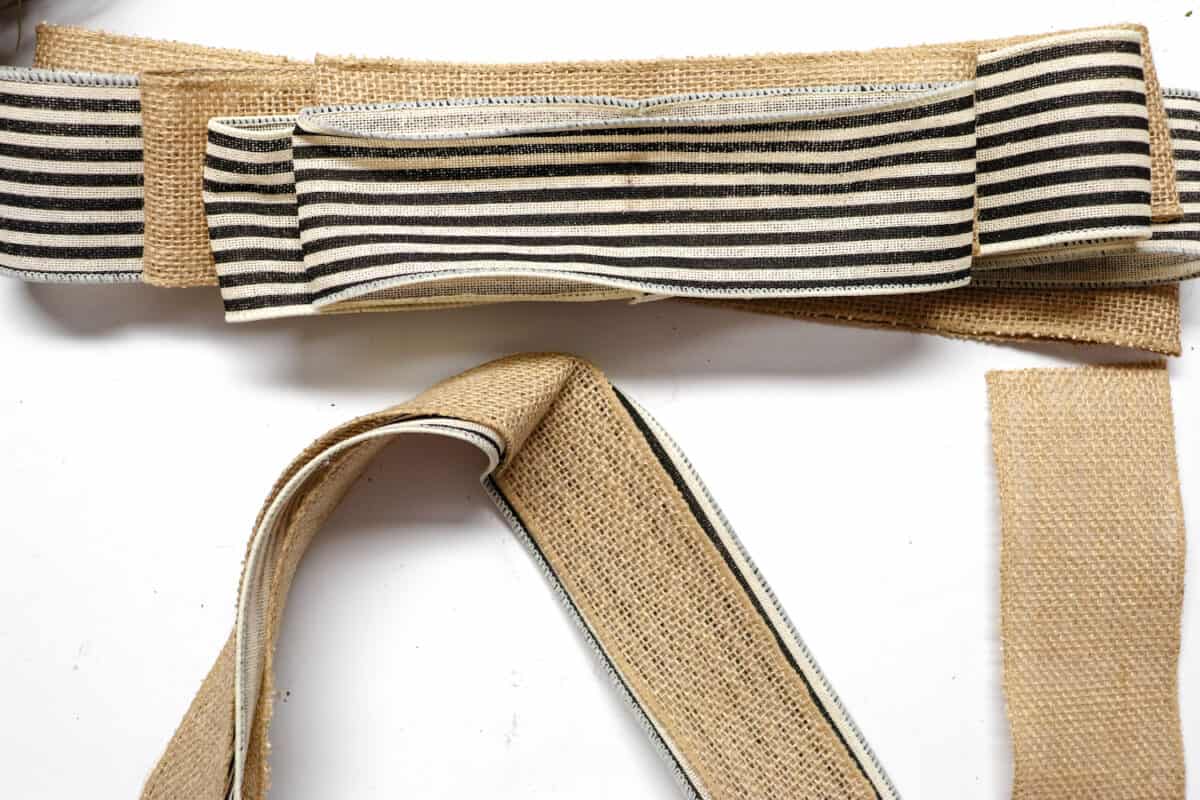
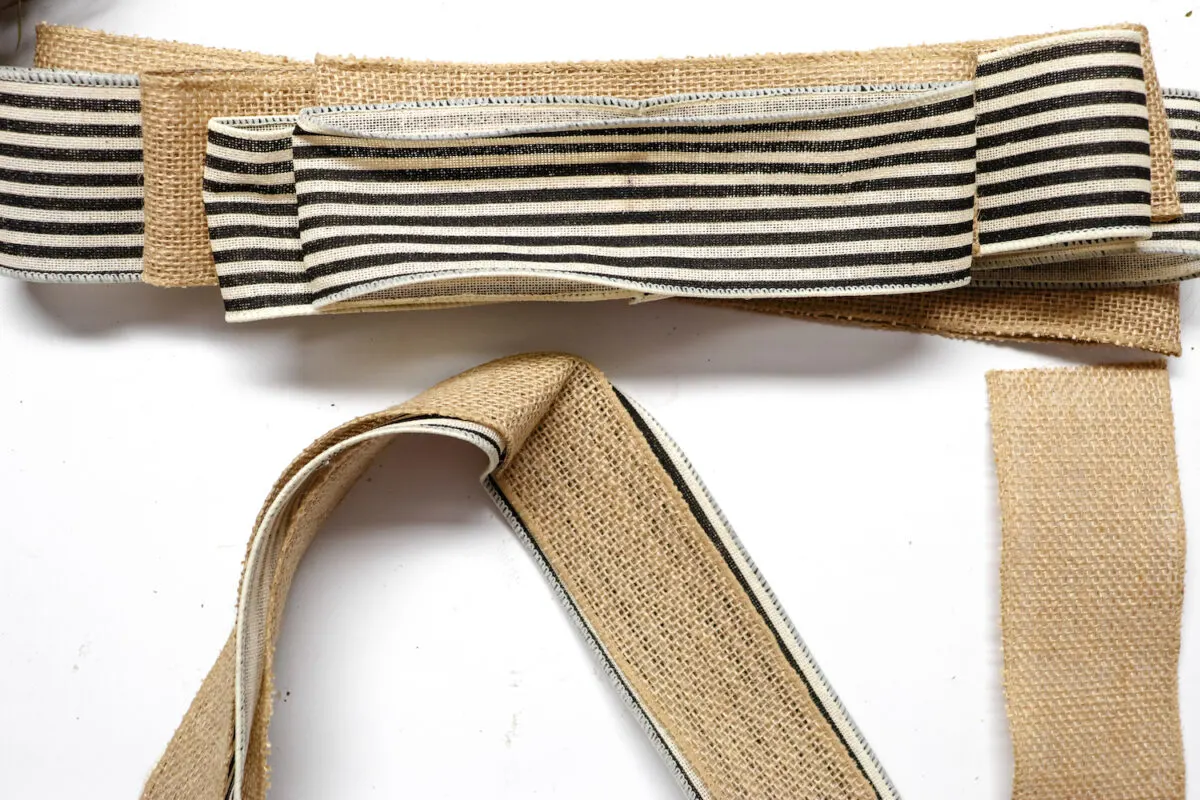
Cut 24-inch (2 foot) sections of both types of ribbon that you have. For instance, I cut one 24-inch section each of the burlap ribbon and the black and white striped ribbon.
Fold the ends of the ribbon toward the center and hot glue the ends into place. This gives you a 12 inch wide bow base.

Repeat for each ribbon length.
Step 2
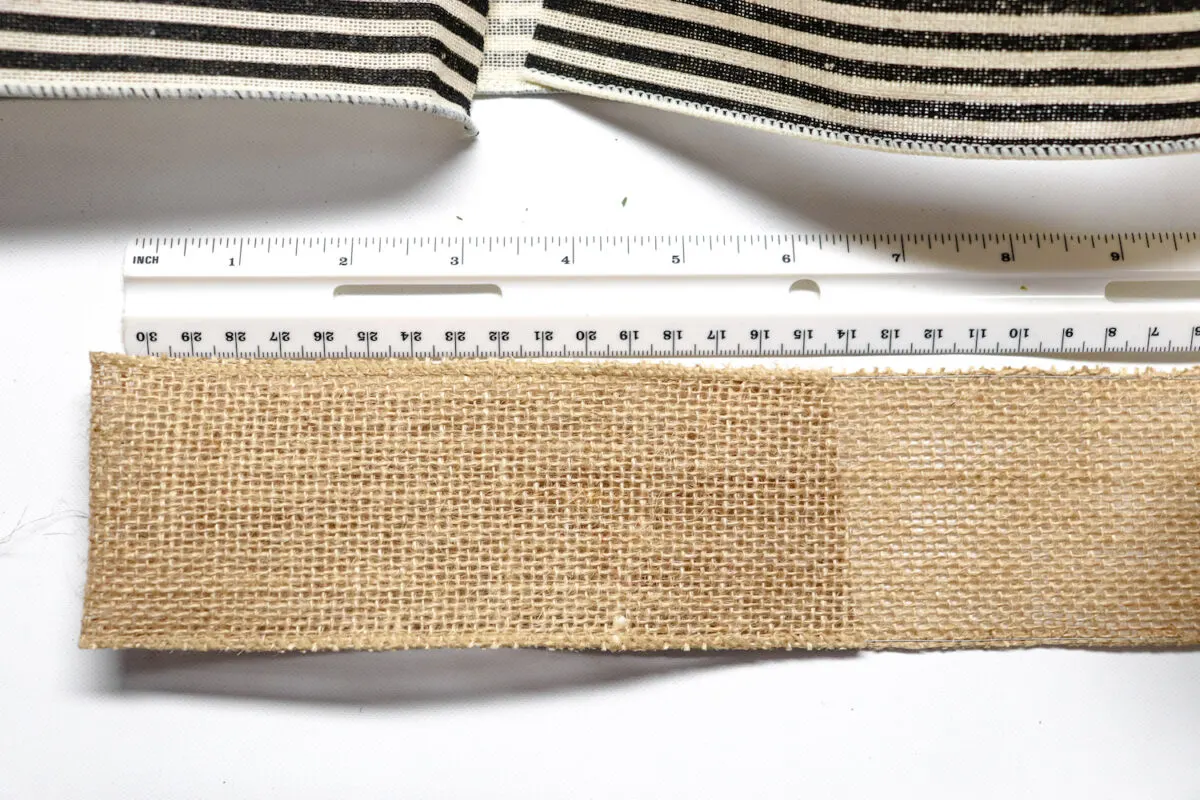
Cut two 16-inch lengths of burlap ribbon. Cut three 16-inch lengths of black and white ribbon.
For each cut piece, fold the cut ends toward the center and hot glue the ends into place. This will make these base bows 8-inches long.


Step 3
To make the flowing ribbon for the bow, cut a 24-inch burlap piece, a 20-inch black and white piece, and a 18-inch burlap piece.
If you want, you can cut notches in the ends of each ribbon. Cut at a 45 degree angle from one side of the wire ribbon towards the center, then repeat from the other side to create a triangle-shaped notch in the ends.
Stack these together. You’ll want to center them on top of each other as much as possible (doesn’t need to be perfect), keeping in mind you’ve got different lengths and the ends won’t match up when stacked.
Fold the stack of ribbons at the center to that the ends hang down in the same way, with the rights sides (pretty sides) facing outwards.
Step 4
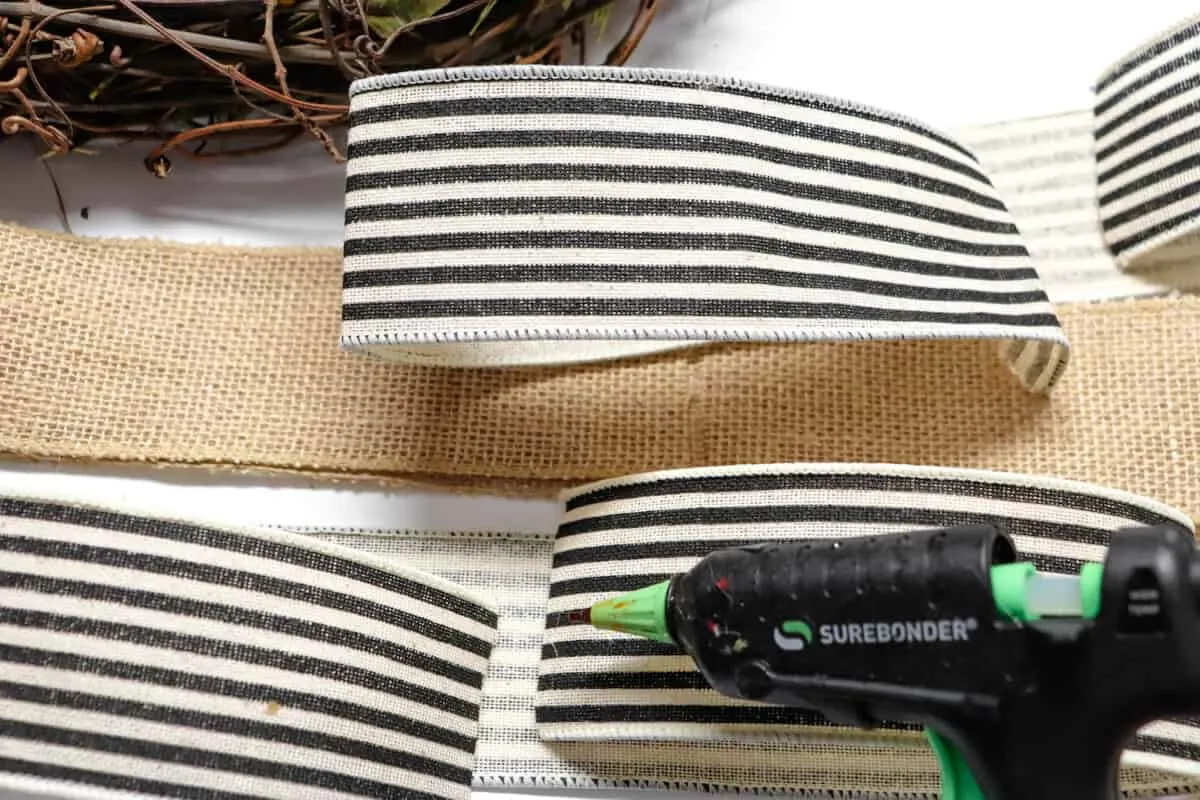
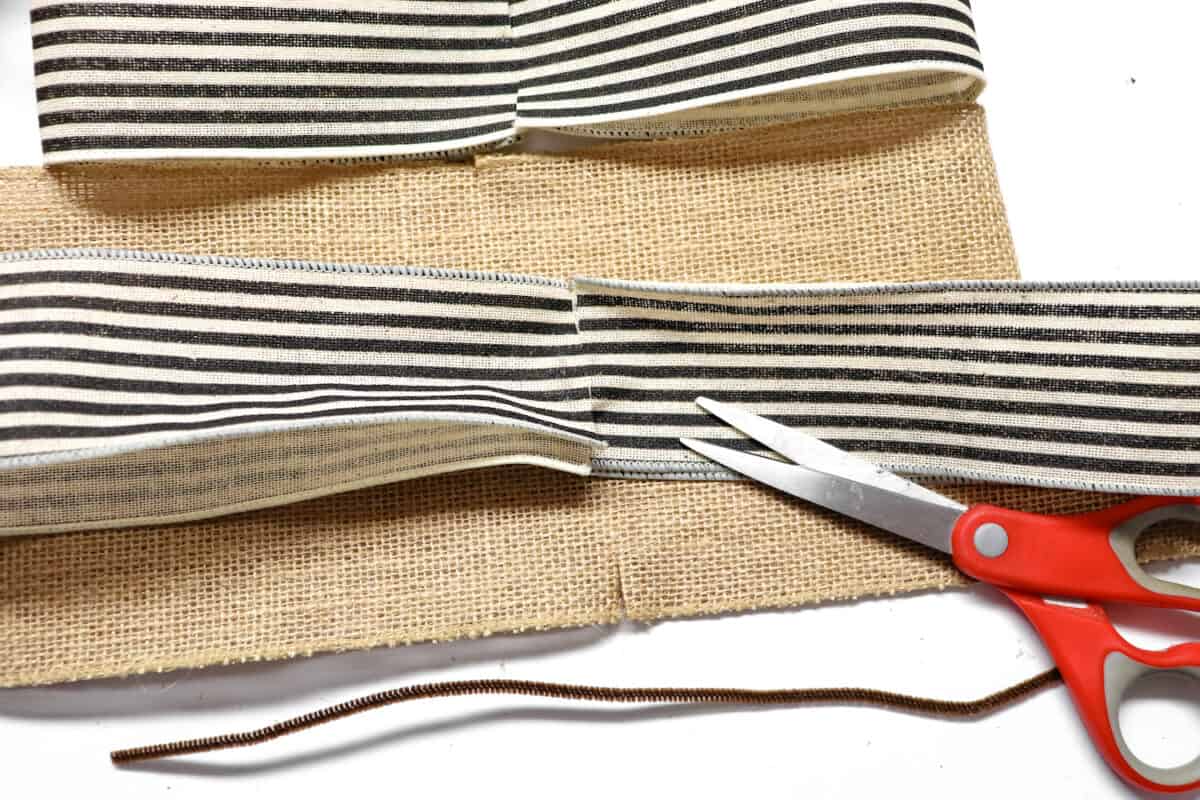
Stack all of your bow pieces on top of each other, with the largest on the bottom. You will want the 12-inch base pieces on the bottom, with the 8-inch base pieces on top of those. Alternate the patterns if you are using two different types of ribbons.
Flip over the stack of ribbons, so that the shortest ones are below. With scissors, cut the bow layers in the center until one inch is not cut. DO NOT CUT all the way through! You want to cut just enough to slide a pipe cleaner through the cuts.

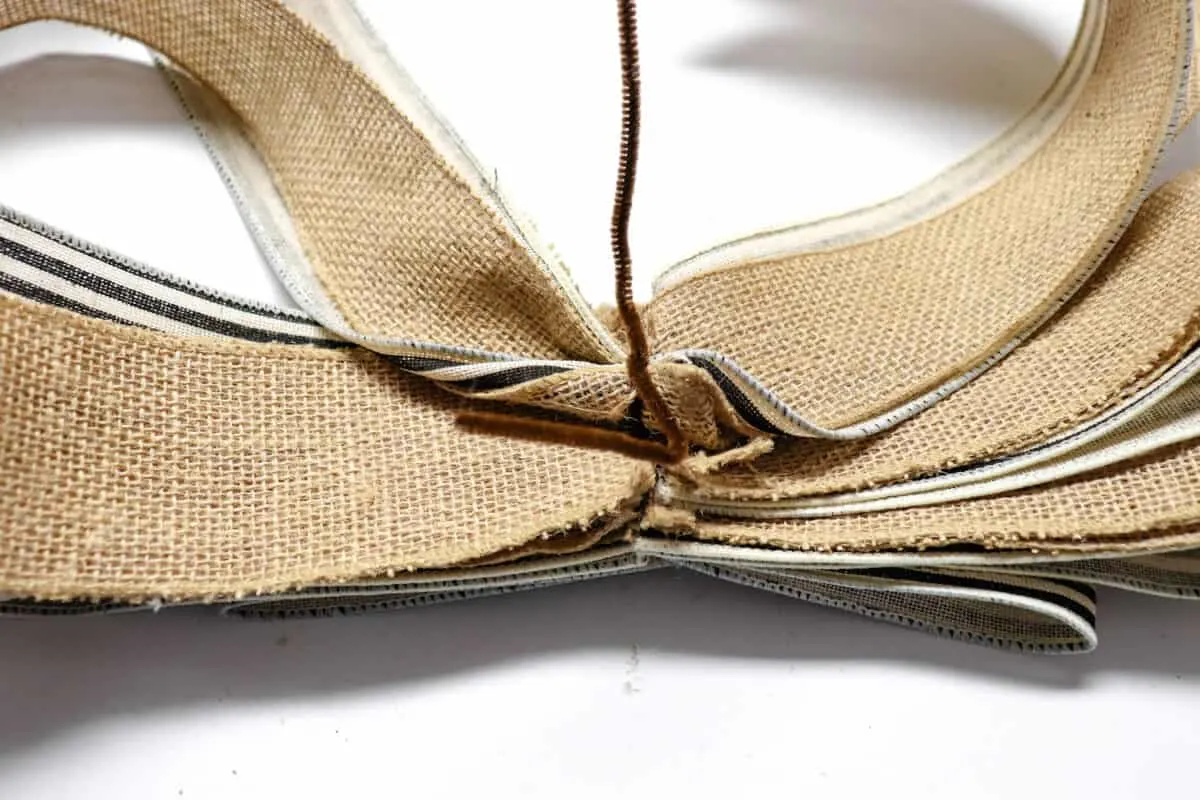
Center the pipe cleaner underneath the bows and bring up through the cuts.
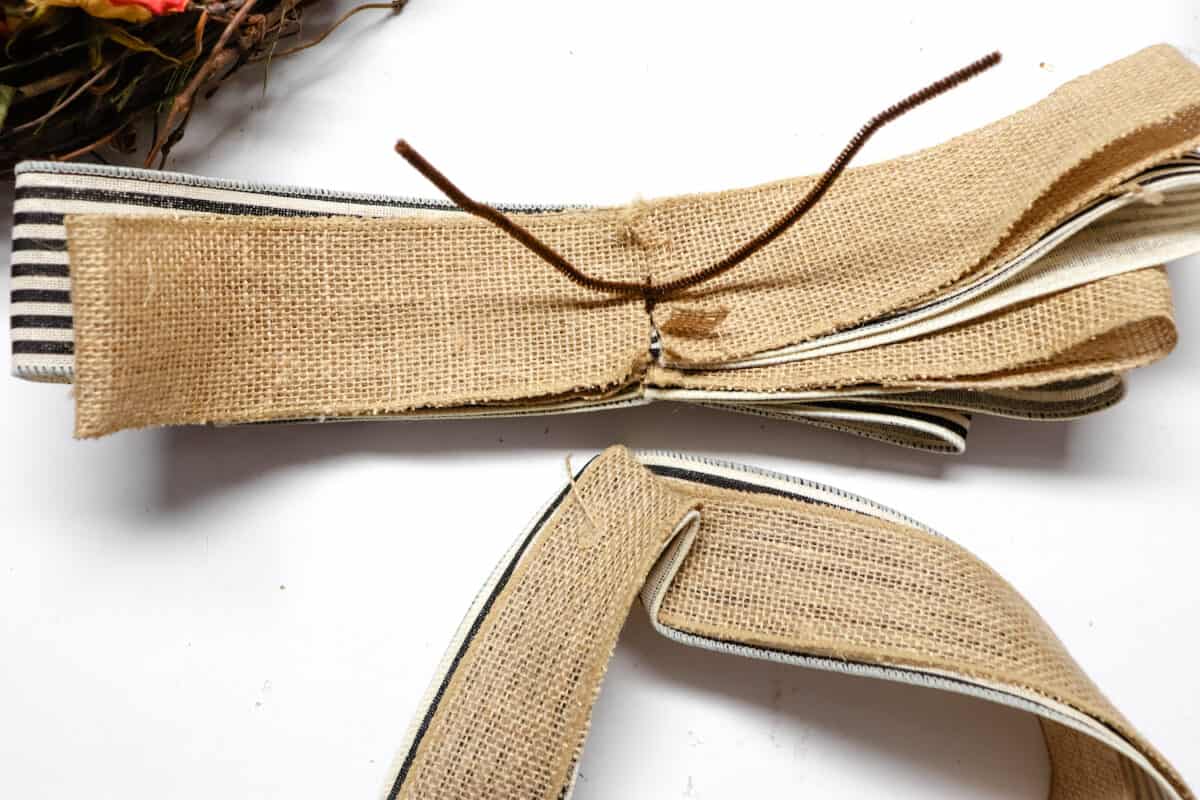

The bow loops will stay together because they’ve been hot glued. Now, twist the pipe cleaner tightly in place.
Step 5
Add the folded 3 lengths of flowing ribbon. The pipe cleaner should go under the folded part of the flowing ribbons. Twist the pipe cleaner around them to secure.

Step 6
Flip over the bow and fluff it up as needed. Attach the loopy bow to a wreath using the pipe cleaner to secure it.