


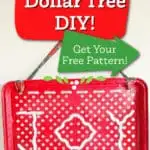
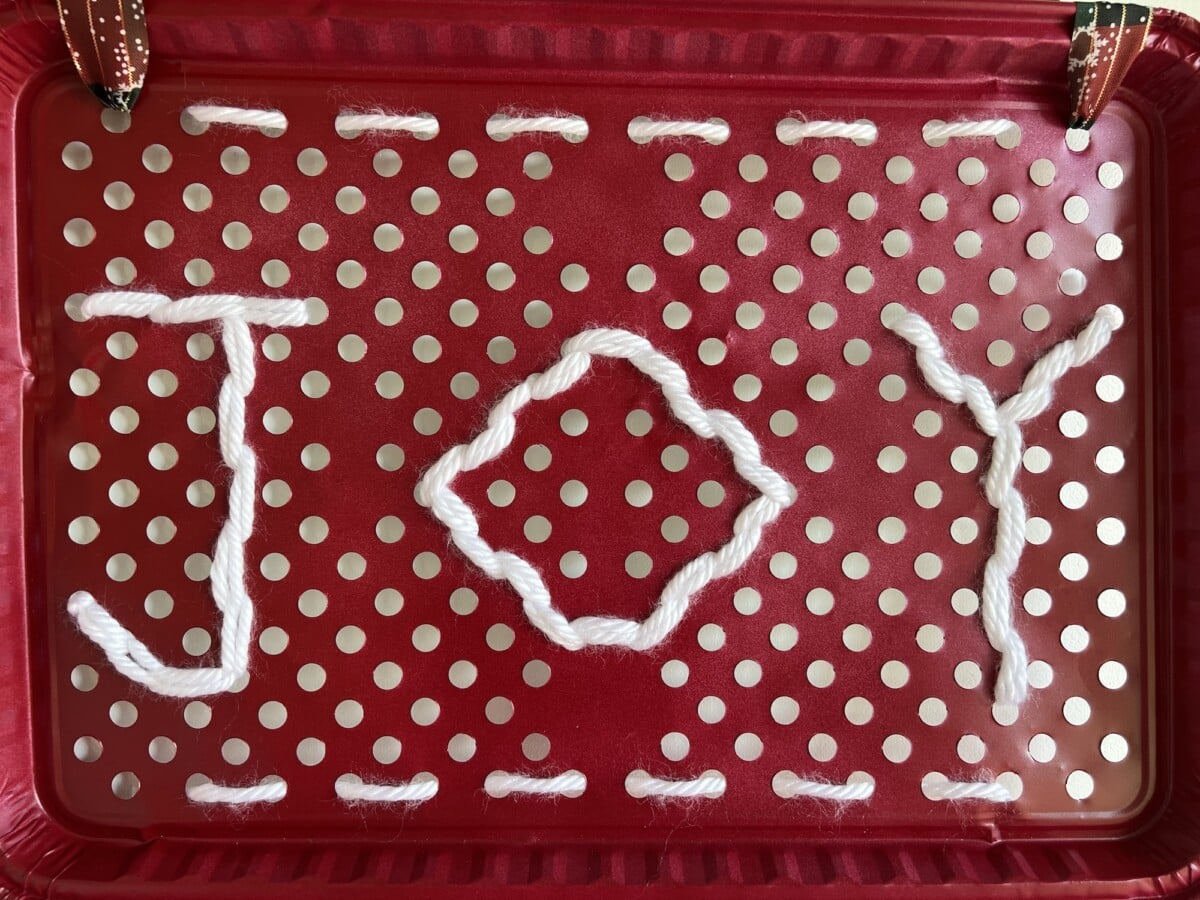
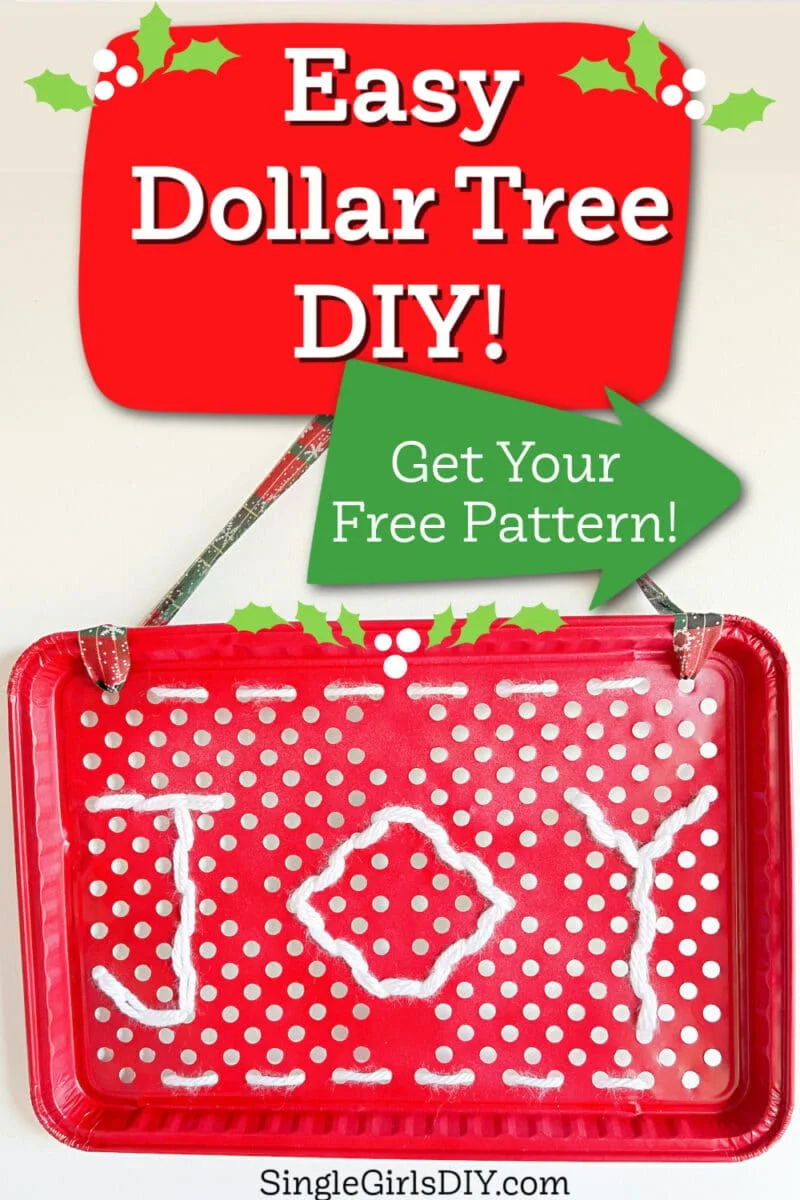
This simple Joy sign looks like a needlepoint sampler, but it is a lot easier to make! This Scandinavian-inspired decoration uses an inexpensive aluminum pan and some yarn to create a cozy DIY craft for the holiday season.

I chose a red spray paint for this craft but you could choose any color of paint and yarn that you like to customize it to your decor.
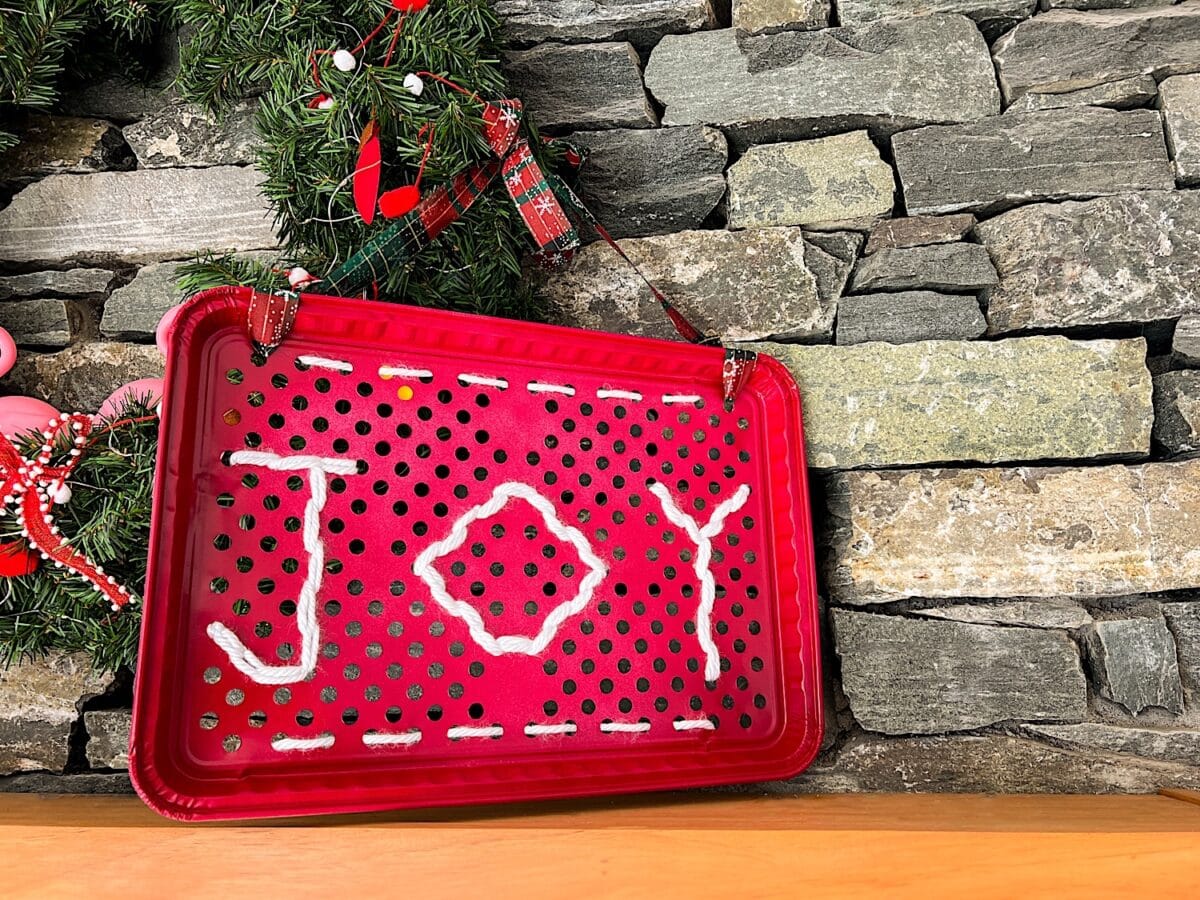
My Joy sign easily hangs on my front door as a wreath. I have also hung it over the fireplace mantel.
This sign is so easy and lightweight that it is a great decoration to put almost anywhere in your home!

We love Scandinavian inspired design. Be sure to see these Scandi crafts, too:
DIY Faux Needlepoint Joy Sign
Supplies
- Free JOY Needlepoint Pattern
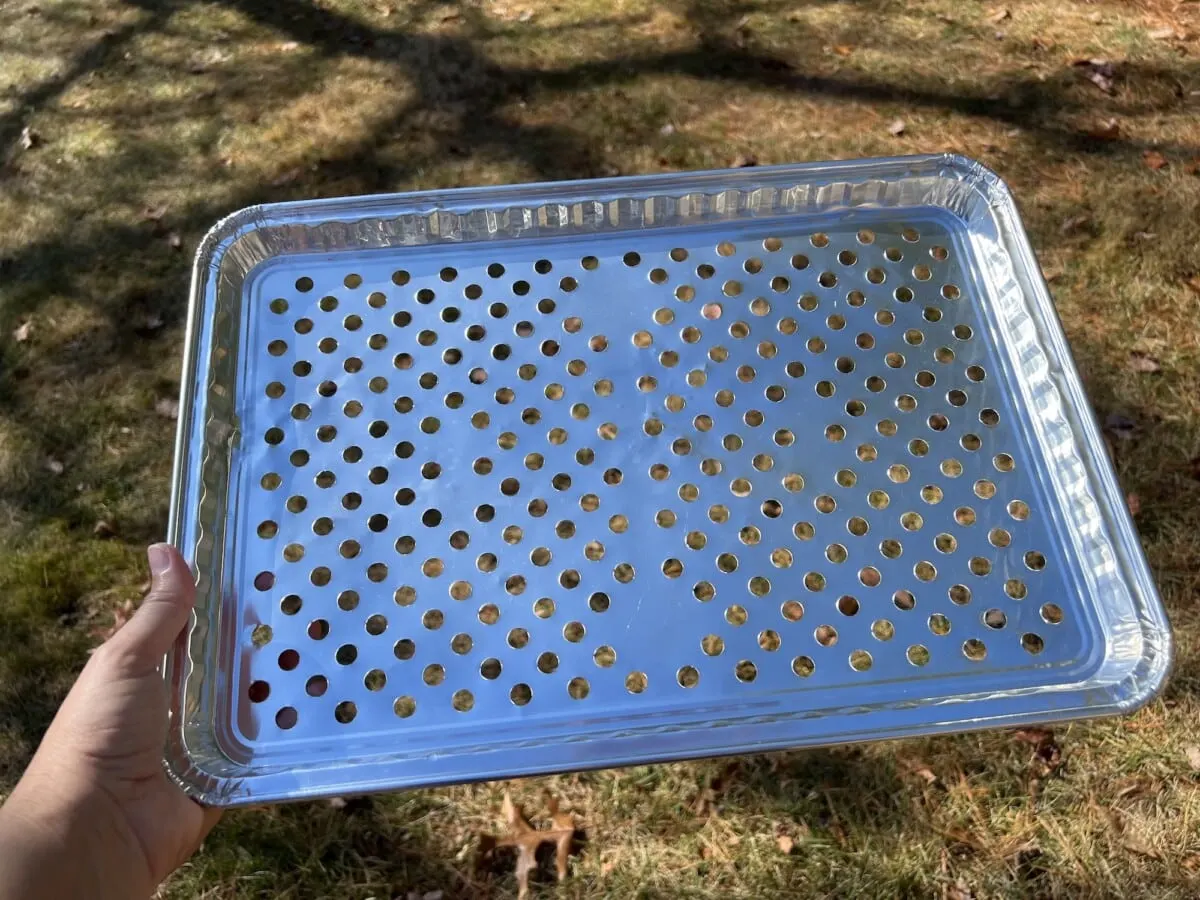
- Aluminum Grill Topper Pan with Holes (from Dollar Tree)
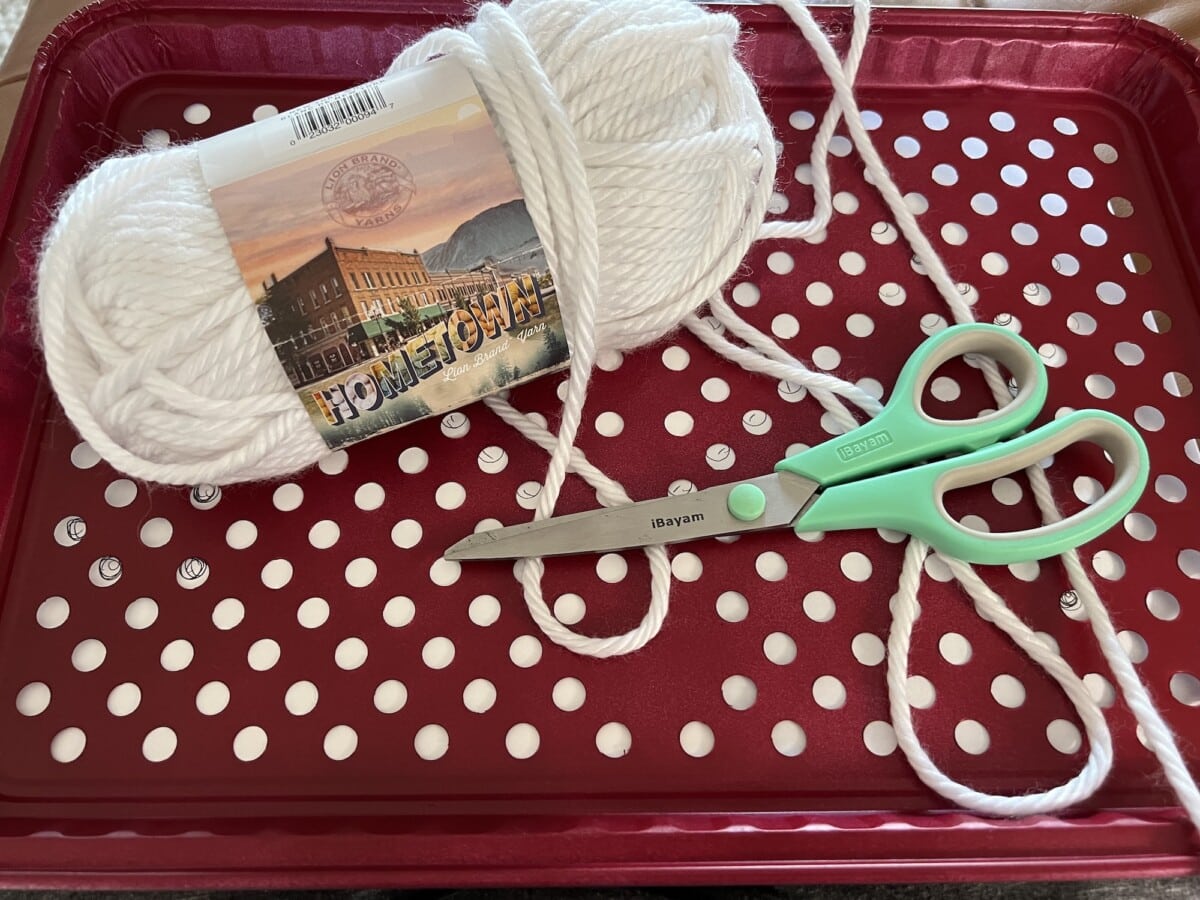
- Thick yarn (I used Hometown by Lion Brand yarn)
- Spray Paint (a paint designed to be used on metal)
- Ribbon
- Tape (optional)

Instructions
Step 1
Remove the sticker from the back of the aluminum pan. Be very careful doing this because the pan can bend and crease easily.
If the sticker is hard to come off, try using some Goo Gone or lemon essential oil to dissolve the adhesive on the sticker. However if you use these products, be sure to wash off the residue! Otherwise the spray paint won’t adhere.

Step 2
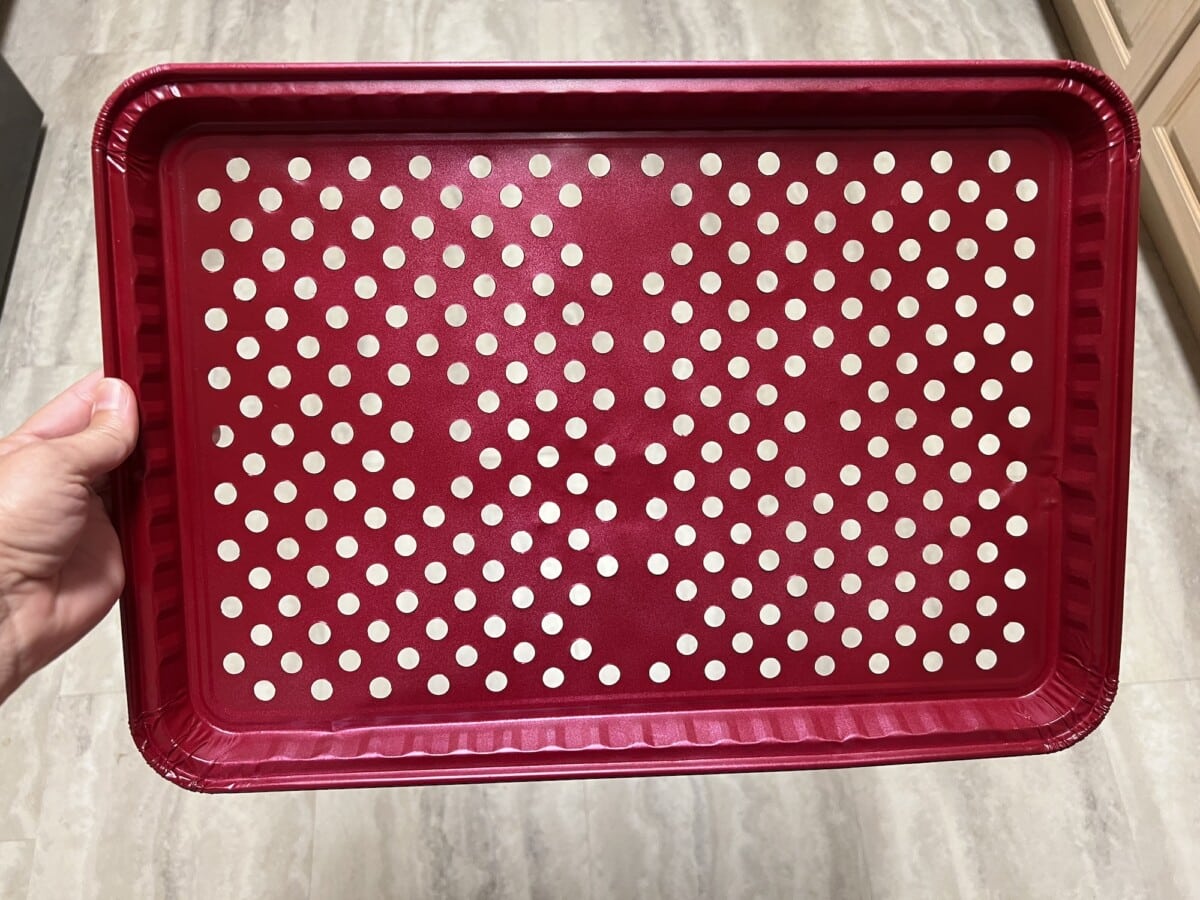
Spray paint the pan with your color choice using multiple thin coats of paint. I had to spray mine 2-3 times for coverage.
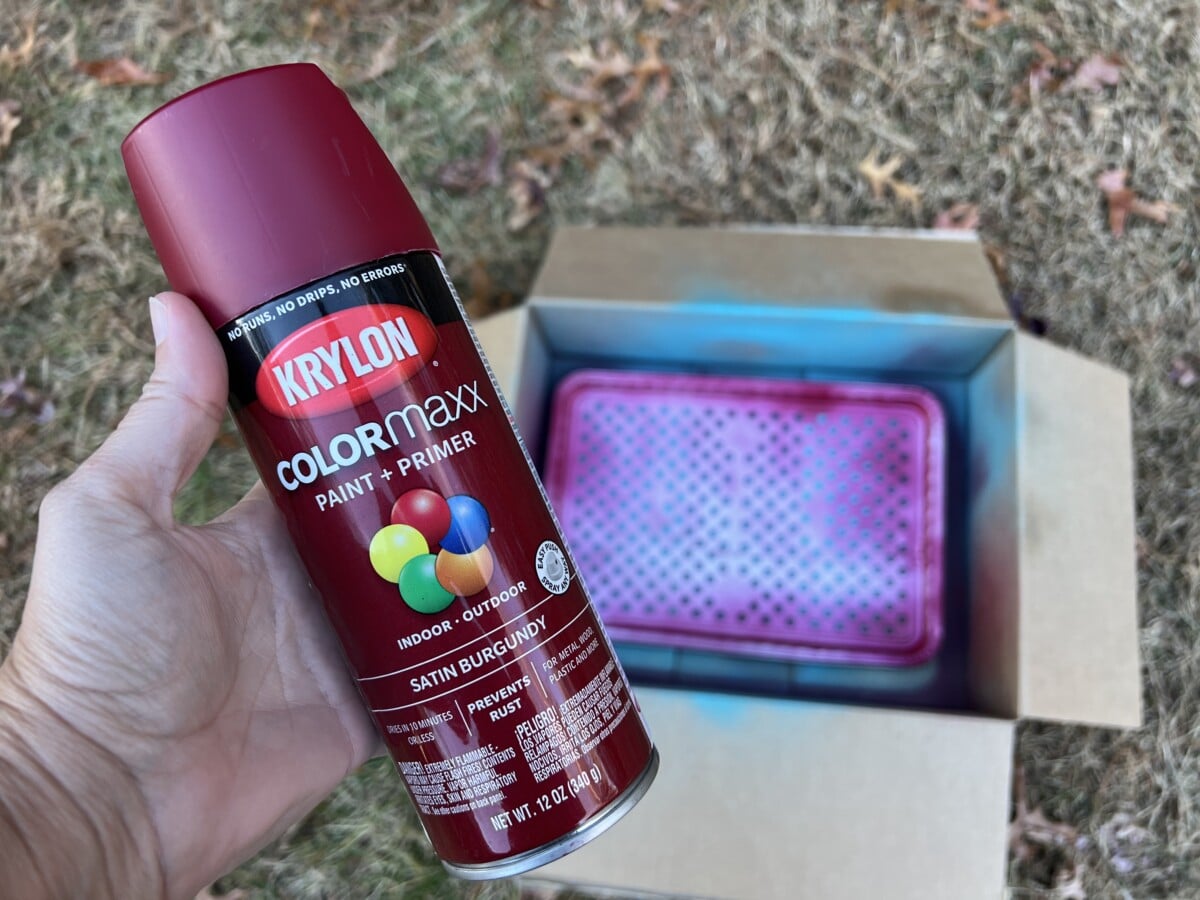

Be sure to spray the front and the sides of the pan. The back of the pan is not necessary to paint.
Allow to dry.

Step 3
Download and print out the free JOY pattern. This pattern comes in two separate sheets and can be joined together with tape.
While I used thick yarn, I thought it would look best to double up the strands to look thicker on the sign. You can use a single strand if you would like.
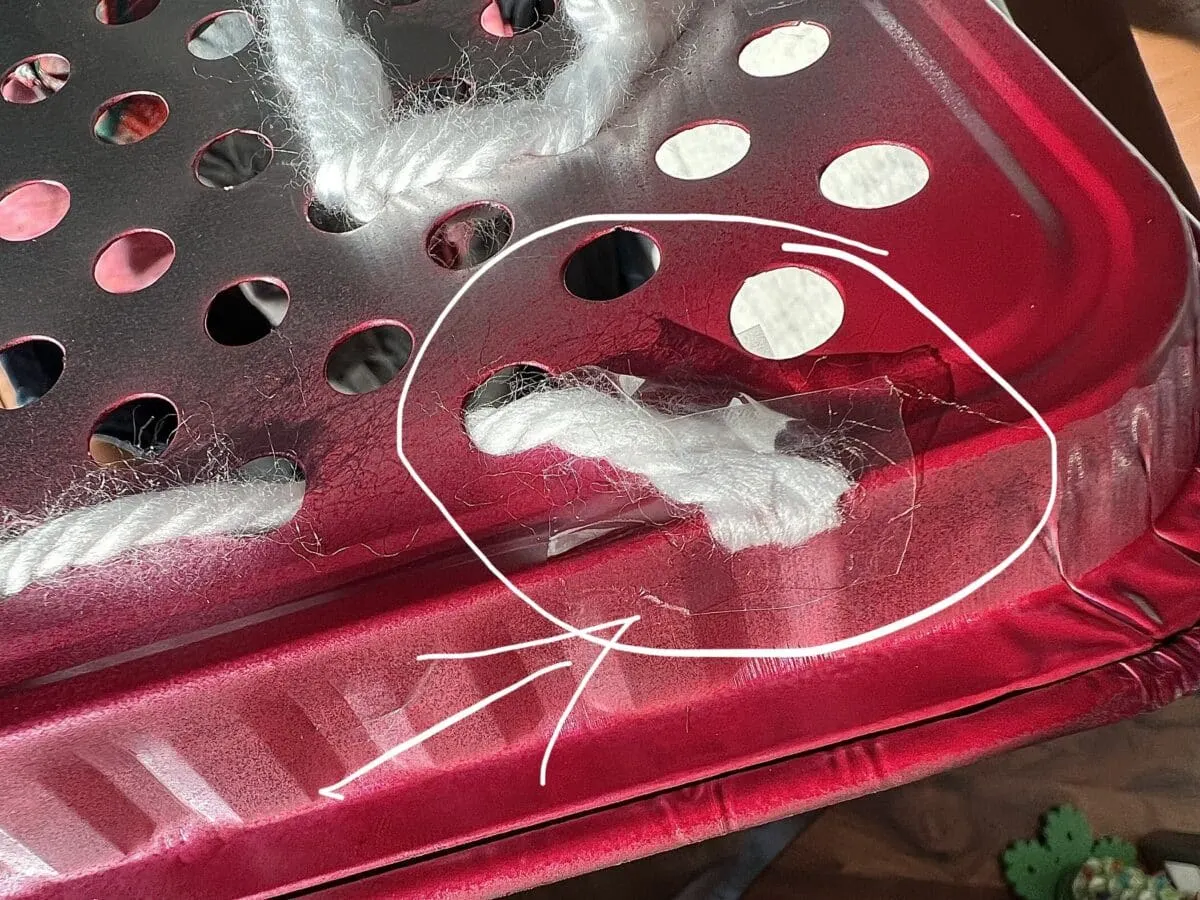
Using a long length of yarn, knot the end of the yarn with a big knot that won’t go through the holes of the grill pan.
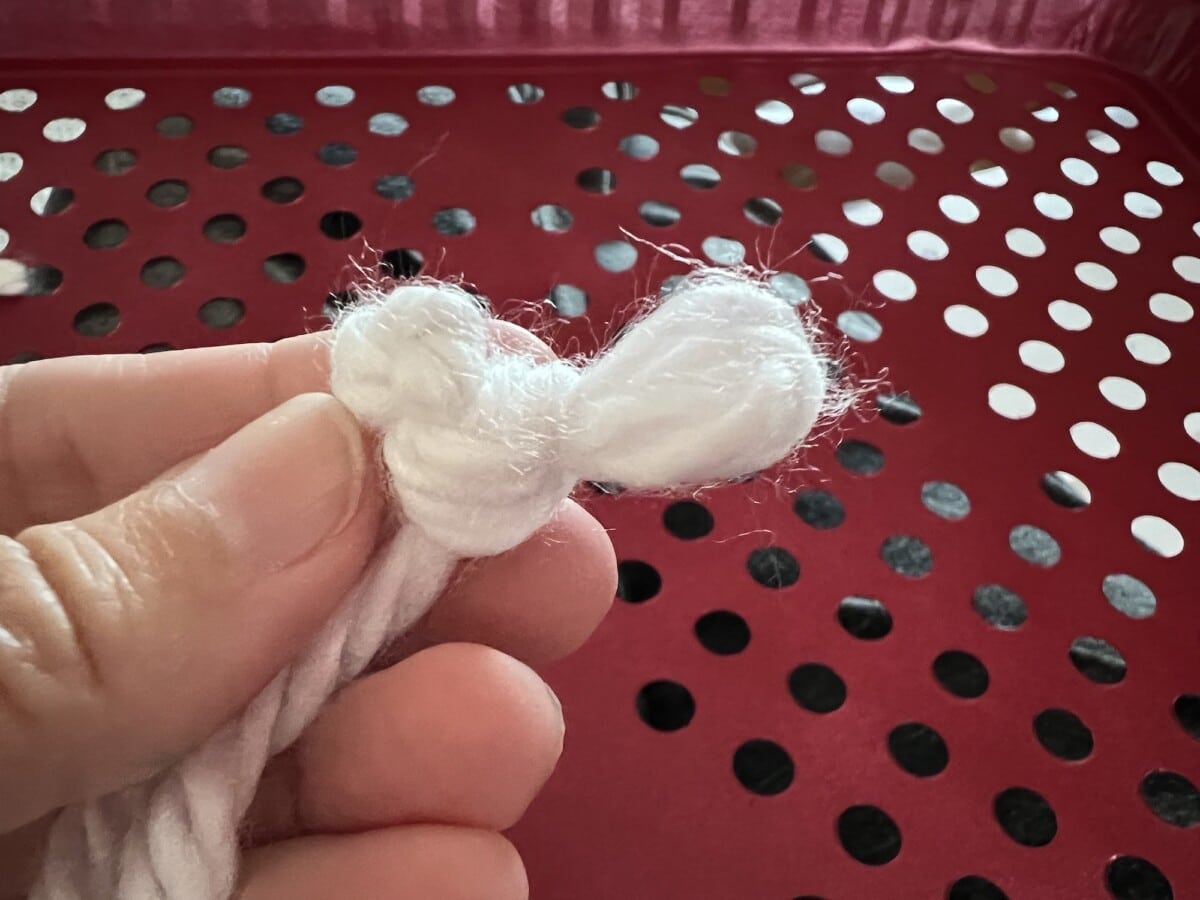

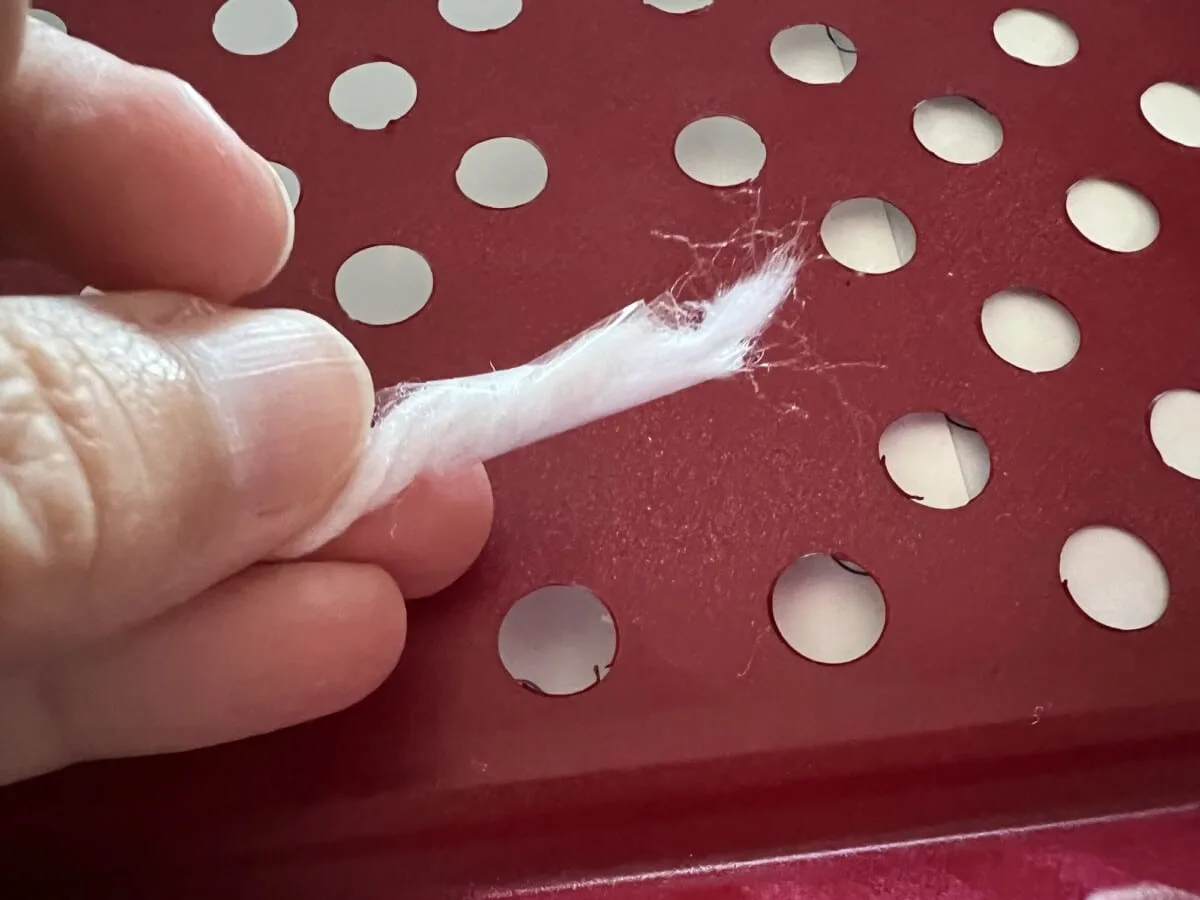
Add some tape around the other end of the yarn to help with working the yarn through the holes. Otherwise, the yarn can start to fray easily and can become difficult to poke through the holes.

Step 4
Using our pattern as a guide of where to start the “J” letter, start to stitch the yarn through the holes of the pan.
I used simple stitching of over and under. Bring the yarn up through one hole, then over the pan to the next hole, and then bring it through the hole and under.
As you follow the pattern, you will notice that only half of each letter is being stitched. That is okay. Once you have finished the pattern of the letter, go back through with the yarn in the over and under pattern and fill in the gaps with the yarn.

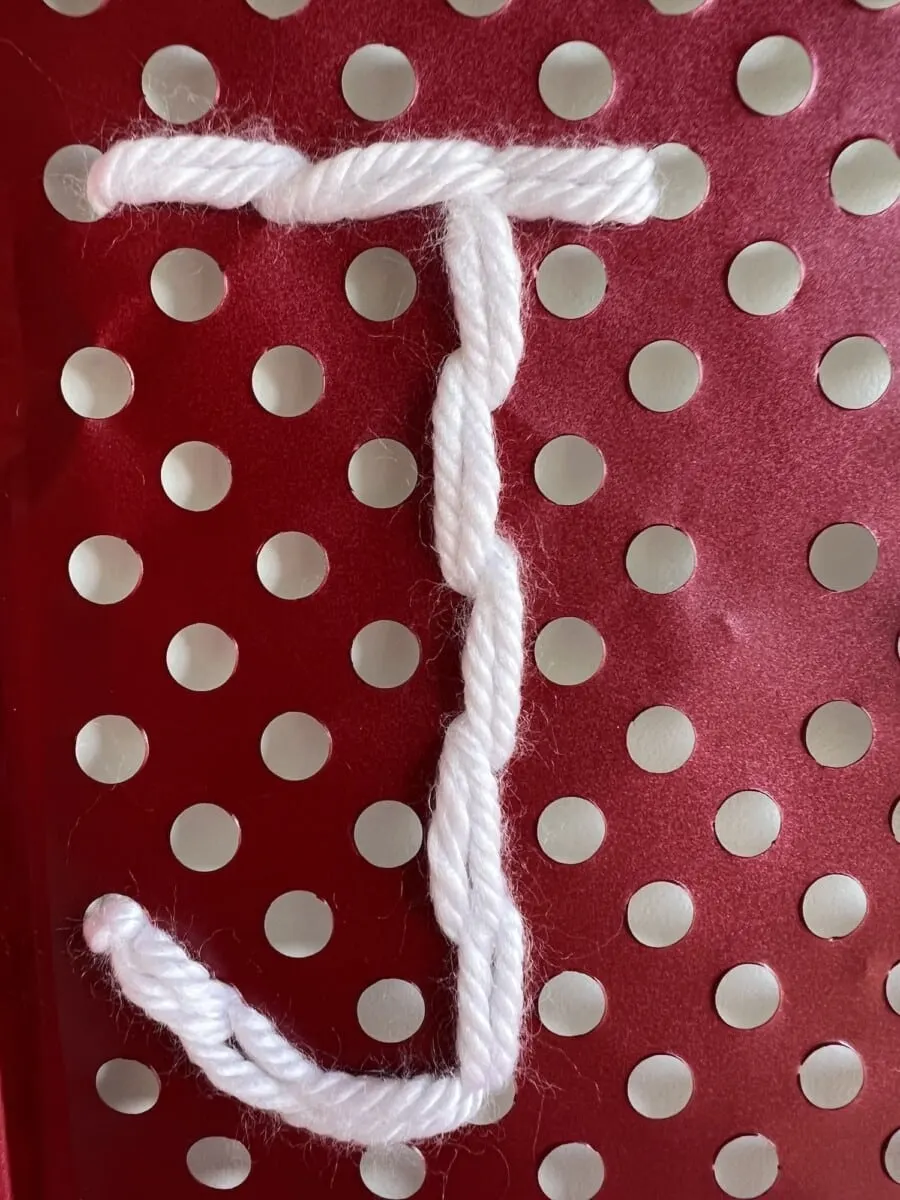
You will see in the pictures that my yarn stitching isn’t straight because I went back through and did the backstitching. That’s okay! It shows that it is handmade!

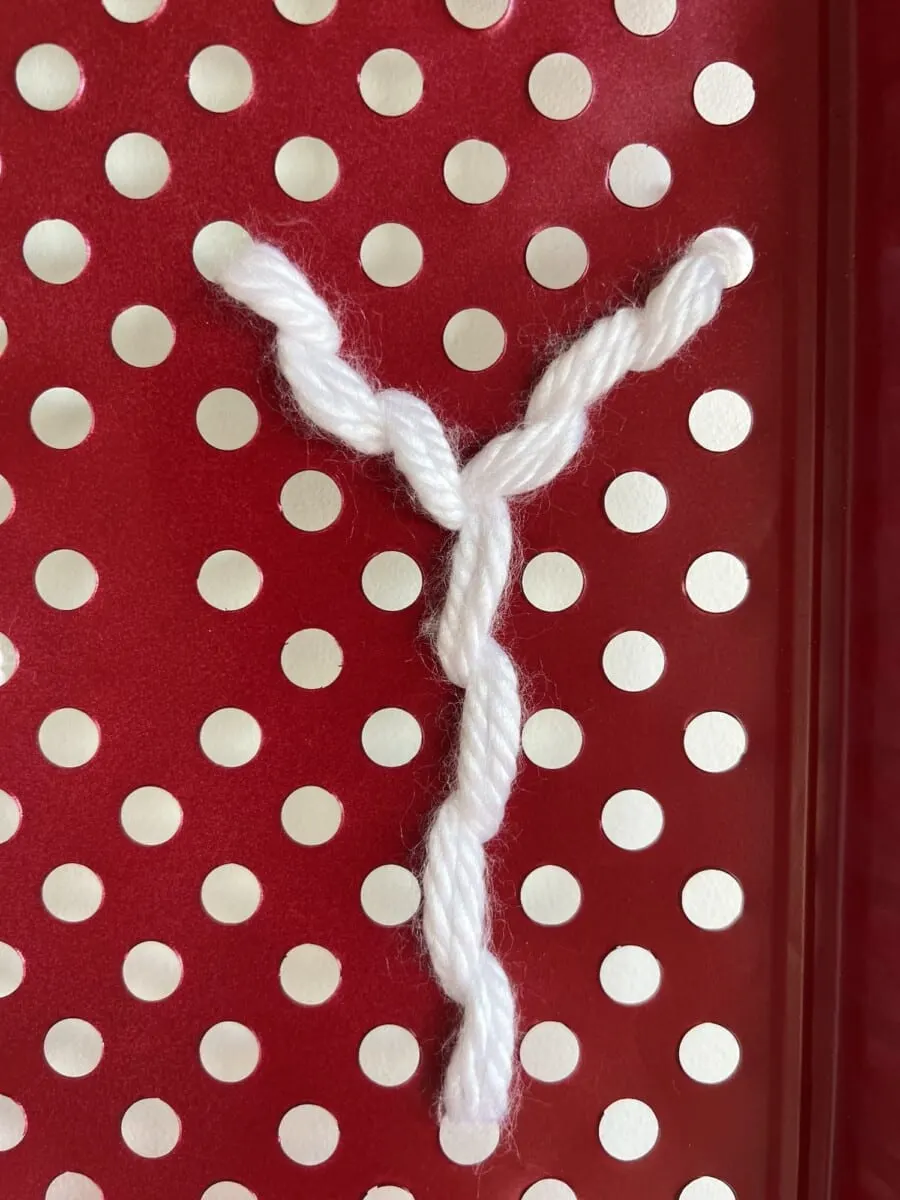
I chose to go through each hole on the side of the other strand of yarn, but you can go through the two strands of yarn if you have doubled up the yarn you are using.

Step 5
Continue to do this with each of the letters. I used a different strand of yarn for each letter.
Once you have stitched each letter, create another large knot in the back and cut off the excess yarn.
I used tape to keep the knots secure to the back of the pan to the side of the hole so that I couldn’t see it, however this is optional.
Step 6
I used two more pieces of yarn to stitch a line across the top and the bottom of the pan.
Start with the second open hole on the top row and stitch over and under until you reach the next to the last hole at the end of the row.
I just taped the raw ends to the back of the pan rather than doing knots.

Step 7
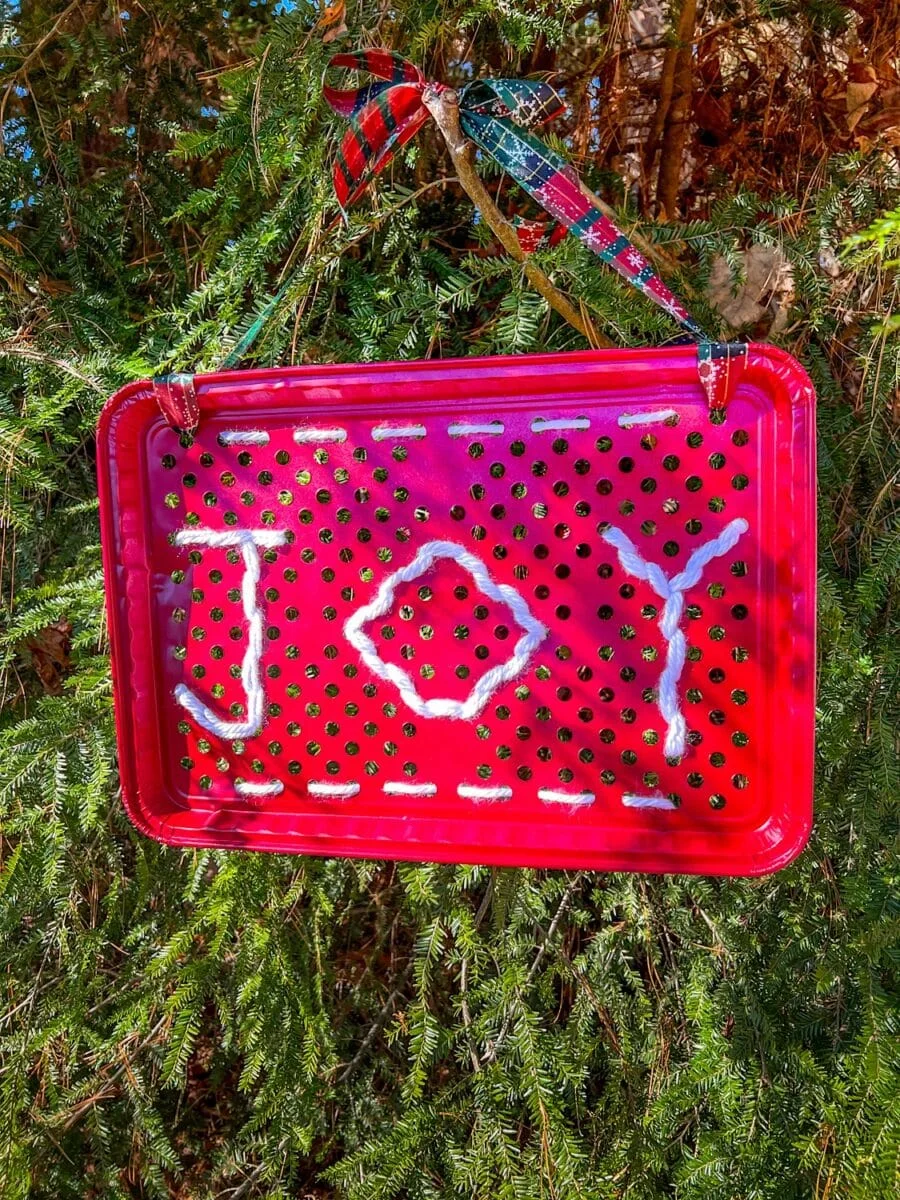
Cut a long piece of ribbon, depending on where you are hanging this sign, for the hanger.
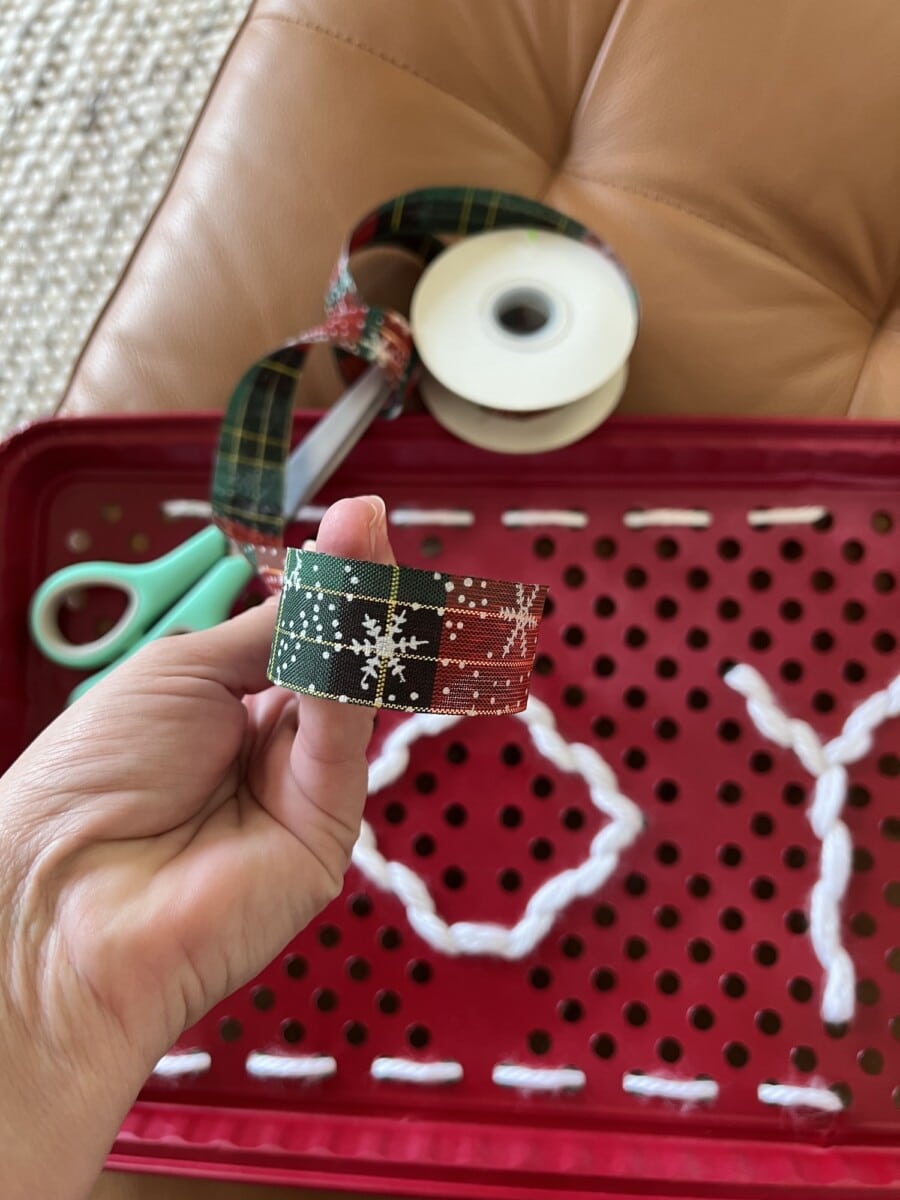

Tie each end of the ribbon on either side of the top of the pan, using the holes on the top row.
Using the same ribbon, tie a small bow and attach to the top of the ribbon hanger, if you would like.
Helpful Tips
- Be very gentle when handling the aluminum pan. It bends and creases easily.
- My yarn started to fray after being pulled through the holes repeatedly. Try to pull the yarn directly up through the hole rather than across the edge of the opening.
- This sign is a perfect front door decoration when you have storm doors because it is thin and will fit between the doors.
Like this project? Be sure to Pin It to save for later and to share with others!

Want more front door decoration ideas? Check out all of our DIY wreaths!
