
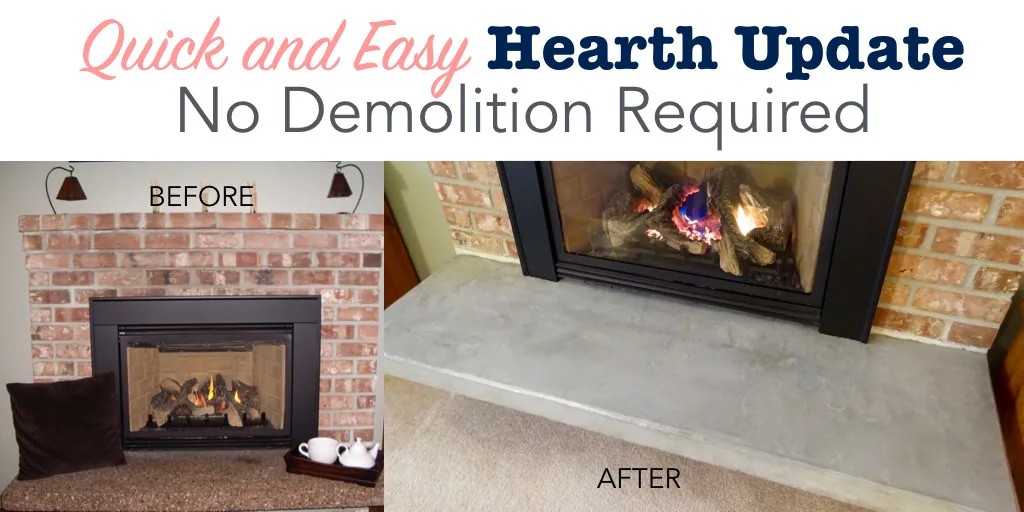
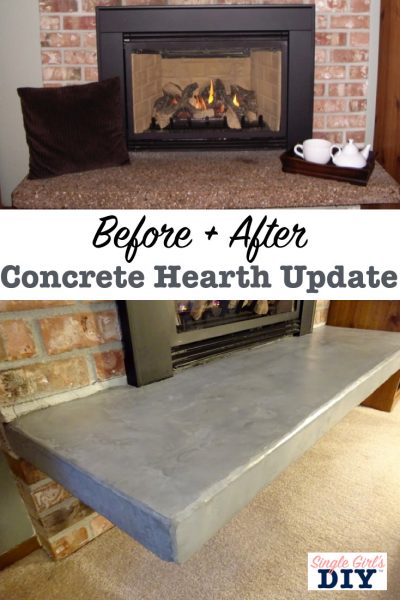
Easy DIY fireplace hearth update with concrete skimcoat, so you can get a new look without demolition.

The houses in my neighborhood were built in the mid-1980’s. They still carry many telltale signs of that decade. And not necessarily in a good way.
Shortly after I moved in, I was chatting with a neighbor in my living room, and mentioned the ugly exposed aggregate concrete hearth. She told me they had the same thing in their house, and wasn’t it hideous.
I asked “What did you do about it?” And she said, “Nothing.”
For a few years, I didn’t really know what to do about it either. I couldn’t think of any inexpensive changes I could make that wouldn’t require major demolition.
Until one day, when I walked into a local concrete store.
I just walked up to the counter, and told them my dilemma. They pointed me to the concrete skimcoat, and now I have a clean, classic looking hearth.
Here’s how I did it (and the materials cost under $100).
A reader also did this project and shared her before and after pictures, too. Be sure to see her fireplace transformation, as well, below!
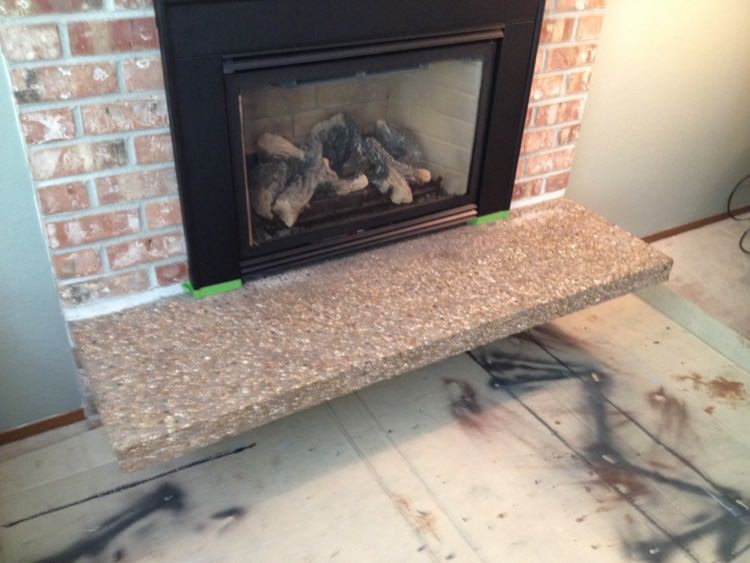
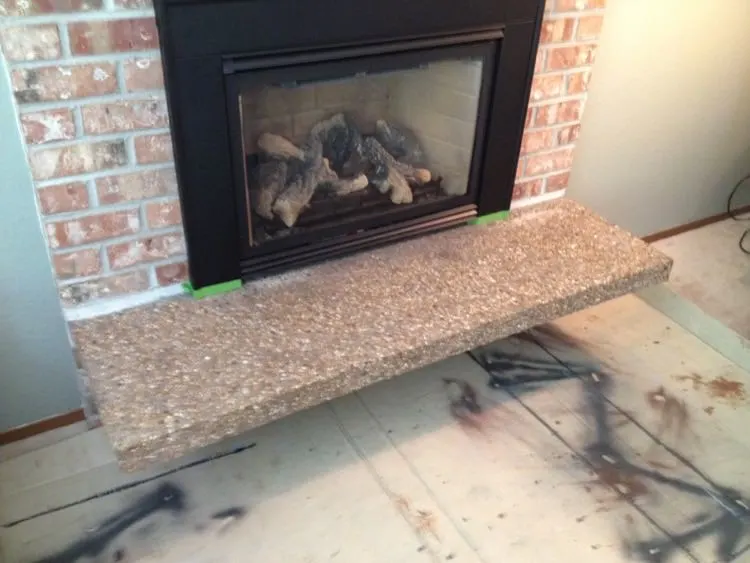
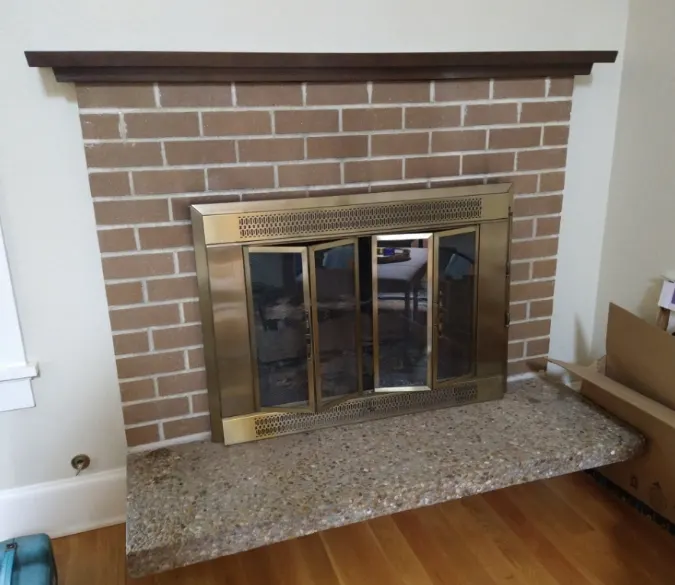
Before Pictures: Old and Ugly Fireplace Hearth
My house has the slightly unique feature (for such a small and modern home) of having two fireplaces. One is in the living room, and the other is in the master bedroom. They’re both built with lovely red brick.

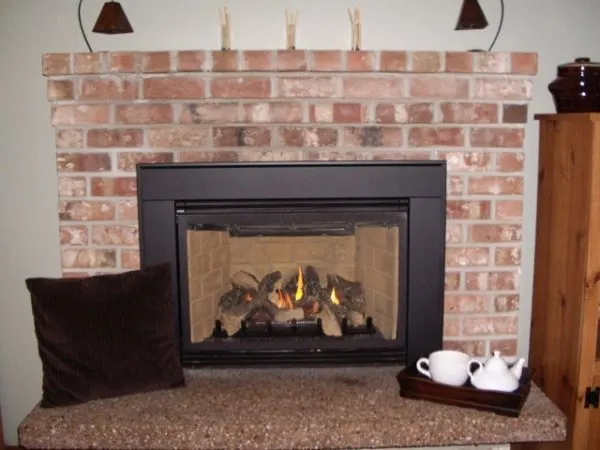

The only thing I didn’t like about the fireplaces were the hearths. They were made of exposed aggregate concrete (feels and looks like little pebbles).
Not only did the slab look outdated, but it always looked dirty. It was hard to get it really clean between the stones.

Applying a simple top coat of concrete skimcoat gave my outdated hearths a whole new look. (This is the same sort of product that can be used for concrete countertop updates.)
DIY FIREPLACE HEARTH UPDATE WITH CONCRETE
Materials
- Henry Feather Finish Patch & Skimcoat
- Concrete trowel tool
- Bucket for mixing
- Concrete sealer
- Paint brush
- Drop cloths
- Masking tape
Directions
1. Prepare the work area
First, it’s important to clean the hearth as much as possible. I put down a drop cloth, and then used a bucket of warm water and scrub brush to clean the aggregate stones.
I also applied masking tape along the front of my fireplace insert, to keep it clean.
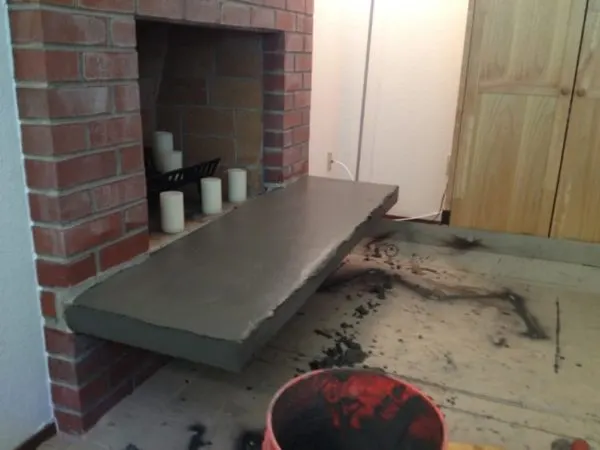
2. Apply the concrete
Mix up the concrete skimcoat in a bucket, according to the package directions.
Apply the mixture to the hearth with a trowel. It’s kind of like icing a cake. Take your time, and smooth it on evenly over the entire surface, including the sides.

3. Seal the surface
When the skimcoat is dry, you may want to apply a sealant. I did this to mine to protect the surface from staining, but also to add a little shine.
Let the sealant dry. Then you are done. Yes, it’s that easy!
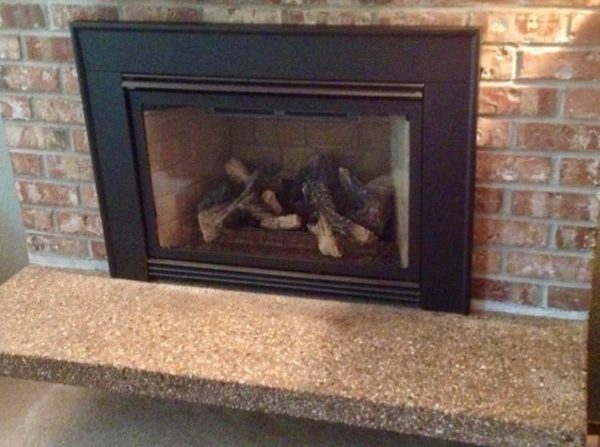
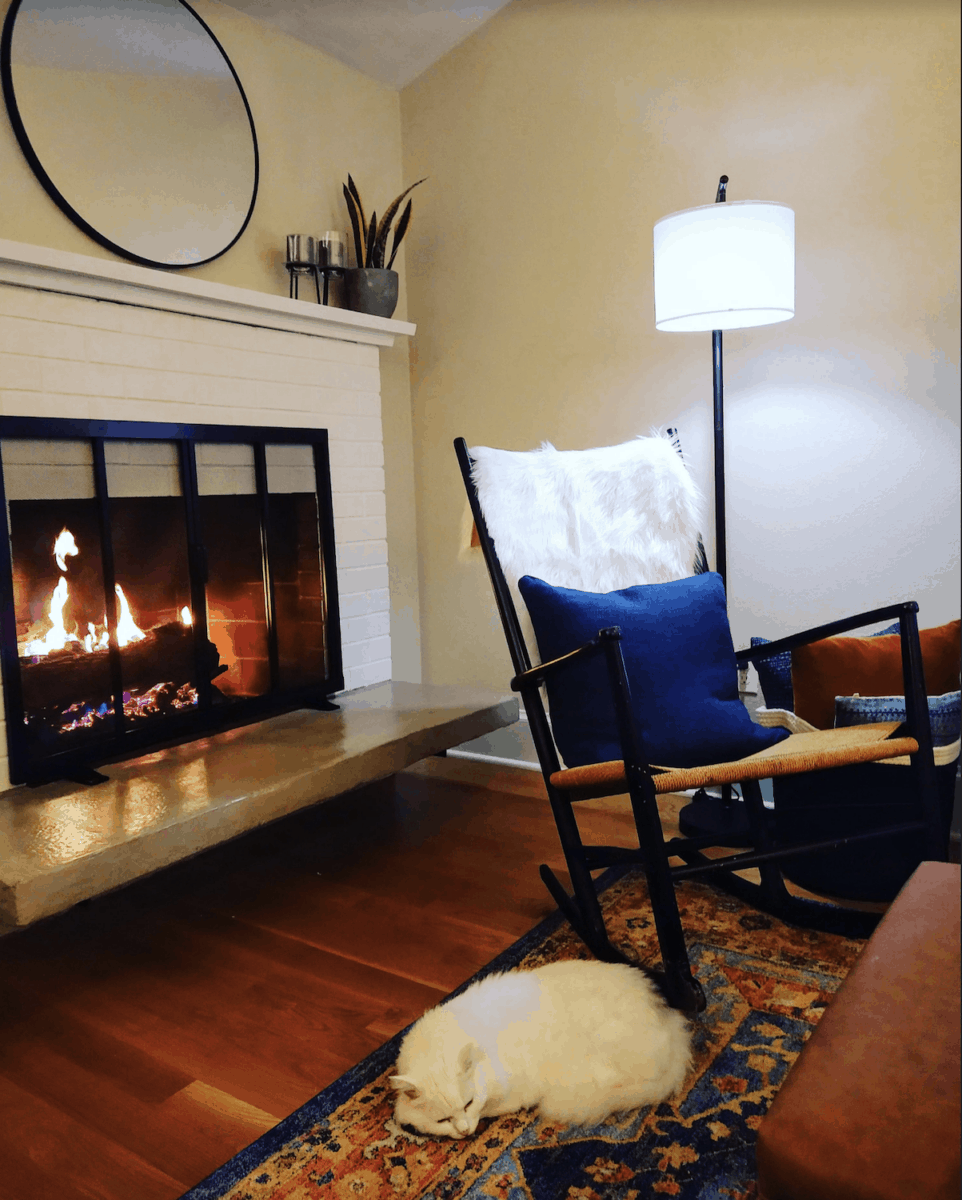
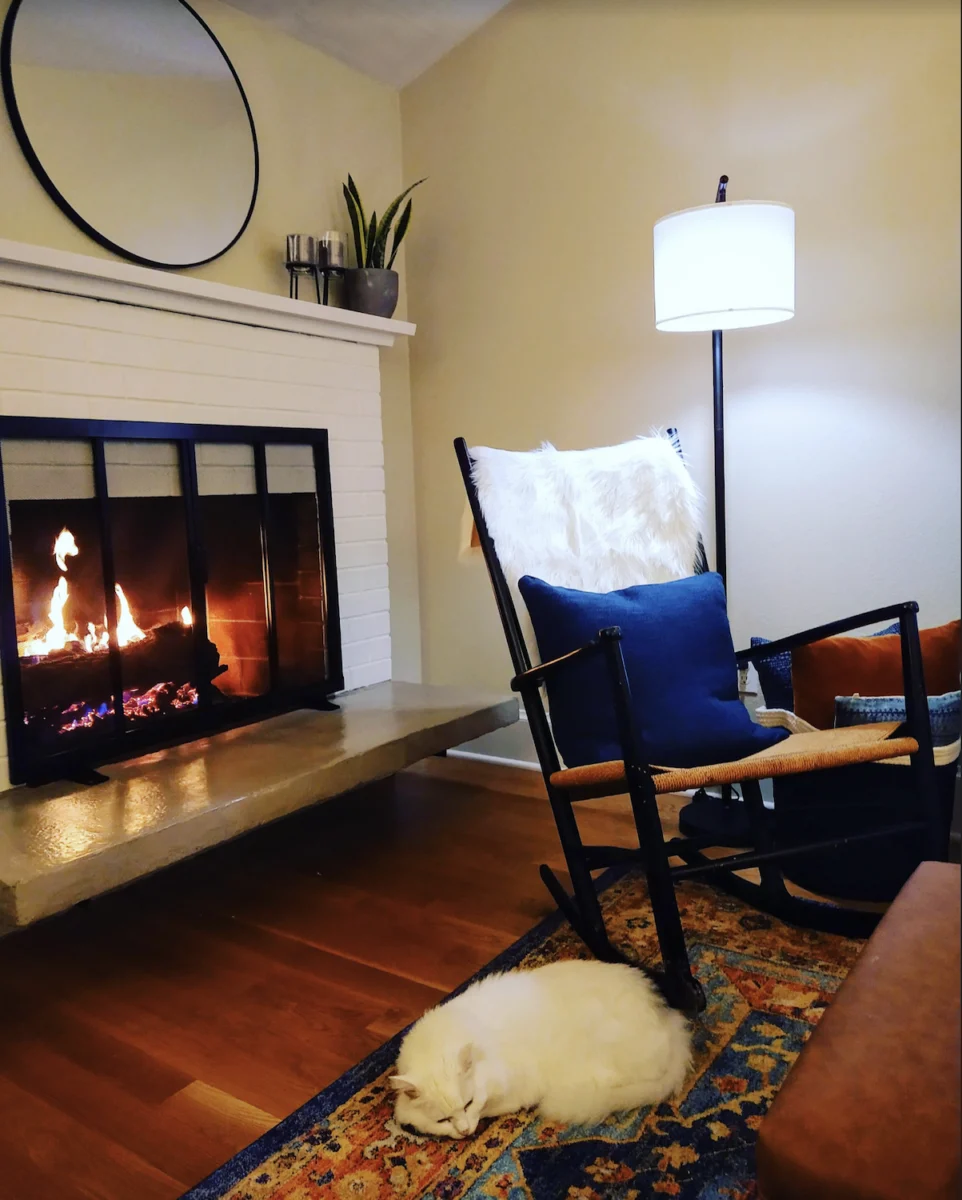
After Photos: DIY Concrete Hearth
This is how my concrete fireplace hearth turned out:
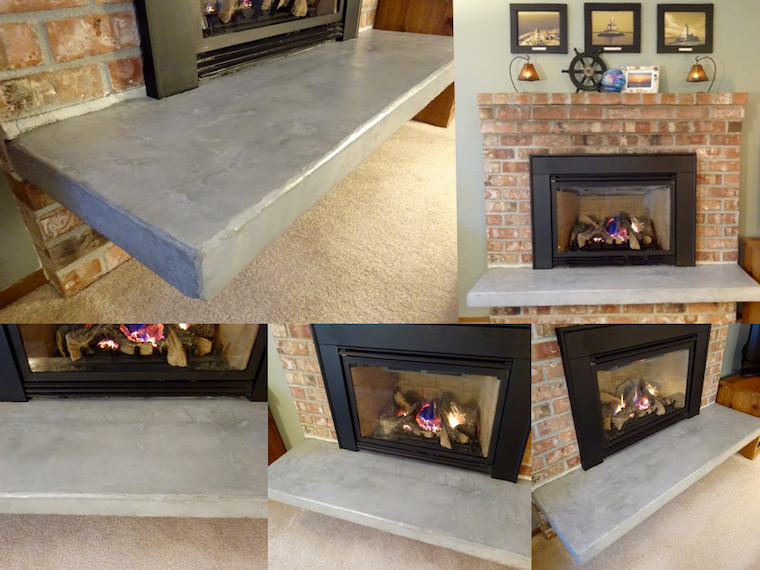
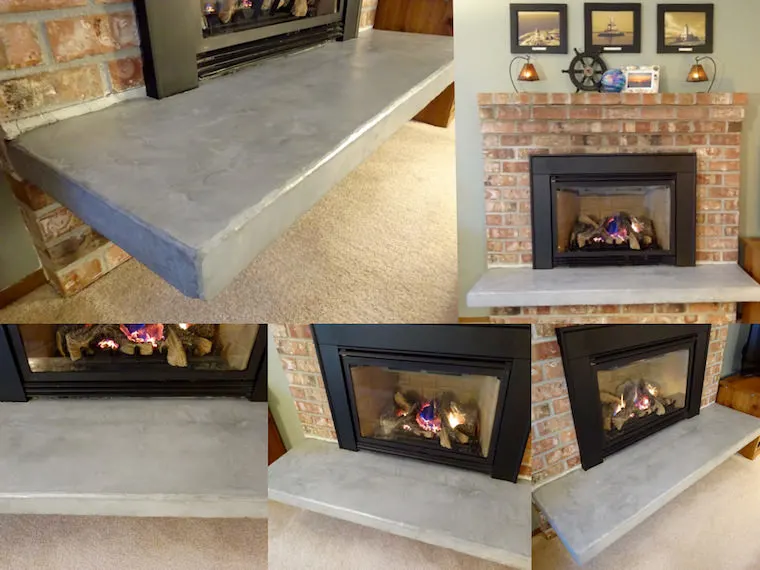

I think it looks absolutely gorgeous. It’s modern and minimalist. The hearth looks like it was always meant to be that way.
And the fact that I could update my hearth to look more modern for under $100 – and that the DIY project was so easy – is crazy to me!

I was thrilled when a reader sent me photos of her before and after pictures from doing this same DIY project using my tutorial.
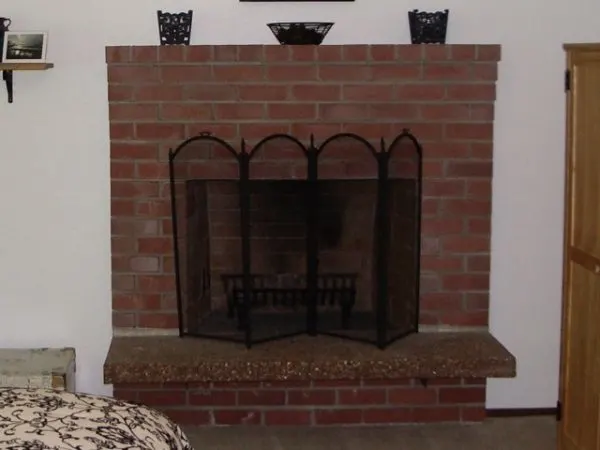
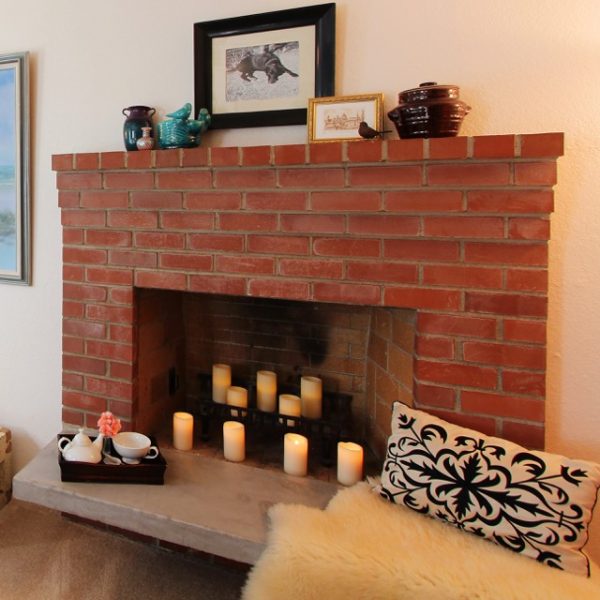
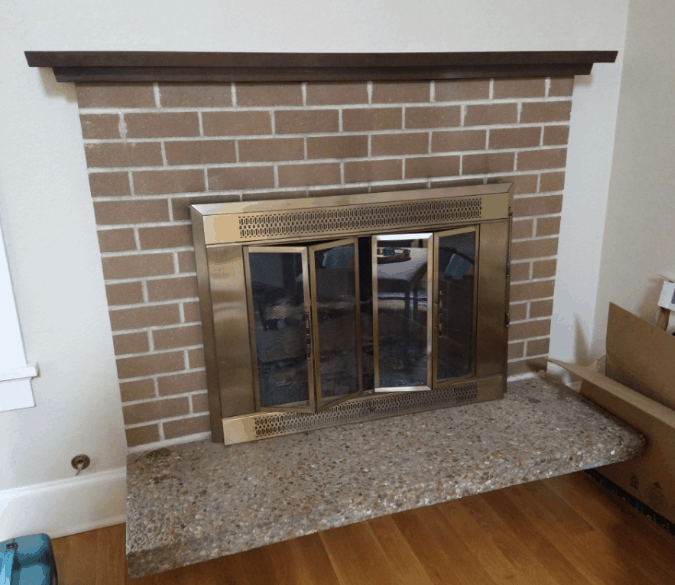
Here is Sharon’s Before Picture of her fireplace hearth:
And here are Sharon’s After pictures! Wow, it looks so good!
She did say that she had a spray bottle of water handy and a friend to help out since the concrete does harden quickly. And she used the entire bag of concrete mix on her hearth.
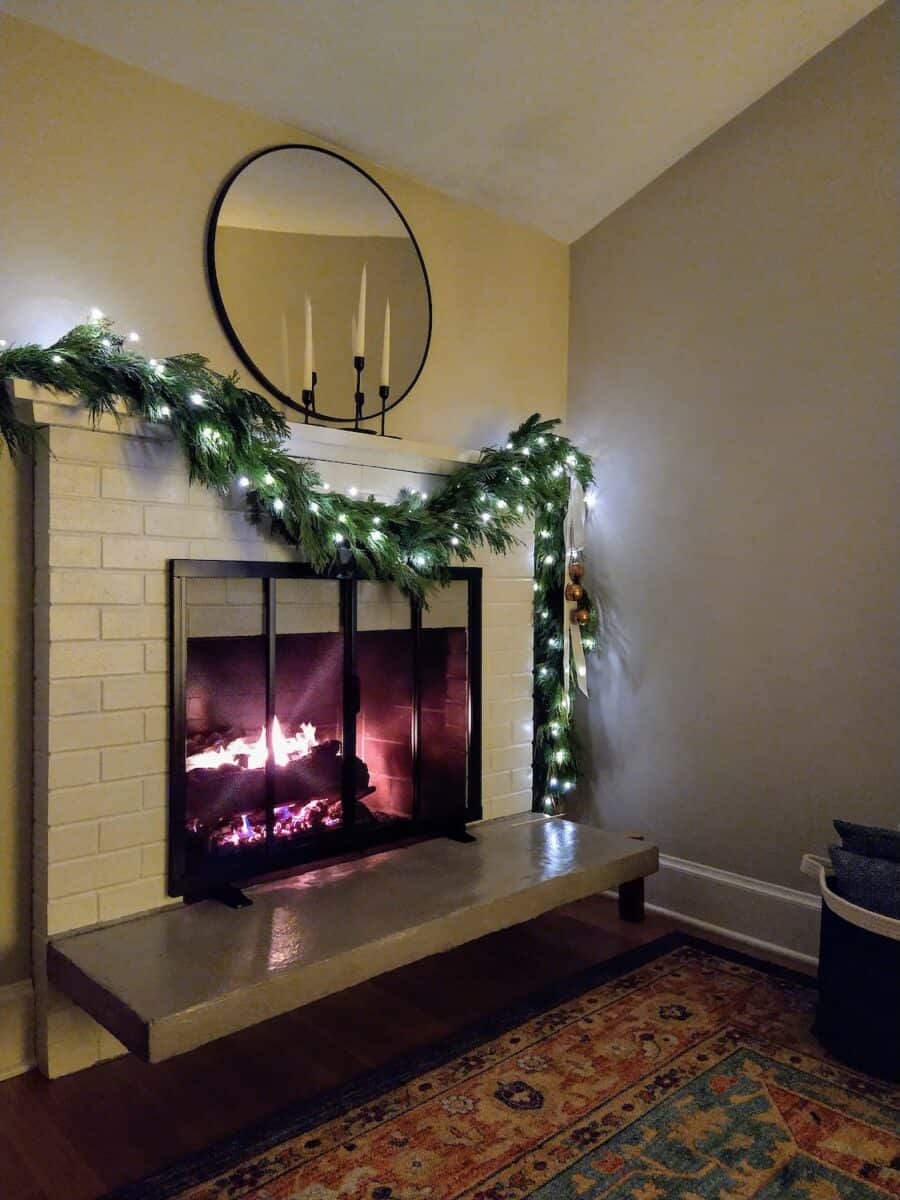

Sharon told me that her friends and family raved about how good the fireplace looks now! It really does, with the painted brick and new fireplace screen, too.
In fact, one of her friends did the same renovation after seeing Sharon’s finished hearth!
All of us were able to update our fireplaces easily because there was no demolition involved. So often, making your own fireplace hearth might involve jack hammers, crow bars and lots of elbow grease. But not this fireplace makeover!


Ed
Sunday 10th of July 2022
I have a Malm 34" round fireplace that I have installed a blower system in the grate. I need help with designing and installing hearth for it. How do I post photos?
Ed
Sunday 10th of July 2022
What type of concrete should you use and how did you support it? I want to make one that almost surrounds my Malm round freestanding fireplace. At the moment it is sitting on cinder blocks. I'm going to put a drawer in the bottom front for ash cleaning.
Martina
Thursday 6th of January 2022
Looks great, thanks for sharing! Were you tempted at all to do the whole fireplace, wonder what it would look like?
Kimberly
Friday 7th of January 2022
That is a good idea! This DIY was done on a limited budget, so just stuck to the basics. But would look really good to do the entire fireplace!
Sharon
Wednesday 29th of December 2021
Jenny, thanks so much for featuring my fireplace in your update! I'm so grateful for your instructions as this is my personal favorite home diy to-date. This corner of our home no longer feels like a dark hole.
Kimberly
Thursday 30th of December 2021
Thank you so much for your kind words, Sharon! I'm so glad that it worked for you!
Jill
Tuesday 2nd of March 2021
I just painted fire place and did my. Hearth in skim it looks great thank you
Single Girls DIY
Thursday 4th of March 2021
Thanks, Jill! If you wanted to send pictures of your update I'd be happy to add them to my post! Email to singlegirlsdiyinfo@gmail.com if you'd like!