

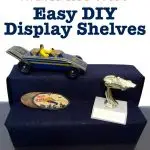
How to make DIY display shelves for collectibles using packing materials found at home.
When I inherited some lovely mementos from my grandma, I wanted a display rack to show them off, while also keeping them safe. I decided the best spot for a display stand was in my home office, were I have a lovely cabinet with glass doors.
Since there were no shelves in my cabinet, I built my own easy DIY display shelves from nothing but scrap materials. If you’re looking for lightweight and cheap shelves to display mementos, knick-knacks, or trophies, this project is for you!

I made this display stand from packing materials I found at home. You might also be interested in my tutorial of how to make a foam jewelry organizer from packing materials and this same fabric, too.
HOW TO MAKE DIY DISPLAY SHELVES
Materials
- Styrofoam blocks (I used scrap materials that I happened to have around the house, but you can buy the styrofoam, too.)
- Ruler
- Knife or small hack saw
- White craft glue
- Fabric
- Straight pins
Directions
1. Measure the display space

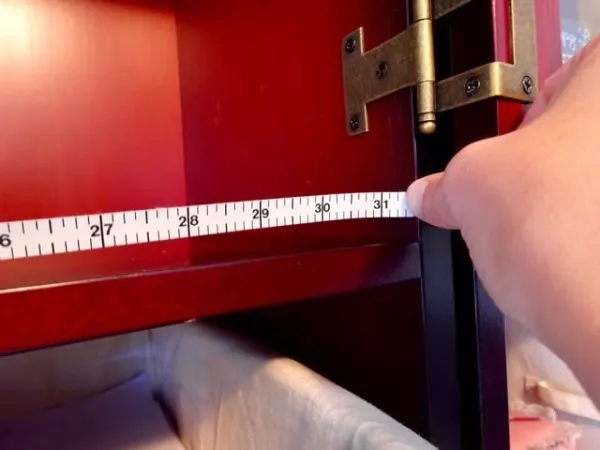
I started by measuring the width of my cabinet, and then began hunting for materials around the house that would work to create shelves.
I didn’t have anything around that was wide enough, so I made two display racks to fill the space.
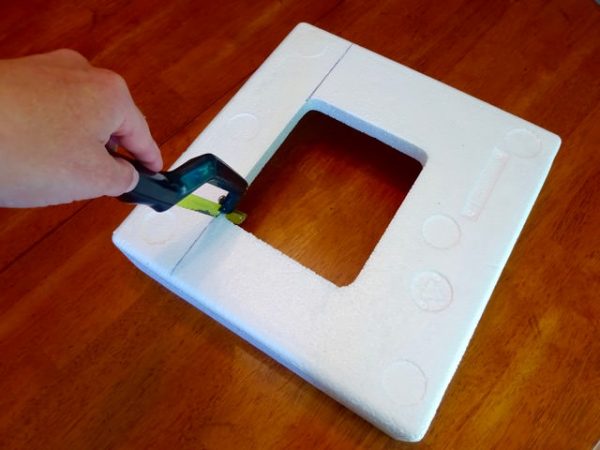
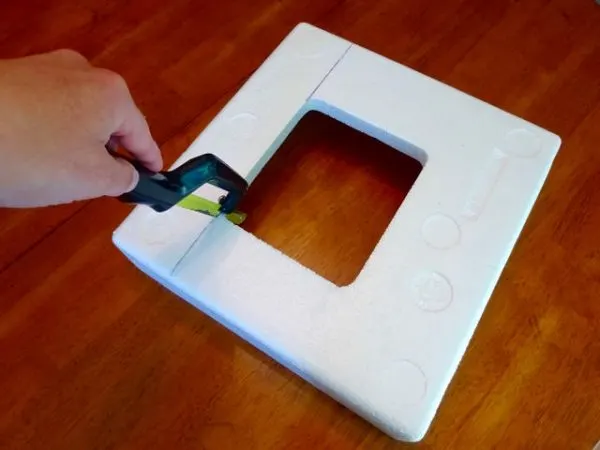
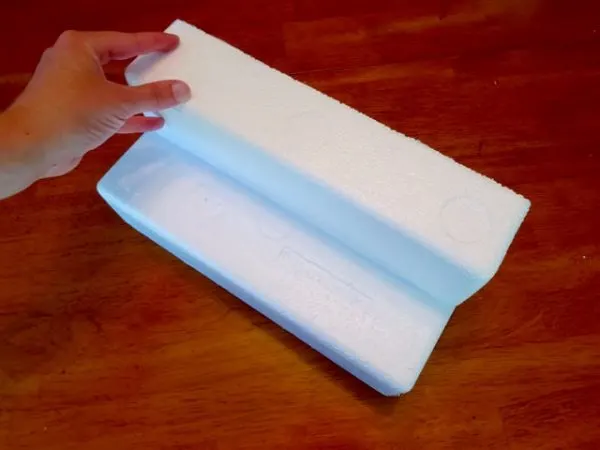
2. Cut the styrofoam blocks
I decided to make my display racks out of styrofoam blocks, because it would be lightweight and durable. I found some old packing foam from an appliance purchase.
But if you don’t have any at home, you can easily order styrofoam blocks.
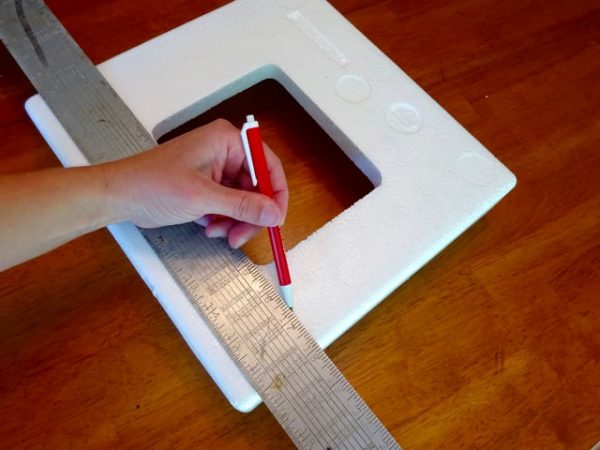

I used a small hack saw to cut the packing material into sections, so that I could create two shelves. (Note: I chose to do this inside, so I wouldn’t create any non-biodegradable pollution outside. Just be warned, cutting styrofoam makes a big mess, and static makes it stick to everything! Have the vacuum handy.)
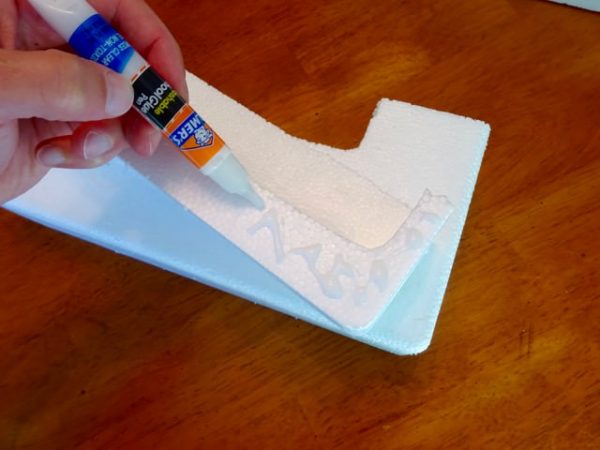
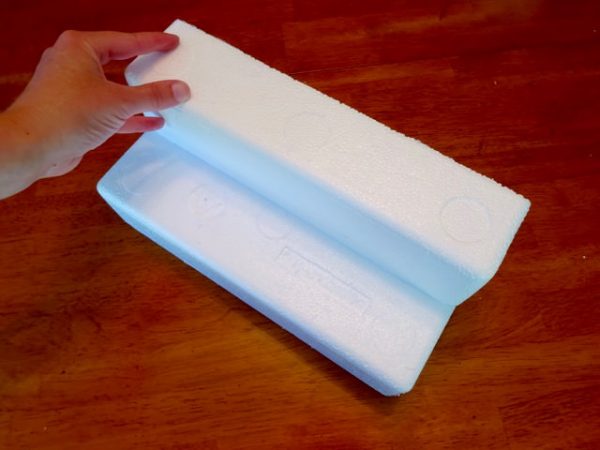
3. Glue the blocks together
I applied a heavy coat of white craft glue to my blocks and stuck them together. I put some weight on top while the glue dried to help hold it in place. (Don’t use hot glue, because it will melt the styrofoam.)

4. Wrap shelves in fabric
After the glue has dried, you can wrap the shelves in any kind of fabric you like. I used a chunk of black burlap that I already had.
Black is a nice choice for a display rack, because it sets off the items on the shelves.

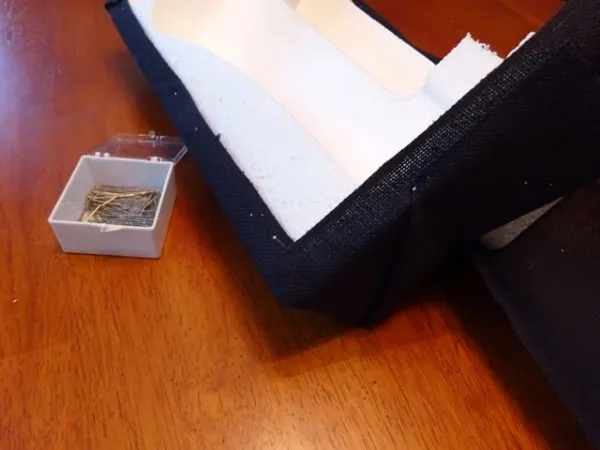
As you wrap the fabric around the blocks, make creases and folds at the bends and corners. Secure the fabric in place with straight pins pushed into the styrofoam.


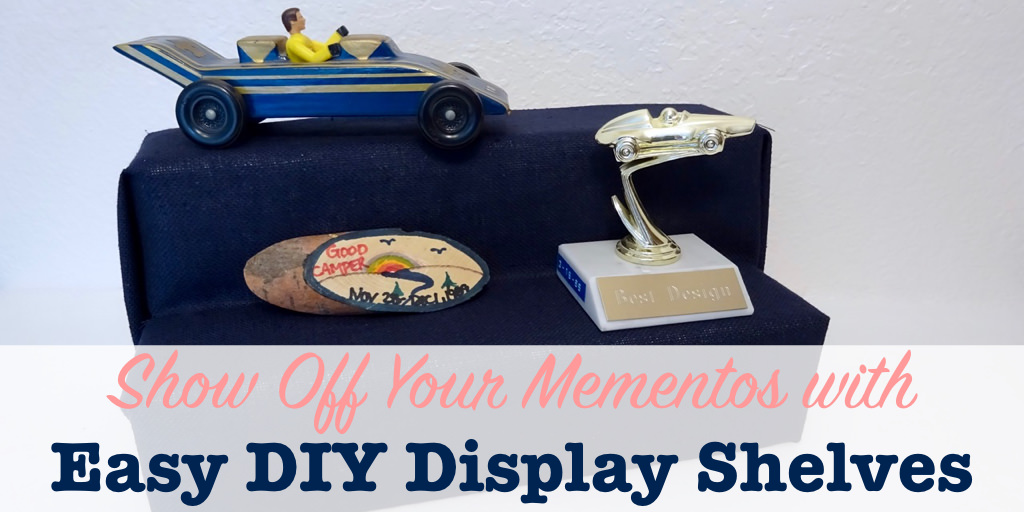
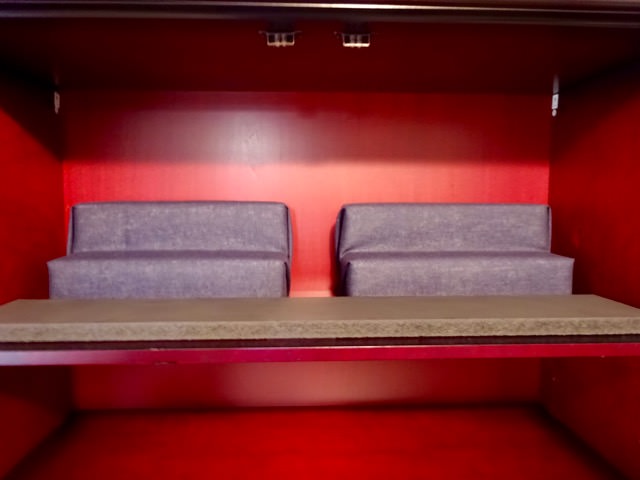
5. Display your pretty things
I made two of these easy DIY display shelves, and put one on each side of my display cabinet.
They’re perfect for all my collectibles.
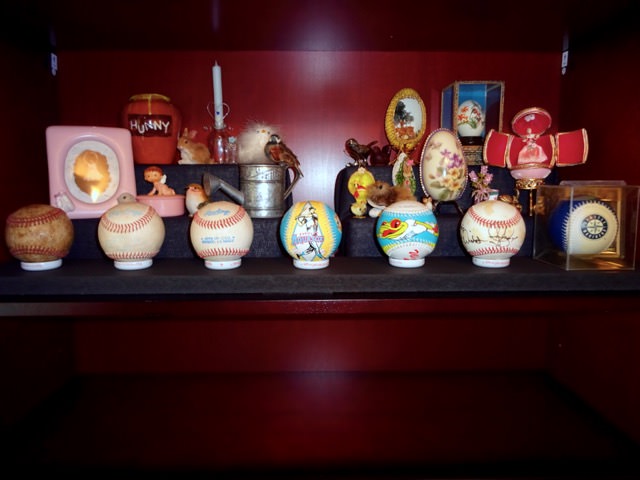
Some of the pretty things in the back are from grandma.
The row of baseballs across the front are from my former life as a grounds crew worker. It’s fun to display treasures and memories.
I do have more DIY shelves ideas. Have you also seen my Dollar Tree two-tier farmhouse shelves?
For heavy duty storage, here’s how to build basic wooden shelves.
