
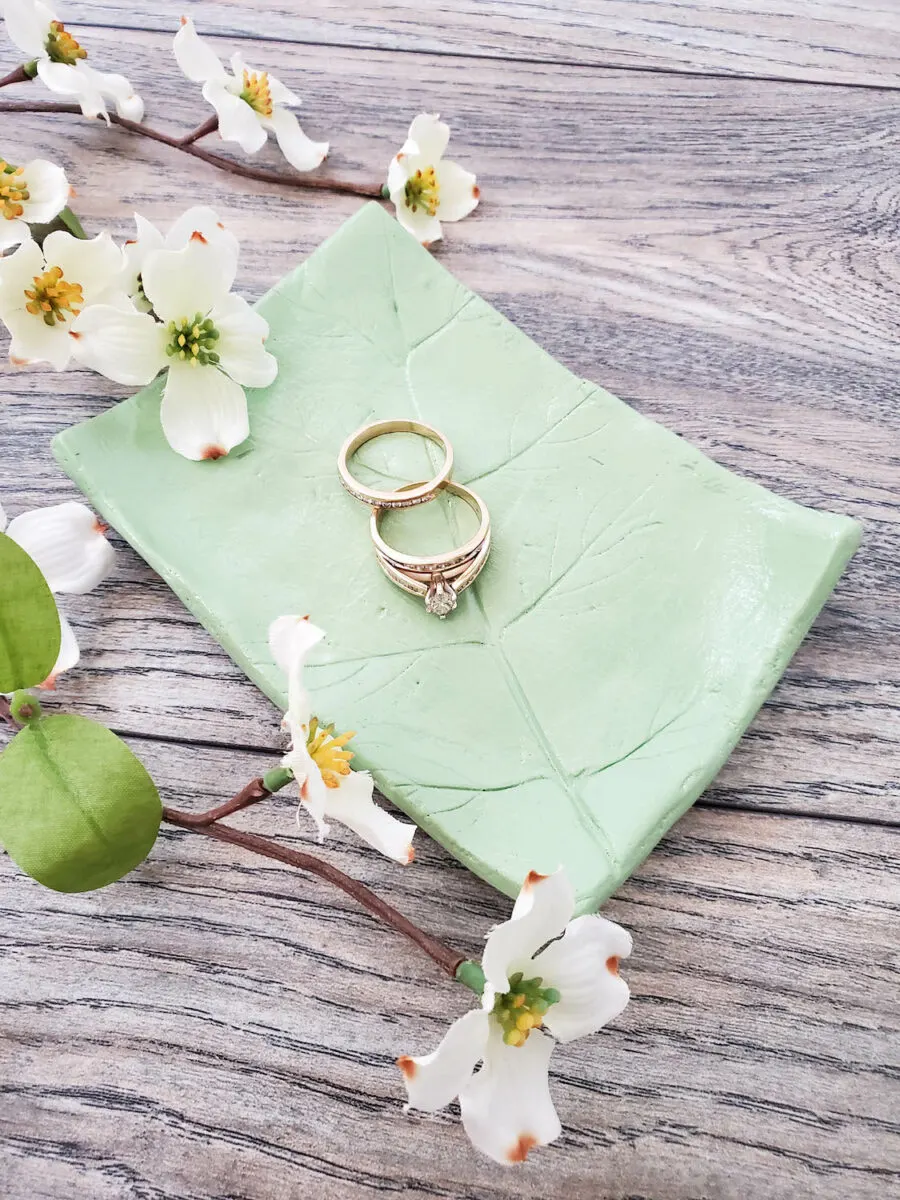
This DIY clay jewelry dish is so easy to make! It just looks like it took a lot of effort!
What is so great about this DIY clay tray is that you can customize it in so many ways. Which is why these make perfect, inexpensive gifts! You could make quite a few of these trinket dishes in just an hour or so. It’s a super fast project!
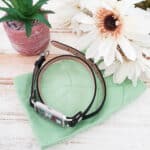
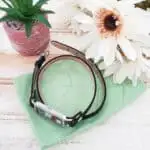
The trays are perfect for putting on your dresser or nightstand to hold your rings while applying lotion. Or to hold your watch, earrings, necklaces or bracelets when not wearing them.
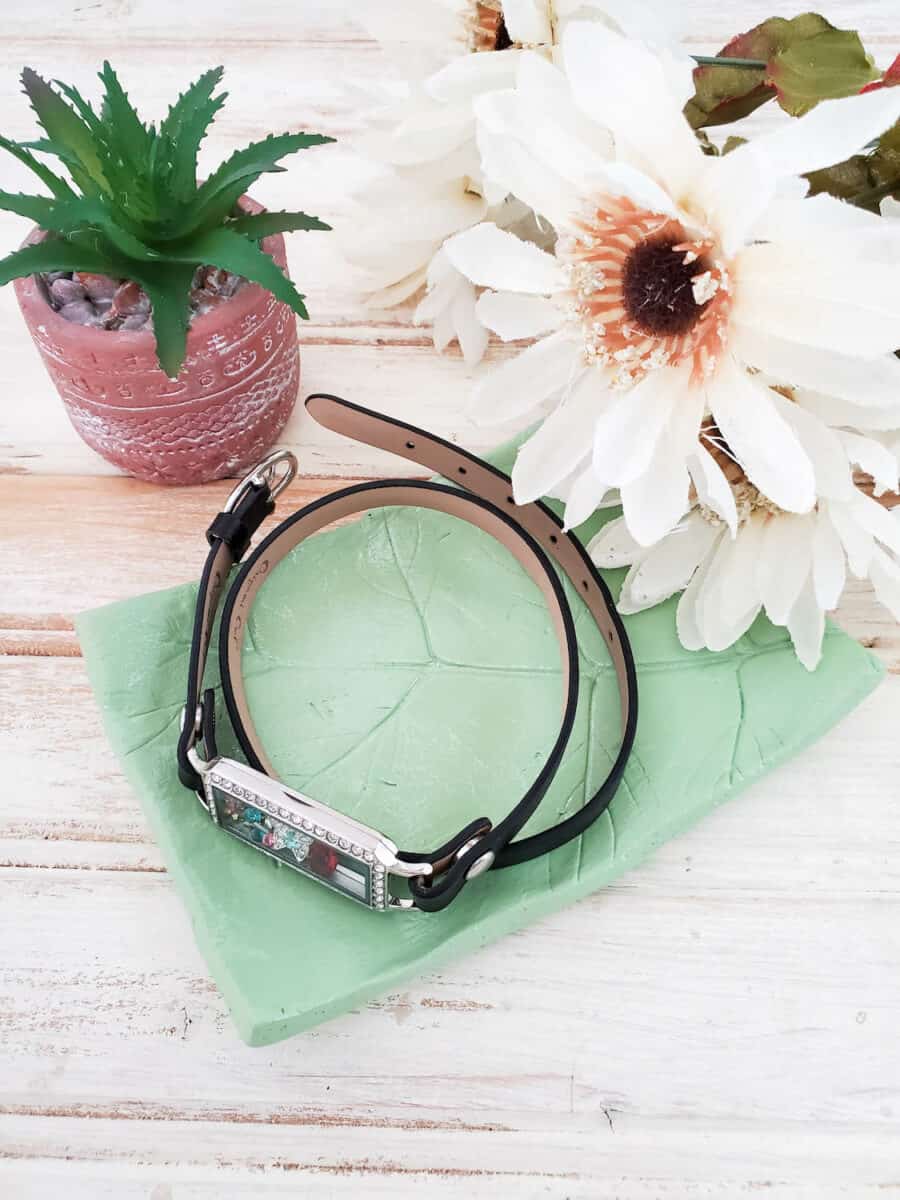
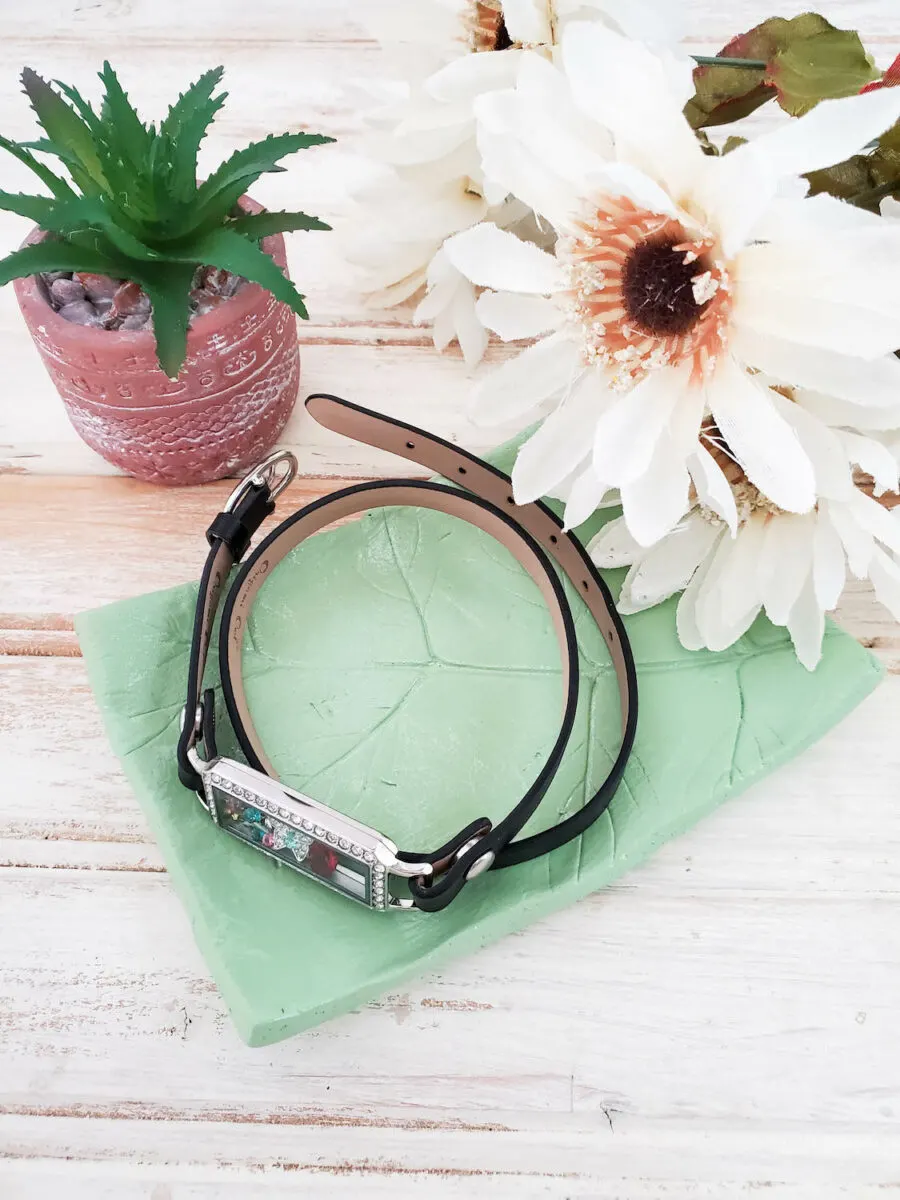
You could use these trinket dishes in your entryway, too. Or use them in other ways, such as to hold loose change or other tiny items. My easy felt valet trays and DIY canvas fabric trays are great for holding small items, too.
These clay trays can be shaped any way you’d like. While I chose a rectangle jewelry plate, you can use the same instructions to make a square dish with taller edges. Or make a jewelry bowl.
You might also like my DIY Jewelry Organizer Tray using Dollar Tree supplies, or my DIY foam jewelry holder, using upcycled packing materials.
The leaves can be from any type of tree or plant that you have. You could also use flowers, which I think would be lovely. The colors can also be customized, too. So consider making an orange dish with fall leaves imprints. Or use daisies to make a pretty pastel trinket dish.
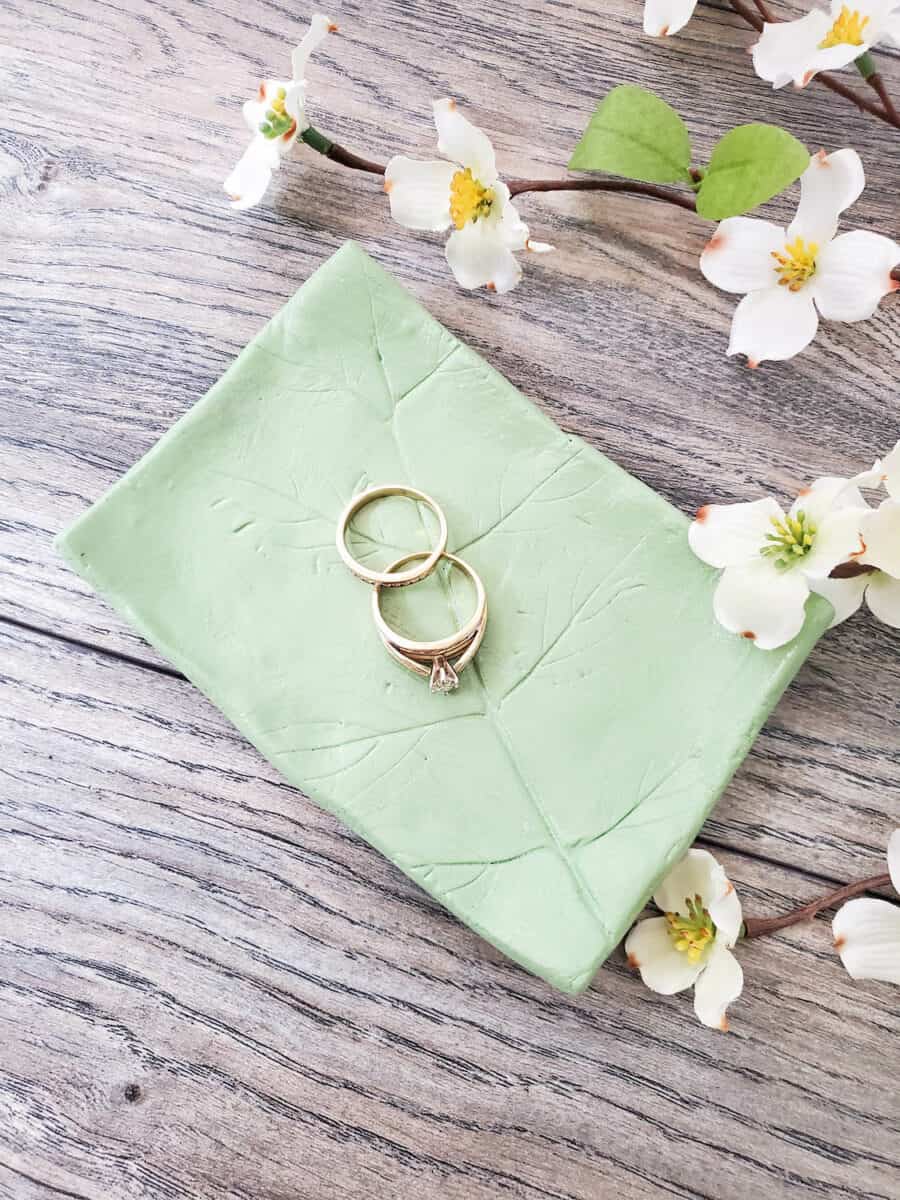

If you would like to customize by adding designs or painting the leaf imprints with a paint marker, that would be great, too. (I personally love these gold leafing pens and want to try using them.)
How to Make a Jewelry Trinket Dish with Air Dry Clay
Supplies
- Air dry clay
- Leaves – real or faux
- Paint (I used Apple Barrel Gloss in Spring Green)
- Paint brush
- Sandpaper or a Nail File (optional)
- Krylon clear glaze
- Newspaper to protect your work surface
- Knife
Directions
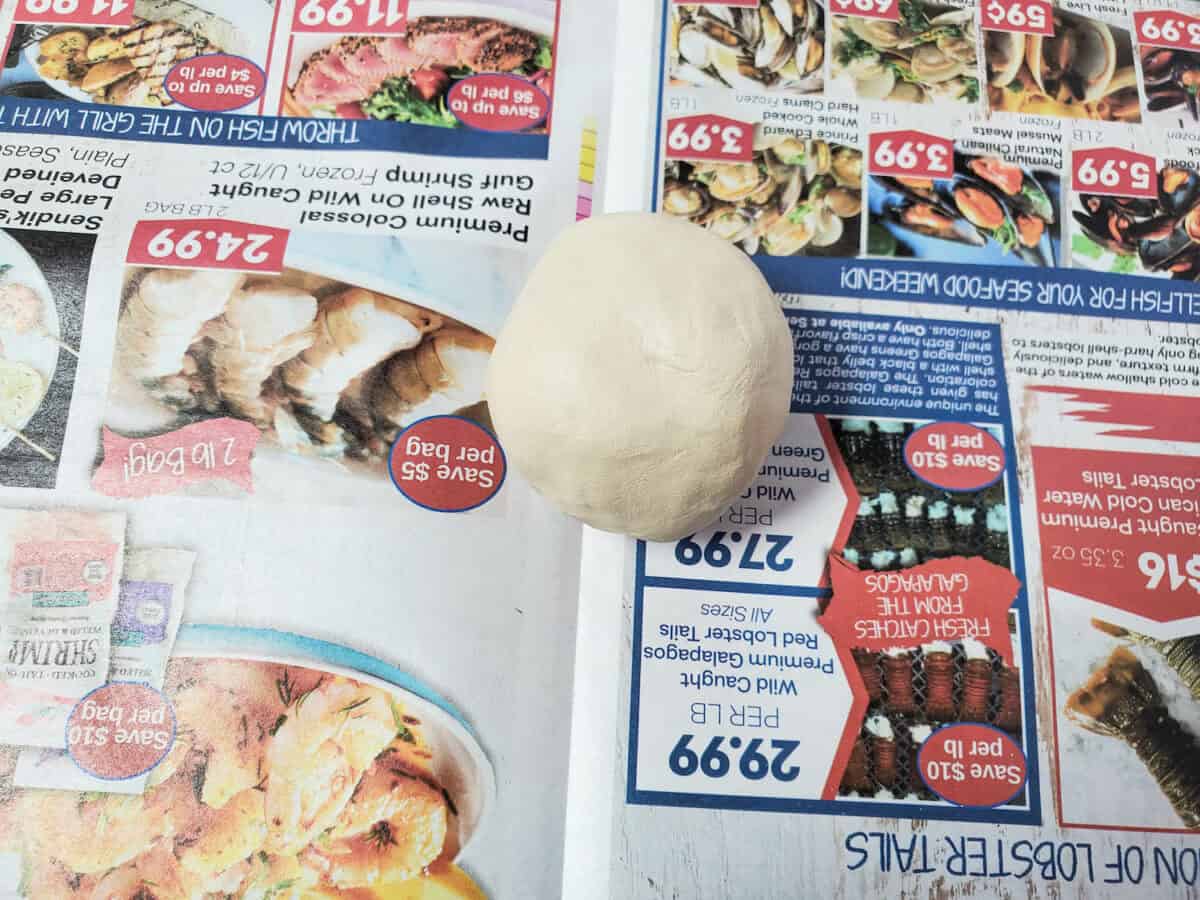
Step 1
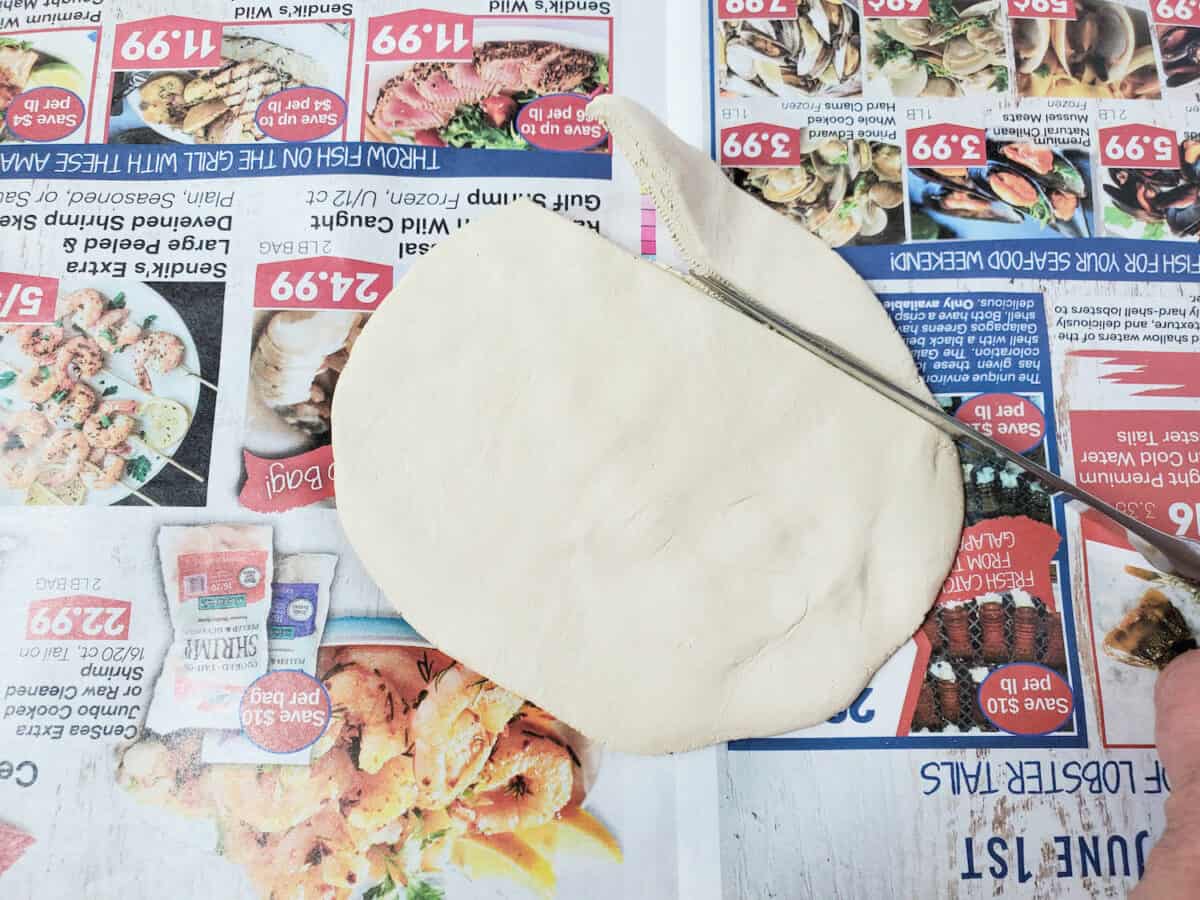
Spread the newspaper out on your work surface. Roll a handful of clay in between your hands to make a ball. Place the ball of clay on the newspaper and flatten it with your hands to a thickness of between ¼ – ½ inch.

Step 2
Use a knife to cut out a rectangle shape.

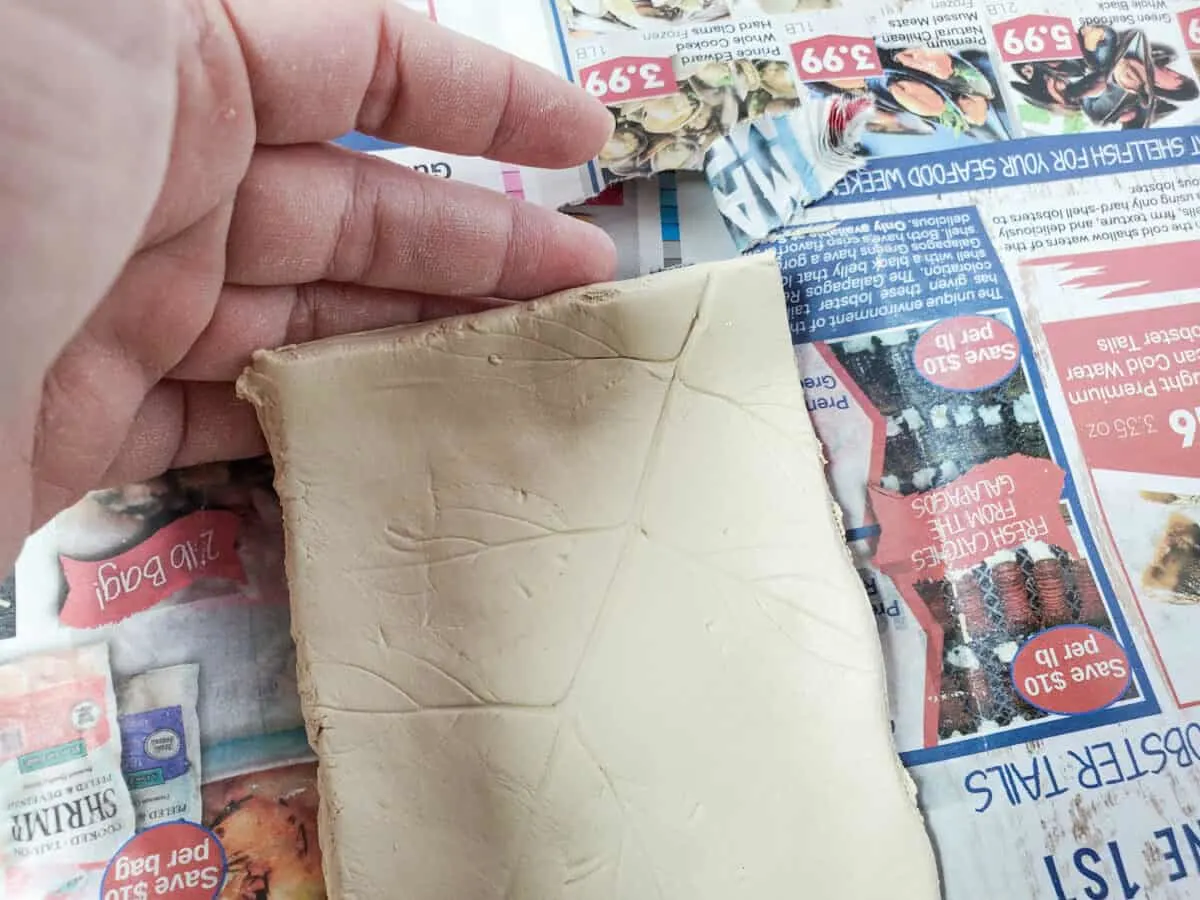
Step 3
Lay the leaf on top of the clay. Position it where you want the outline of the leaves and stems to be. Then press down gently but firmly with your hands to imprint the leaf into the clay.
Gently pull up the leaf afterwards. You can slightly pull up a corner to make sure that the leaf imprint is in the clay material. If not, put the leaf back down and press harder into the clay.


Step 4
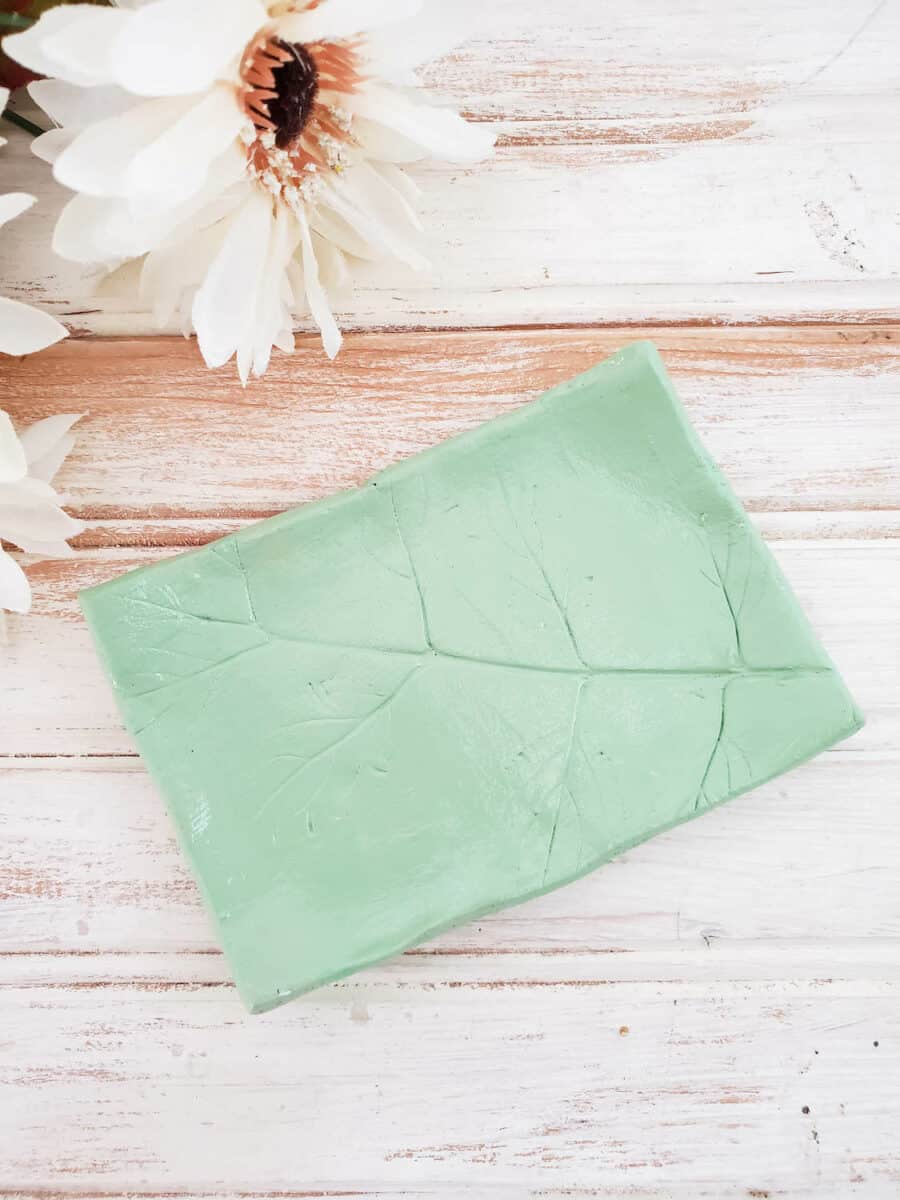
Gently fold up the sides and corners of the rectangle to form a curved rim of the trinket dish. The depth of the edge is up to you, whether it is a shallow tray (like my project) or you’d like to have more of a bowl-like appearance.

Once you have shaped the jewelry plate, allow the clay to dry overnight or until hardened.
Step 5
If needed, you can sand down any rough edges with sand paper or a nail file at this point. Be sure to wipe away any clay dust before painting.
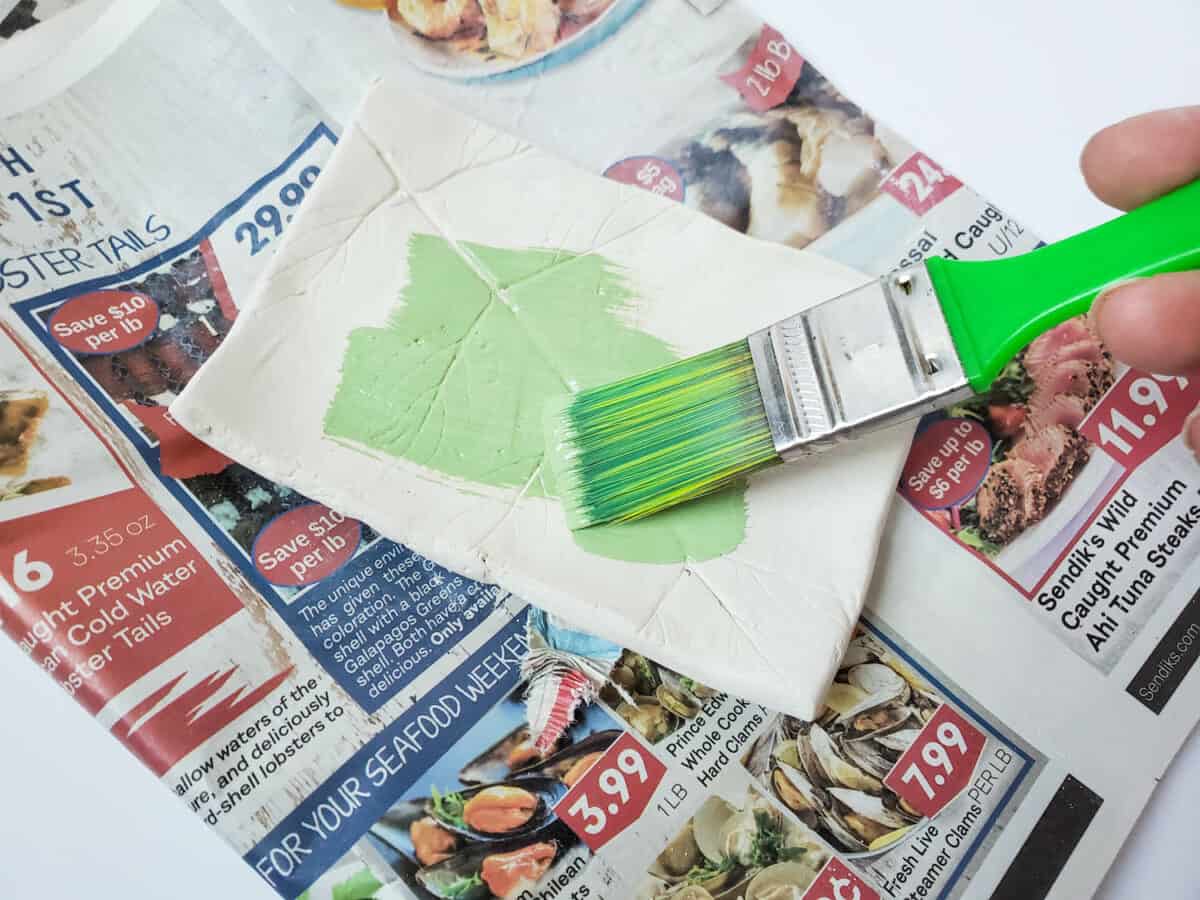
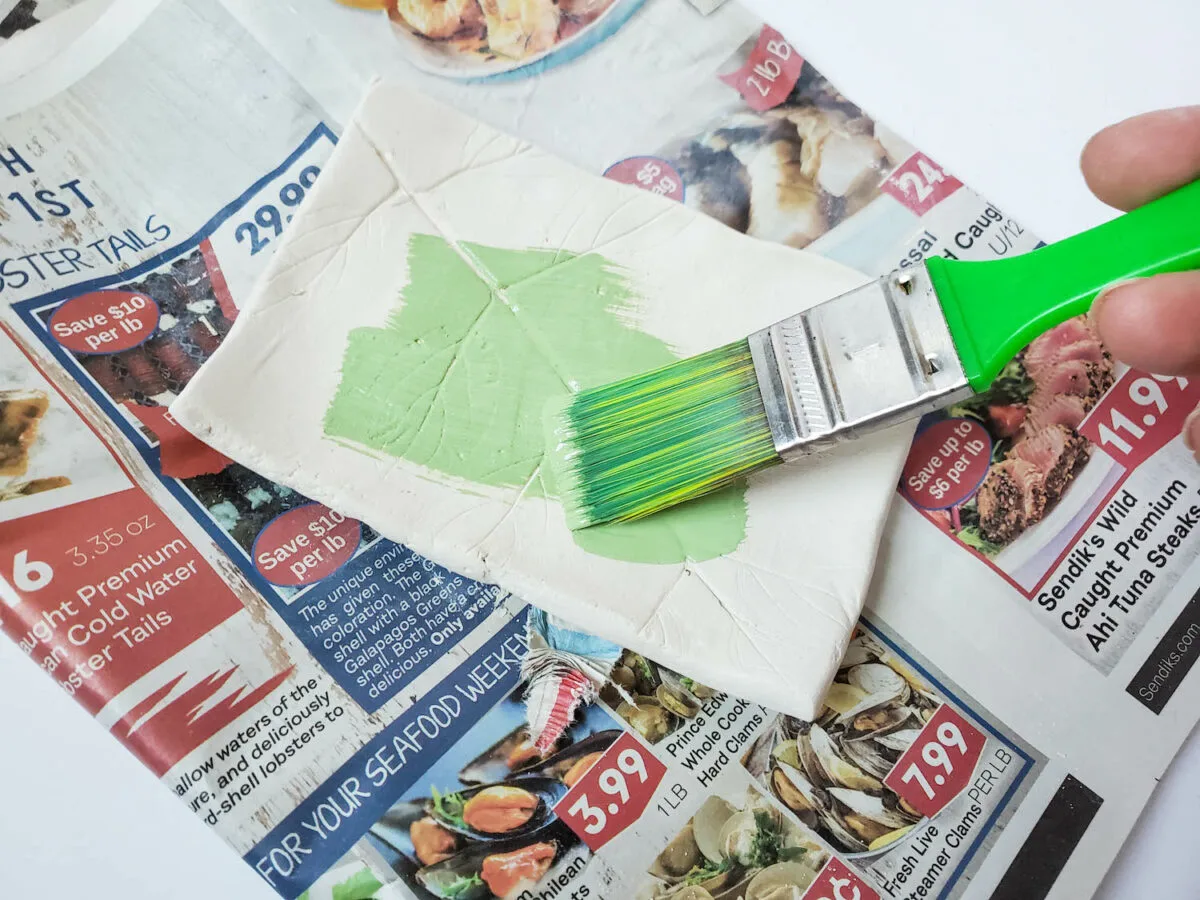
Apply paint to both the front and back of the jewelry dish. Paint one side first, let dry, then paint the underneath side. You may need to apply several coats of paint if you want a dark color.
Step 6
Once the paint is completely dry, spray the clay jewelry dish with Krylon glaze to protect it. Allow the Krylon to completely dry.

FAQs
Can I Use a Rolling Pin to Flatten the Clay?
Yes, you can use a rolling pin. Just be careful not to get the air dry clay too thin.
While you can use a rolling pin from the kitchen, I like to keep my craft supplies separate from what I use to make food.
What Kind of Knife Do I Need to Use to Cut Air Dry Clay?
You can use a regular table knife to cut the clay. Or you can use a sharper knife. A craft knife will work, too.
Can I Make a Jewelry Bowl The Same Way?
Yes, you can make a jewelry bowl the same way that you make a jewelry plate. While you could cut the clay with a knife to form a circle, it is better to use a large circle cookie cutter or trace around the edge of a bowl or mug.
Then, bend up the edges slightly to form a bowl and allow to dry until hardened.

Do I Need to Bake the Clay in an Oven?
No, this DIY project uses air dry clay so you don’t have to heat up an oven. If you wanted these clay trays to be finished very quickly (in a matter of hours), you could use oven-bake polymer clay and follow the manufacturer directions for baking.
Interested in other clay crafts? These clay garden markers are super easy to make.
If you like this easy craft, you might also like my DIY Sharpie Mugs which can be made in minutes!

Barbara
Monday 15th of January 2024
I am going to have to try this! Love the green color and the idea of imprinting the flower leaf! Thus would make a great gift for a Master Gardener!
Kimberly
Tuesday 16th of January 2024
It would make a great gift for a gardener! Especially if you were able to get a flower or leaf from their garden and use it in the clay!
Amy
Sunday 16th of April 2023
Would 4mm beads do well for these?
Kimberly
Tuesday 1st of August 2023
You can try!