These adorable clay leprechaun gnomes are so easy to make! They are perfect St. Patricks Day decorations.
While we made miniature clay gnomes, you can use this same tutorial to make large gnomes. Just use larger pieces of clay.
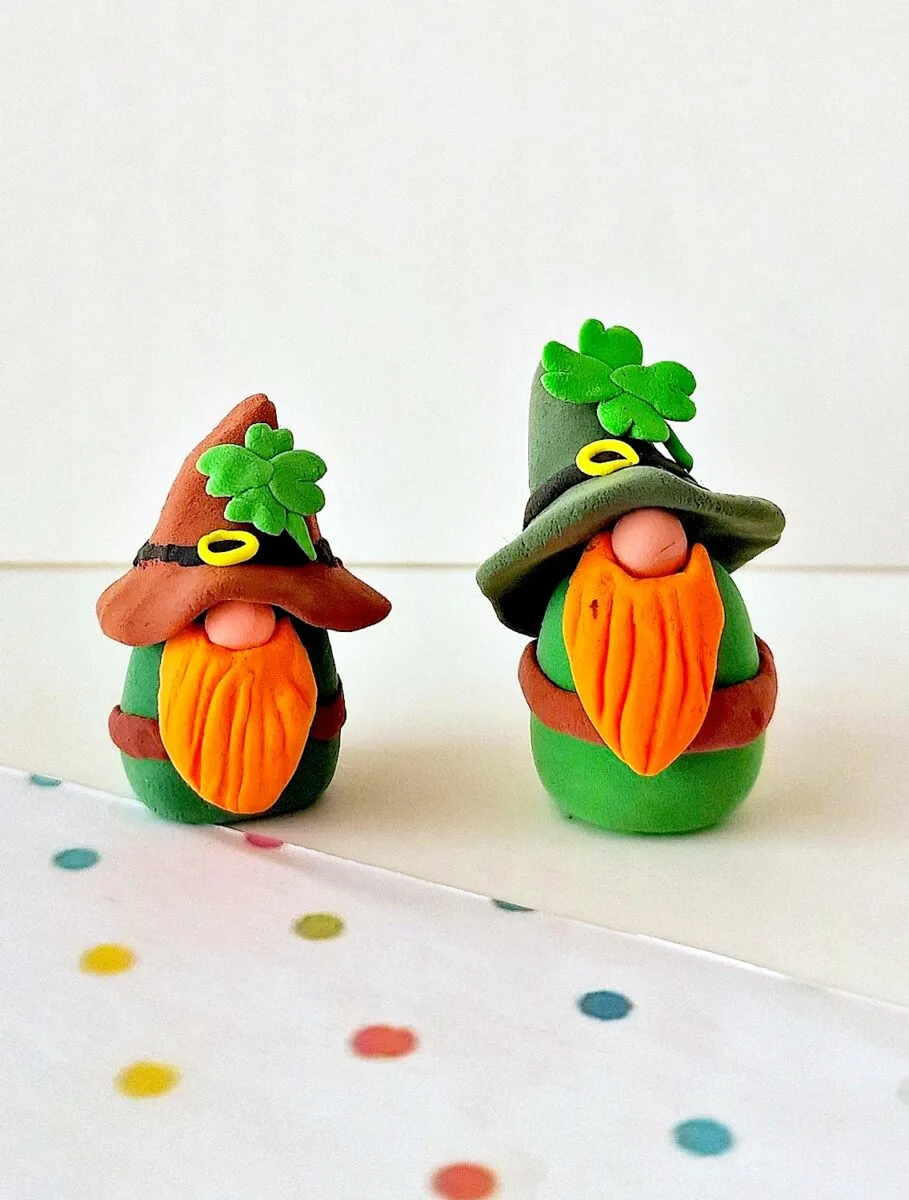
These fun gnomes are similar to our Valentines Day gnome couple and clay penguins, so you could make several varieties at the same time.
How to Make Leprechaun Gnomes
Supplies
- Air dry clay or foam clay (we suggest getting a multi-color pack so that you have colors to choose from)
- Clay tools (this 14-pack is very inexpensive!)
Directions
Step 1
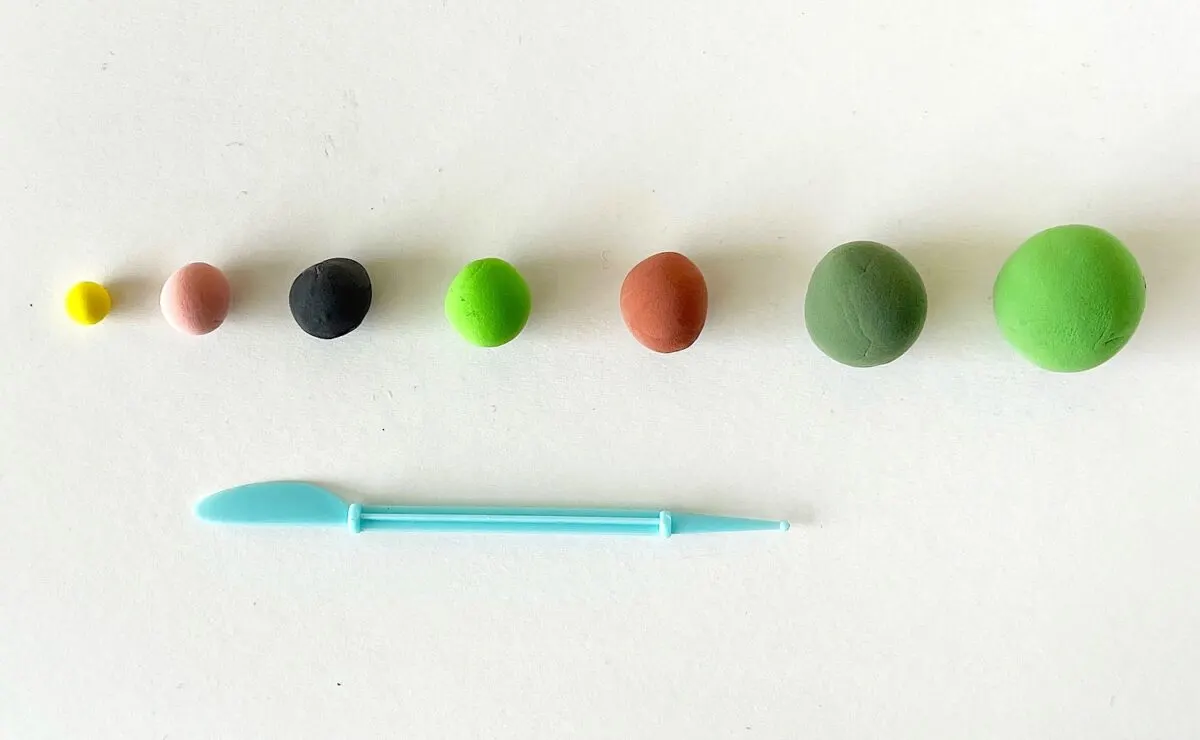
You will need 6-7 different colored clays for this craft:
- Nose (flesh color)
- Hat, hat brim and buckle (brown or green, black, yellow)
- Body (green)
- Beard (orange)
- Belt (brown)
- Shamrock (green)
Step 2
With the color selected for the body, form a smooth, round shape ball.
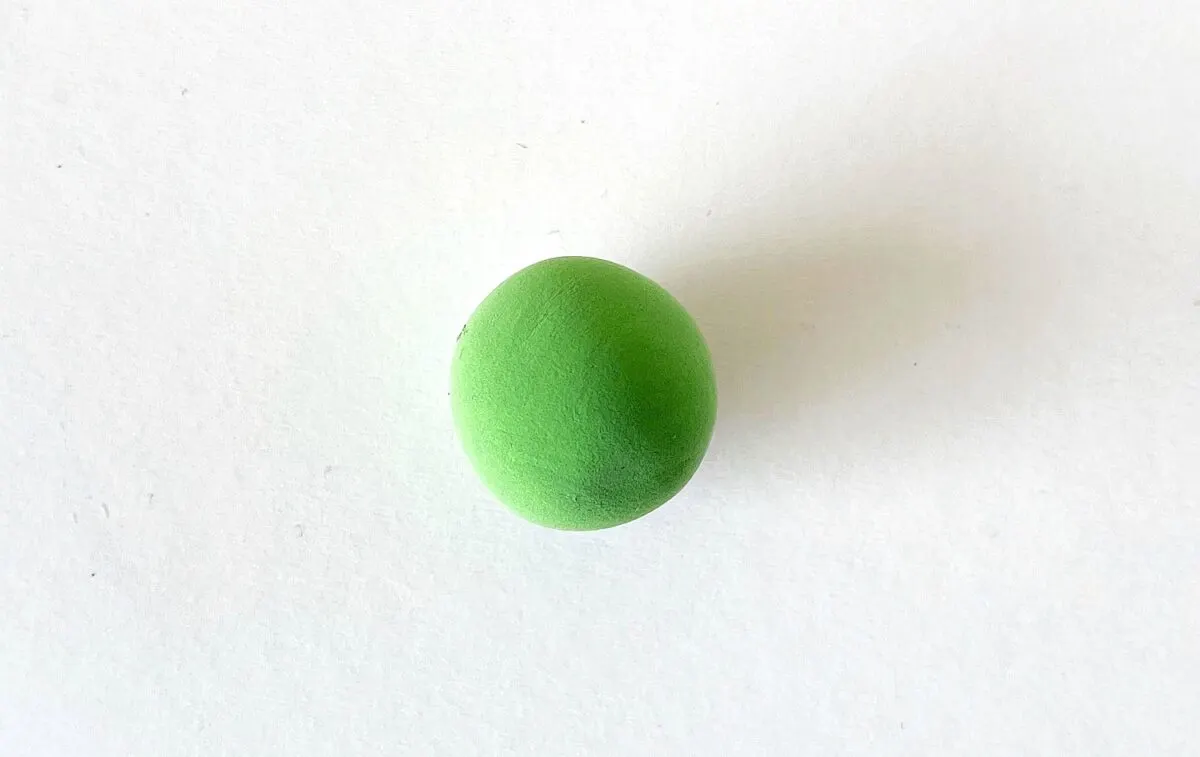
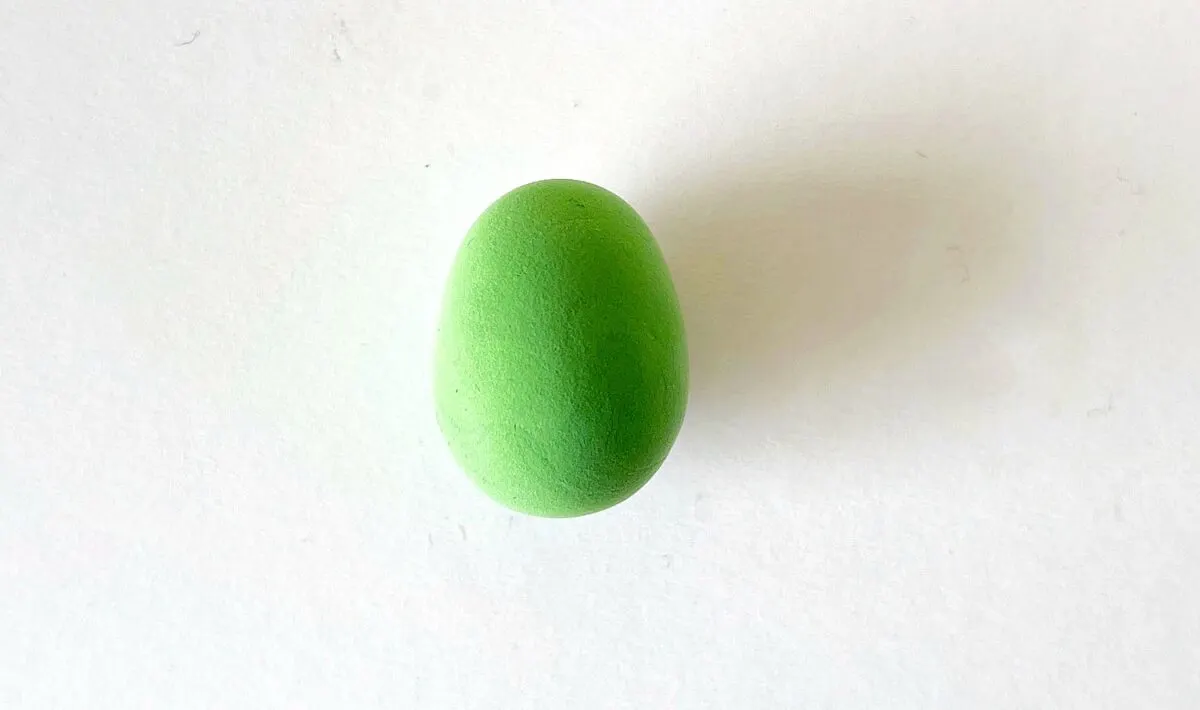
Then roll the clay ball against a flat surface to form a cylinder shape.
Step 3
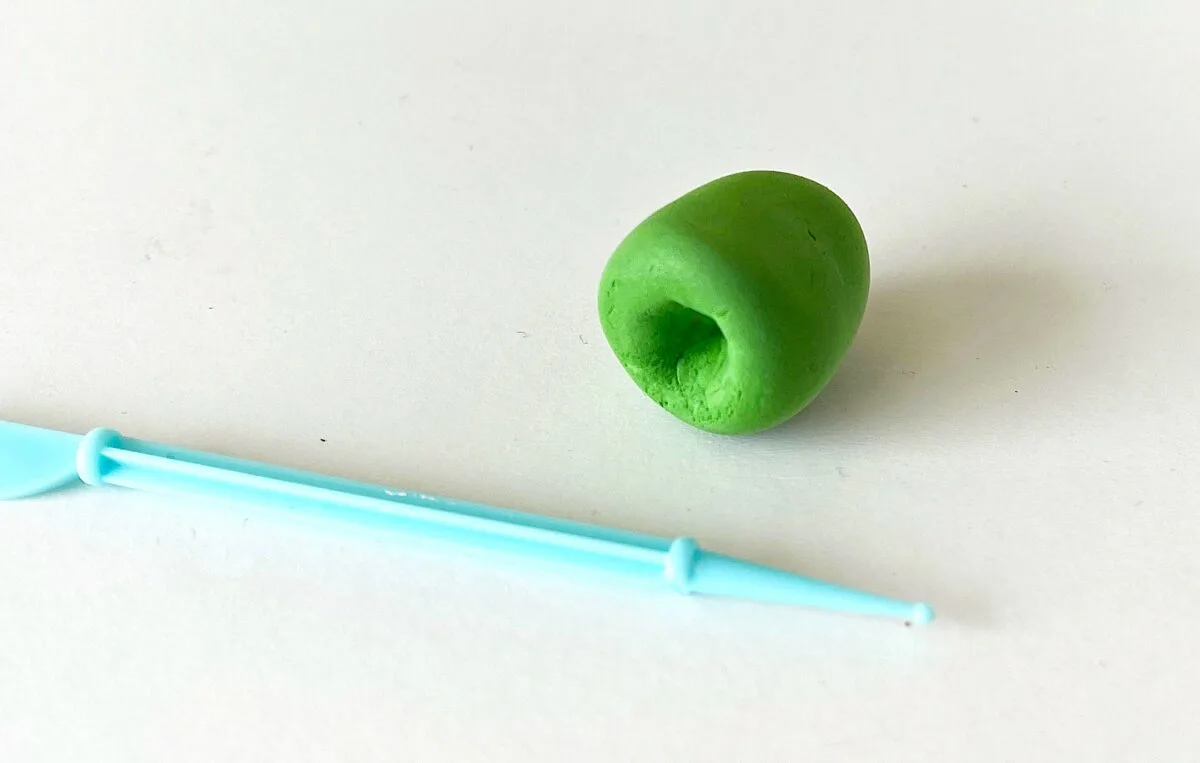
Use the pin head clay tool to make a ½ inch deep hole at the bottom end of the clay cylinder shape.
This hole at the bottom side will help the clay gnome to stand firmly.
Step 4
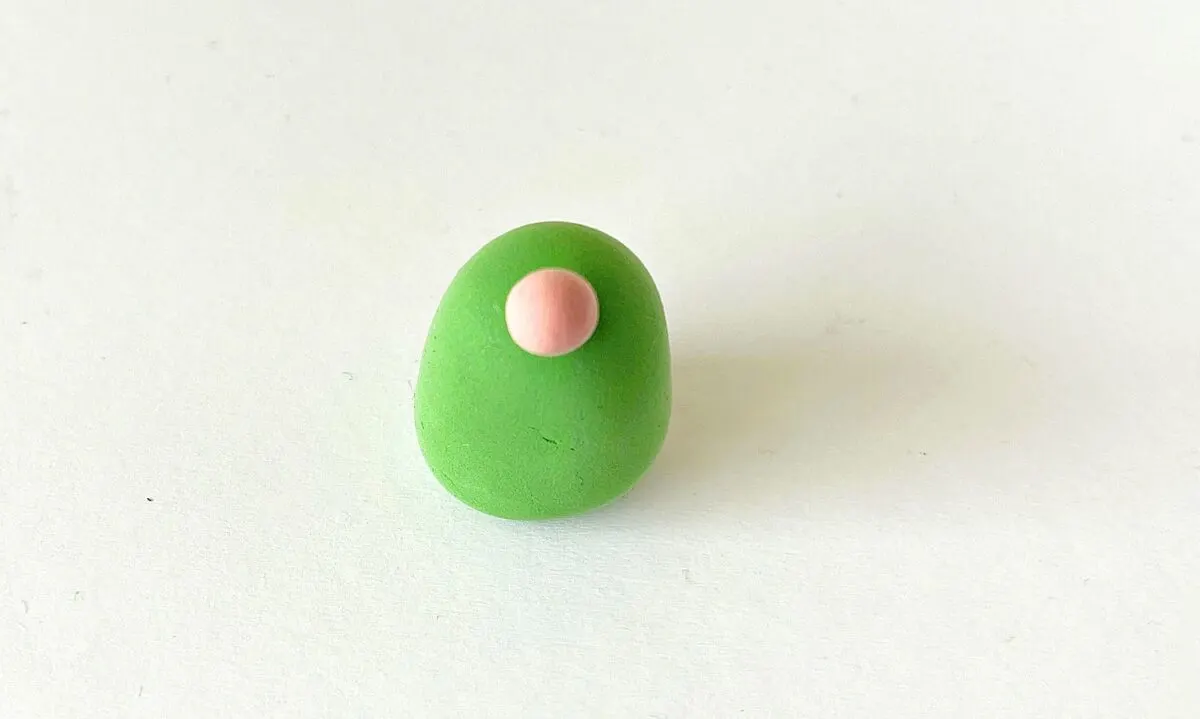
Make a small ball from flesh tone clay to make the nose.
Attach the nose on the top, front side of the body shape by pressing down slightly.
Step 5
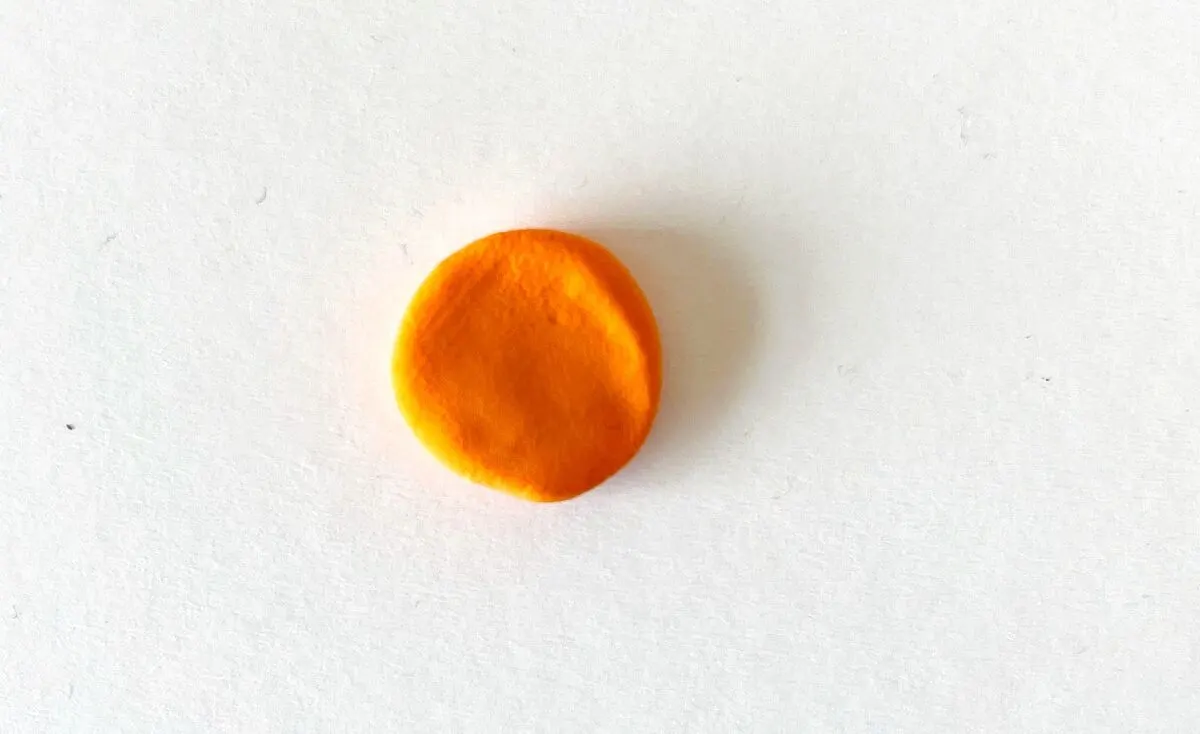
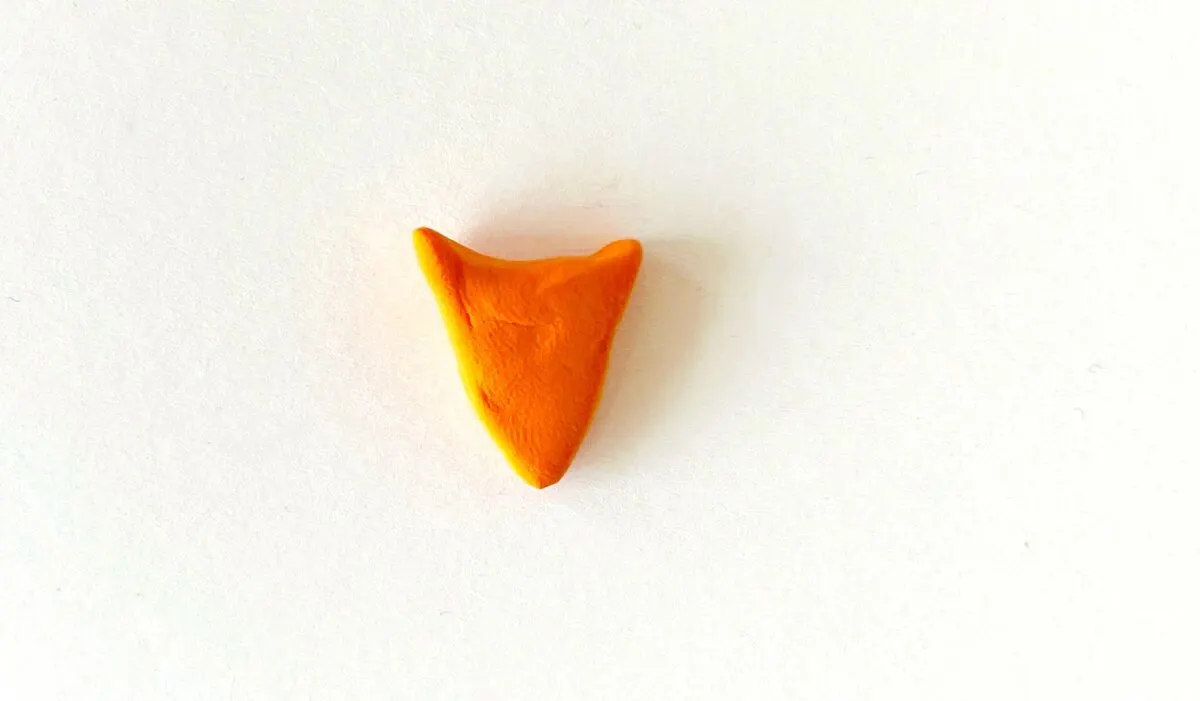
Using the clay color for the beard, make a small, flat circle shape.
Step 6
Using your fingers, make a pointy end at one end of the circle to form a teardrop.
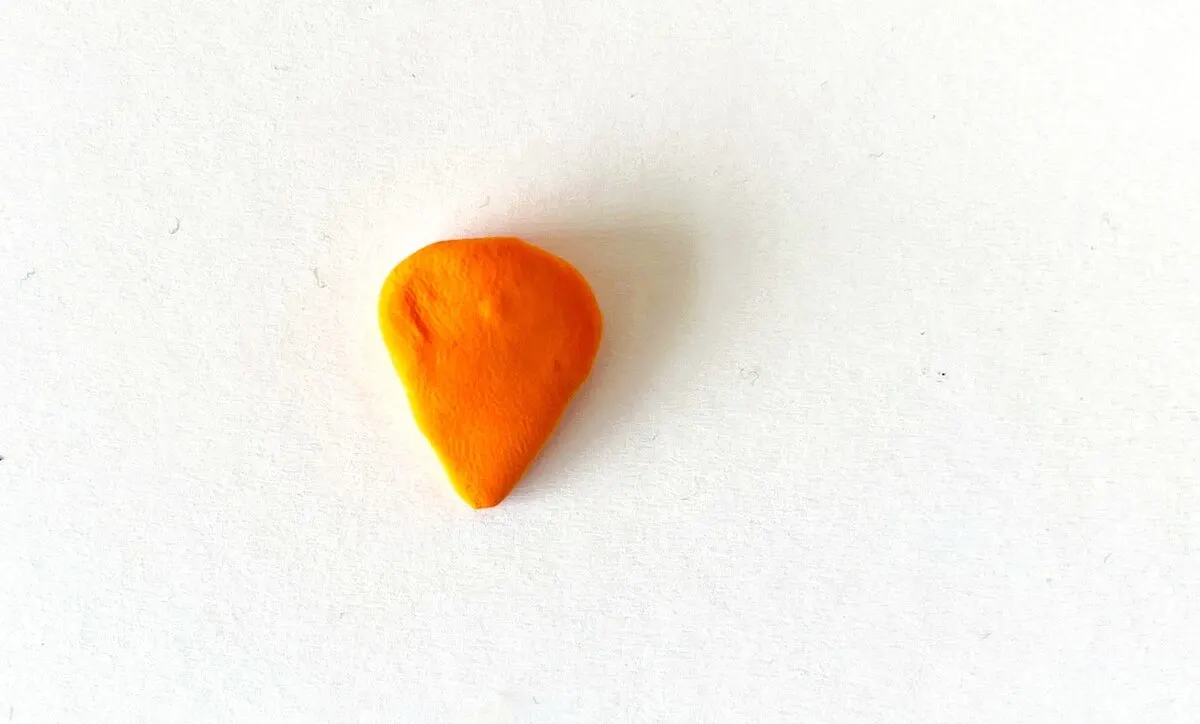
Use a clay tool or your fingertip to press down and make an inward curve at the opposite end of the pointy end.
Step 7
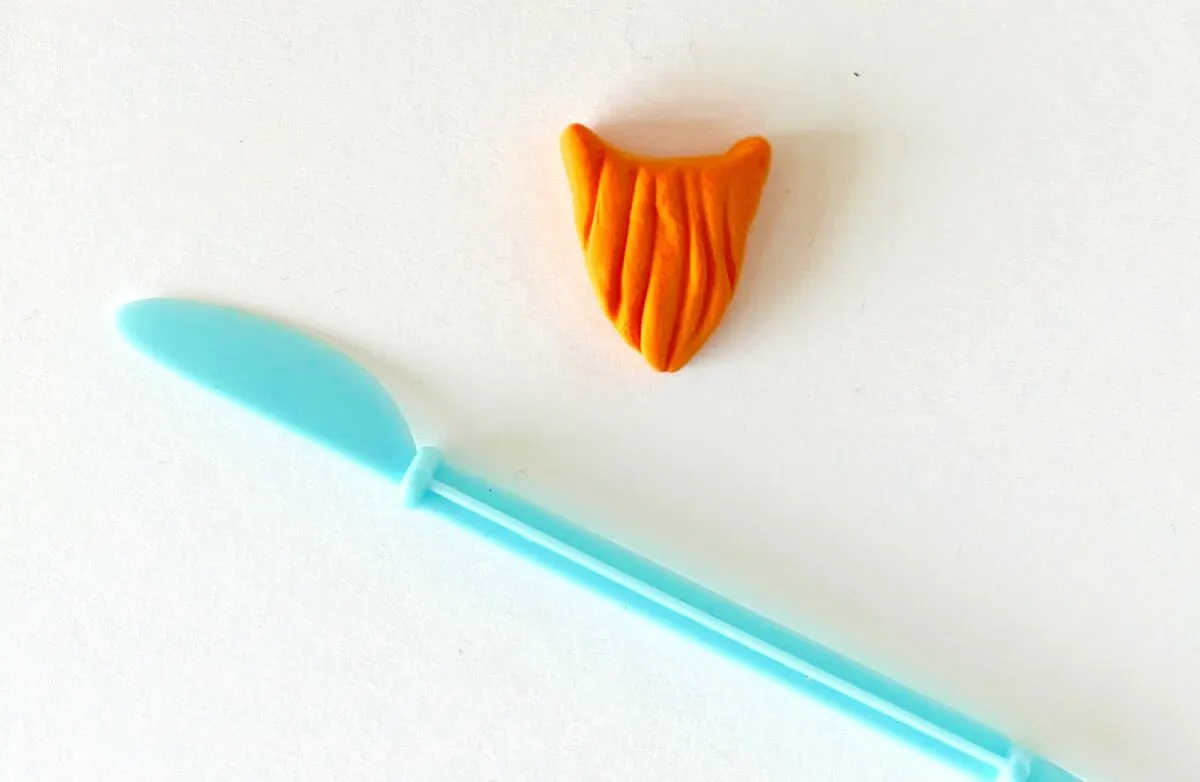
Use a clay knife tool to add stripes on the beard to resemble hair.
Step 8
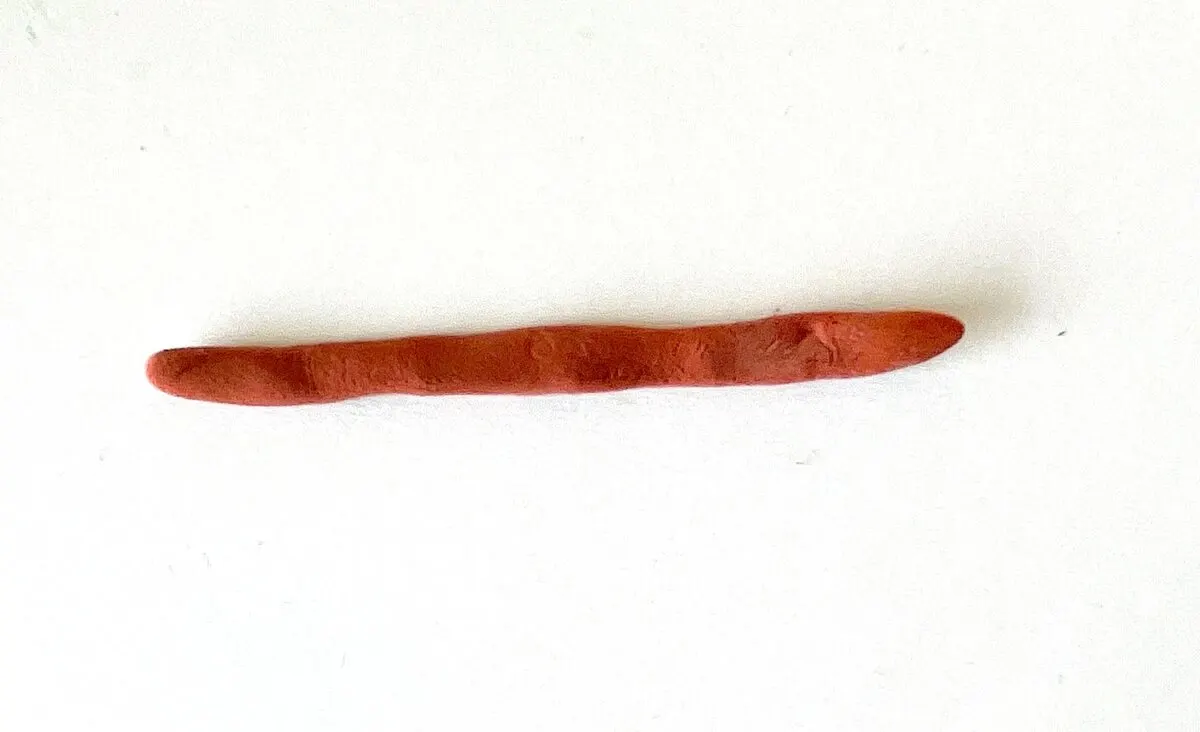
Using the color clay for the belt, roll a long, thin rope shape.
Step 9
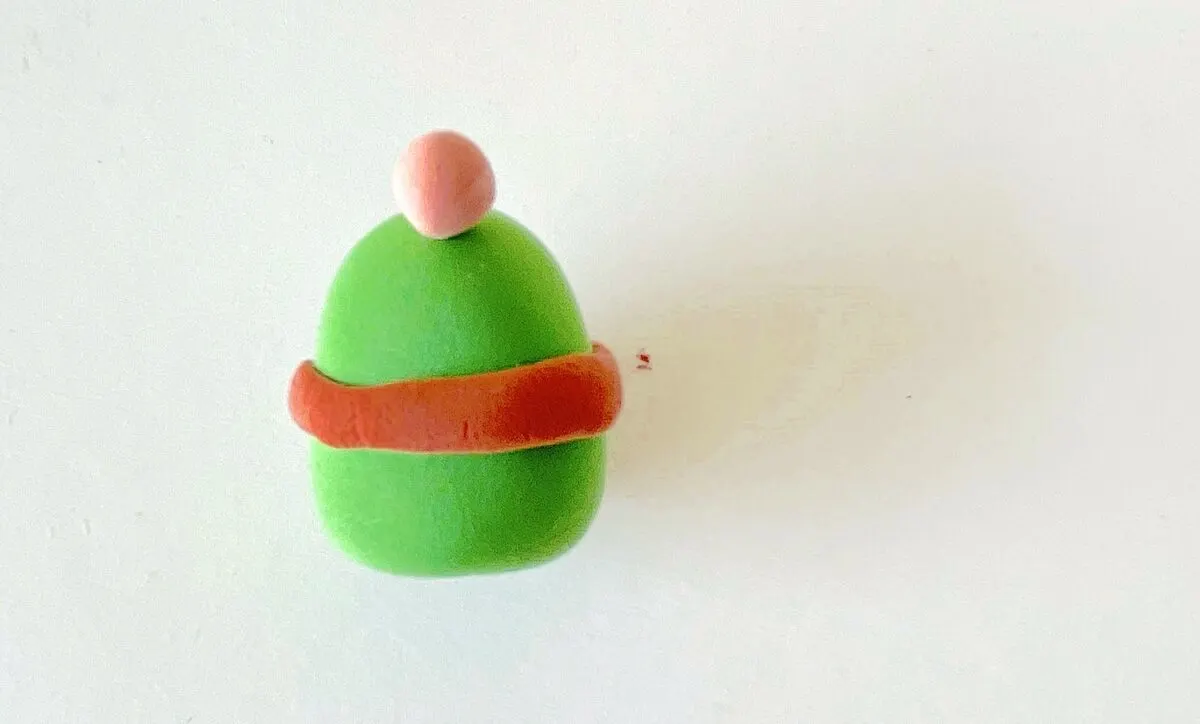
Wrap the belt around the middle part of the body.
Step 10
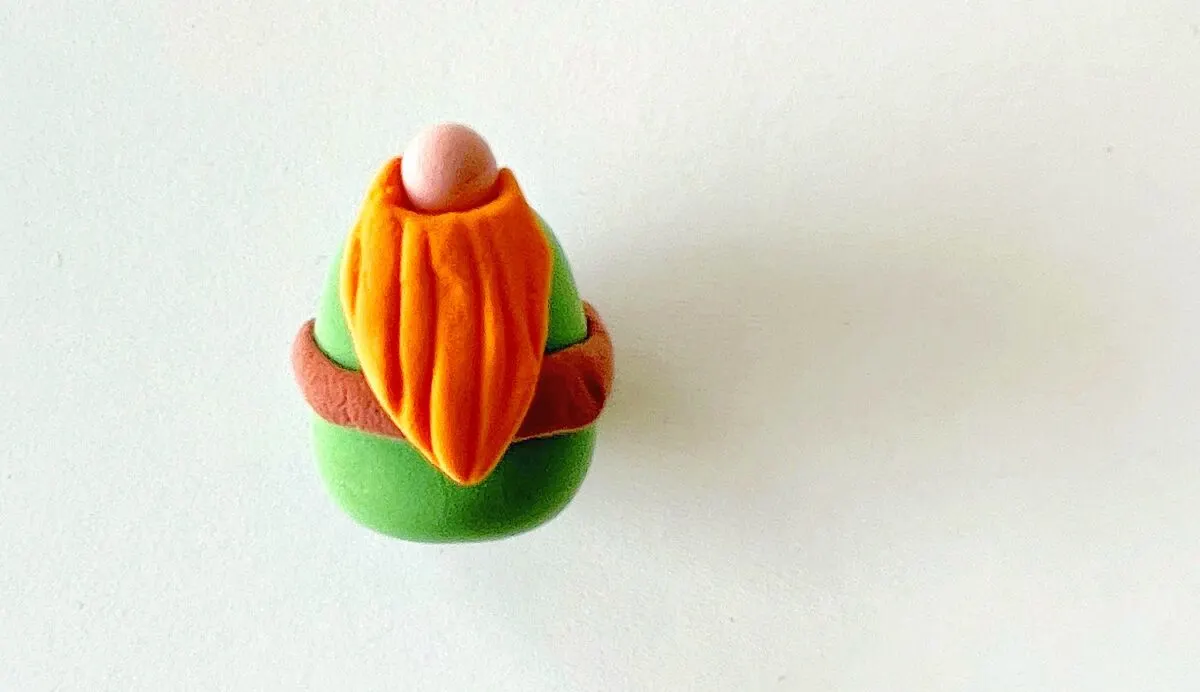
Press the clay beard onto the body, below and around the nose.
Step 11
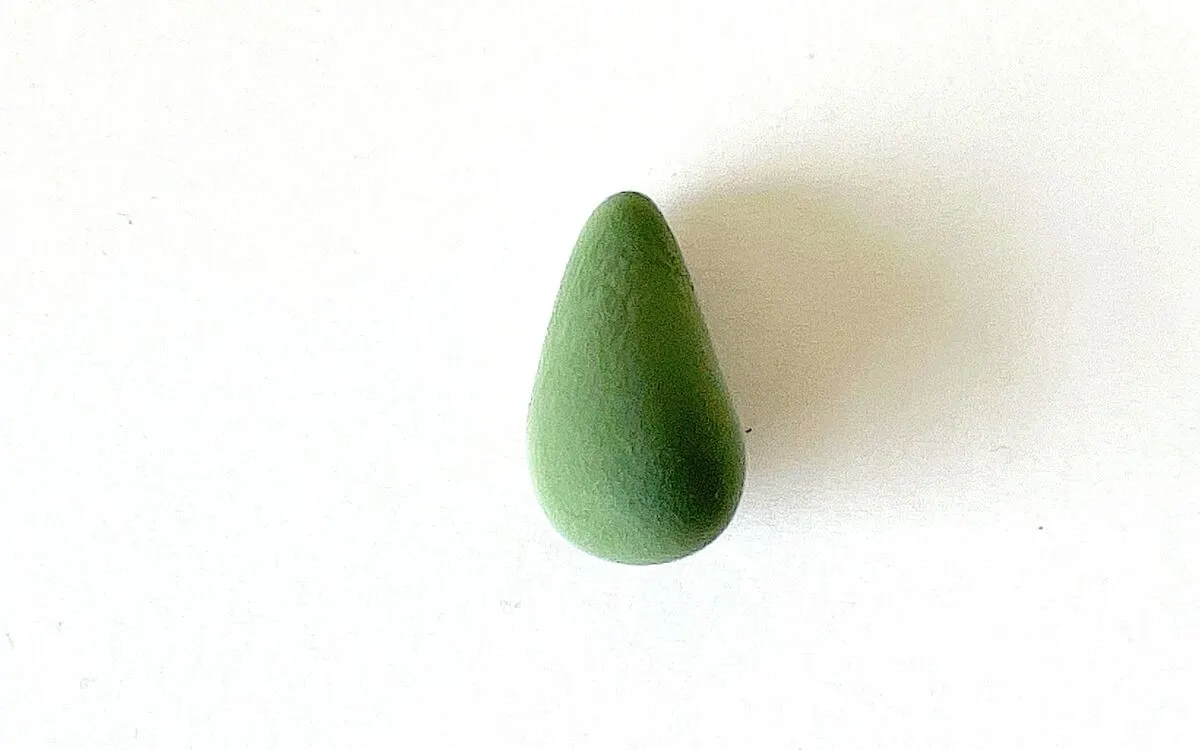
With the clay color for the hat, for a cone shape. Use about the same amount of clay as you did for the body base.
Step 12
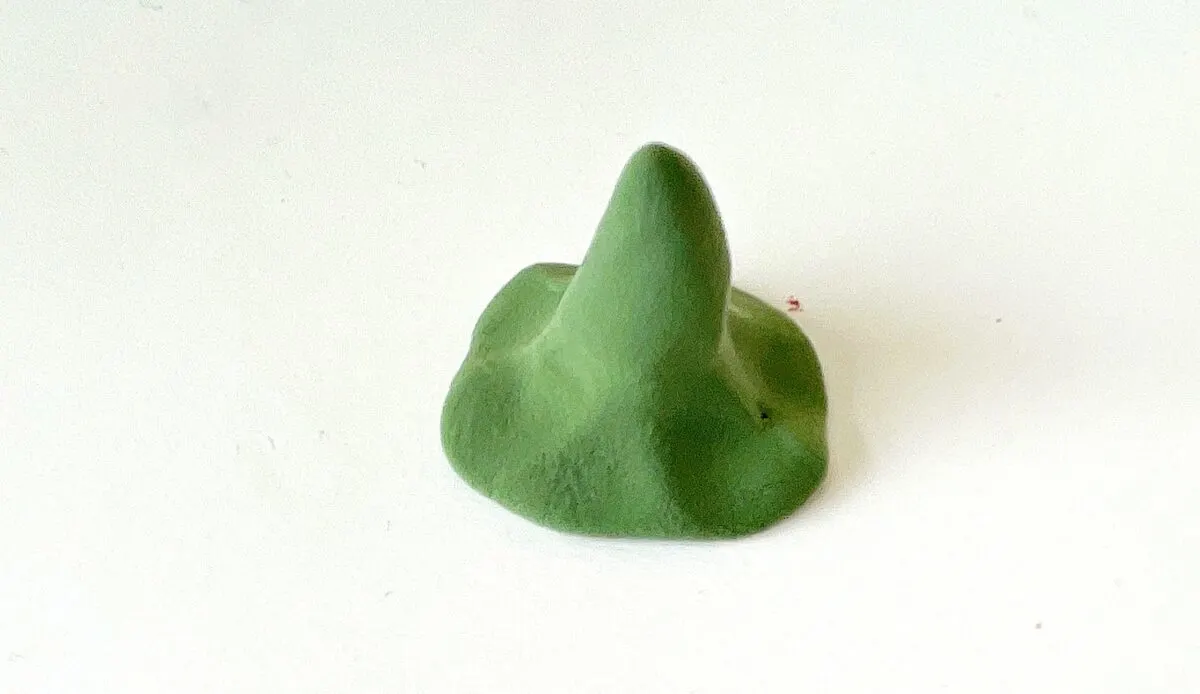
Pinch the base out and flatten the bottom side of the cone to form the band of the hat.
Step 13
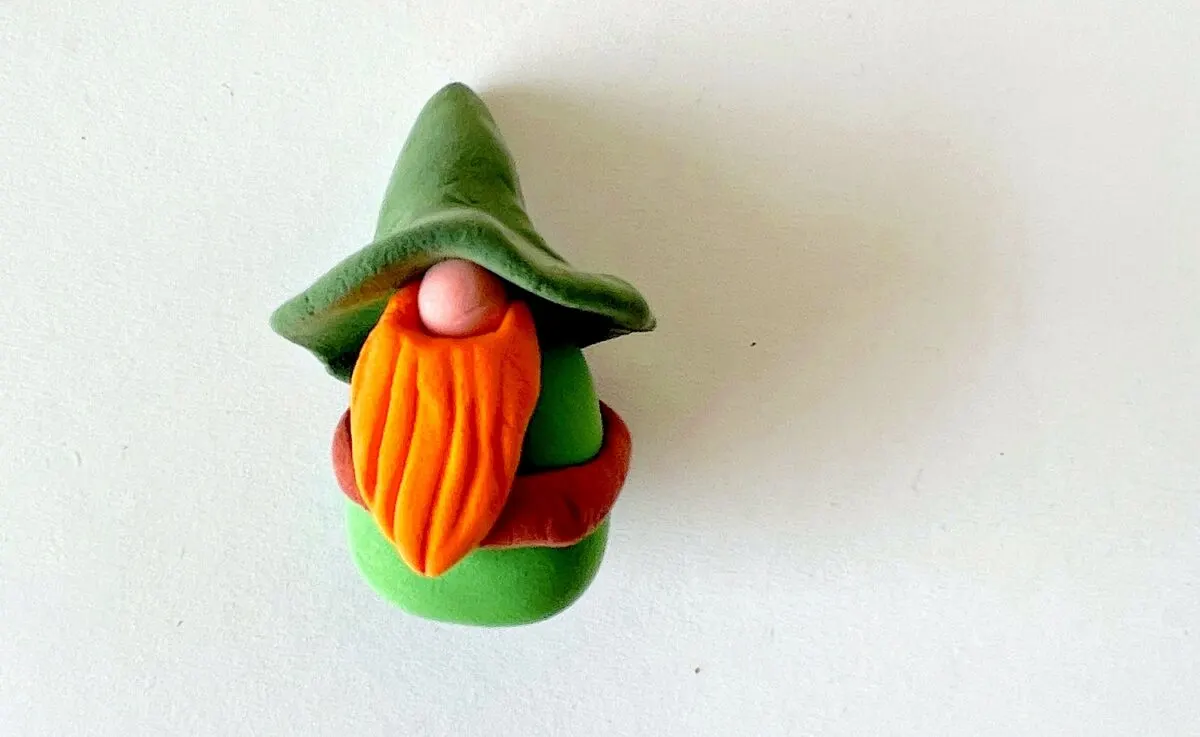
Press the clay hat on top of the body, molding the hat to fold over the nose and top of the body base.
Step 14
With a very small amount of clay to make the shamrock, form a flat teardrop shape.
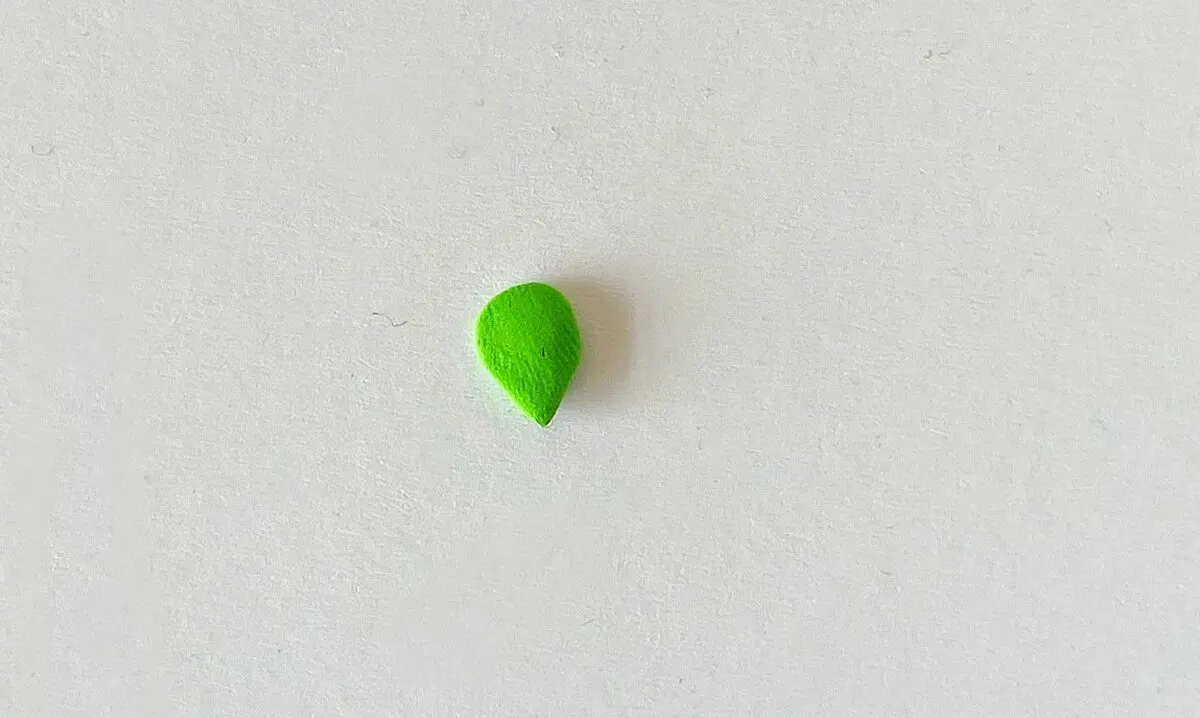
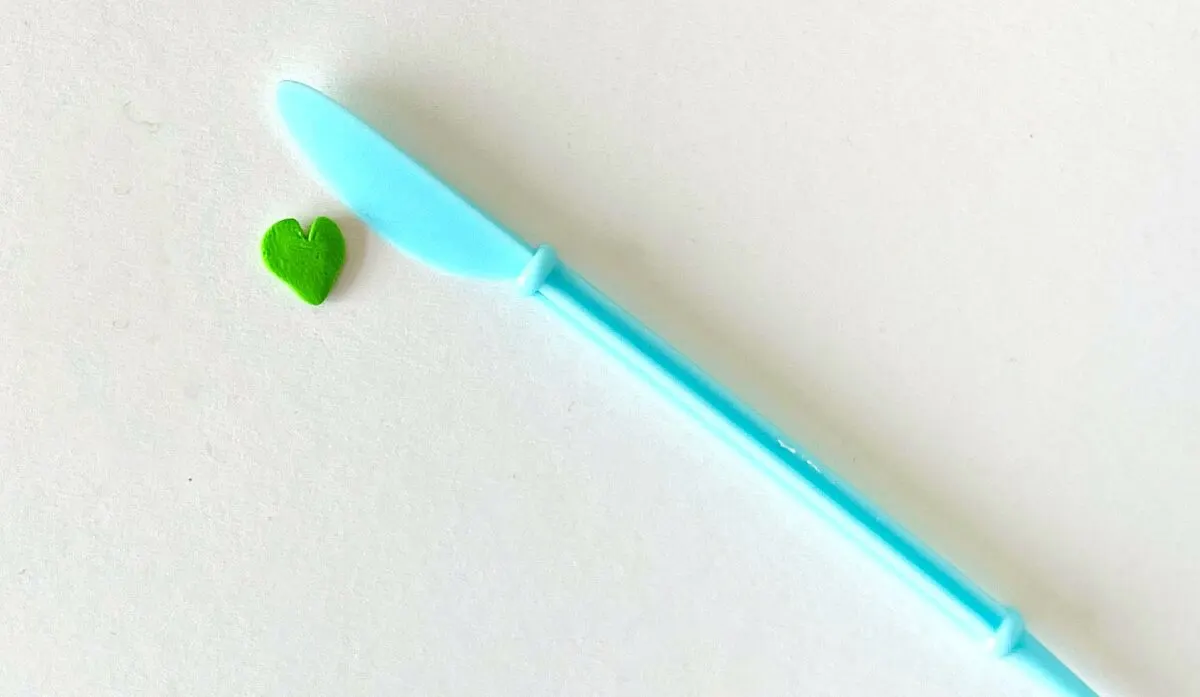
Use clay knife tool to make an indentation at the middle point of the rounded edge of the teardrop.
Step 15
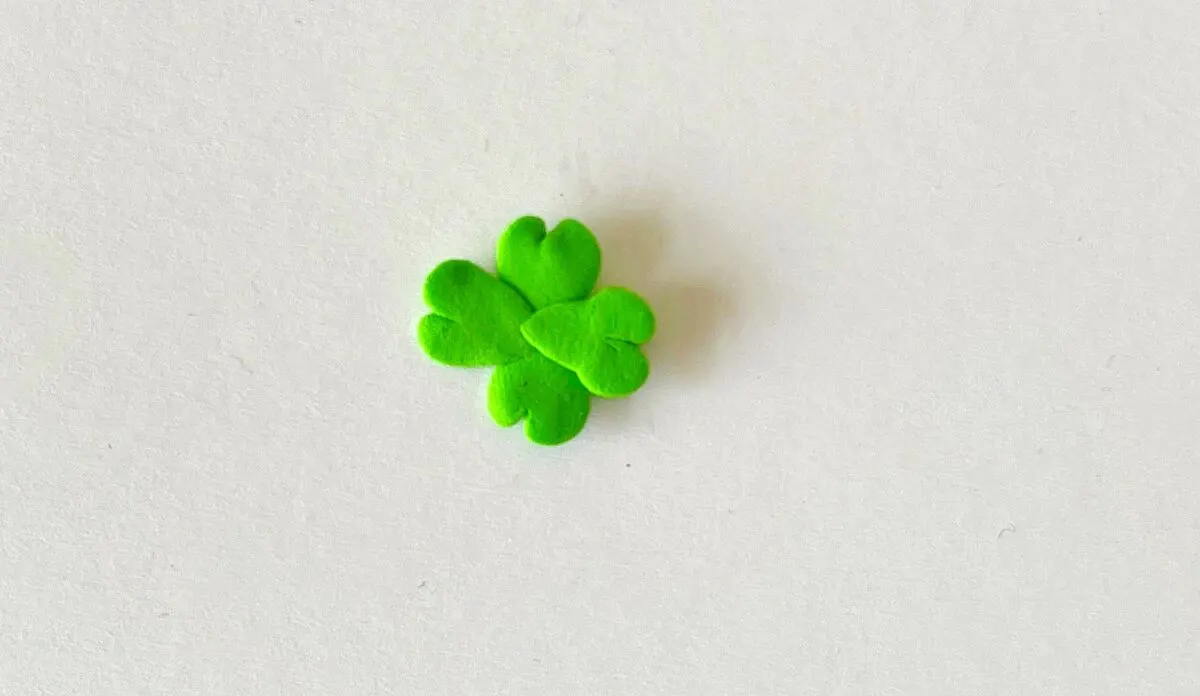
Make 3 more leaves in the same way.
Press all 4 of them together with all of the pointy ends joined together in the middle to make a shamrock.
Step 16
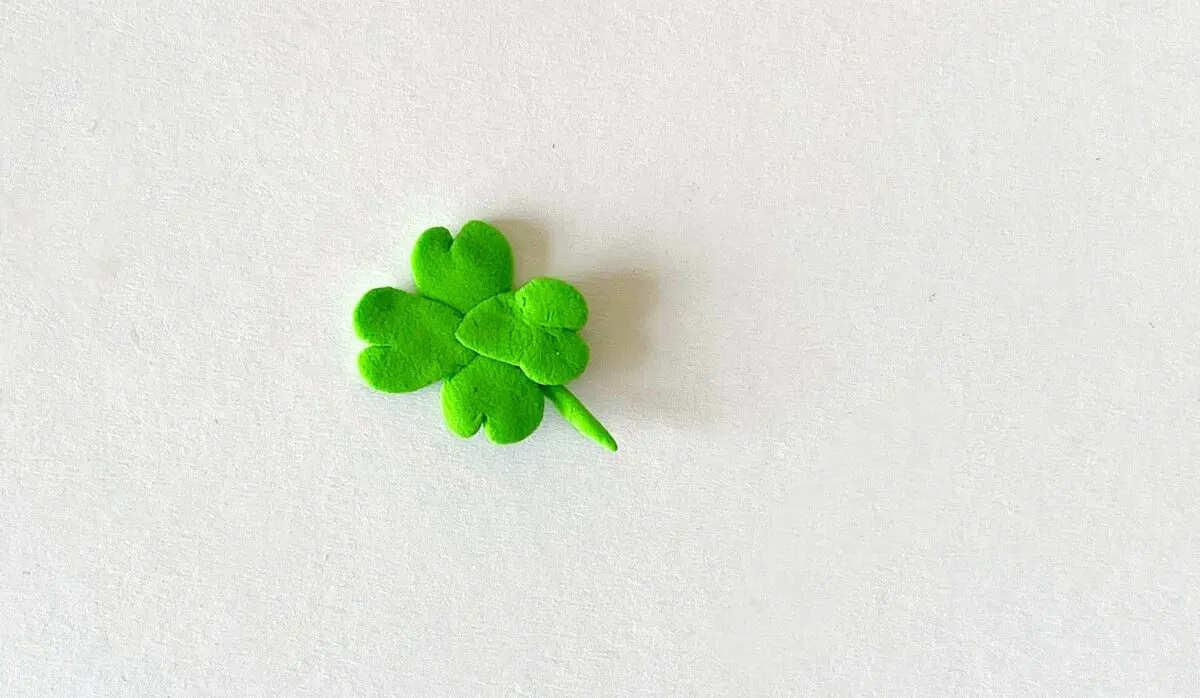
Roll a very small piece of clay in the same color to make a small stem. Press the stem to the back of the shamrock gently to attach.
Step 17
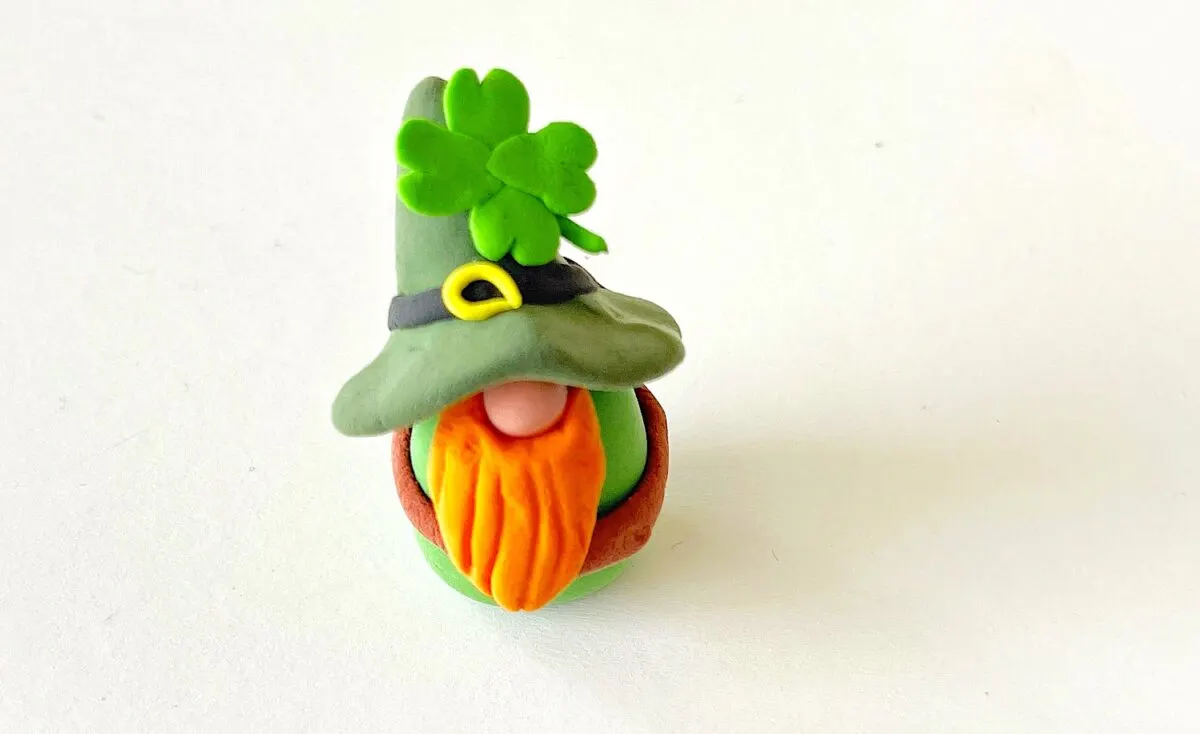
Using the color of clay to make the hat belt, roll a very thin piece of clay and then flatten. Wrap the clay around the hat, cutting off excess clay in the back.
With yellow clay, pinch off a very small amount and roll into a very thin rope. Make a small circle with the clay and gently press to the front of the belt.
Press the clay shamrock to the hat above the belt.
Want to save this craft idea for later? Be sure to Pin It to Pinterest!
This is just one of our easy St. Patricks Day crafts. You will definitely want to see them all!
If you like DIY gnome crafts you will want to see these ideas next:
- Easy DIY Gnome Ornaments
- Gnome Wine Bottle Topper
- Mason Jar Gnome
- Scarecrow Gnome
- Santa Gnome Mop
- Grinch Gnome
- Santa Gnome Wreath


