


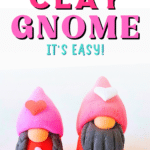
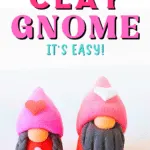
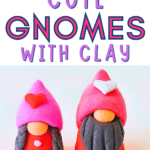
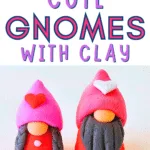
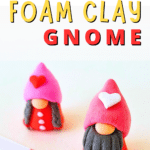
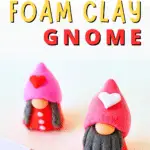
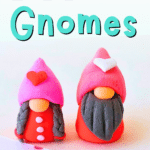

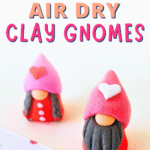


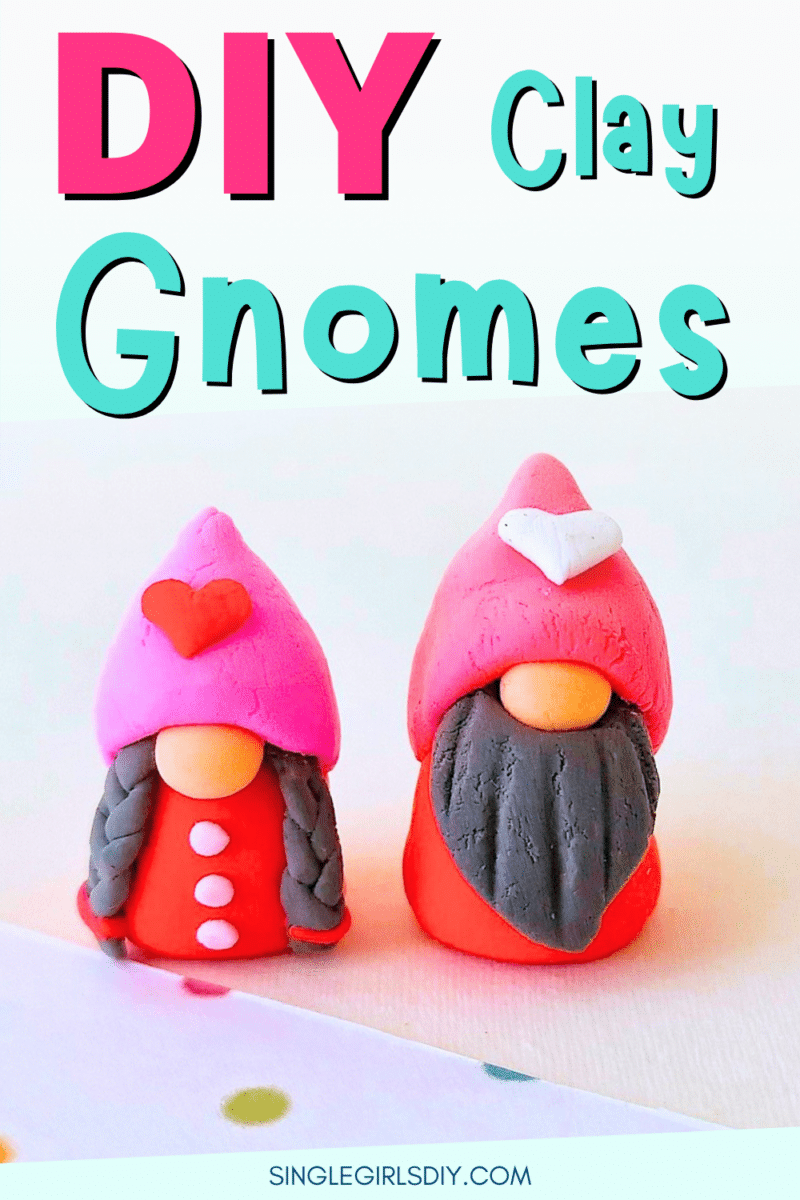
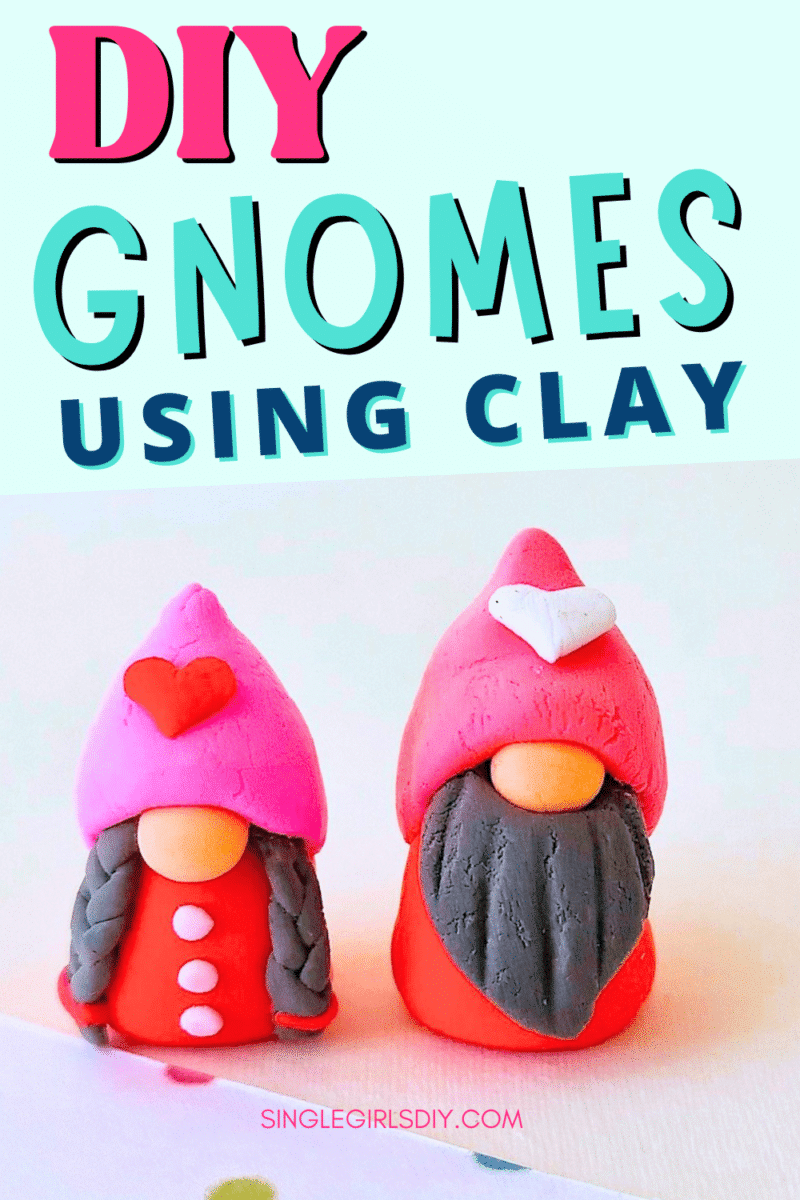
These cute DIY clay gnomes are so easy to make using air dry clay or foam clay. All you need is clay and a few clay tools to easily make these small figurines.
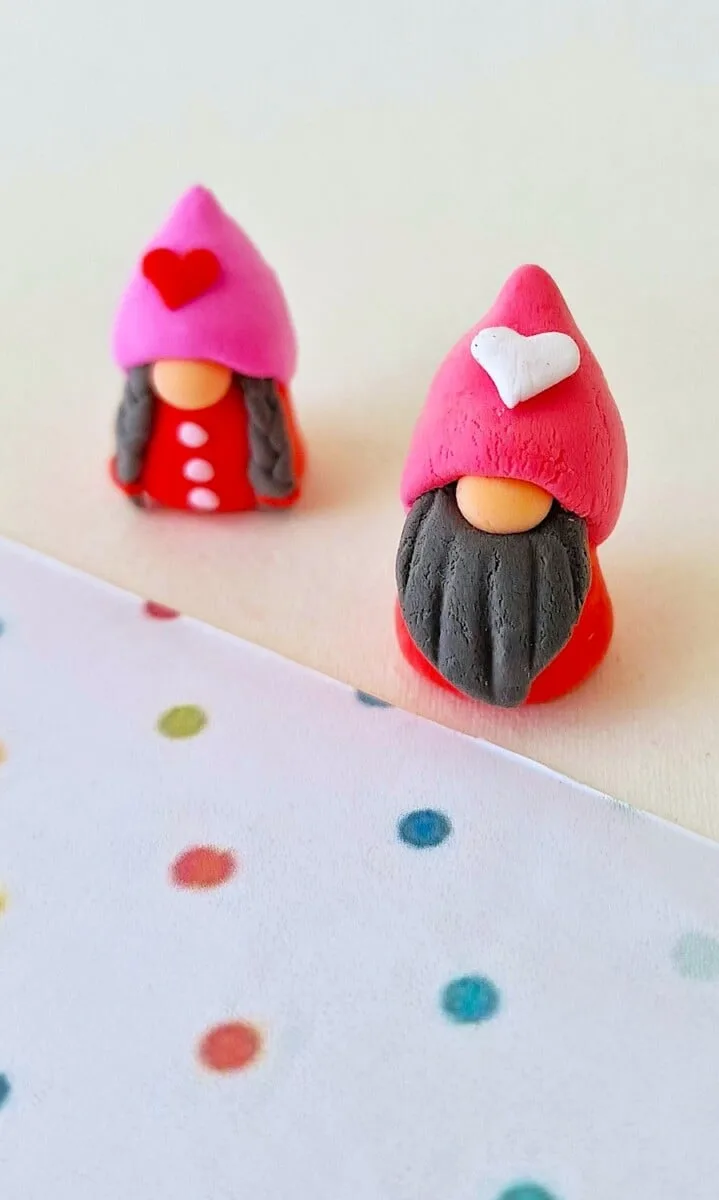
We made these handmade Valentines Day gnomes using colors of red, pink and white clay. However, you could make these DIY gnomes any time of the year by choosing other colors of clay.

While we made miniature clay gnomes, you can use this same tutorial to make large gnomes. Just use larger pieces of clay.
Be sure to see our cute toilet paper tube gnome couple for Valentines Day, too!

How to Make Clay Gnomes
Supplies
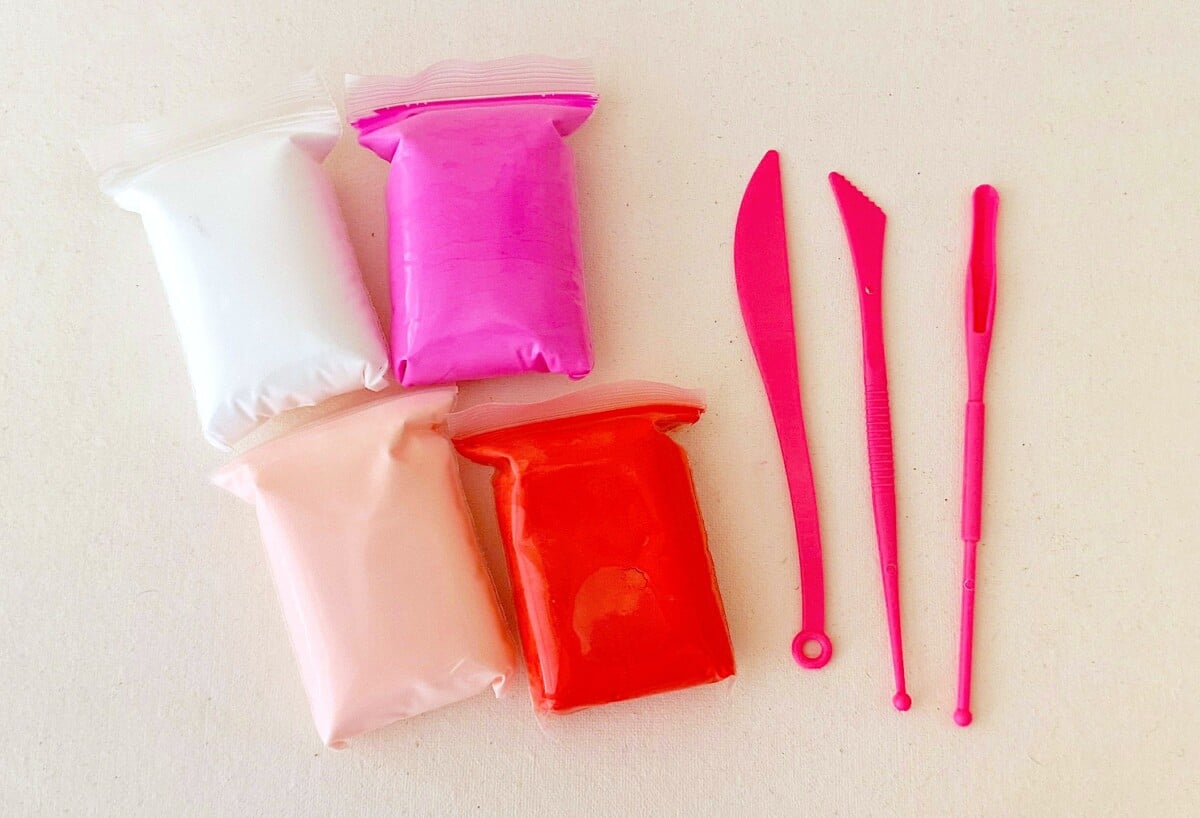
- Air dry clay or foam clay (we suggest getting a multi-color pack so that you have colors to choose from)
- Clay tools (this 14-pack is very inexpensive!)

Directions
Step 1
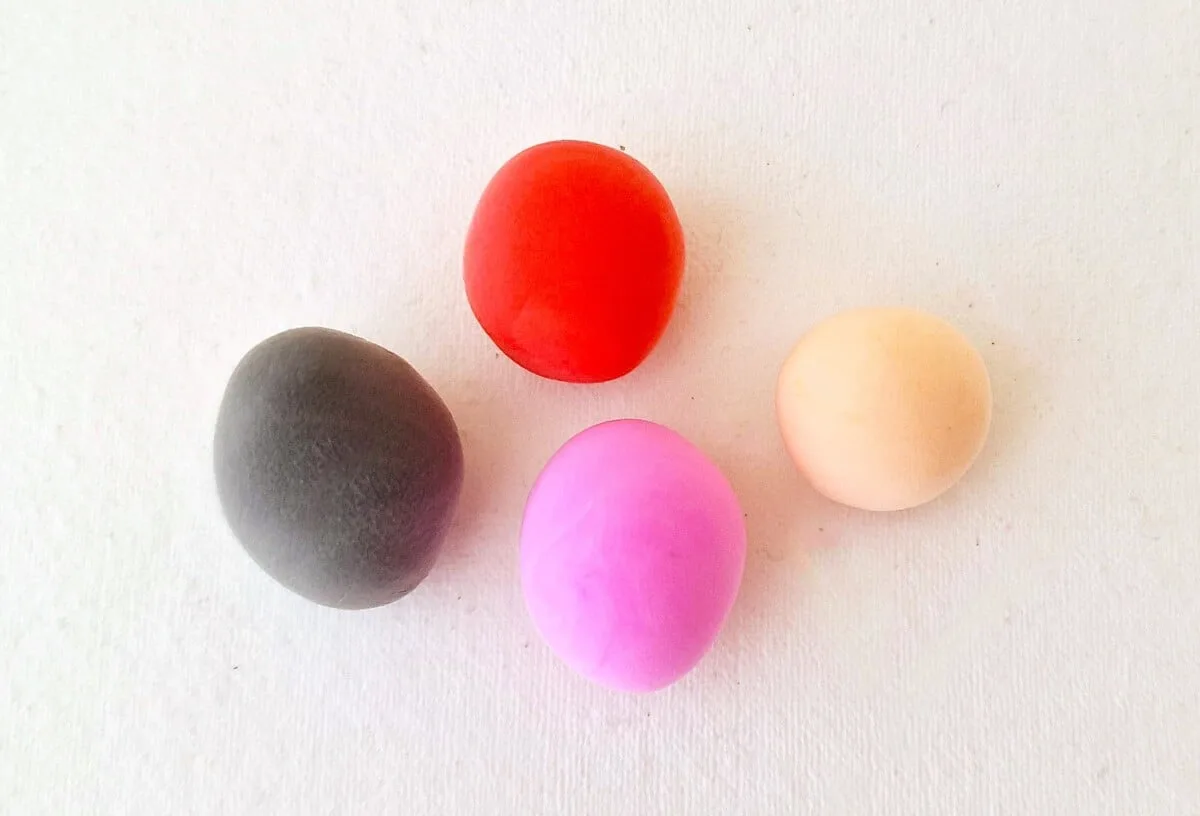
You will need 4 different colored clays for this craft:
- Nose
- Hat
- Dress or shirt
- Hair or beard
- Hearts and buttons (can be any of the shades above or different ones)
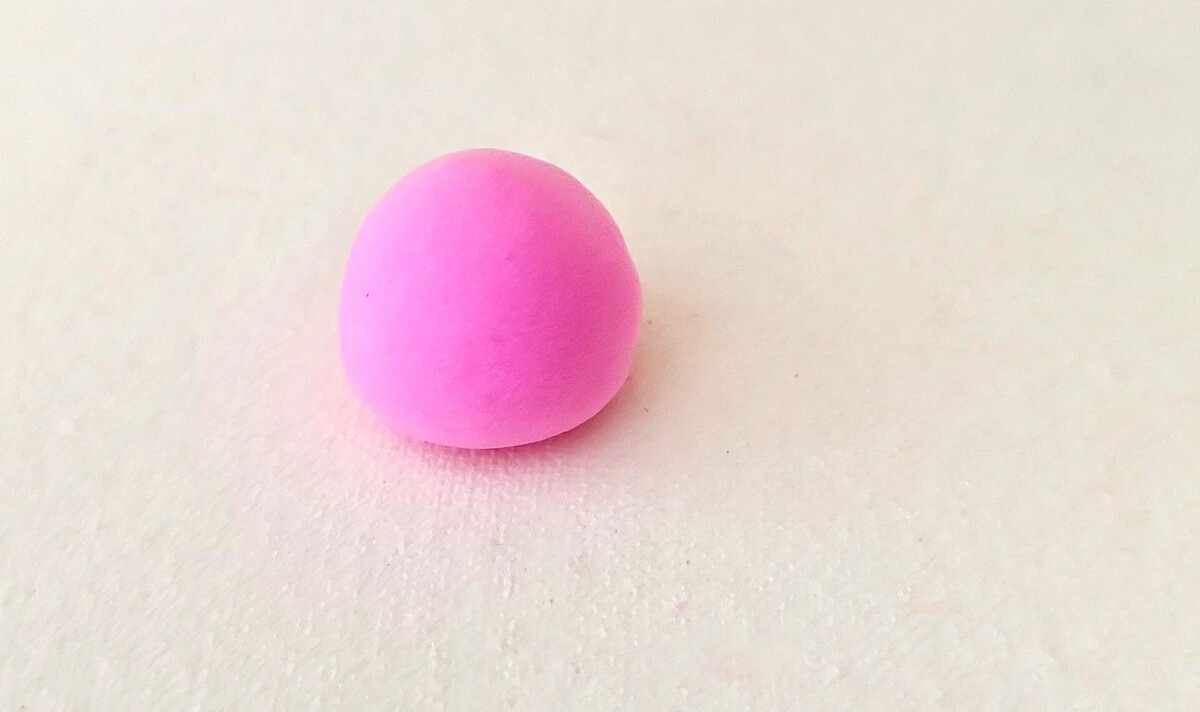
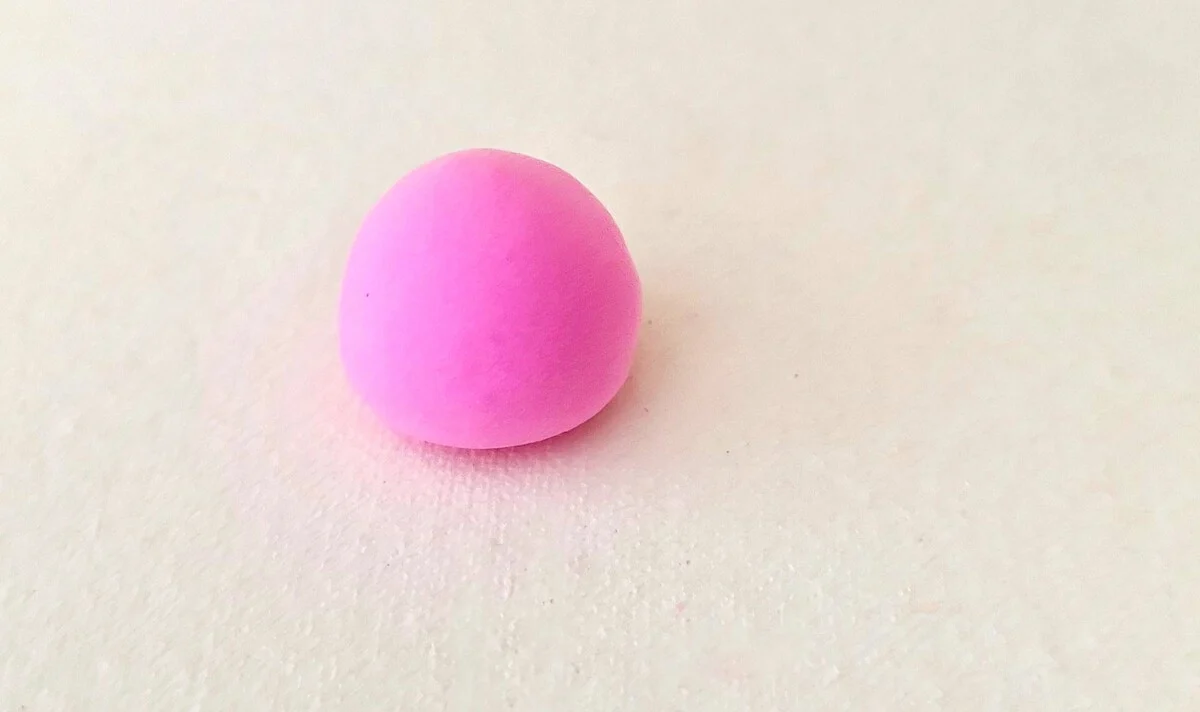
Take pieces of clay large enough for each part then roll them into smooth ball shapes.

Step 2
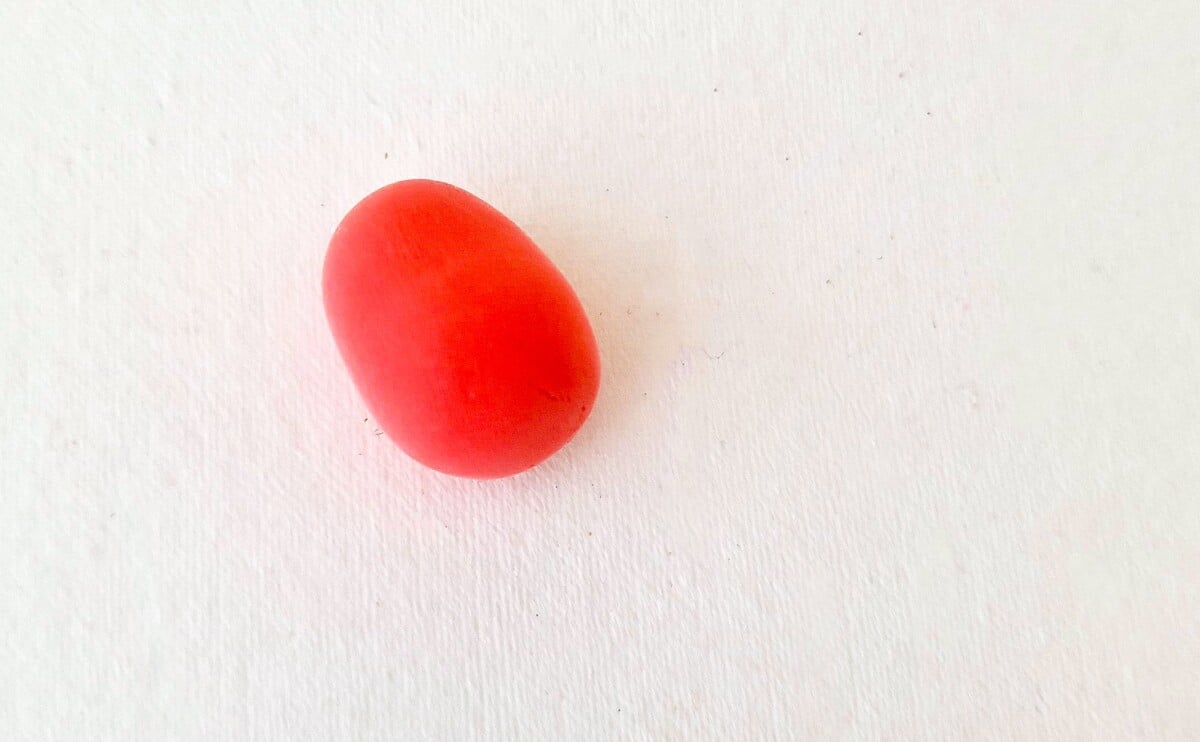
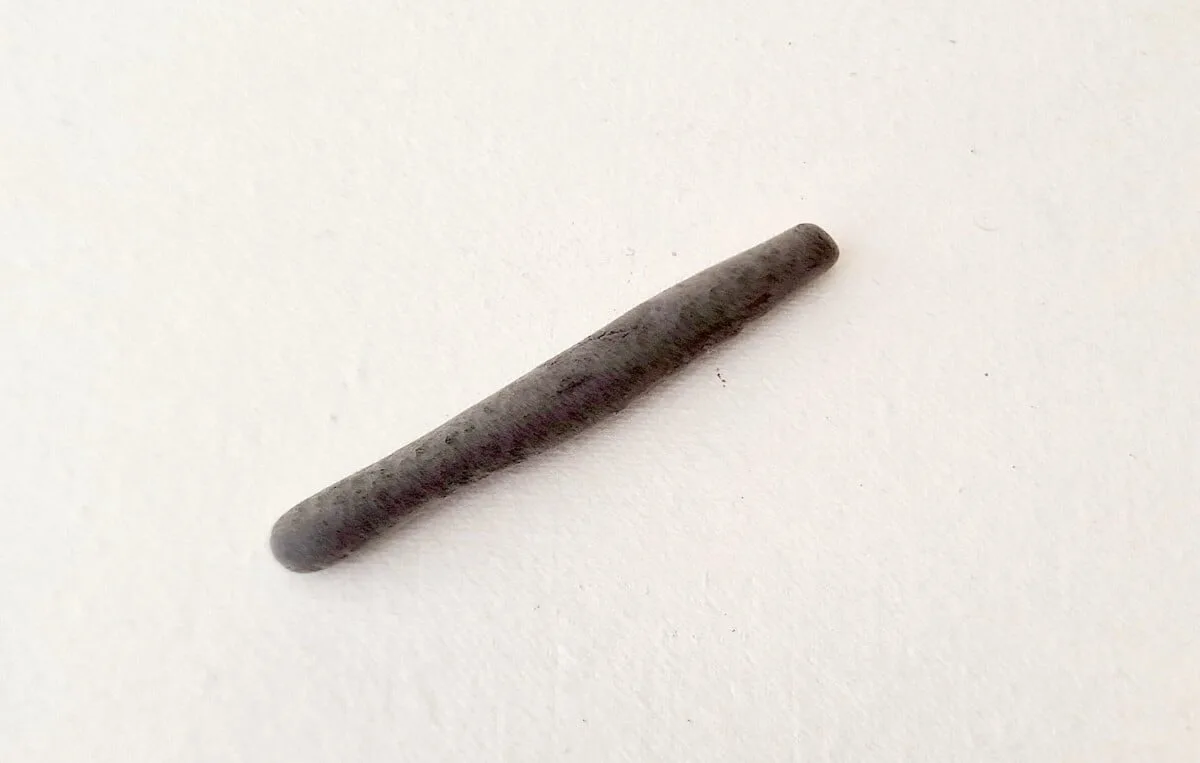
Using the color you chose for the dress or shirt, roll it into a cylinder like shape.

Step 3
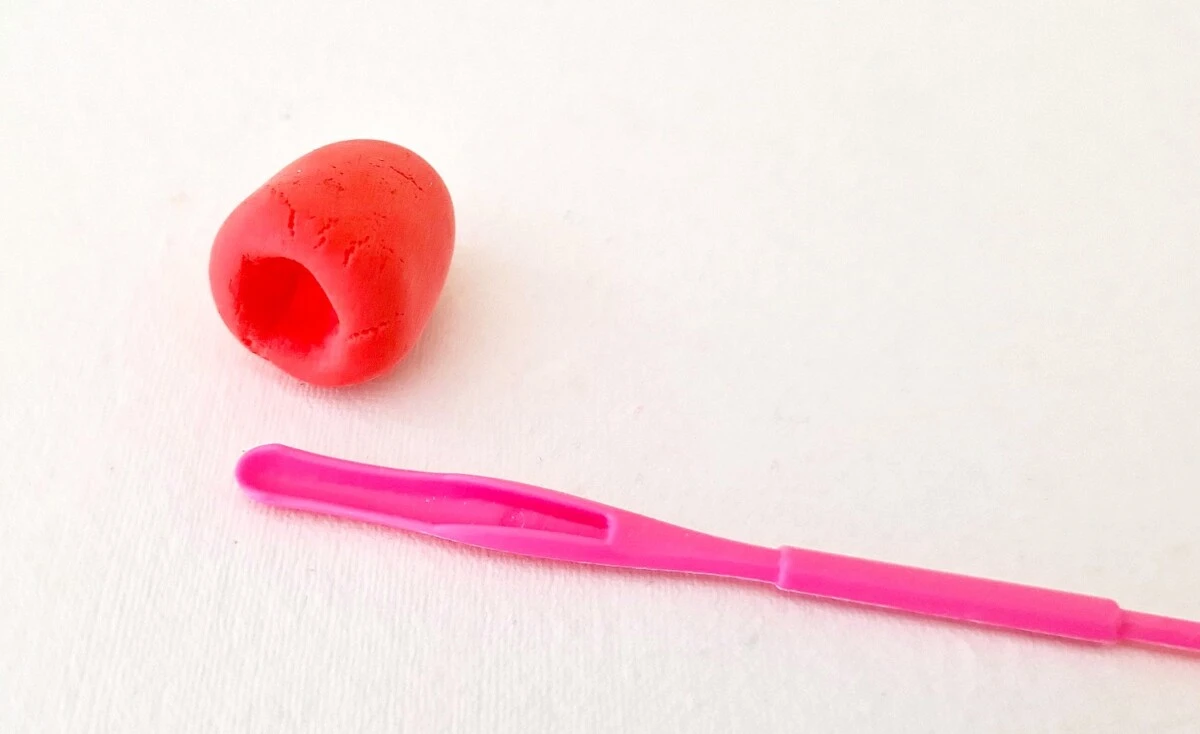
Use a round object or clay tool to make a small hole in one end of the cylinder-like clay shape. This will be bottom side of the gnome.
While making the hole, also make sure that end of the cylinder shape is flattened. This will be the side where the gnome stands on.

Step 4
Next, it’s time to make the hair.
For the boy gnome, shape a piece of thin clay into the shape of a beard. Using a clay tool, add vertical lines in the clay to complete the beard
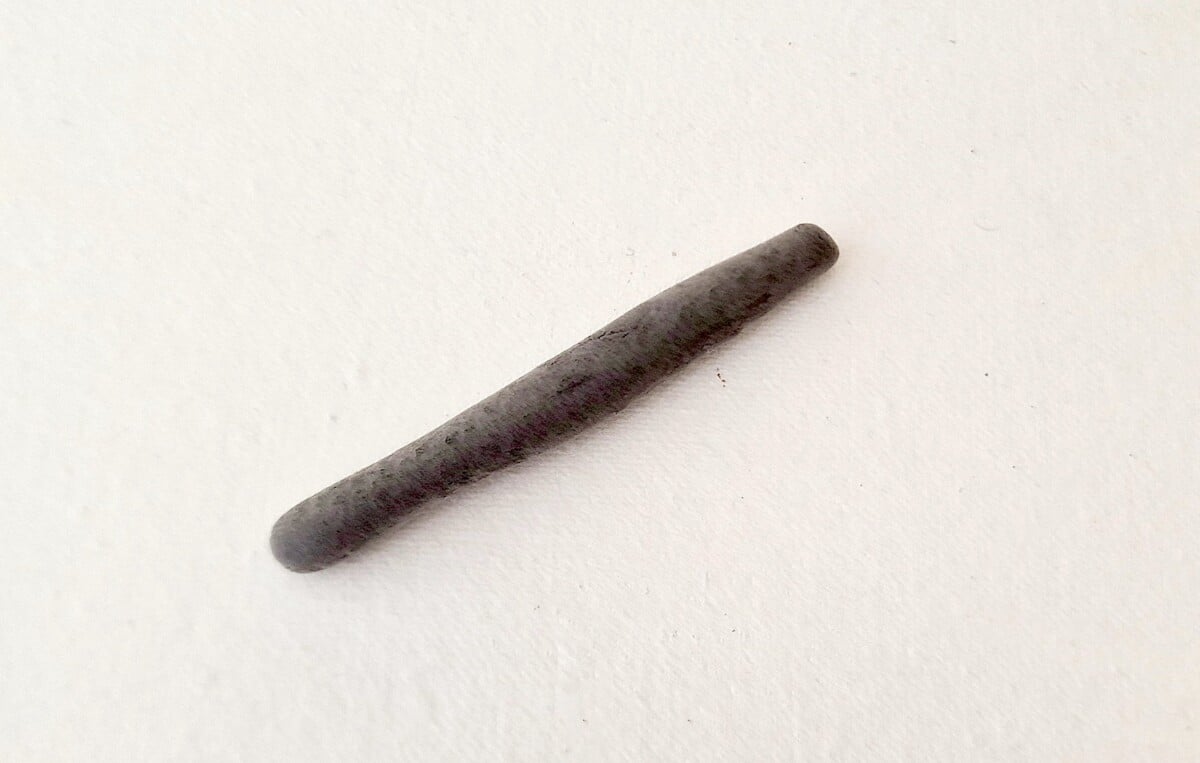
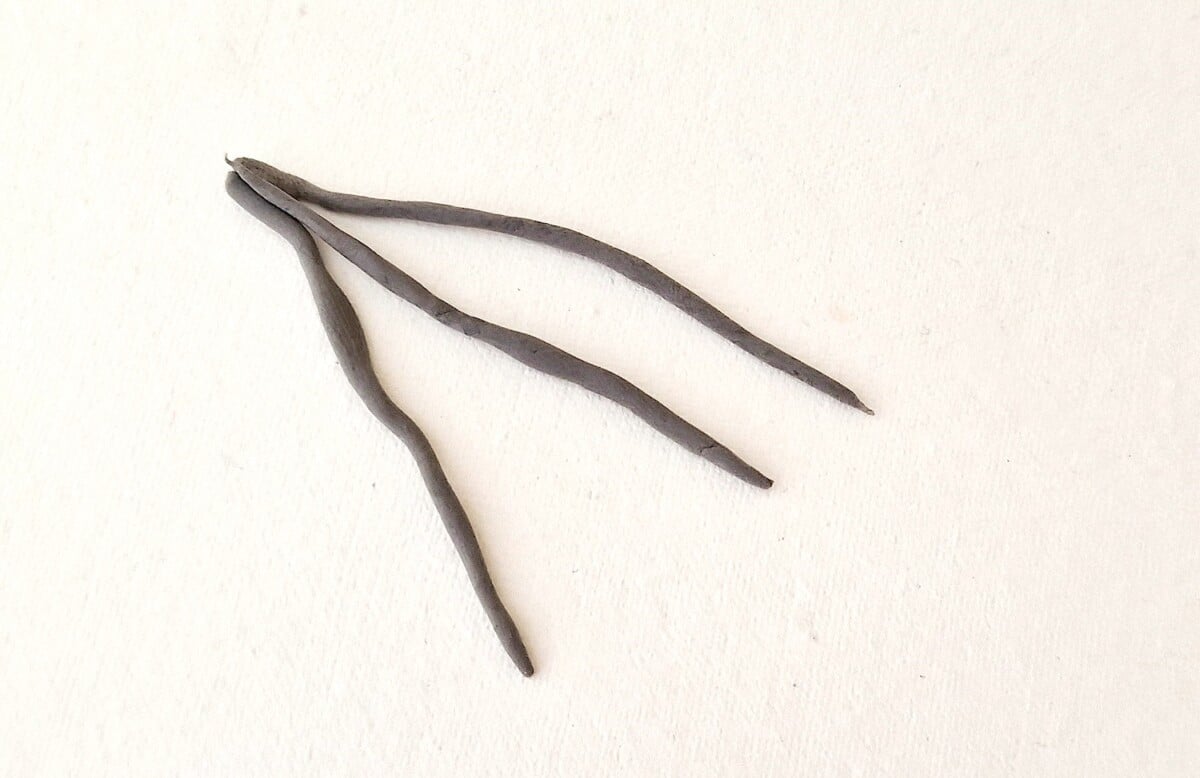
For the girl gnome, take a small amount of clay and roll it into a very thin rope.
Step 5
Divide the thin clay rope into 3 equal parts. Join them together at one end by pinching the ends together.
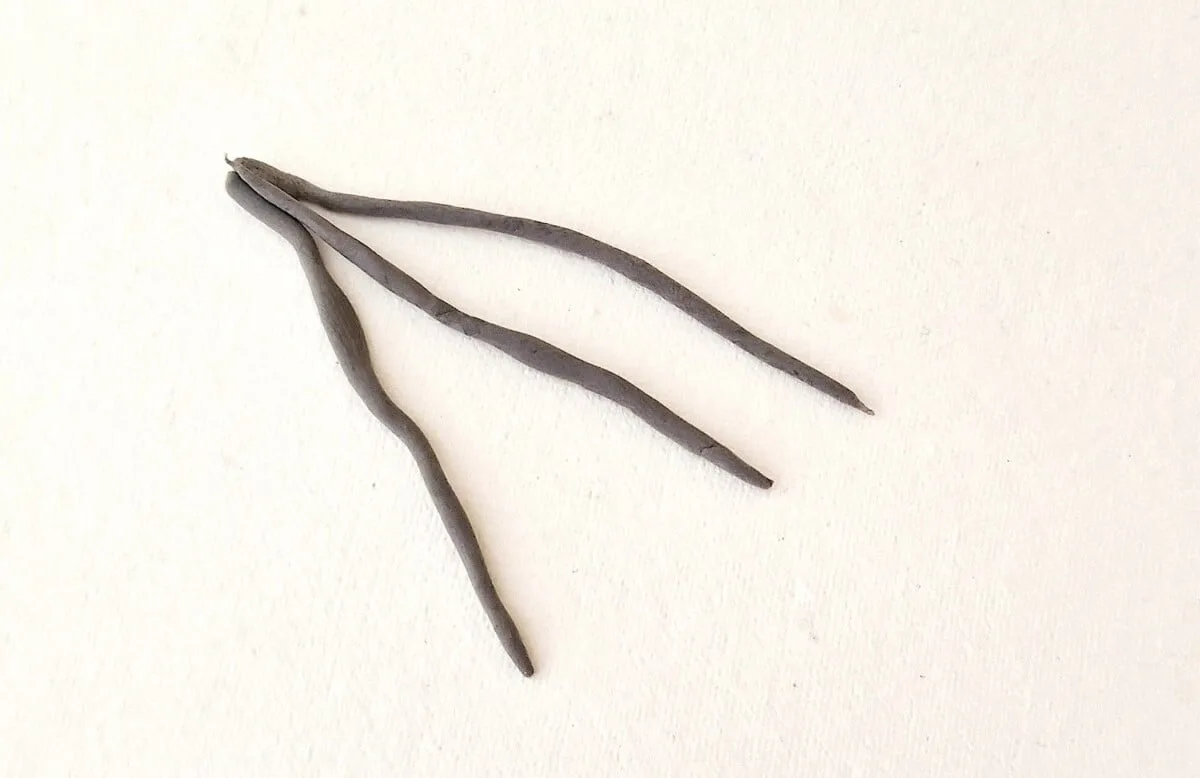
Step 6
Make a braided pattern with the 3 parts of clay, being very gentle and careful. Repeat the process to make a second braid.

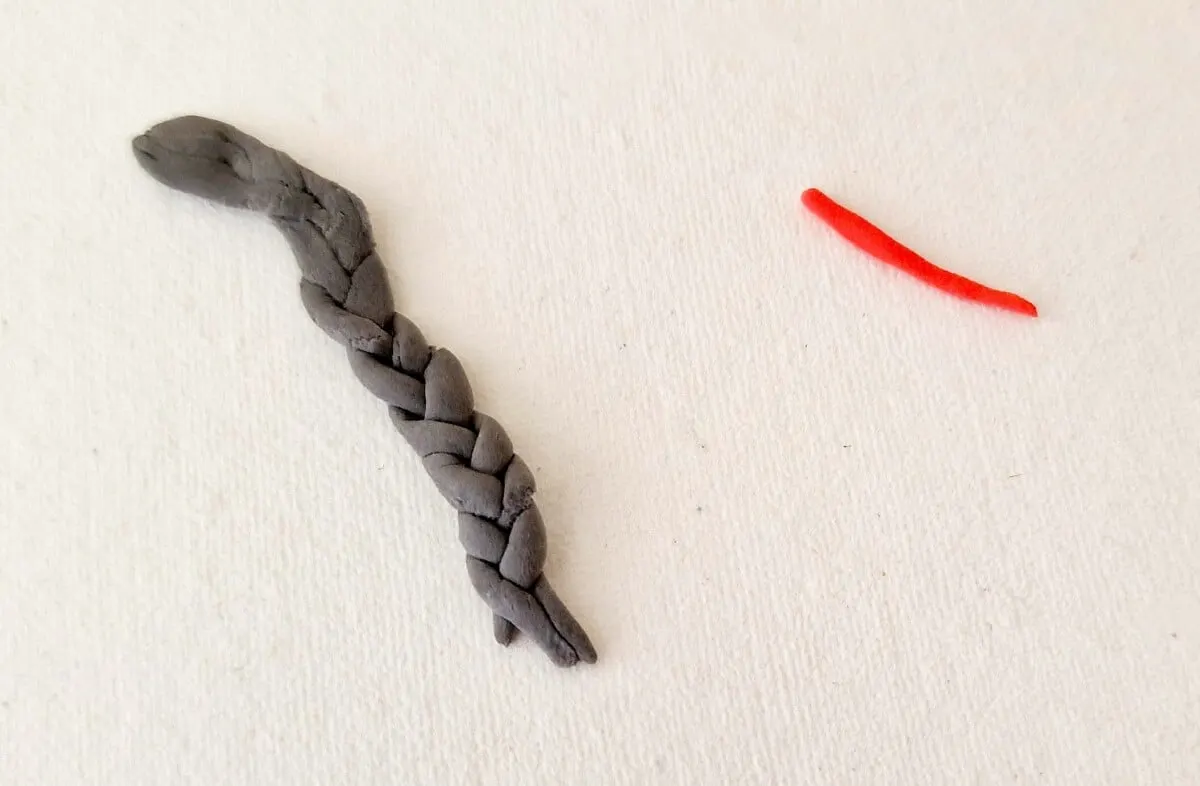
Step 7
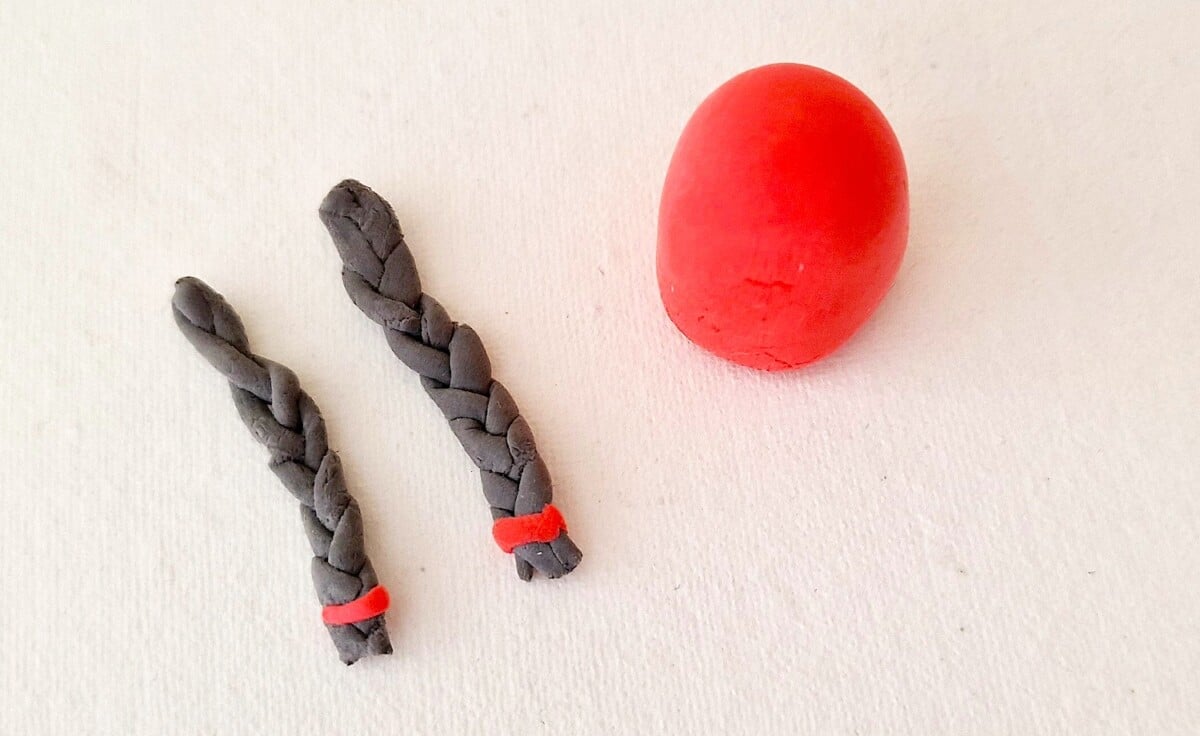

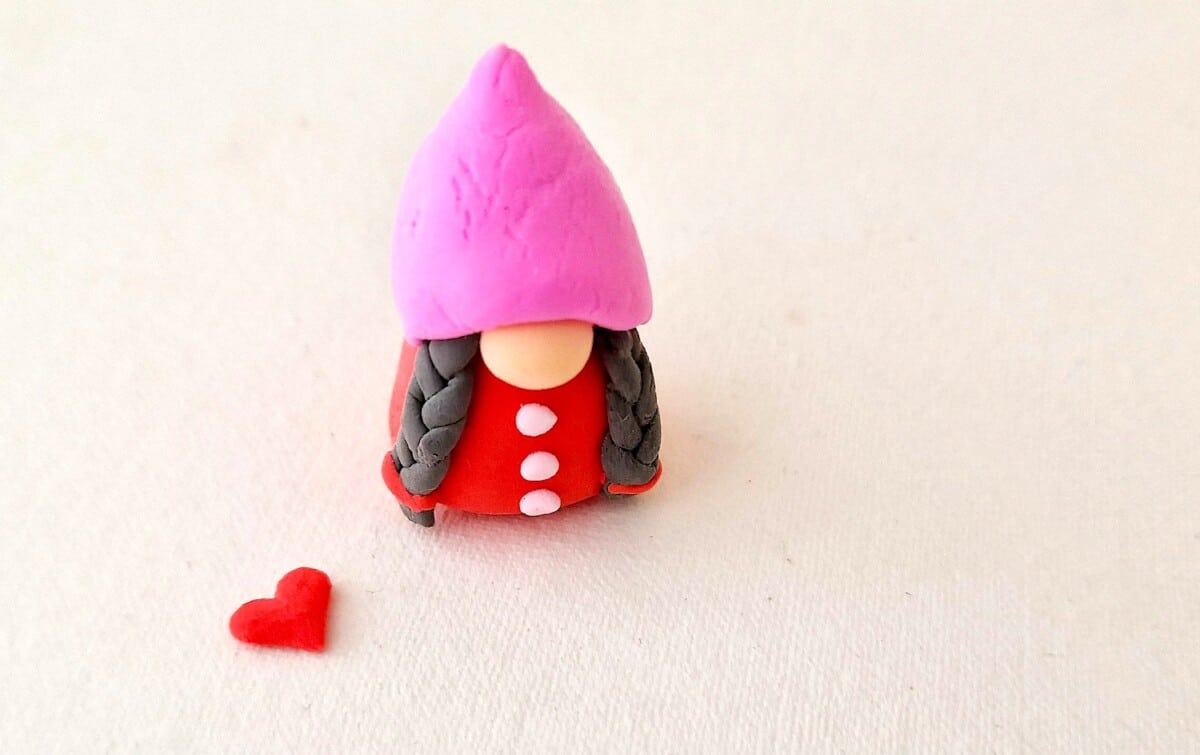
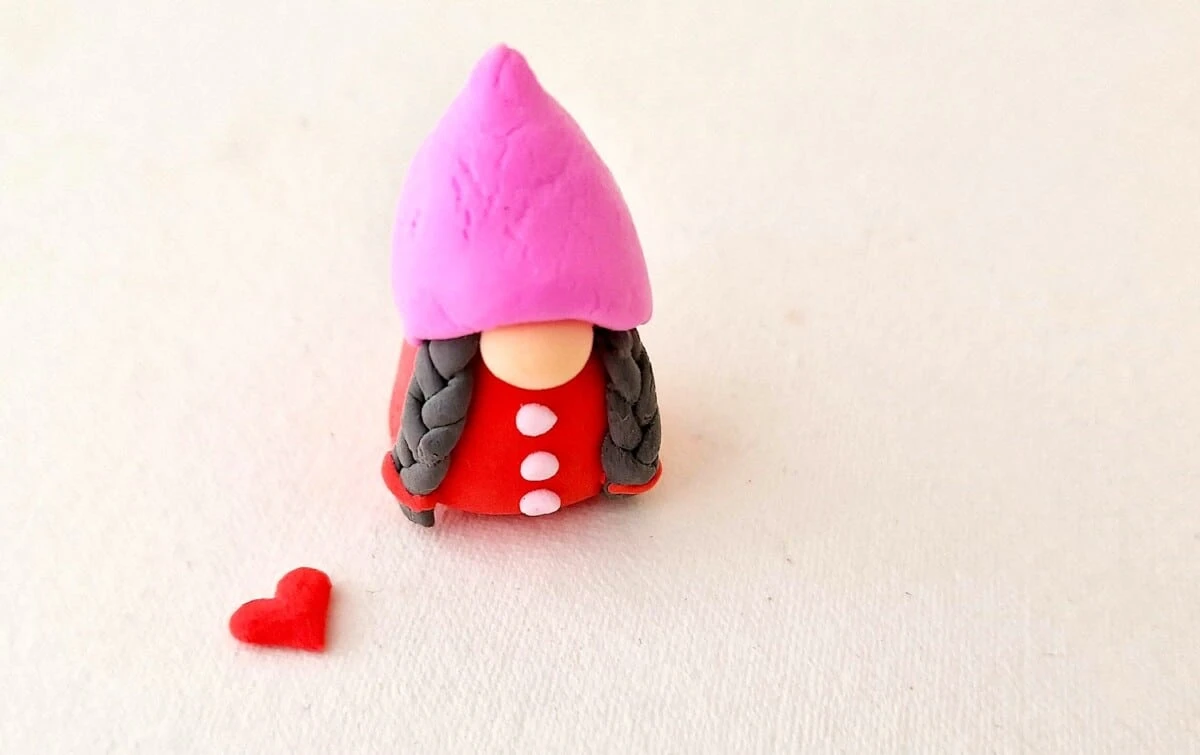
Take a small amount of clay (we used the same color that we made the dress out of) and make very thin rectangle pieces. Attach the thin clay pieces as ribbons at the open ends of the braids.
Step 8
Take a very small piece of clay used for the nose and roll into a small ball.
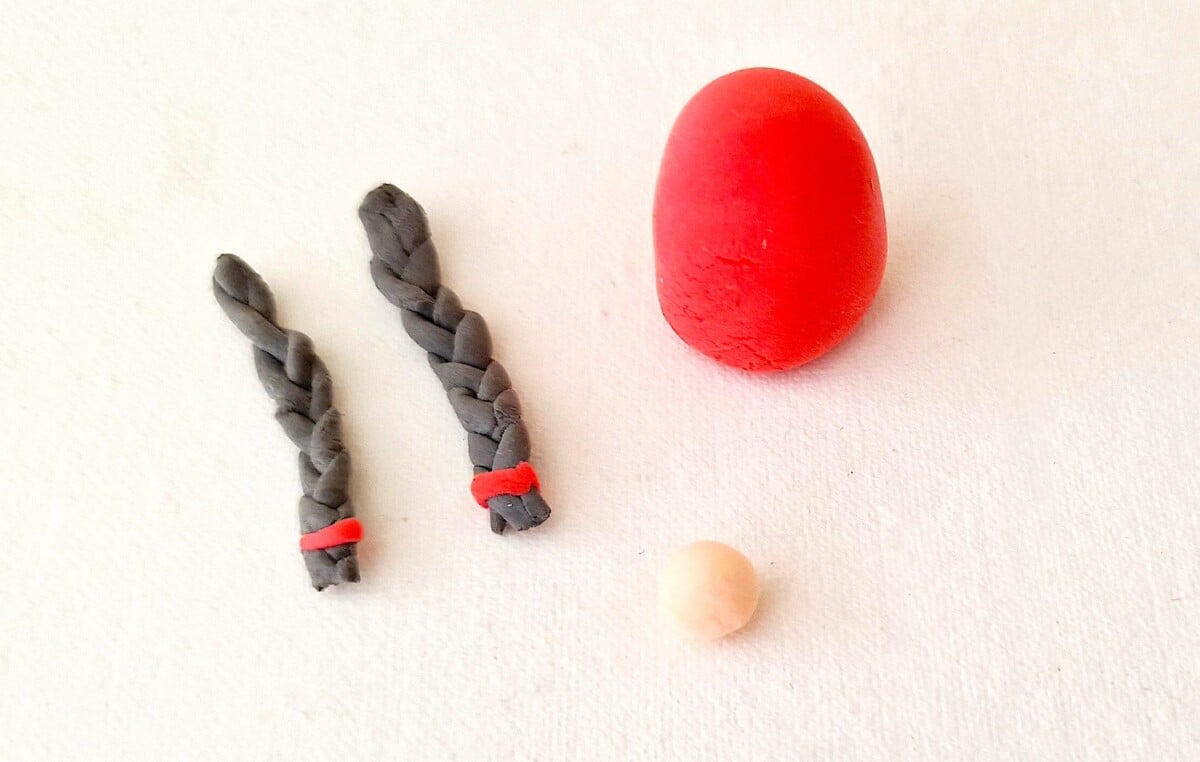

Attach the clay nose near the top end of the clay body.

Step 9
For the boy gnome, press the beard onto the body around the nose.
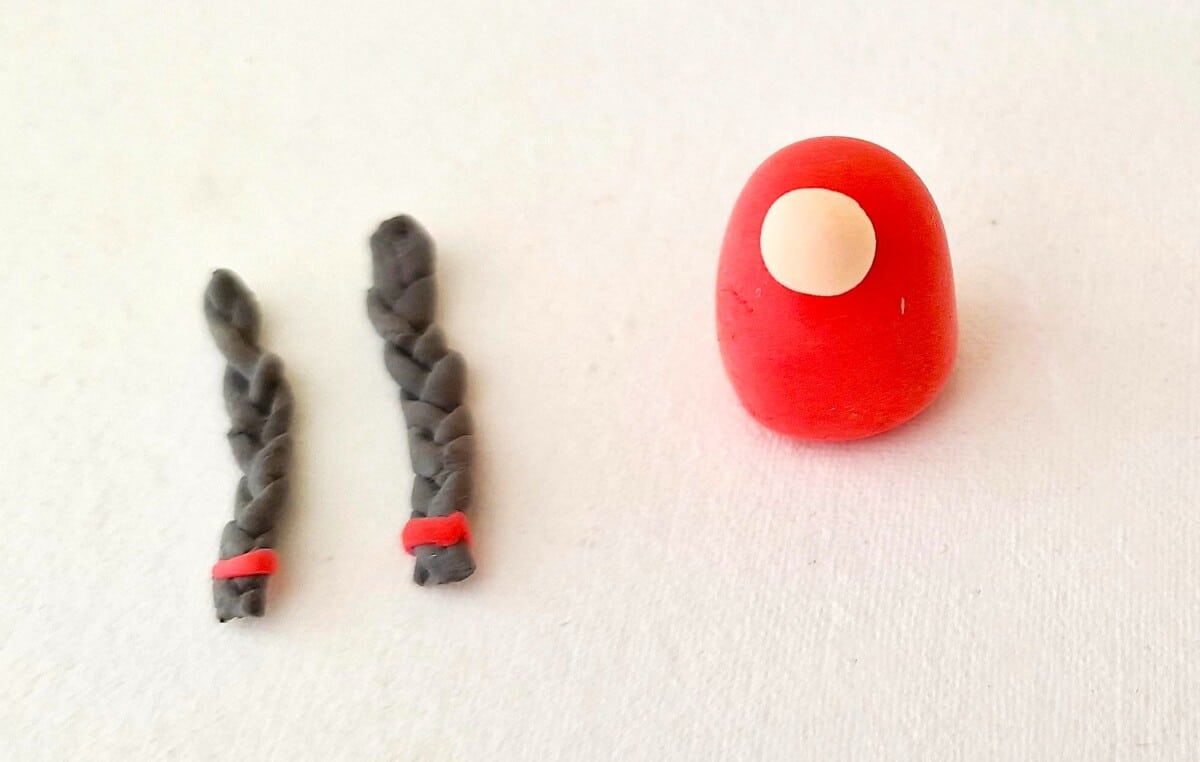
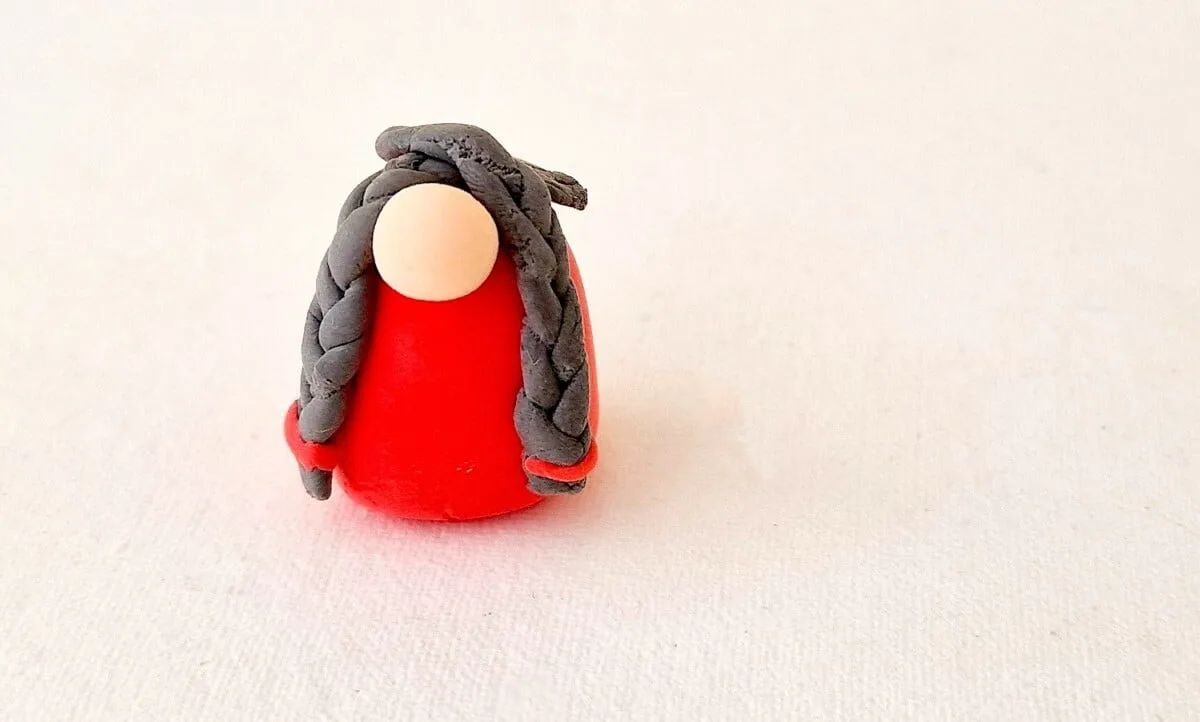
For the girl gnome, press the 2 clay braids on both sides of the nose, overlapping the braids on top of the head.
Step 10
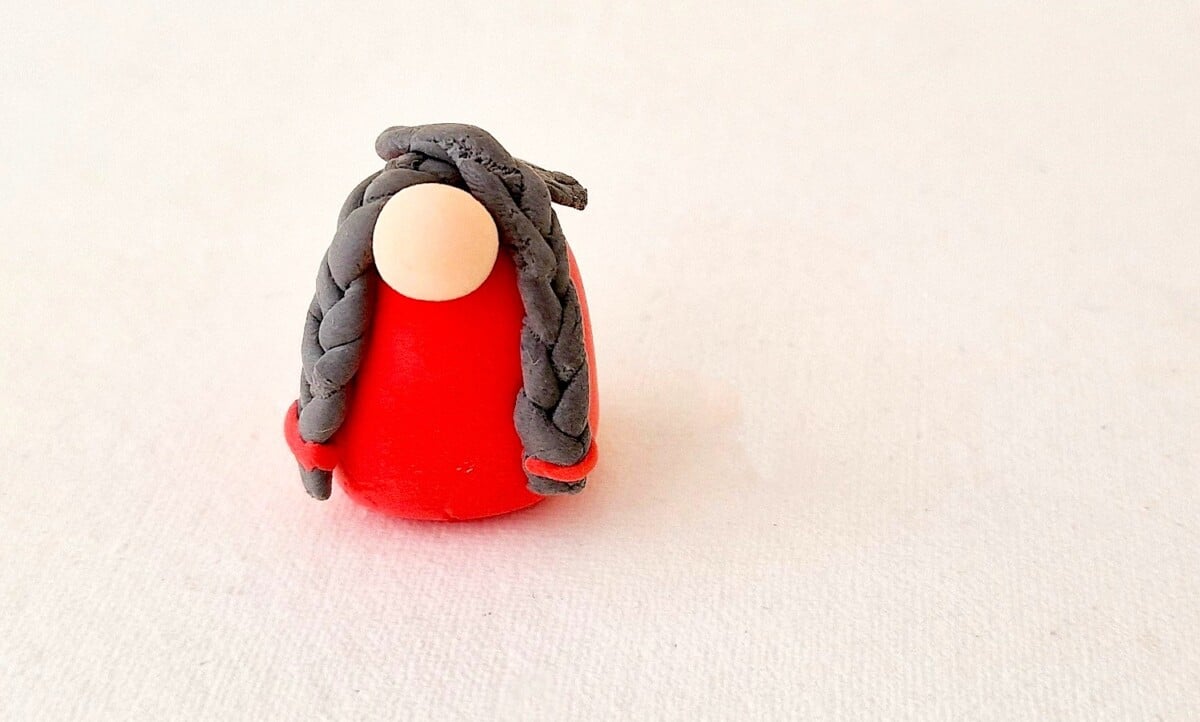
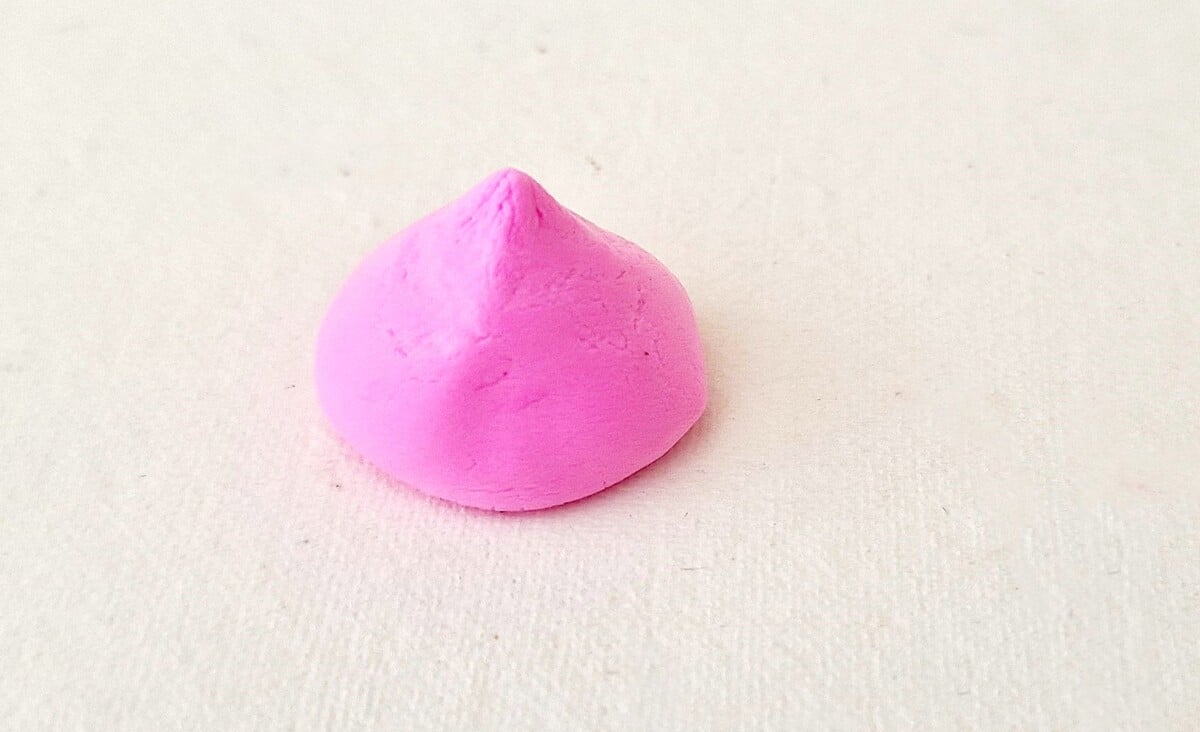
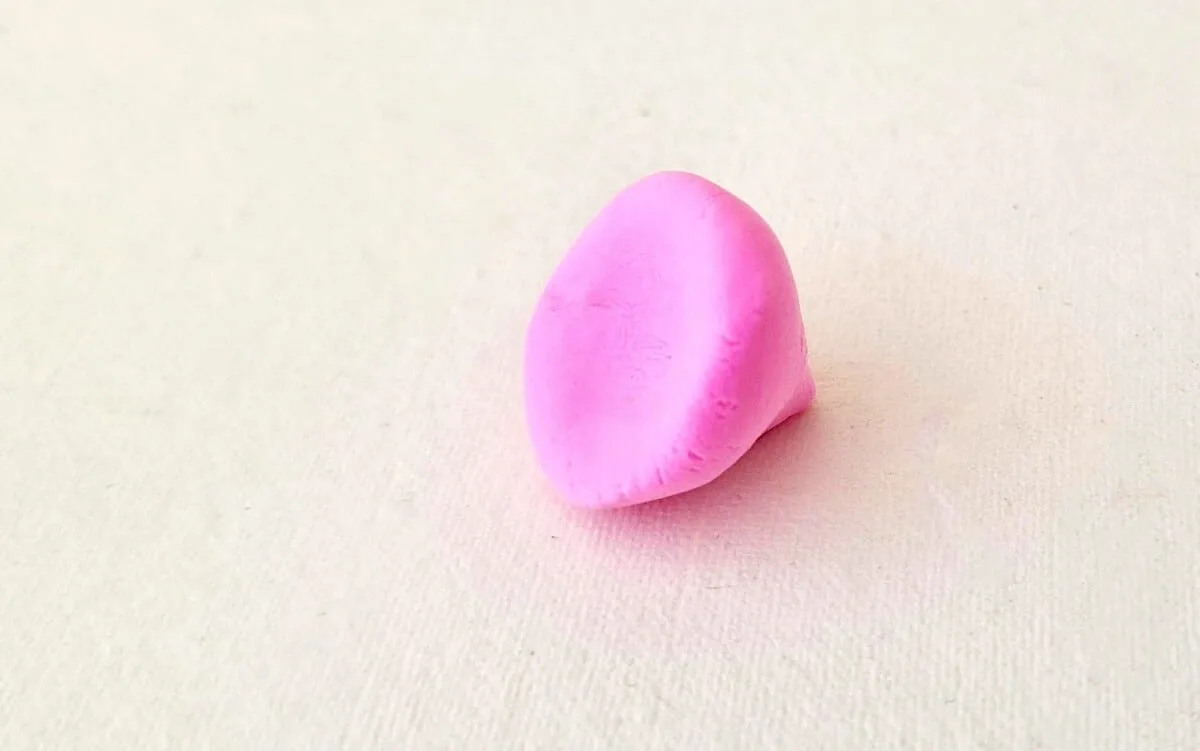
Take a piece of the clay that will be used for the hat.
Roll into a ball. Then make a pointy edge on the top end of the hat clay.

Step 11
Push the wide side of the clay hat inwards using the tip of your thumb.

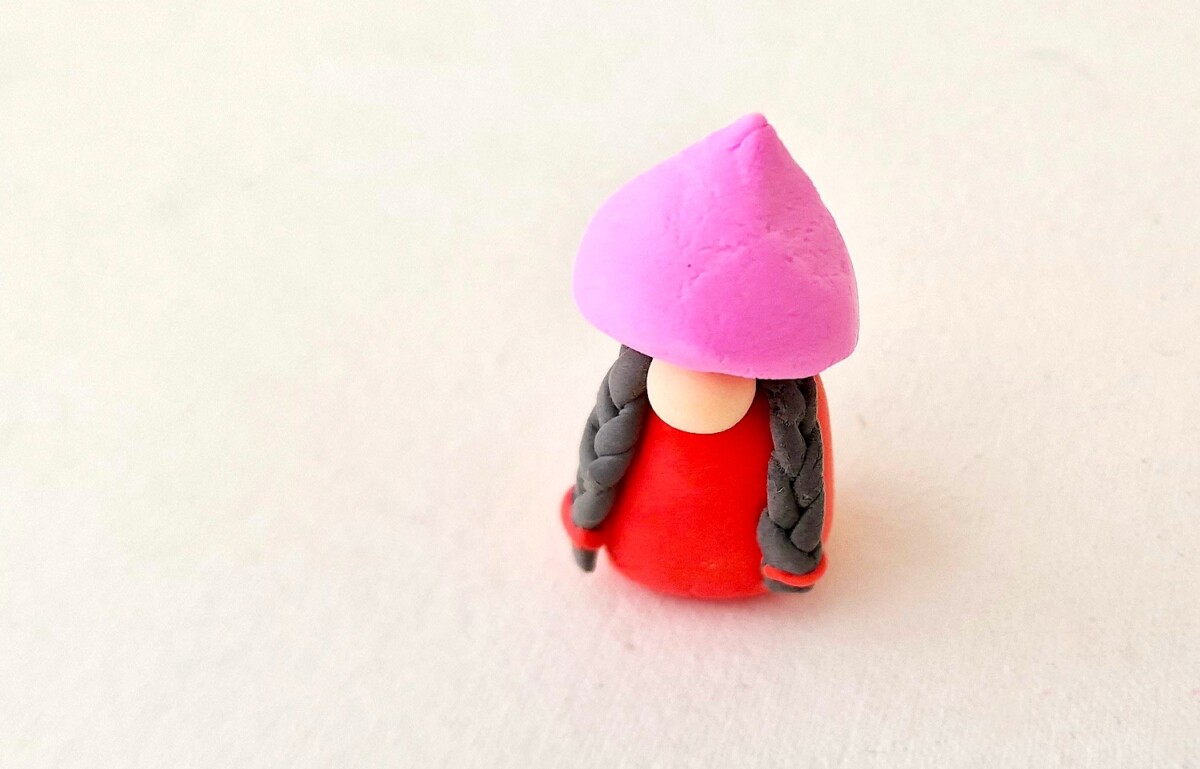
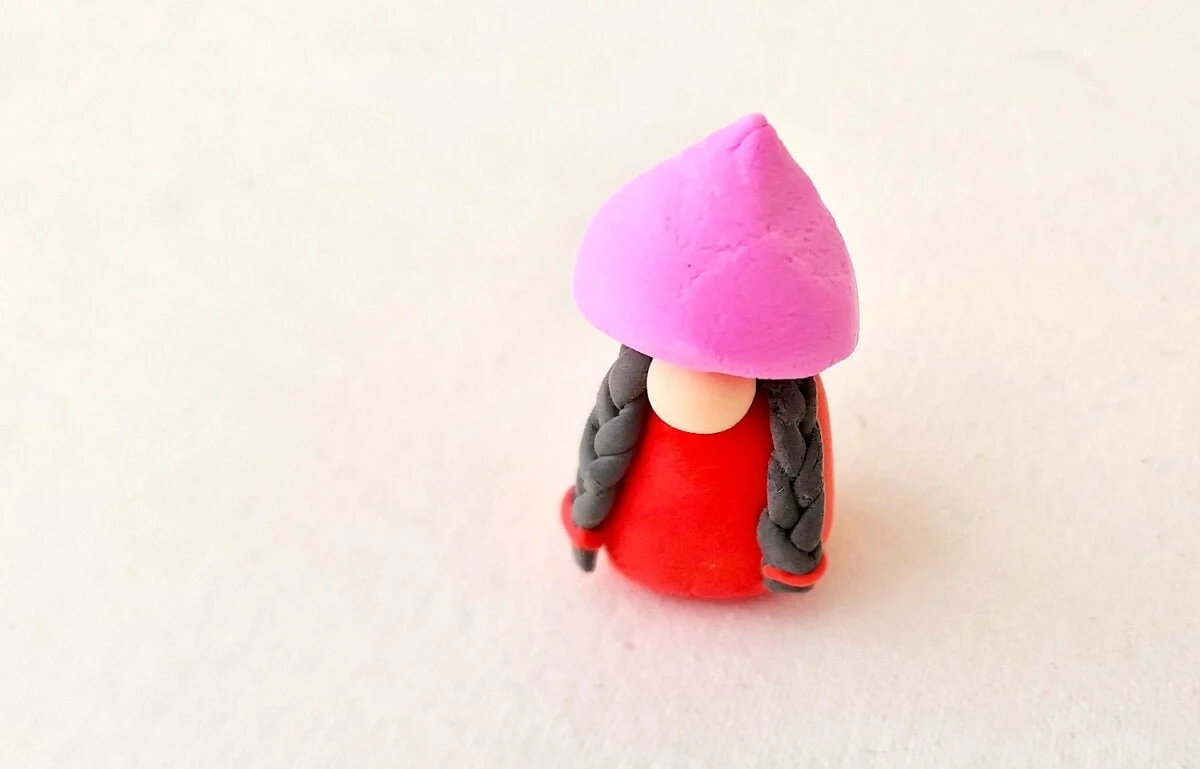
Step 12
Attach the clay hat on the top side of the clay gnome body pattern. Cover the top parts of the nose and braids (or beard) by pressing down and molding the clay hat.
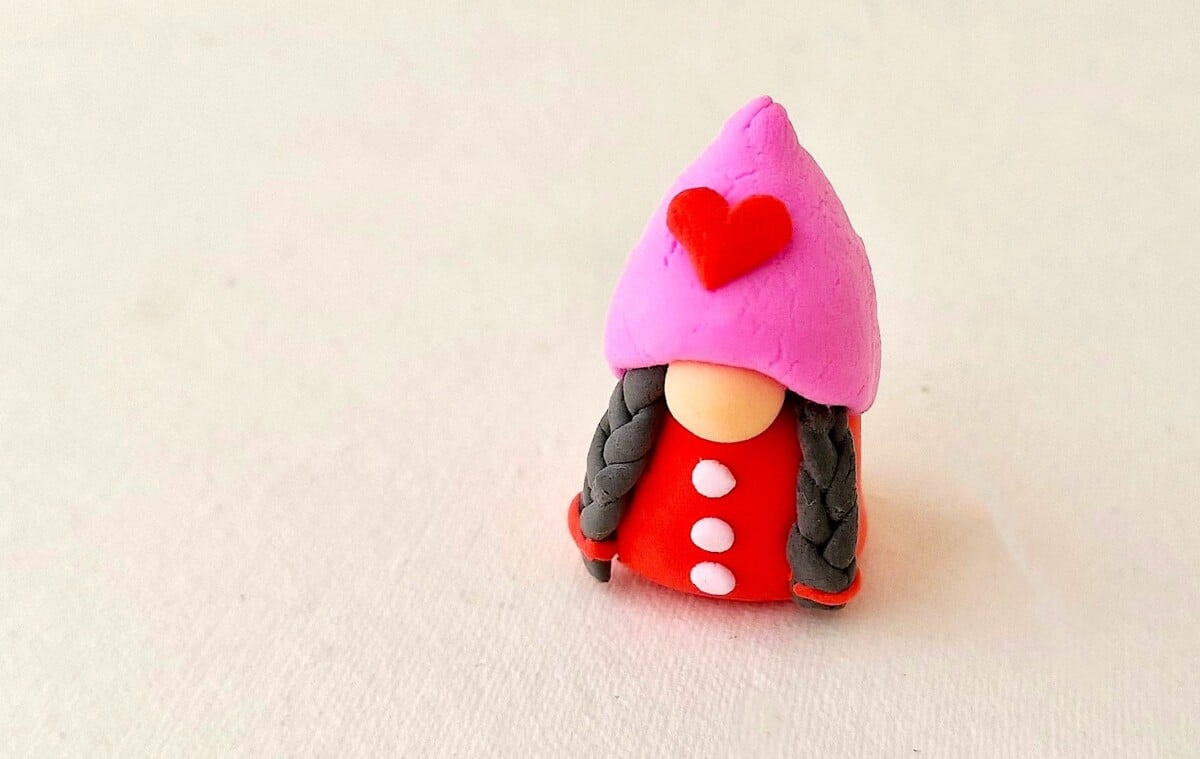
Step 13
Make a small clay heart with a complimentary color of clay. Attach to the middle of the hat.
For the girl gnome, roll very tiny pieces of clay into small balls and press onto the front of the dress in a vertical pattern.

Be sure to Pin This tutorial to save for later and to share with others!

If you like DIY gnome crafts you will want to see these ideas next:
- Easy DIY Gnome Ornaments
- Gnome Wine Bottle Topper
- Mason Jar Gnome
- Scarecrow Gnome
- Santa Gnome Mop
- Grinch Gnome
- Santa Gnome Wreath

Patti L
Monday 15th of January 2024
I love these! Great instructions and I think I am going to make a few of these to put on my coworkers desks and work stations for Valentine's Day. Can I use white air dry clay and paint it when it is dry? Or tint the white clay with acrylic paint?
Kimberly
Tuesday 16th of January 2024
You could paint the clay after it is dried, but it might absorb a lot of paint. I haven't tried that, but thinking that might be the case. I'd suggest trying to tint it first. Let us know how it worked if you try it!
Lynn
Monday 15th of January 2024
These are really cute!
Kimberly
Monday 15th of January 2024
Thank you, Lynn!!!
Janice
Monday 15th of January 2024
I love this idea! Darling gnomes that don't require expensive setup supplies and machines.
Kimberly
Monday 15th of January 2024
Right? No sewing is a plus, too! So easy to make with clay!
Barbara
Monday 15th of January 2024
Love these! Especially the braids
Kimberly
Monday 15th of January 2024
Thanks Barbara!