
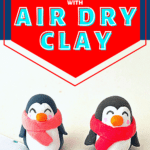
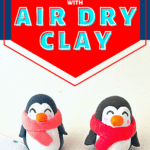

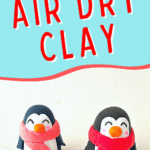

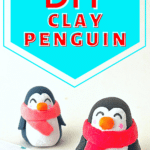

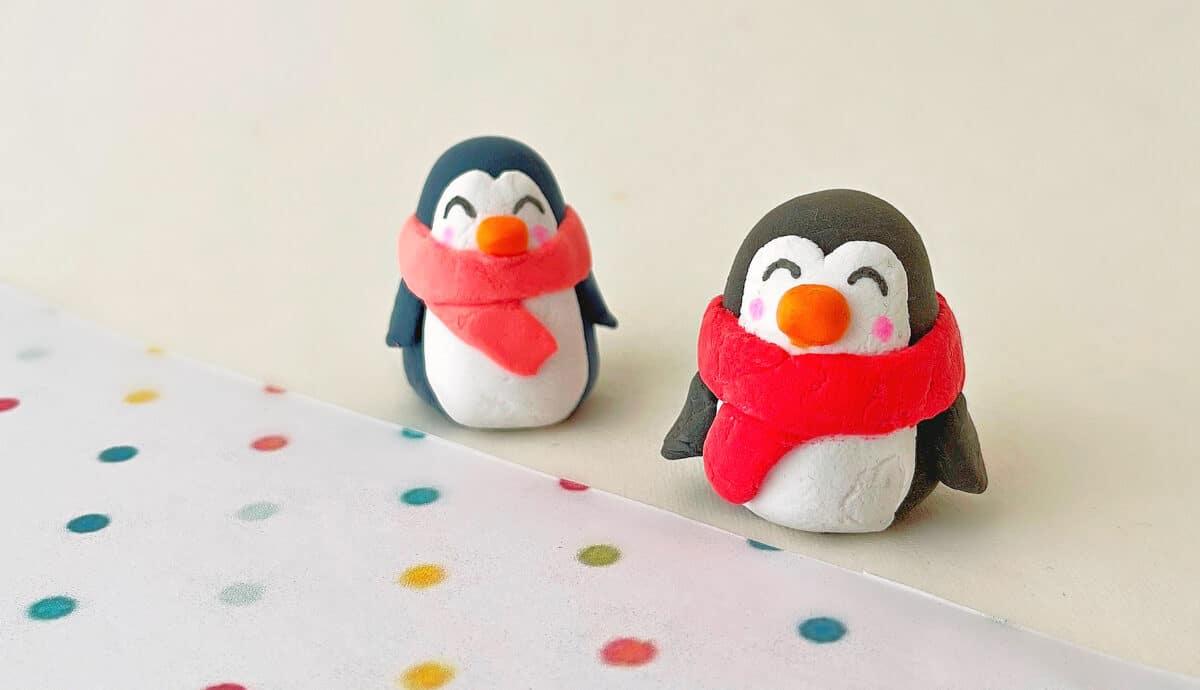
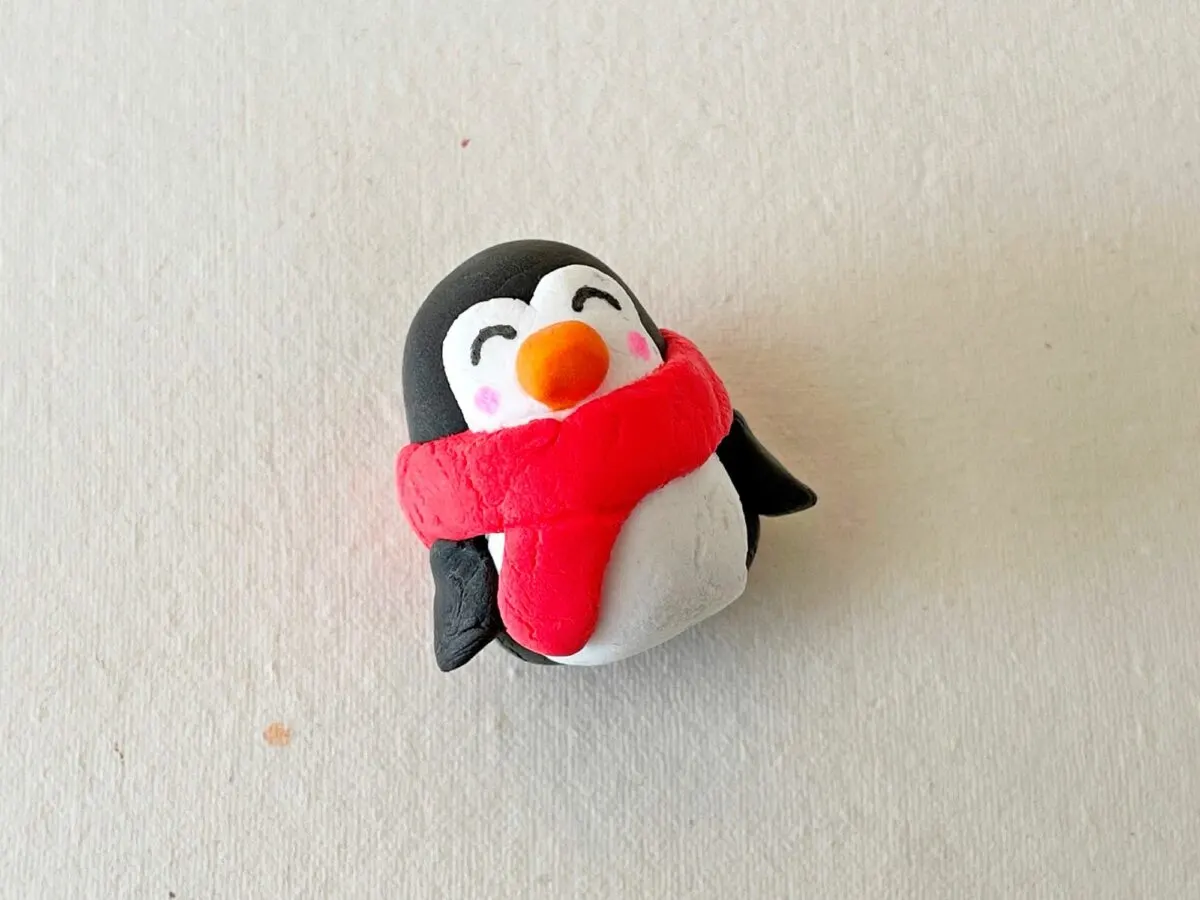
These adorable clay penguins are easy to make with either air dry clay or modeling clay. While we made miniature penguin figurines, you can make larger versions using this same step-by-step guide.
Cute little penguins are perfect to addd to a tiered tray, tuck on a shelf, bookshelf or window sill, or add to the top of a present as a gift topper.

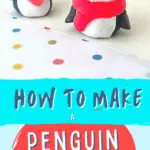
How to Make a Clay Penguin
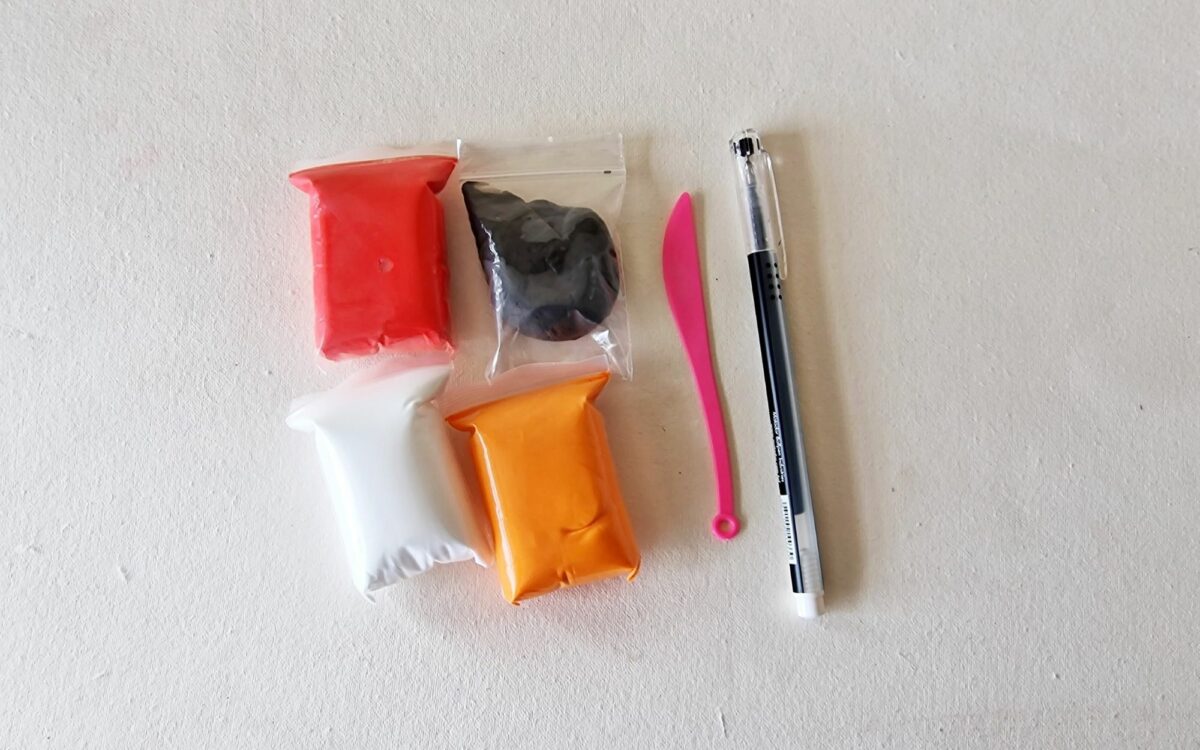
Supplies
- Clay (Either air dry or modeling clay) We used black, white, red and orange clay
- Clay spatula (optional)
- Black permanent marker
- Pink marker
Many of these same materials can be used to make our other clay crafts, as well, such as:
Directions
Step 1
The amount of clay you need will depend on how big you will make the penguin.
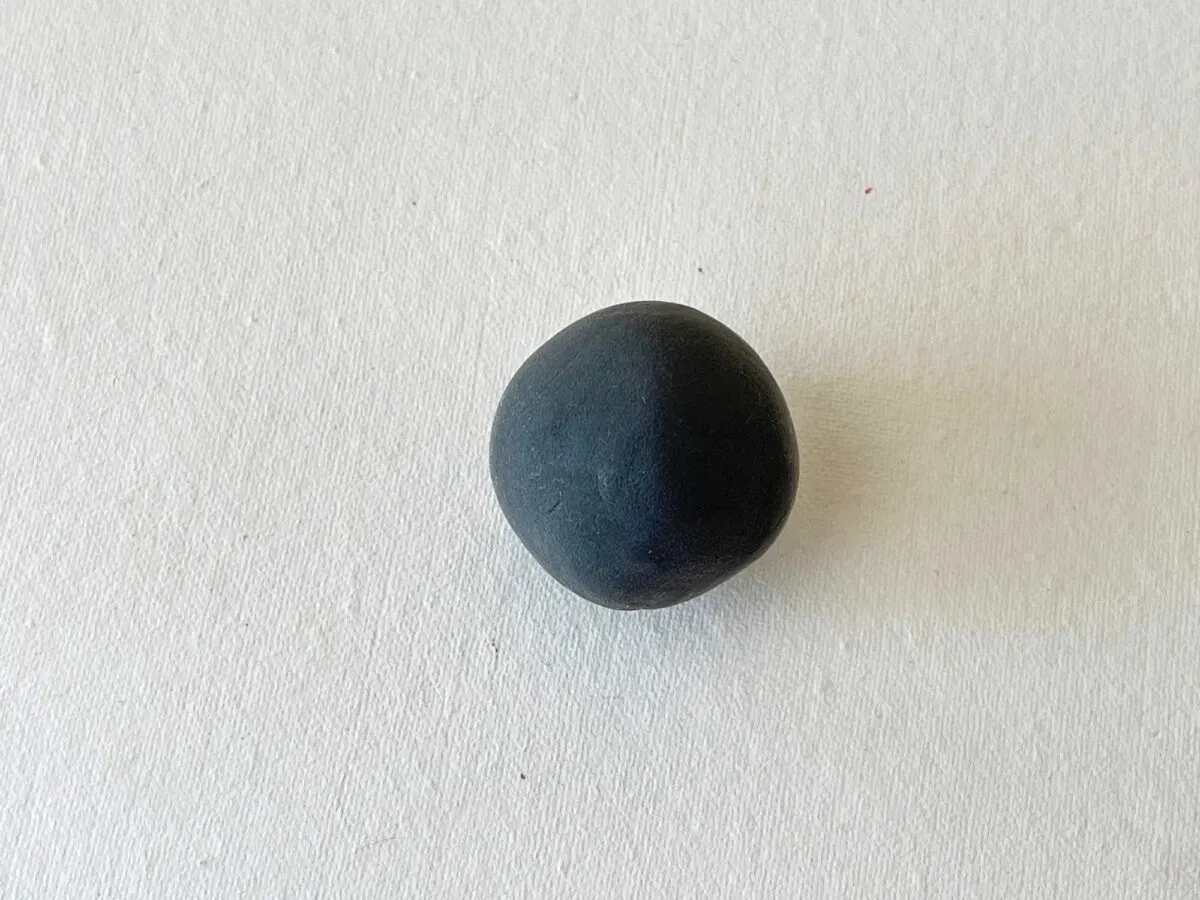
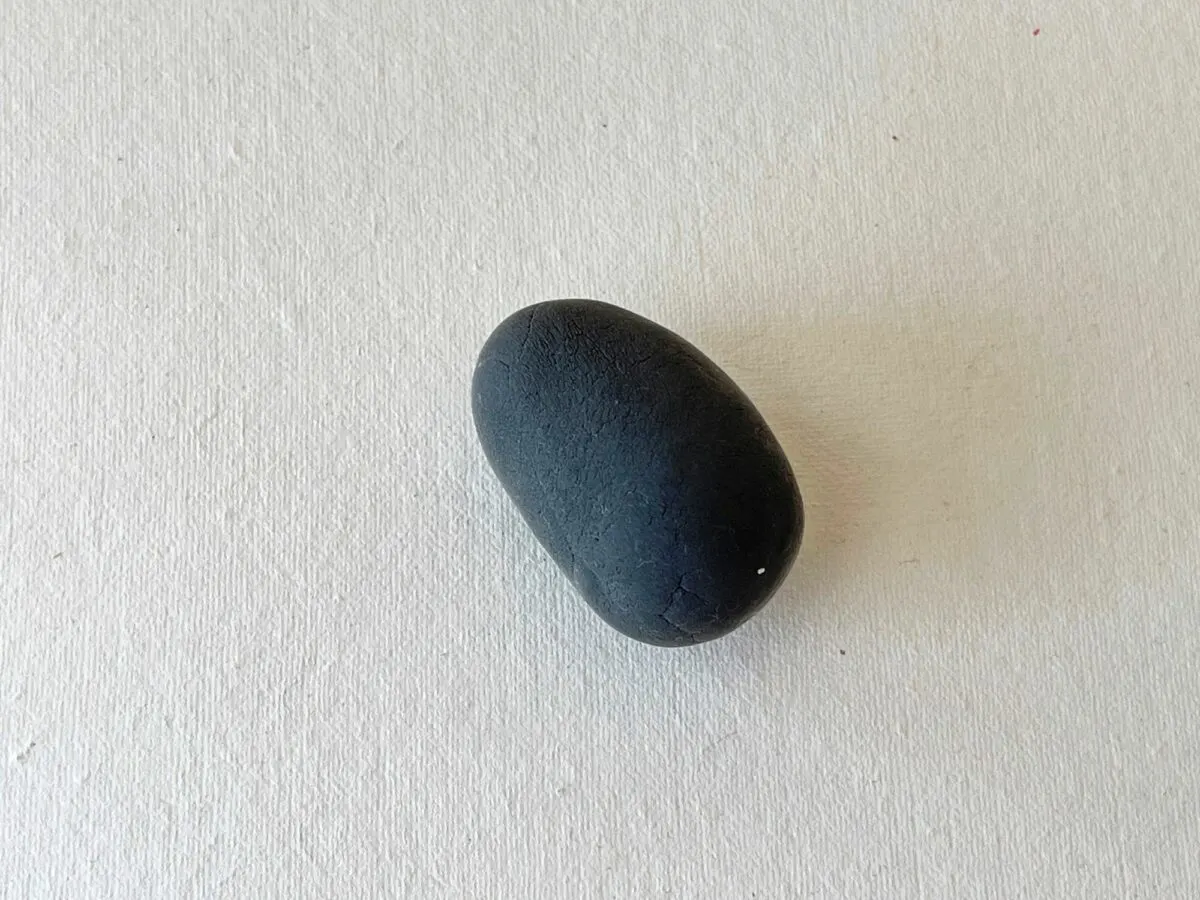
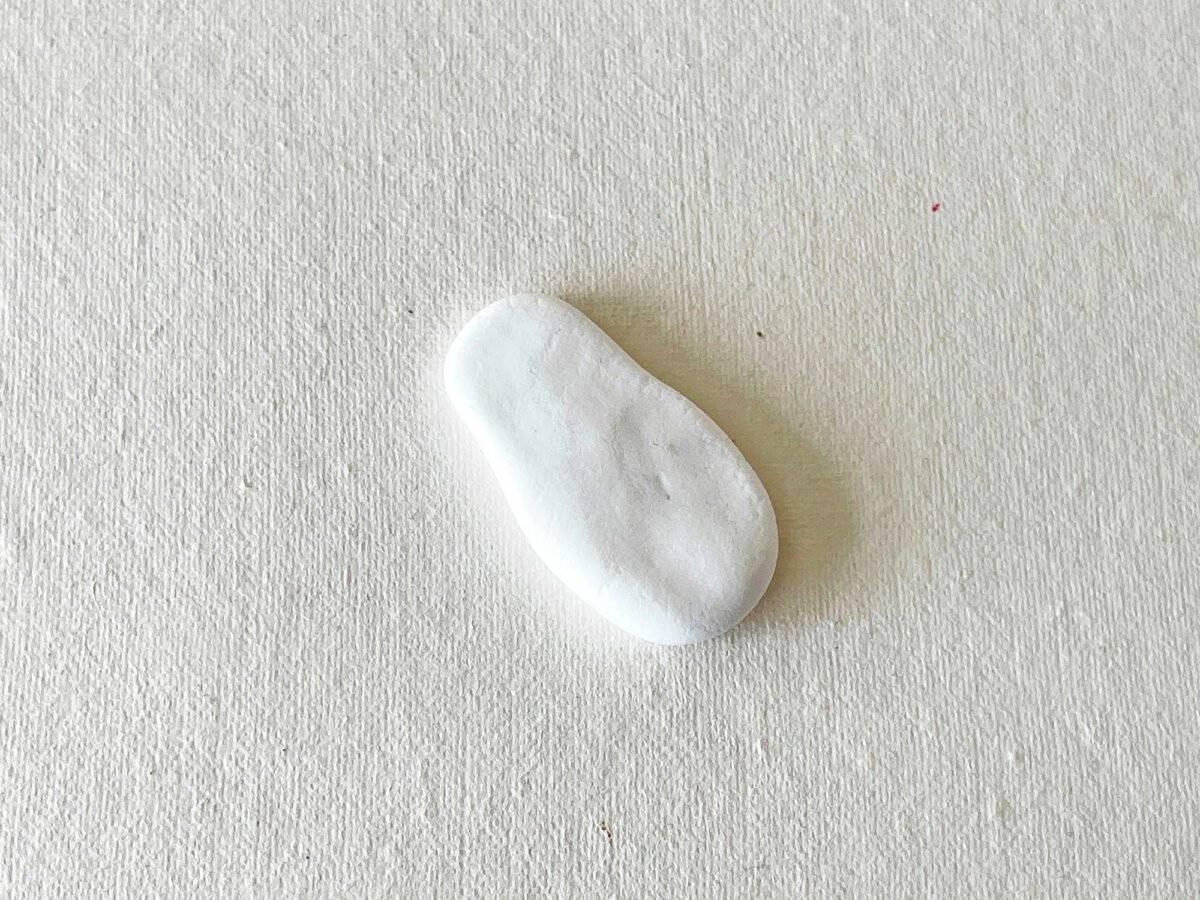
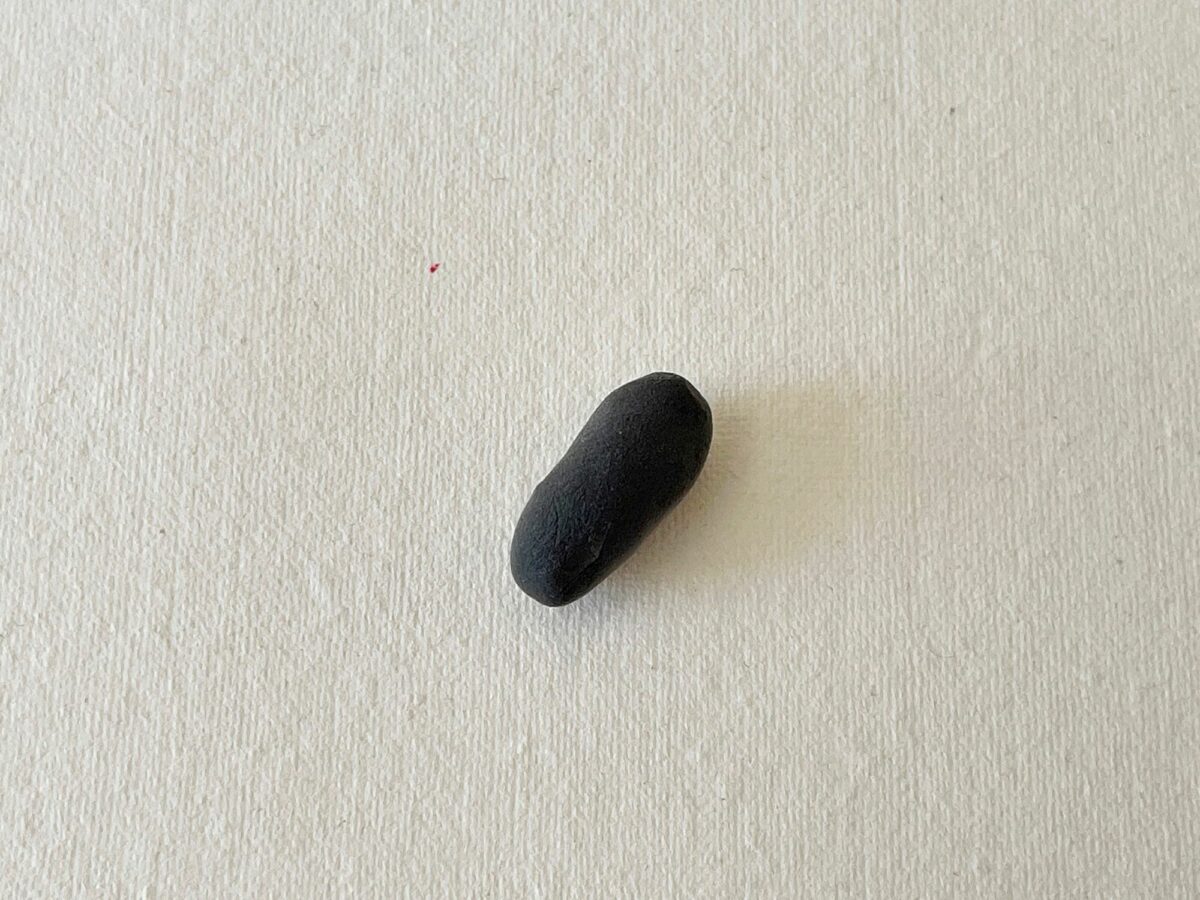
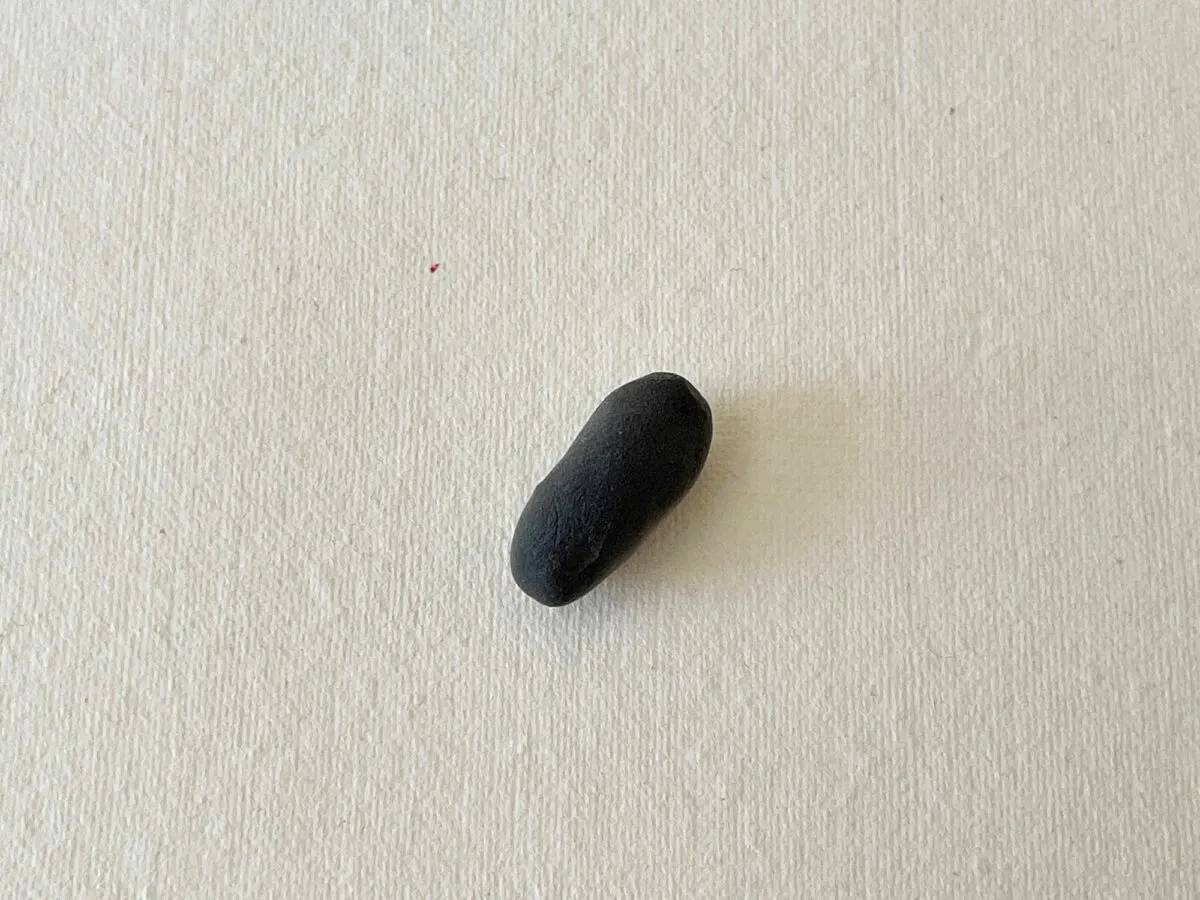
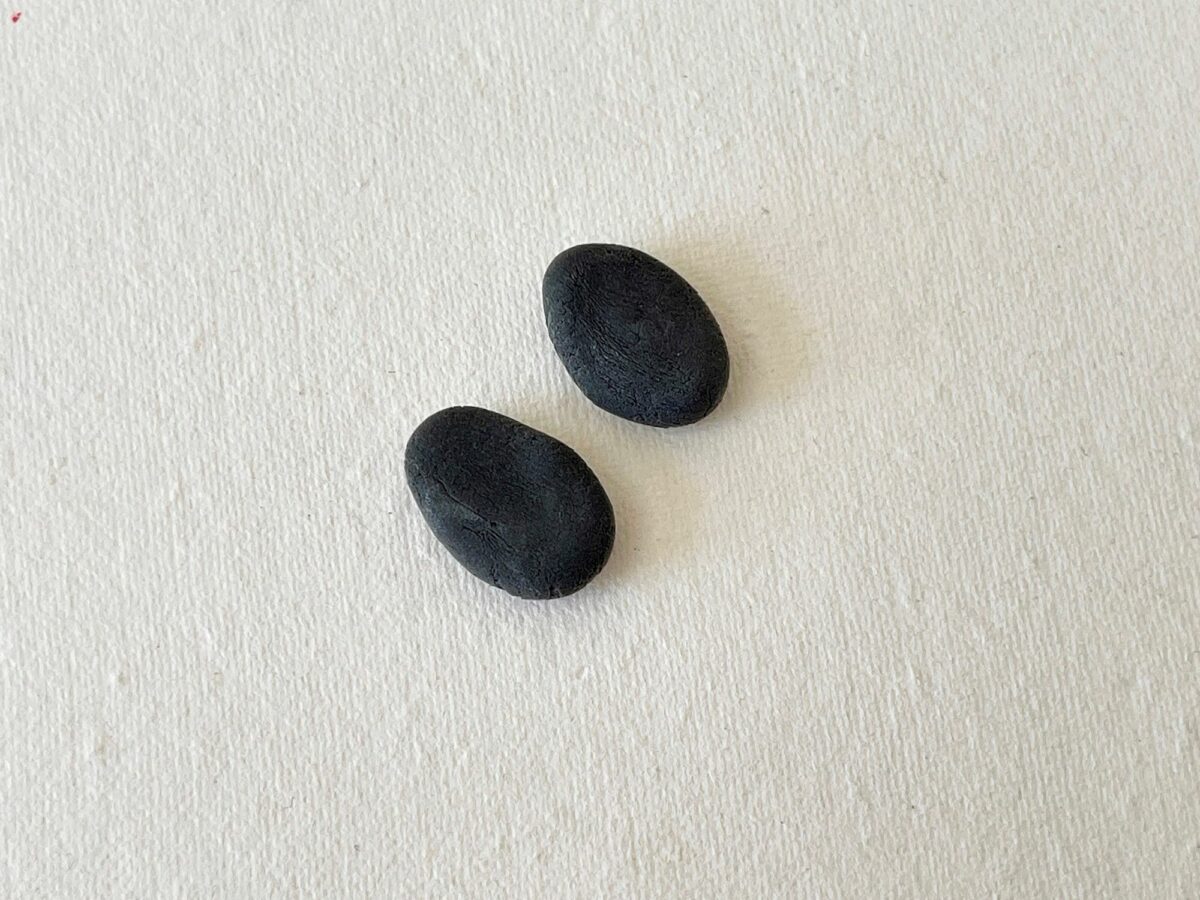
Start with an amount of black clay that will be big enough for the size of the penguin base that you would like. Roll the clay between the palms of both of your hands to form a ball shape.

Step 2
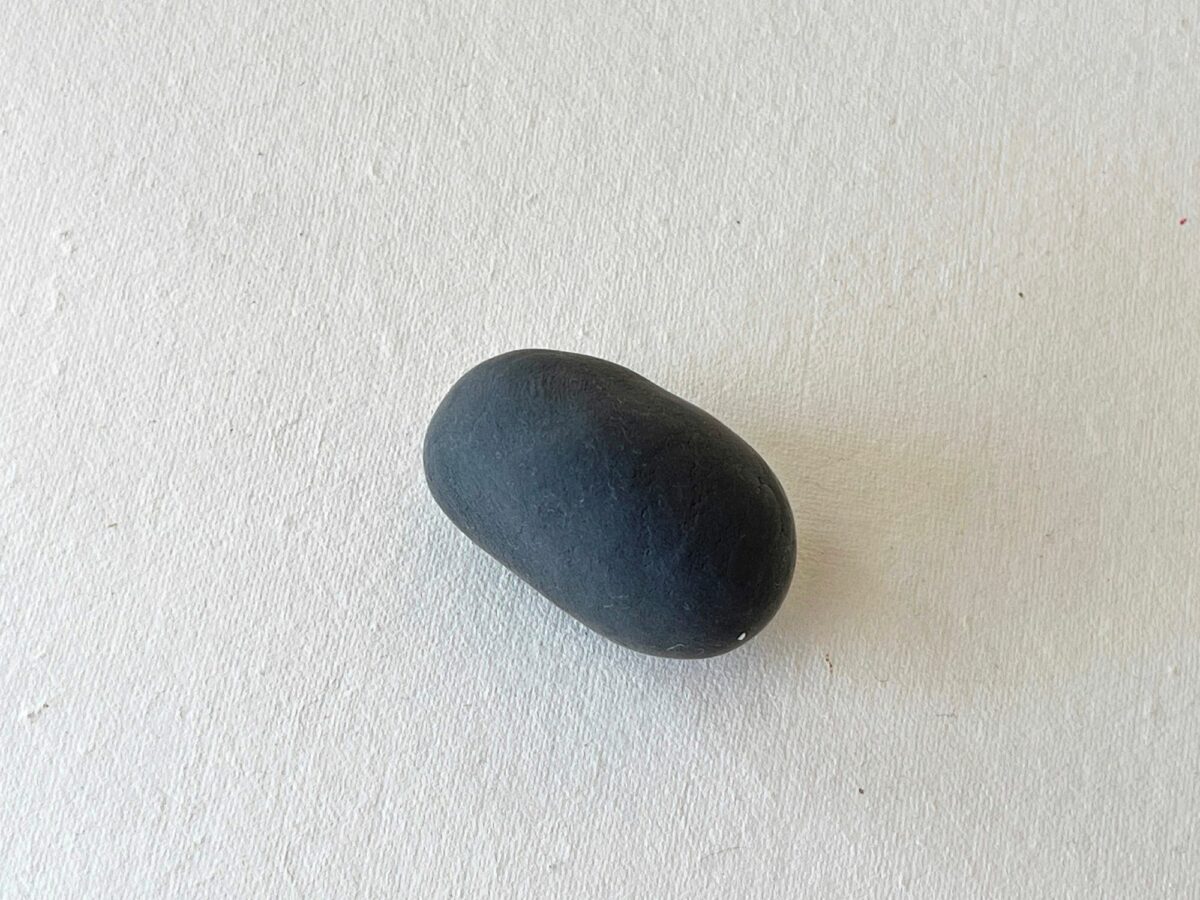
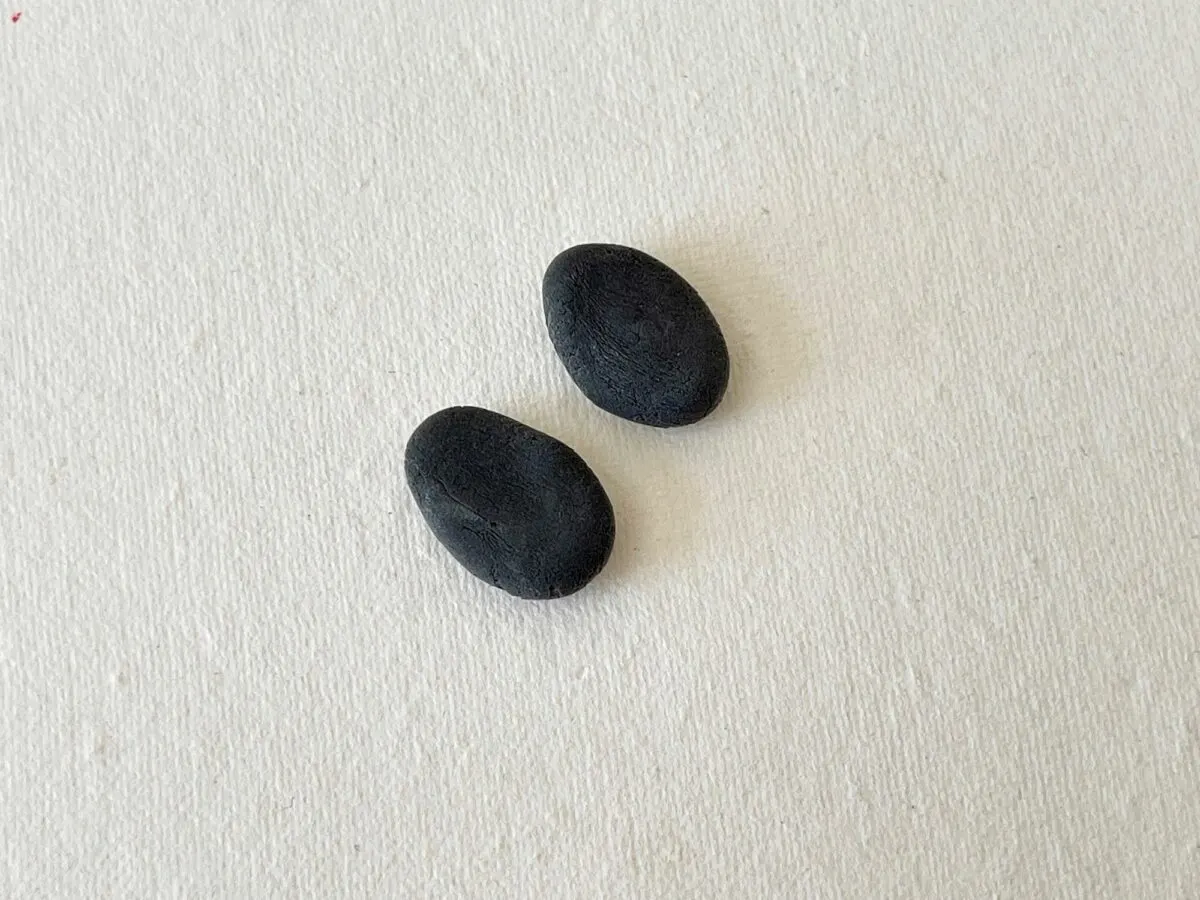
Roll the clay ball on a flat surface to form a cylinder shape, rolling it both forward and backward gently to create a more oval shape.
Step 3
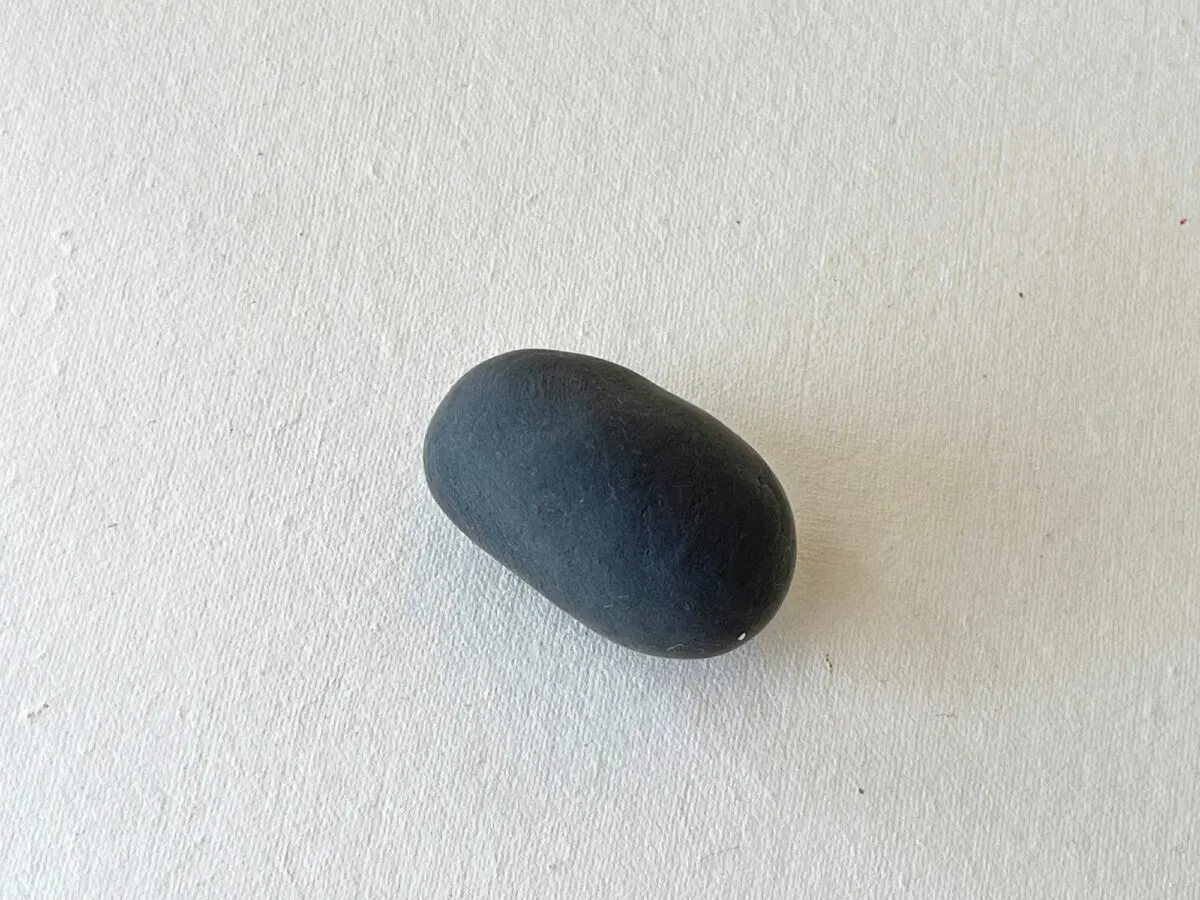
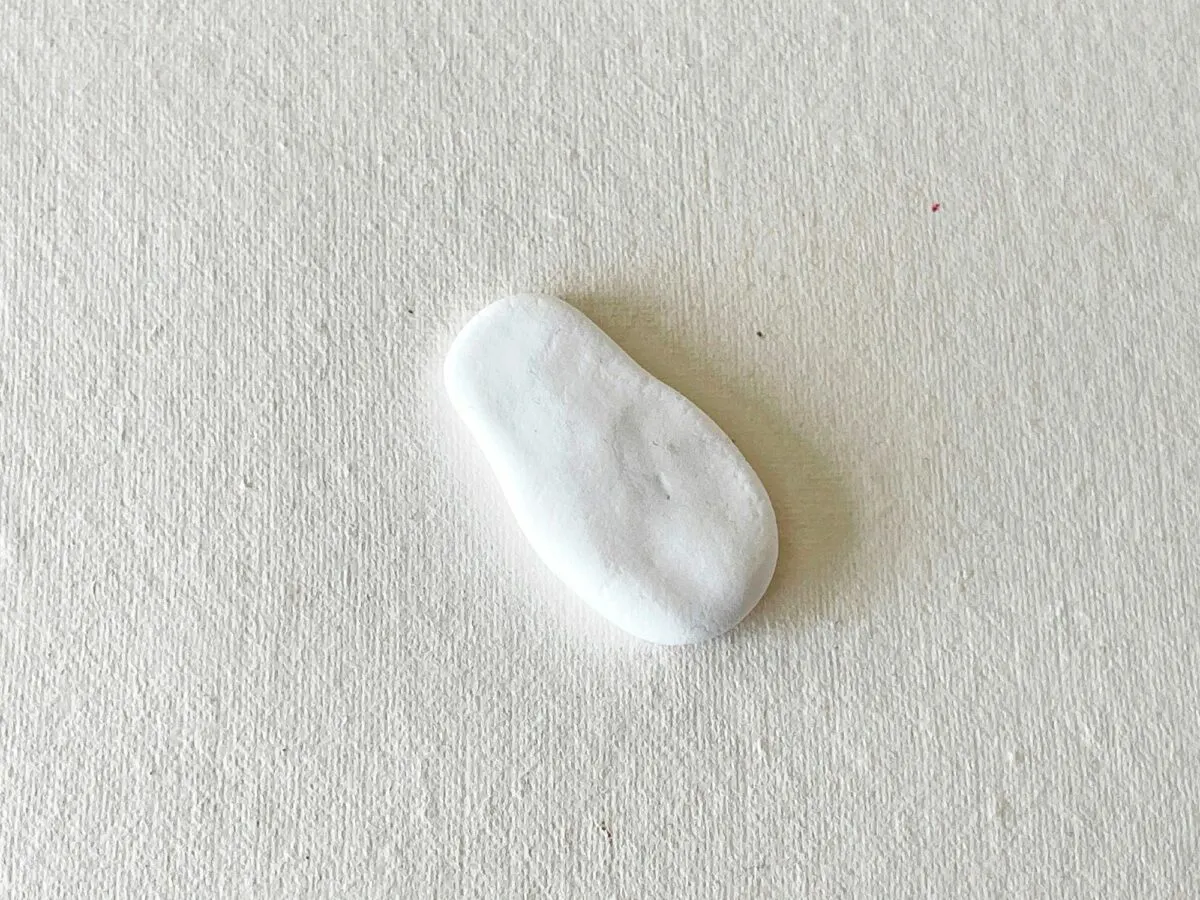
Roll (forward and backward) the clay shape on one side to make that end a bit narrower than the other end (this side will be the head).
Step 4
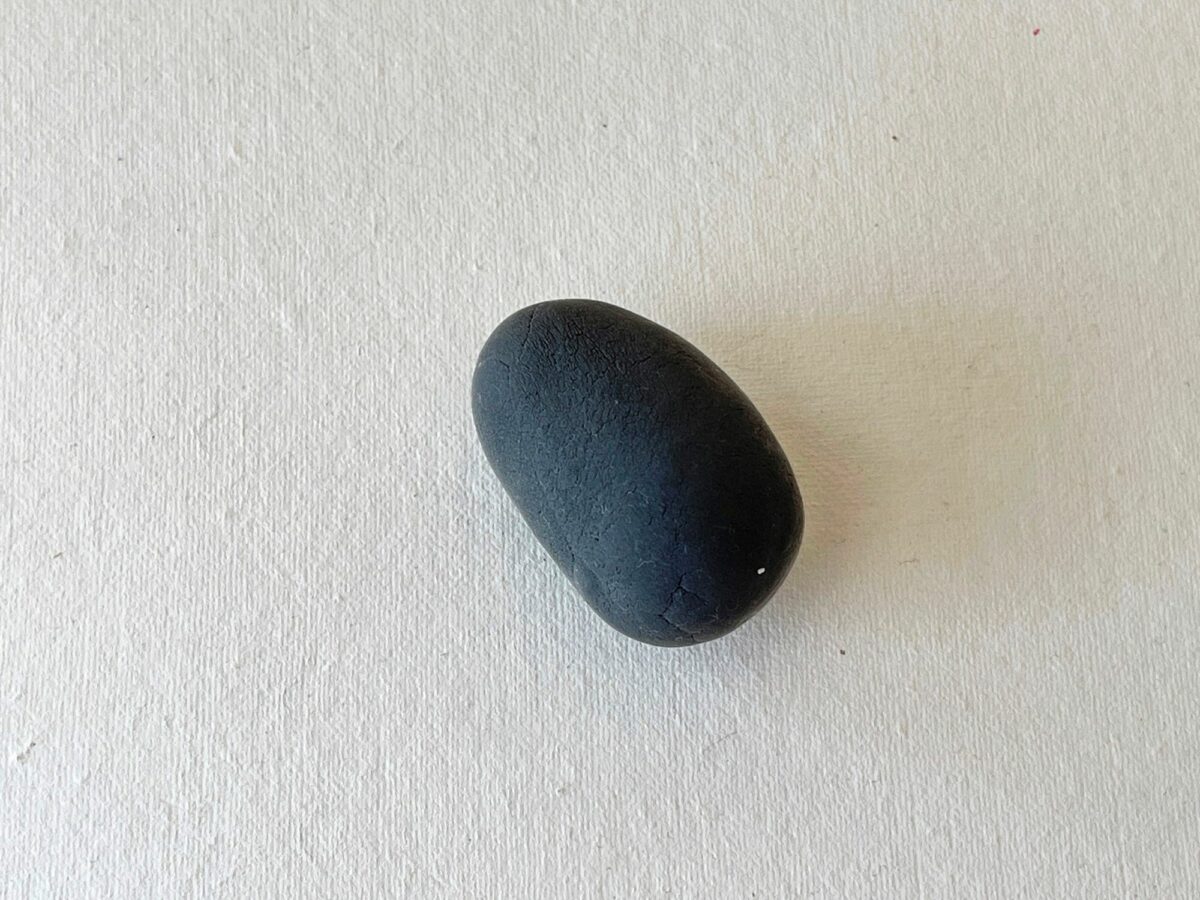
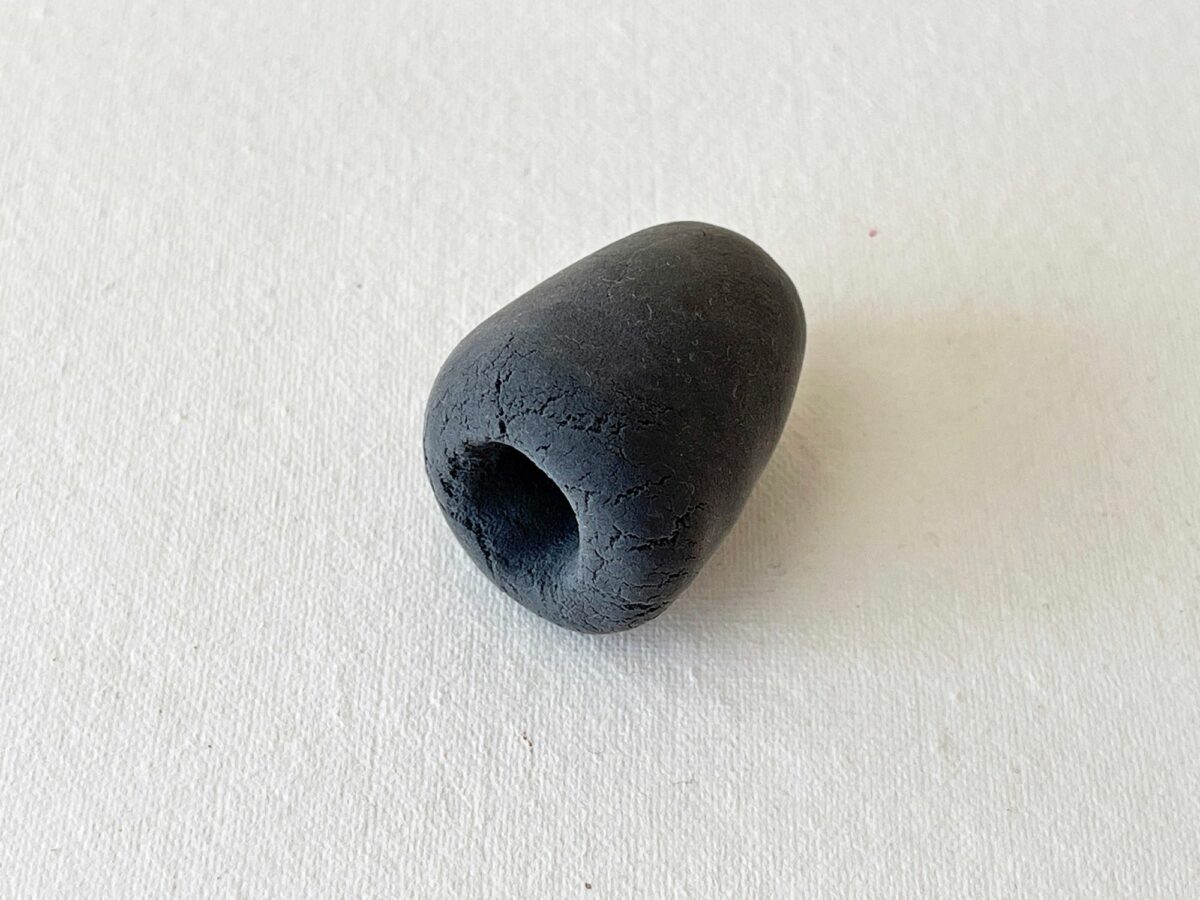
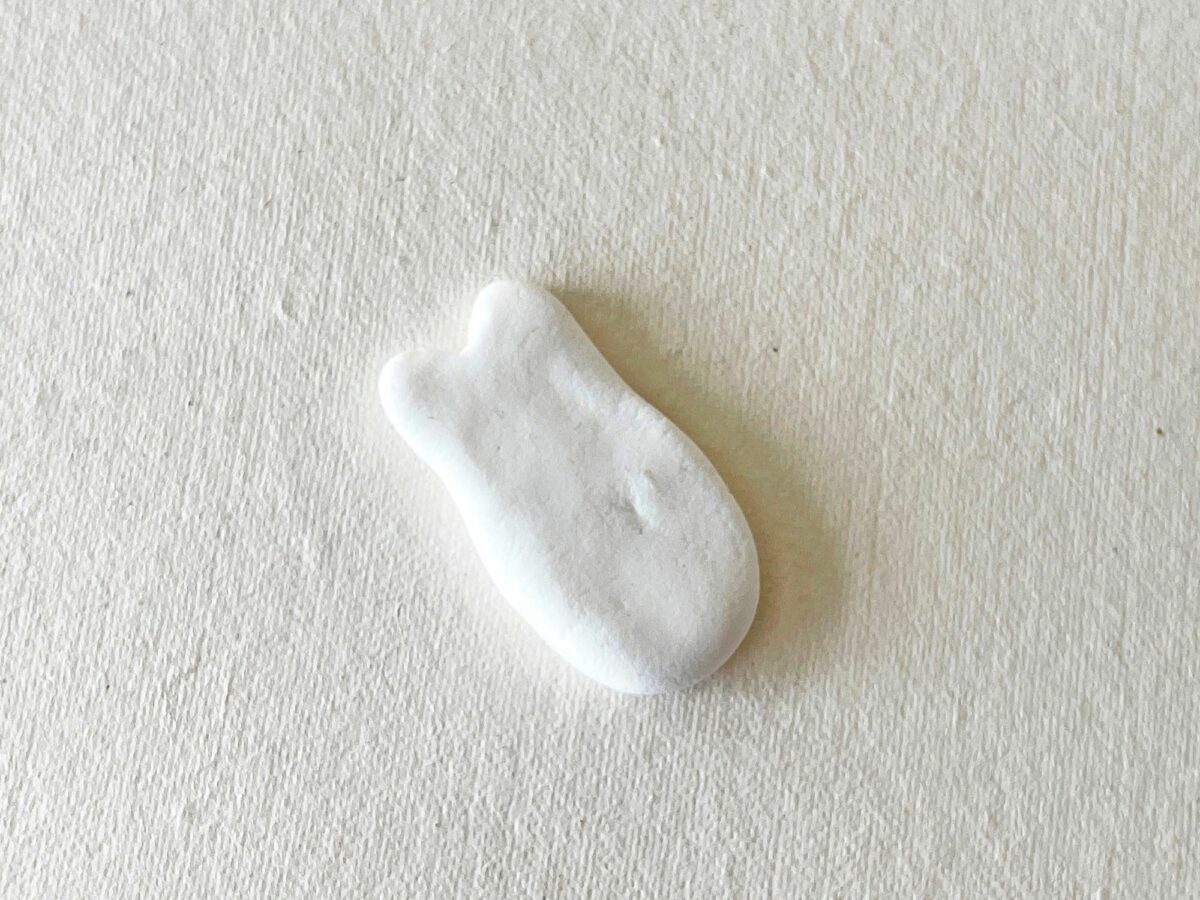
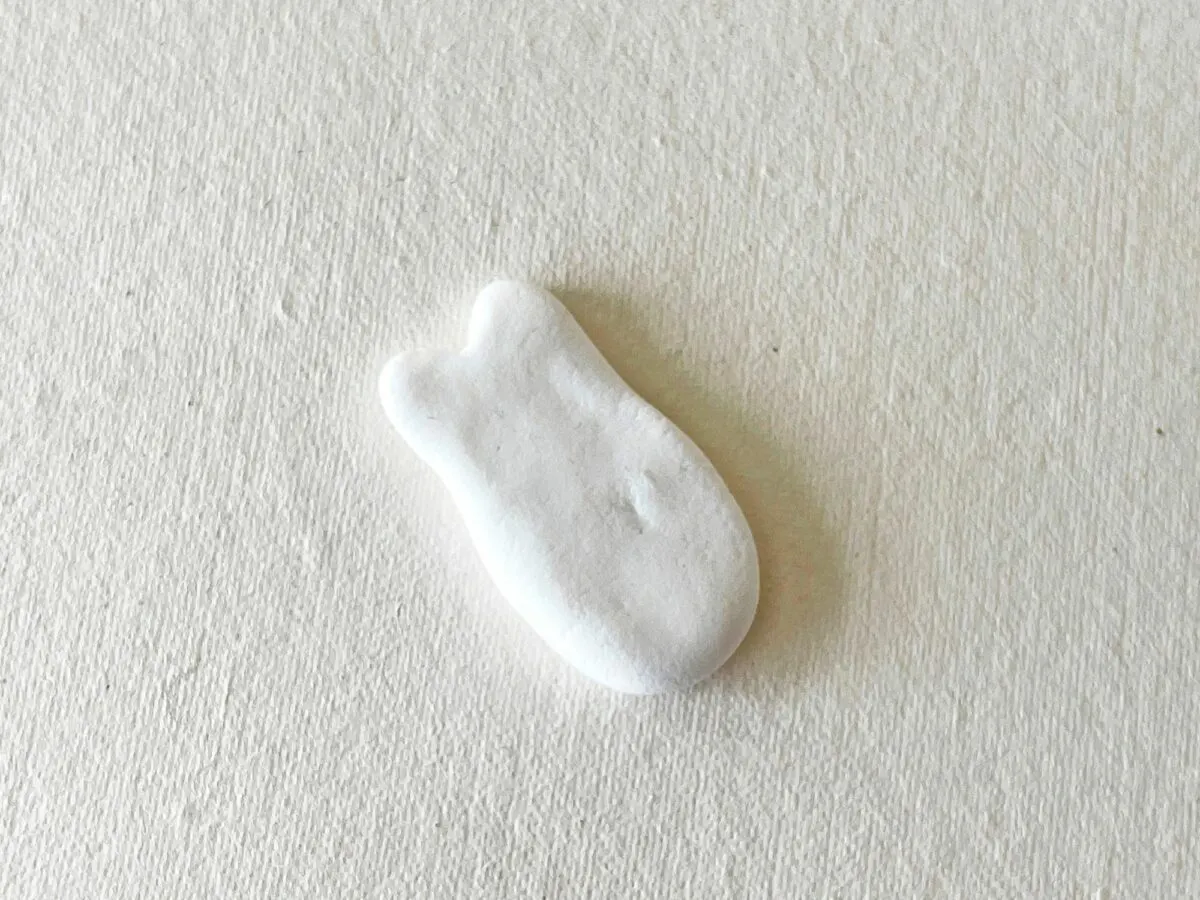
Make a hole on the wide side of the clay. This will help the clay penguin base to stand upright.

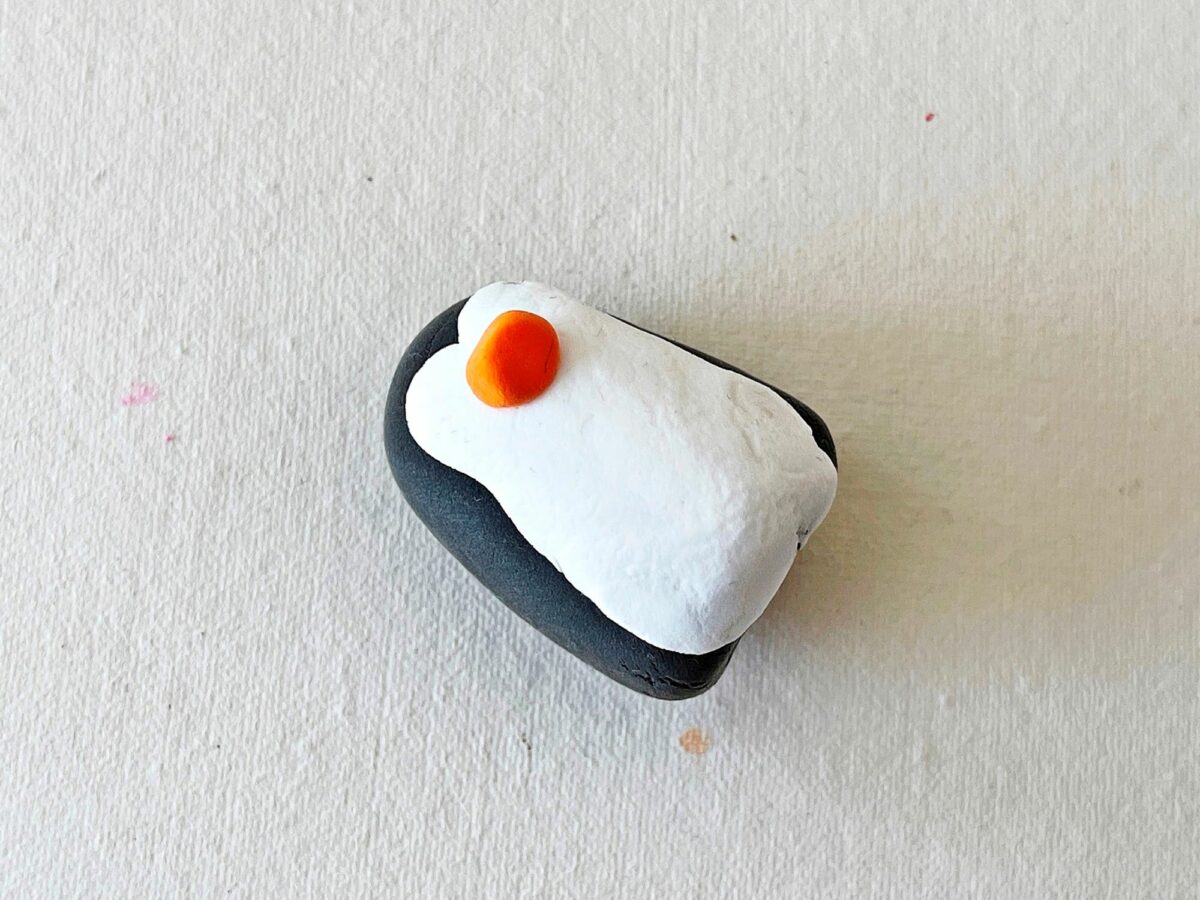
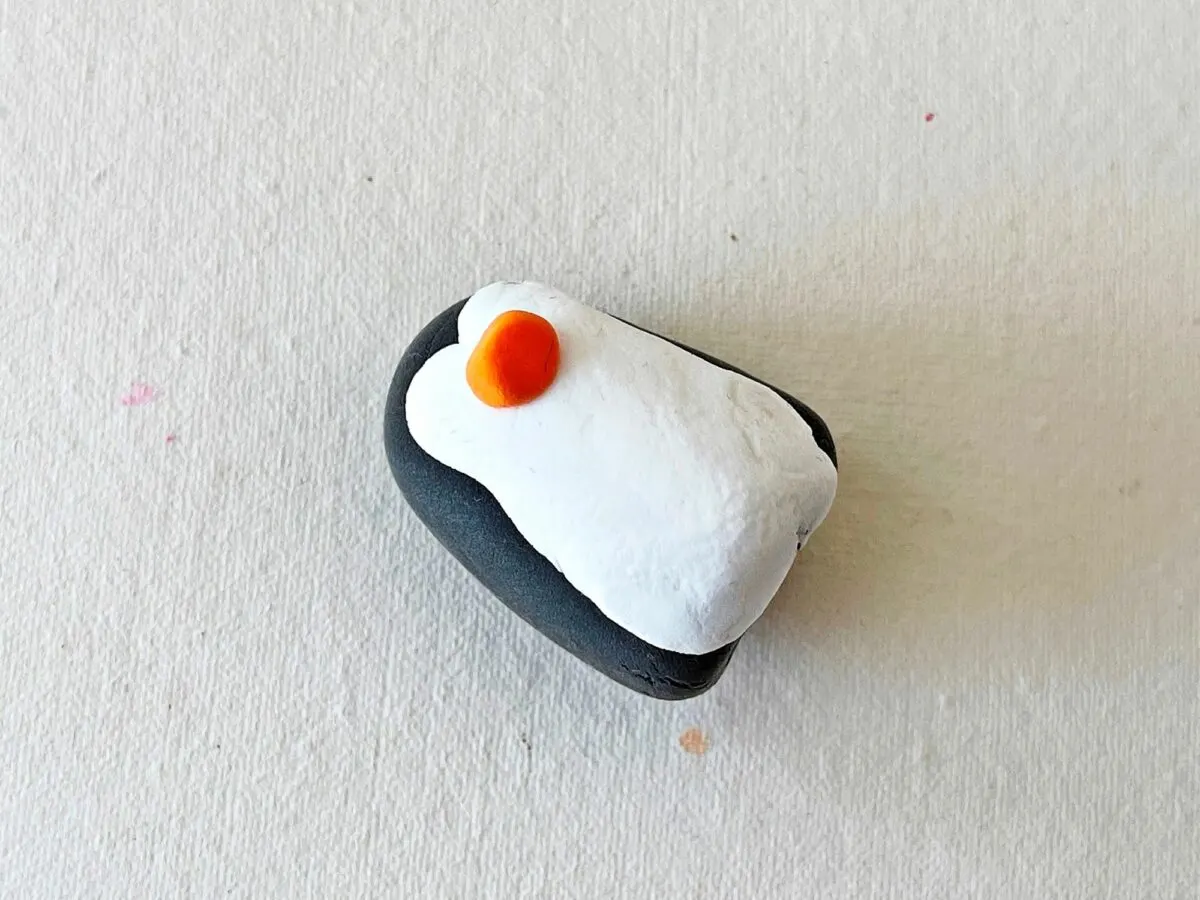
Step 5
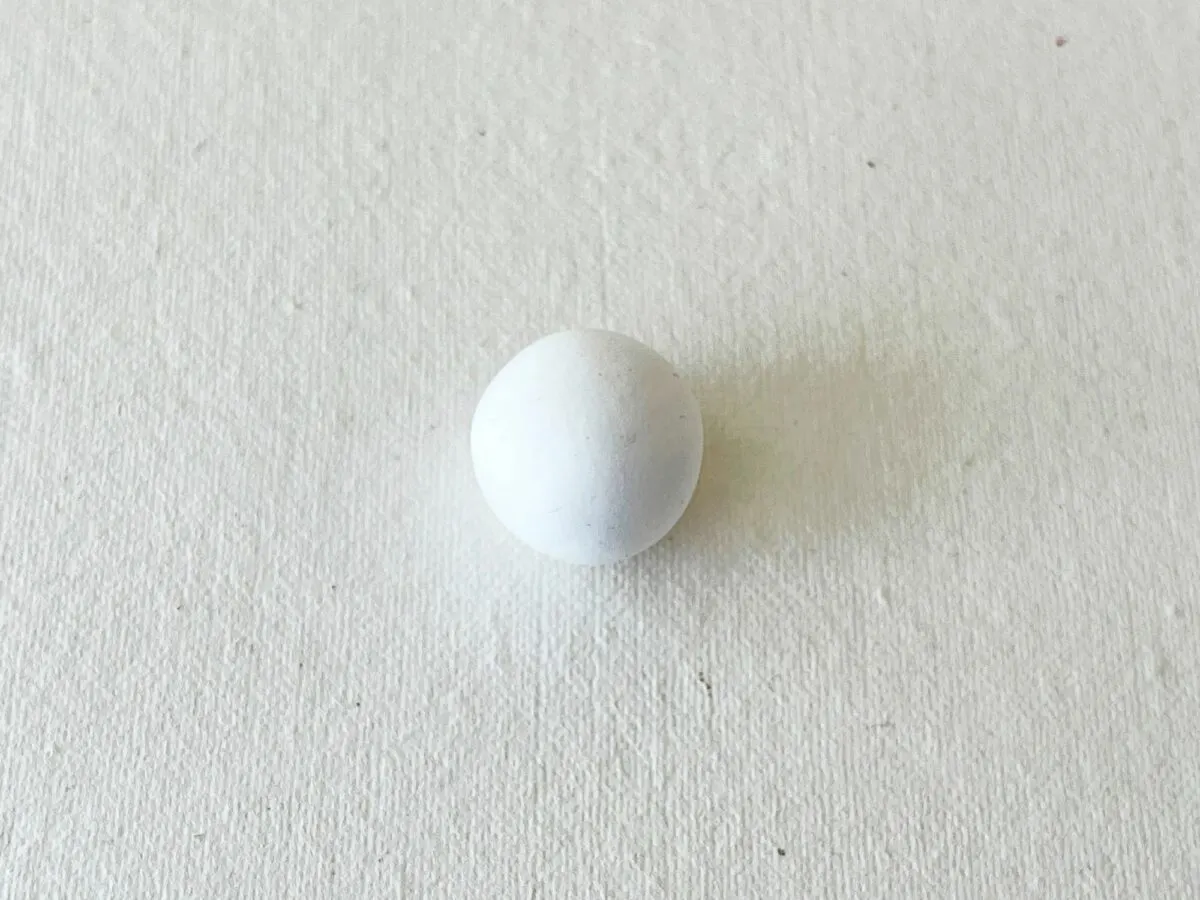
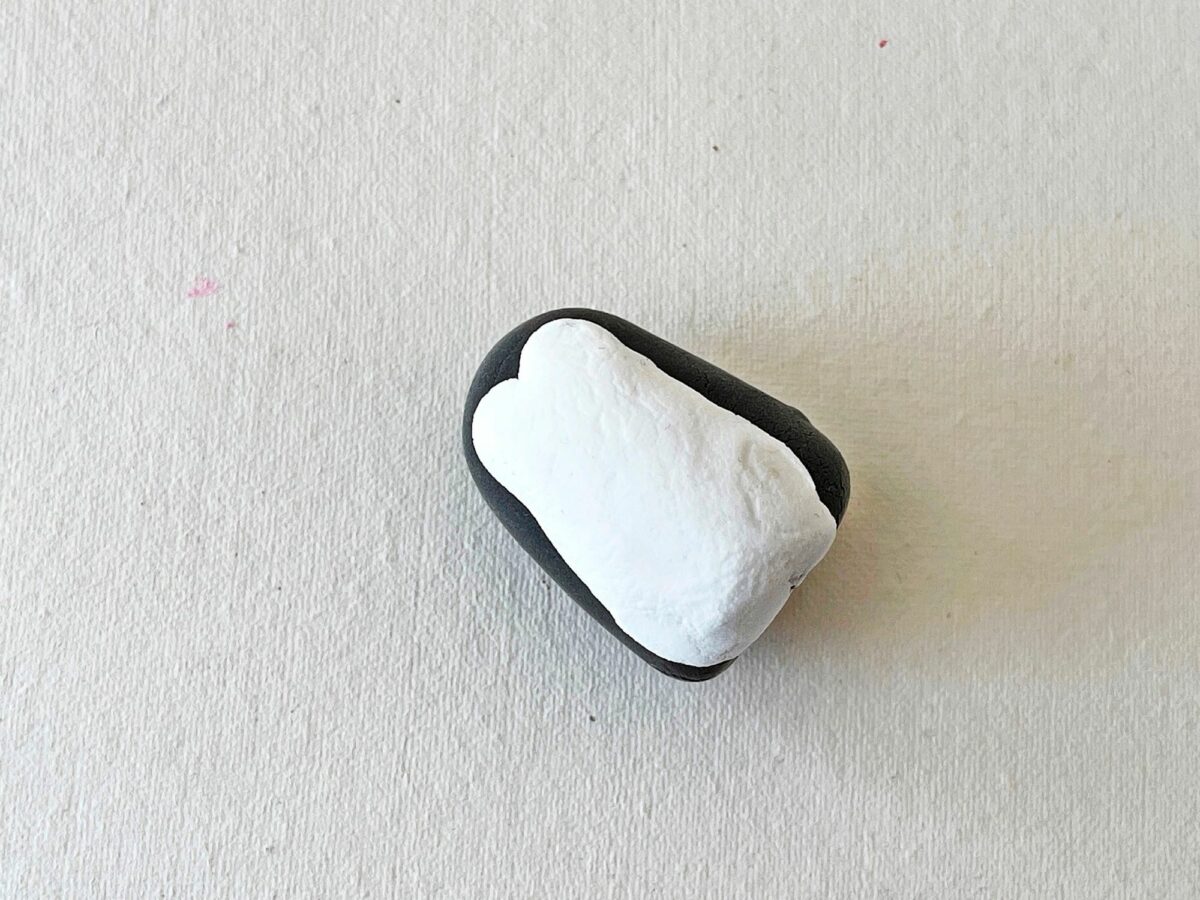
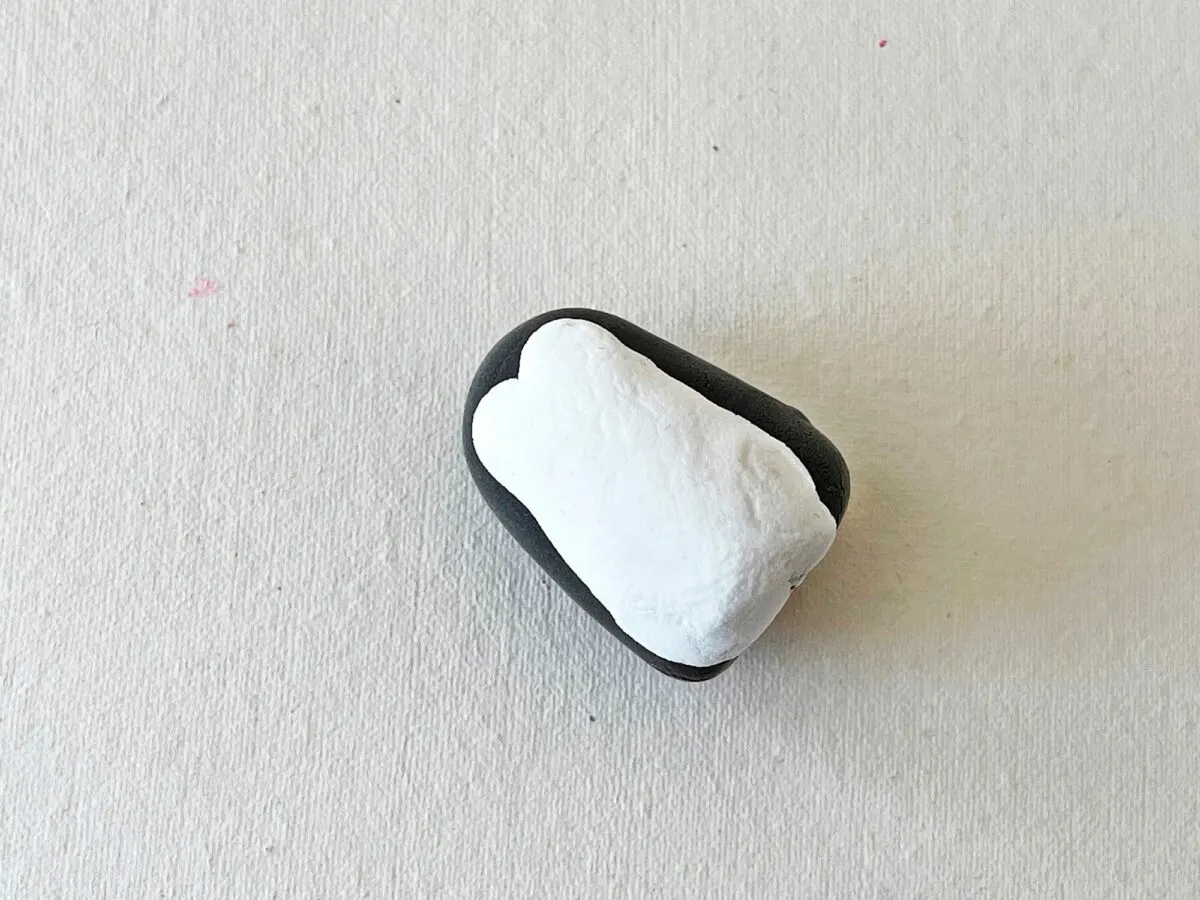
Grab a smaller amount of white clay for the front side of the penguin. Form a ball with the clay by rolling it in the palms of your hands.

Step 6
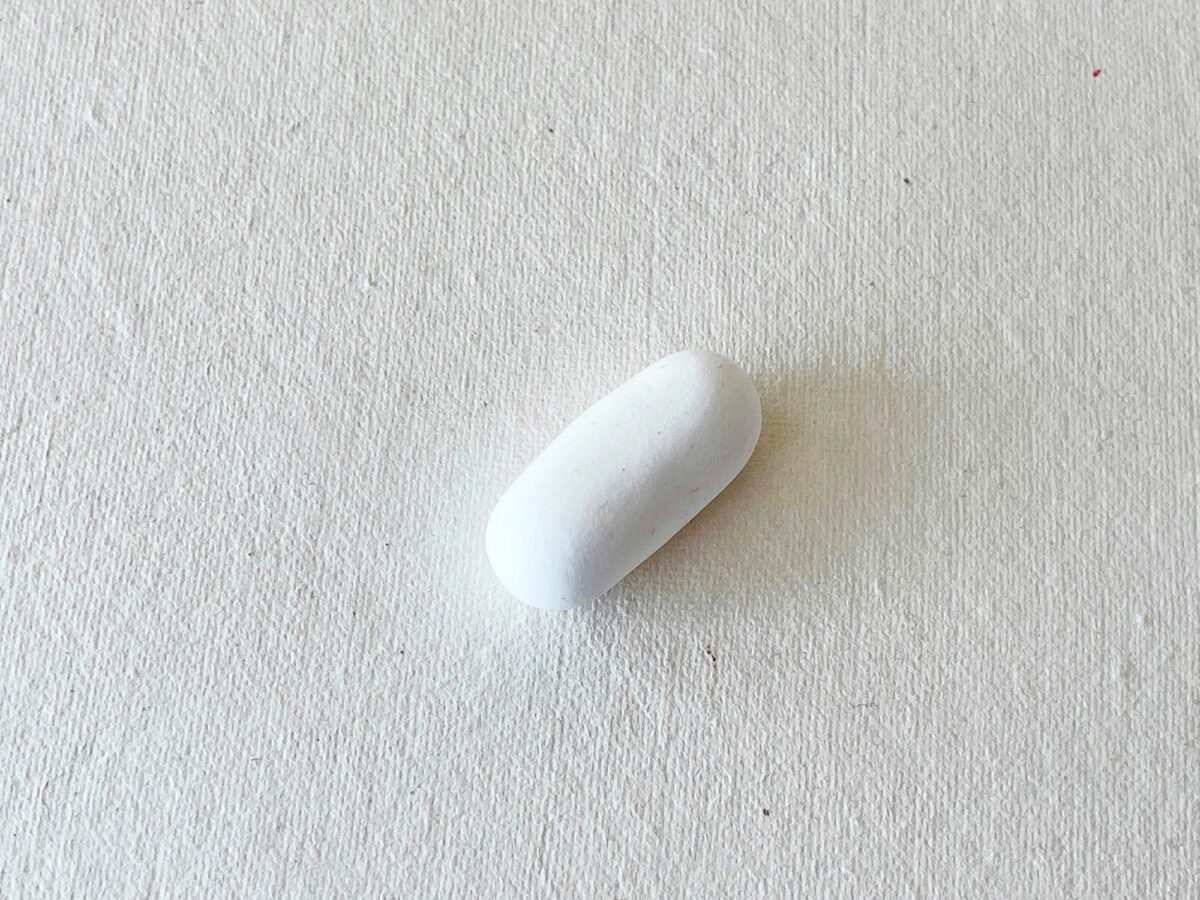
Then roll the clay ball forward and backward on a flat surface to make an oval shape.

Step 7
Flatten the white clay.
Step 8
Use a clay tool to press in the top-middle part of the white clay, on the narrow side. This is the head of the penguin.
Step 9
Attach the white clay pattern on the black base pattern, pushing in gently to get the two different clays to stick to each other.
Step 10
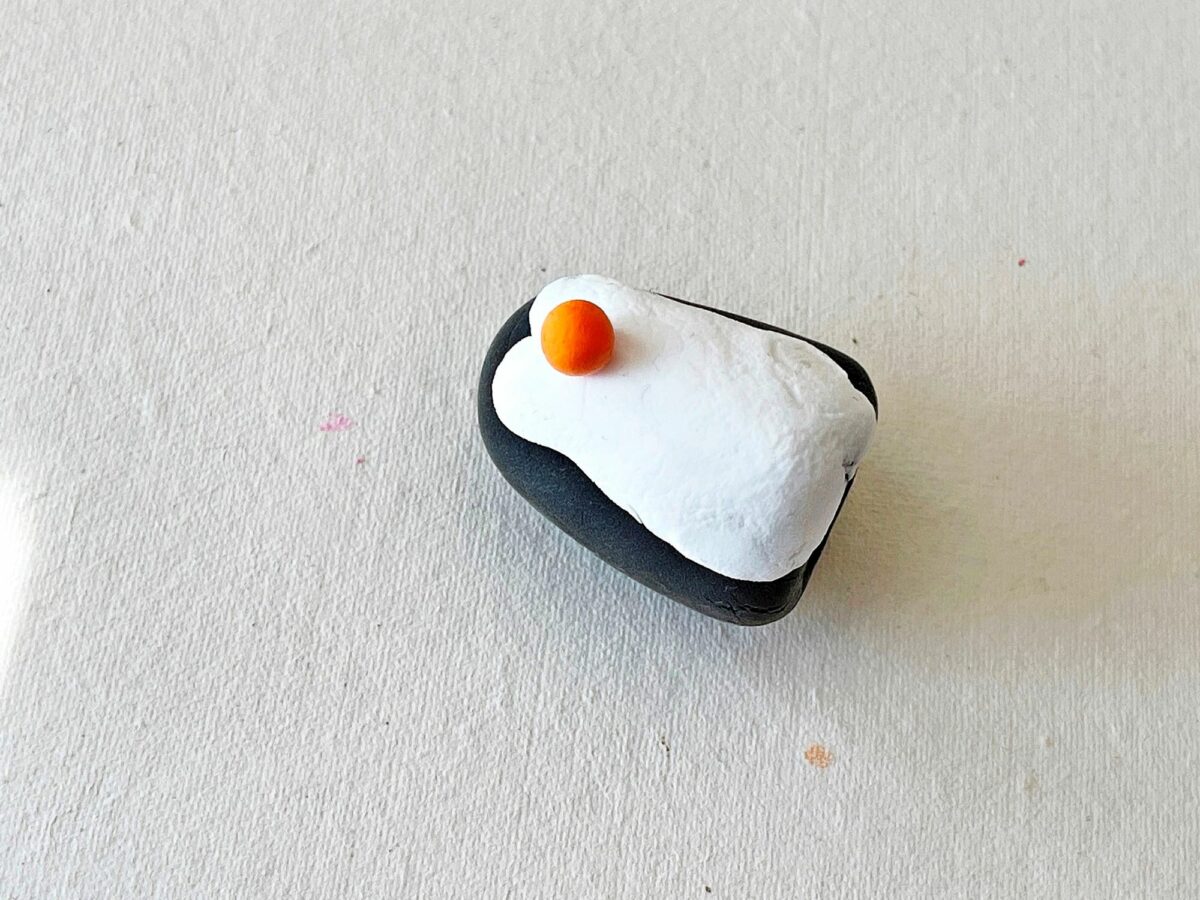
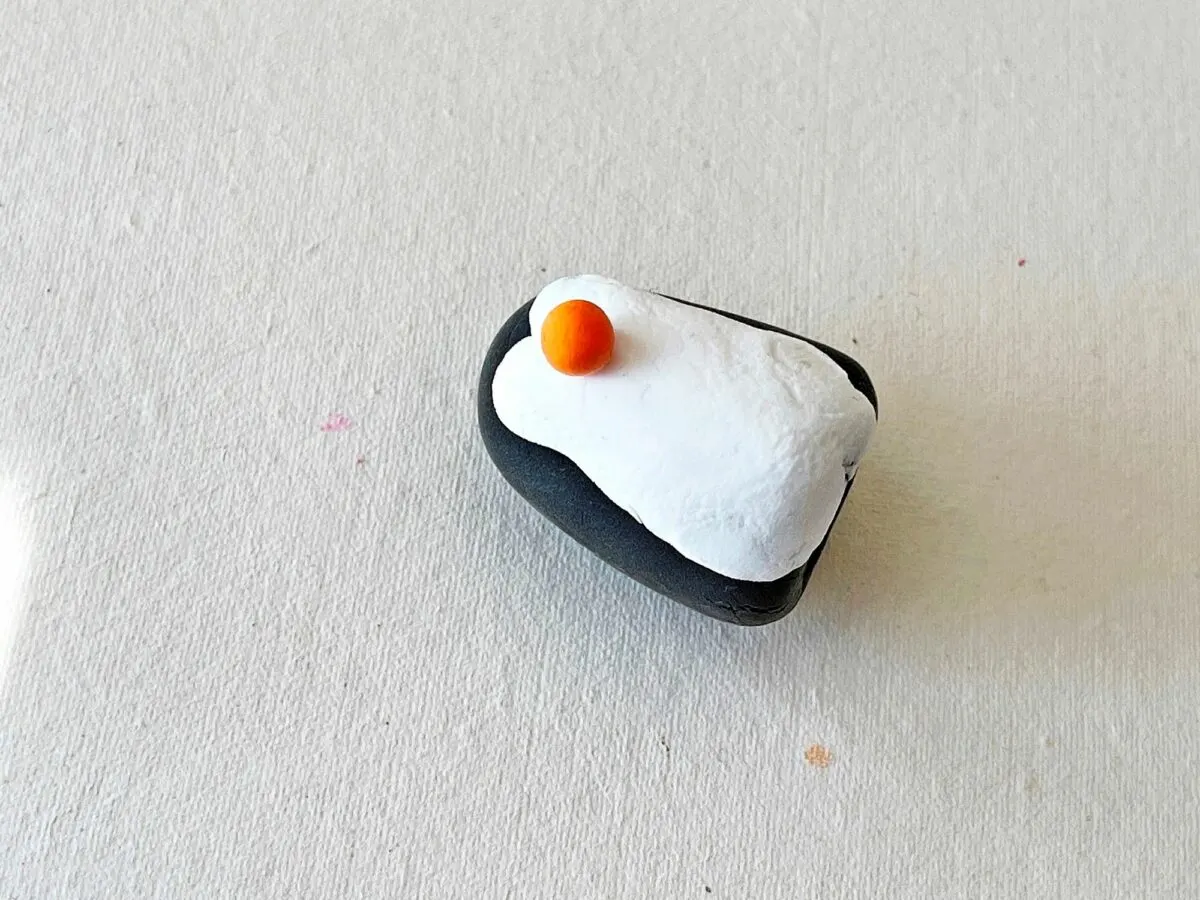
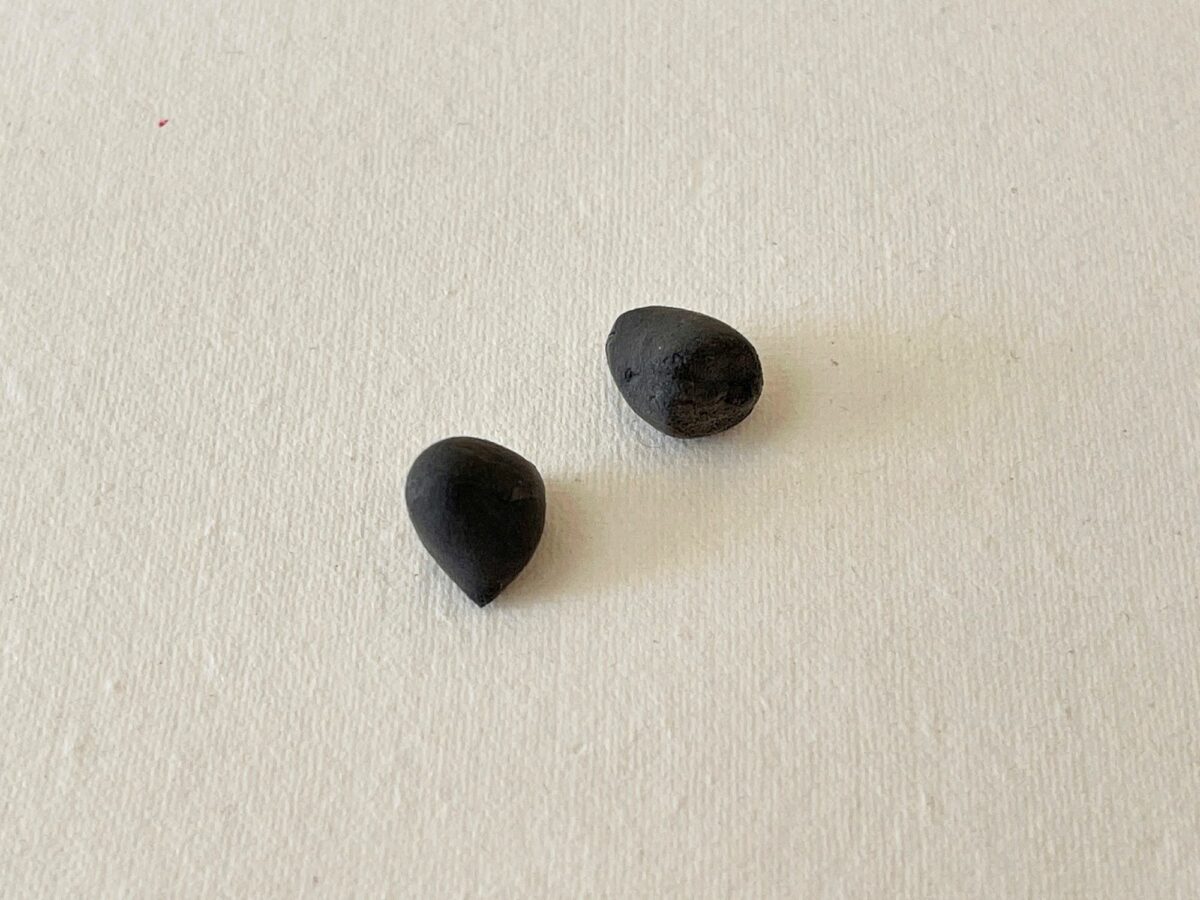
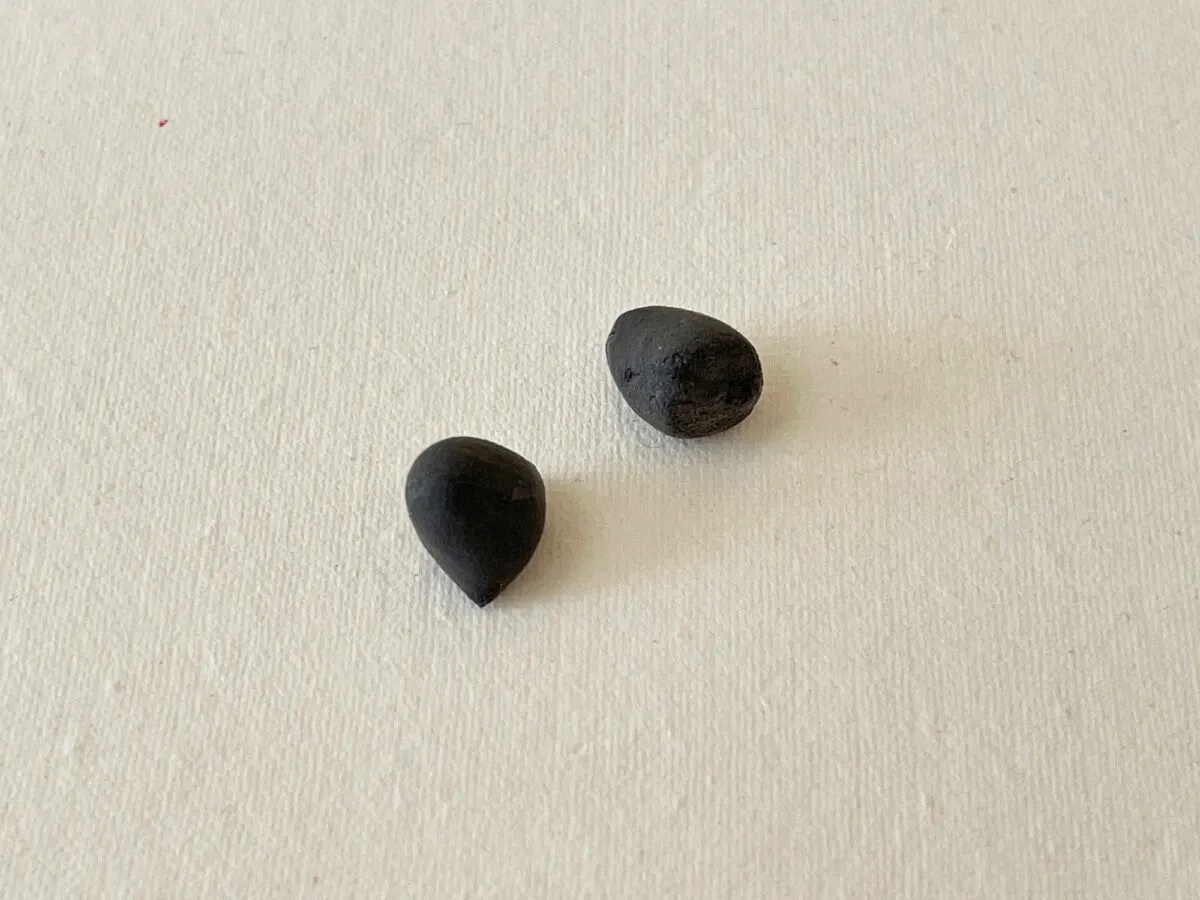
Use a small amount of orange clay and form a ball shape with it.
Place the orange ball on the head of the front of the penguin.
Step 11
Squeeze the orange clay between your fingers into a beak shape.
Step 12
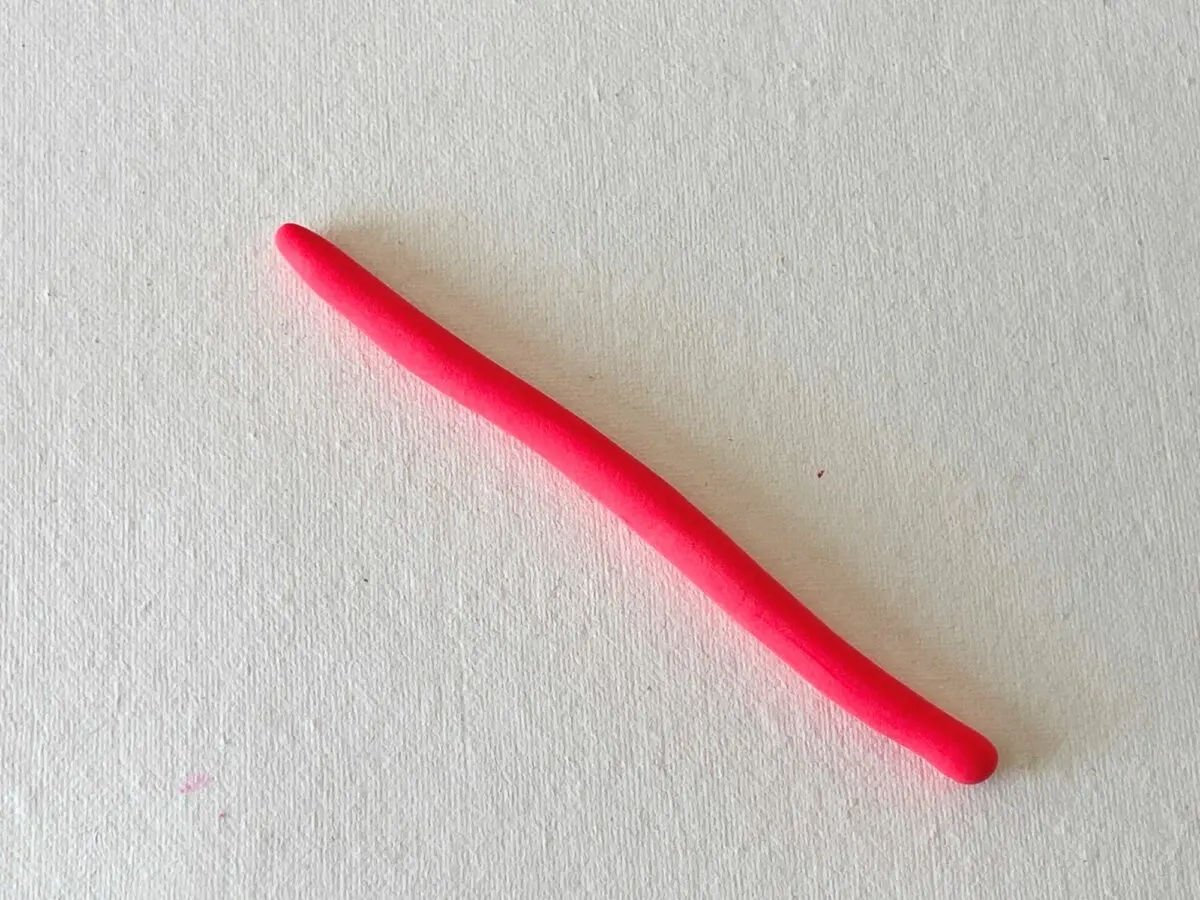
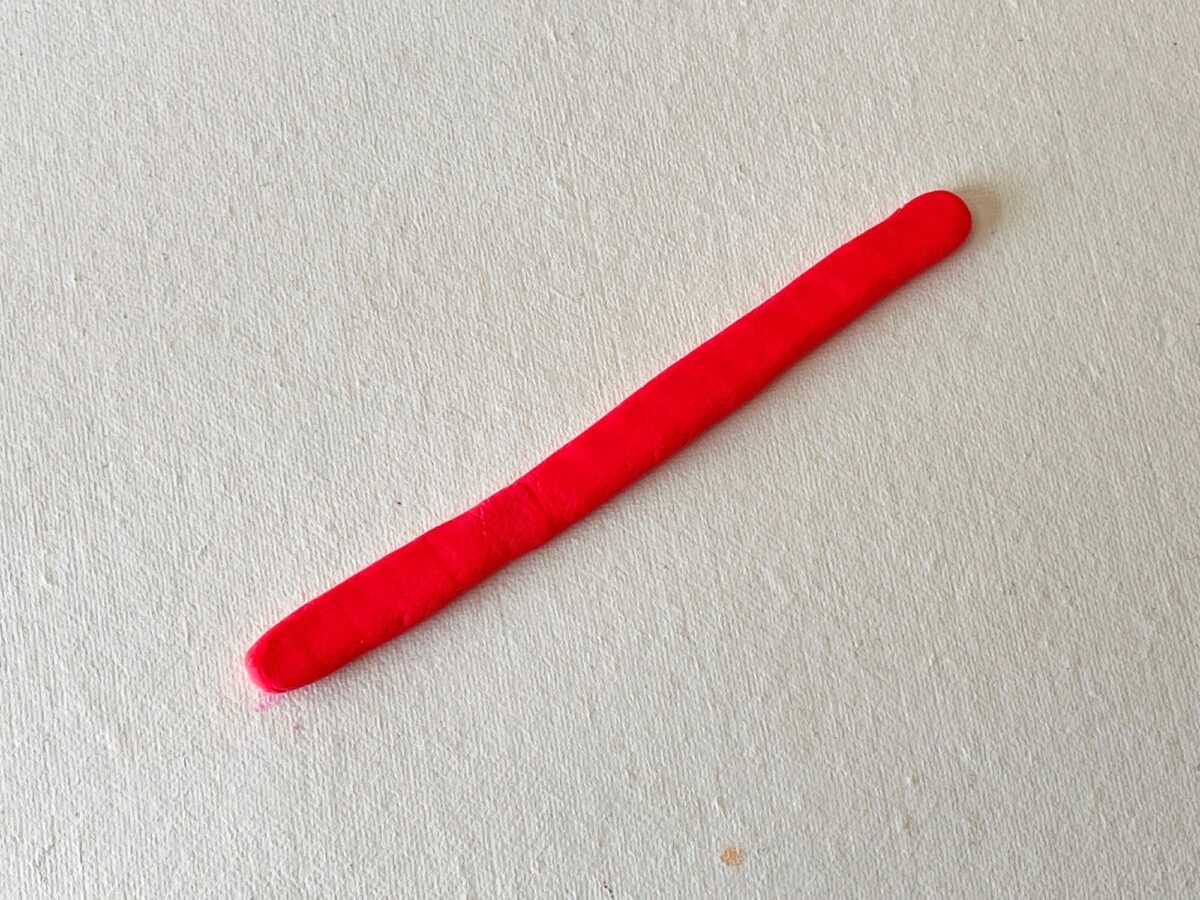
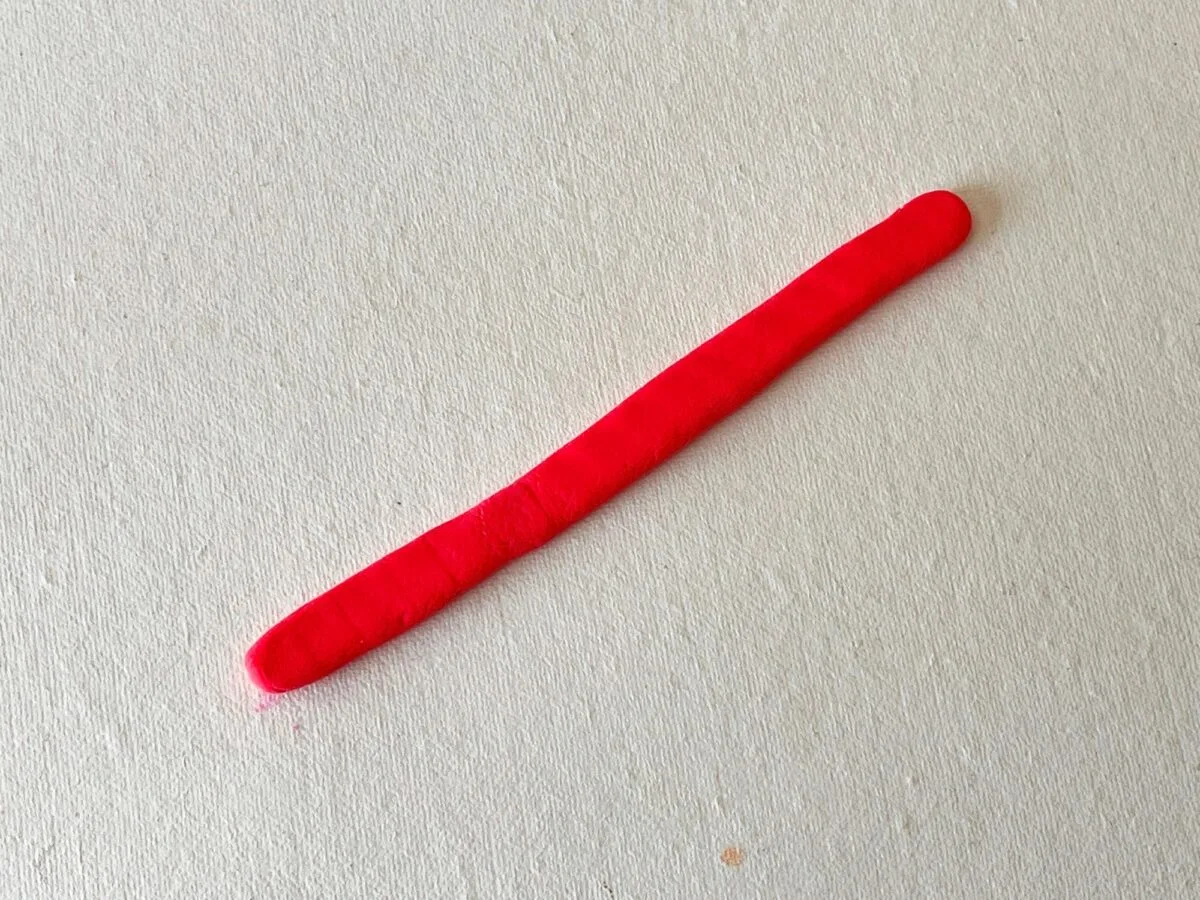
Take a small amount of clay to make the scarf. You can choose any color of clay that you would like, but we chose red clay.
Roll the clay into a long, thin rope shape.

Step 13
Flatten the rope by pressing down gently with the palm of your hand or your fingers.
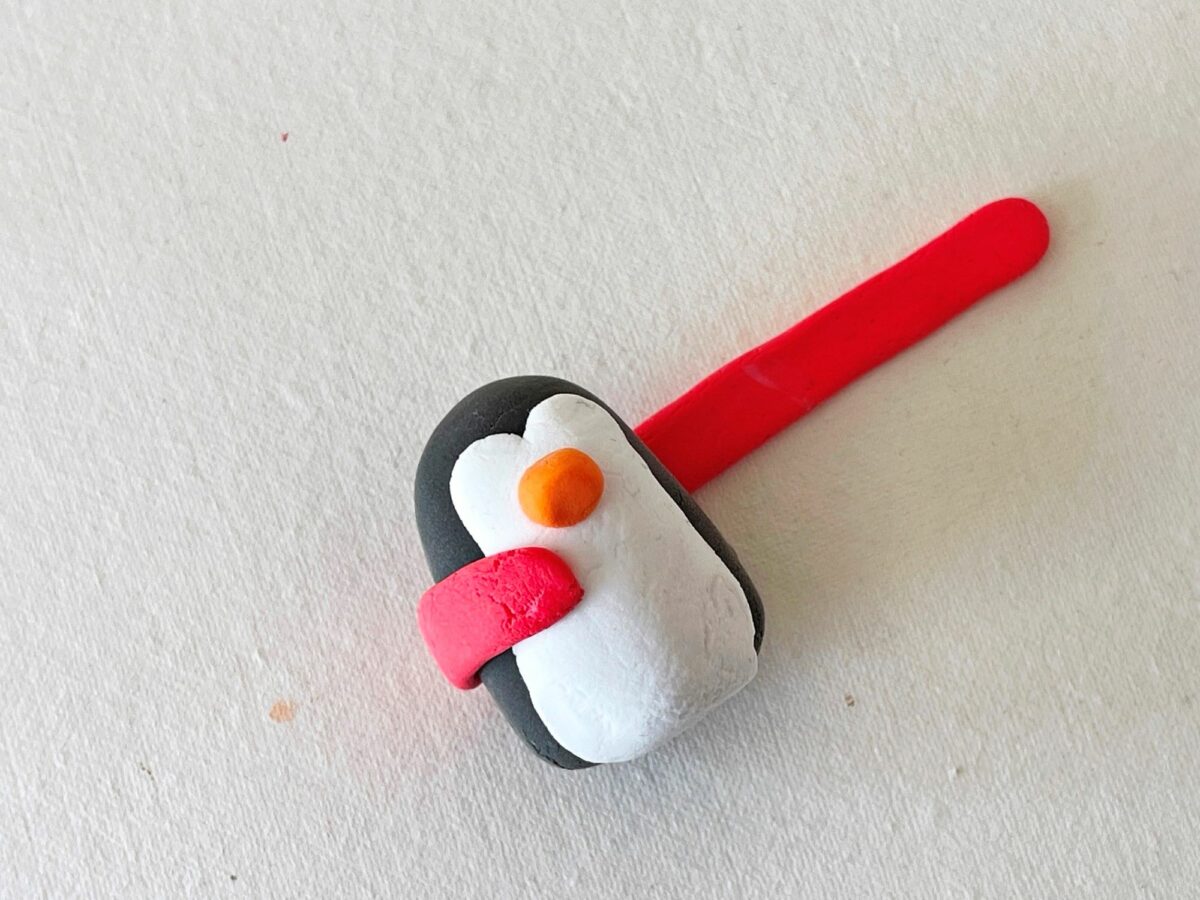
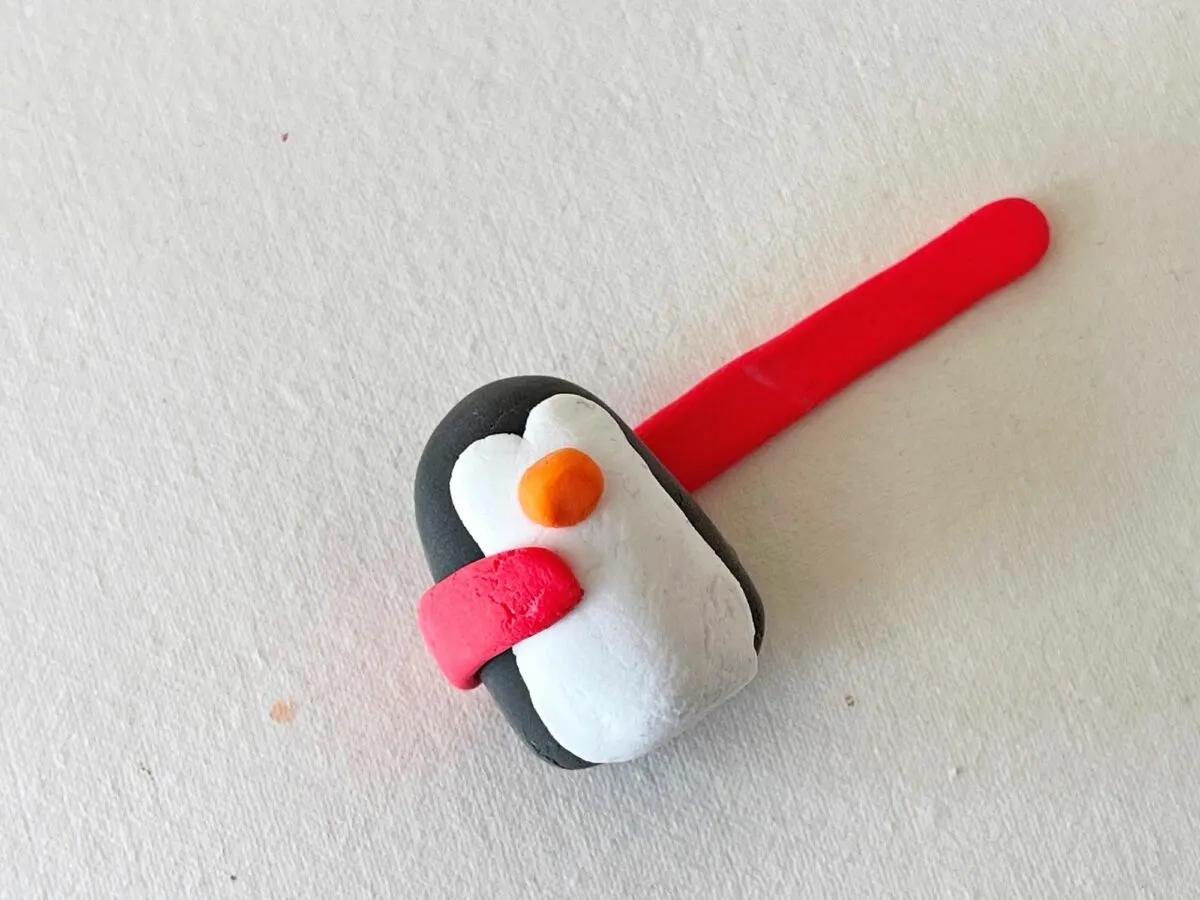
Step 14
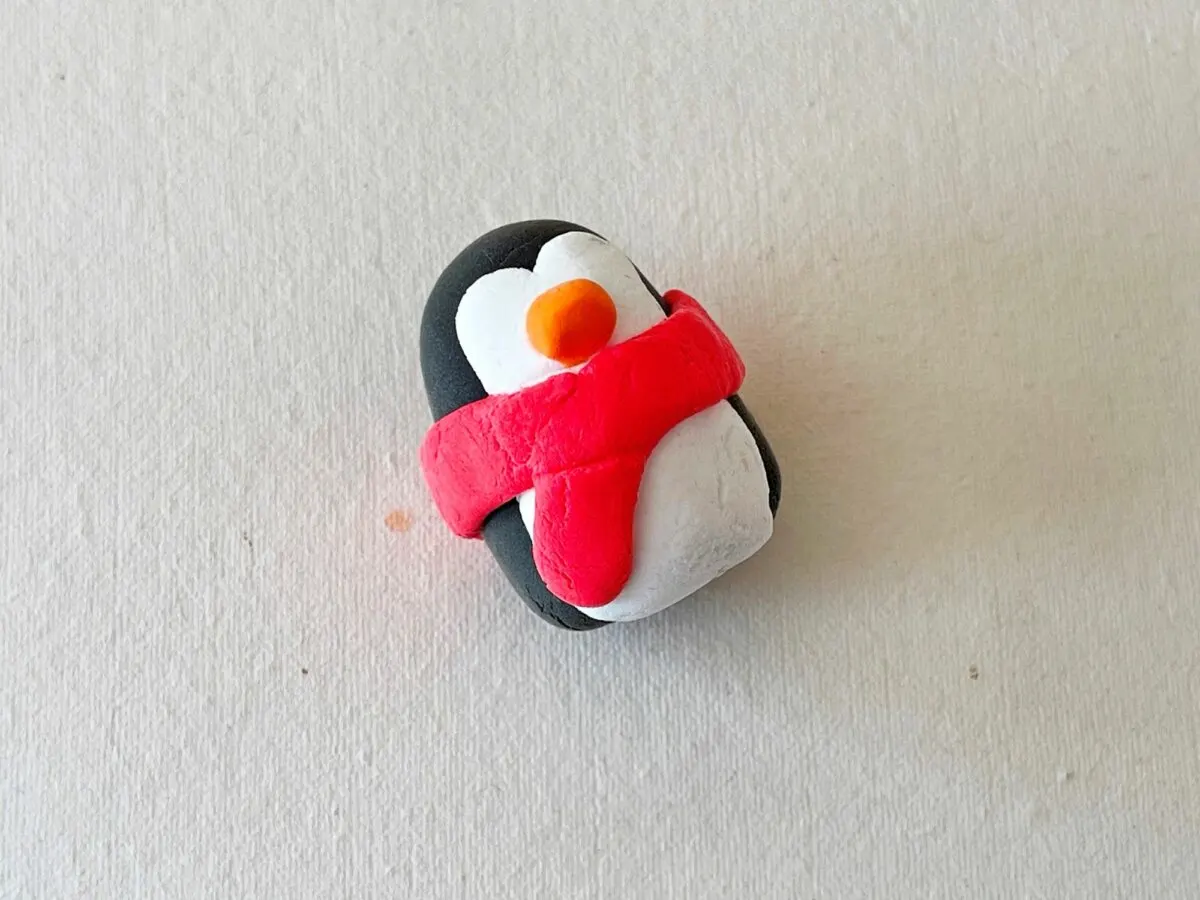
Wrap the clay scarf around the penguin’s neck, starting in the back.
Step 15
Wrap the clay scarf around the neck, curving the scarf to come down towards the base and rounding off the edges.
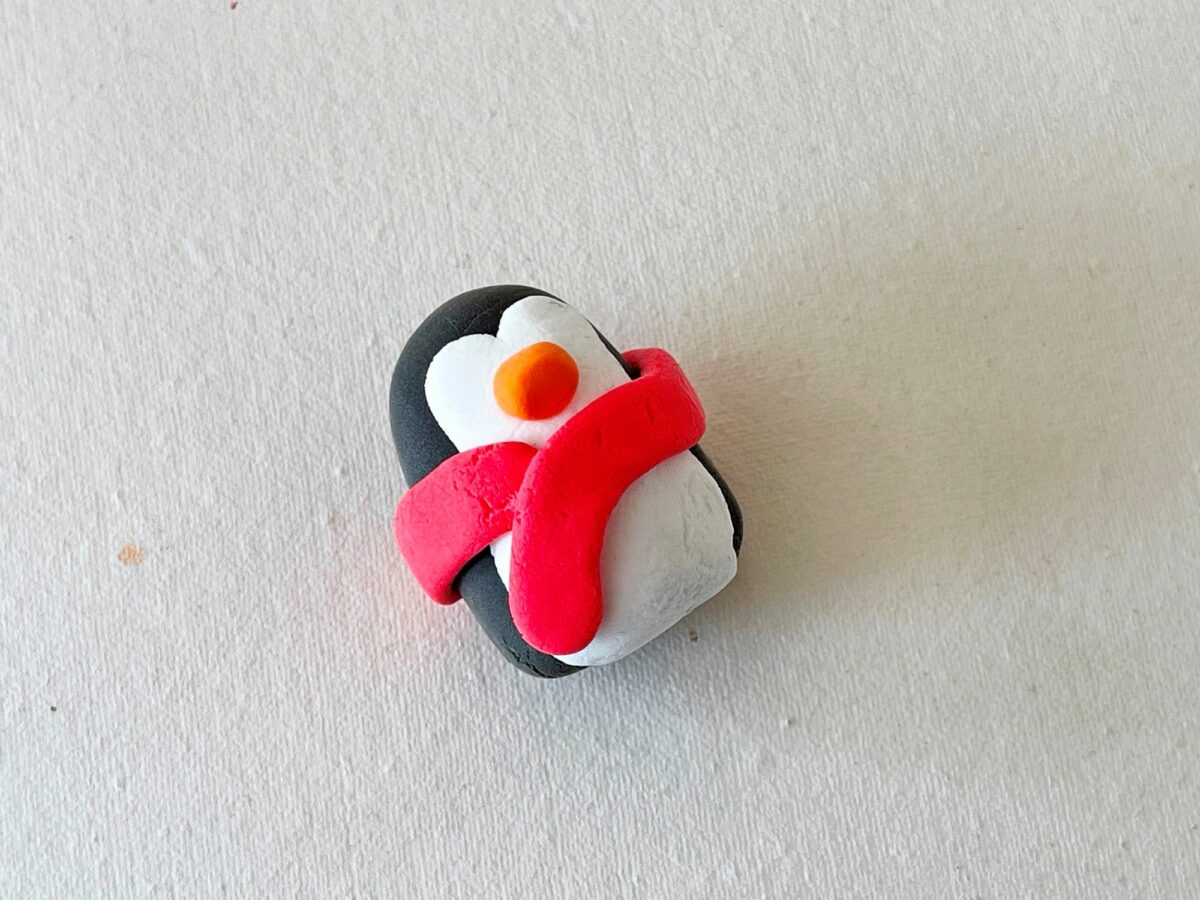
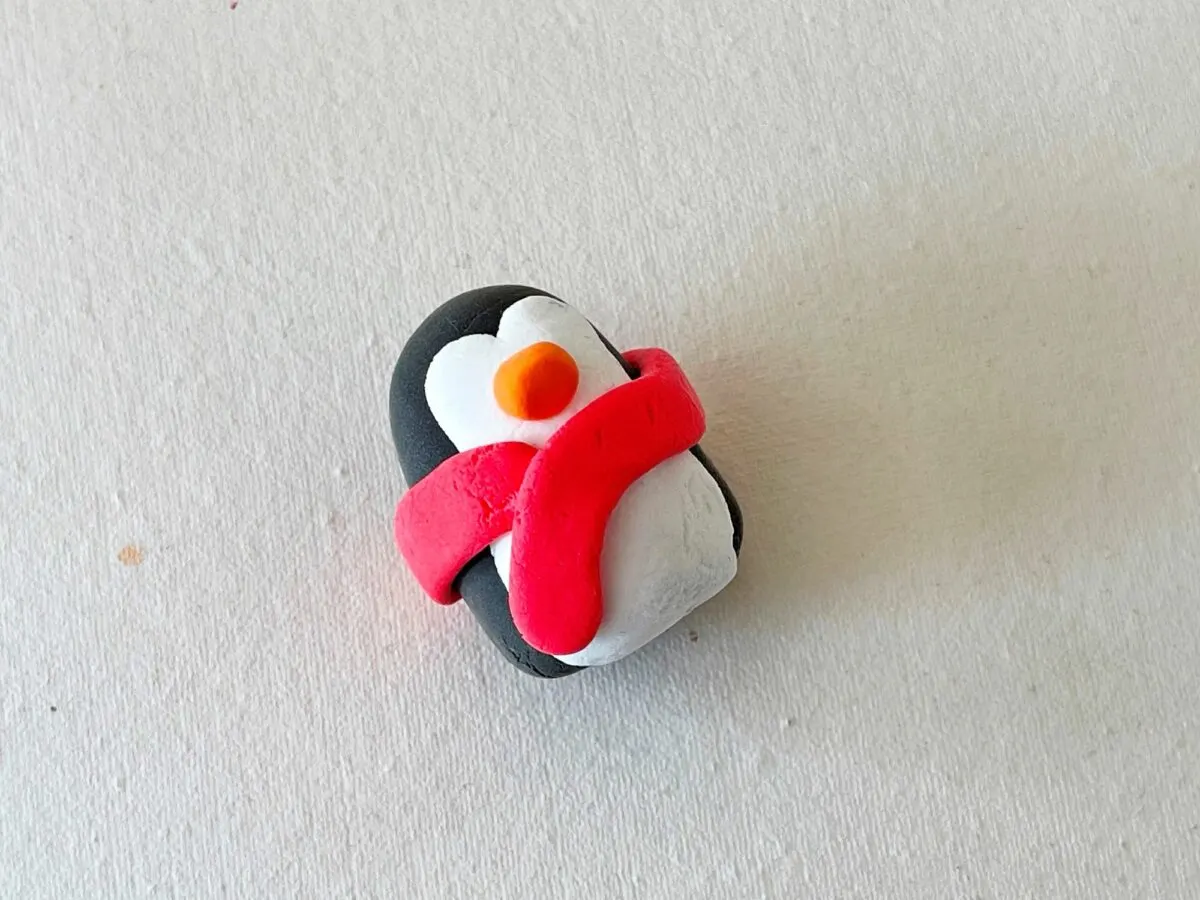
Use your finger tips or clay tool to adjust the shape of the muffler.

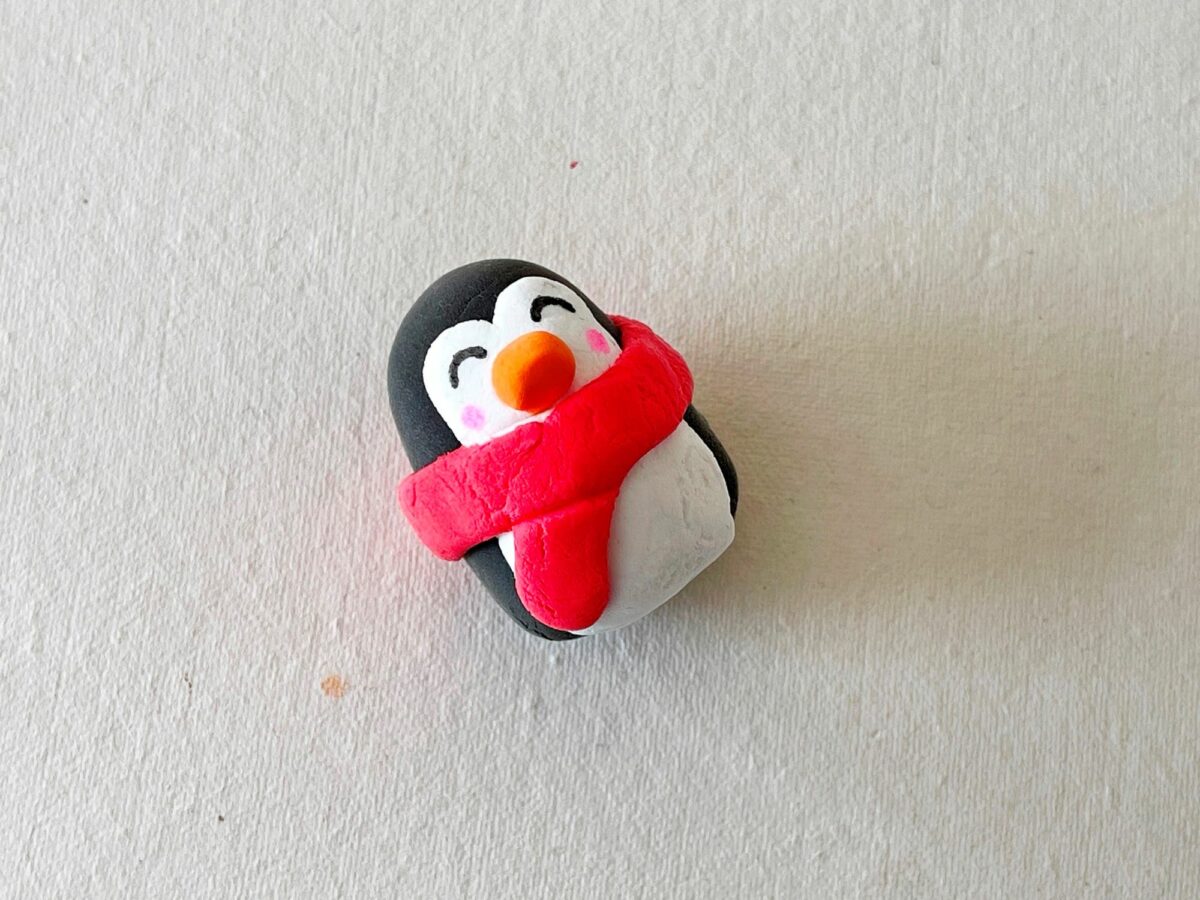
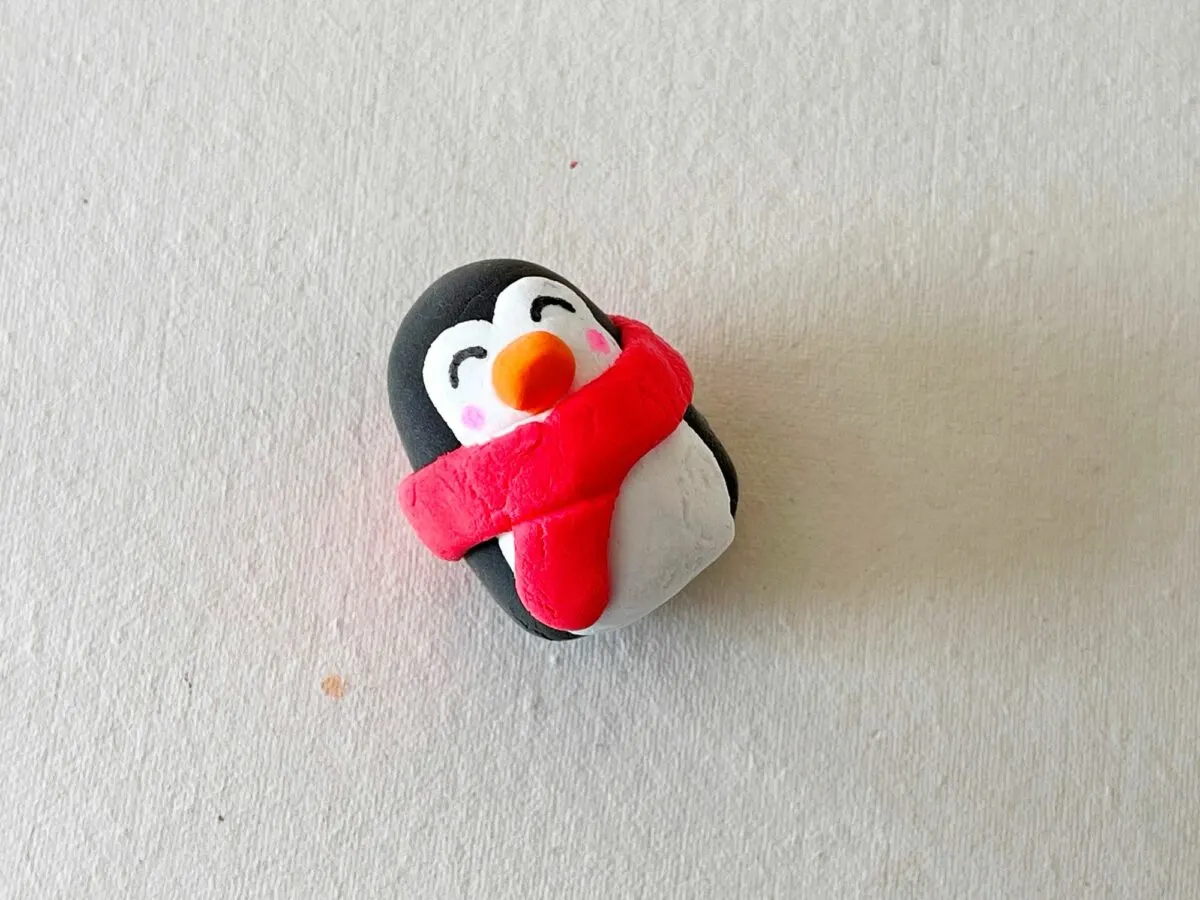
Step 16
Use a sharpie to draw the eyes and blush shapes on the clay penguin figure.
Step 17
Take a small amount of black clay and roll it into a cylinder-like shape.
Then divide the clay into two even parts.
Step 18
Flatten the clay parts and form wing shapes with them.
Step 19
Press the two wing shapes on both sides of the clay penguin just underneath the scarf. Allow to dry and harden.

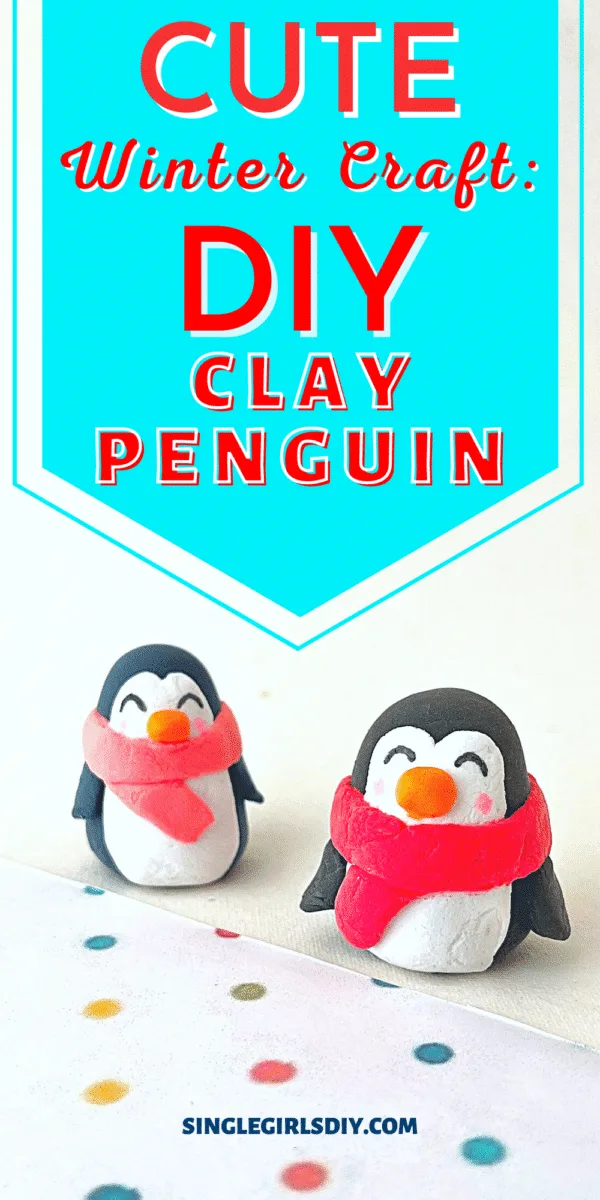
Pin This craft to save for later!

Love penguin crafts? Then check out these ideas:
