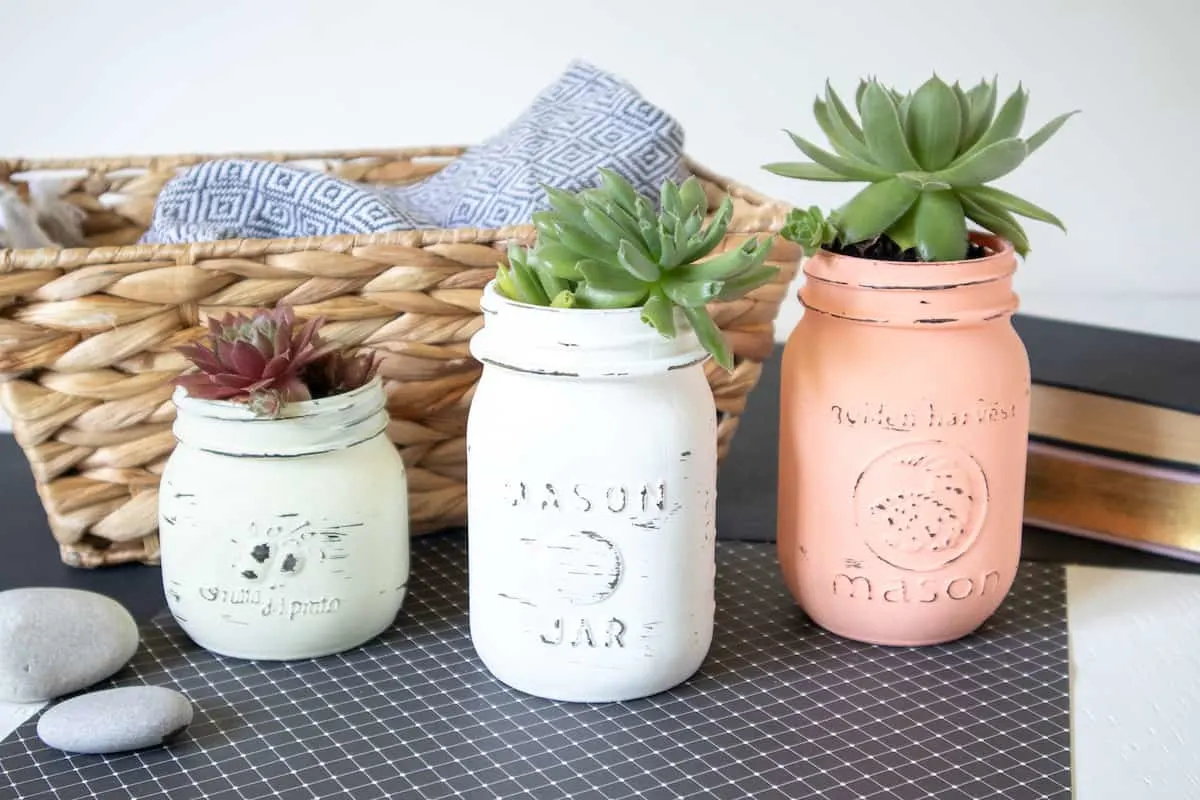
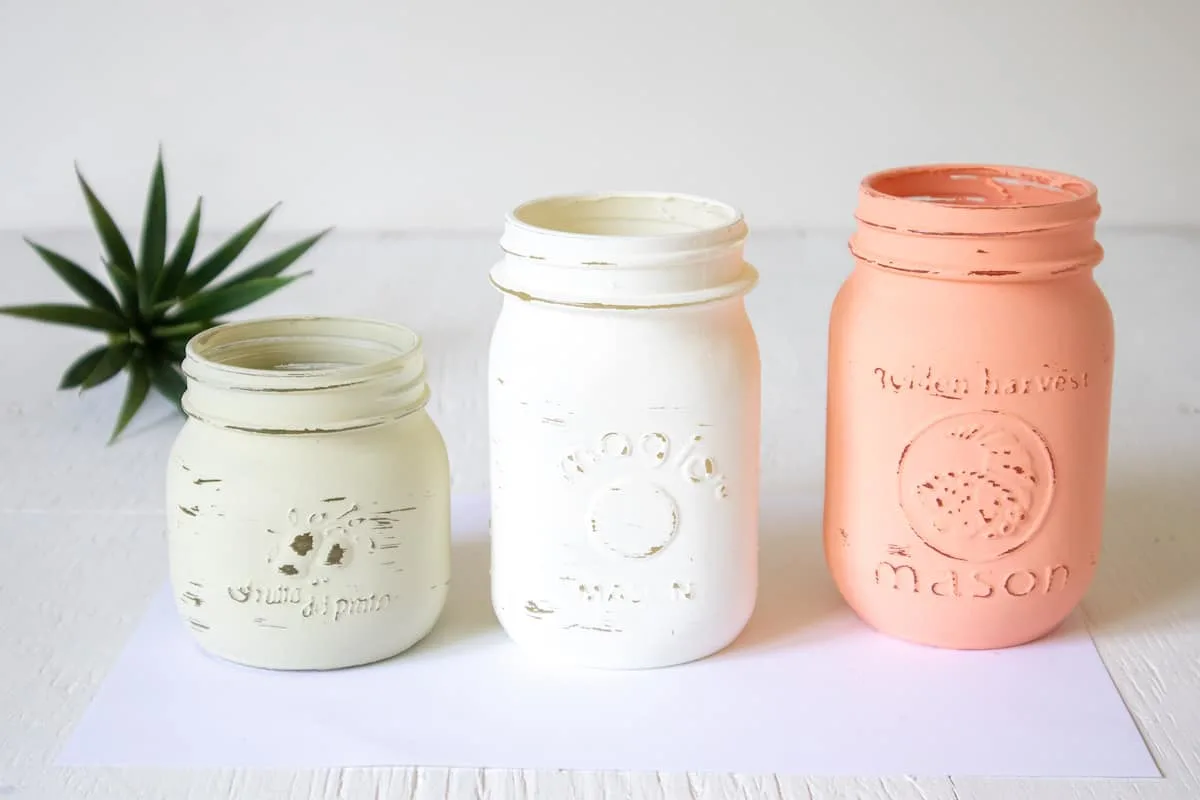
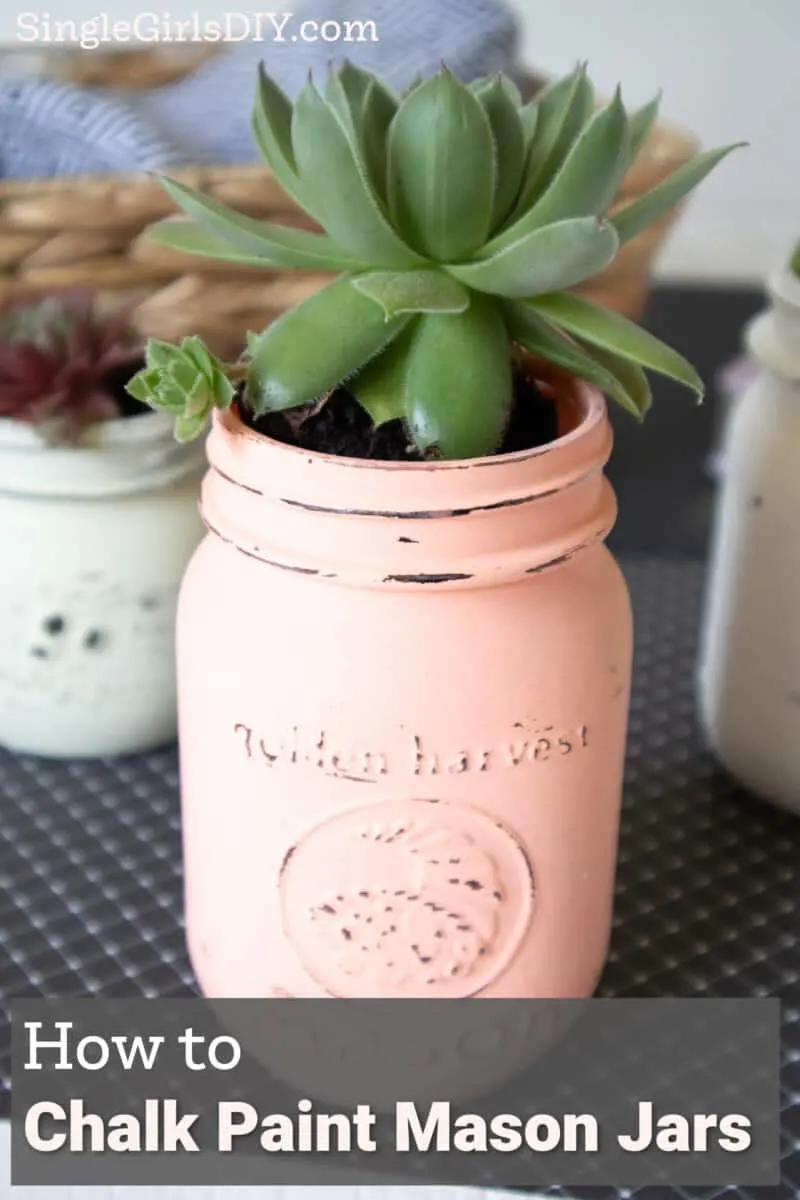
Wondering how to chalk paint mason jars? It couldn’t be easier! So transform those old glass jars you have around the house into stylish organizers and vases right now!
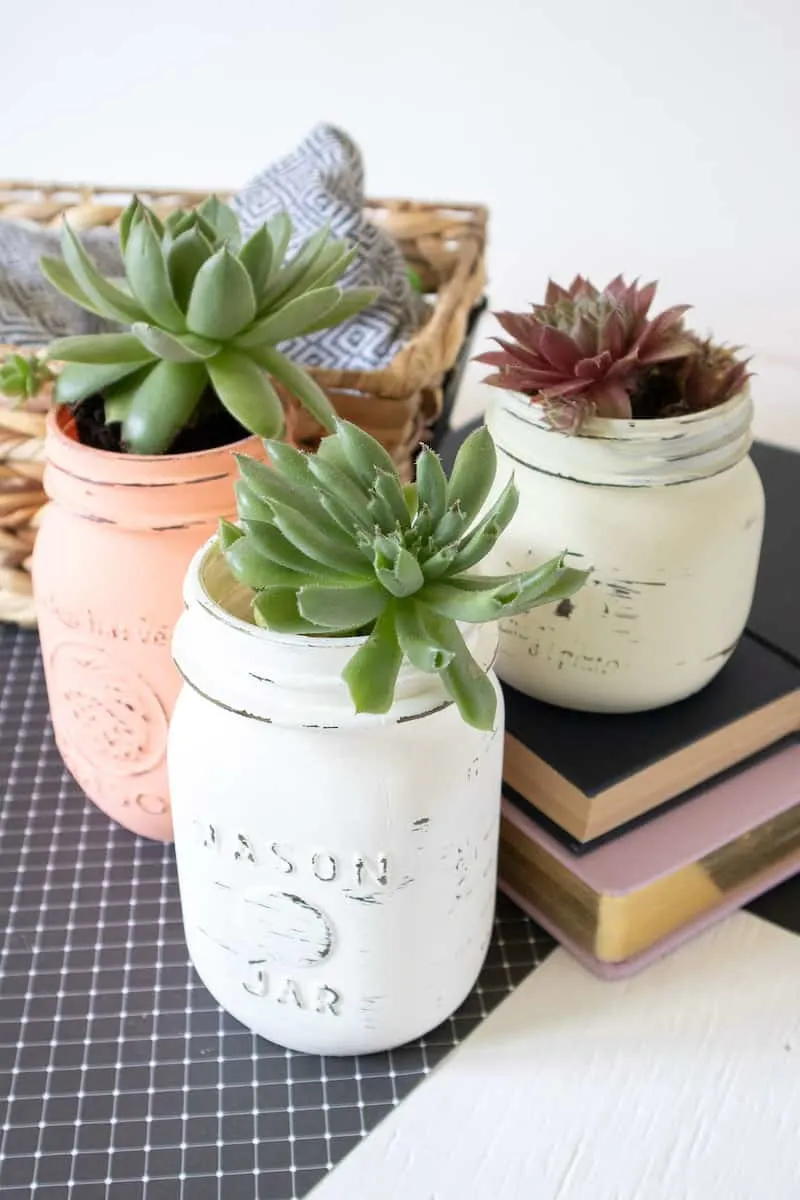
Who else has a lot of mason jars and empty glass jars around the house? Am I the only one?
I hate to give away (or even recycle) these jars because they have so many uses. Such as this easy Christmas centerpiece or a fun Mason Jar Christmas lantern.
My thrift store also sells them for .50 cents each, which is a hard bargain to pass up!
All this time, I thought those fancy chalk painted farmhouse-style mason jars were hard to make and needed primer. Was I wrong! They are actually so simple to make I don’t know why I didn’t do it sooner!
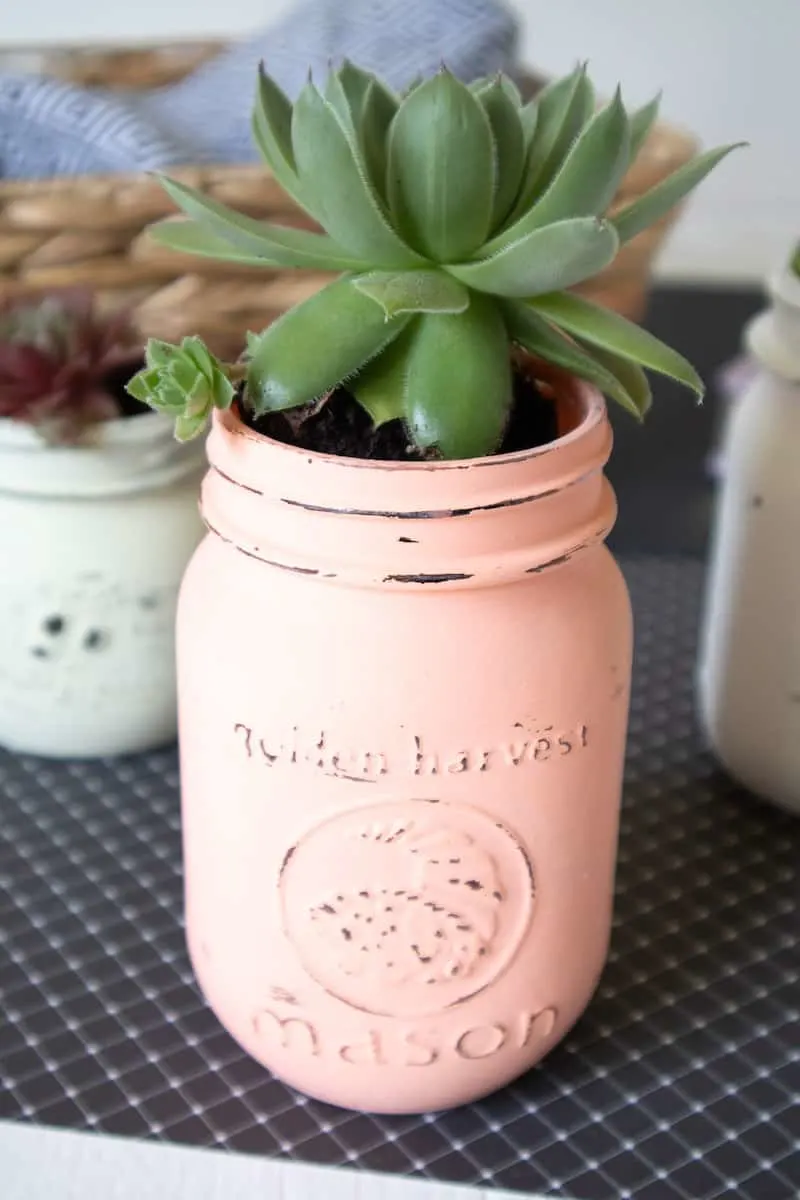
I’m thinking of using all kinds of these chalky mason jars in the following ways. The possibilities are endless:
- Makeup brush holder
- Pen holders
- Succulent holder (these fake succulents are more carefree!)
- Flower vase
- Mason jar gifts (especially with these DIY paper poinsettia jar toppers to dress them up)
Helpful Tips
- You can also use glass paint instead of chalk paint. This product is bakeable, which gives it a permanent, dishwasher-safe finish. However, the paint needs a longer time to cure. Be sure to follow instructions provided on the product label.
- Make sure your hands are clean when handling the glass to paint. Oils and debris transferred to the glass will make the paint not stick correctly.
- Instead of using sand paper, you could use a wet cloth to distress the chalk paint jars. Simply remove paint along the raised surfaces and edges, pressing down until the paint is removed to your desired finish.
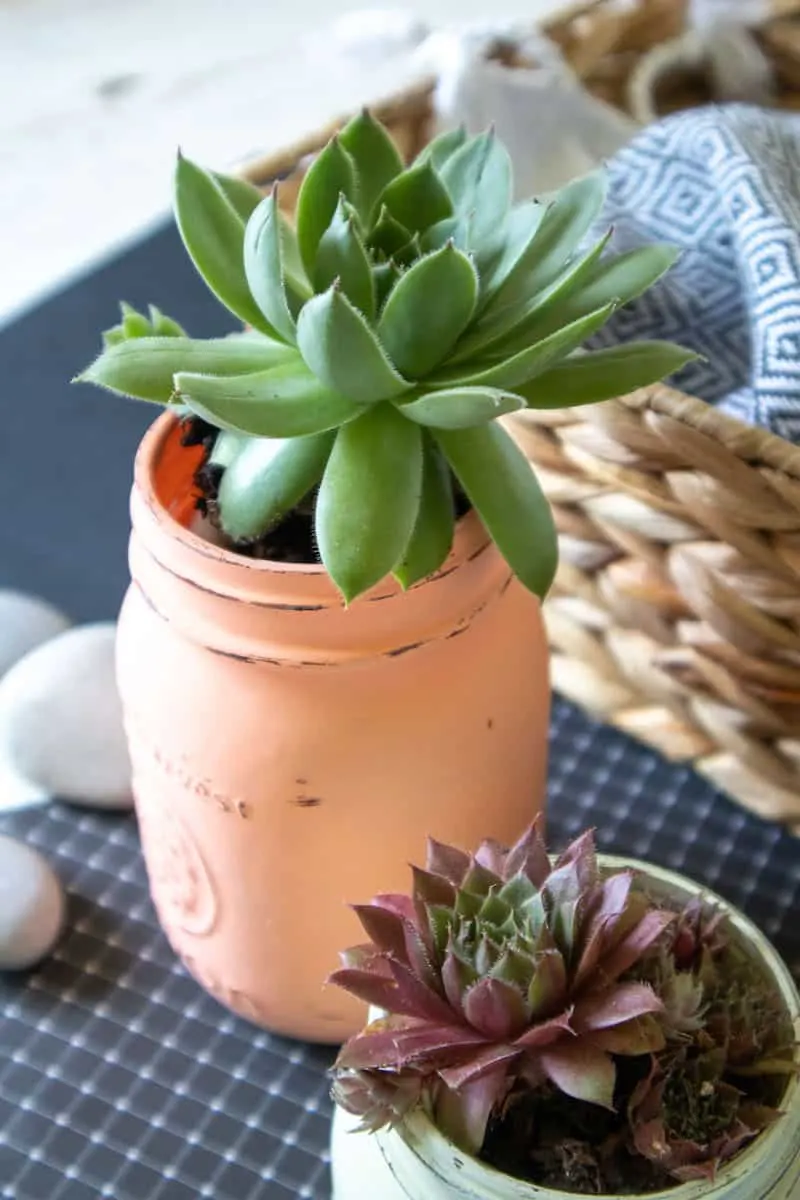
- If using the mason jars for real succulents or plants, fill the bottom of the jar with small pebbles and then add potting soil to just below the jar opening. Plant the succulent roots into the soil and top with more soil. Water as needed. Though keep in mind there is no drainage hole, so water just enough without any excess water.
How to Paint Mason Jars with Chalk Paint
Supplies
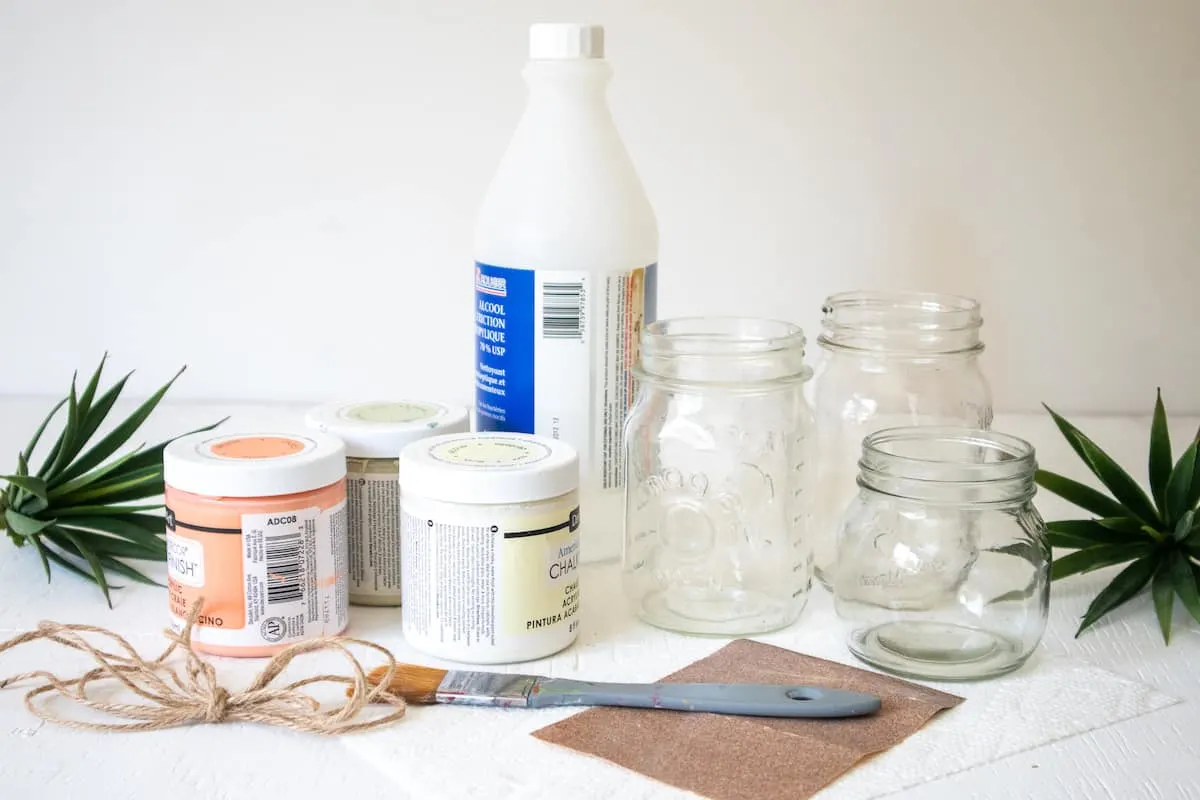
- Chalky Paint in any color (I used Chalky Finish in Smitten, Lace and Revive by Americana Decor)
- Mason Jars
- Synthetic paint brush
- Rubbing Alcohol and cotton pad or paper towel
- Sandpaper, fine grit 220g (optional)
Directions
Step 1
Thoroughly clean the glass jars with hot soapy water and a soft dishcloth. Remove any labels or stickers from the jar. Place the jar to air dry or use a soft paper towel.
Step 2
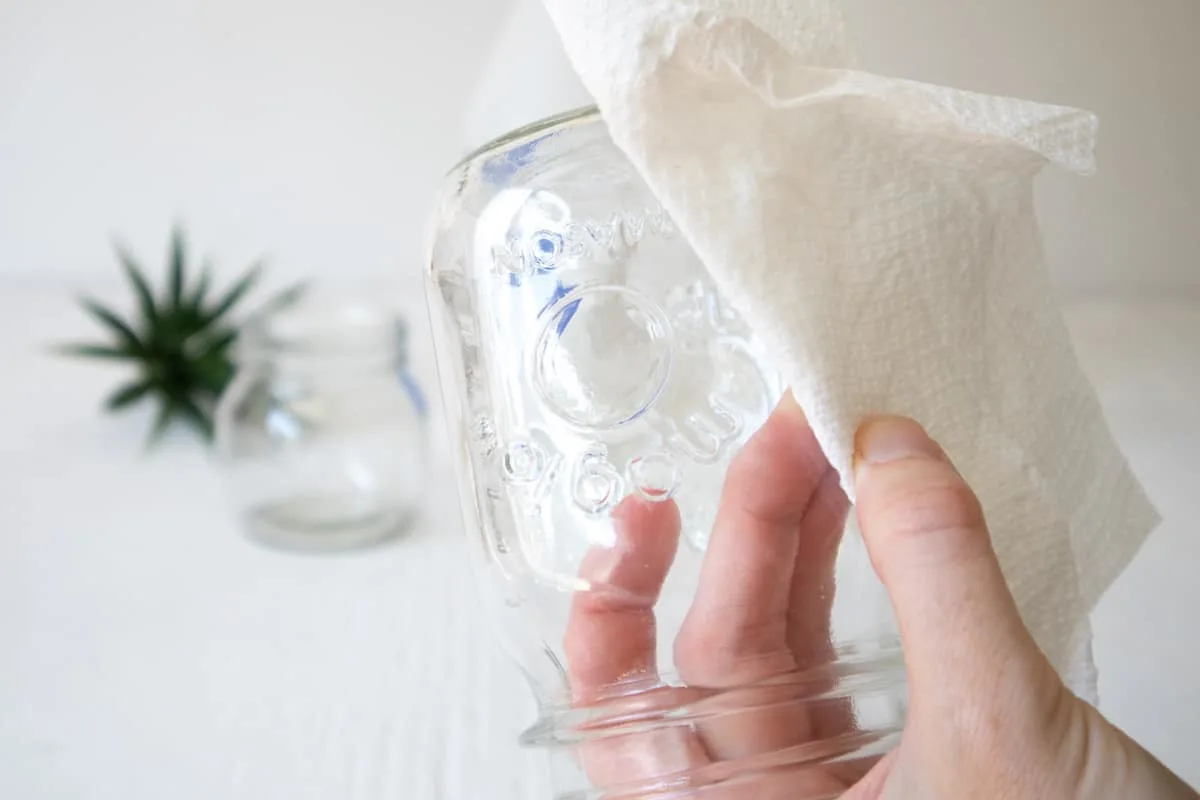
Use a cotton pad or paper towel with rubbing alcohol to clean the outside of the jar. This will remove any built up oils, fingerprints and smudges from the jar.
Step 3
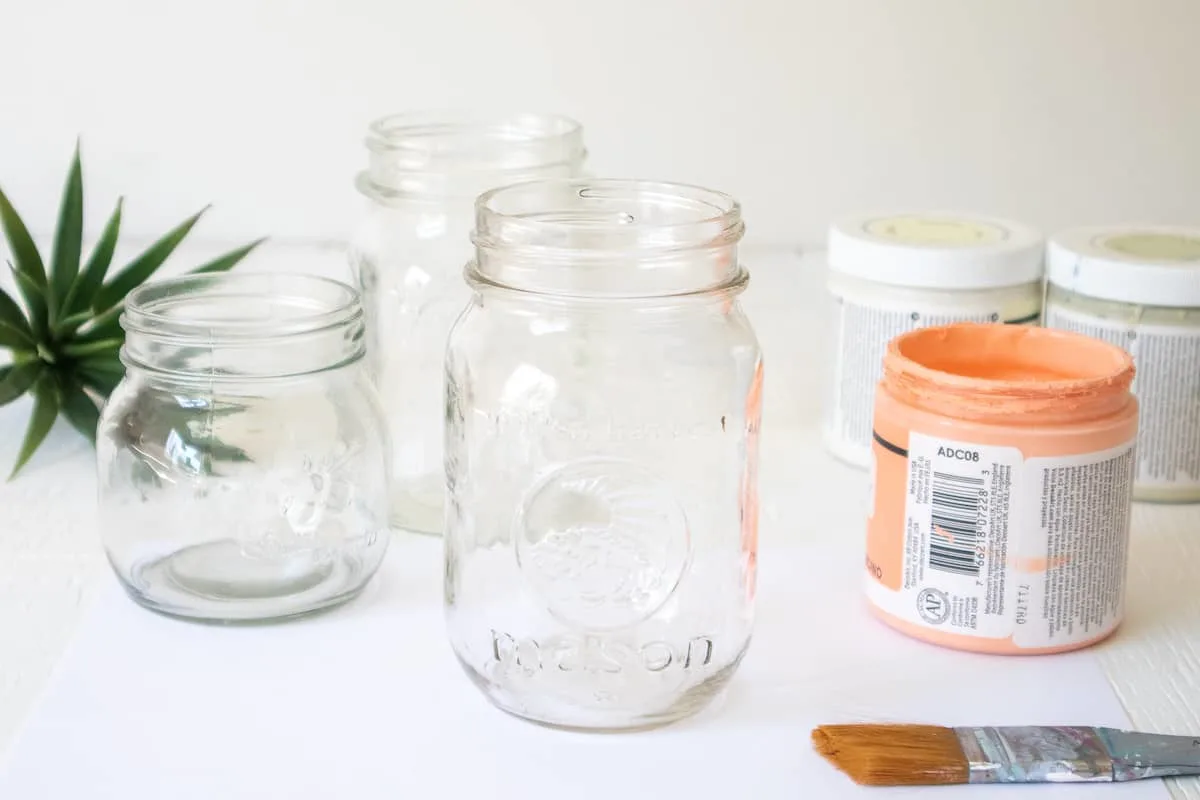
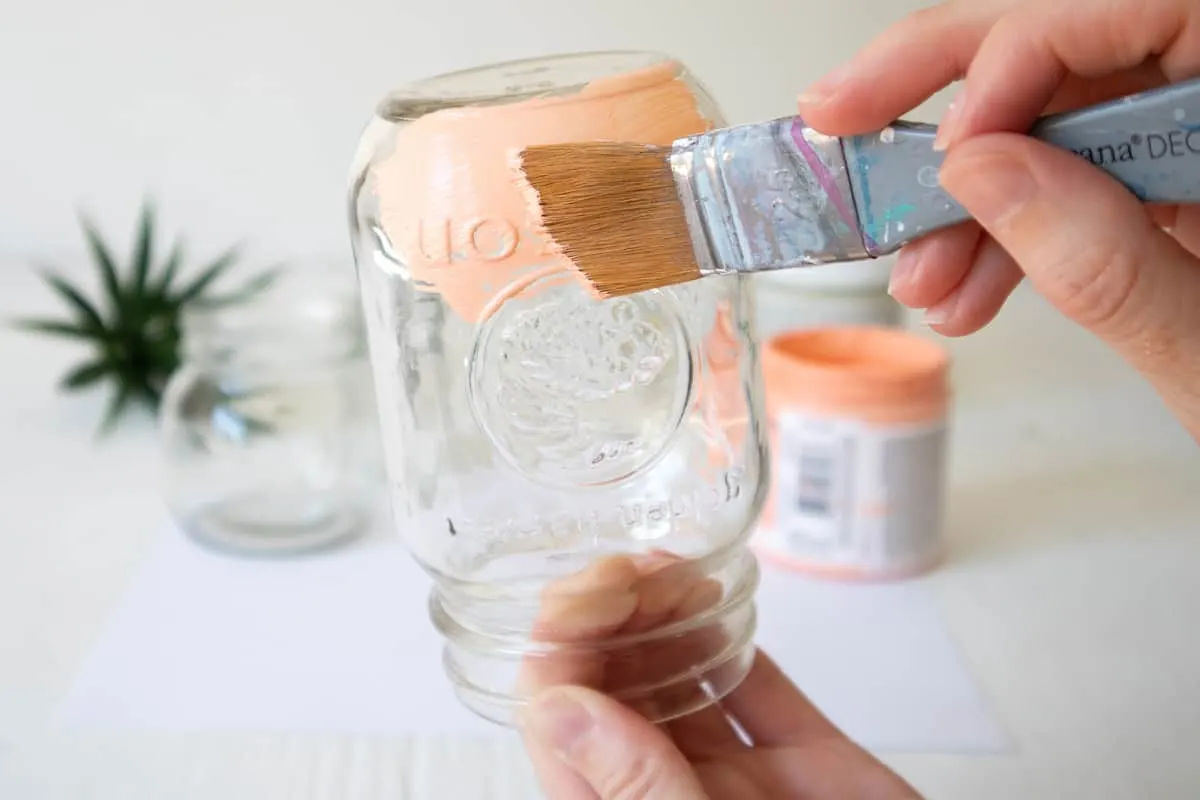
Dip the paintbrush in the chalk paint. While holding the mouth of the jar, apply long, even brush strokes around the jar in the same direction. Apply paint to the bottom of the jar as well.
Step 4
Apply a generous amount of paint, but be careful to avoid paint drips and globs. Gently brush away the excess paint if this happens.
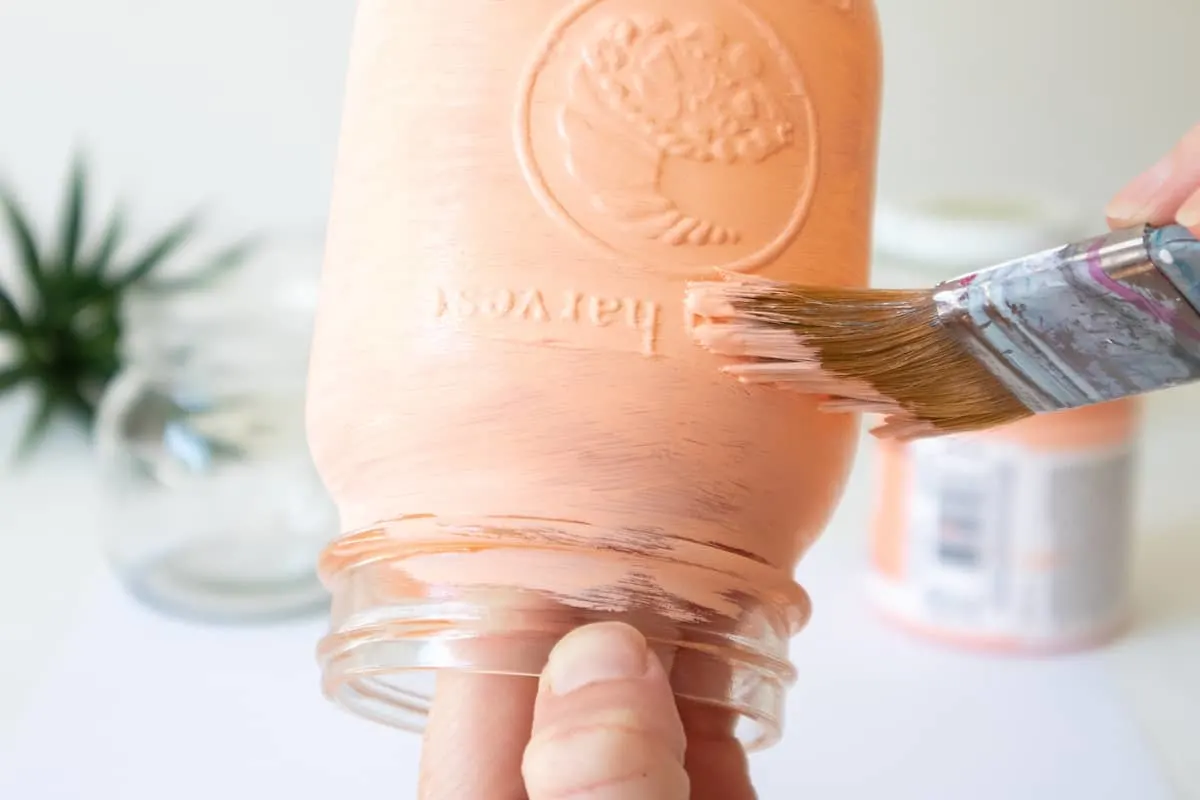
Leave the jar standing upside down until it dries fully. (Usually takes about 2 hours). You can also use a hair dryer to help speed up drying time.
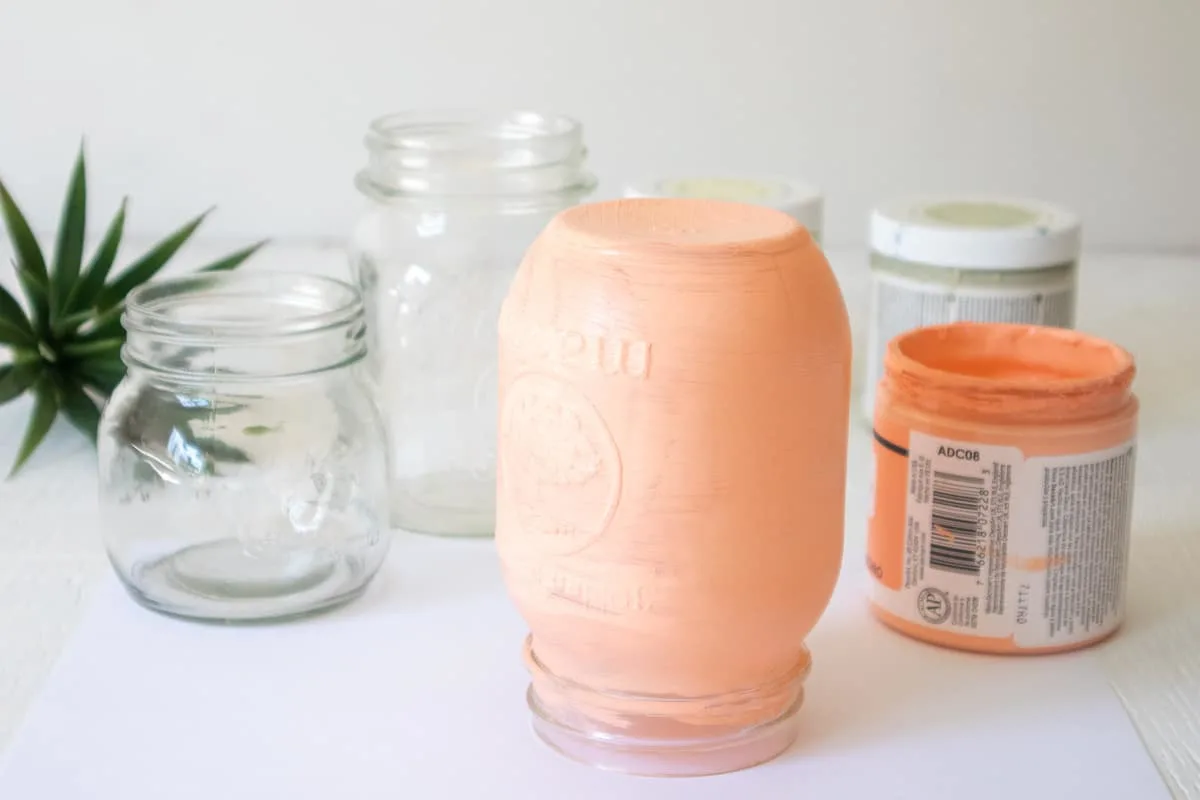
Step 5
Once dry, apply paint to the unpainted portion and also leave that to dry fully.
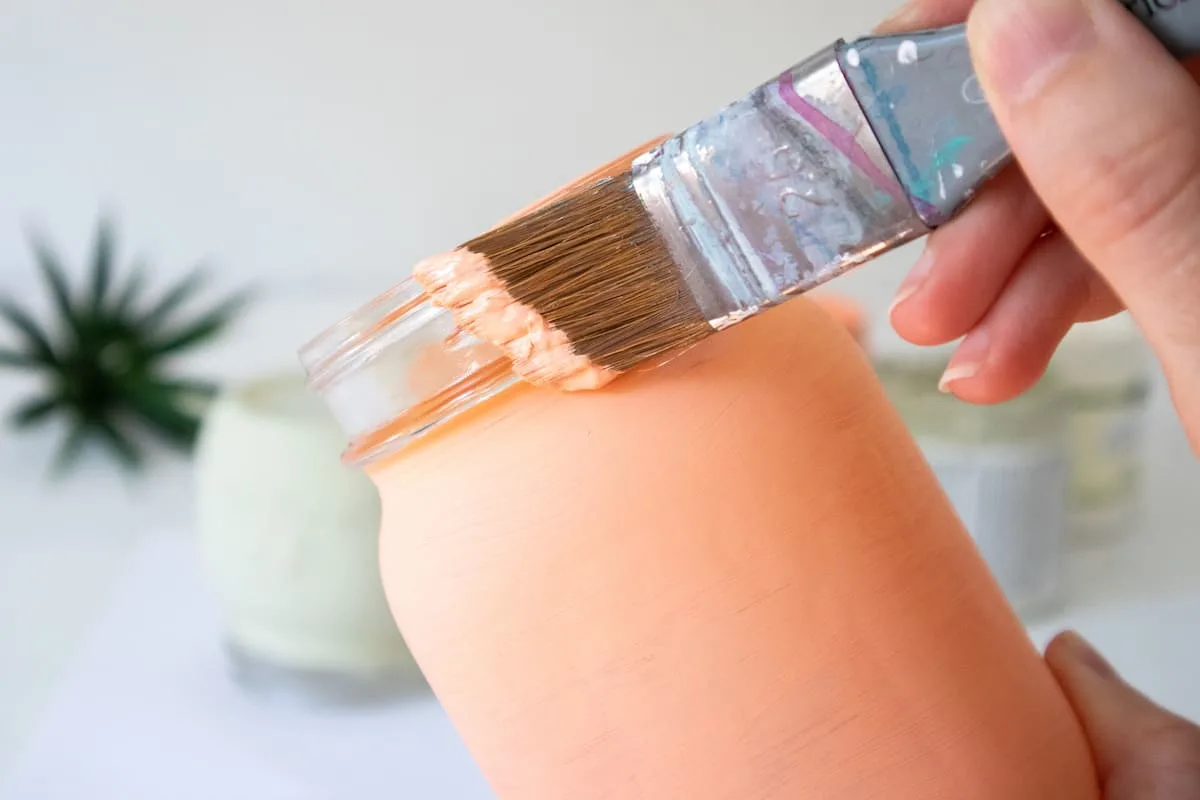
Step 6
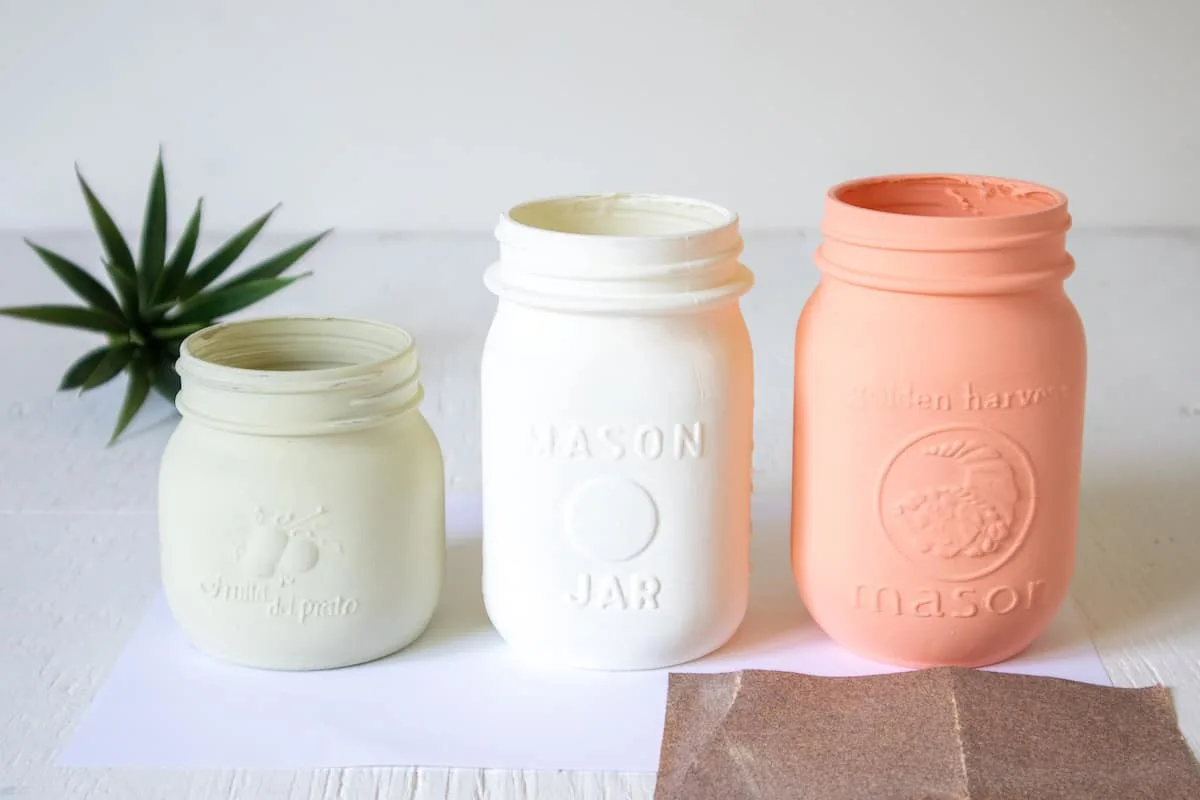
Apply a second coat of paint to the jars as needed. Leave the paint to dry fully before using or distressing.
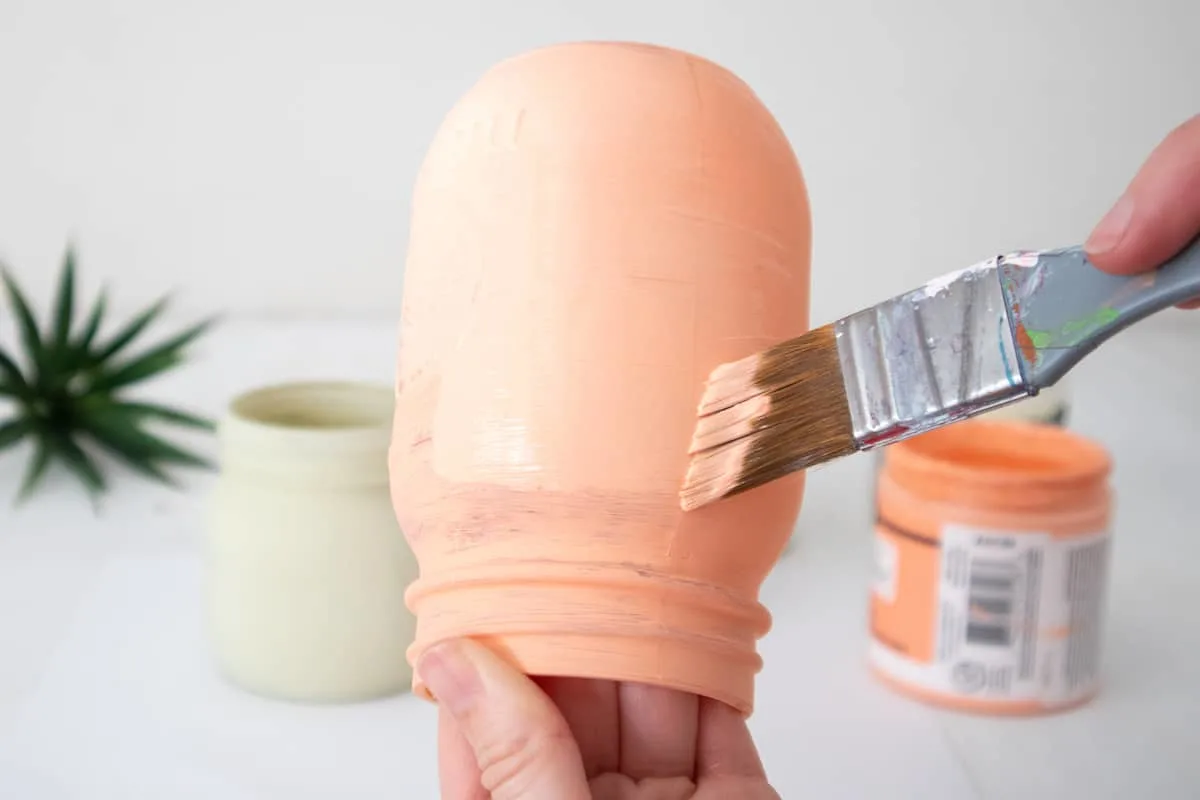
Step 7
For a distressed, farmhouse look, use a sheet of soft grit sandpaper and gently rub away the paint at the raised surfaces and edges.
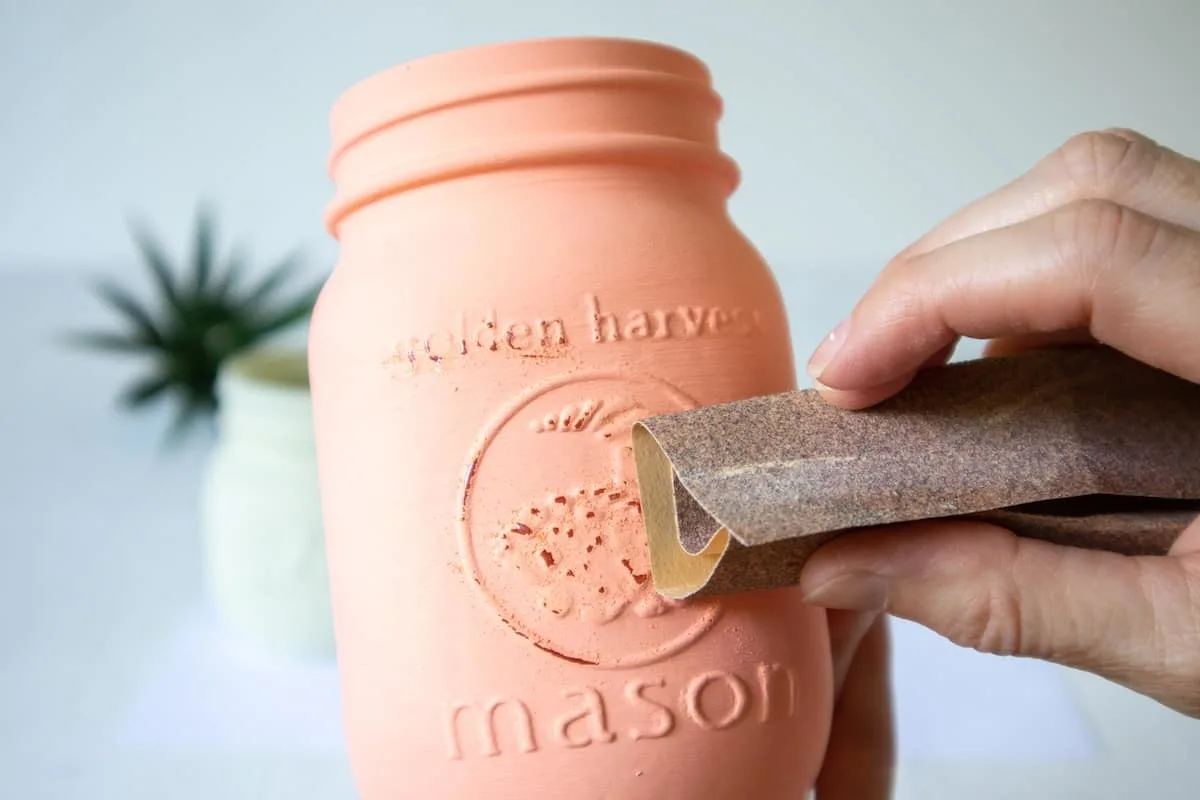
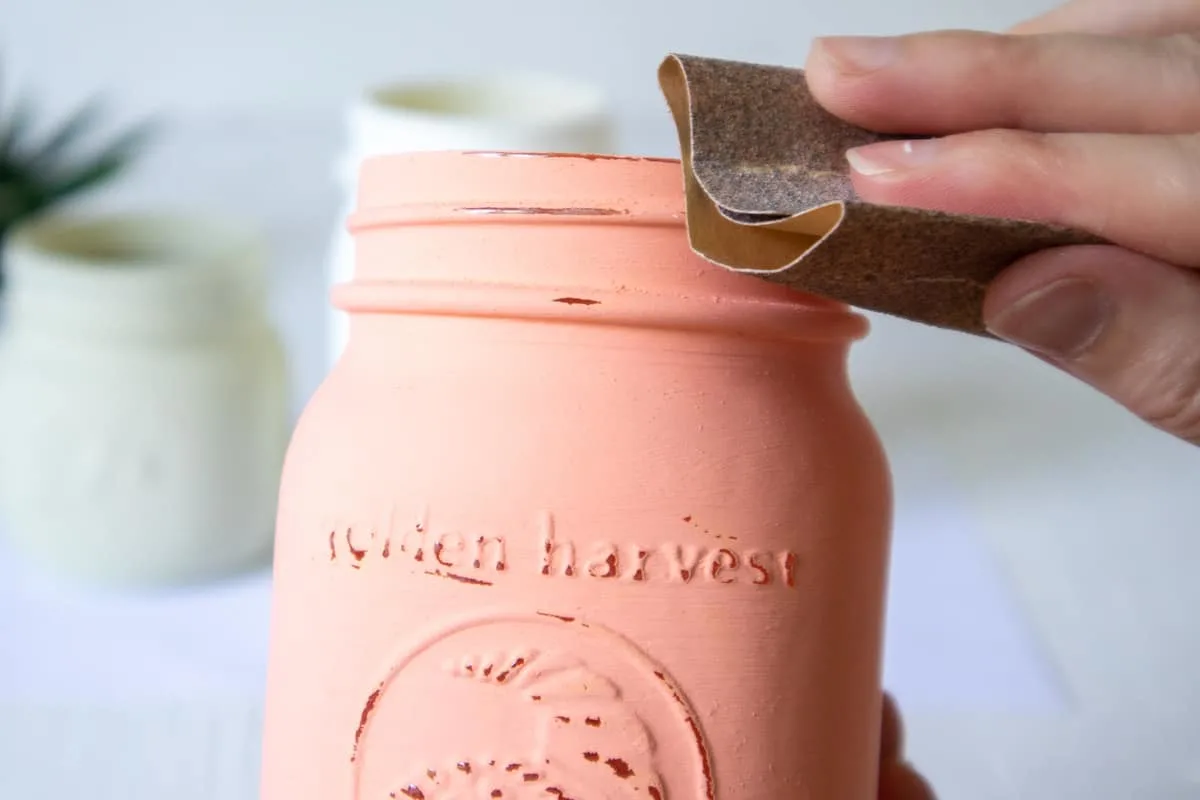
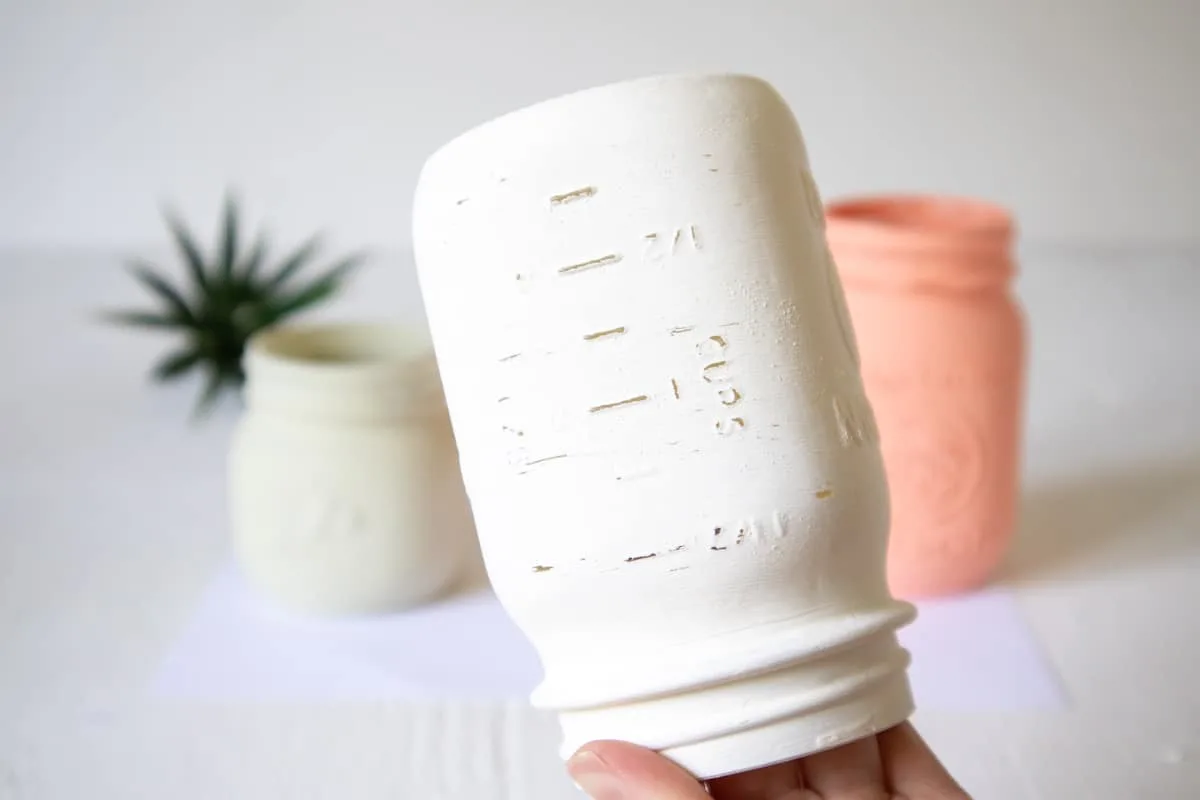
Wipe away any sanding dust with a soft, clean cloth.
Like this easy way to transform mason jars? You might also like this tutorial of how to paint stripes on a mason jar. Or make stained glass mason jars.
We used the chalk paint effect to make our Bless You Mason Jar Tissue Holder.
For more decorative plant pot ideas, check out our Rae Dunn inspired pots and this cute Aloe You Vera Much pot.


Jasmine
Saturday 25th of February 2023
Awesome tutorial Kim!! Thank you for sharing the detailed steps - looking forward to trying this project.
Cheers, Jasmine
Kimberly
Monday 27th of February 2023
Thank you so much!!!