


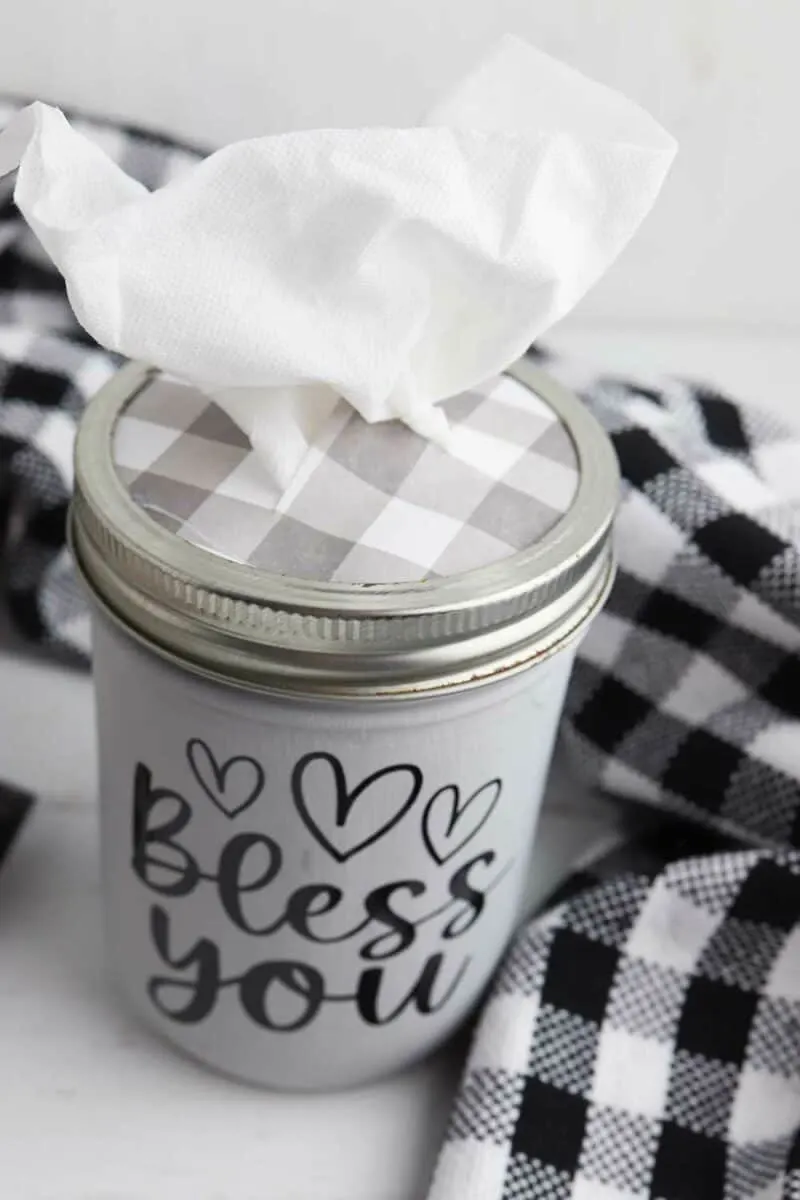
A cardboard box of tissues is so boring. Why not make a pretty mason jar tissue holder to store tissues in a pretty way?
This mason jar tissue dispenser is a cute way to have tissues available in a guest bathroom, in the kitchen, on your makeup table or anywhere in your home where you frequently are grabbing for a Kleenex.
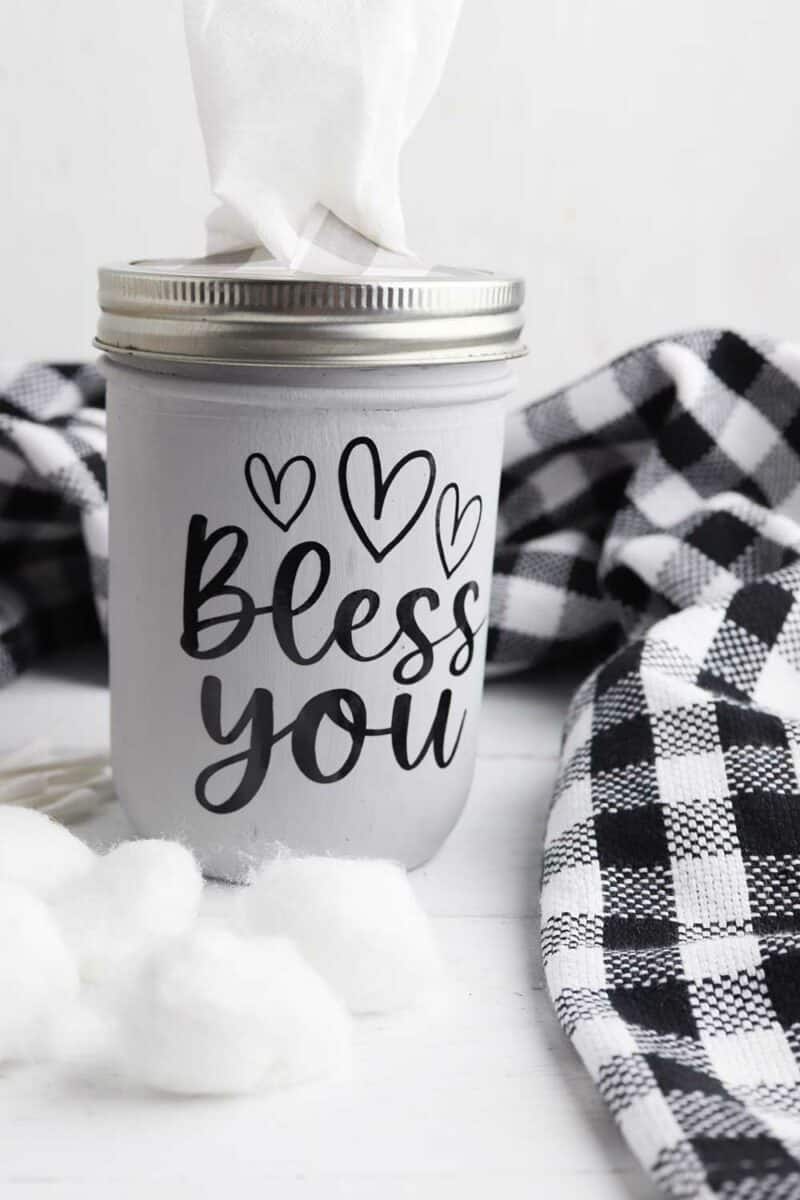
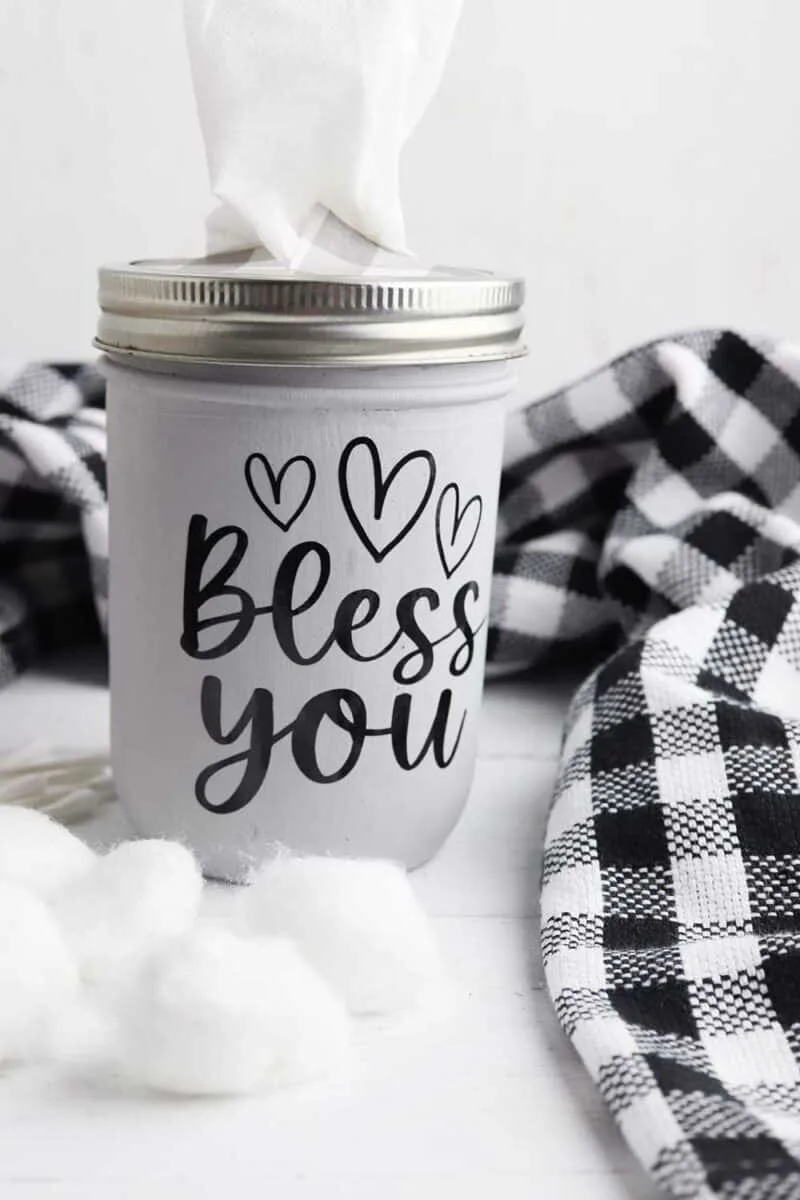
The Bless You tissue holder is also a great get well soon gift or added to a gift basket.
The mason jar is painted on the outside. We have found that using chalk paint is the easiest way to paint glass jars. See our tutorial of how to paint mason jars.
If you don’t have chalk paint, acrylic paint will work as well, but it might start chipping off if it is scratched or bumped.
Mason jars are so versatile! Be sure to see more of our easy mason jar crafts:
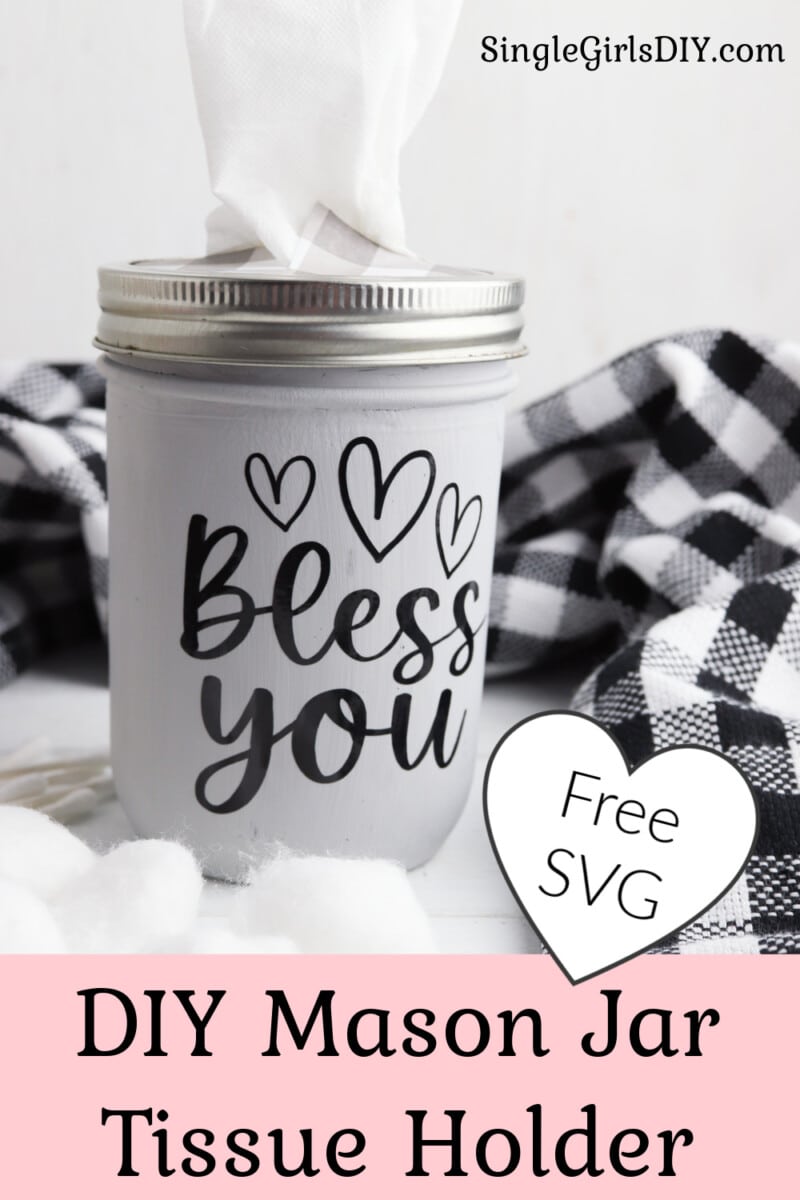
DIY Mason Jar Tissue Holder
Materials
- Free Bless You SVG
- Mason jar
- Paint (chalk paint works especially well)
- Paintbrush
- Vinyl
- Transfer Tape
- Cardstock
- Tissues
Instructions
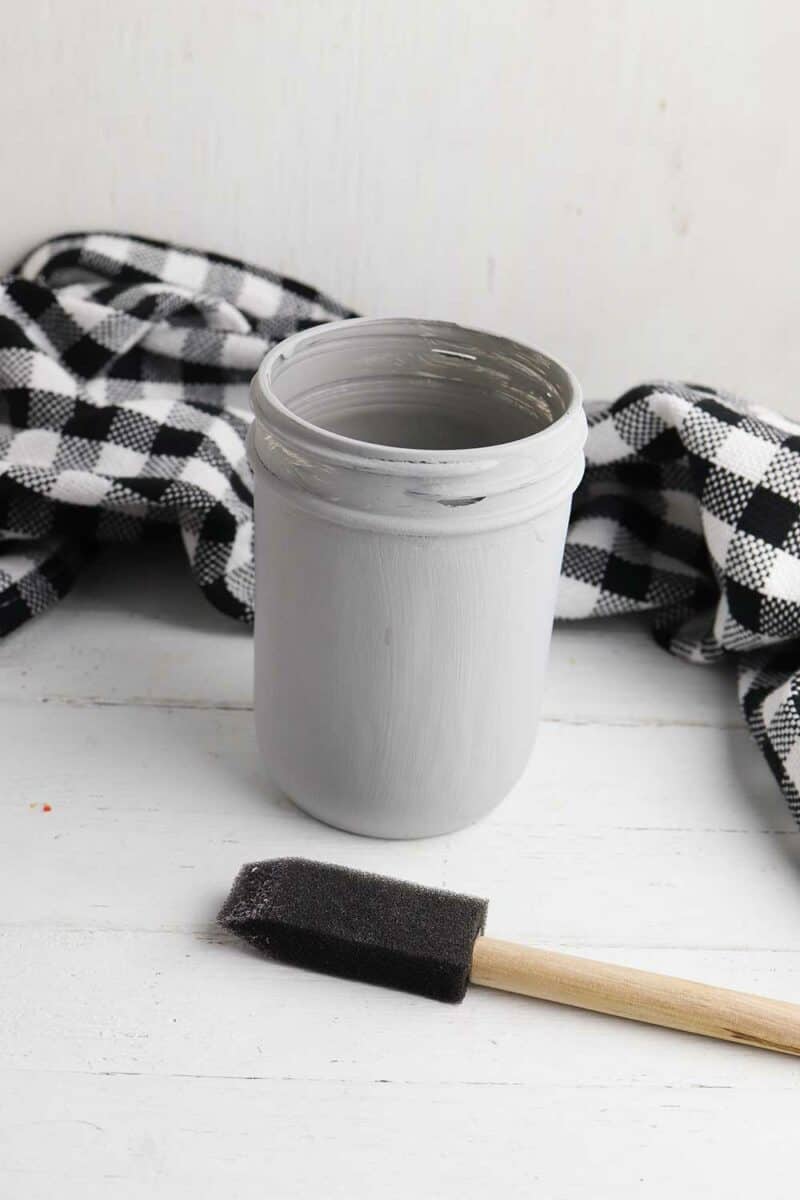
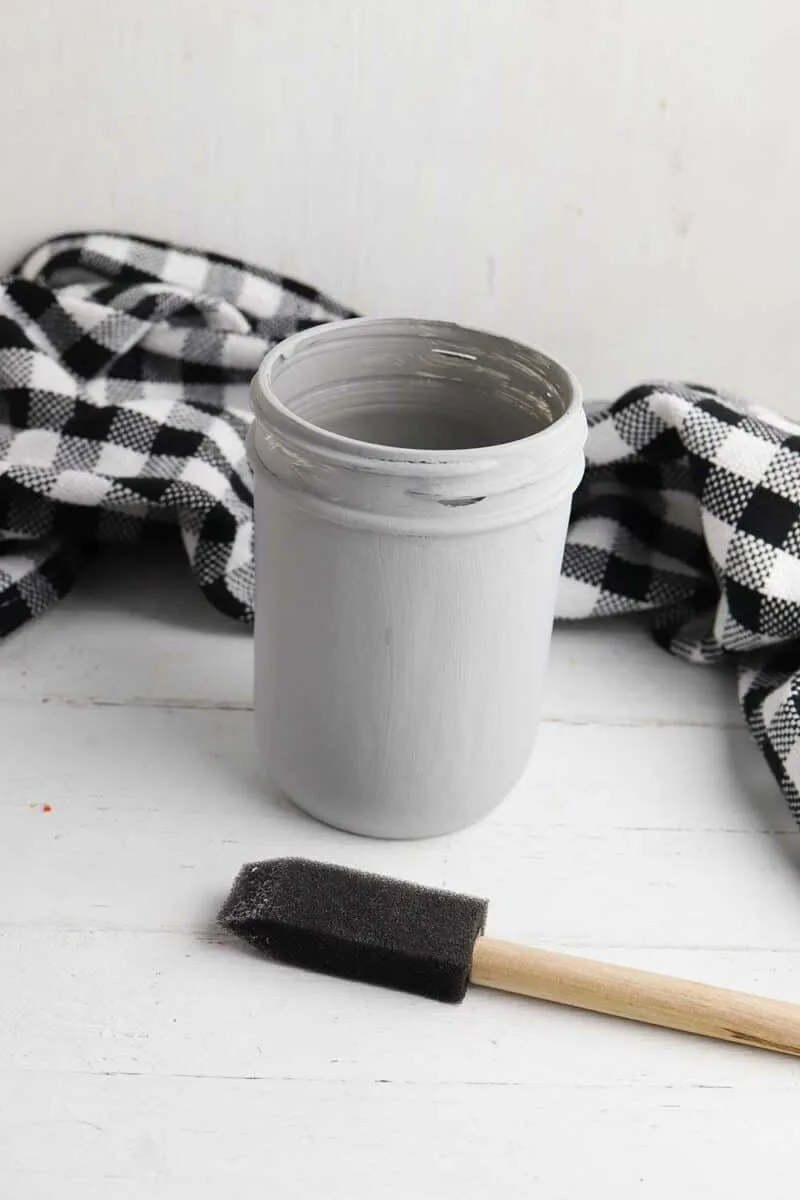
Step 1
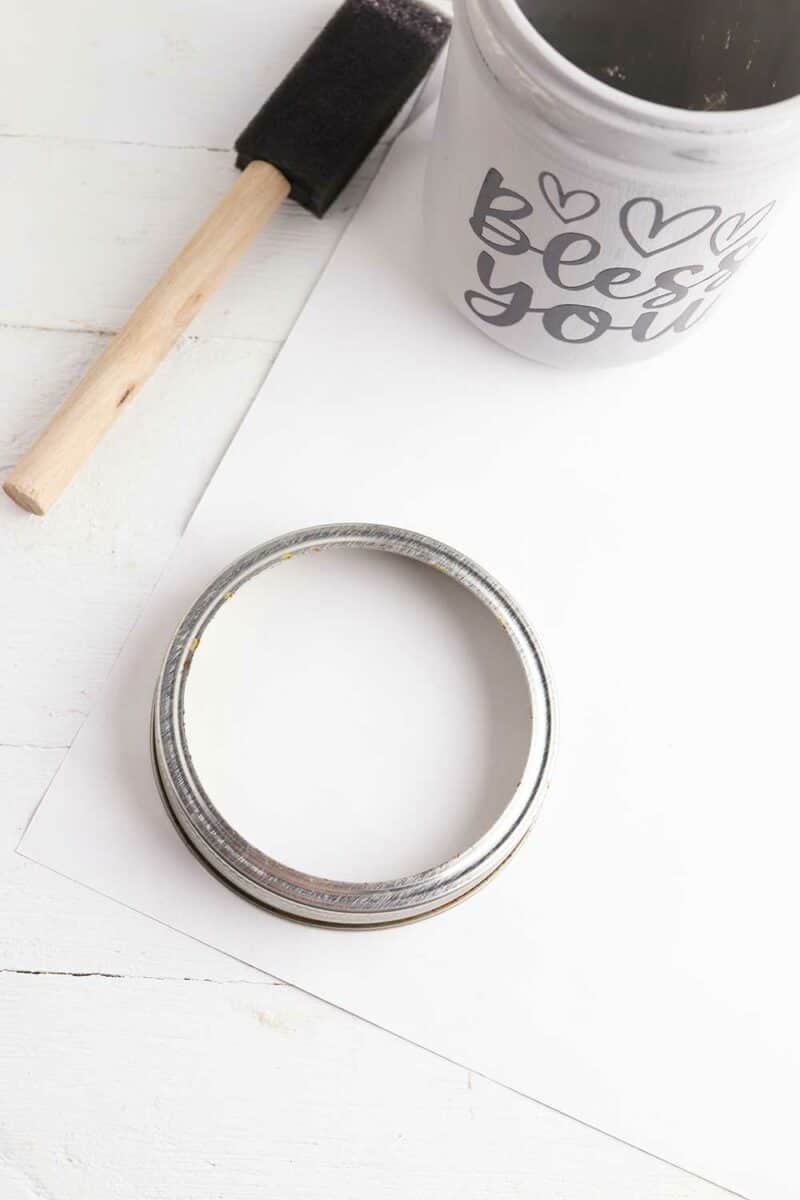
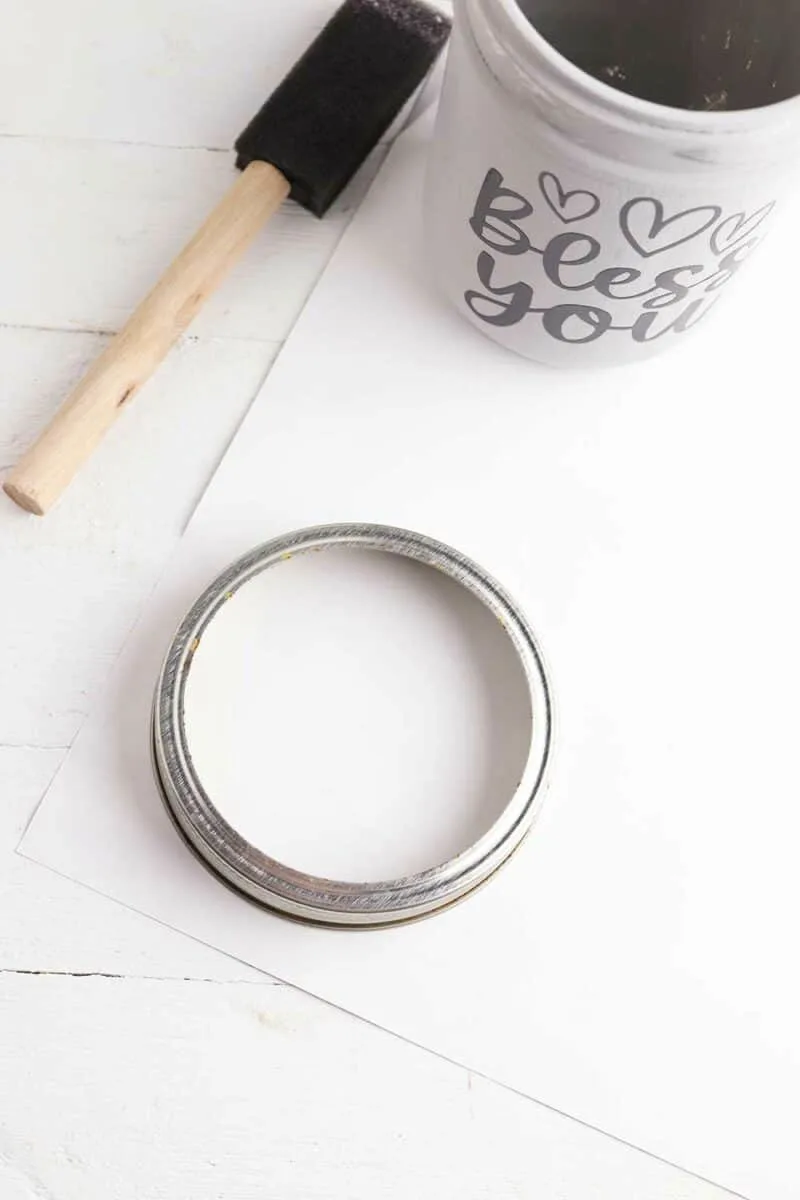
Paint the outside of the mason jar and allow it to dry completely. You may need more than one coat of paint.
Step 2
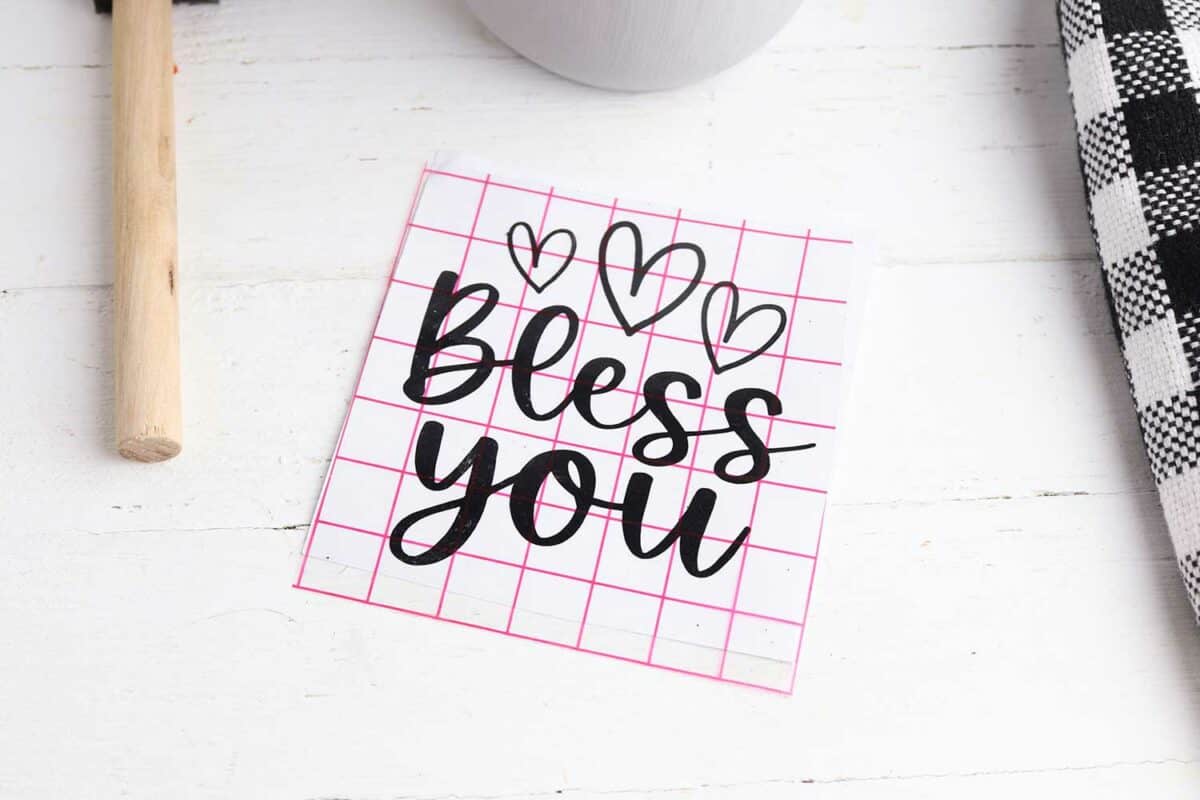
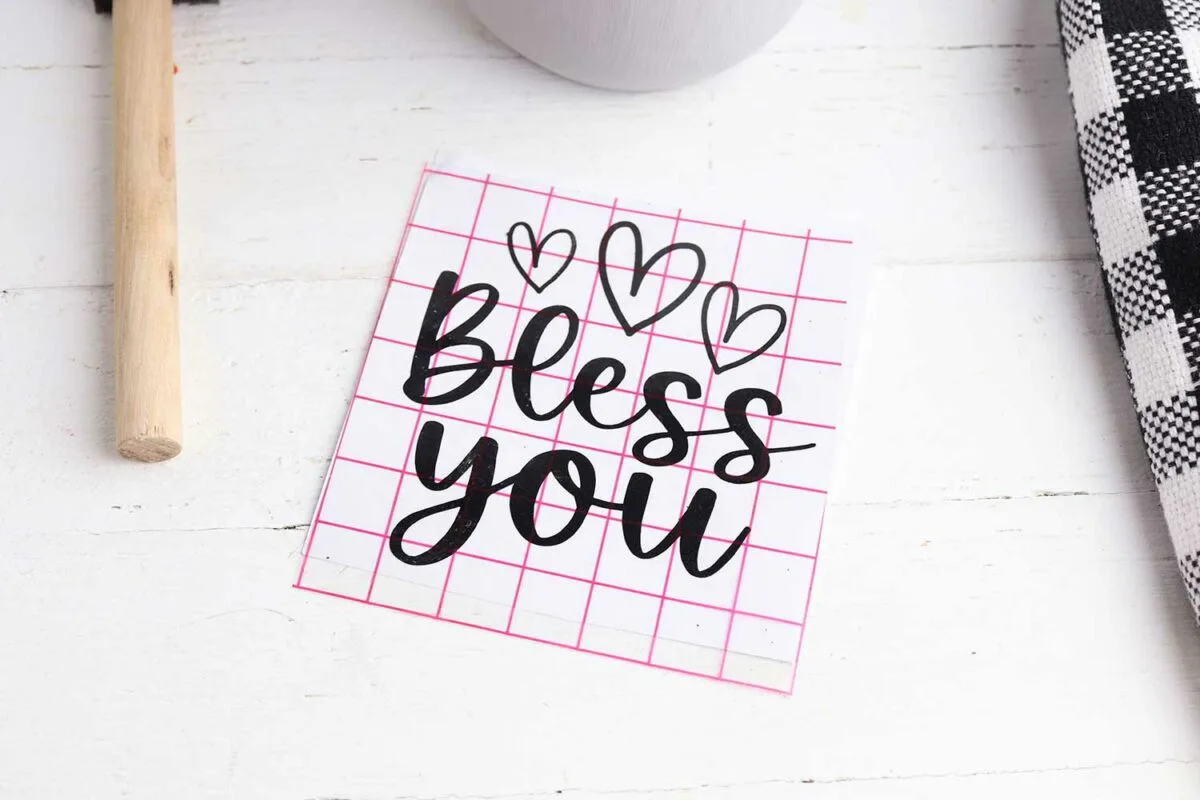
Upload the Bless You SVG file into the Design Space and resize it, if needed, to fit on the front of the jar.
Step 3
Set the Cricut to cut vinyl and load the vinyl on the cutting mat.
Cut the design. Then use your weeding tool to remove the excess vinyl around the design. Also weed out the small bits in each letter.
Step 4
Use the transfer tape to transfer the design to the front of the mason jar.
Step 5
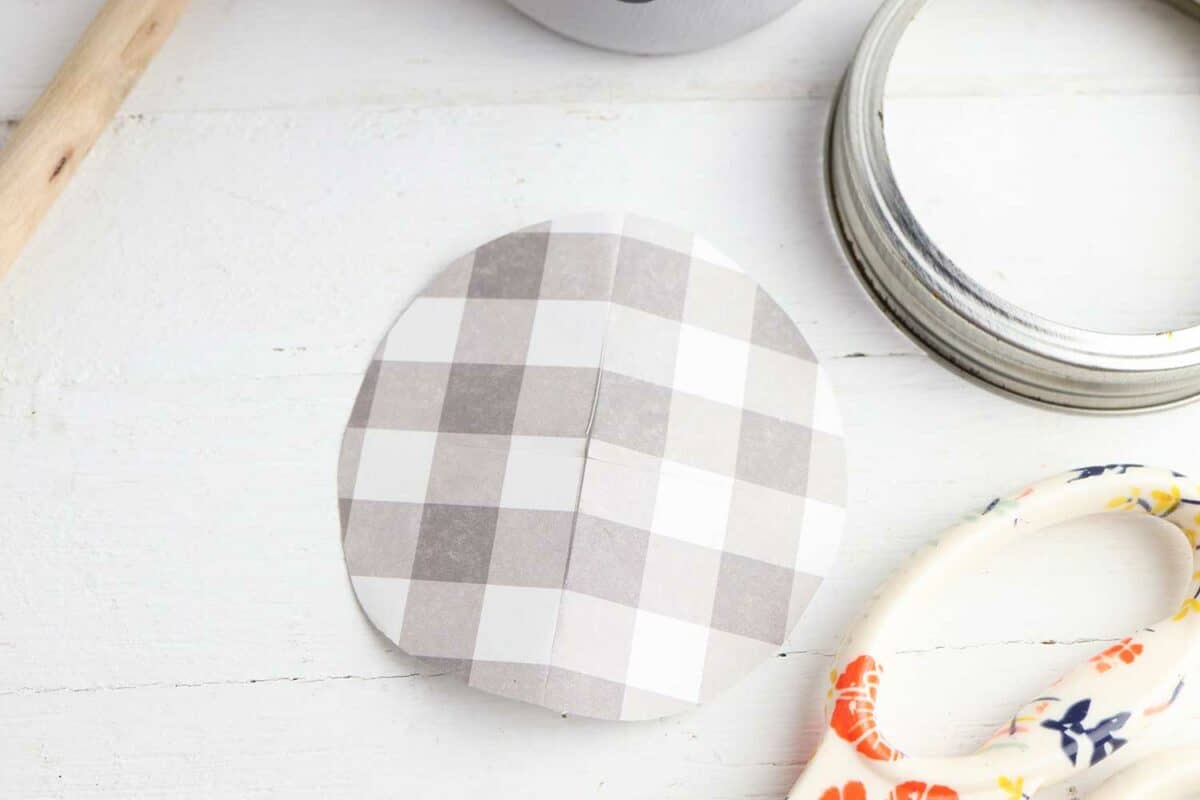
Trace the jar lid on the cardstock and cut out the circle.
I glued a piece of decorative paper on top of the cardstock in a pattern that matched the paint on my mason jar. You can use scrapbook paper, wall paper remnants or any type of decorative paper if you would like. Or just leave the cardstock plain.
Cut an X in the center of the cardstock with an X-acto knife or cut an X-shaped hole by bending the circle in half and snipping it open to create an X pattern.

Step 6
Remove a few tissues from the tissue box, making sure to keep them stacked like they are in the box.
Step 7
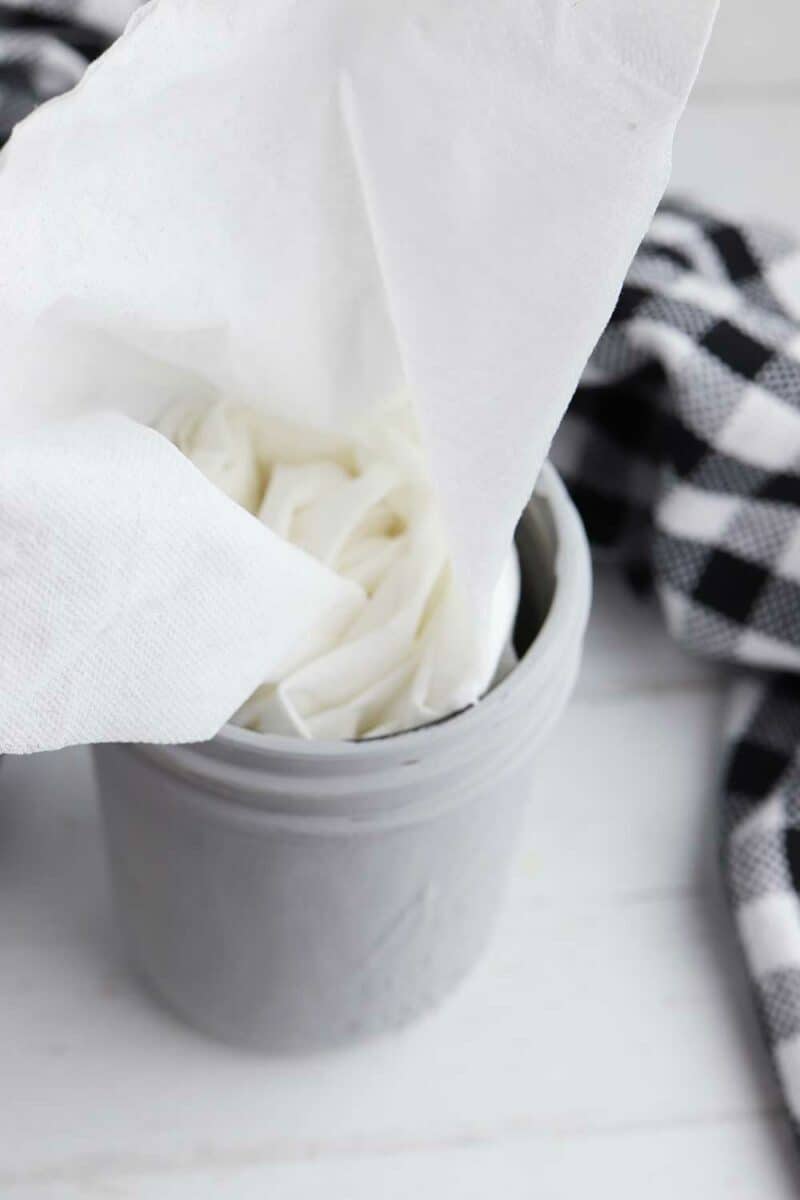
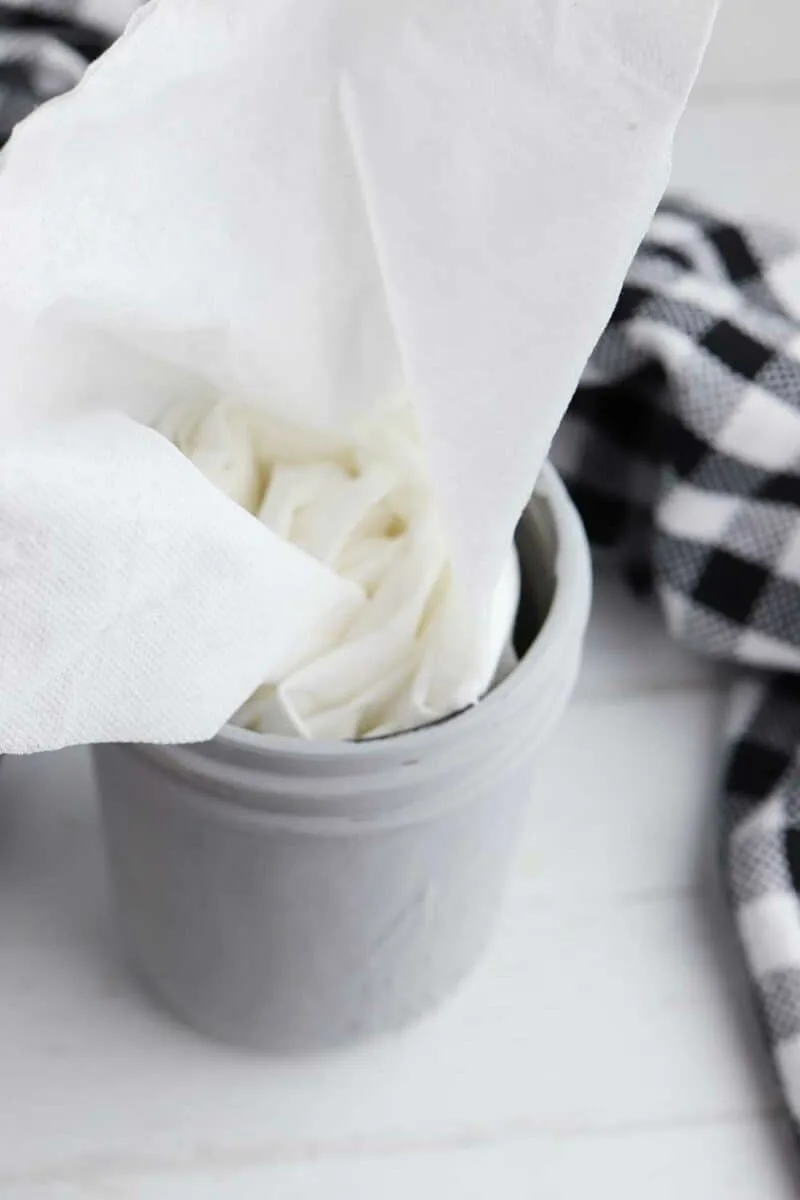
Loosely roll the tissues, keeping one tissue sticking up from the center.
Place the roll in the mason jar with the top tissue sticking up.
Step 8
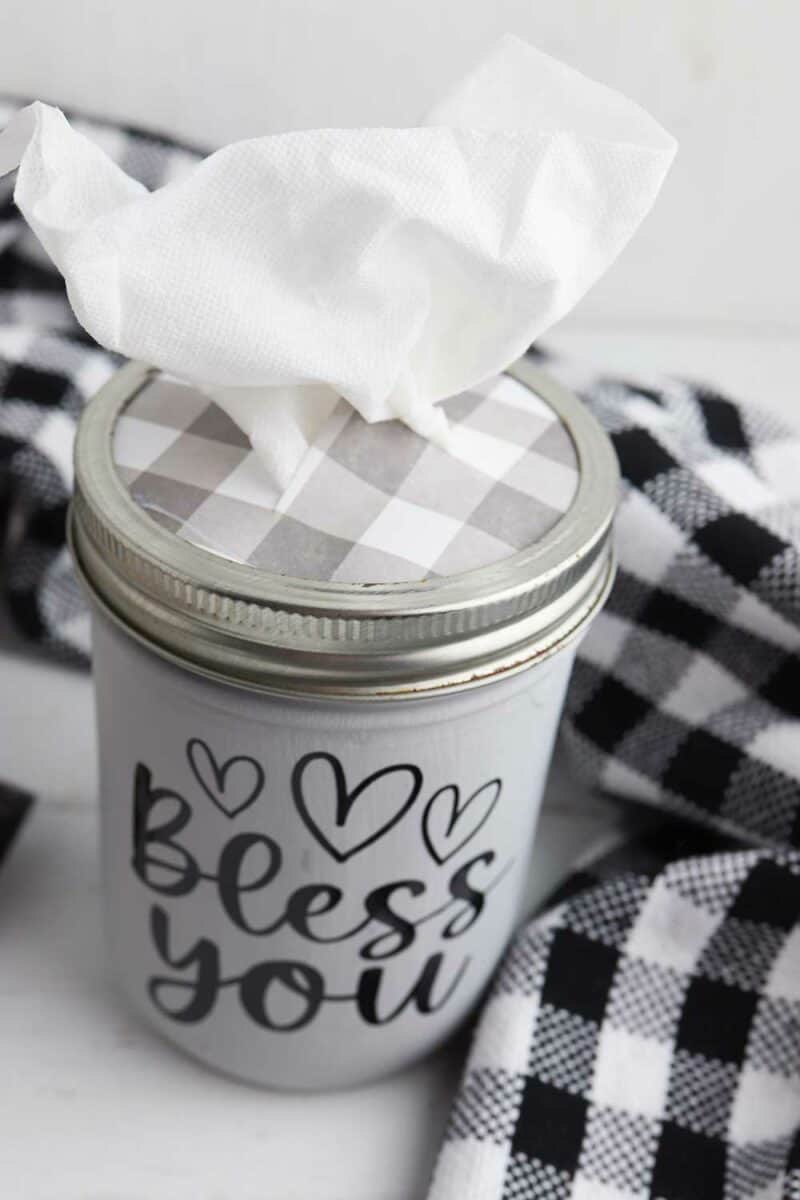
Thread the tissue through the X on the cardstock. Then line up the cardstock round on top of the jar. Screw the lid in place.
You may also like this easy Pocket Tissue Fabric Holder and a DIY fabric tissue box holder. Both are easy sewing tutorials.
Pin This project to remember for later!
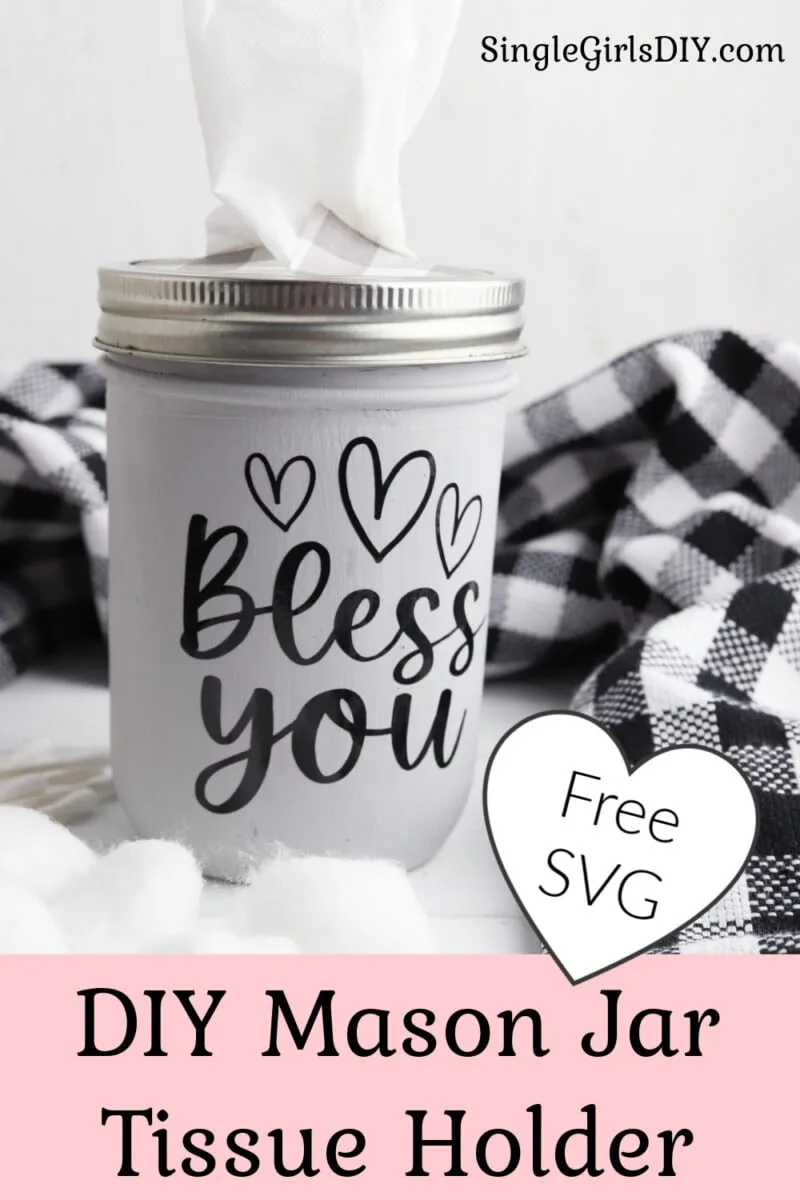
This DIY mason jar tissue holder is so easy to make! Be sure to see more of our mason jar crafts, such as these mason jar lanterns and painted mason jars.
