


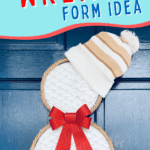
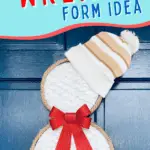

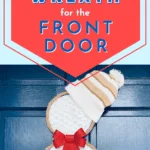
Making a cute wreath for your door doesn’t have to be expensive or complicated. This snowman wreath for the front door uses a Dollar Tree wreath form and a few dollars of supplies to create a winter time decoration that can be used for several months.
I’m loving the new types of Dollar Tree wreath forms. They make decorating your entryway so easy! And this Snowman wreath form is among my favorites!
With just four items from the dollar store, you can transform this basic form into a stunning design.
Let’s get started!

Be sure to see all of my DIY wreaths for every occasion and holiday!
You might especially like this snowball wreath made with cotton balls or our Santa Gnome Wreath.
How to Make a Snowman Wreath for the Front Door
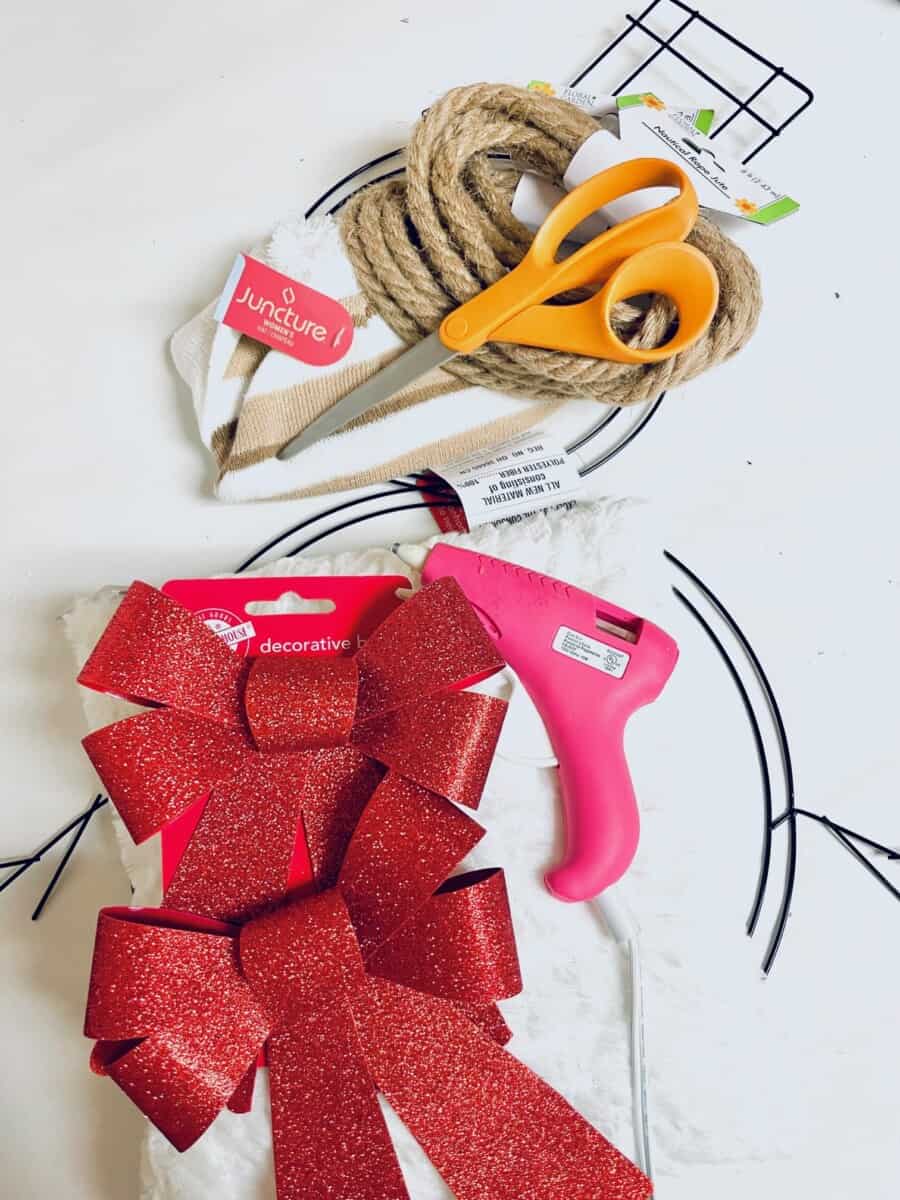
Supplies
- Dollar Tree Snowman Wreath Form
- Scissors
- Dollar Tree brown/tan striped hat
- Dollar Tree Nautical Rope
- Hot Glue gun
- Dollar Tree white faux fur pillow
- Dollar Tree Red holiday bow

Instructions
Step 1
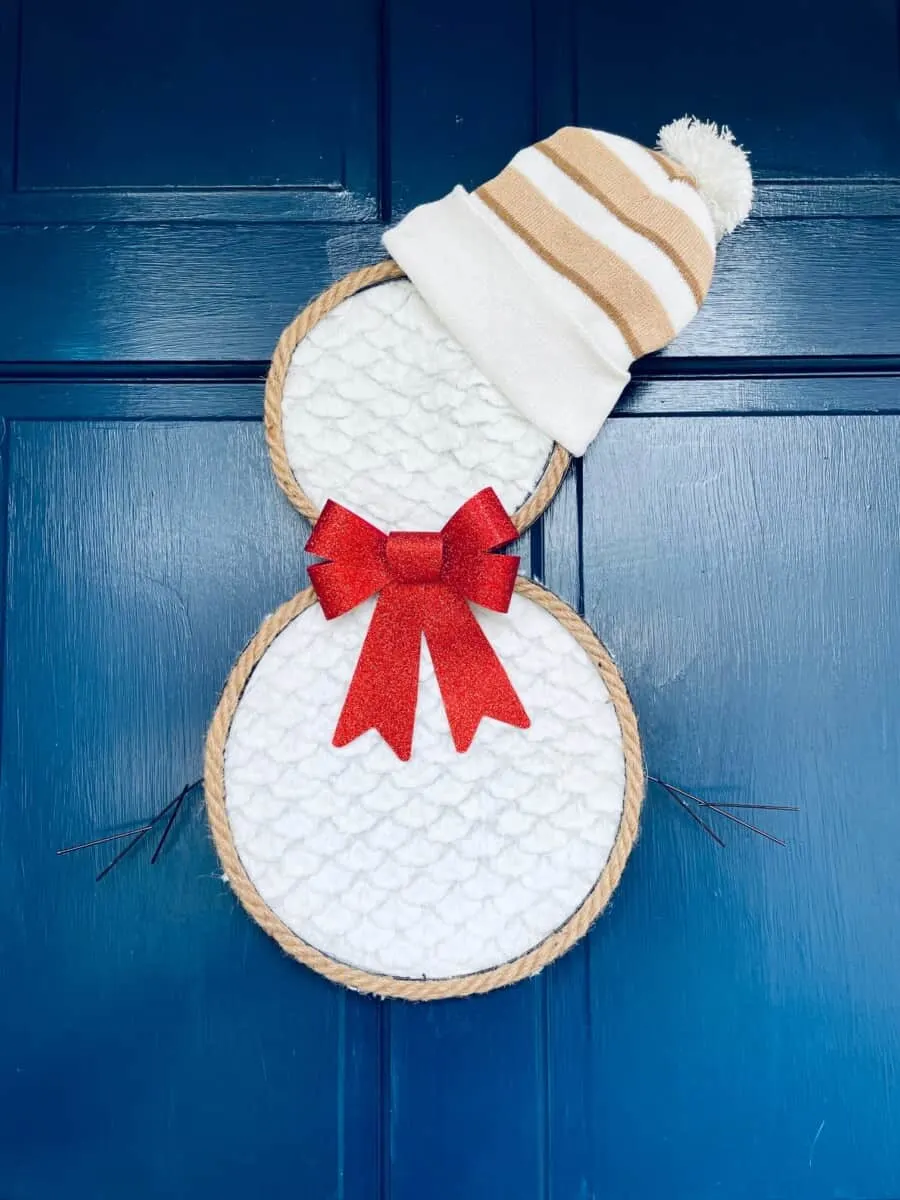
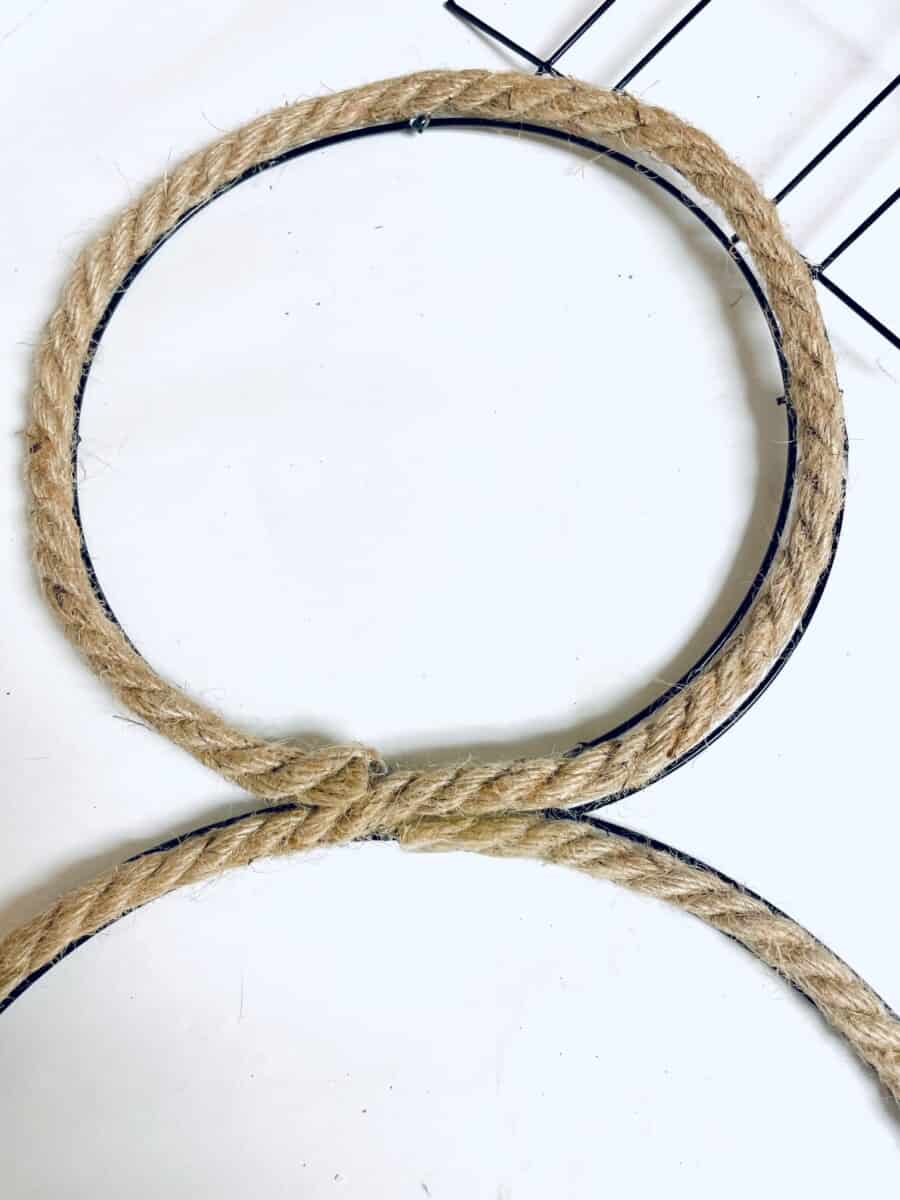
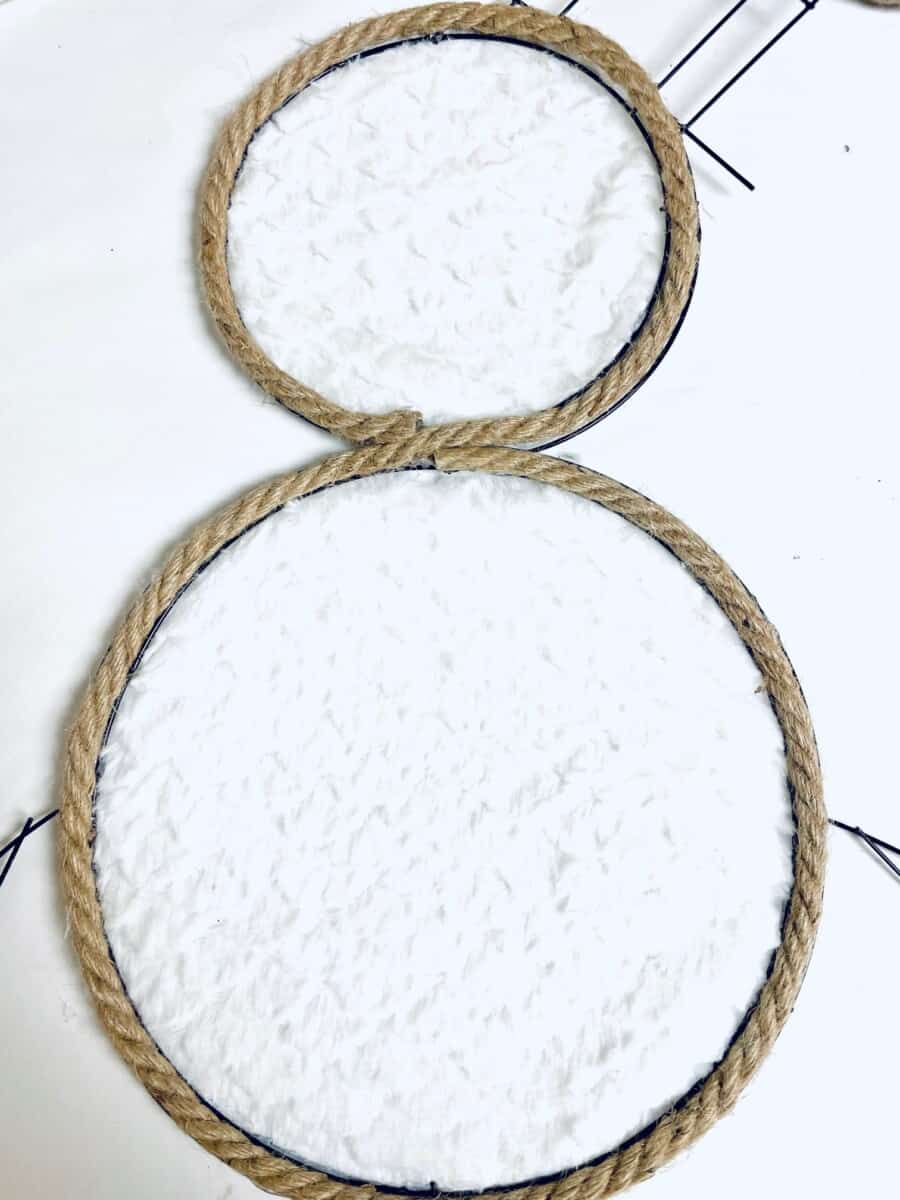
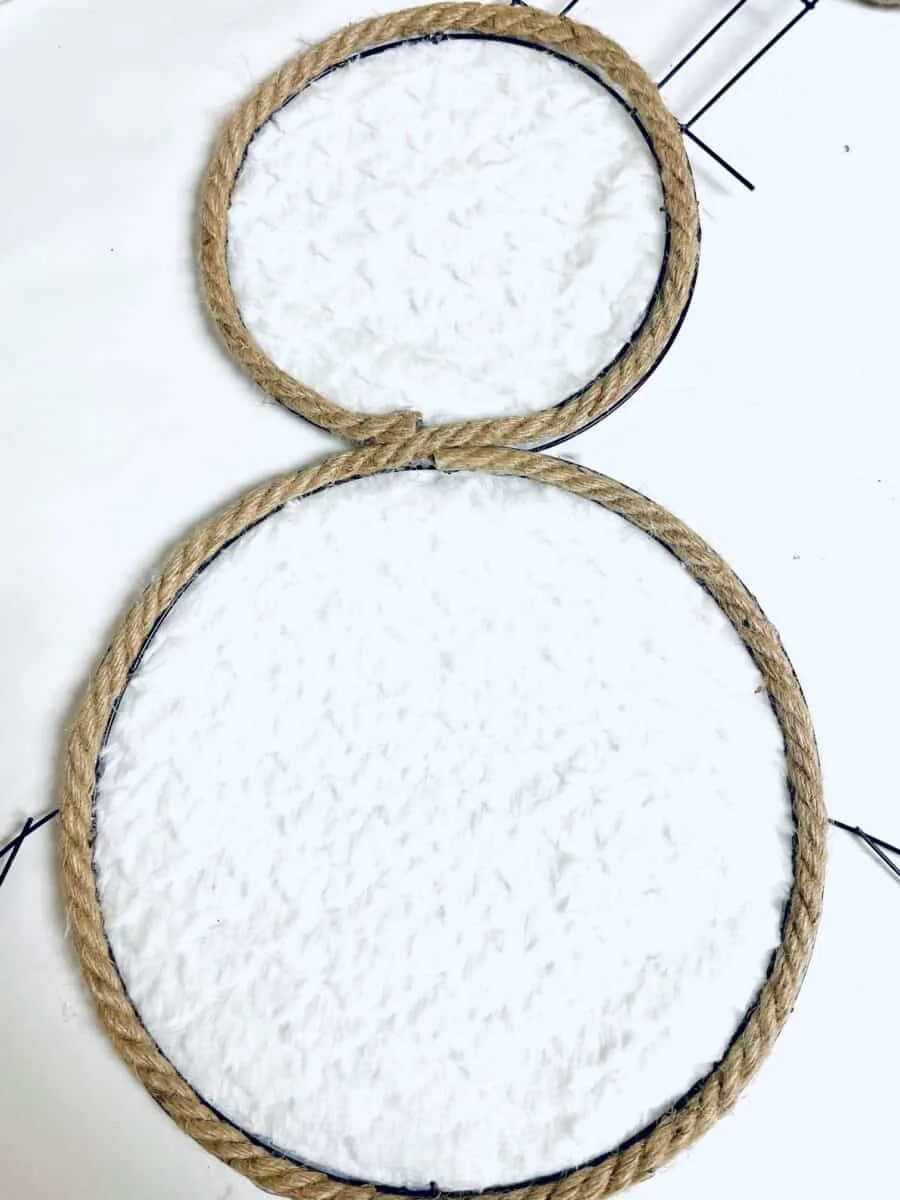
Apply a layer of hot glue to the rings of the snowman wreath form. Be sure to apply to the bars that are inside each circle that act as supports, too.
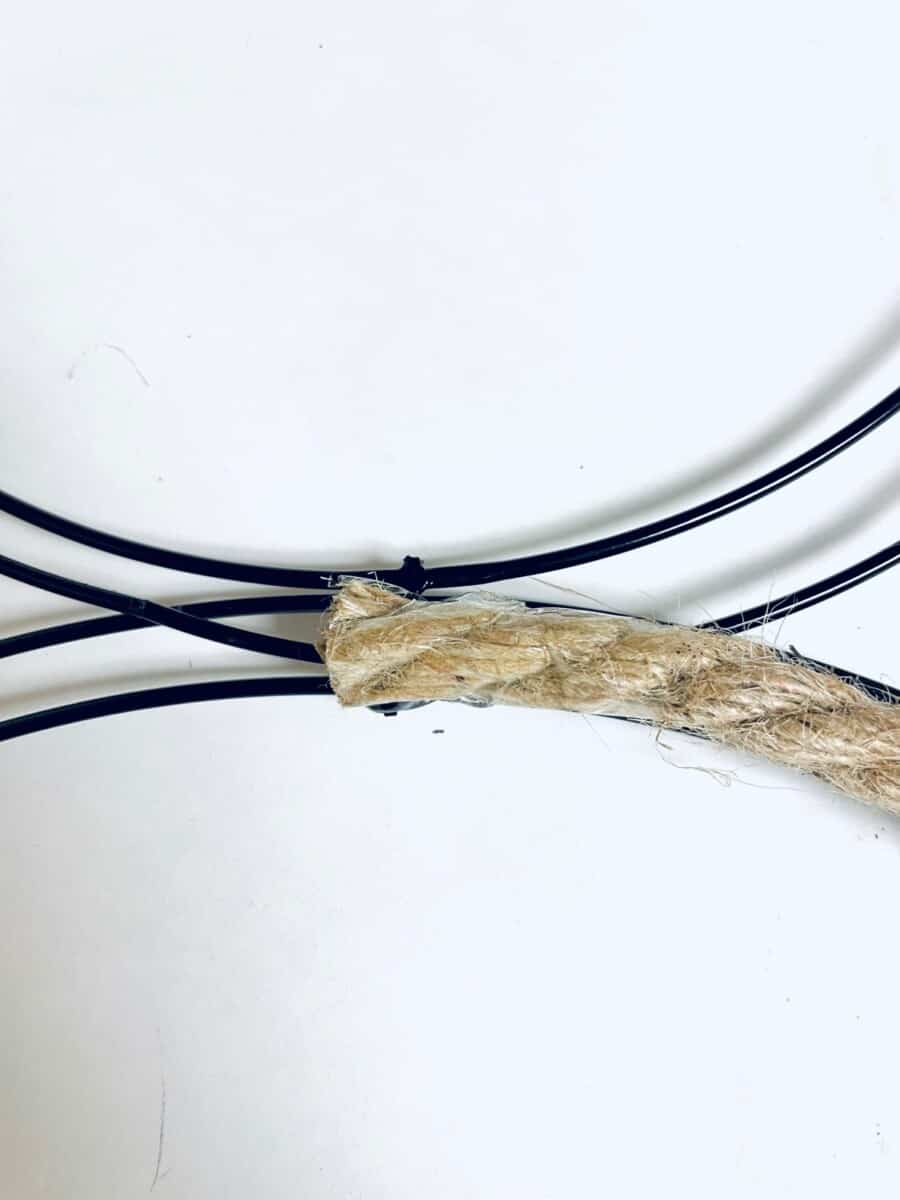
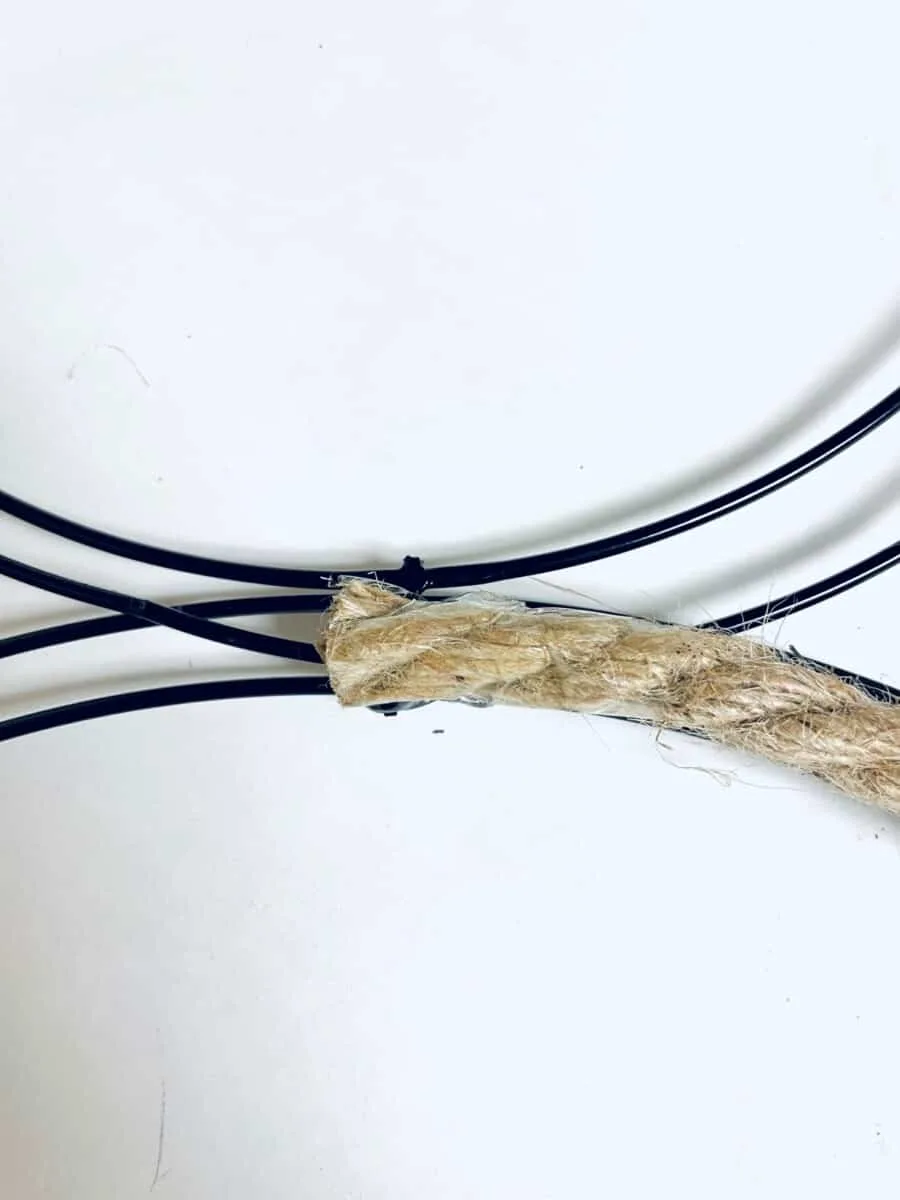
Lay the nautical rope on the hot glue from the outside of the wreath, which is the side that would be shown when hanging. You want the rope to be on top of the circle wire forms rather than behind them.
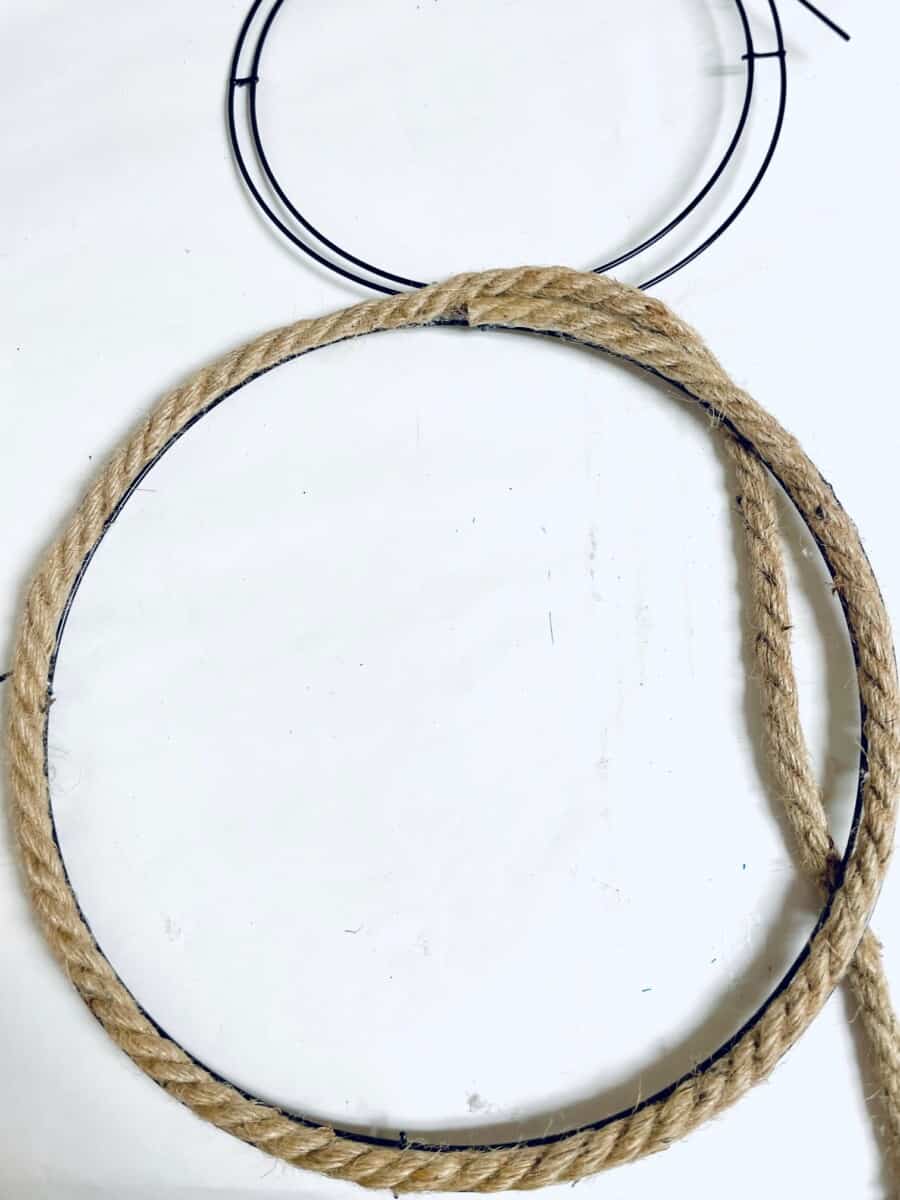

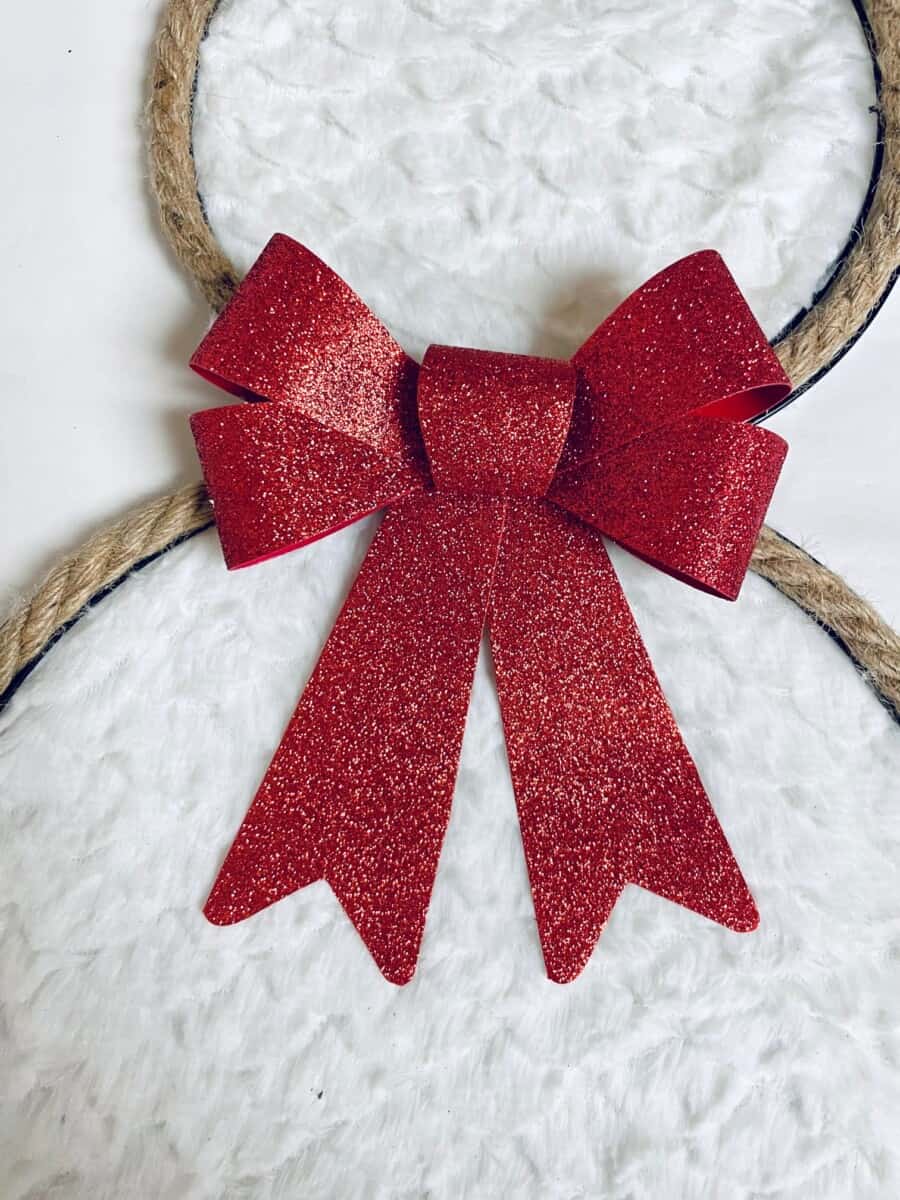
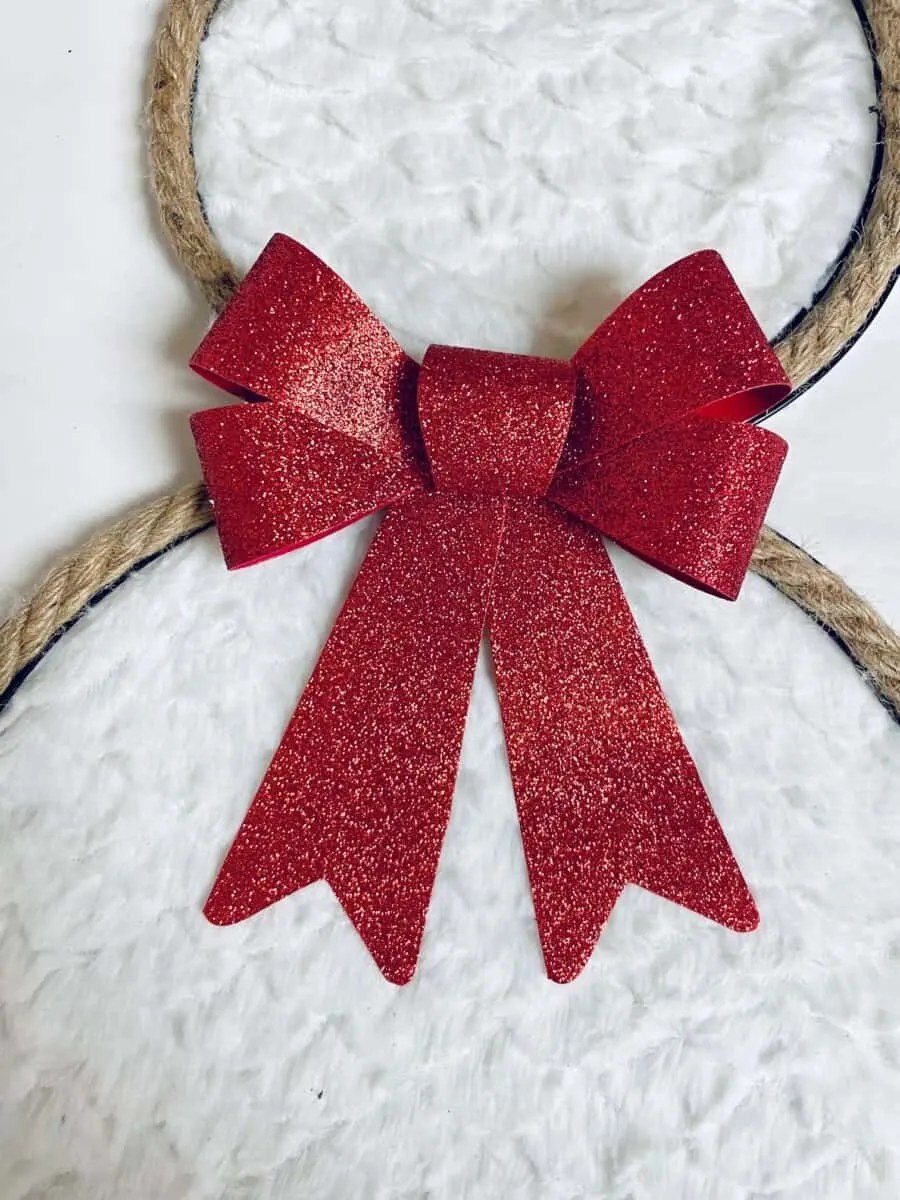
I started gluing the rope at the top of the neck for the large circle, and the base of the neck for the head. That way, the cut ends will be hidden by the bow.
Cut the rope where it overlaps with itself. Be sure to hot glue the ends of the rope down so that it doesn’t fray or fall off.


Step 2
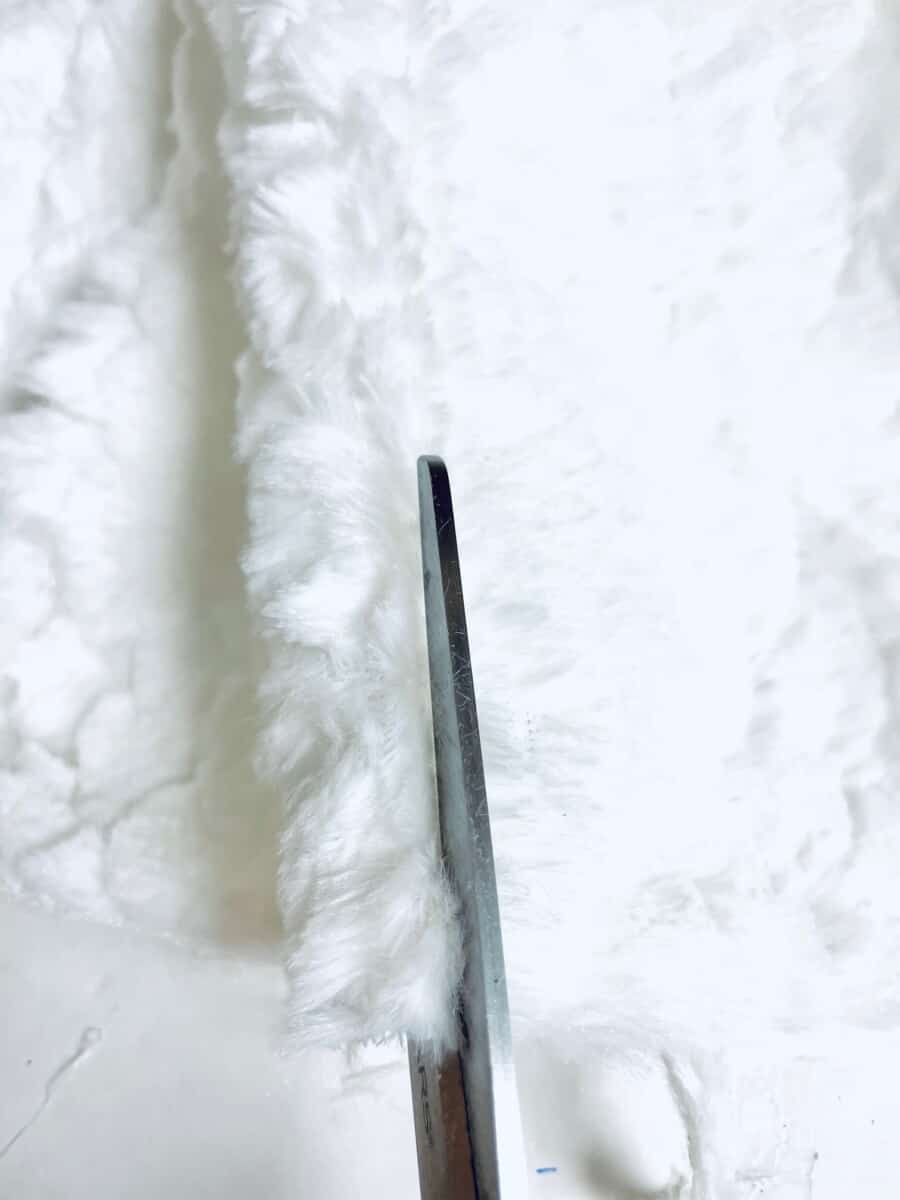
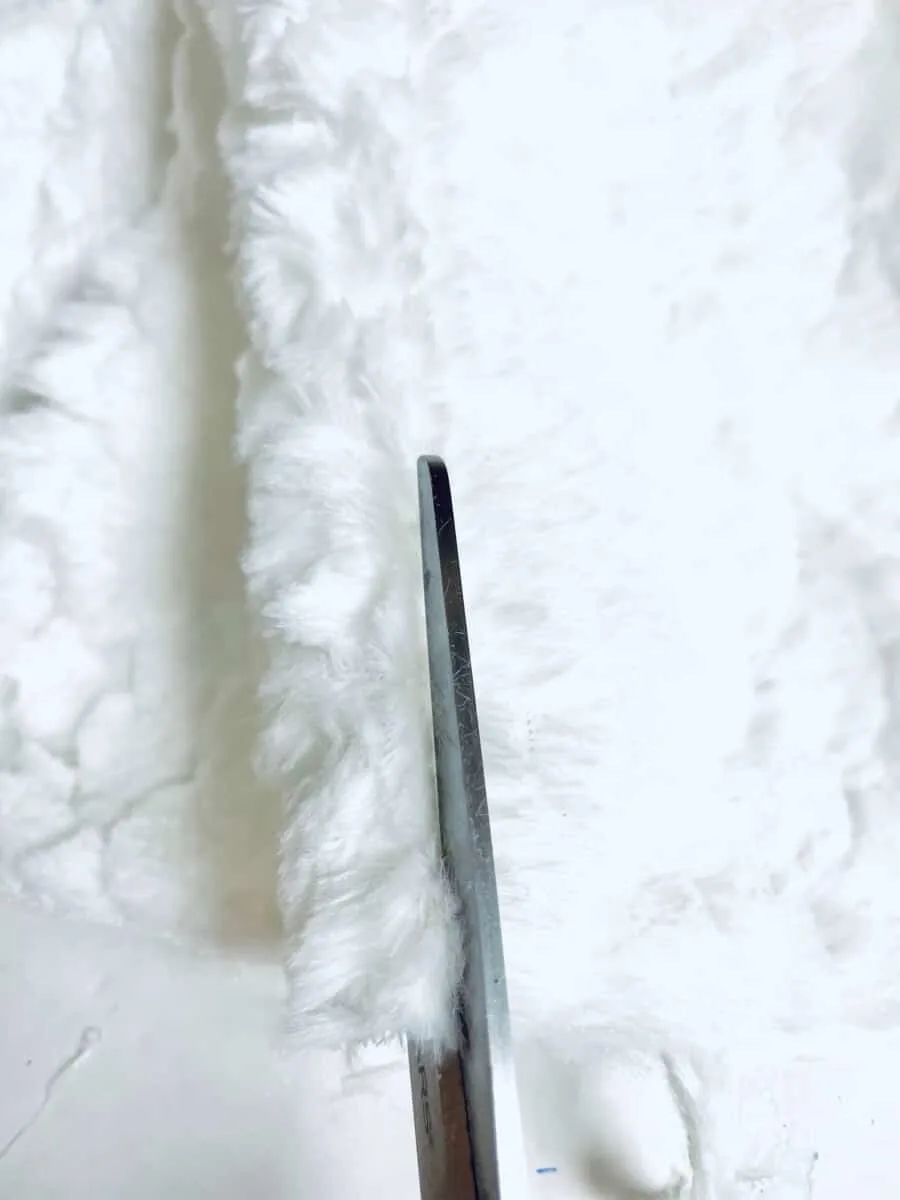
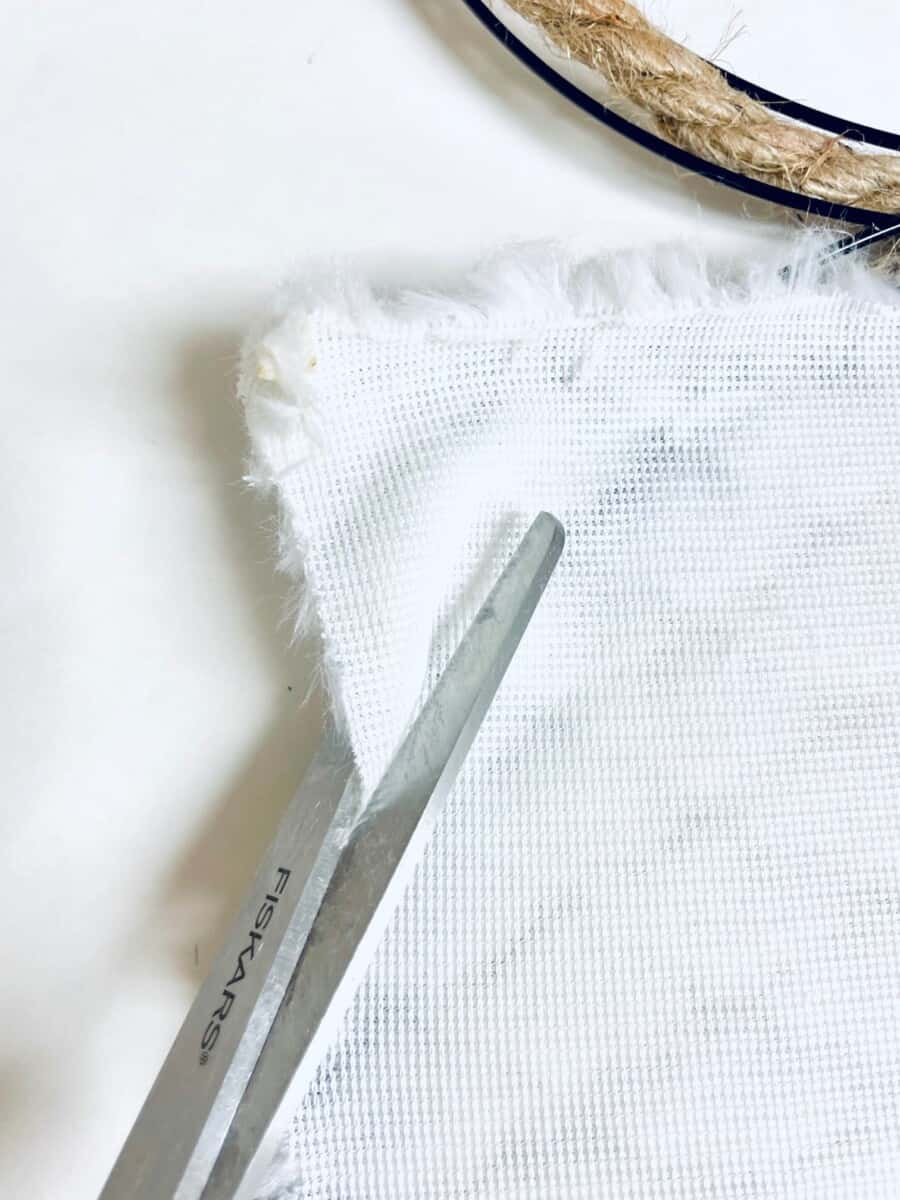
Cut the seams on the fur pillow on 3 sides, leaving one side attached. You will now have a large piece of fluffy fabric to work with.
From this large piece, cut a section big enough to cover the bottom circle form. It’s okay to cut a square piece and trim later.
Using the hot glue gun, glue the fabric to the backside of the snowman wreath form. You might need to stretch it across the center part to fit.

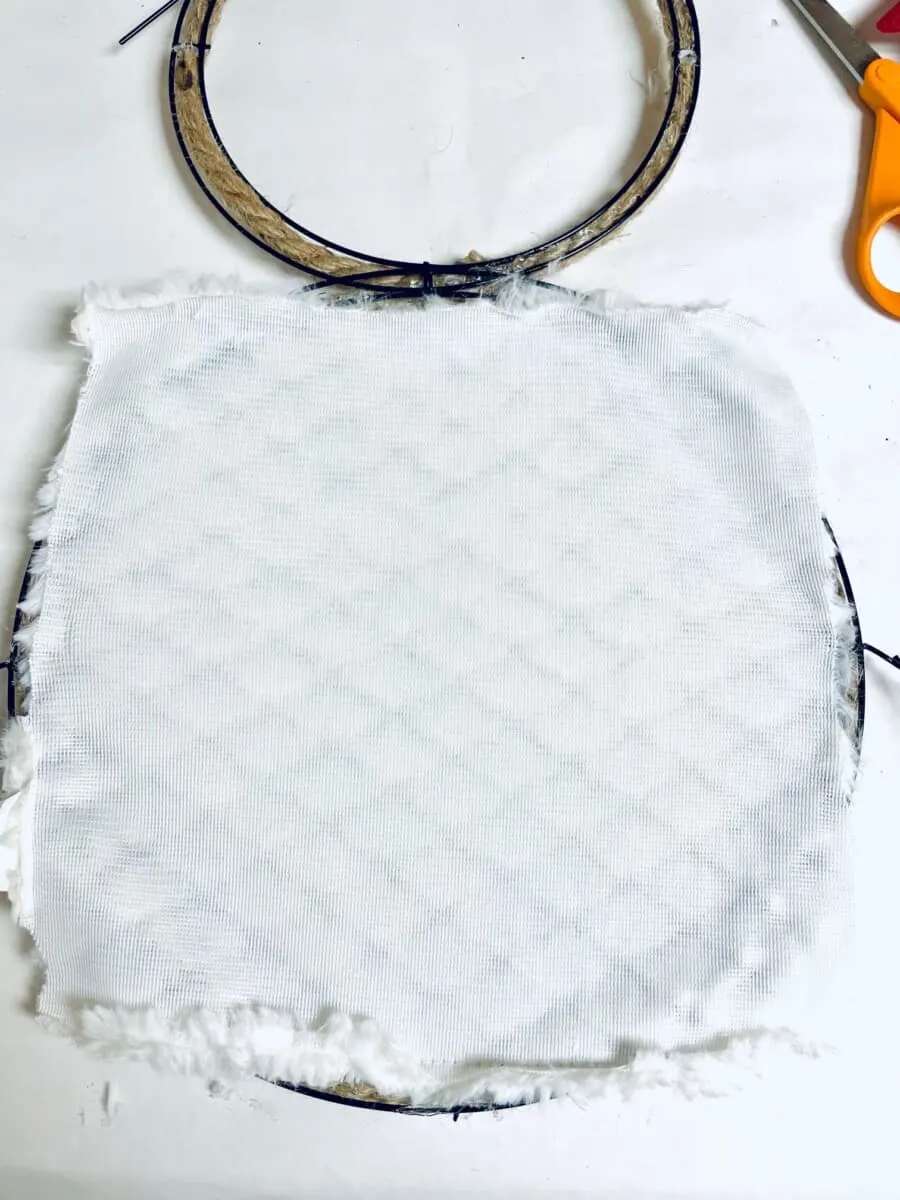
Then trim around the circle to remove overlapping fabric.

Step 3
Repeat the same process for the top circle.
Step 4
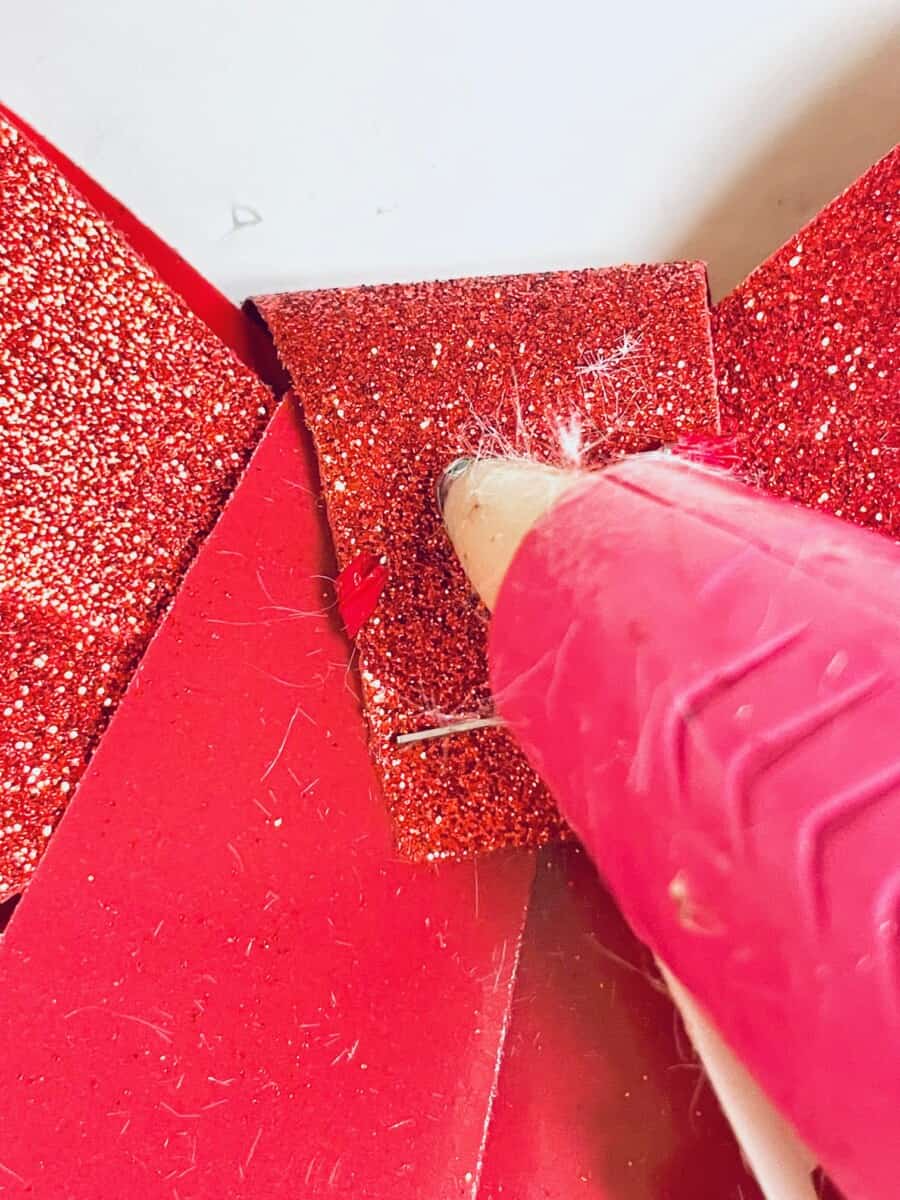
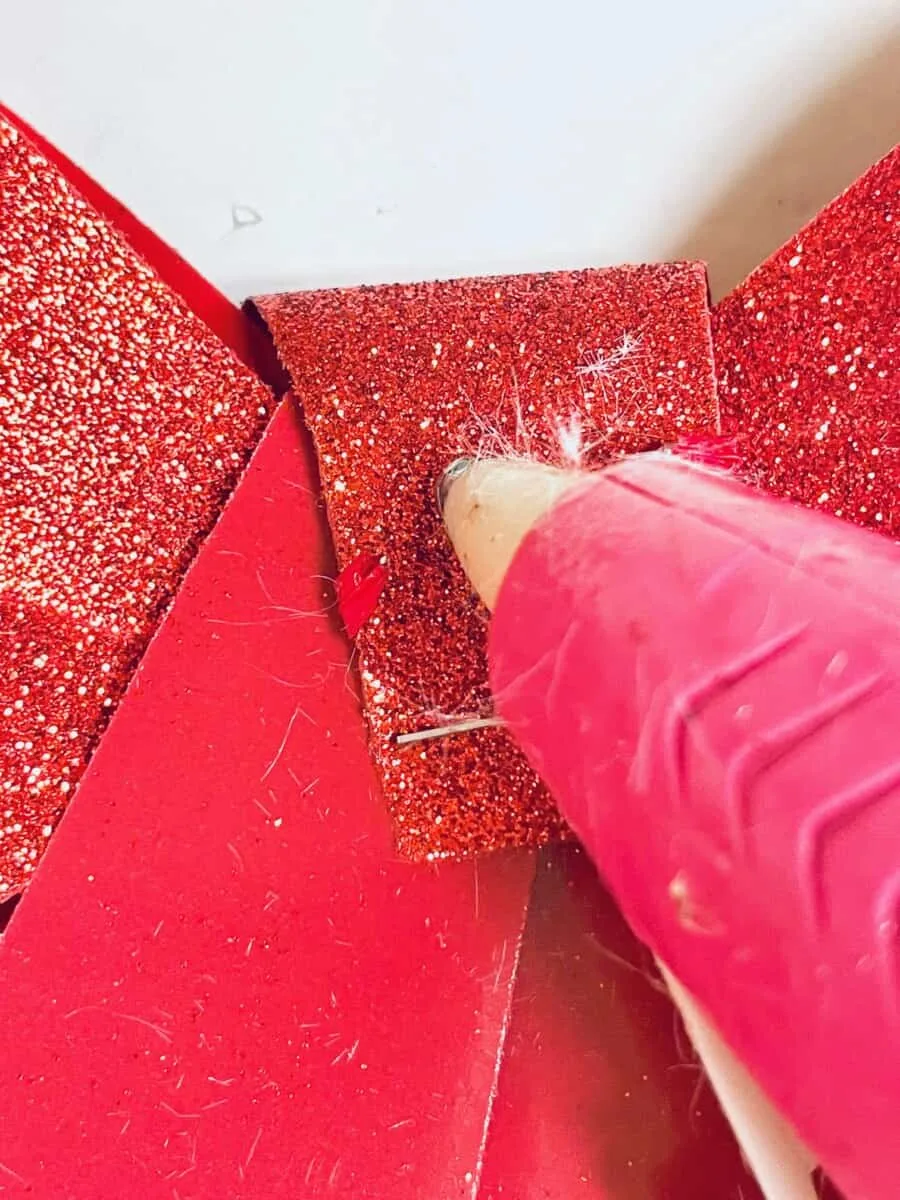
Apply a dab of hot glue to the backside of the red bow and attach it to where the two circles meet at the neck of the snowman.
Step 5
Stretch the winter hat over the hat on the snowman wreath form. If you would like, you can add a dab of hot glue on the wreath to keep the hat secured.


Christmas Patterns and SVGs!
Want more fun holiday SVGs for crafting and creating this season? I’ve got a fun 4-pack of patterns perfect for DIYs!
Visit the Single Girls DIY library for more details and to get your downloads!
If you love this snowman wreath for the front door, you will want to see more of our snowman crafts:
- Reversible Wood Block Snowman
- Snowman Vase
- DIY Snowman Bracelet
- Tumbling Tower Snowman
- Foam Dice Snowman
- Snowman Christmas Crackers
- Snowman Bookmark
- Easy Snowman Hat Ornaments
