
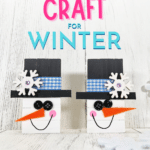
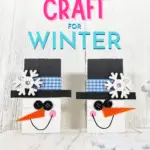
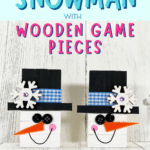
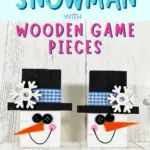
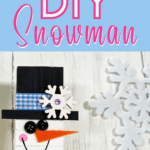
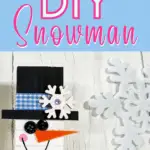

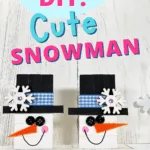
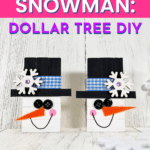
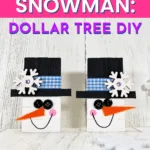
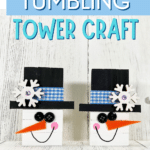
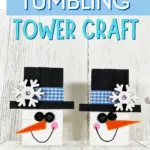
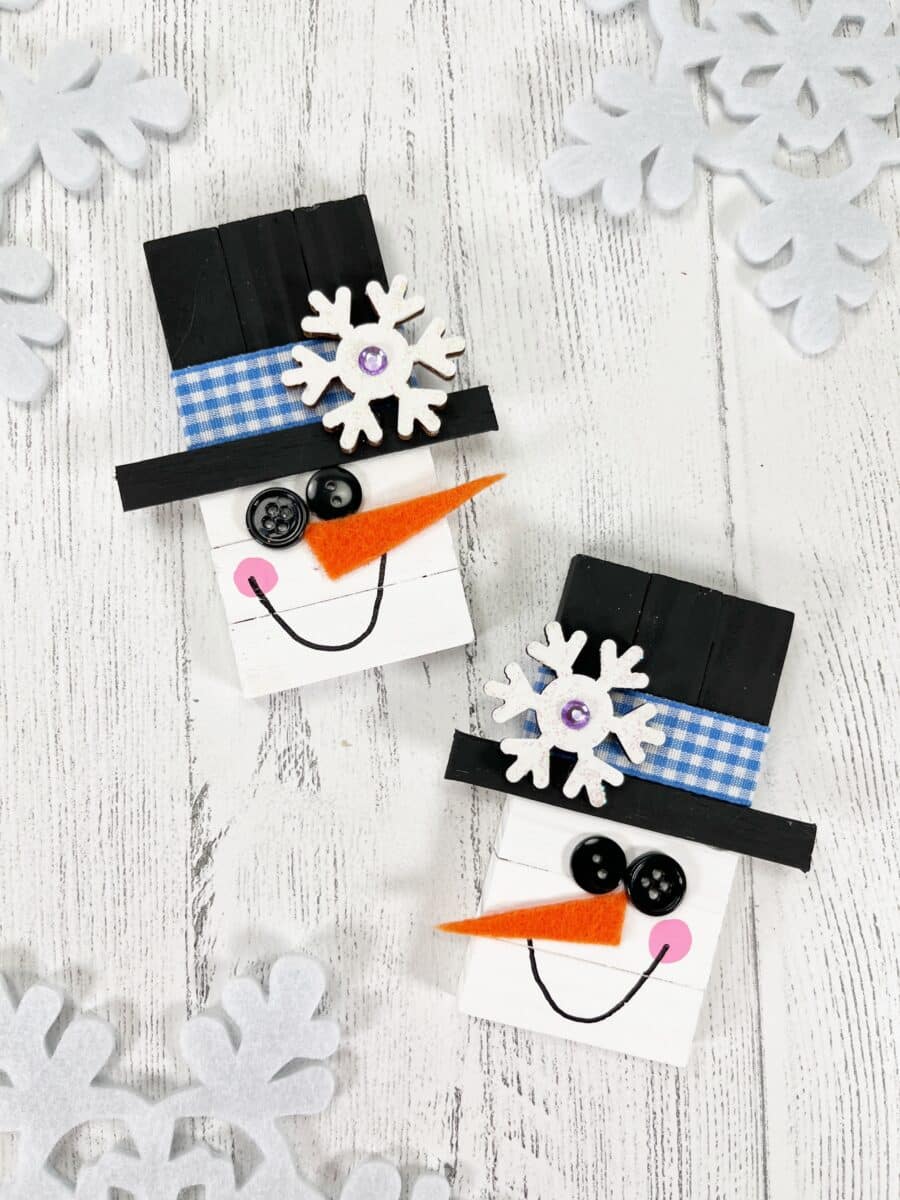
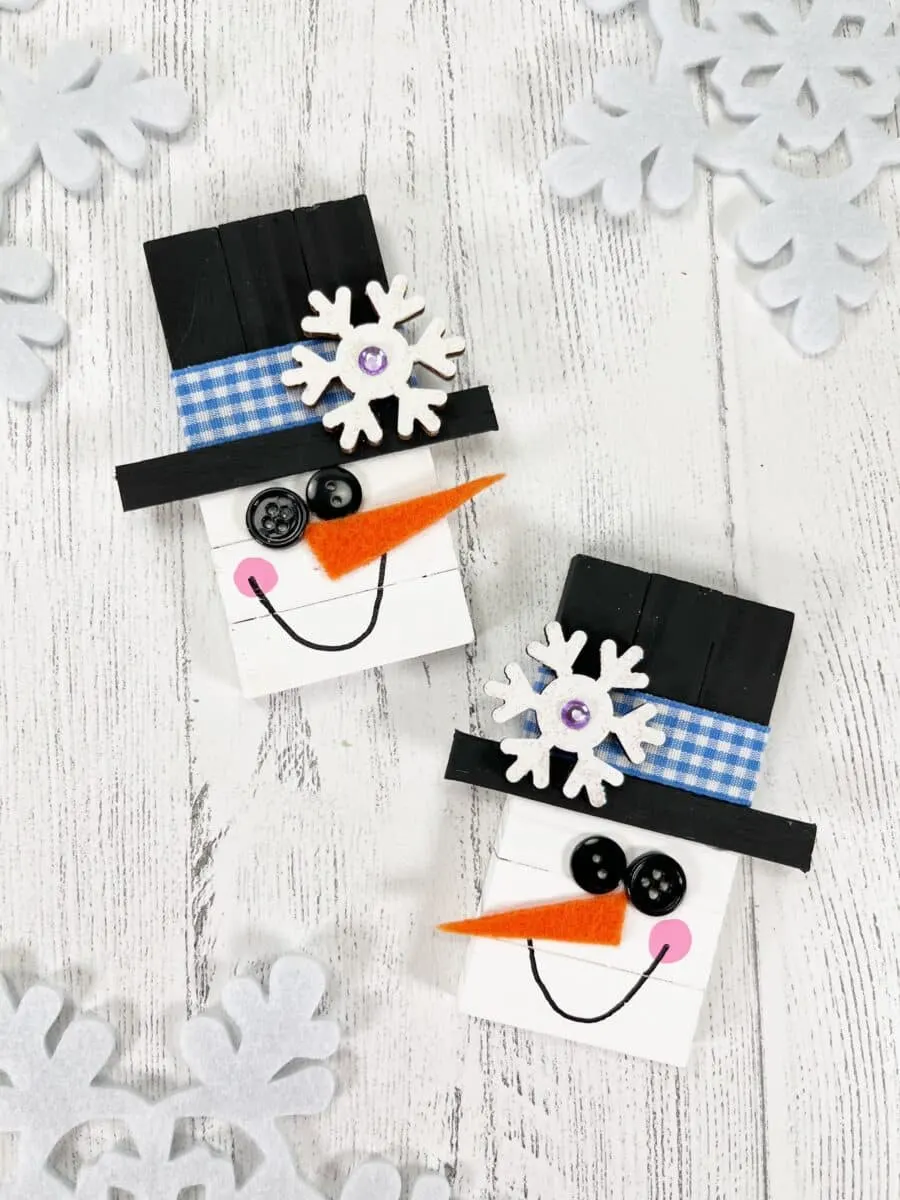
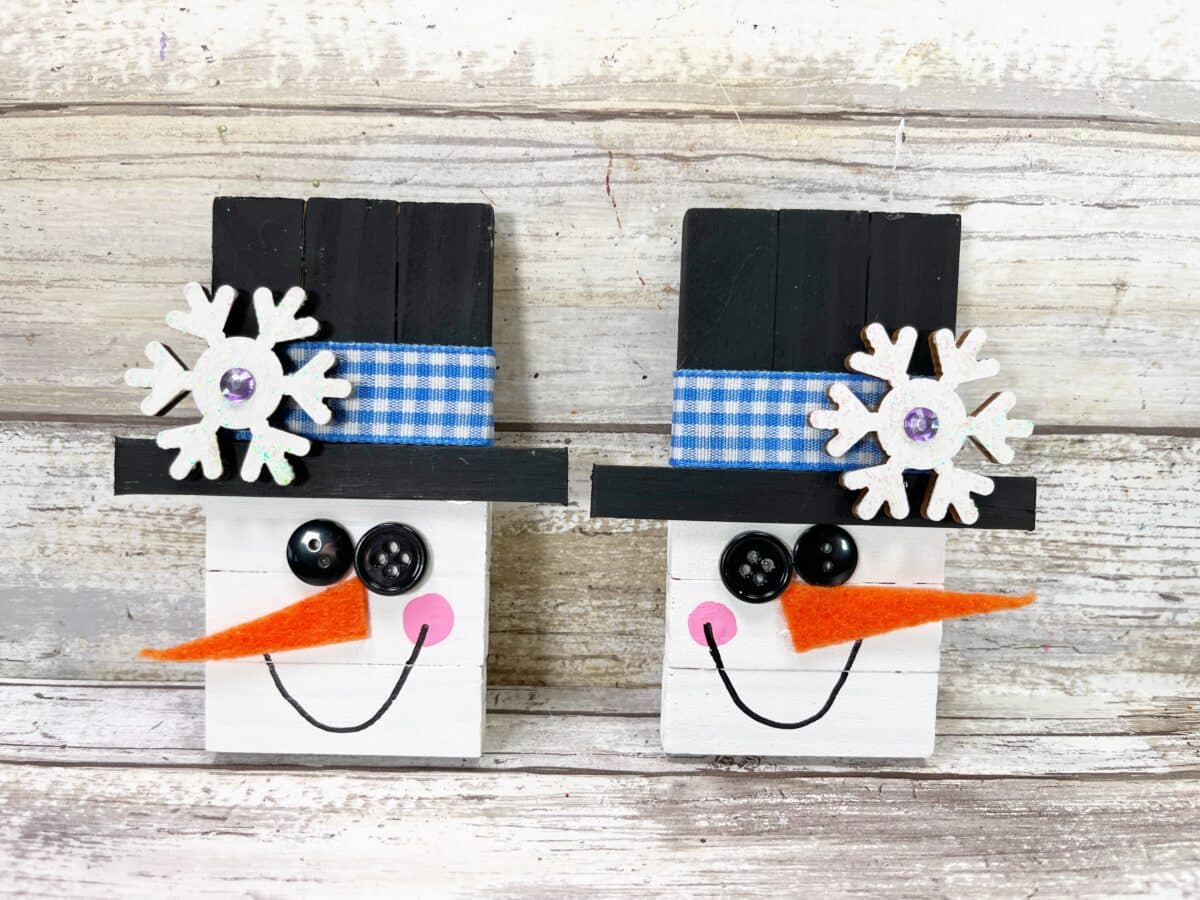
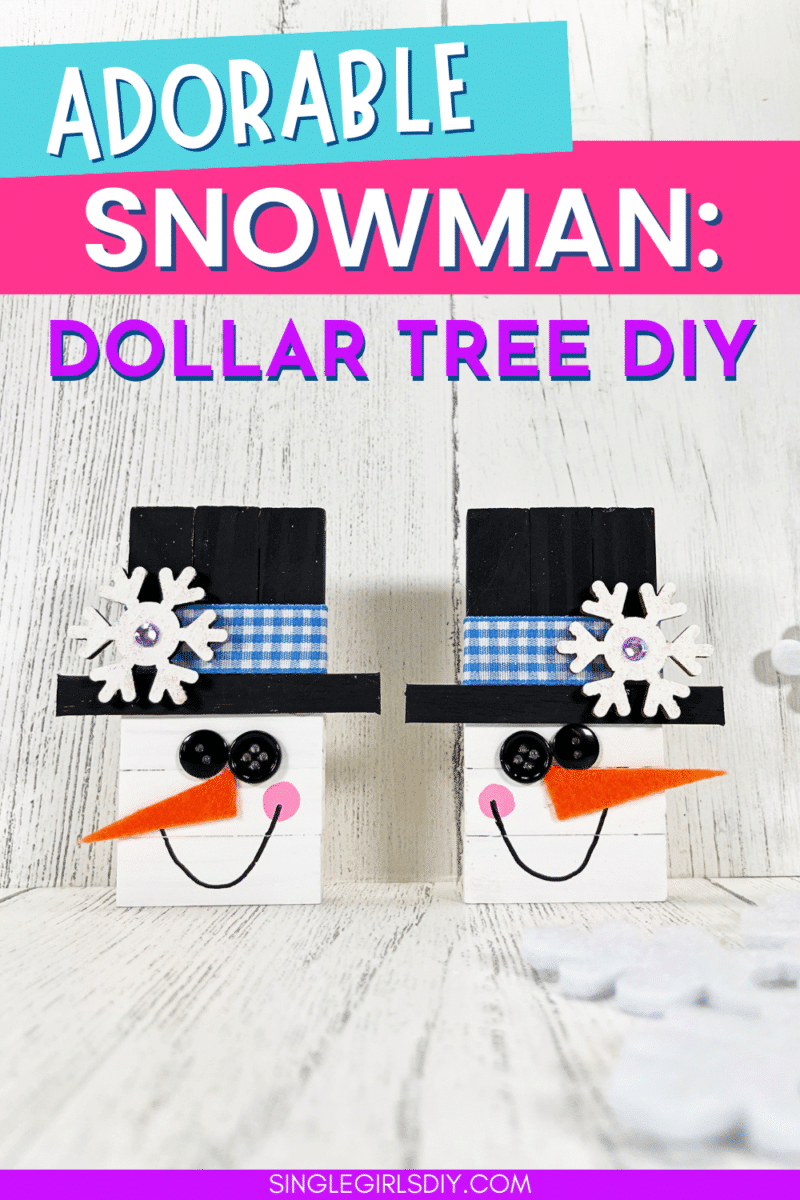
Use wooden blocks from a Dollar Tree Tumbling Tower game to make a cute snowman to sit on a shelf or tiered tray. This is a perfect winter craft that is very inexpensive to make.

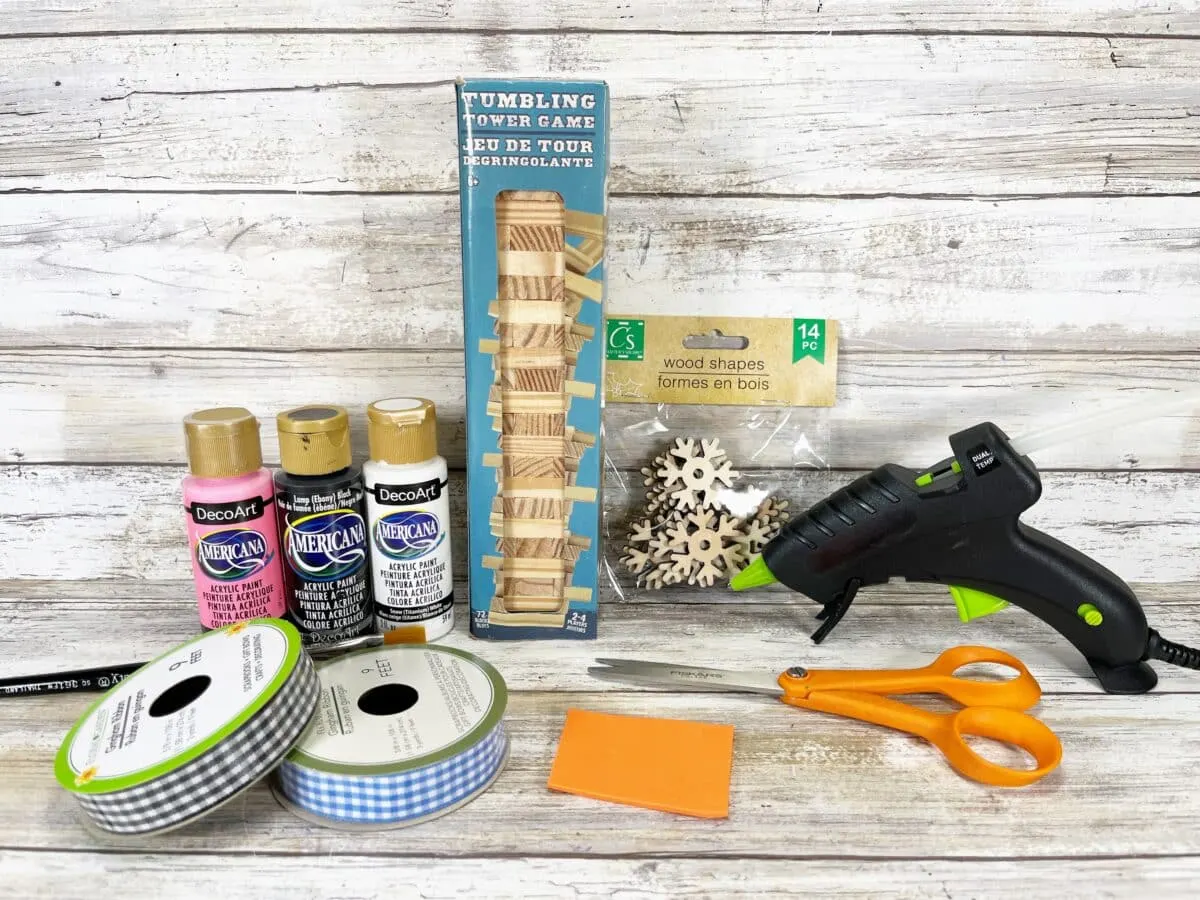
All materials other than paint are from Dollar Tree. Many of the supplies are the same ones we used to make these winter crafts:
You could easily make all three of these craft ideas at the same time.
DIY Tumbling Tower Snowman
Supplies
- 6 Tumbling Tower Game Pieces for each snowman
- Acrylic Craft Paint (White, Pink, and Black)
- Craft Stick
- Orange Felt
- Wooden Snowflake
- Black Buttons
- Blue Gingham Ribbon
- Rhinestone
- Glitter Glue
- Hot Glue Gun or Craft Glue
- Scissors
- Paintbrush
- Black Permanent Marker
- Pencil with New Eraser (optional)
- Ruler

Directions
Step 1
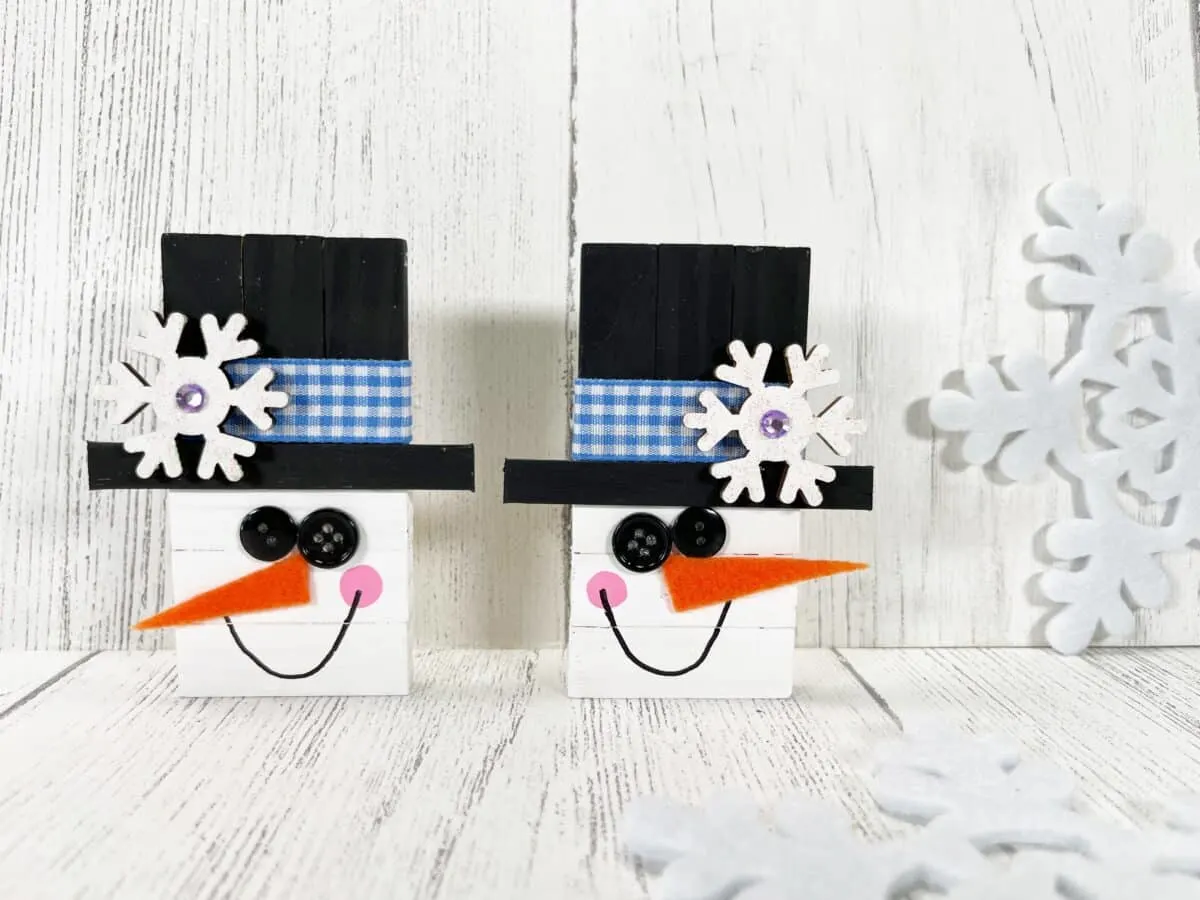
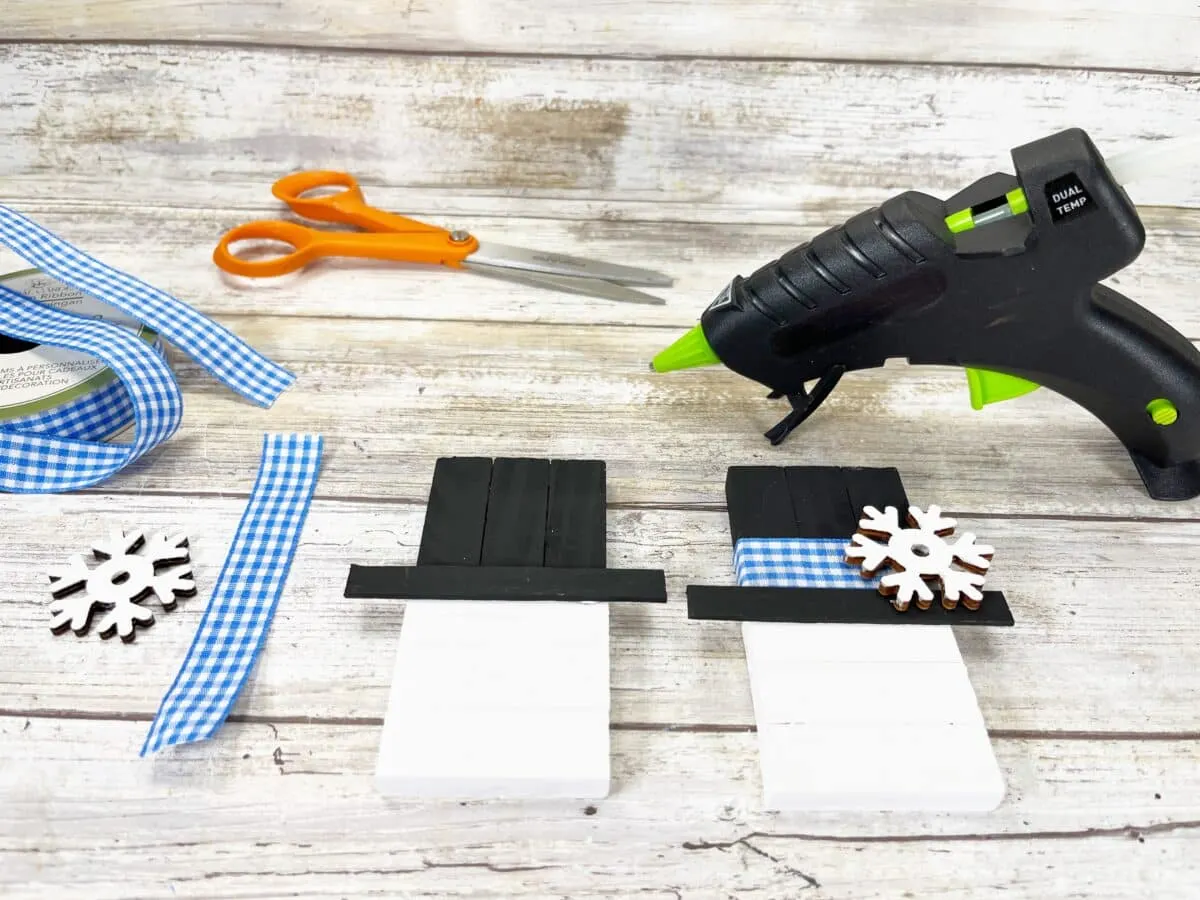
For each snowman, line up six tumbling tower wooden blocks. Three should be horizontal on the bottom, and three should be vertical, side by side, on the top. The vertical ones should fit exactly over the horizontal ones.

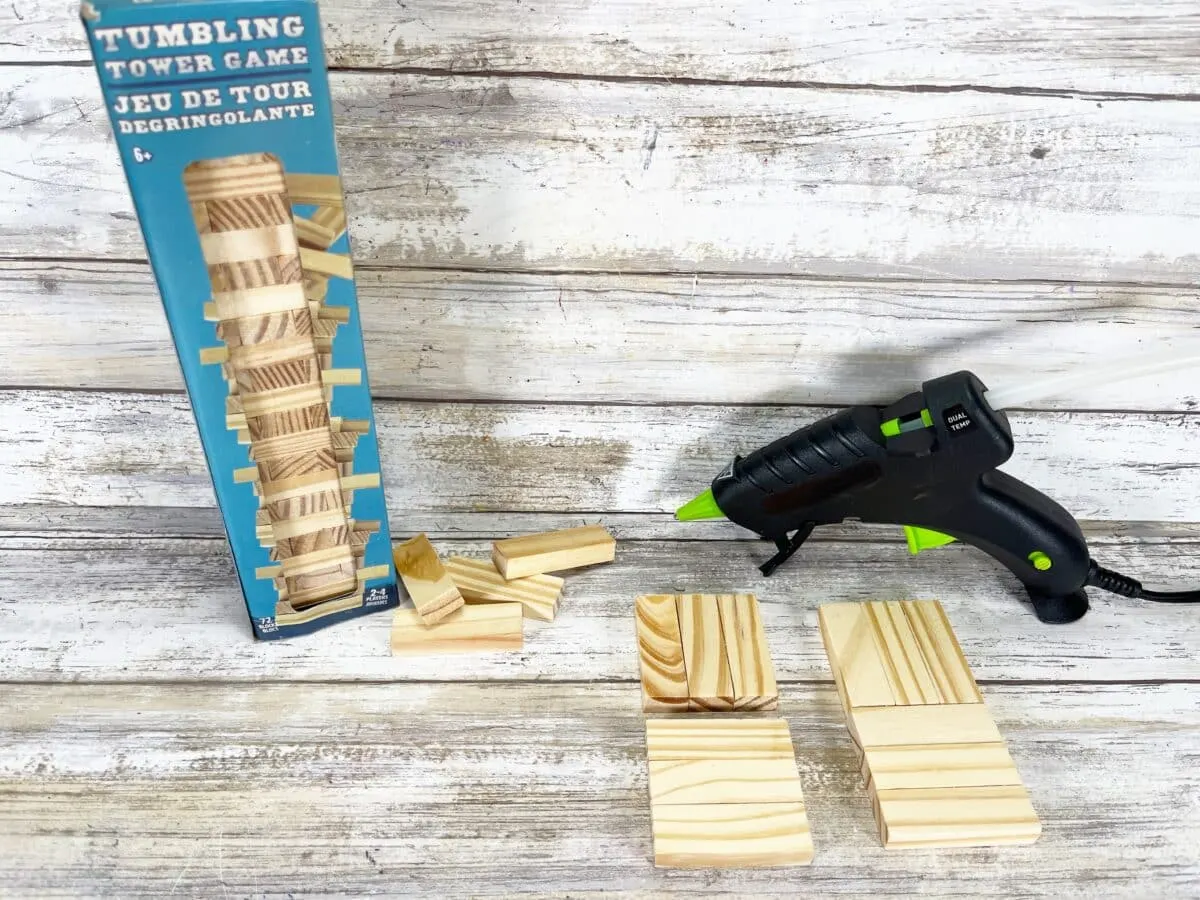
Glue them together on the sides.
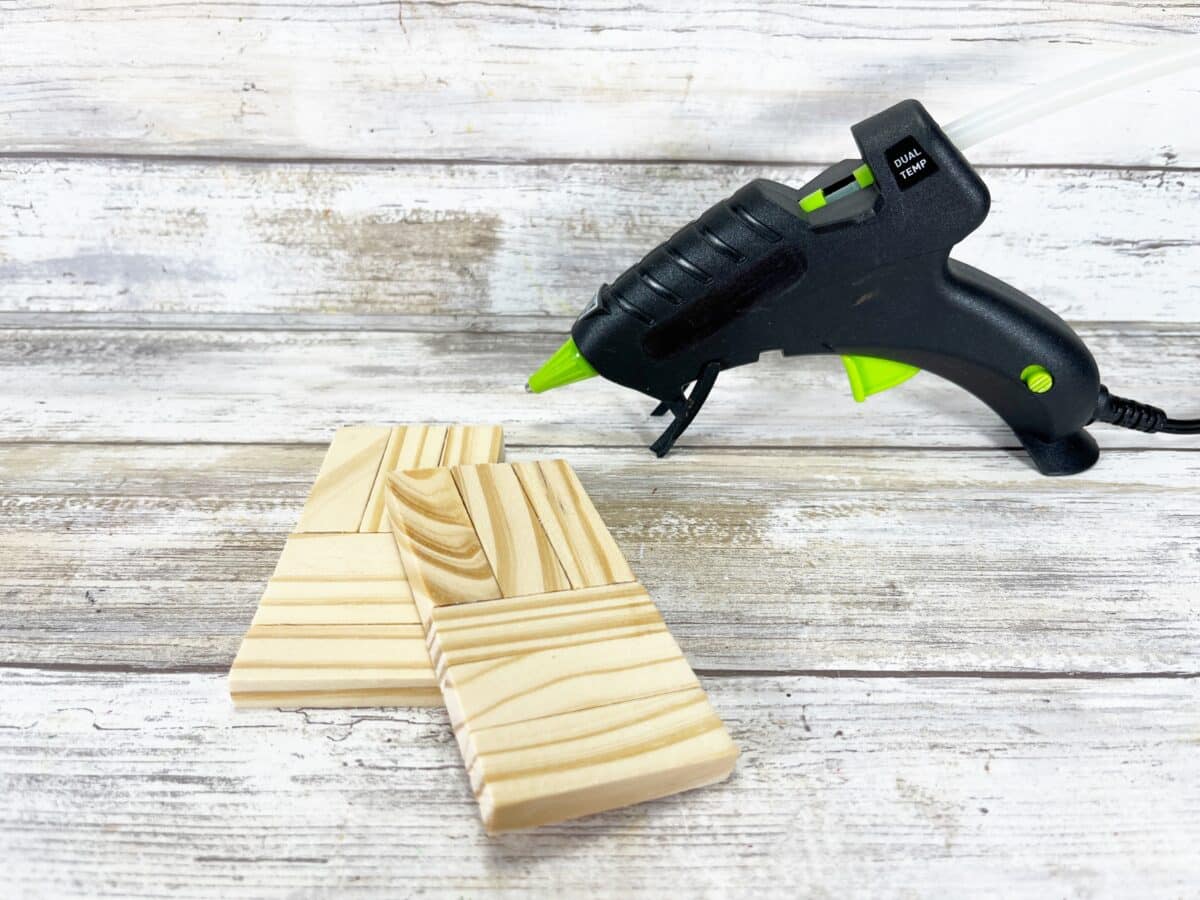

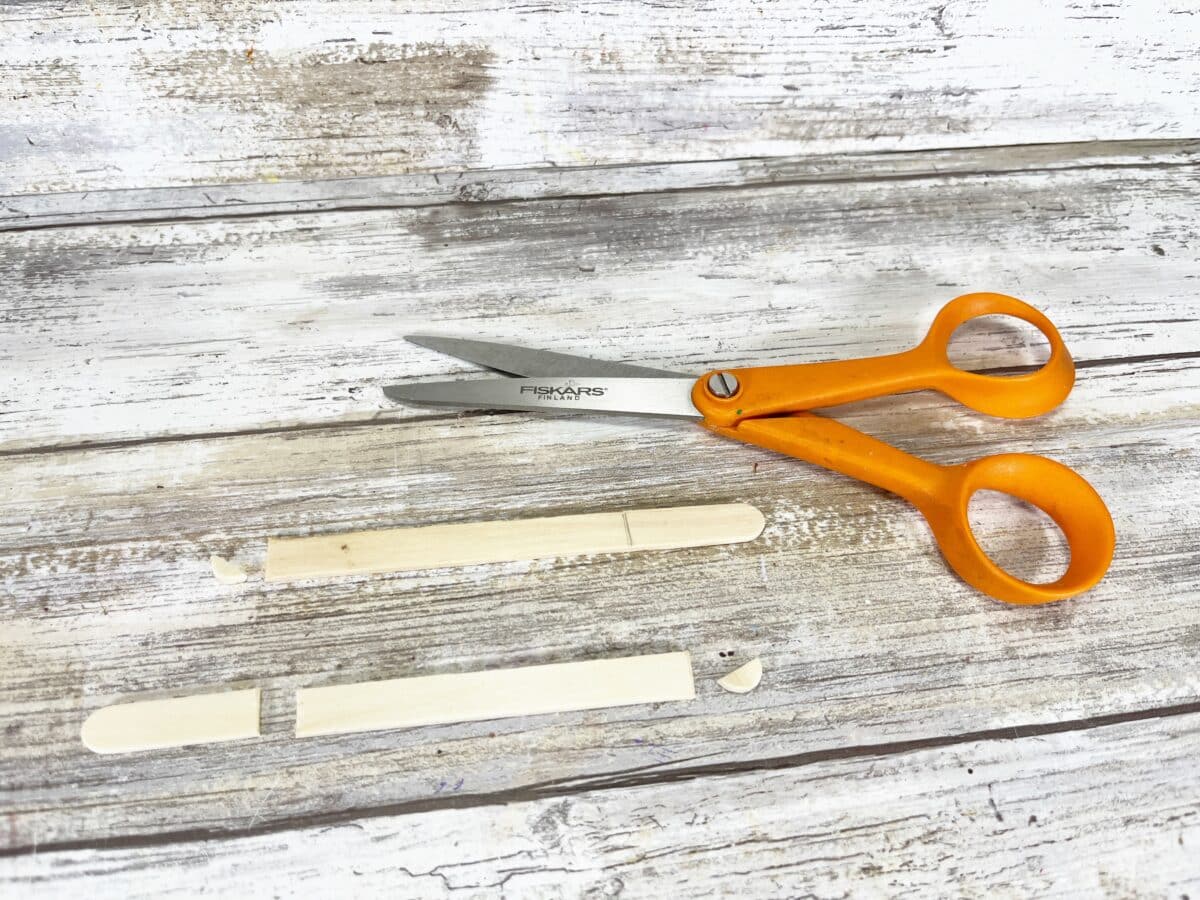
Measure two regular wooden craft sticks to 4” long and cut with scissors.

Step 2
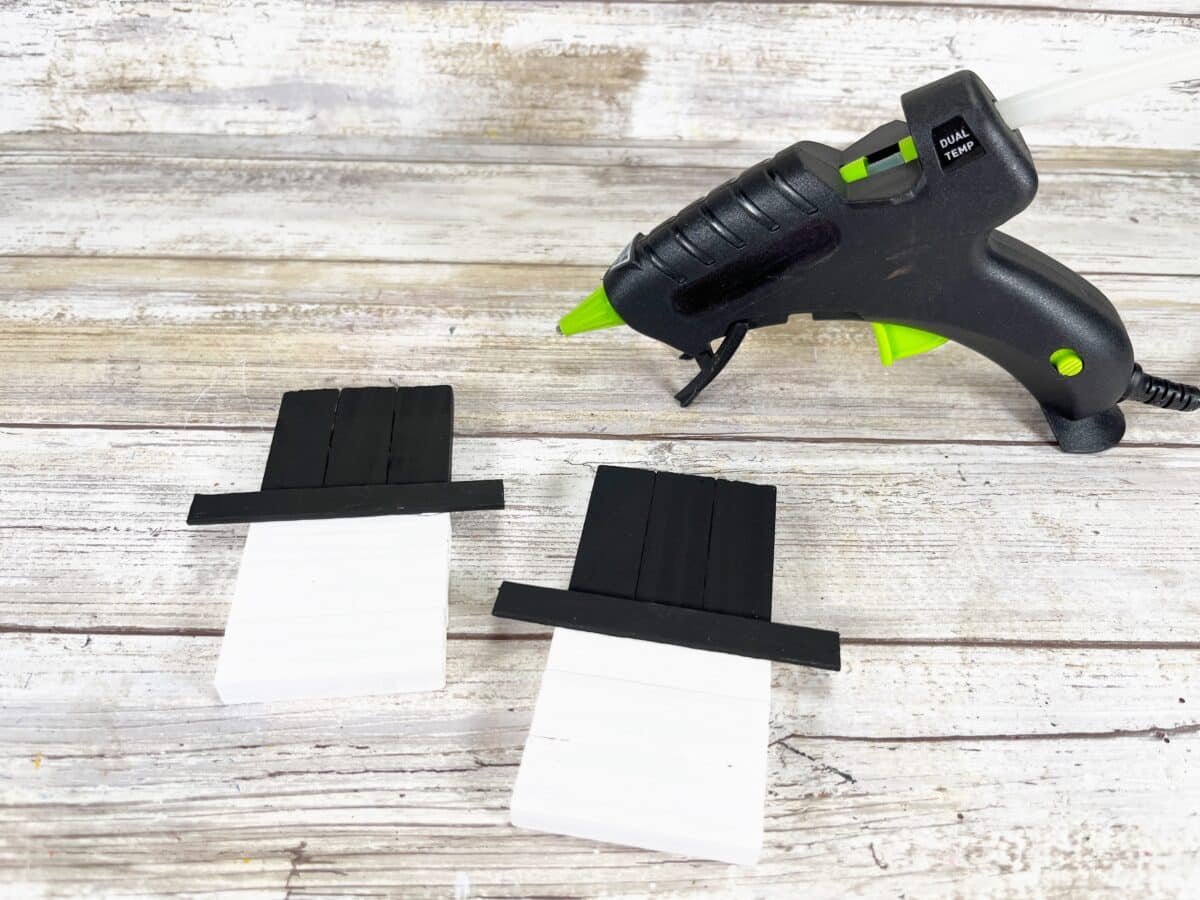
Paint the bottom of the snowmen (the part with the horizontal wood blocks) with white acrylic craft paint. Let the paint dry and apply a second coat, if needed.
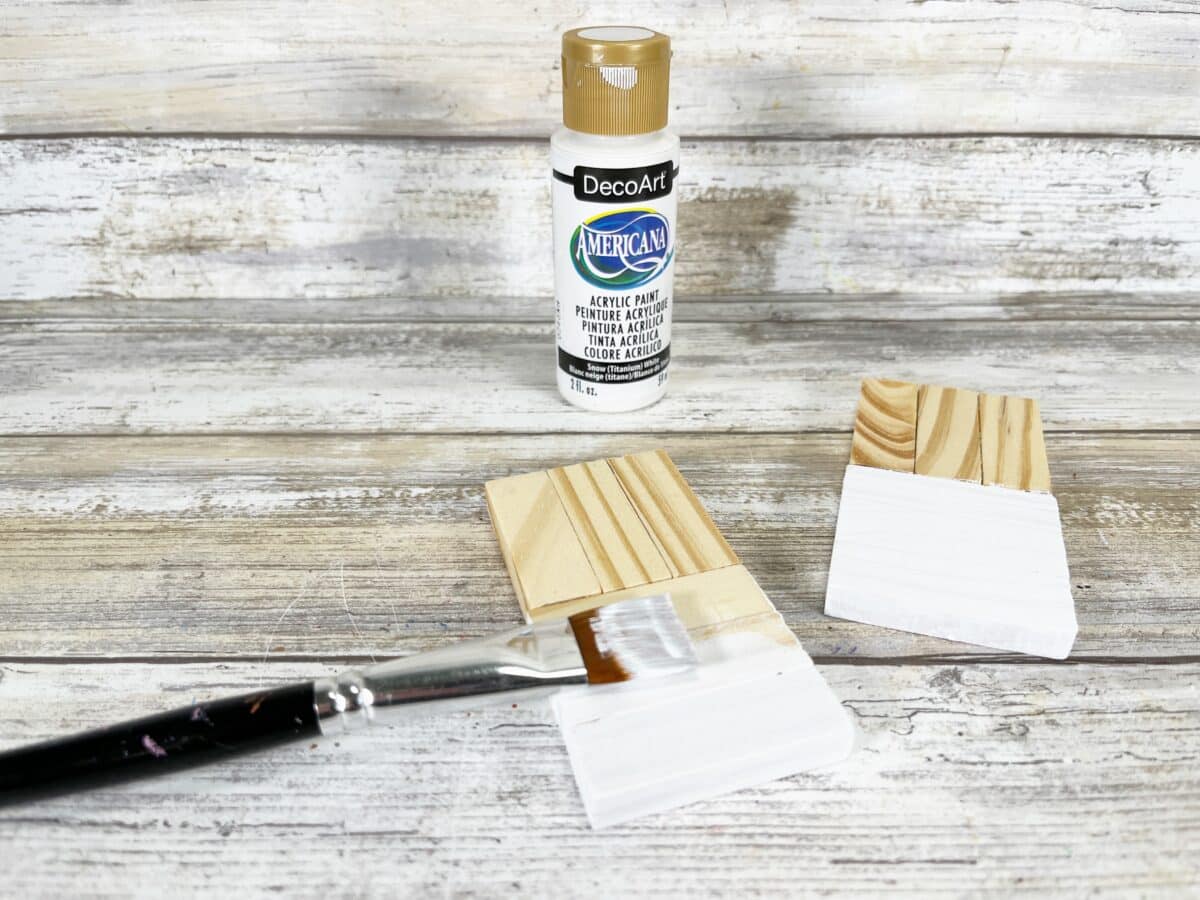

Paint the top of both snowmen (the vertical wood blocks) and the craft sticks with black acrylic craft paint. Let the paint dry between coats and apply a second coat, if needed.
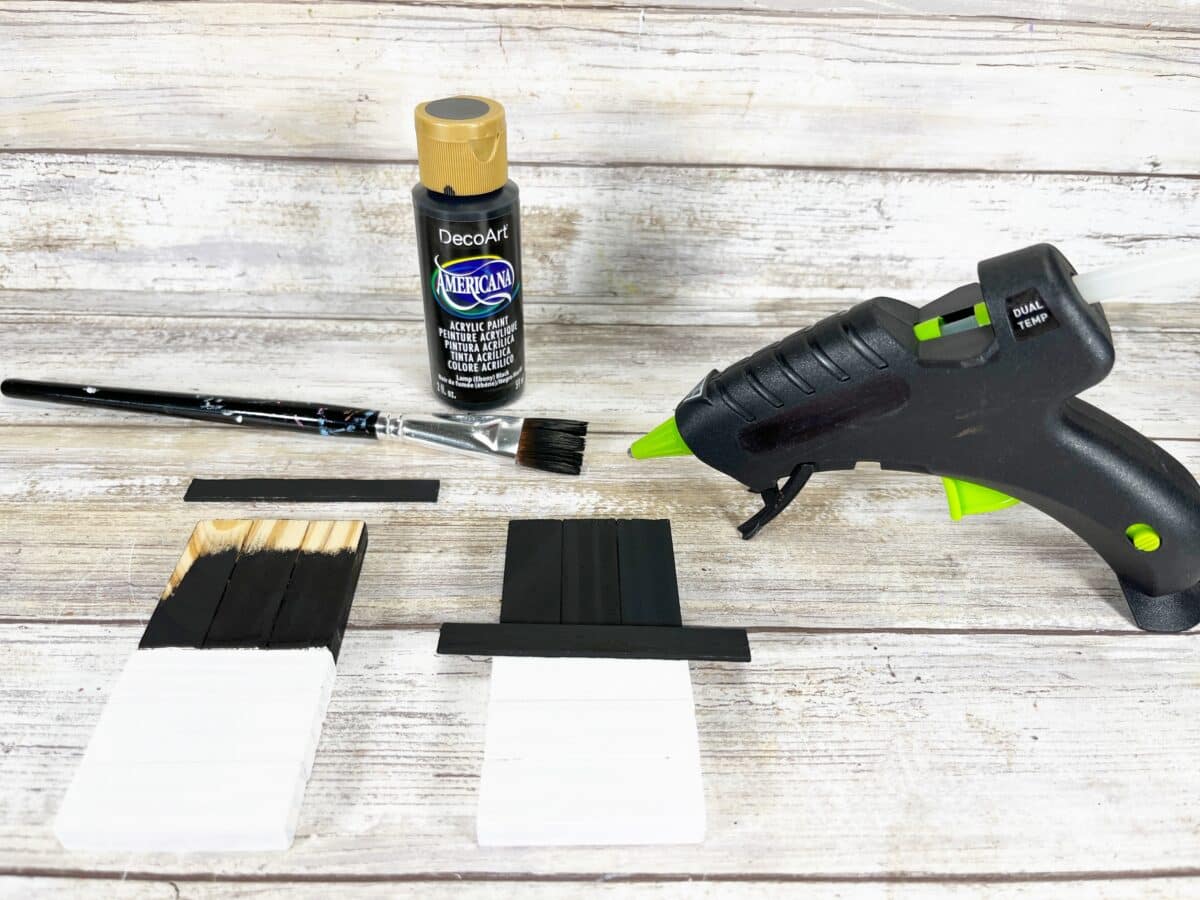
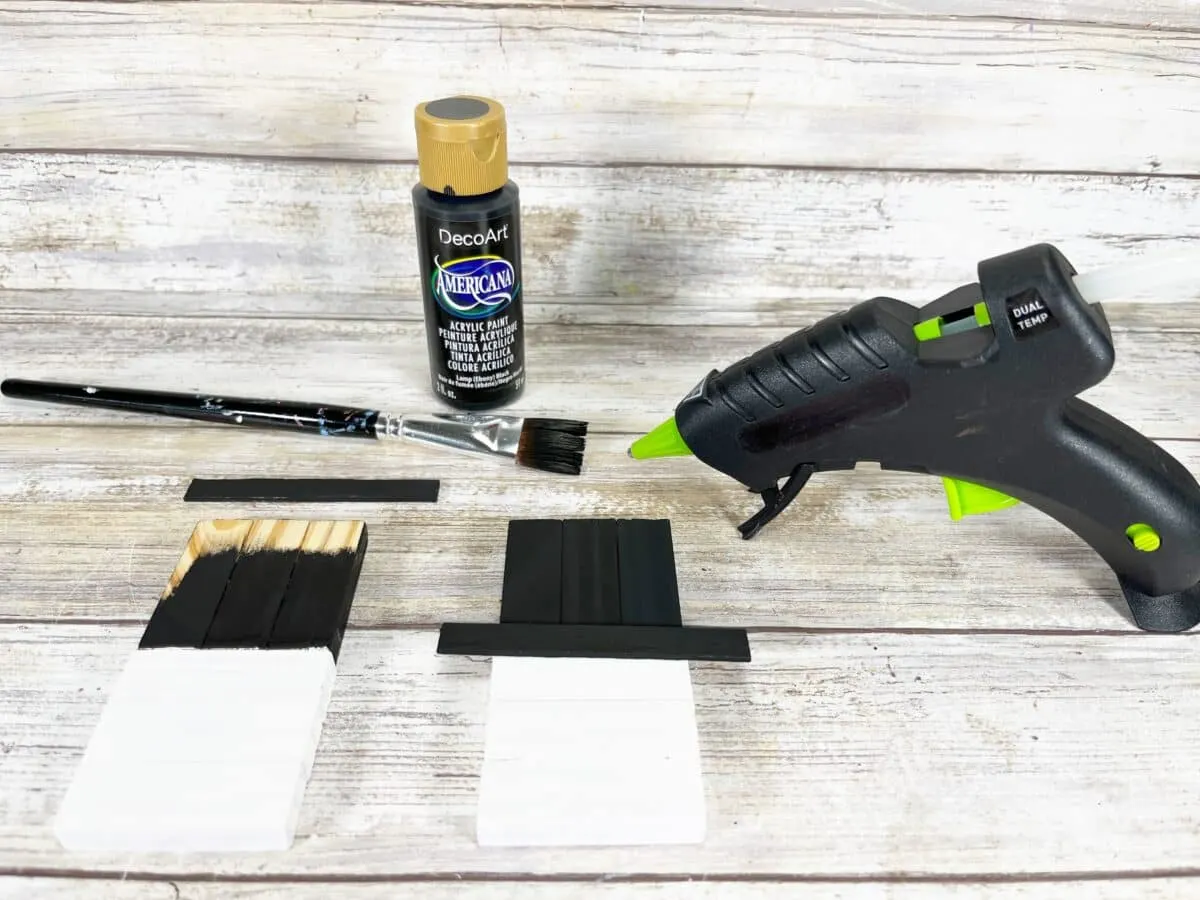
Glue the craft stick hat brims to the snowmen where the white and black paint meet.

Step 3
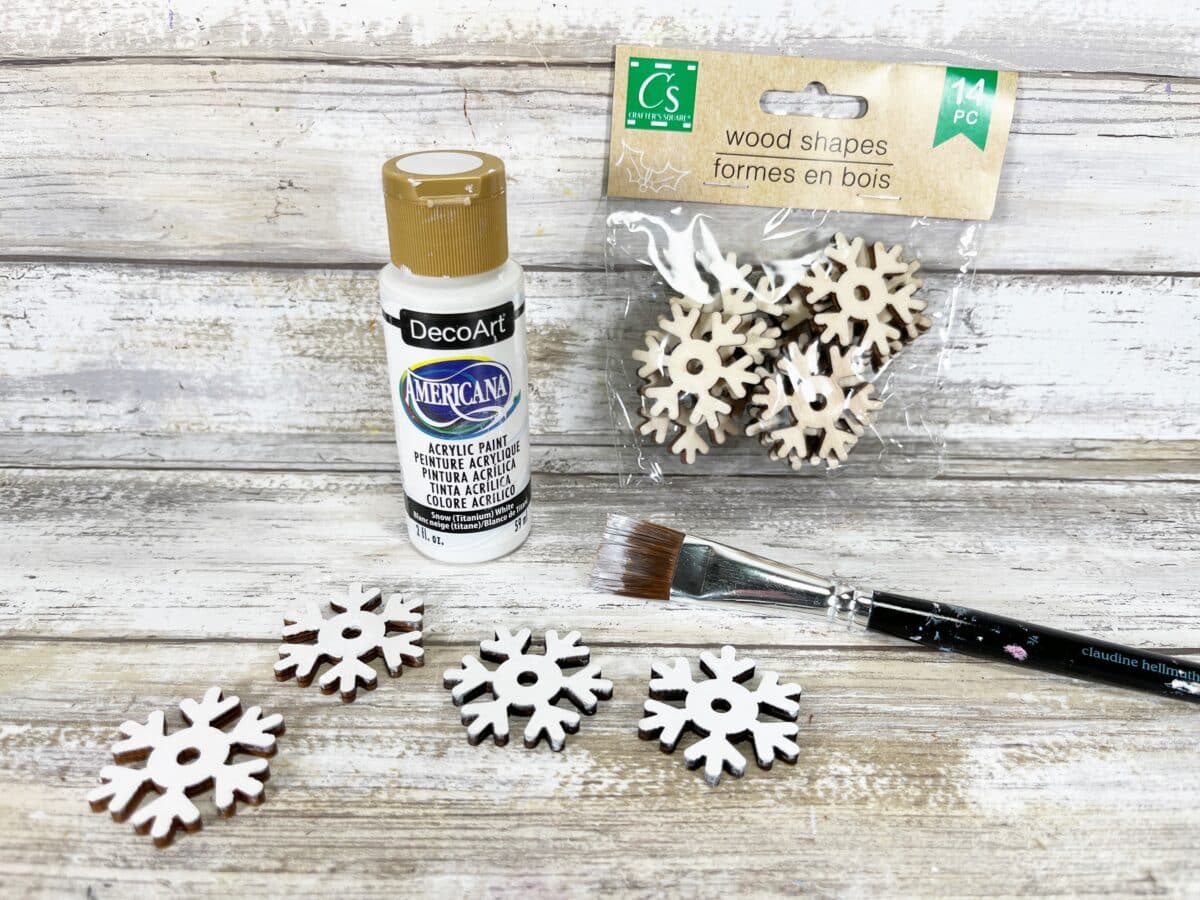
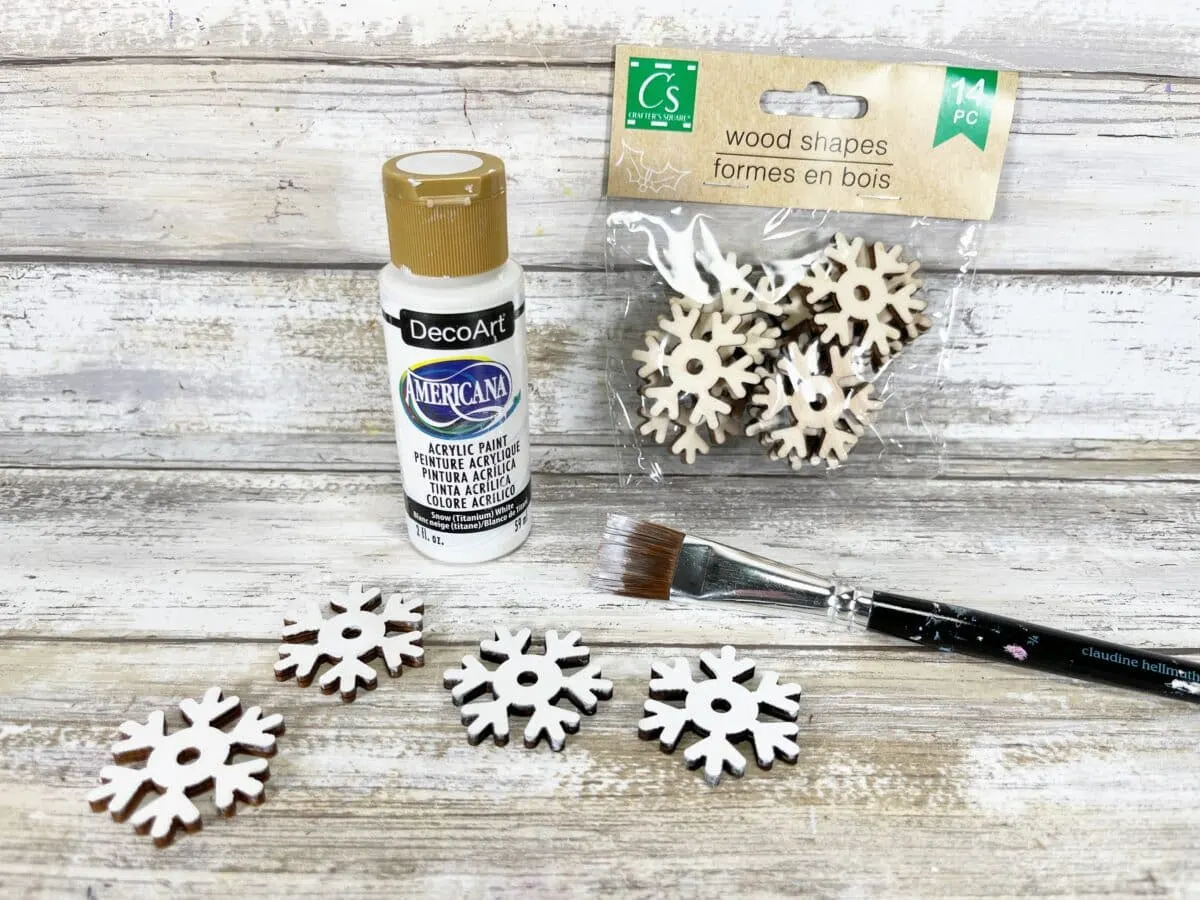
Paint a wooden snowflake for each snowman with white acrylic craft paint. Let dry and apply a second coat, if needed.
Glue a small piece of blue gingham ribbon as the hat band around that hat. Then glue a snowflake to the hat.

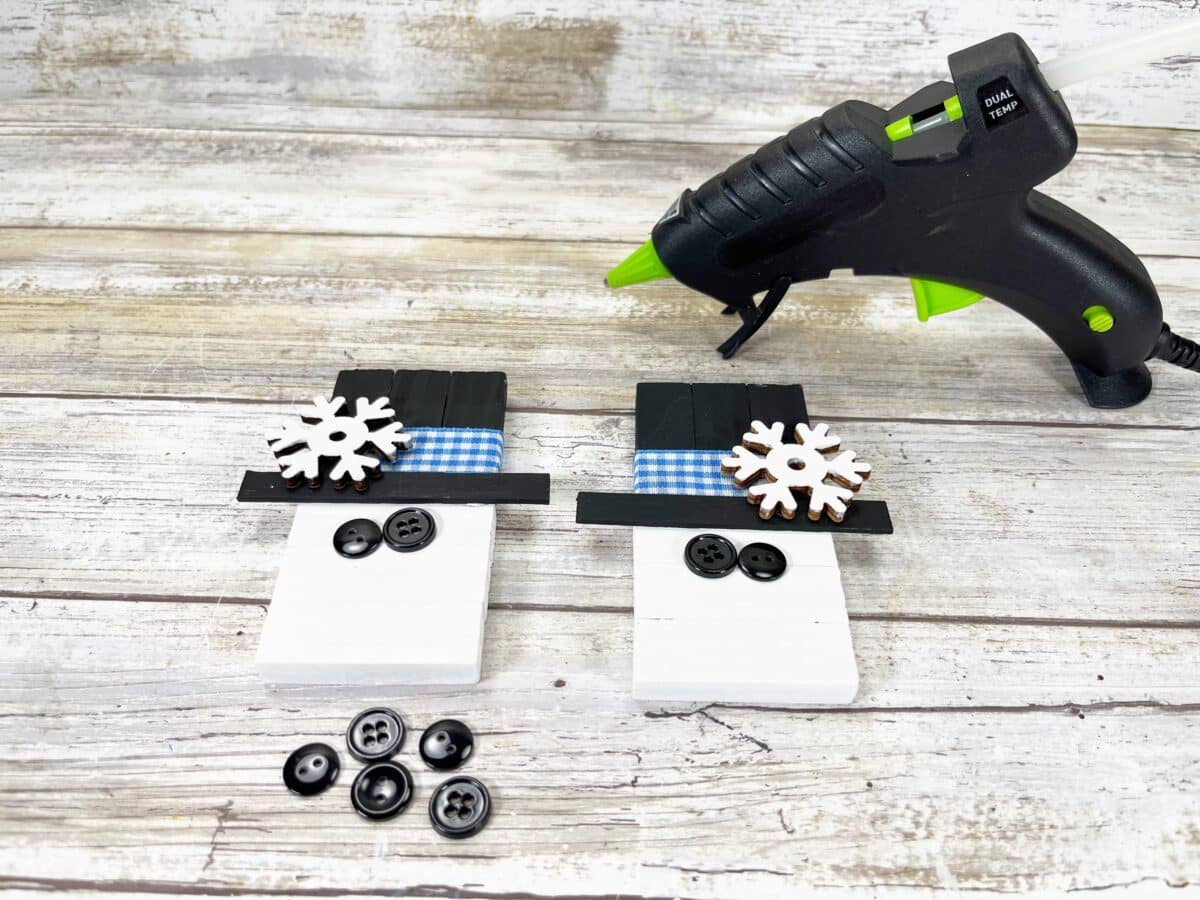
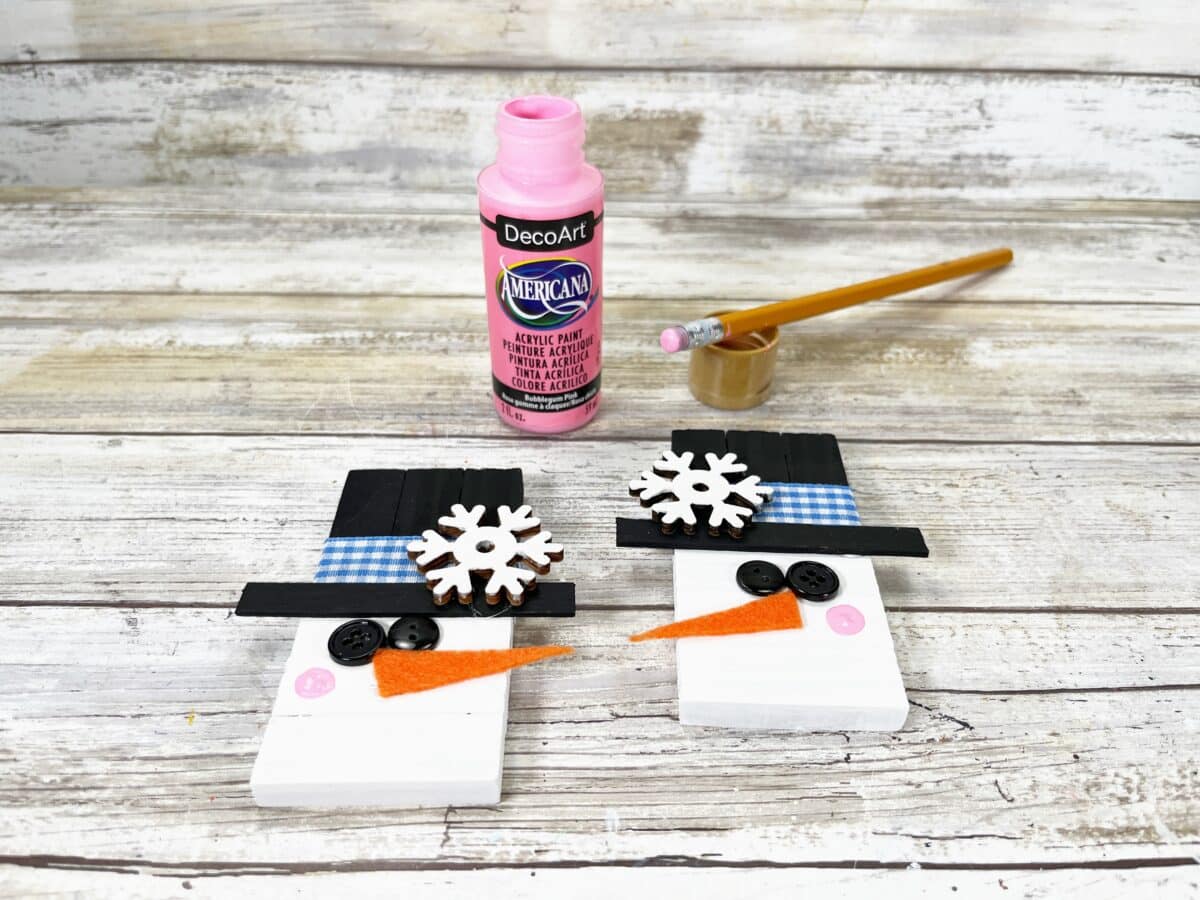
Glue two black buttons for eyes on each snowman. I used different sizes of black buttons and attached two different sides to give visual interest.

Step 4
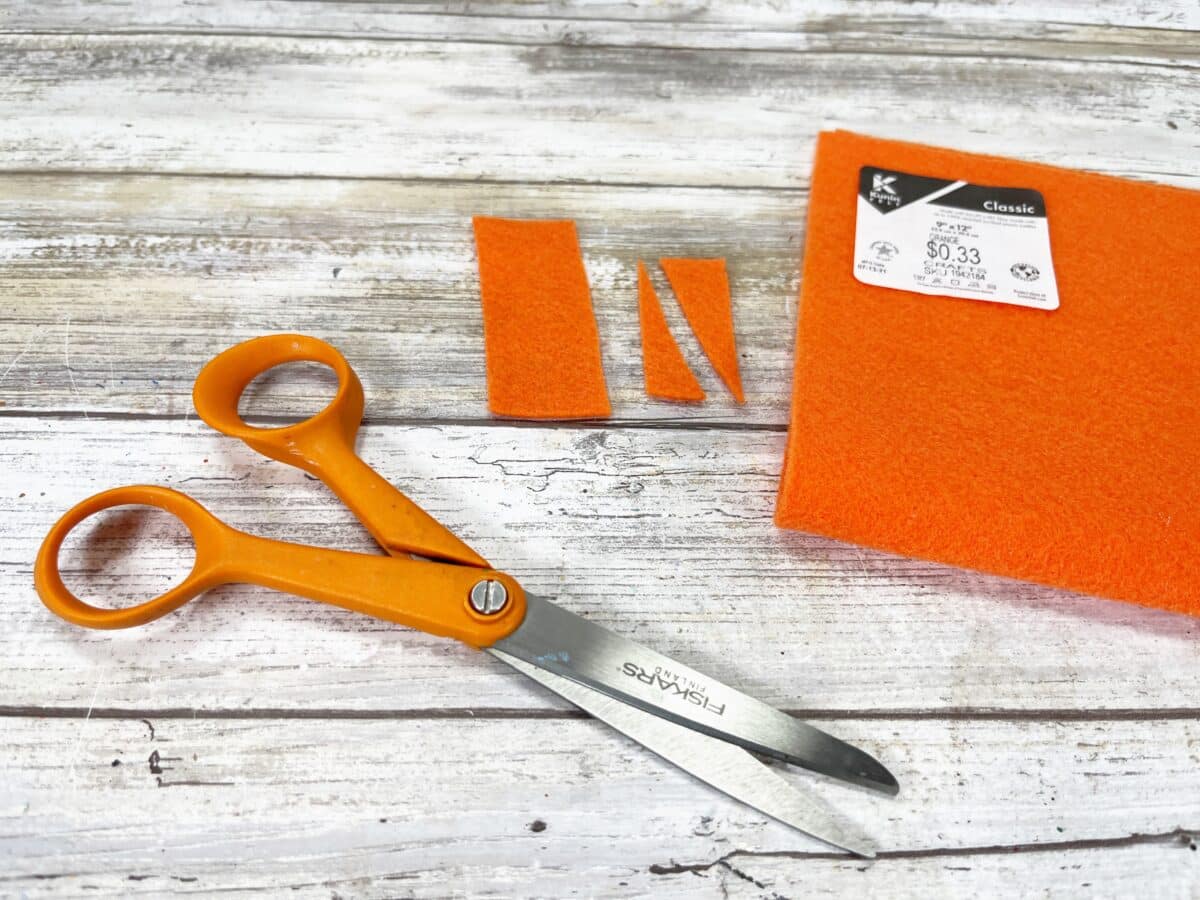
Cut one triangle carrot nose from orange craft felt.

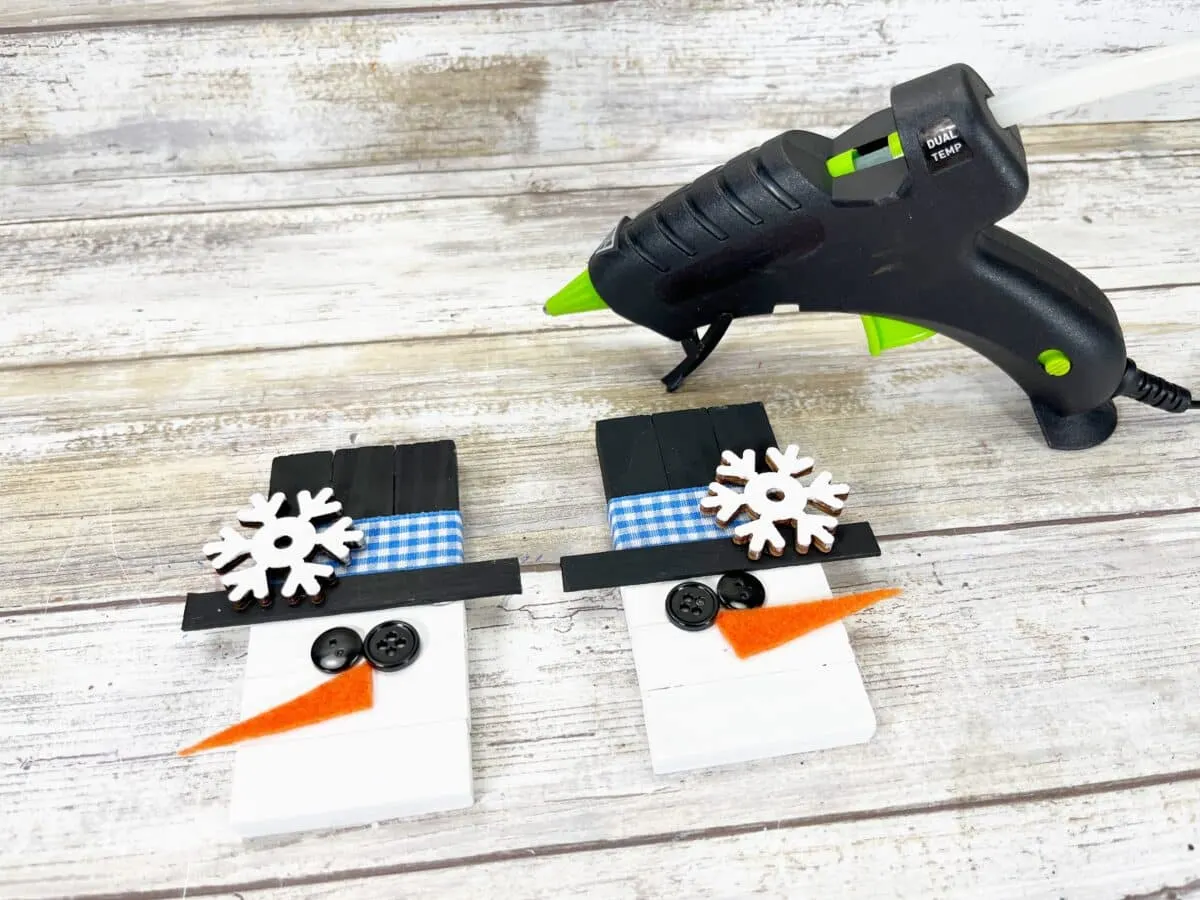
Glue the carrot nose to the snowman face.

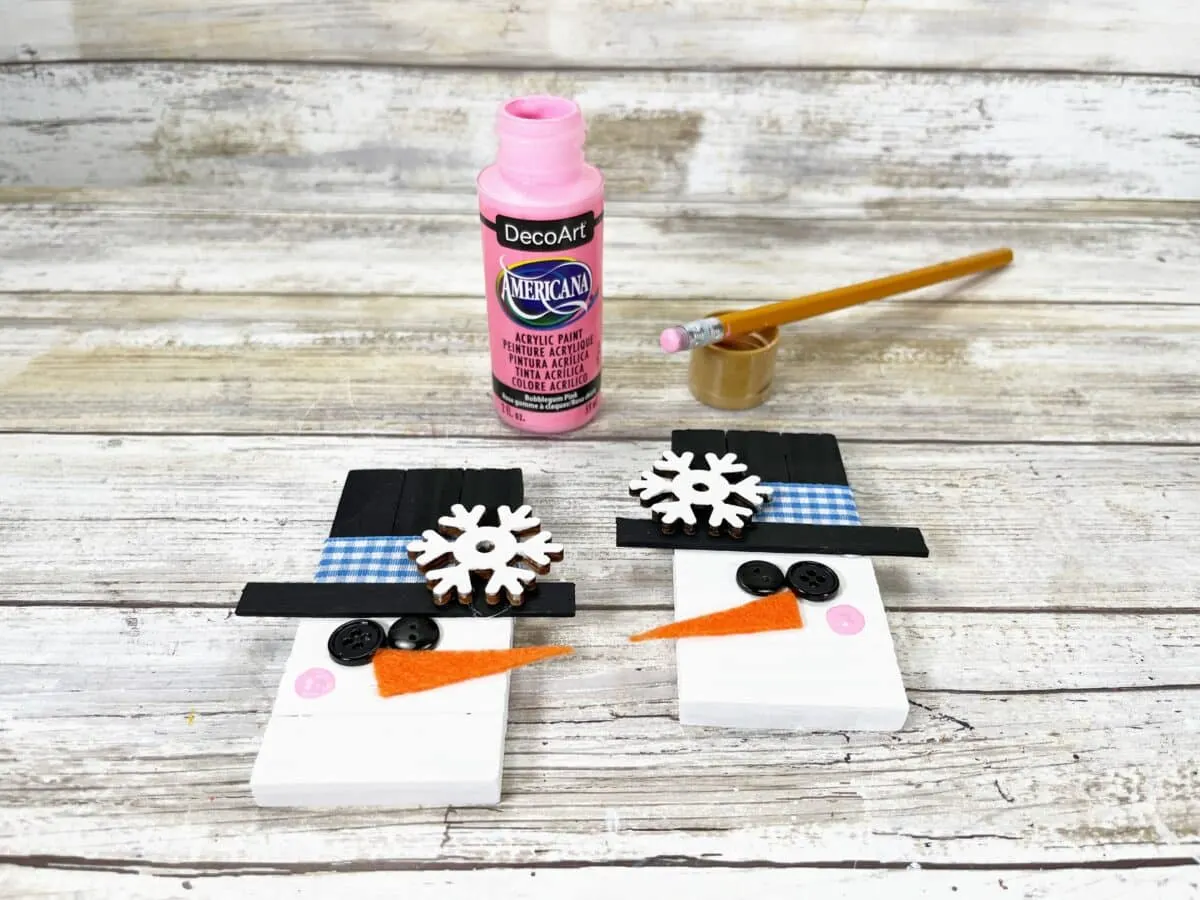
Step 5
Add a polka dot cheek by dipping a new pencil eraser into pink acrylic craft paint. Alternatively, you can paint a small circle of pink paint without needing the eraser.
Set aside to dry.
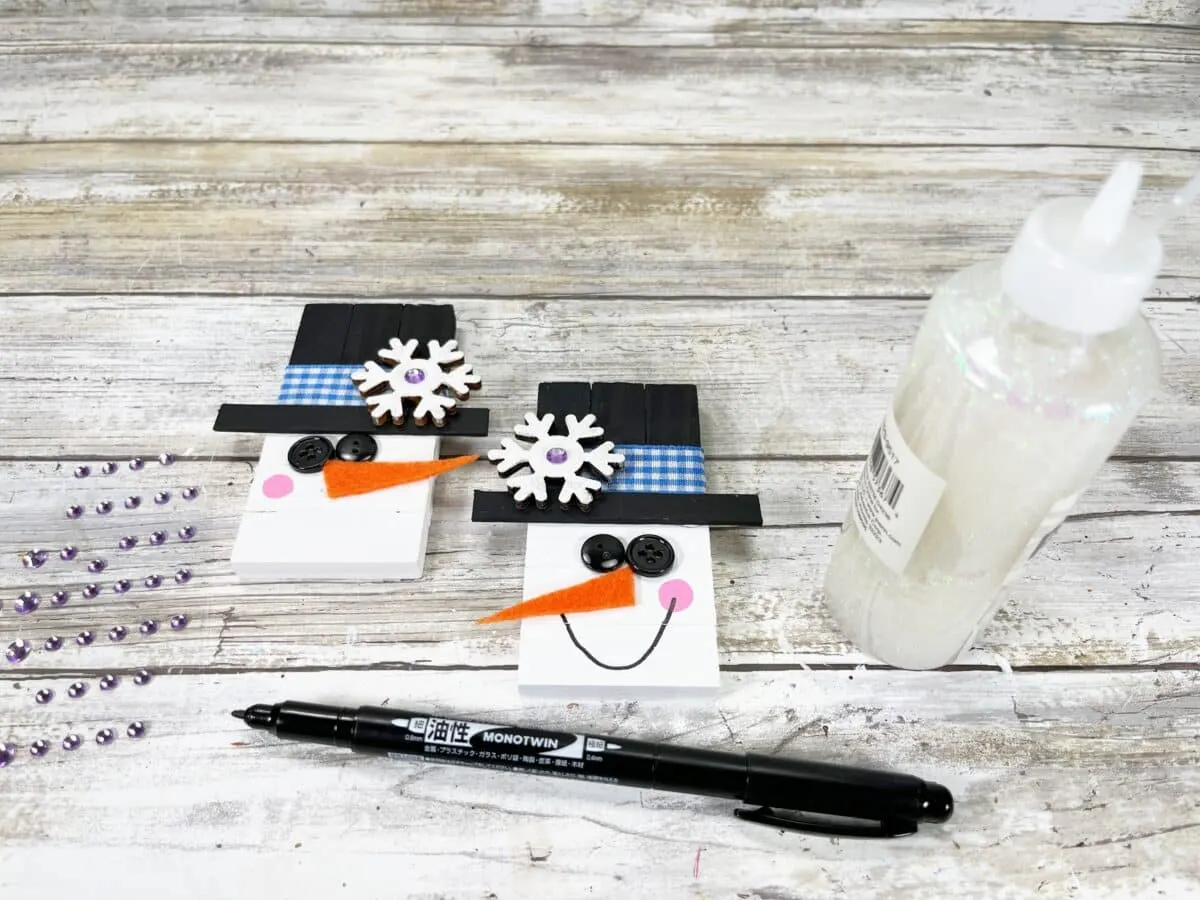
Draw a smile from the cheek to nose with a permanent black marker.
Glue a self-adhesive rhinestone to the center of the snowflake. Then accent the snowflake with iridescent glitter glue.
Let the glitter glue dry completely.


Helpful Tips
- Orange craft foam or cardstock can be used instead of orange felt.
- Instead of a wood snowflake, you could use a small foam snowflake cut out, snowflake sticker or other type of miniature snowflake.
Pin this Tumbling Tower Snowman winter craft to save for later!

We love using Tumbling Tower game pieces in unusual ways to make easy Dollar Tree DIYs. Be sure to see these other crafts, too:
- Snowman Hat Ornament
- Tumbling Tower Christmas Gift Ornament
- Tumbling Tower Christmas Tree
- Miniature Wooden Pumpkin
- Farmhouse Style Candle Holder
