
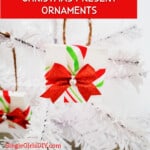

These DIY Christmas present ornaments are so incredibly simple – and cheap – to make! They use Dollar Store Tumbling Tower game pieces, which are the inexpensive version of Jenga blocks.
All you need to do is glue together wooden block pieces for this quick and easy Christmas craft. You can make quite a few of these gift box ornaments while watching your favorite Christmas movie.


You might also like to make some of these snowman hat ornaments, too, or a rustic Christmas tree. Both of these crafts also use Tumbling Tower game pieces.
DIY Gift Box Ornament Using Wooden Jenga Blocks
Using one spool of 9-foot Christmas ribbon from the Dollar Tree, I made six present ornaments. If you bought more ribbon, you would be able to make more of these.
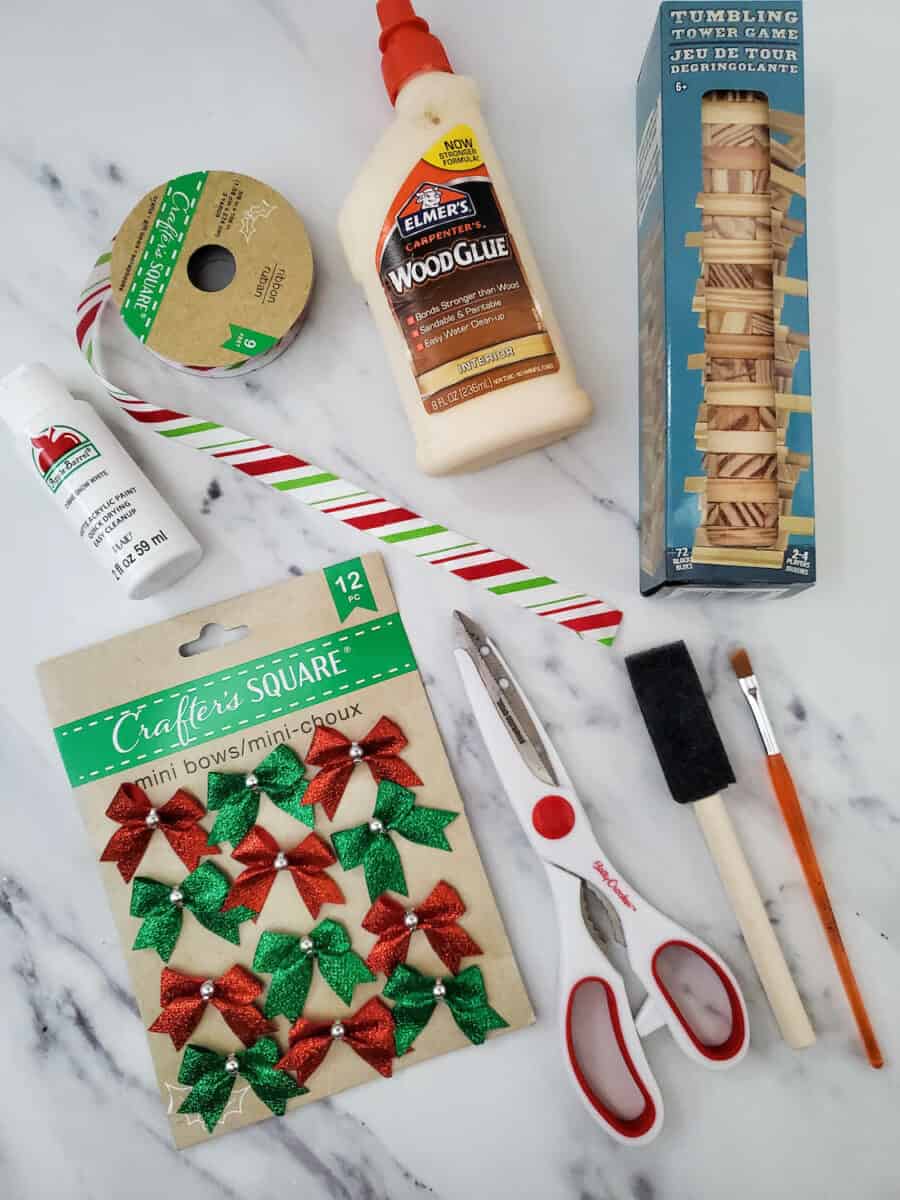
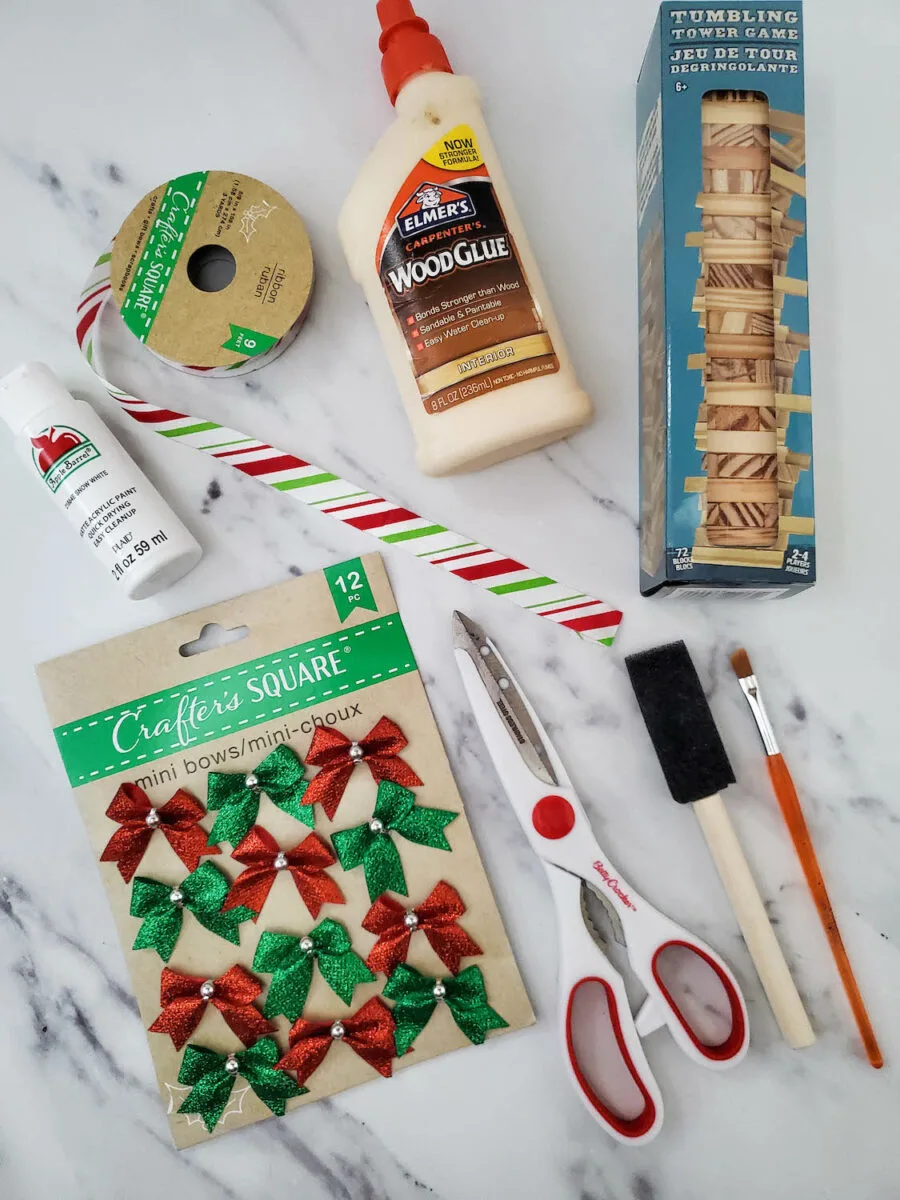
All of the supplies (other than the wood glue, which is very inexpensive) were bought at the dollar store.
Supplies
- Tumbling Tower Game blocks or Jenga wood blocks (3 per ornament)
- Mini Bows
- Ribbon (1 ½ feet for each ornament)
- Twine (6 inches)
- Wood glue
- White paint
- Small paint brush
- Foam brush
- Scissors
- Glue (Super glue, hot glue or tacky glue)
Directions
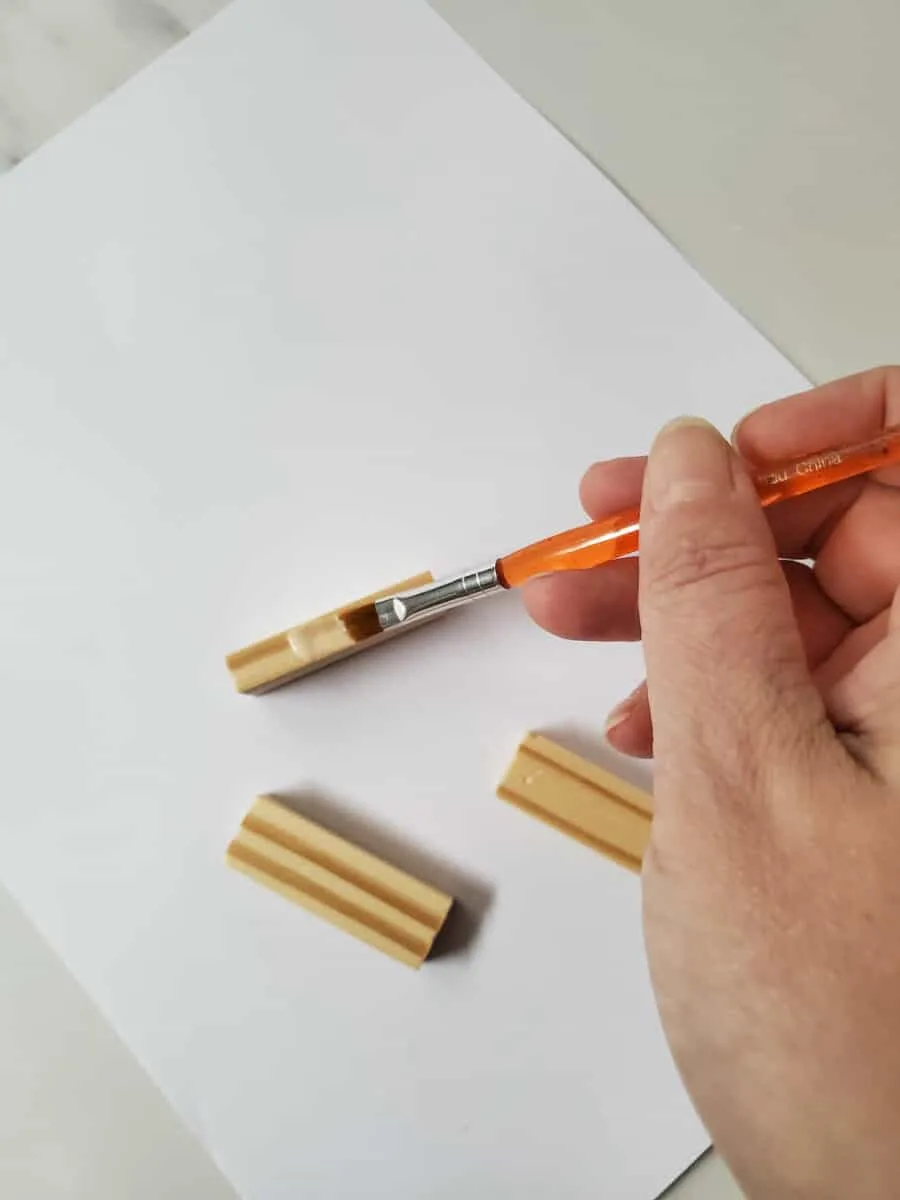
Step 1
Apply wood glue in a thin layer to the side of one block.
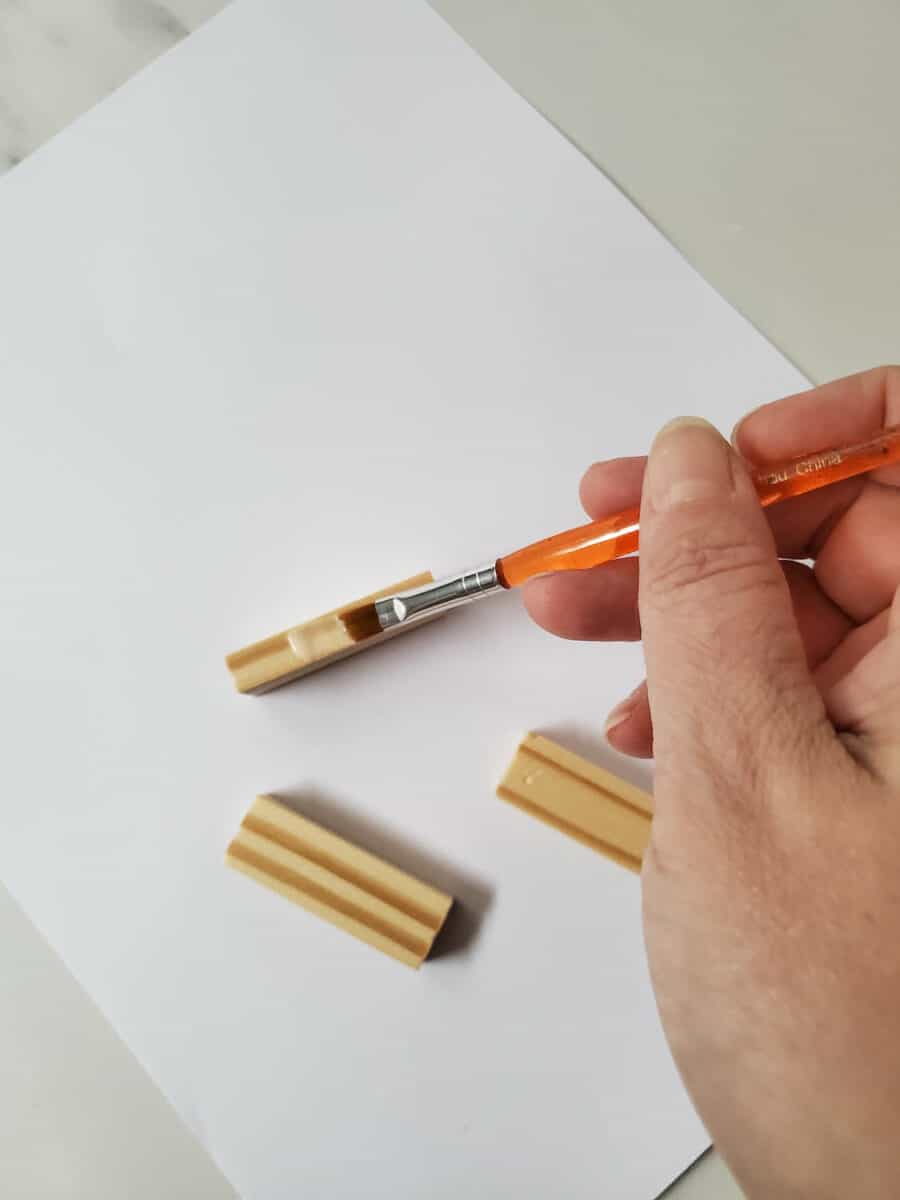
Place a second wood Jenga block beside it and hold until they are glued together.

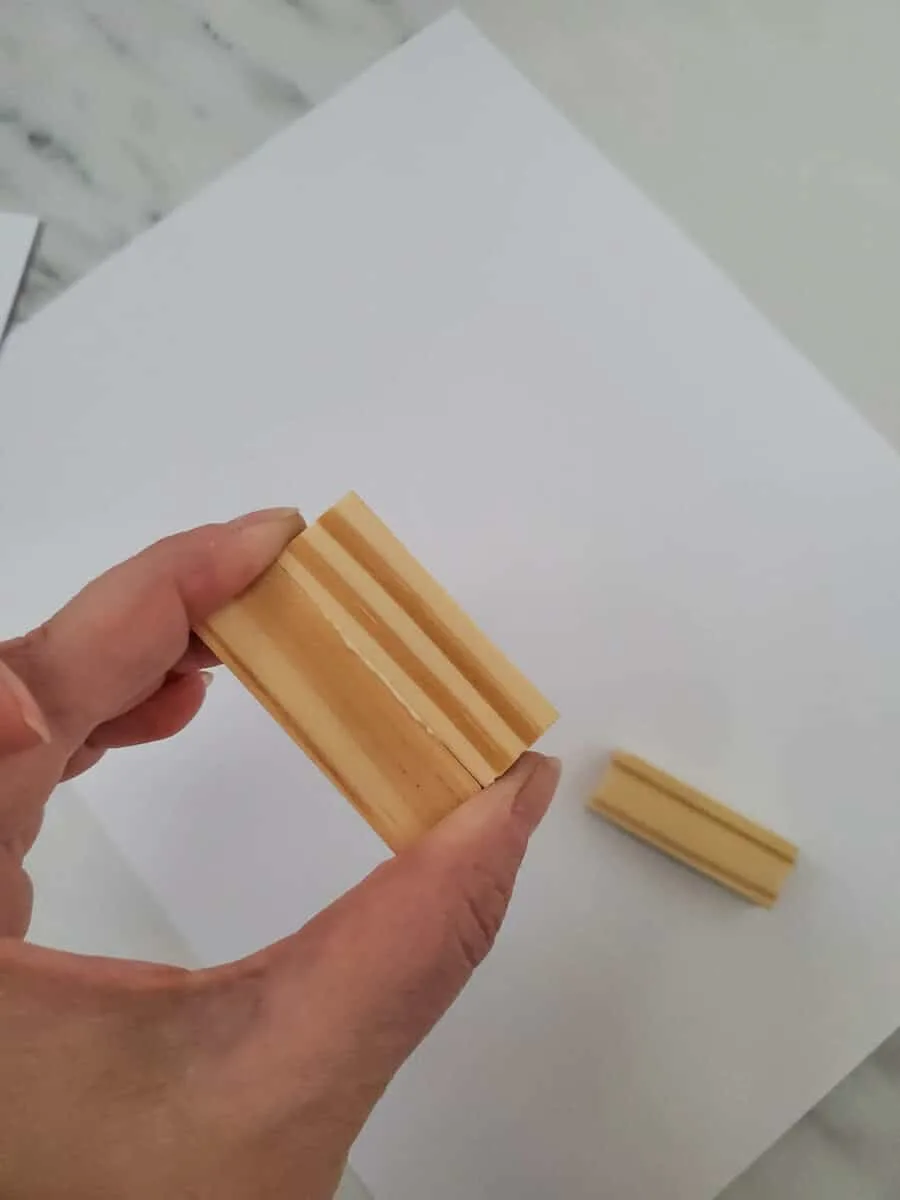
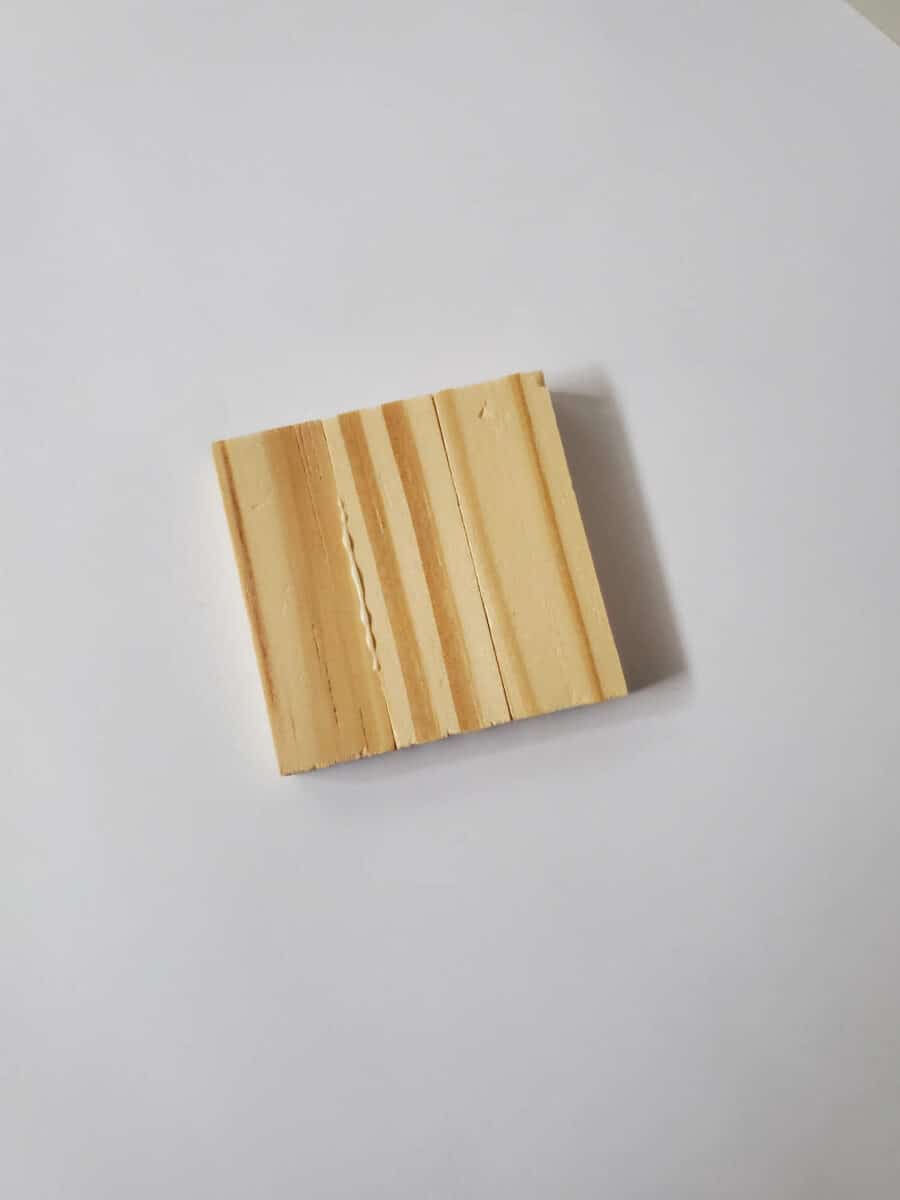
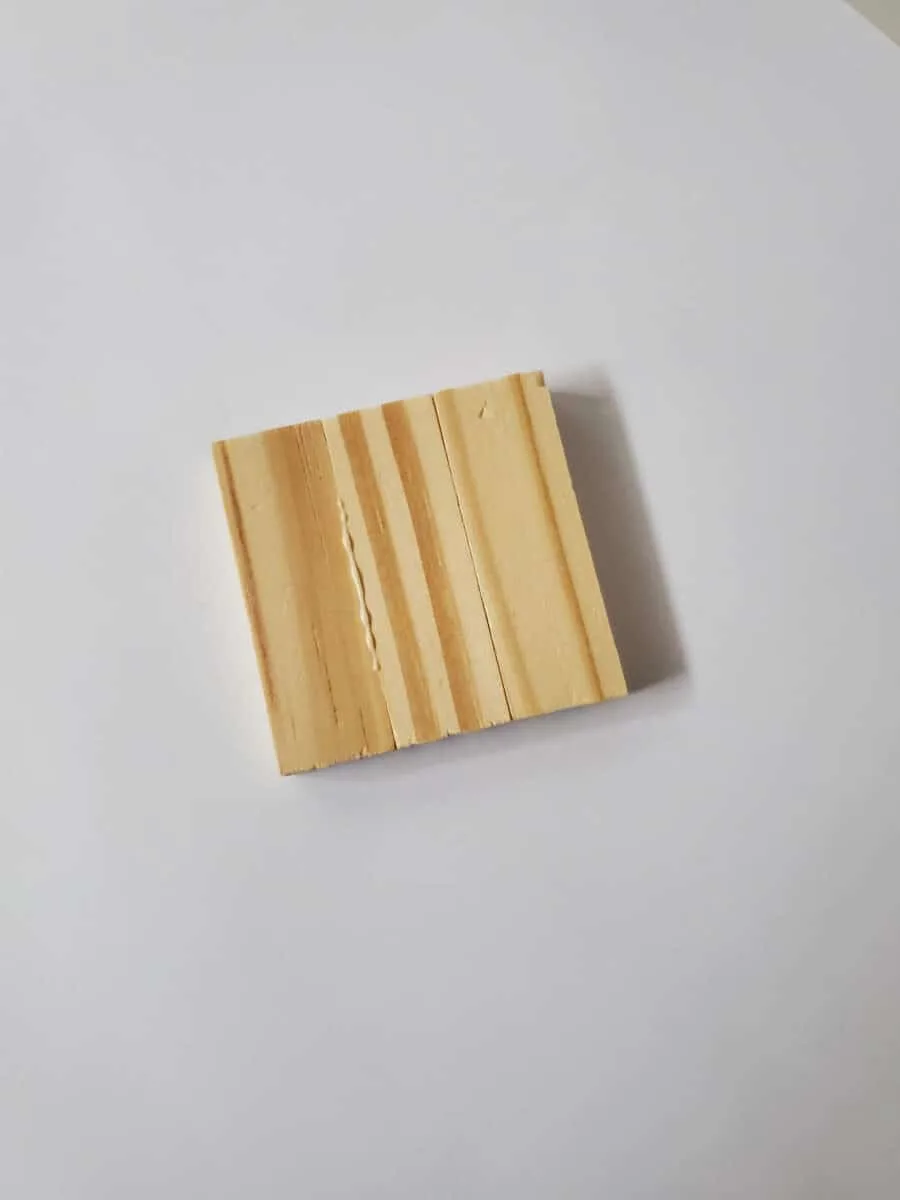
Repeat with a third wooden block so that you have three blocks glued together. If any glue squeezes out from in between the blocks, wipe it off with a paper towel so that it does not show. Let dry completely.
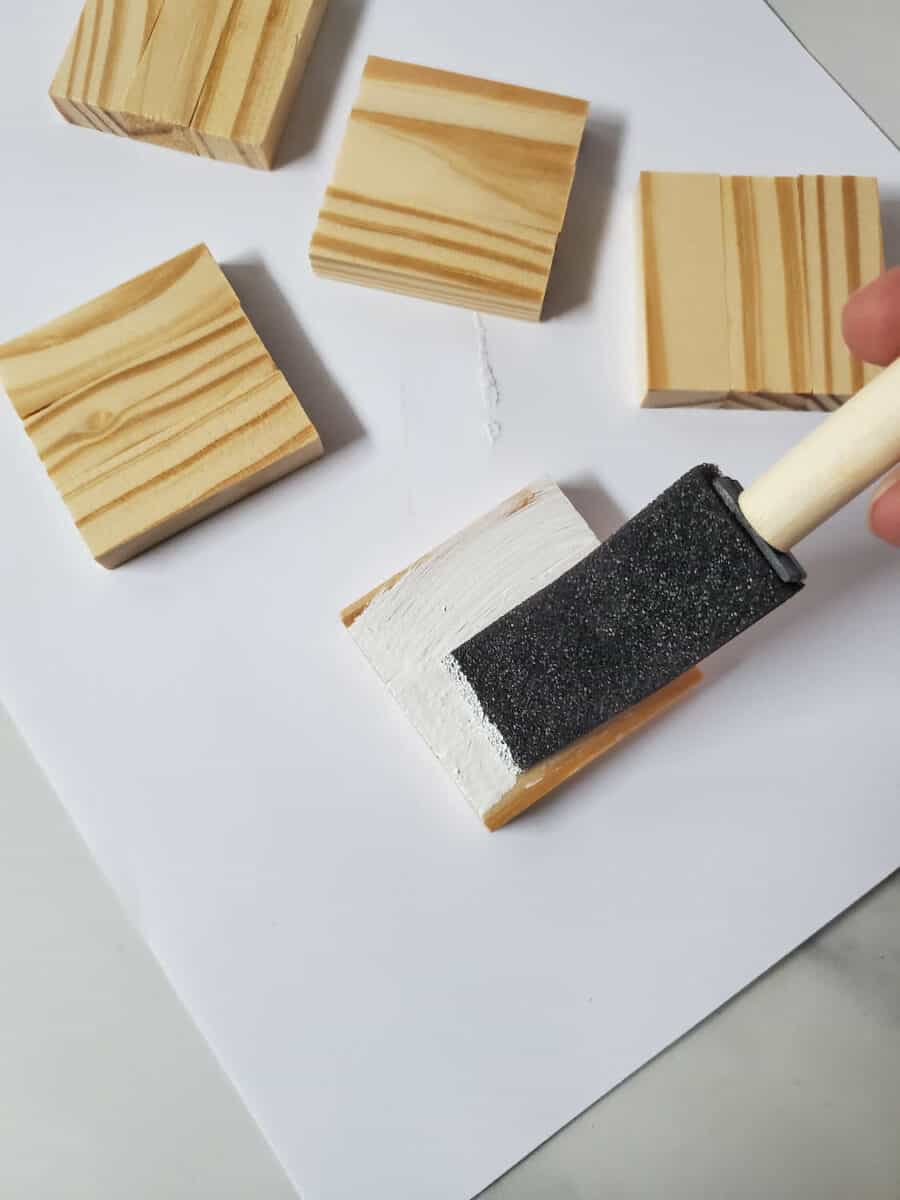
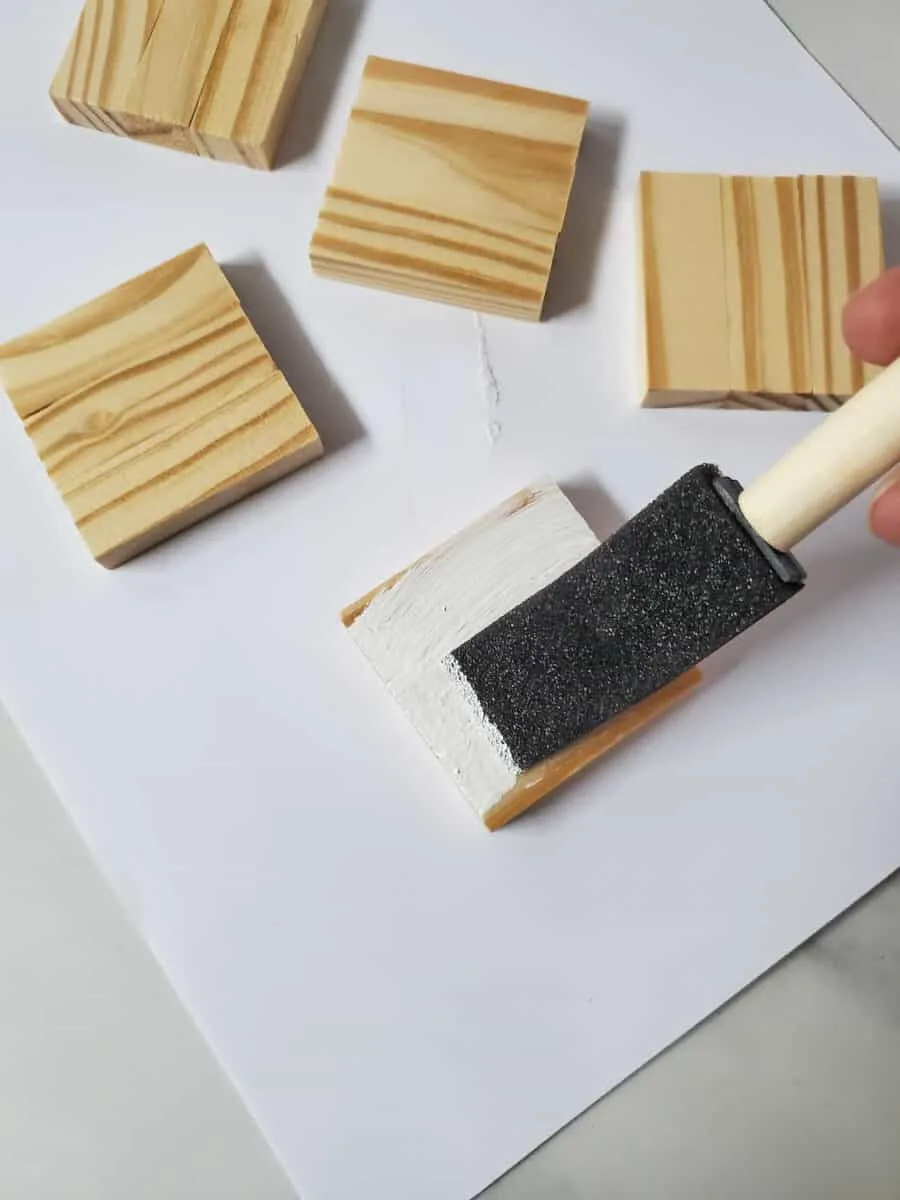
Step 2
Paint the wooden block set on every side so that it is completely covered.
Step 3
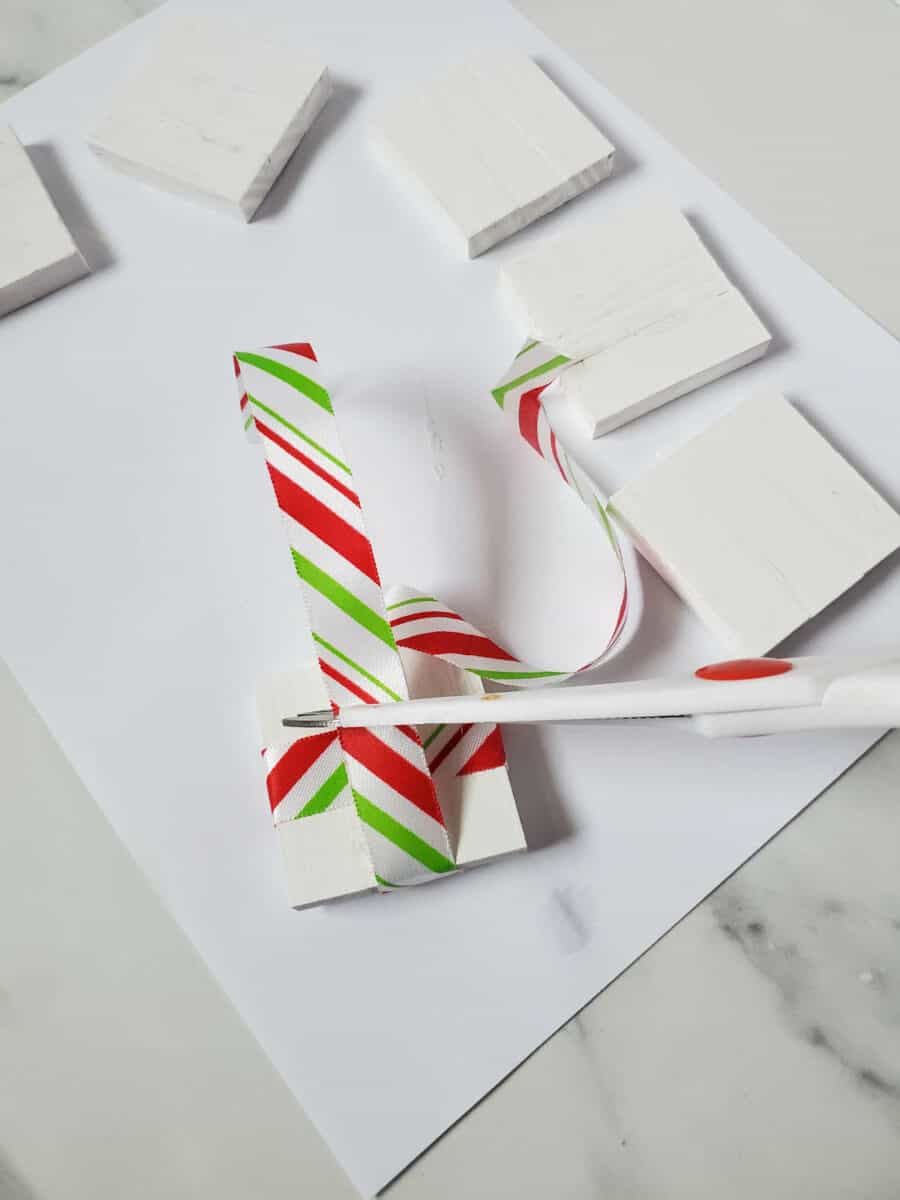
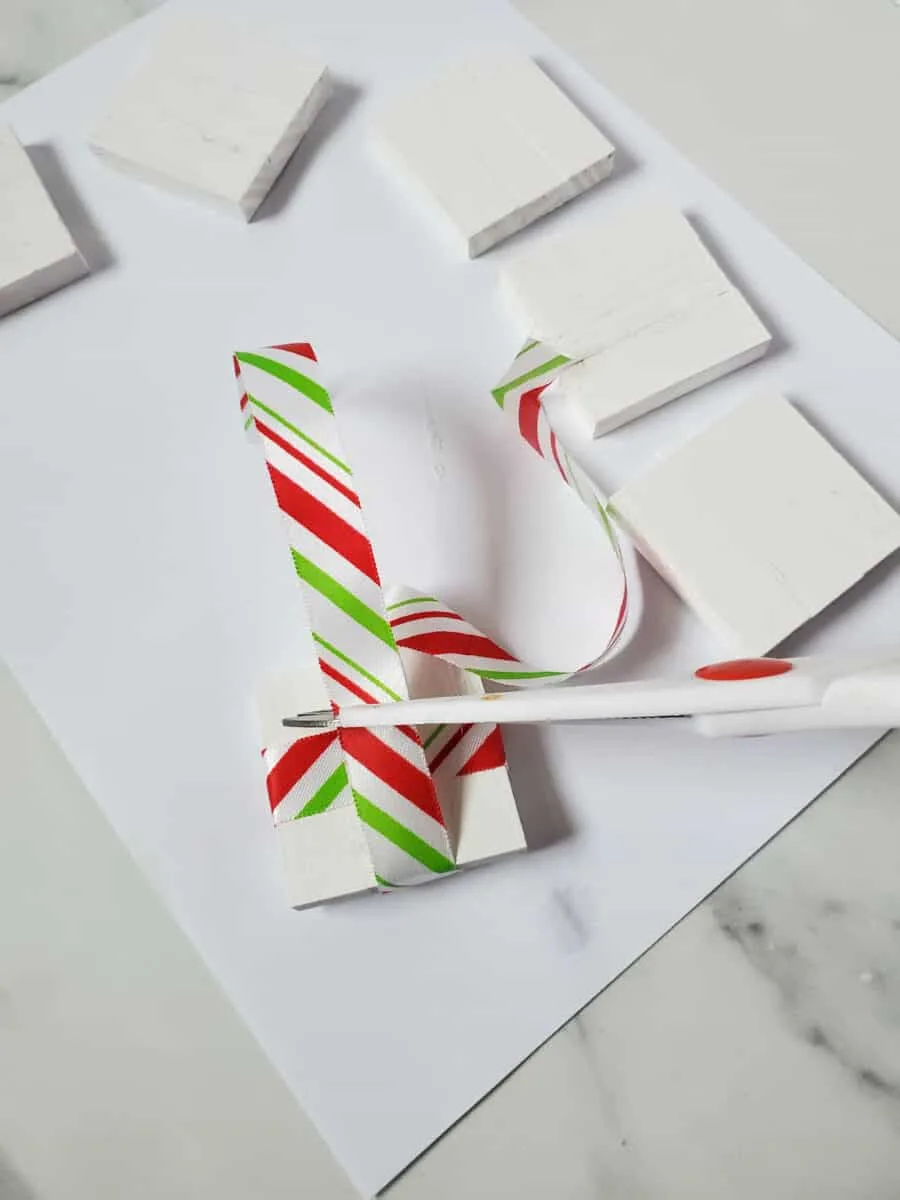
Wrap the piece of ribbon around the ornament in the same way you would a gift box.
Lay a ribbon across the center of the front of a block, then wrap around to the other side and tie a single loop.
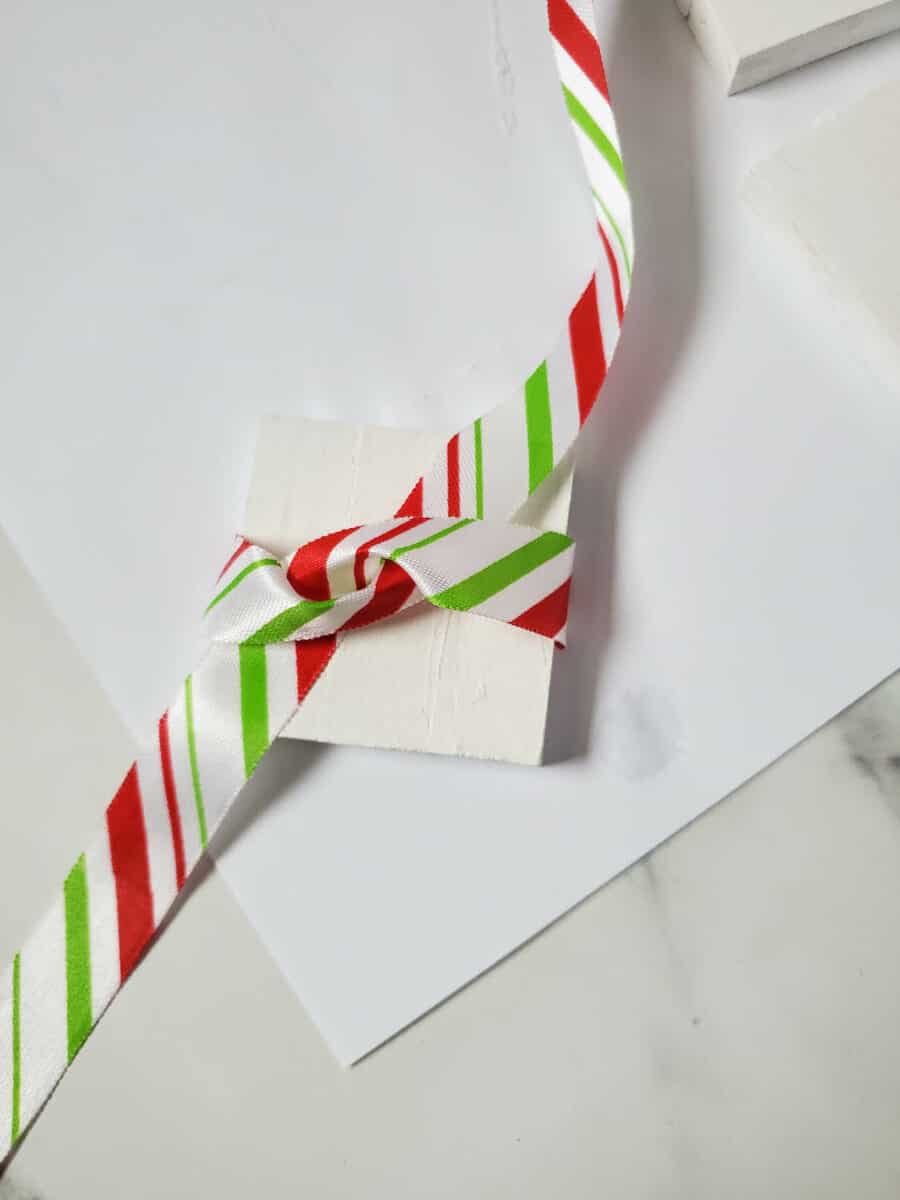
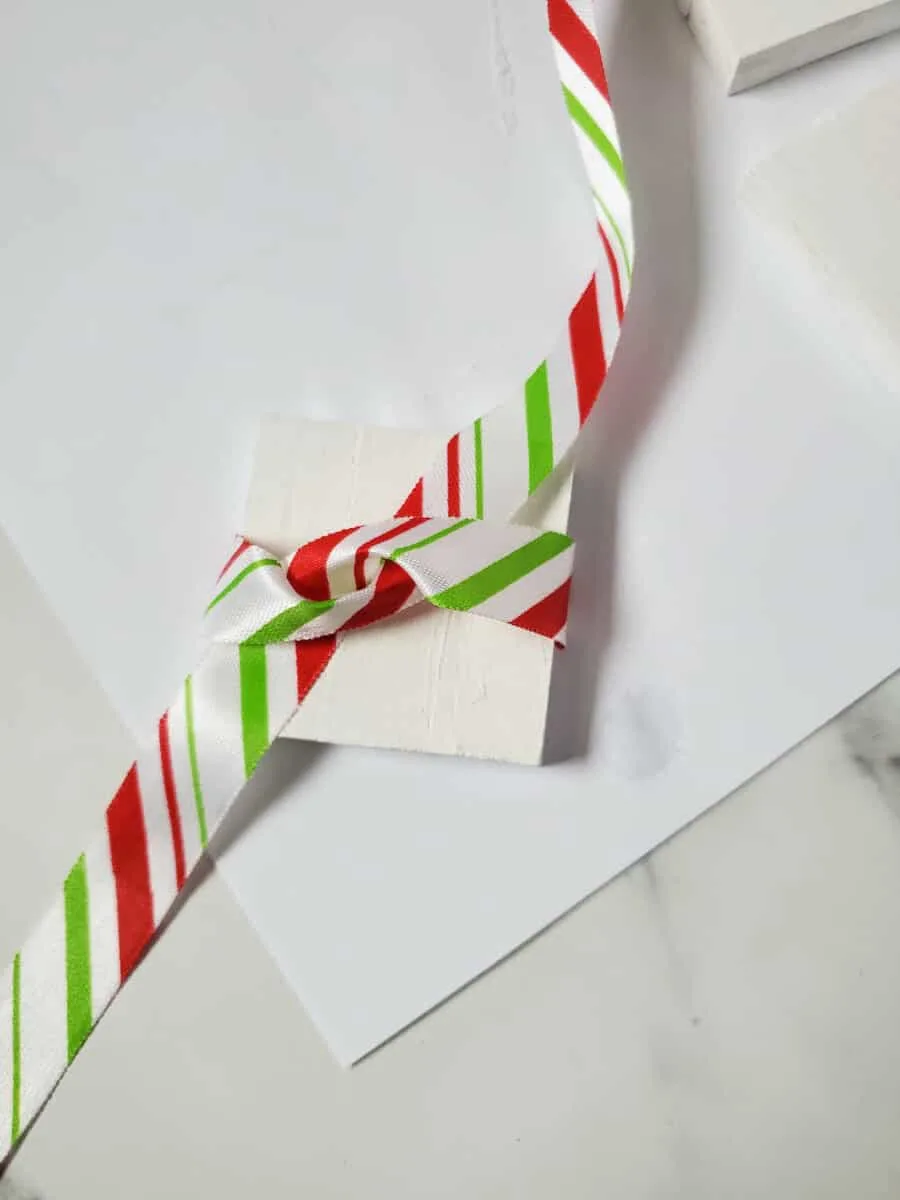
Bring the ribbon back around the center and see where it just overlaps. Cut the ribbon with just a little bit of overlapping in the center.
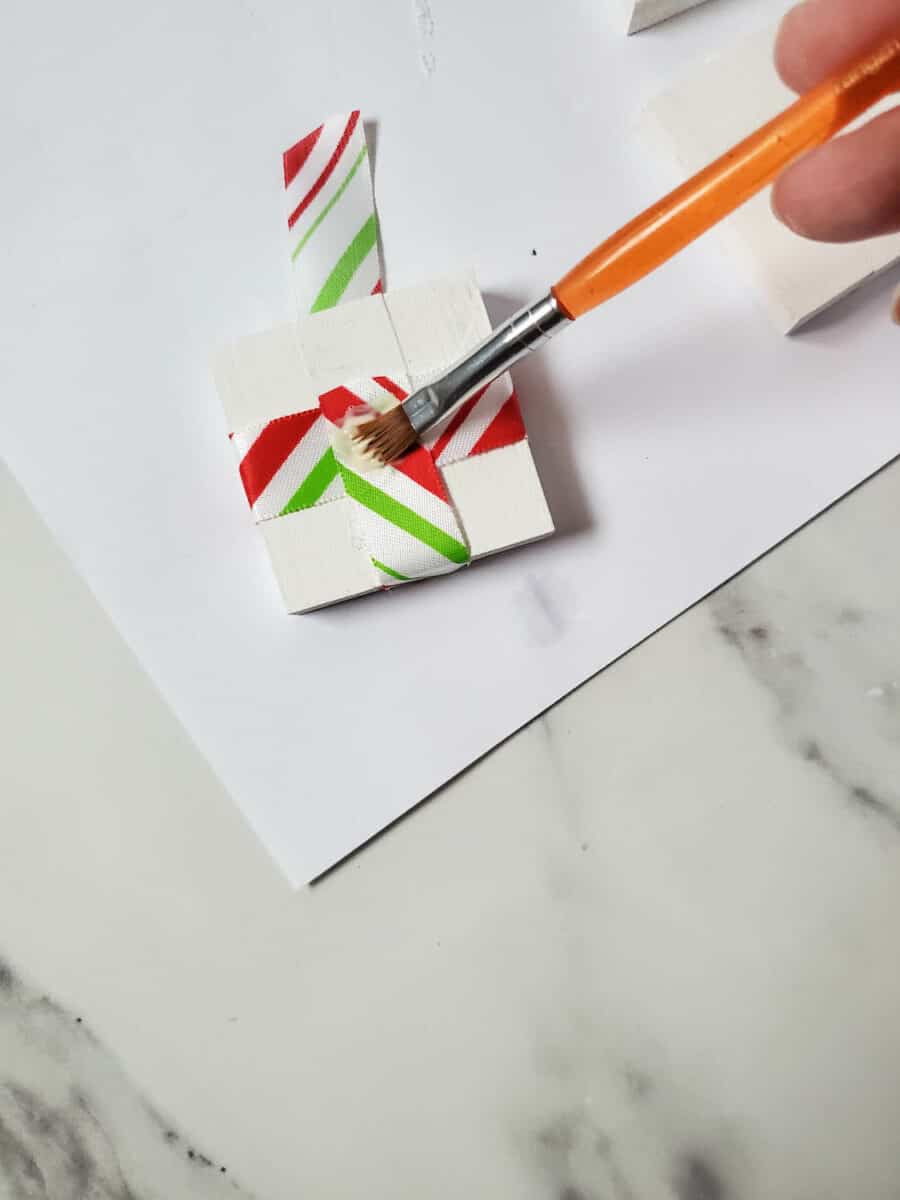
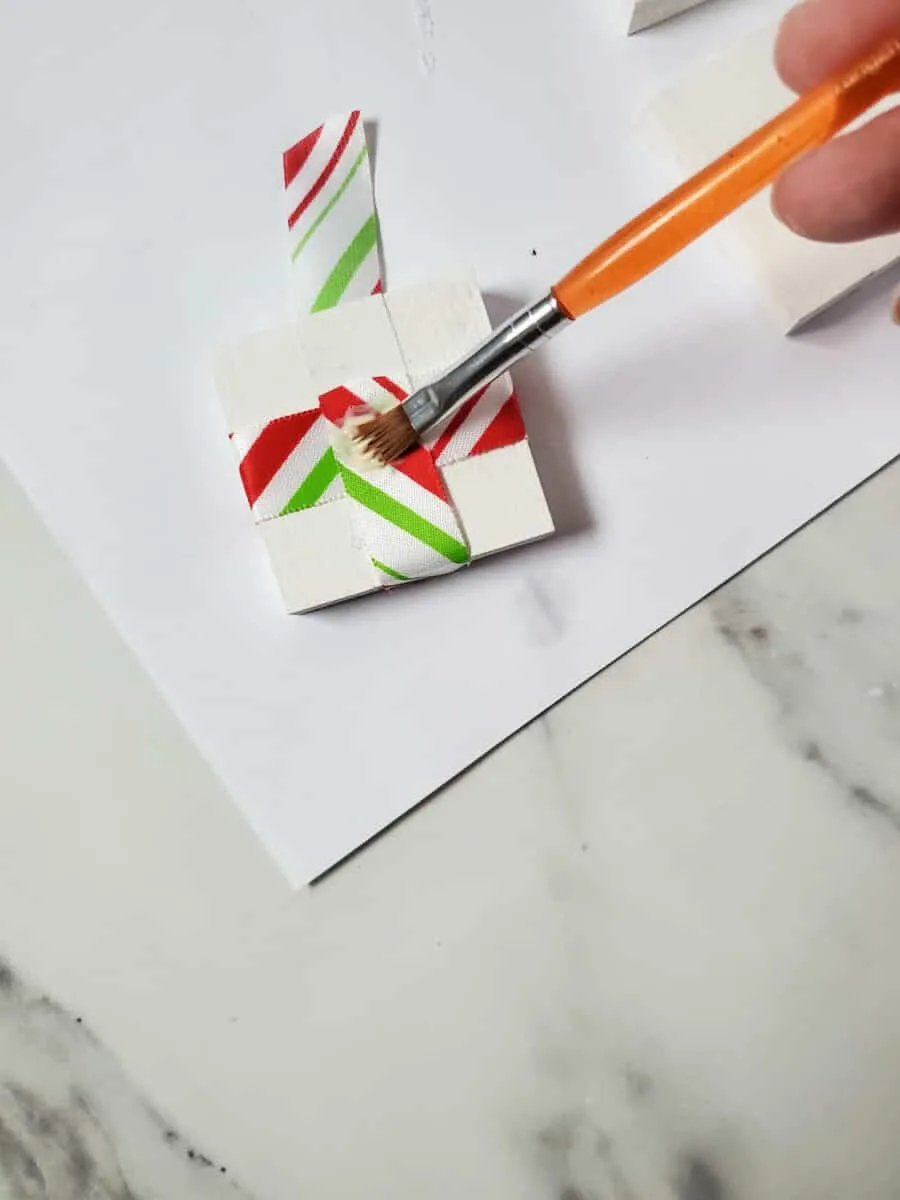
Add a dab of glue to the top of one side of the ribbon, then lay the other side over the glue and press together. This is now the back of the ornament.
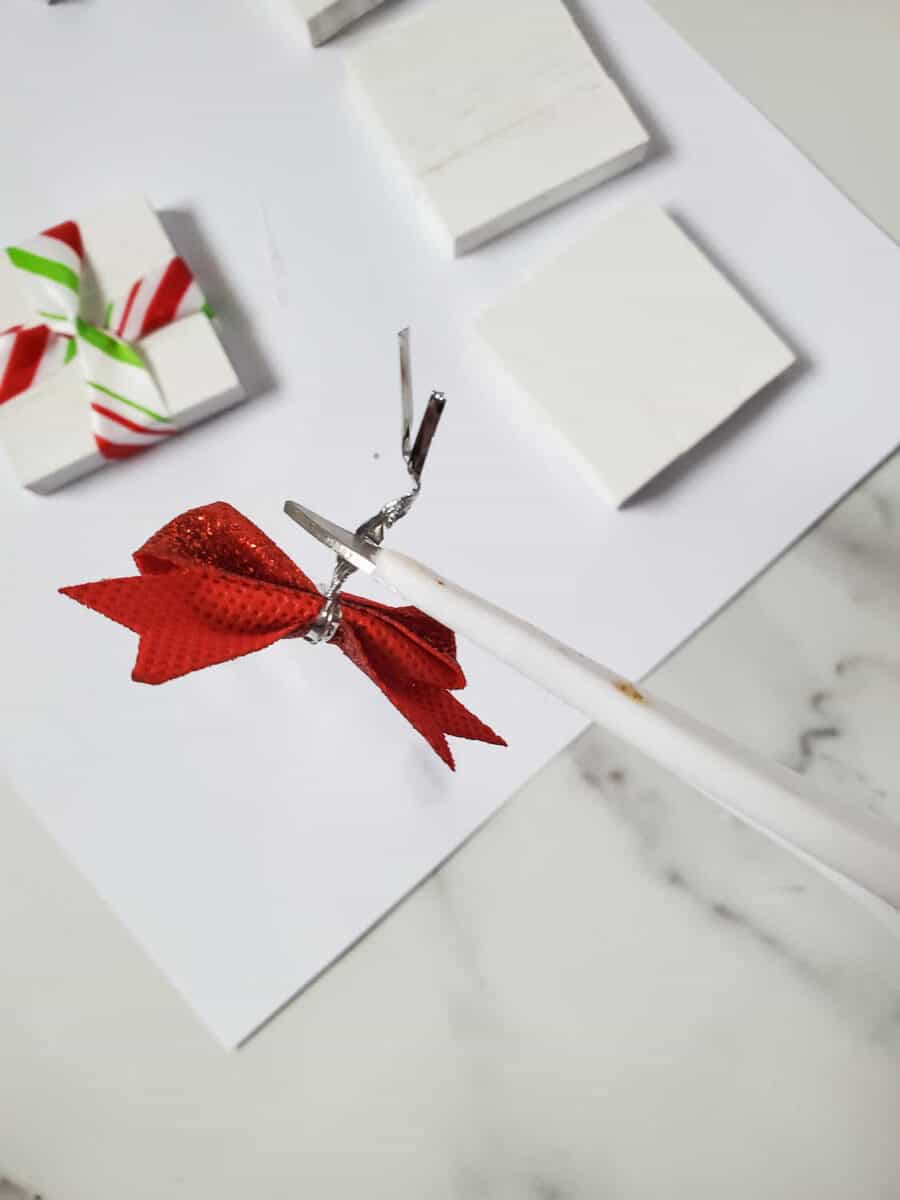
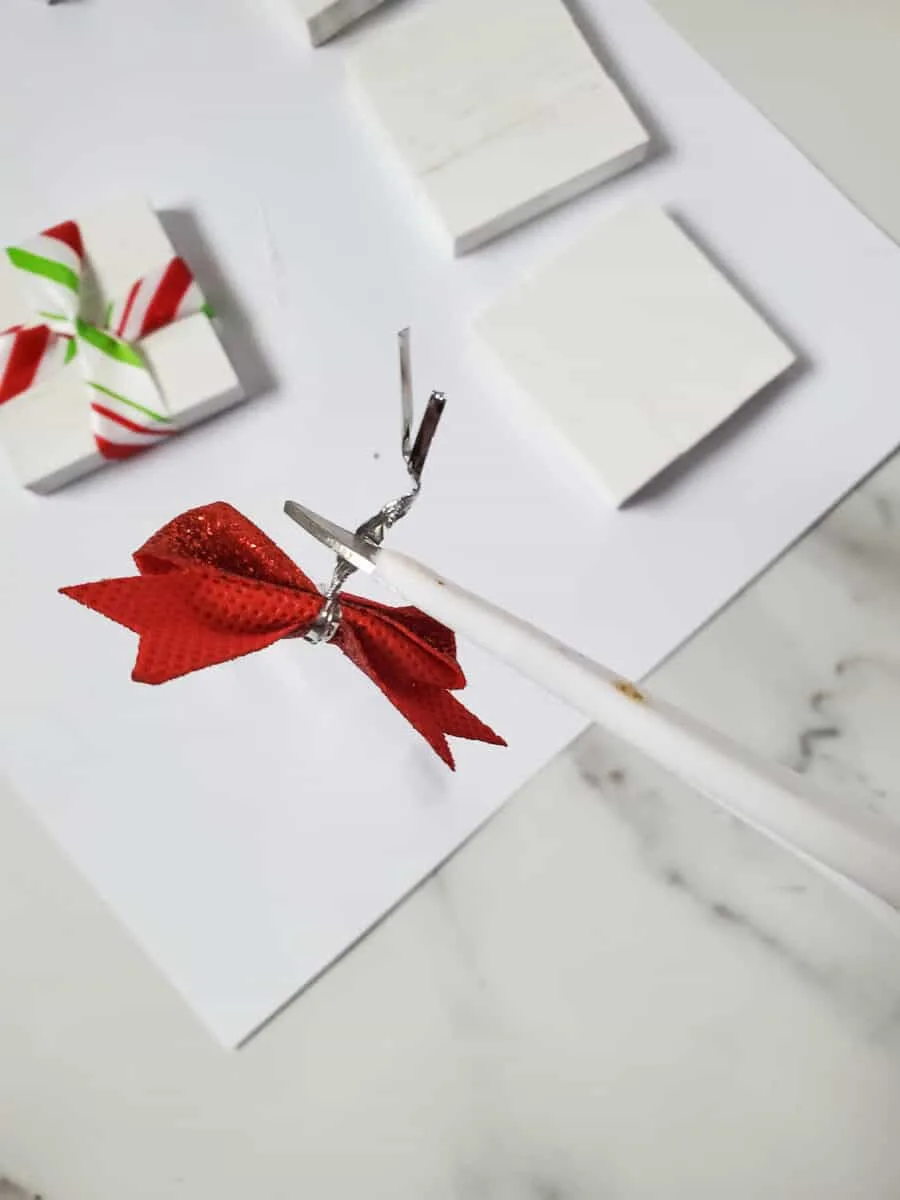
Step 4
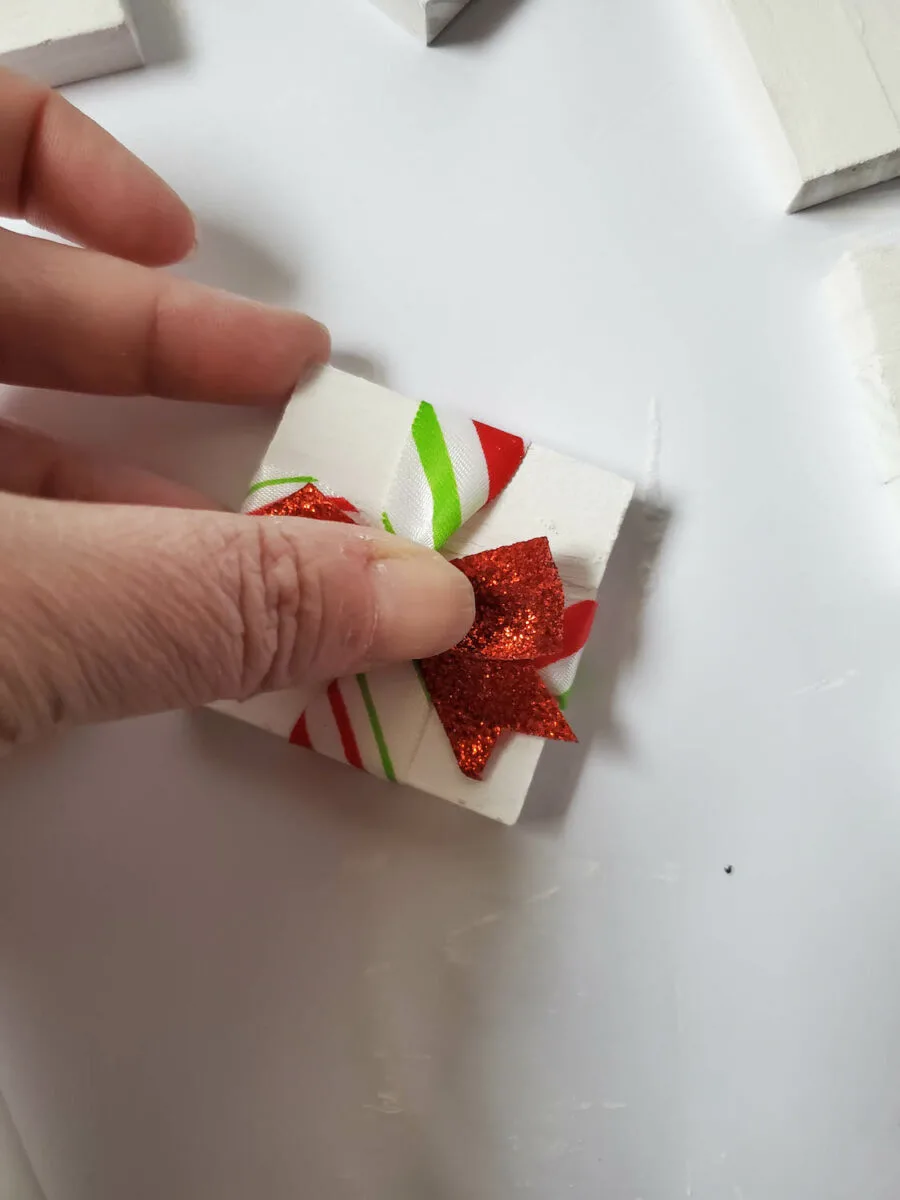
On one of the pre-made ribbons, cut the twist tie off after the point where it is twisted together in the back. Add a drop of glue to the center of the the ribbon on the front of the ornament and attach the bow.

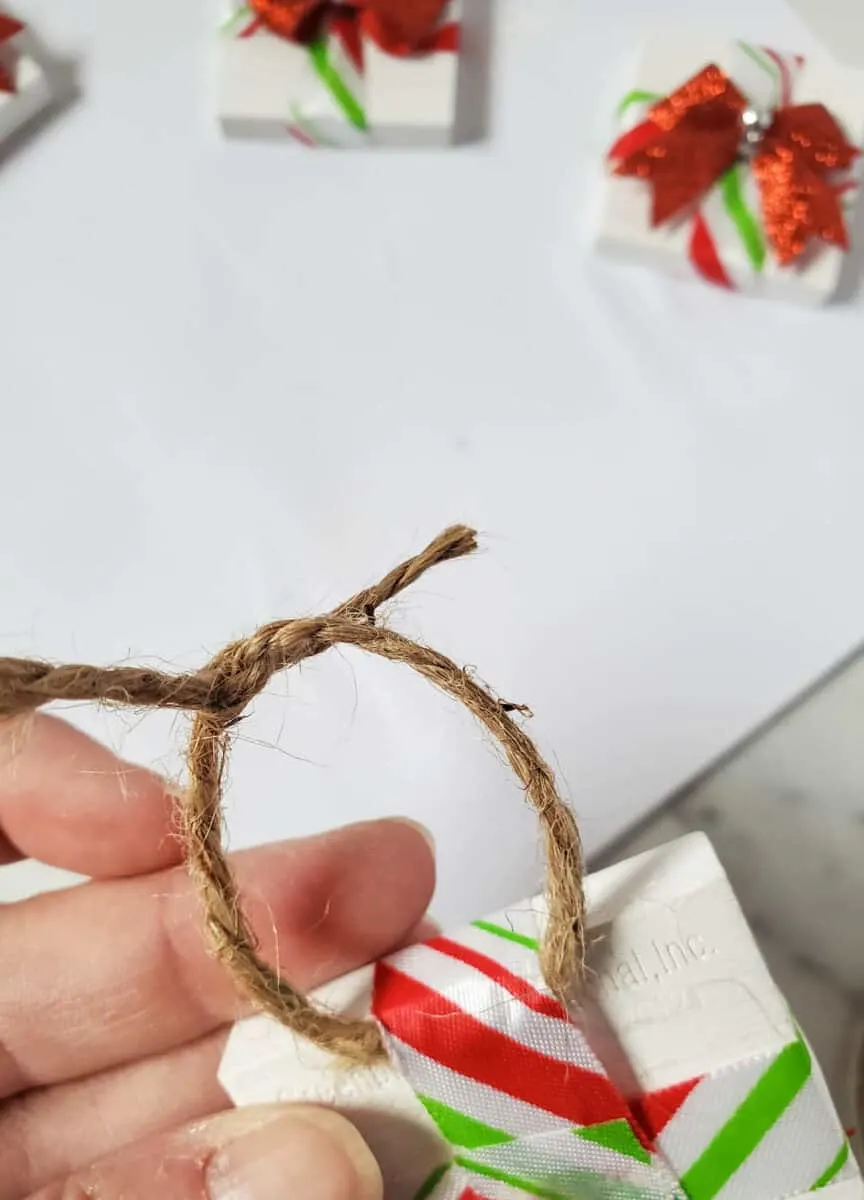
Step 5
Slide the piece of twine under the ribbon on the back of the ornament, at the top. Tie the ends in a knot to make the ornament hanger.


These are just one of the many no-sew Christmas ornaments that I have. Be sure to see the entire list to find some more favorites to make!
