

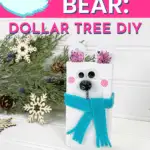

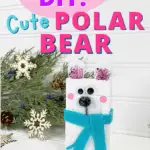

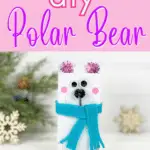
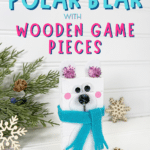
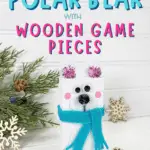


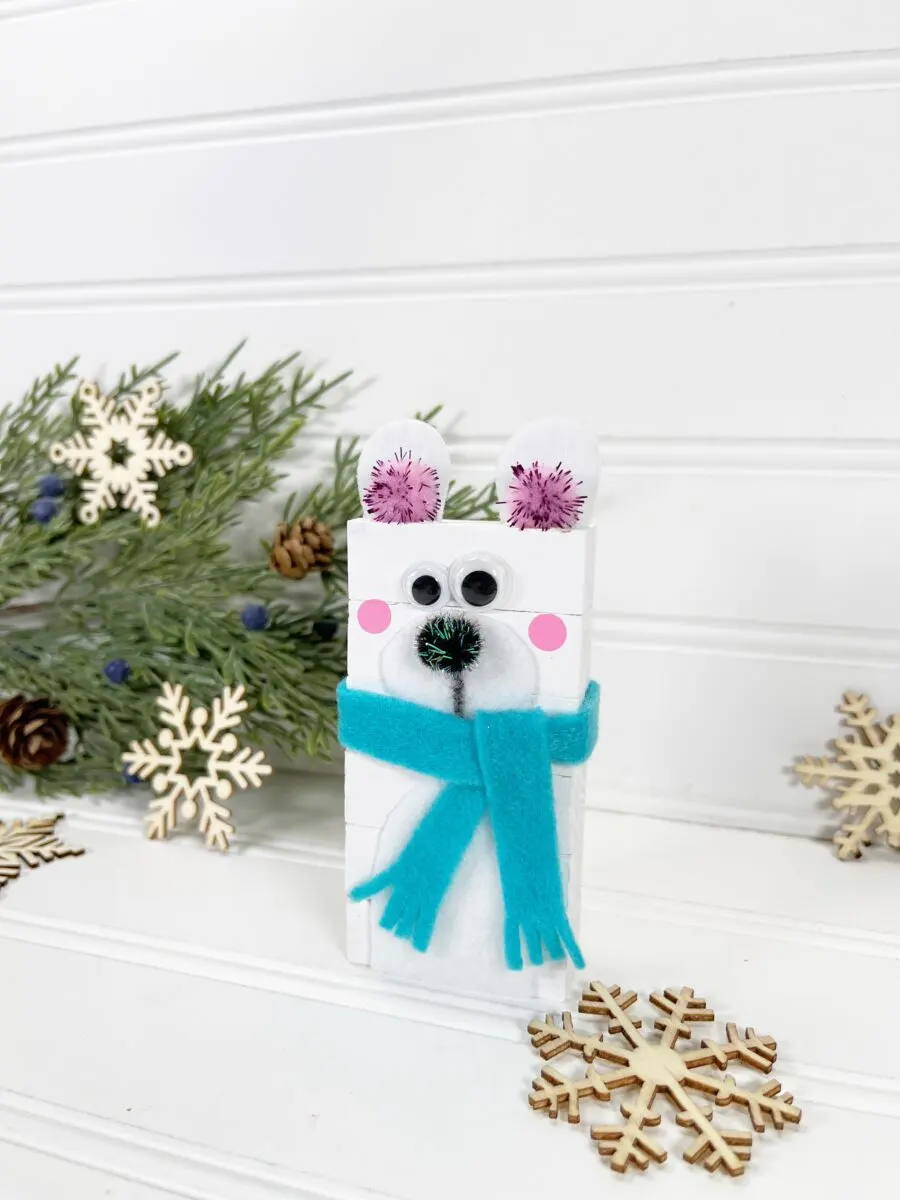
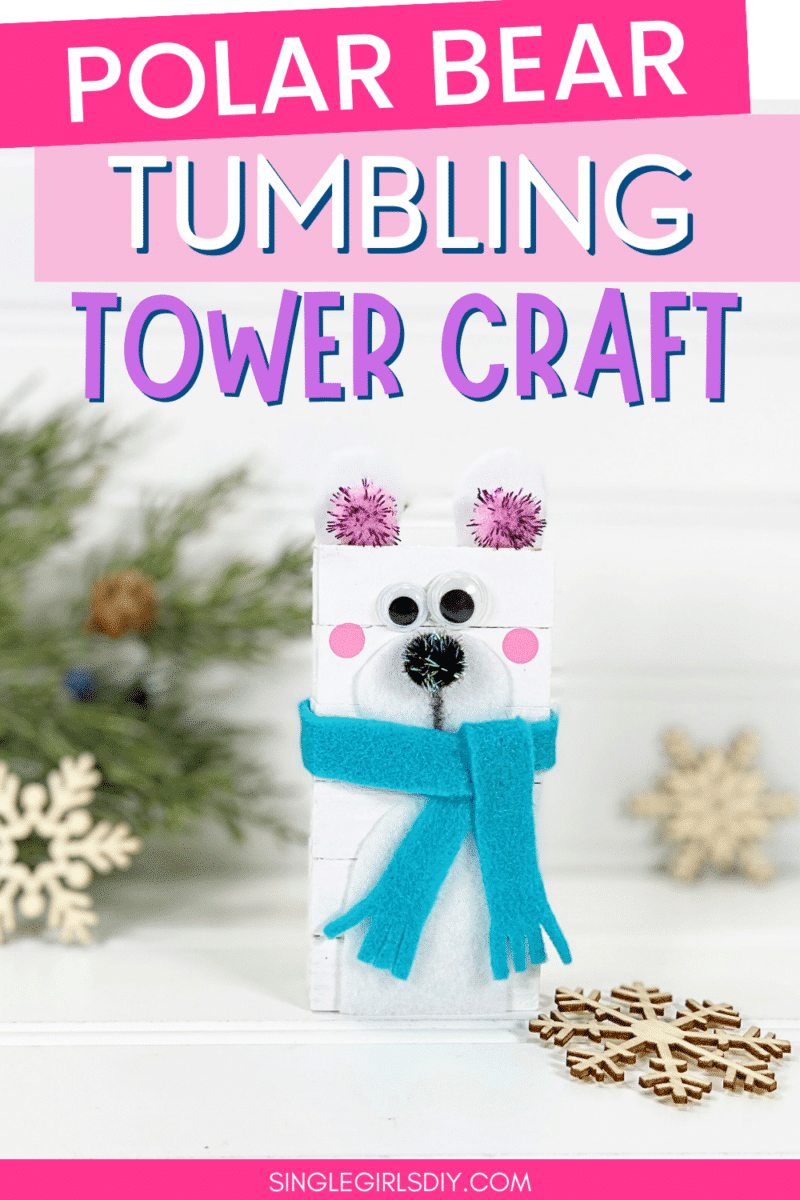
Use wooden blocks from a Dollar Tree Tumbling Tower game to make a cute polar bear to sit on a shelf or tiered tray. This is a perfect winter craft that is very inexpensive to make.
All materials other than paint are from Dollar Tree. Many of the supplies are the same ones we used to make these winter crafts:
You could easily make all three of these craft ideas at the same time.
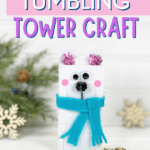
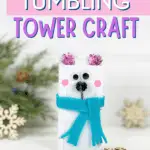
DIY Tumbling Tower Polar Bear
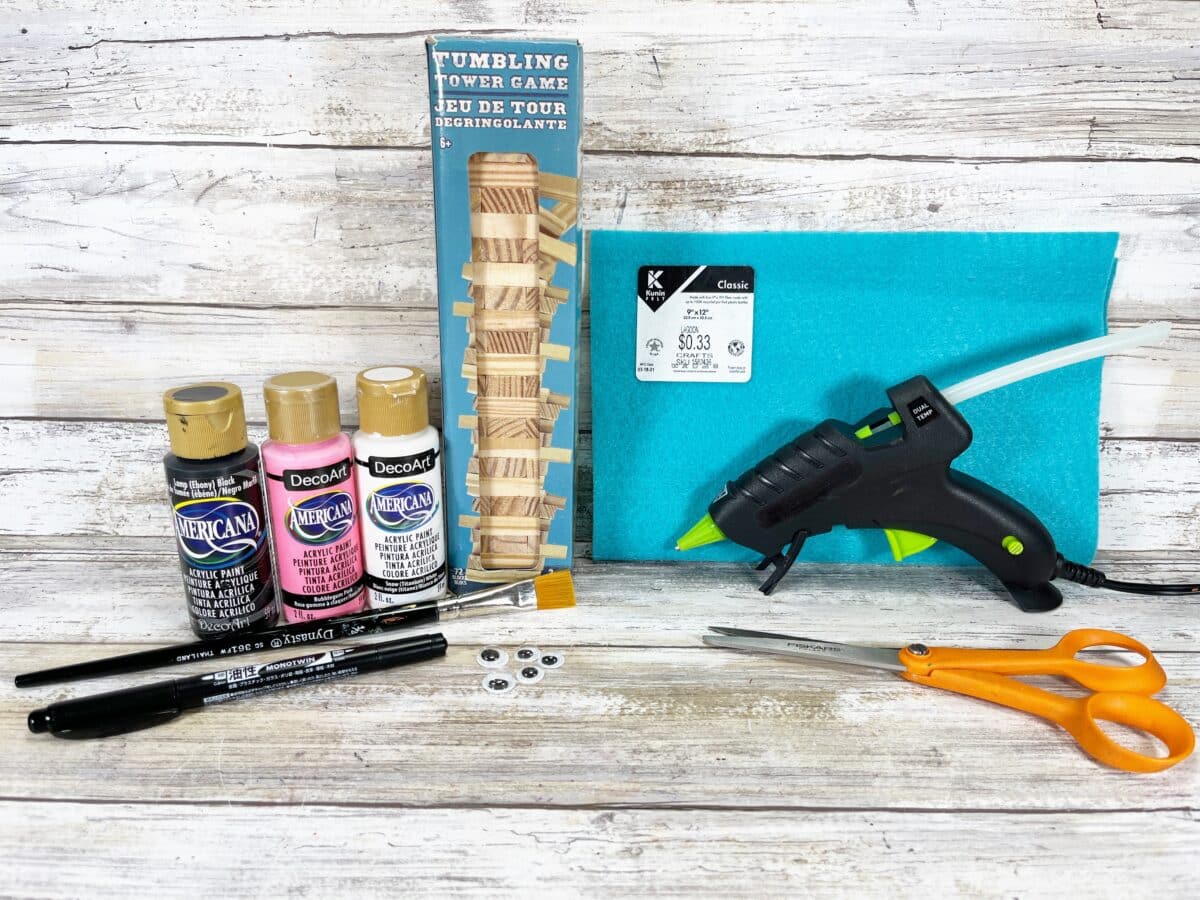
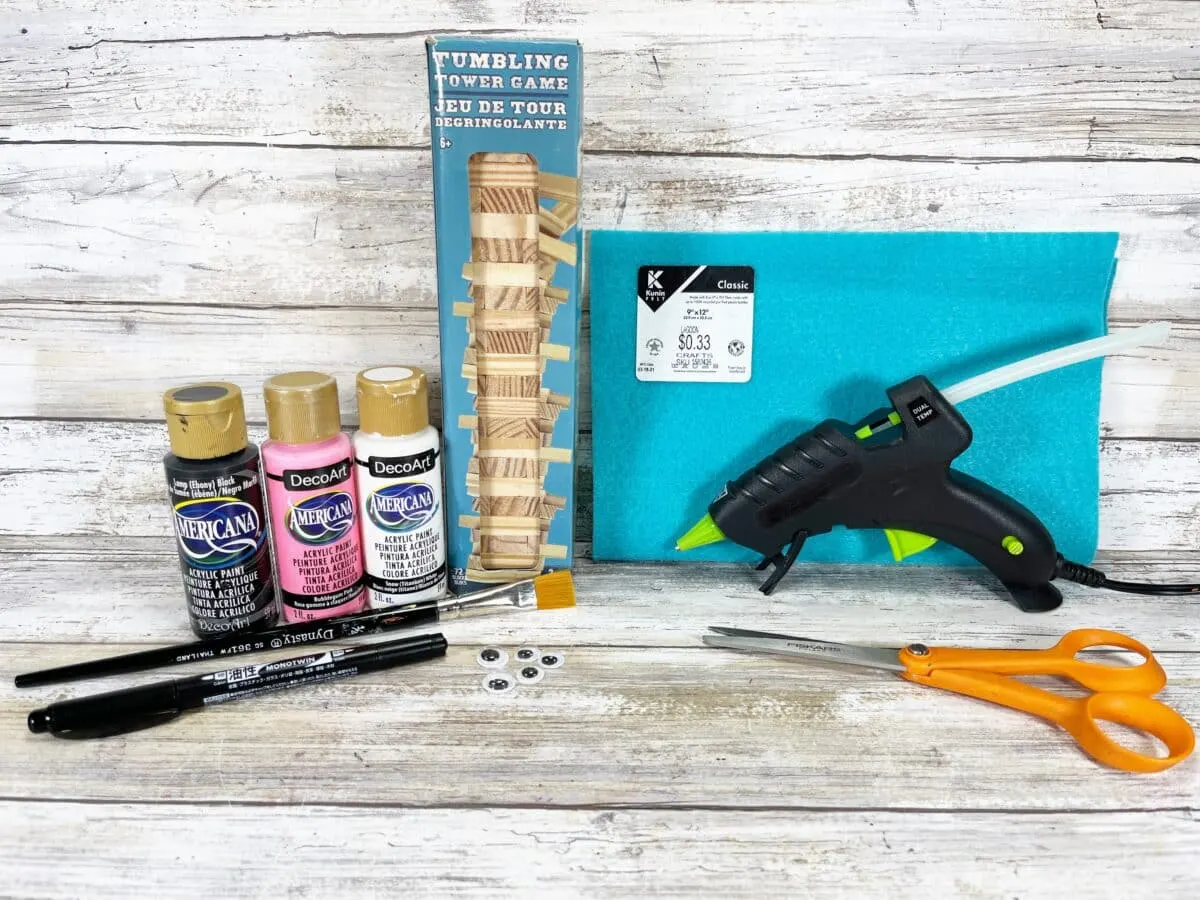
Supplies
- Free Polar Bear Pattern
- Tumbling Tower Game (12 pieces)
- Acrylic Craft Paint (White, Pink)
- 2 Wiggle Eyes
- Tinsel Pom Poms, Black (1) and Pink (2)
- Craft Felt (White and Blue)
- Hot Glue Gun or Craft Glue
- Scissors
- Paintbrush
- Black Permanent Marker or Sharpie
- Pencil with New Eraser (optional)
- Ruler
Directions
Step 1
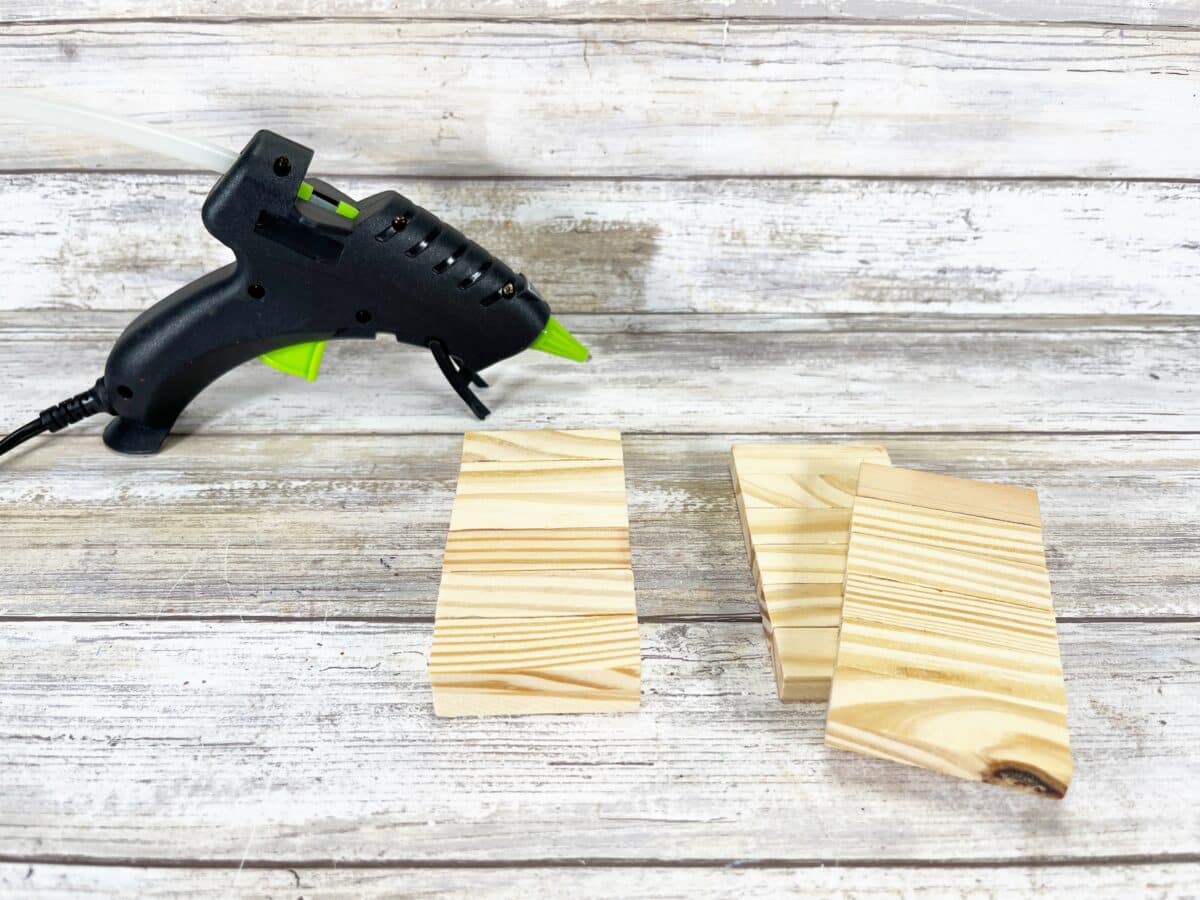
Line up two rows of six tumbling tower wooden blocks each.

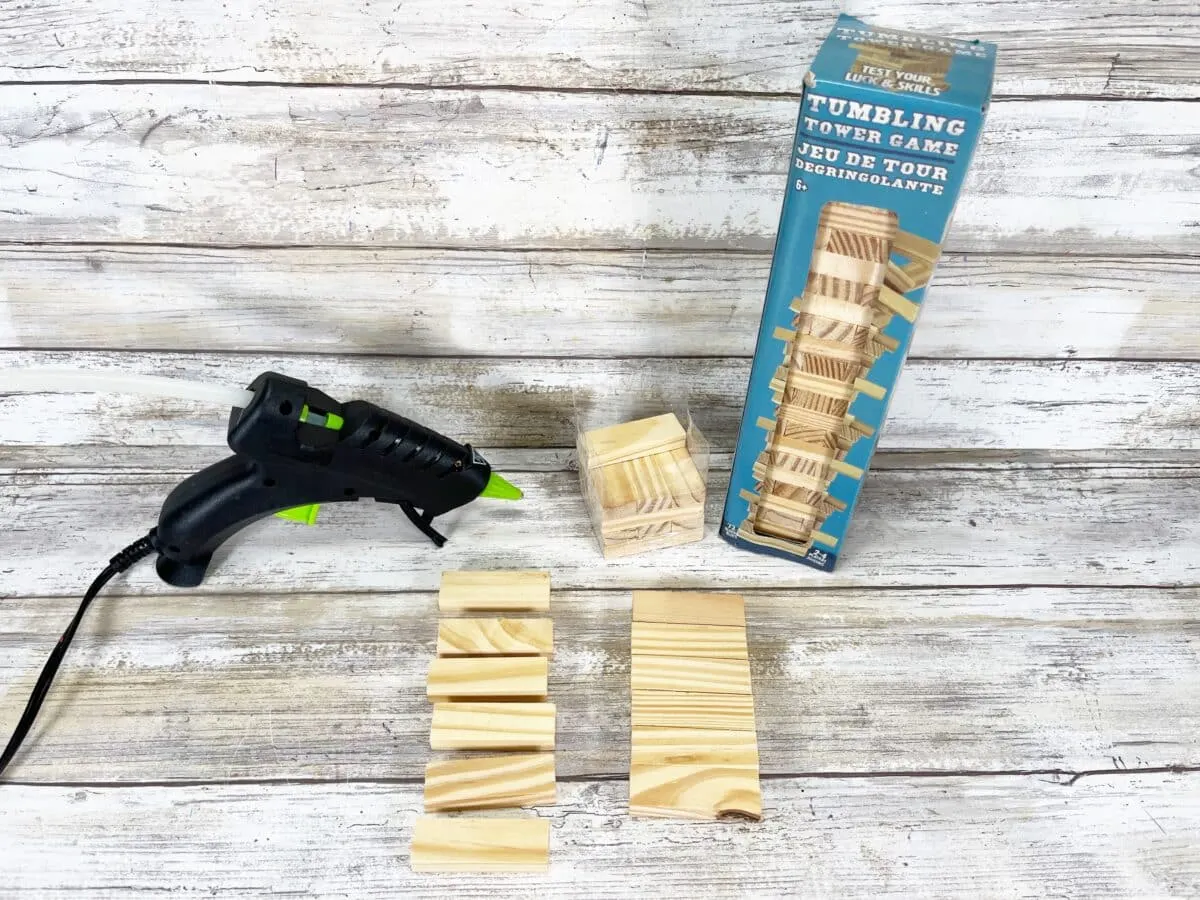
Glue the first six wooden blocks together with long sides glued together.
Repeat the process with the second set of six wooden blocks.
Glue the two large rectangles of wooden blocks together on top of each other.

Step 2
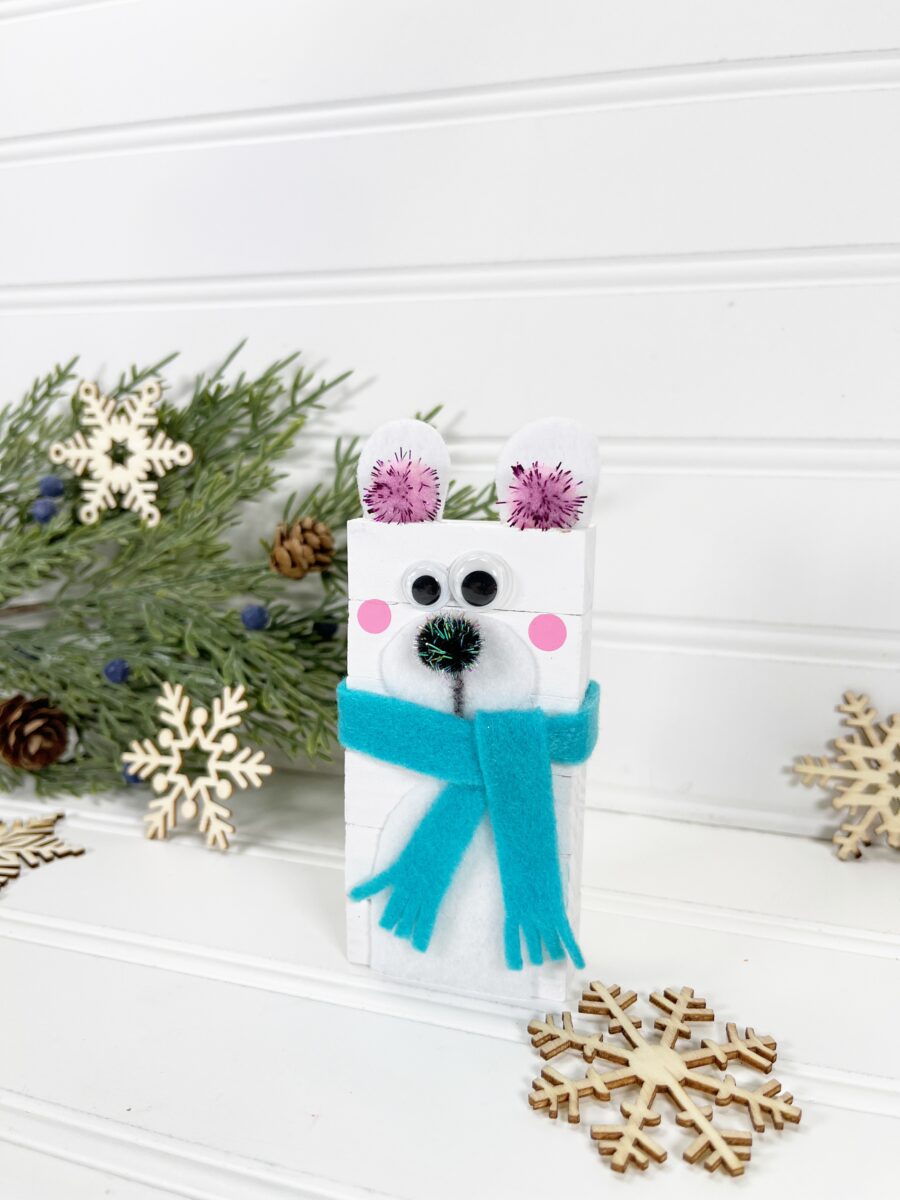
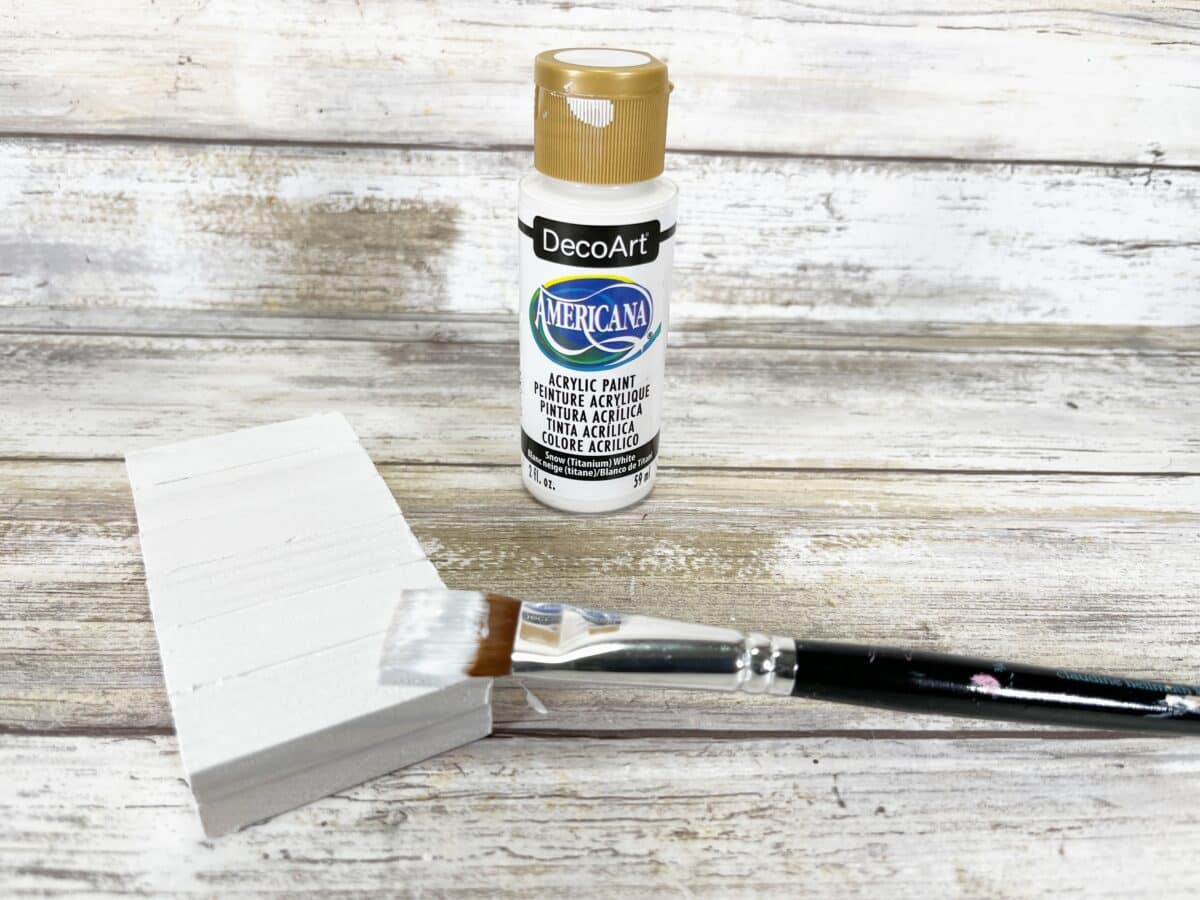
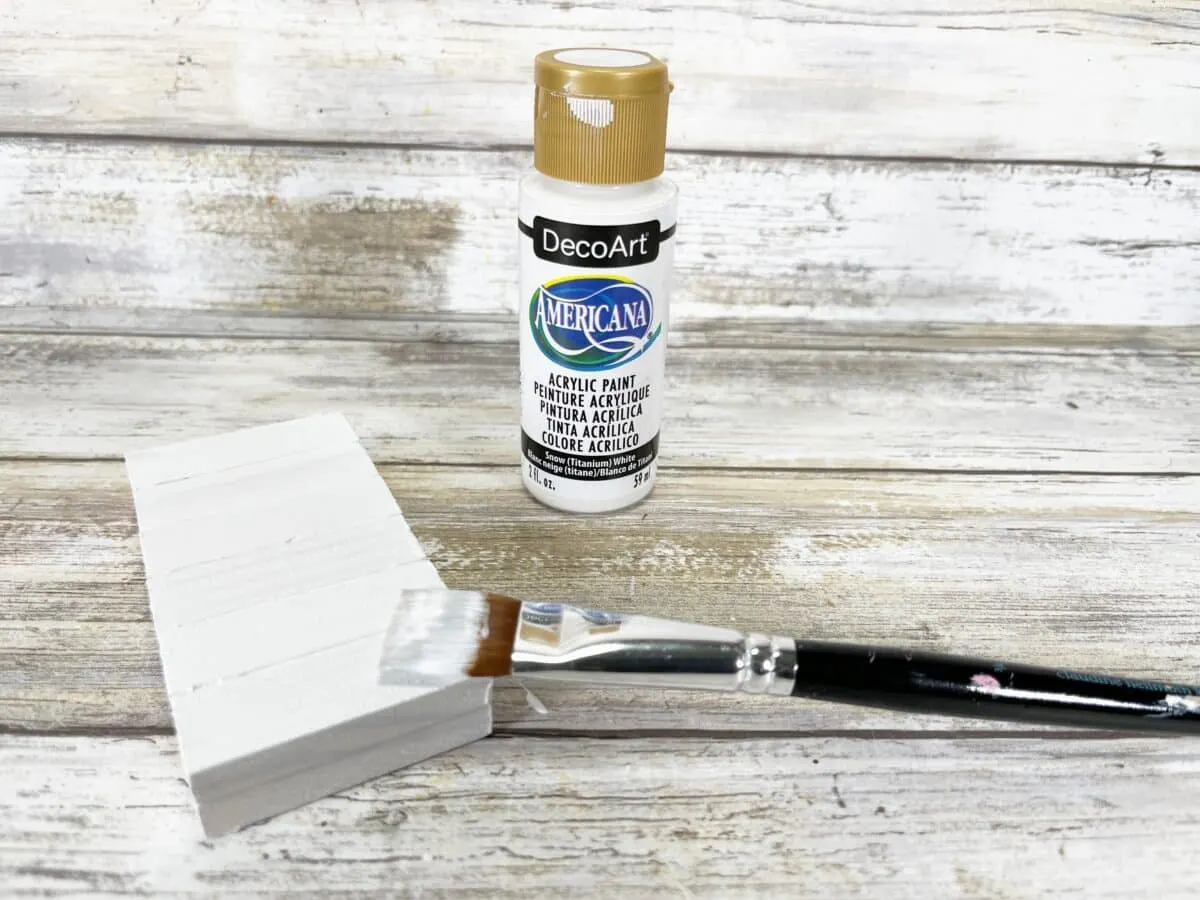
Paint the polar bear body with white acrylic craft paint.
Let dry completely. Apply a second coat, if needed.
Step 3
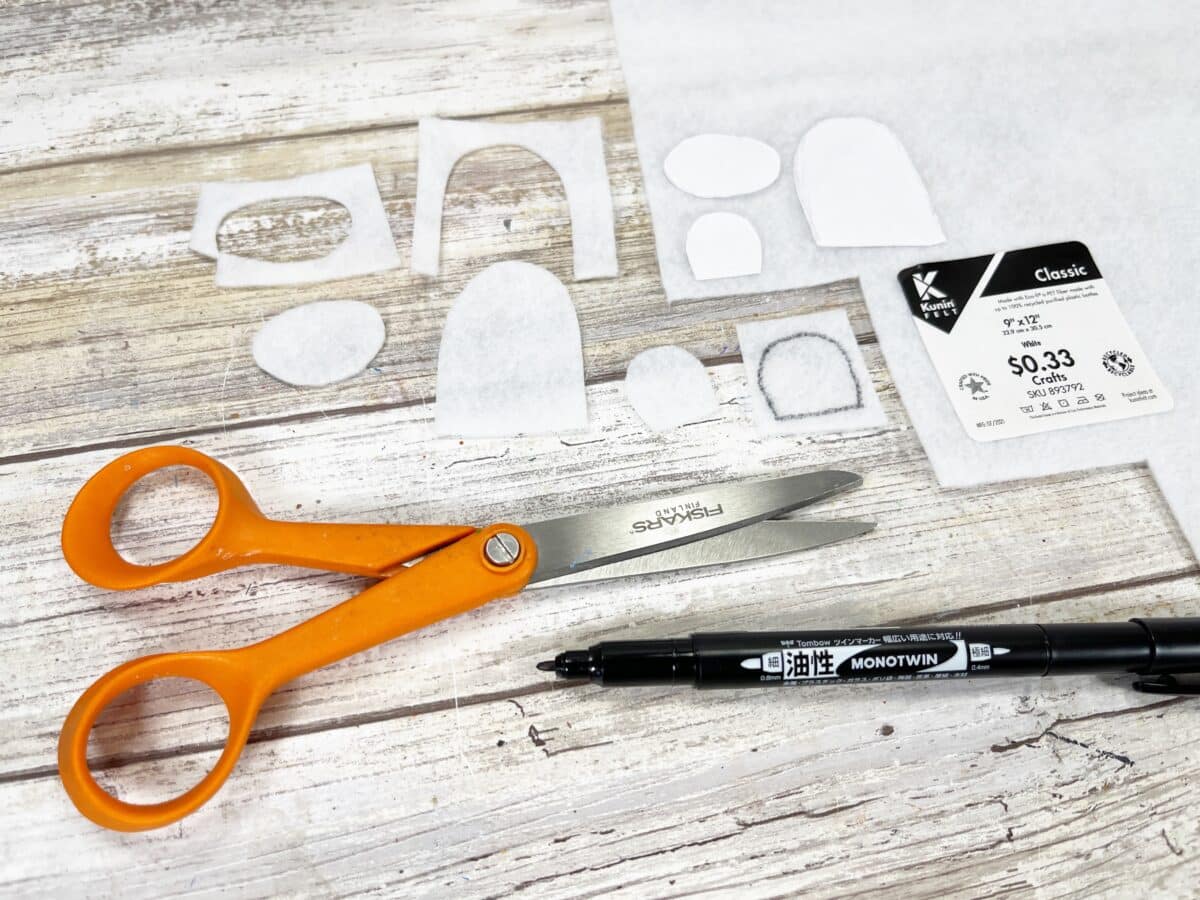
Download, print and cut out the Polar Bear pattern.
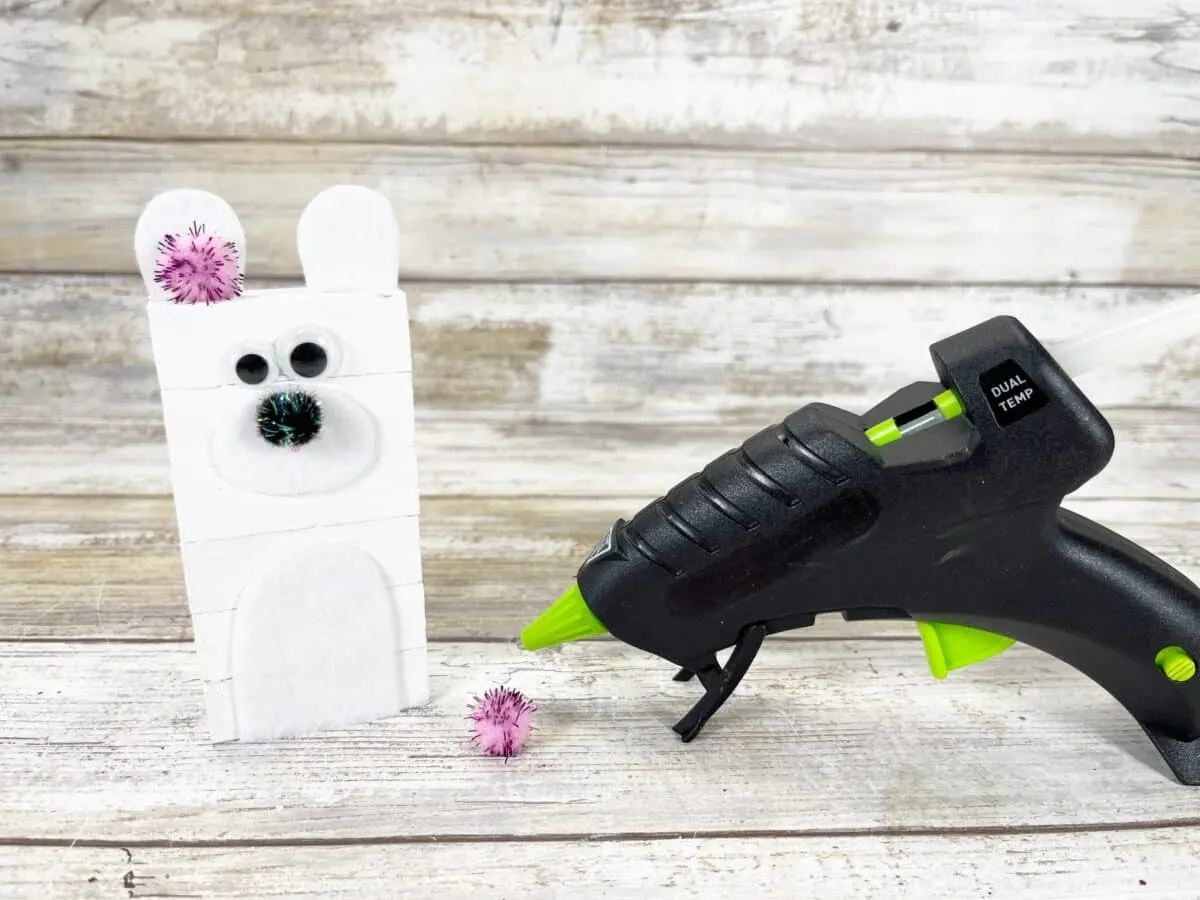
Trace and cut out two ears, a tummy, and a muzzle from white craft felt.

Glue two wiggle eyes on the polar bear face. Then glue the muzzle onto the wood blocks, then the black tinsel pom pom on top to create the nose.
Glue the two ears to the top of the polar bear face, attaching them to the back of the wood block. Then glue the pink tinsel pom poms to the top of the polar bear head.
Glue the felt stomach to the wood block, lining up the flat bottom part with the lower edge of the wooden block.

Step 4
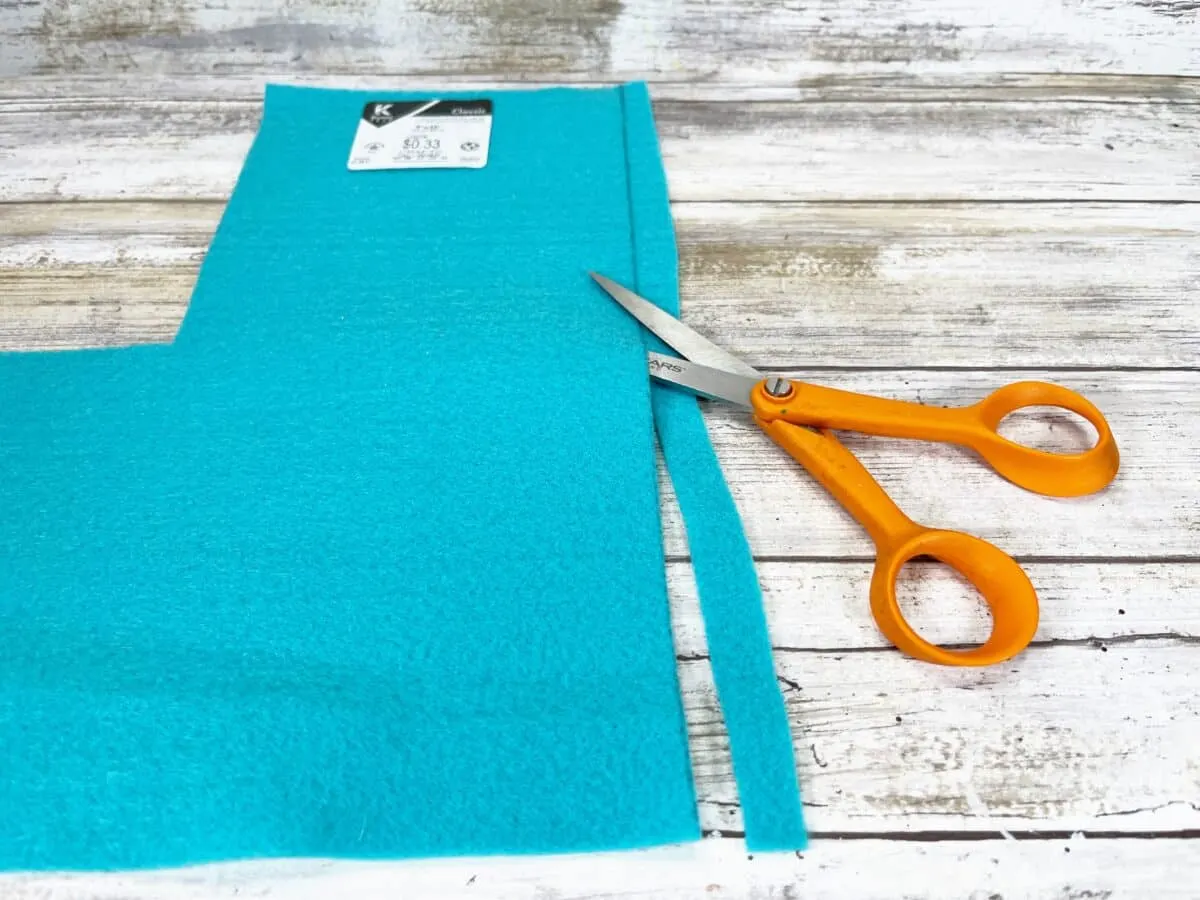
Measure a long skinny rectangle from lagoon blue craft felt that is ½” by 12” to create the scarf.
Cut out with scissors, cutting inside the lines for a clean finished project.

Step 5
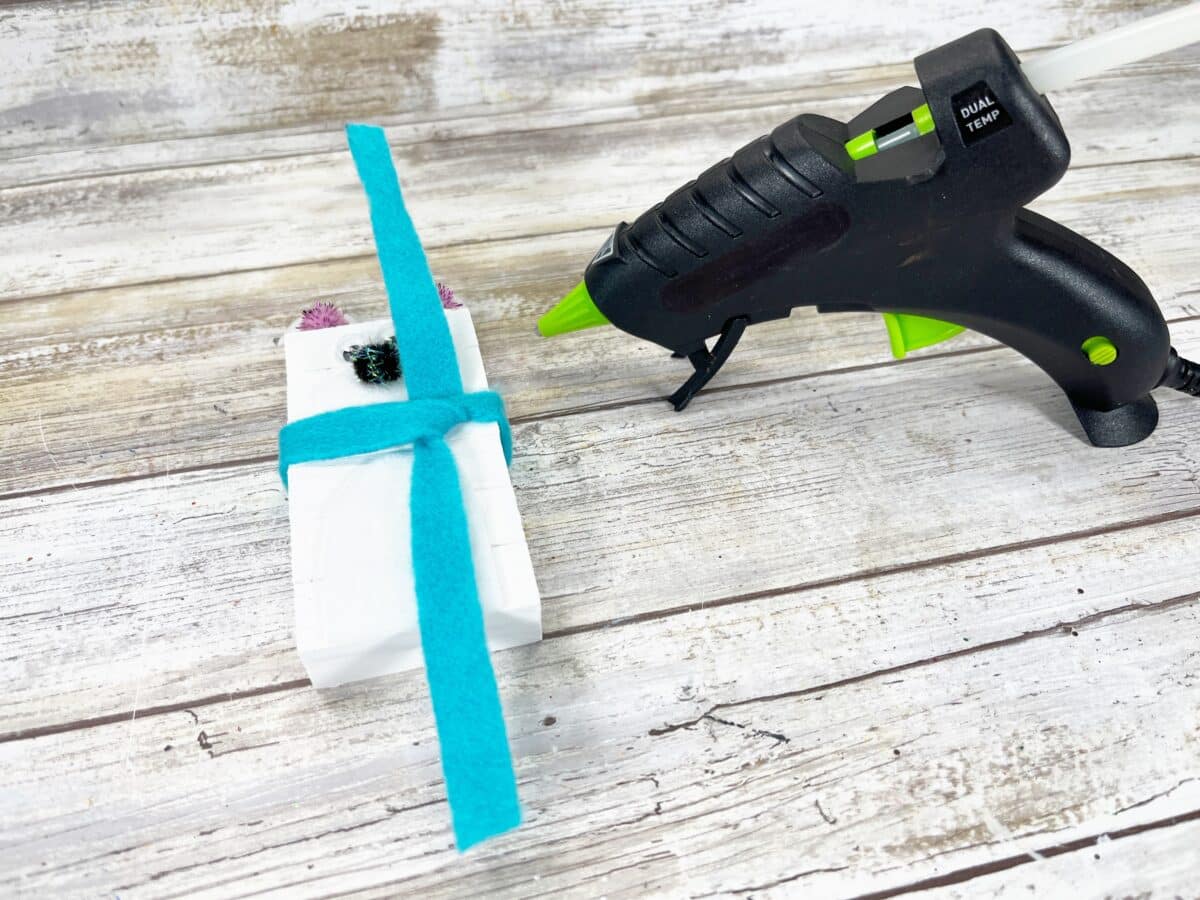
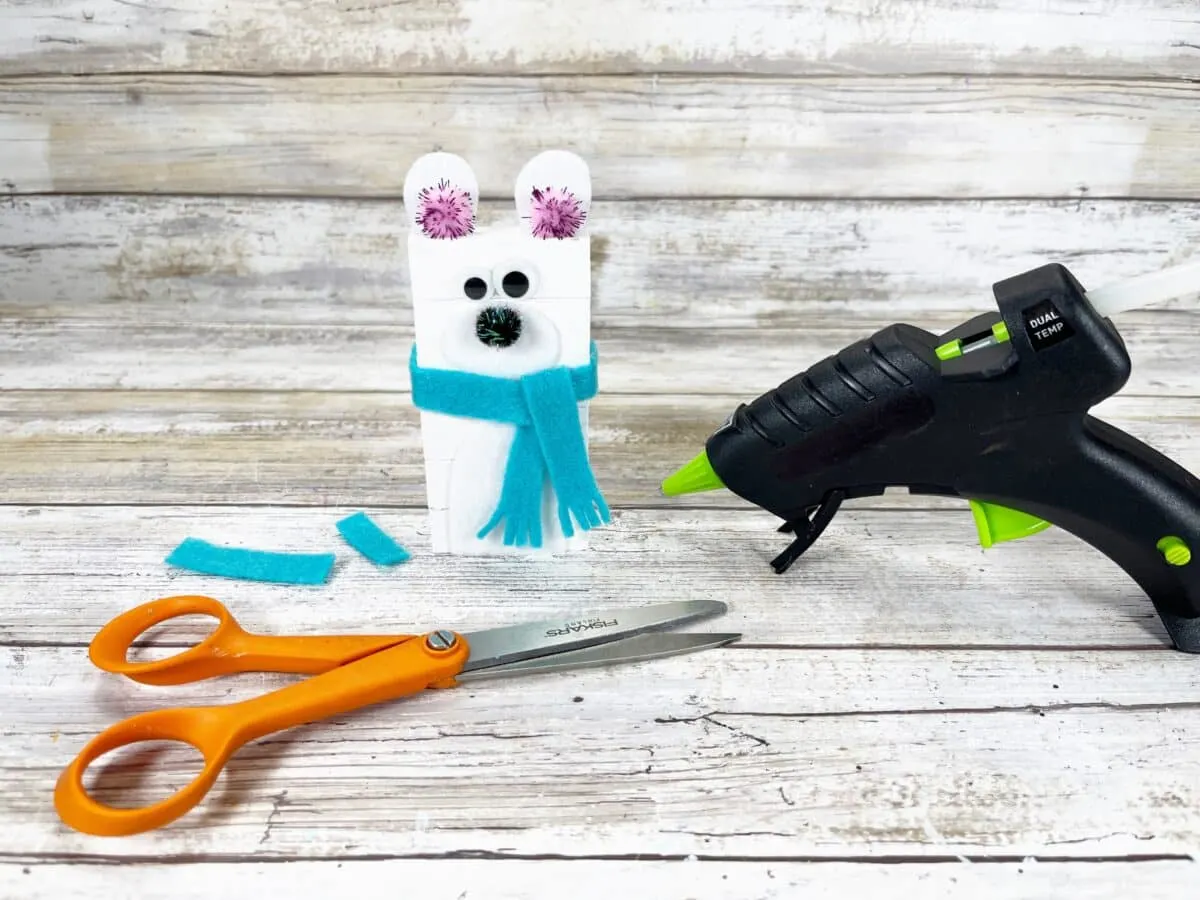
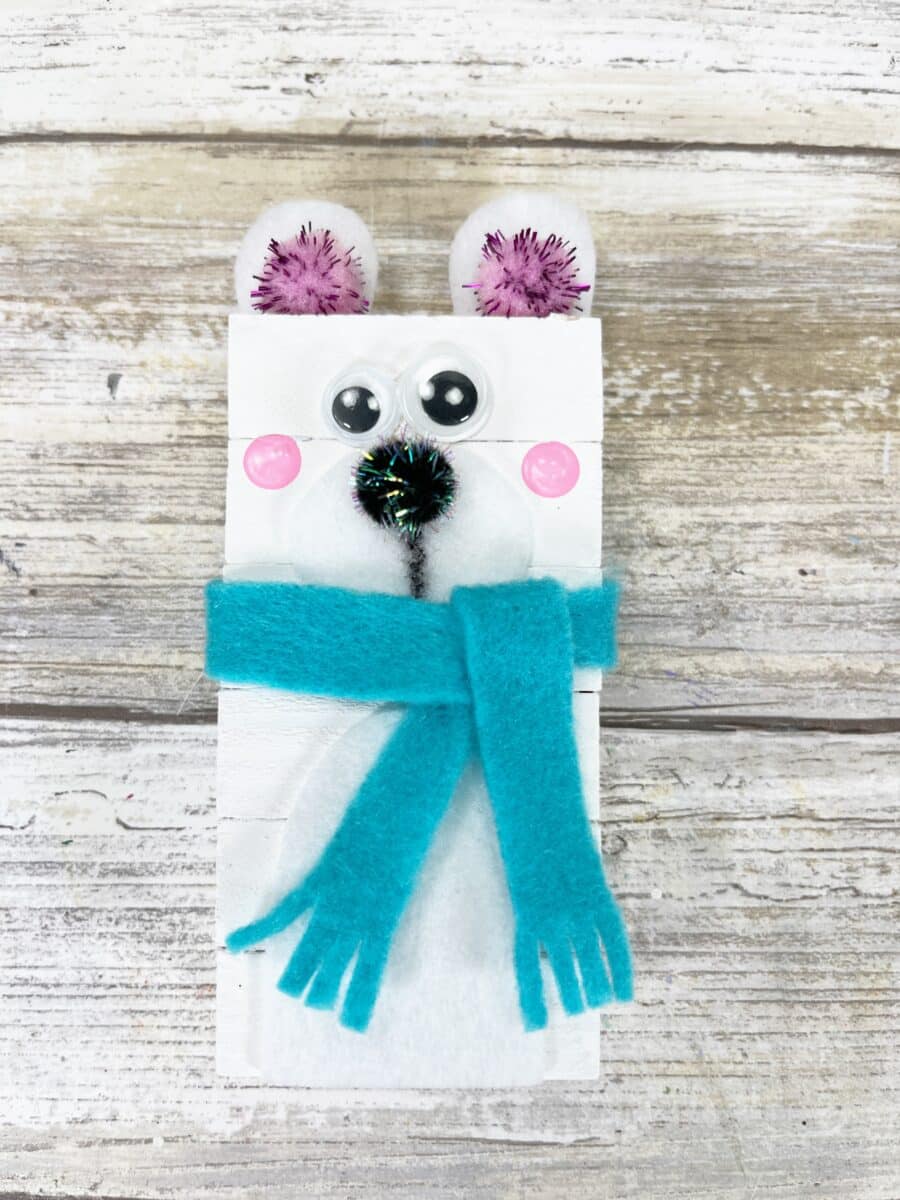
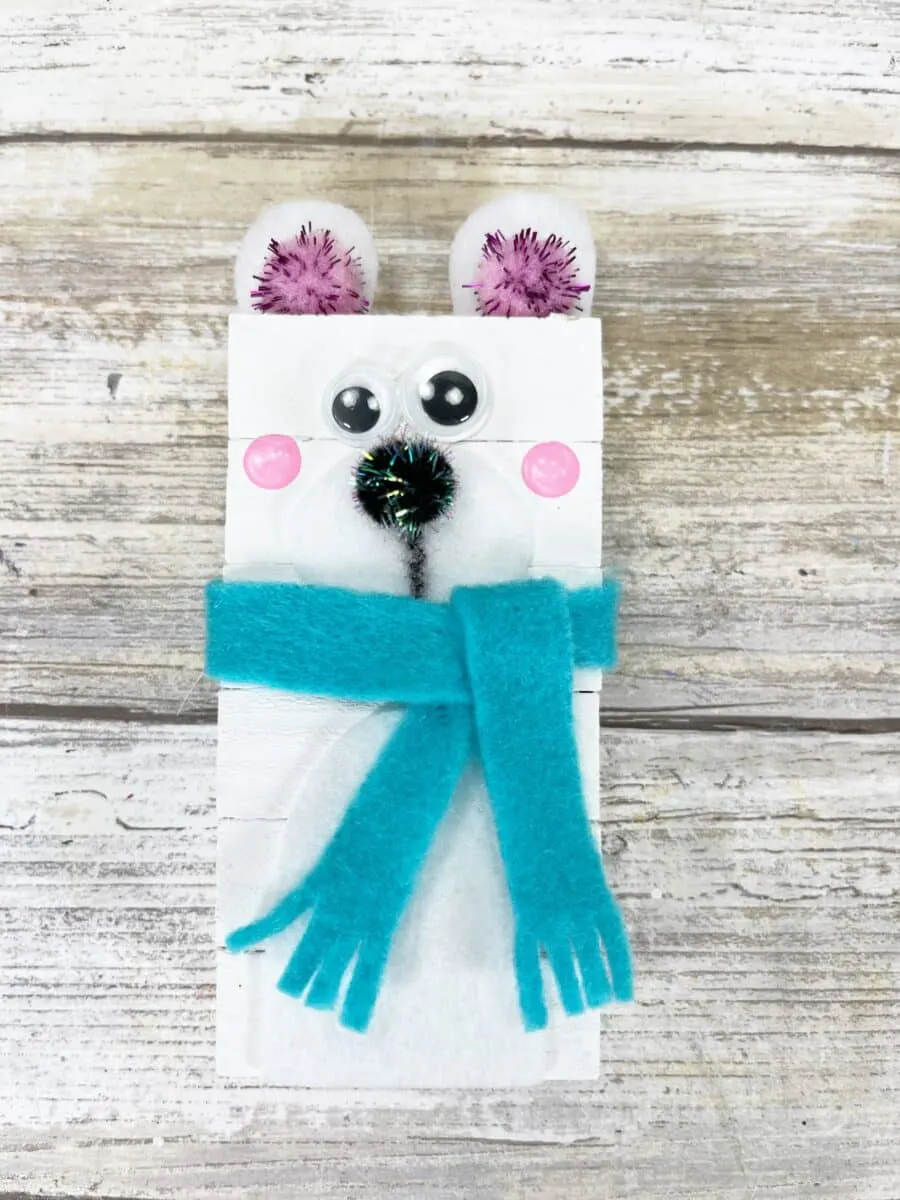
Wrap the scarf around the neck of the polar bear and tie a loose knot. Glue the scarf to the polar bear body.

Trim the long ends with scissors. Add a fringe detail on the scarf ends by snipping the felt in thin strands with the scissors.

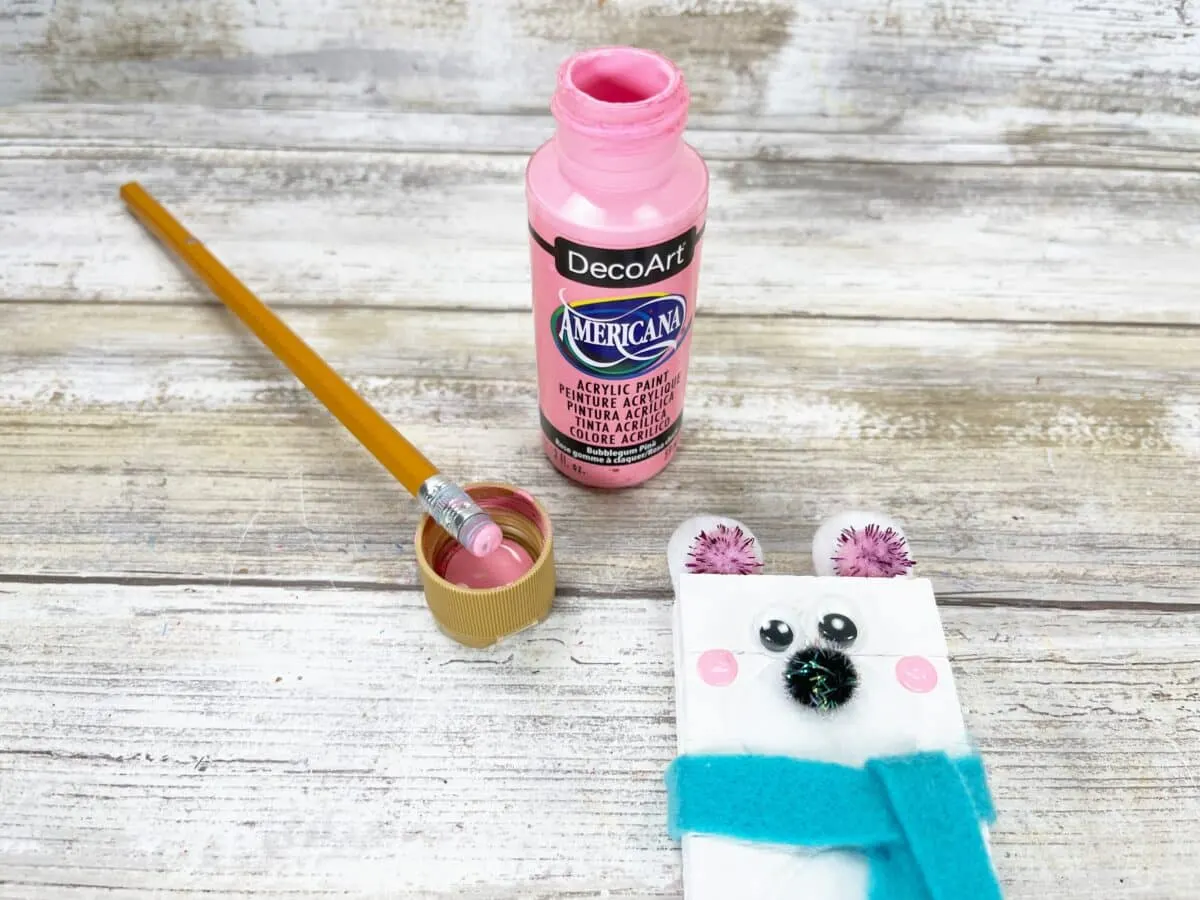
Step 6
Add polka dot cheeks by dipping a new pencil eraser into pink acrylic craft paint. Alternatively, you can freehand pink dots for the cheeks or use a pink permanent marker to draw them on.Allow to dry completely.

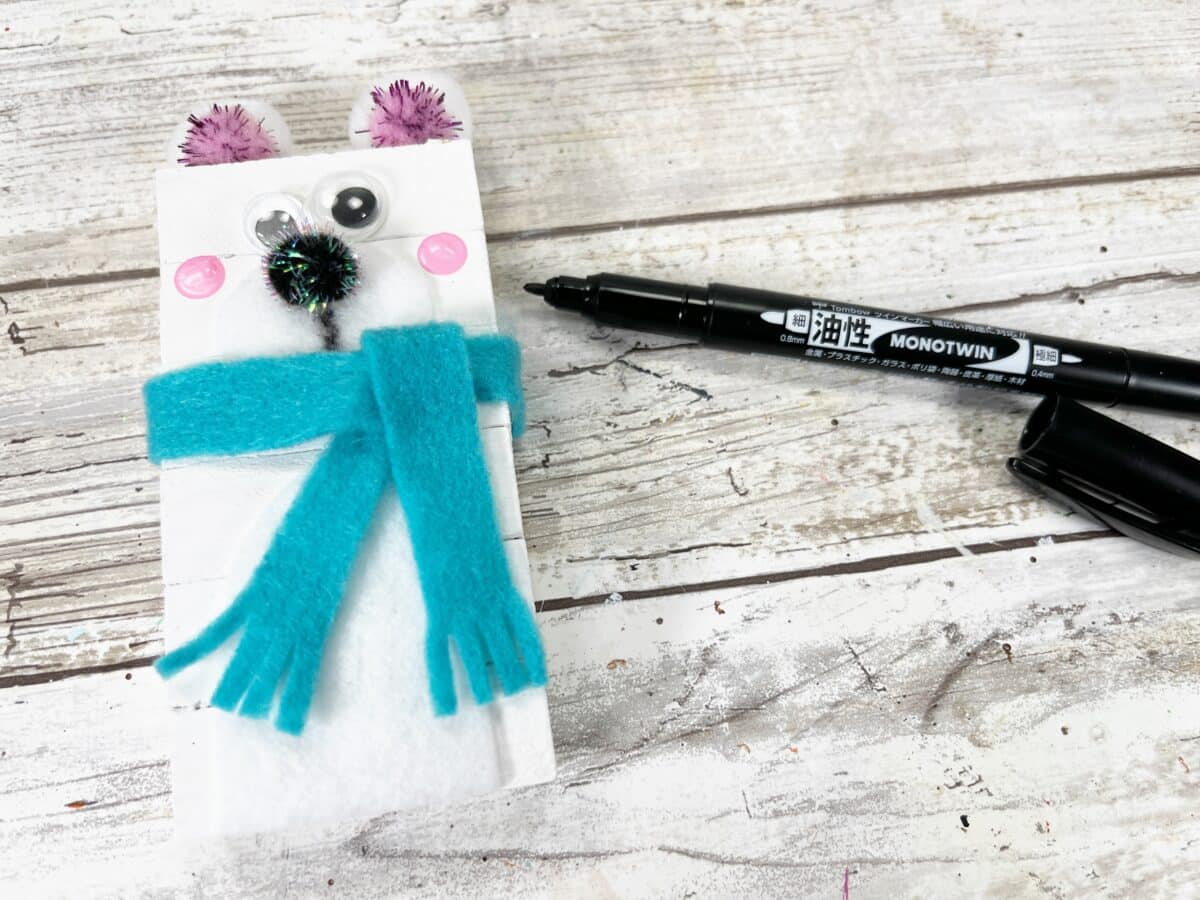
Step 7
Draw a vertical line from the nose down the muzzle with a permanent black marker.
Optional: You could draw the line in Step 3 if you would like, before you add the scarf.

Helpful Tips
- White craft foam or cardstock can be used instead of white felt.
- The Lagoon Blue felt is also used on our Tumbling Tower penguin craft.
Pin this Tumbling Tower Polar Bear winter craft to save for later!

We love using Tumbling Tower game pieces in unusual ways to make easy Dollar Tree DIYs. Be sure to see these other crafts, too:
- Snowman Hat Ornament
- Tumbling Tower Christmas Gift Ornament
- Tumbling Tower Christmas Tree
- Miniature Wooden Pumpkin
- Farmhouse Style Candle Holder
