
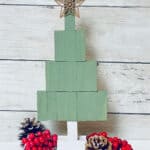

There are so many ways to use the Tumbling Tower blocks from Dollar Tree! (A game similar to Jenga.) And this rustic, minimalist Christmas tree is one of my favorite DIYs using the game pieces.
This block tree reminds me a lot of trees that I would find in the video games that my nephew plays! It reminds me of a tree from Minecraft. But those video games show things in basic elements, so I like the simplicity of this Christmas tree in this way, too.
You could use either Dollar Tree Tumbling Tower blocks or Jenga game pieces. If you use Jenga blocks, keep in mind the tree will be a bit bigger because those blocks are bigger.
If you wanted to decorate this tree with miniature ornaments, you definitely could. Add tiny pom poms to look like Christmas balls. Or thin yarn, ribbon or embroidery floss to look like garland.
You won’t use all of the Tumbling Tower blocks in one game for this craft. So you’ll have plenty left over to make these cute snowman hats or these Christmas present ornaments.
DIY Dollar Tree Tumbling Tower Christmas Tree
Supplies
- 22 Tumbling Tower Blocks (from Dollar Tree)
- Paint Brush
- Hot Glue Gun
- Wood Glue
- White and Green Chalk Paint (I used Waverly)
- Star ornament (optional)
Directions
Step 1
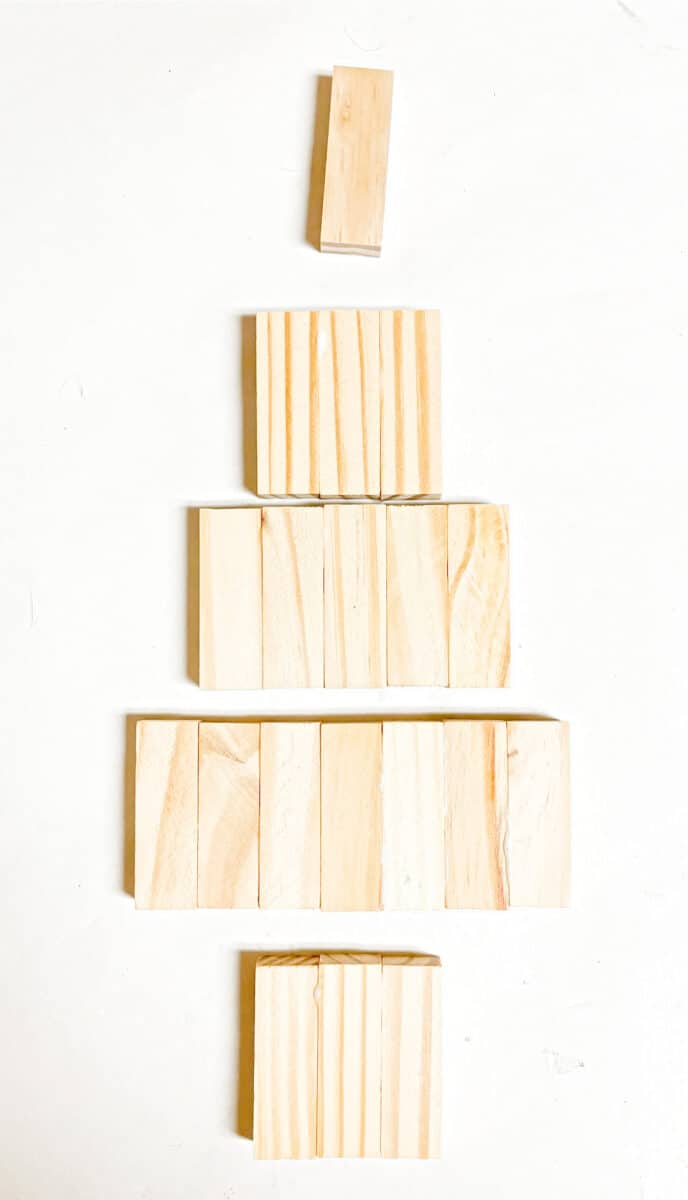
Glue wood blocks together in a Christmas tree shape. Glue blocks together vertically. I applied a line of wood glue on one block and held it in place next to another block, and continued the process. I made two sections of 3 blocks each (one for the tree and one for the base), one section of 5 blocks, and one section of 7 blocks.
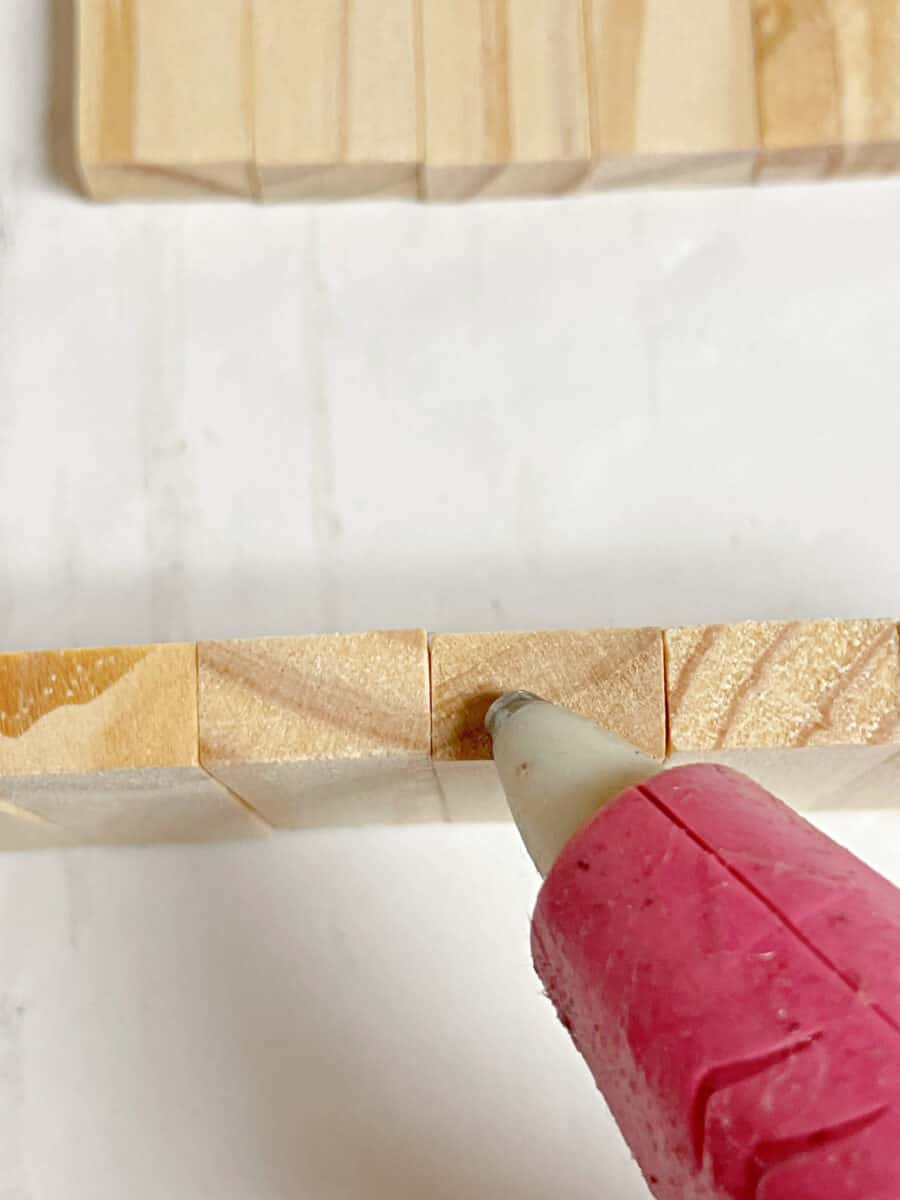

Be sure to wipe away any globs of glue that squeeze out from between the blocks. Let dry completely (about 1 hour).
Step 2
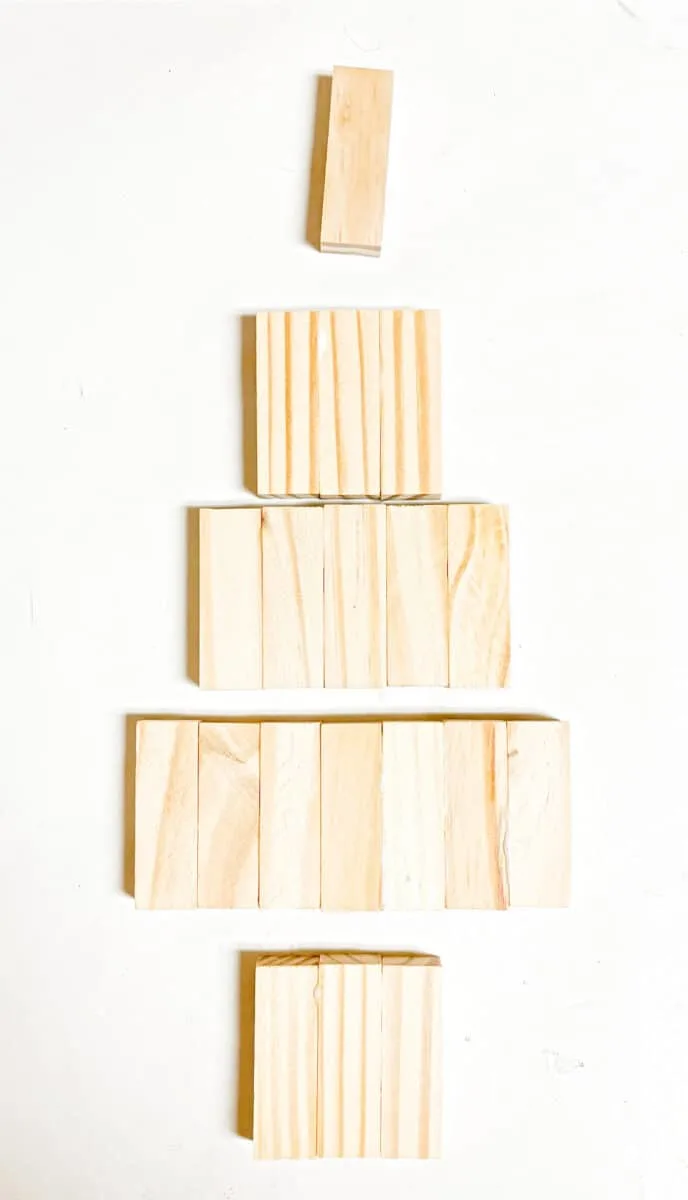
Once dried, combine the sections together. You can use either wood glue or hot glue. Glue one block onto the block of three, positioning it over the middle block in that section.
Then, glue that section on top of the section of 5 blocks, again centering it in the middle of the base section. Finally, glue the blocks to the 7-block section, again centering it before gluing.
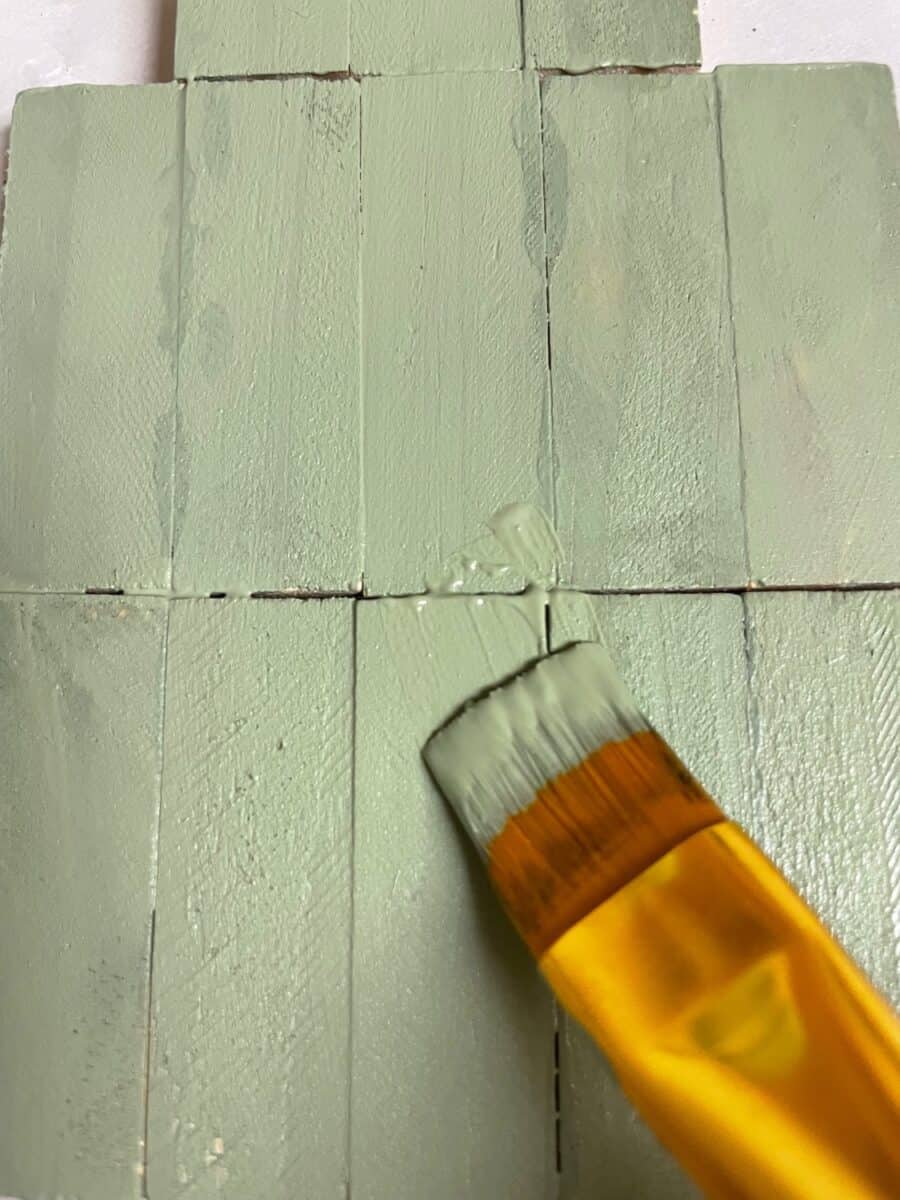
Step 3
Paint this Christmas tree with the green chalk paint. Paint the other 3-block section and 3 individual blocks white with chalk paint.

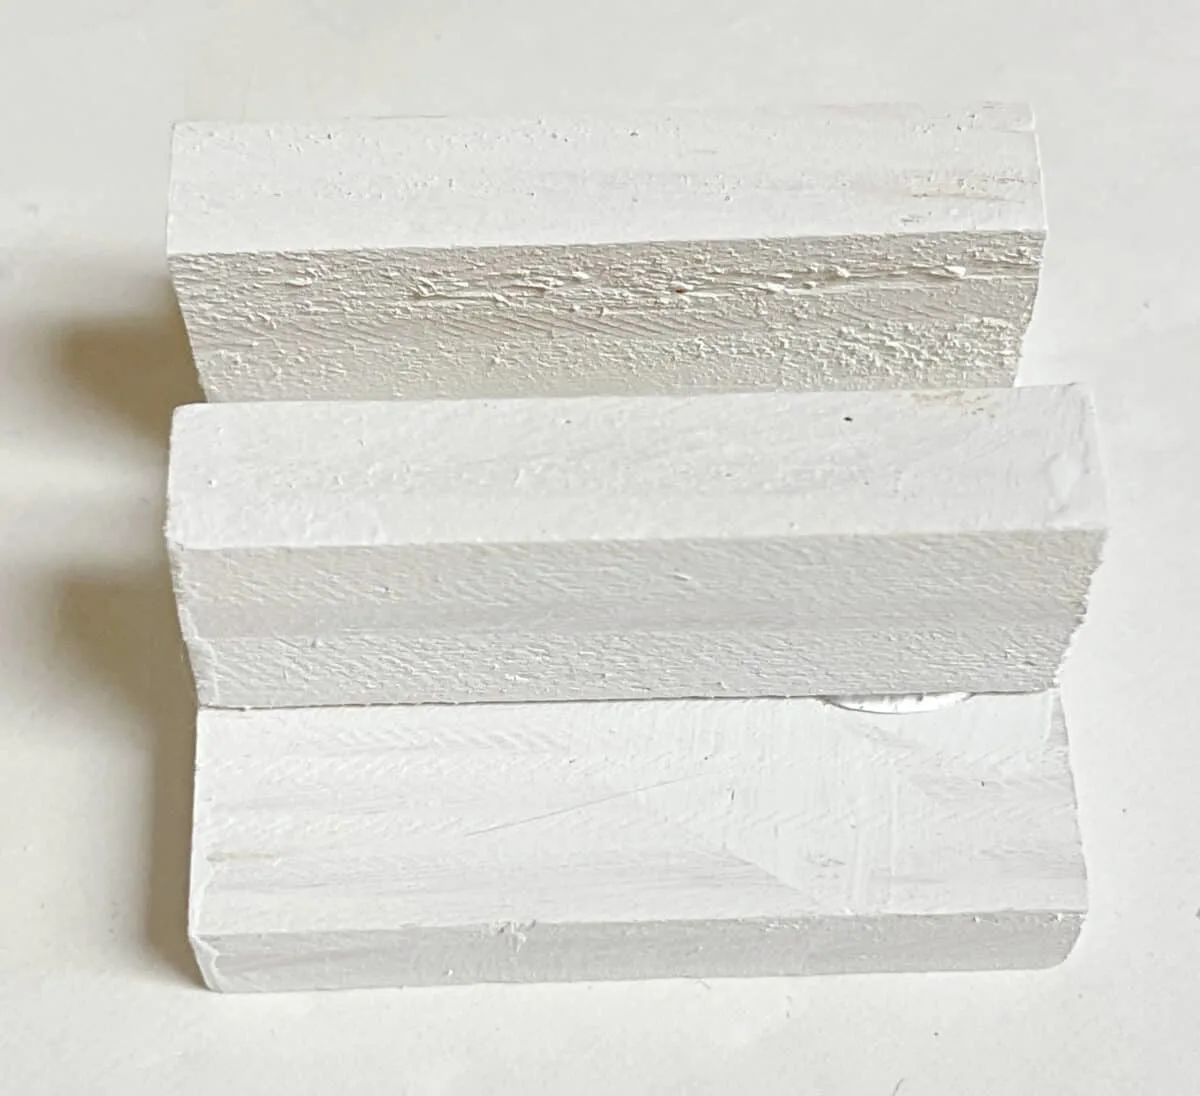
Step 4
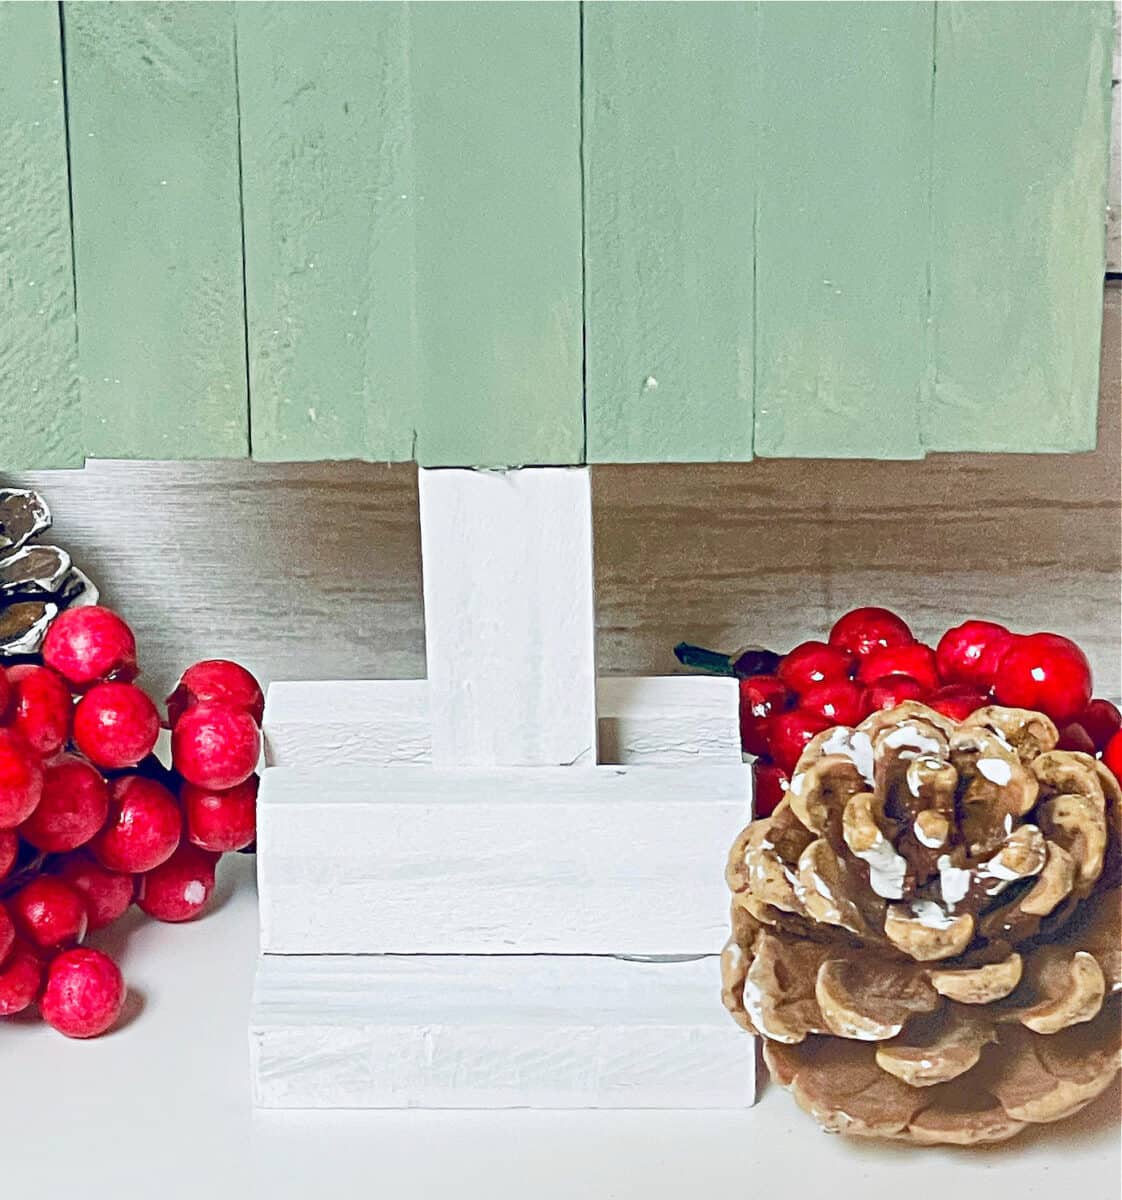
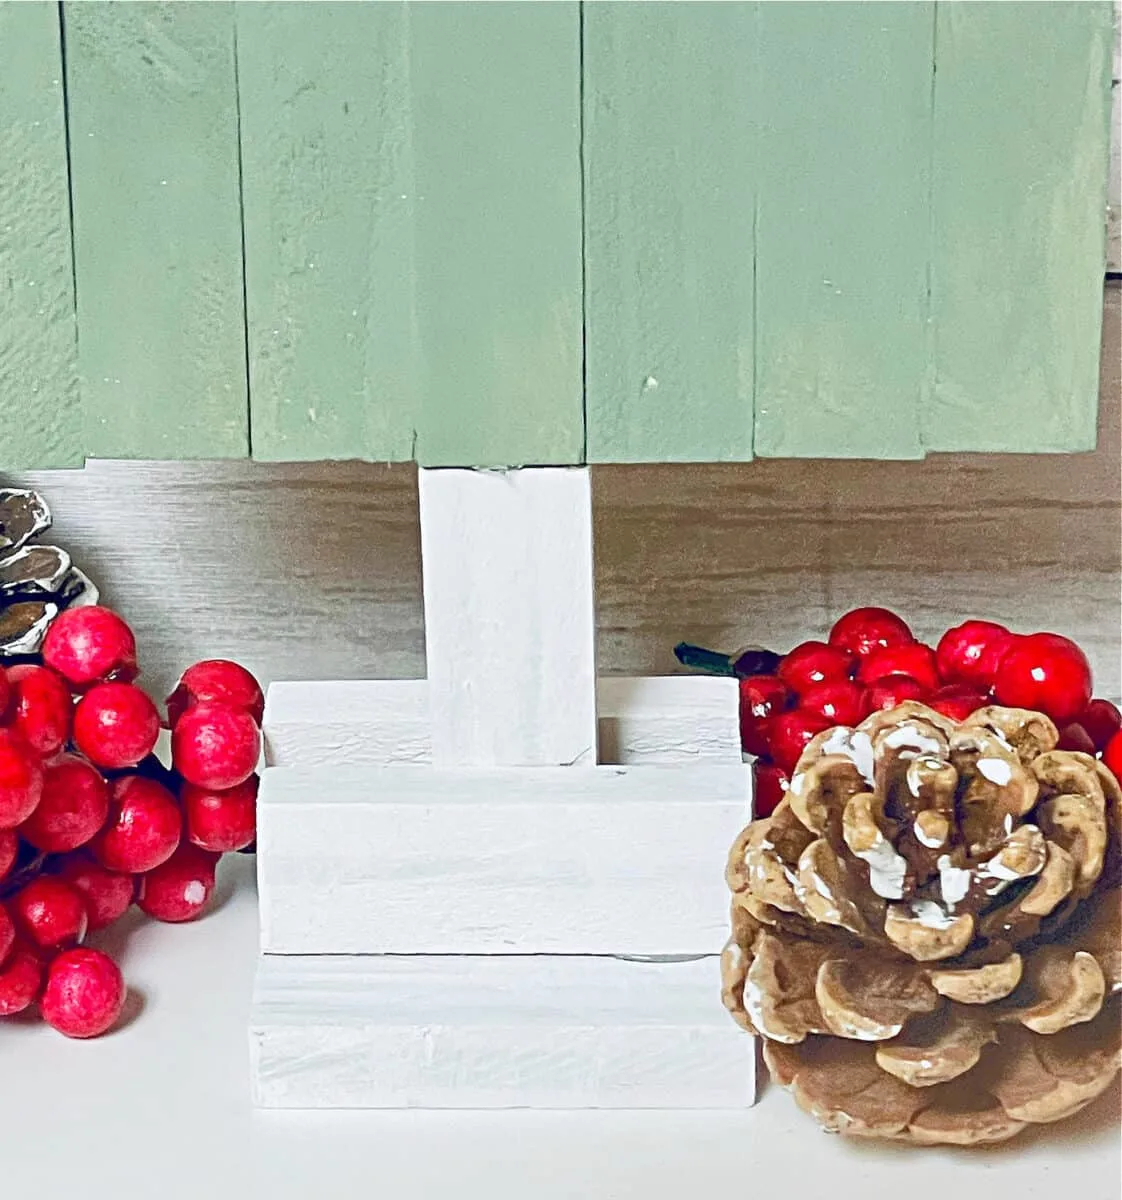
Once dry, glue one of the white pieces to the center of the 7-block base of the tree. Glue two of the individual white blocks horizontally across the 3-block white section that you have made already. You will want these two blocks to be positioned so that they tightly hold the tree trunk base block in place. Then glue the tree trunk base into the Christmas tree stand that you just made.

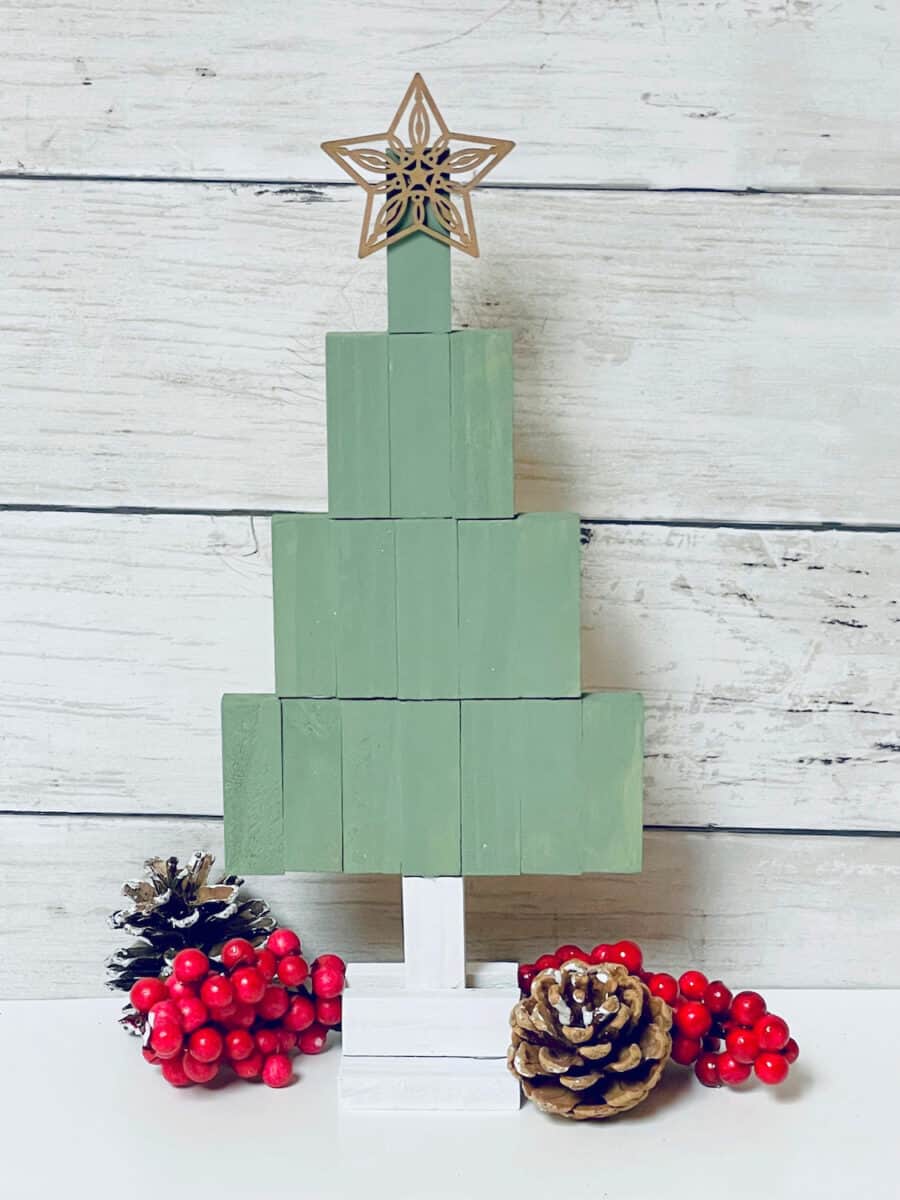
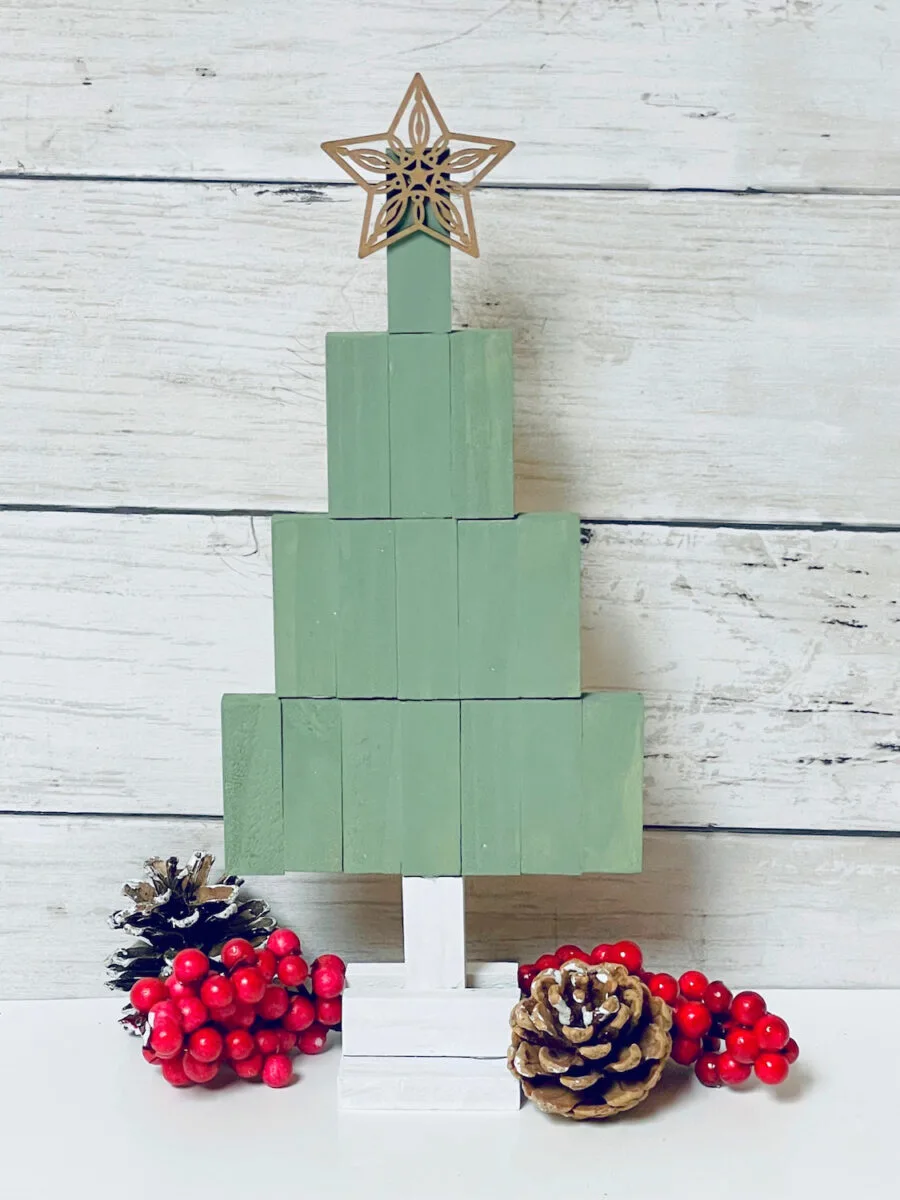
Step 5
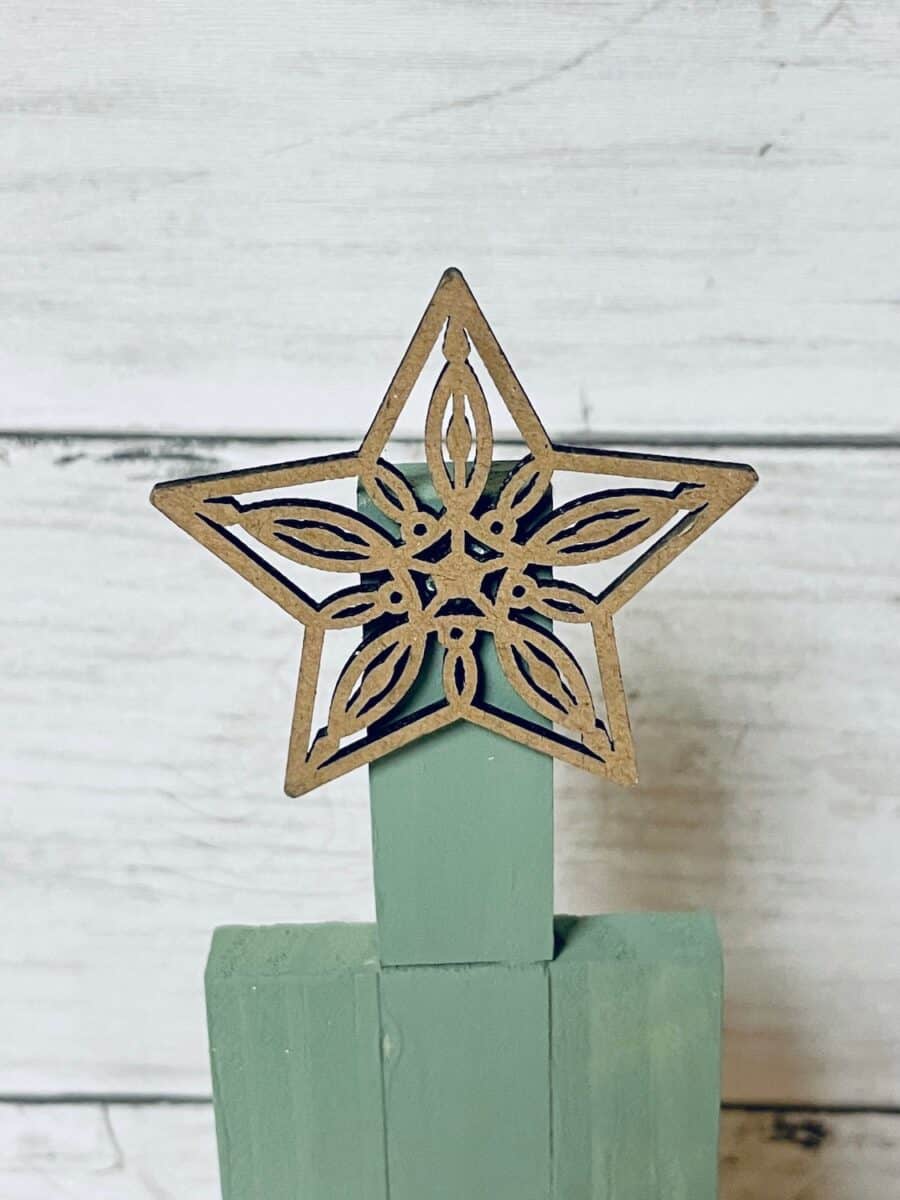
If you would like, glue a star ornament on top of the tree.


Christmas Patterns and SVGs!
Want more fun holiday SVGs for crafting and creating this season? I’ve got a fun 4-pack of patterns perfect for DIYs!
Visit the Single Girls DIY library for more details and to get your downloads!
Love using these wooden blocks for DIY projects? Then you will also want to see my farmhouse candle holder made from Tumbling Tower pieces. As well as these matching heart keychains.
